How to Make an 'Ammo Dump'
from Borderlands 2
|
|
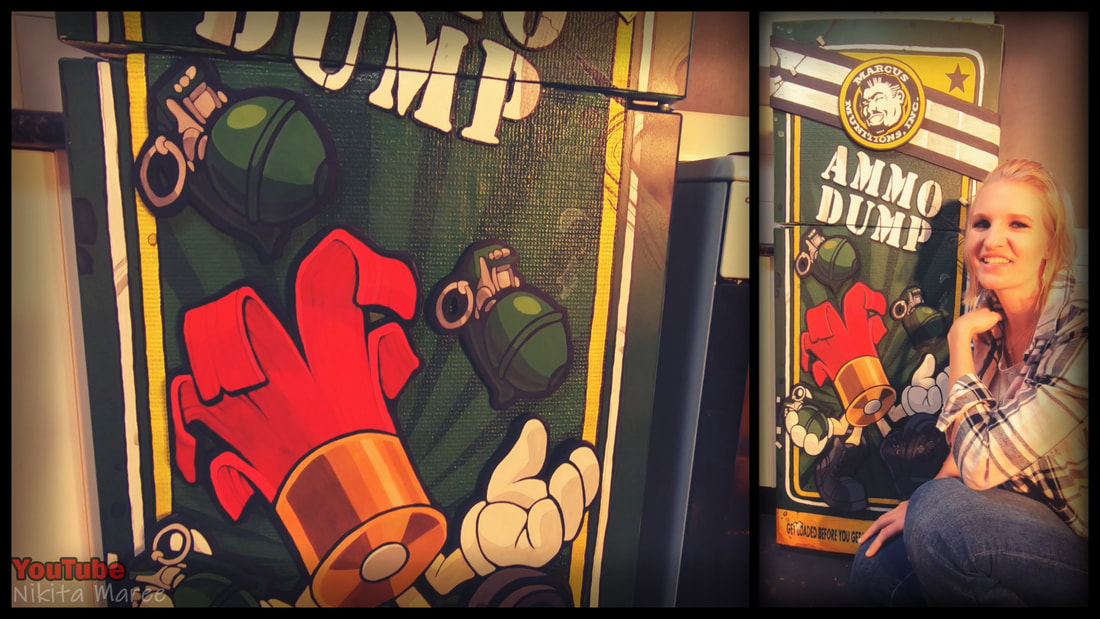
In this tutorial, I will show you
how I went about turning my fridge into the Ammo Dump from Borderlands 2. |

|

|
|
I am a big fan of the Borderlands games.
I also like having unique item around the house.
So getting to see my fridge like this every day brings me a lot of joy.
The overall cost of this build was very minimal as I strive to make things as cheap as possible.
The most expensive part of this build was the $20 clear coat
(or the fridge) but I already owned that.

|

|
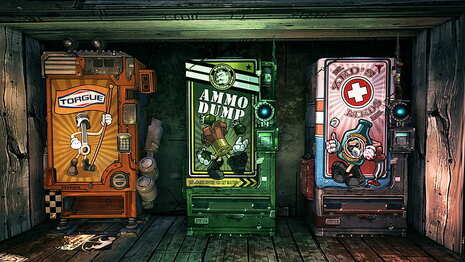
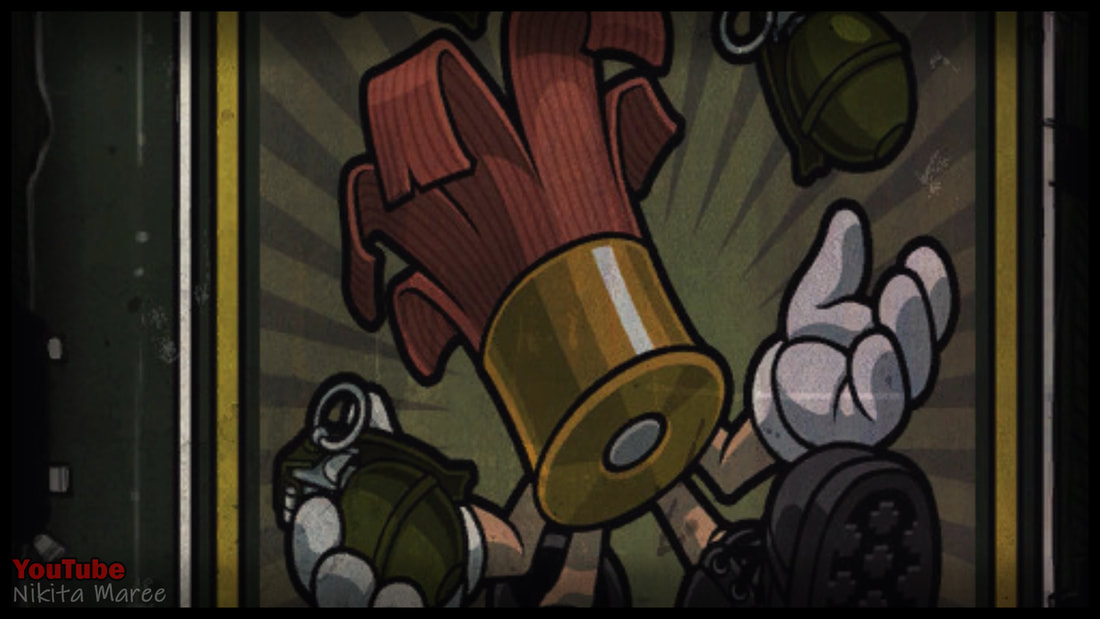
Take the time look at some in game screen shots
and some quality reference images.
My 2 favorite are linked below.
https://www.wallpaperflare.com/borderlands-vending-machines-hd-video-games-wallpaper-mzdgq
https://imgur.com/a/veifH?gallery
and some quality reference images.
My 2 favorite are linked below.
https://www.wallpaperflare.com/borderlands-vending-machines-hd-video-games-wallpaper-mzdgq
https://imgur.com/a/veifH?gallery
|
|
|
|
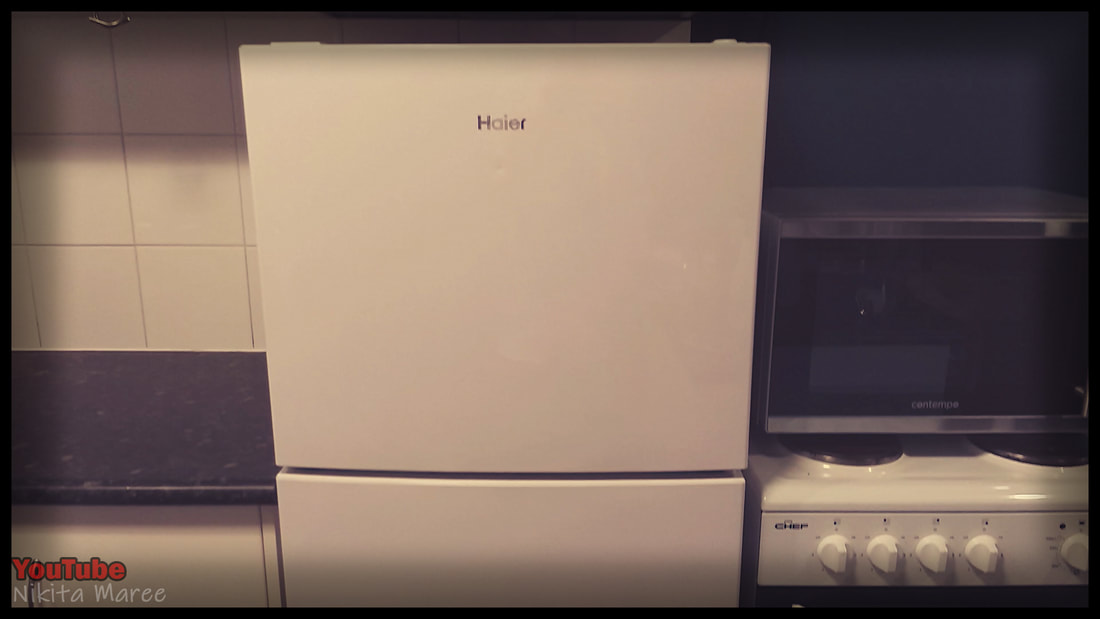
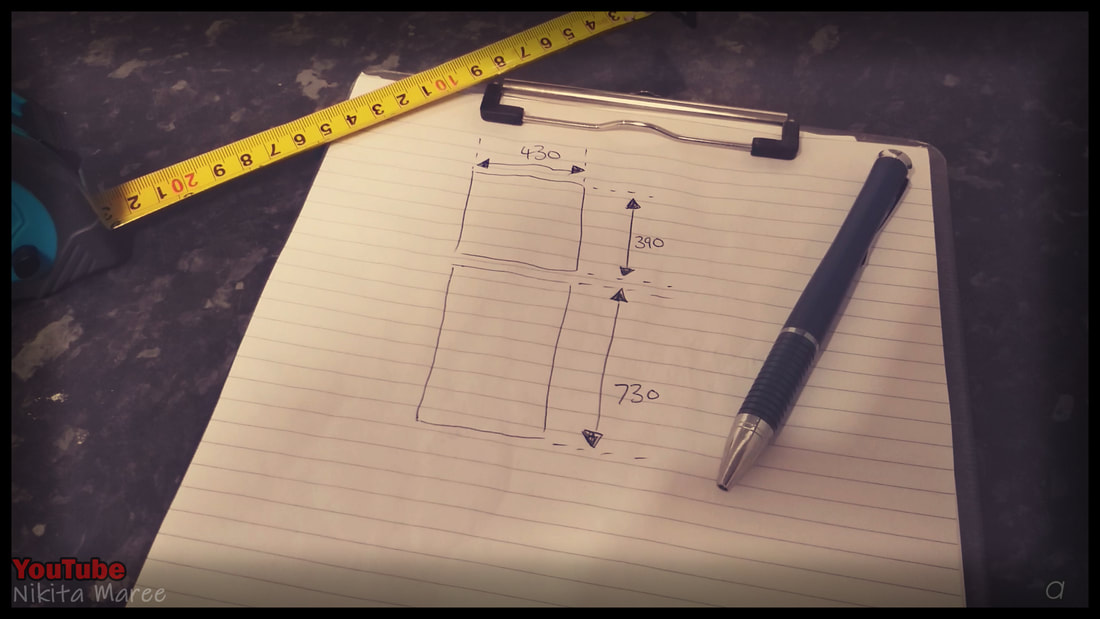
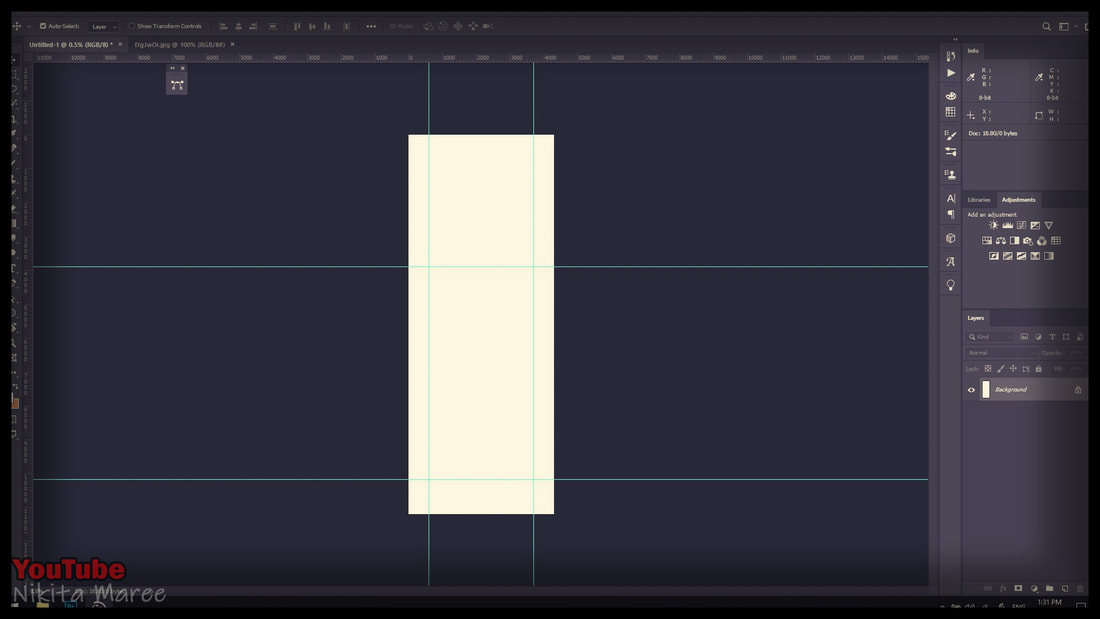
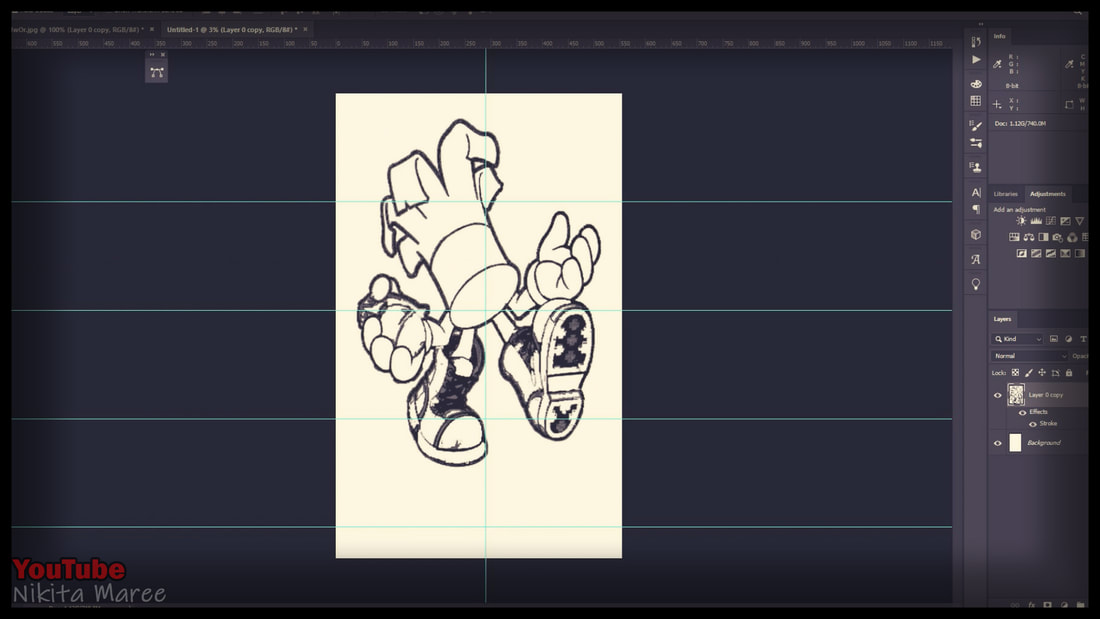
I started by taking the measurements of my blank fridge/freezer.
Took those measurements into Photoshop and made a canvas to that exact size.
I then placed on some guide lines to mark the fridge freezer line
and some other guide lines to help with framing everything up.
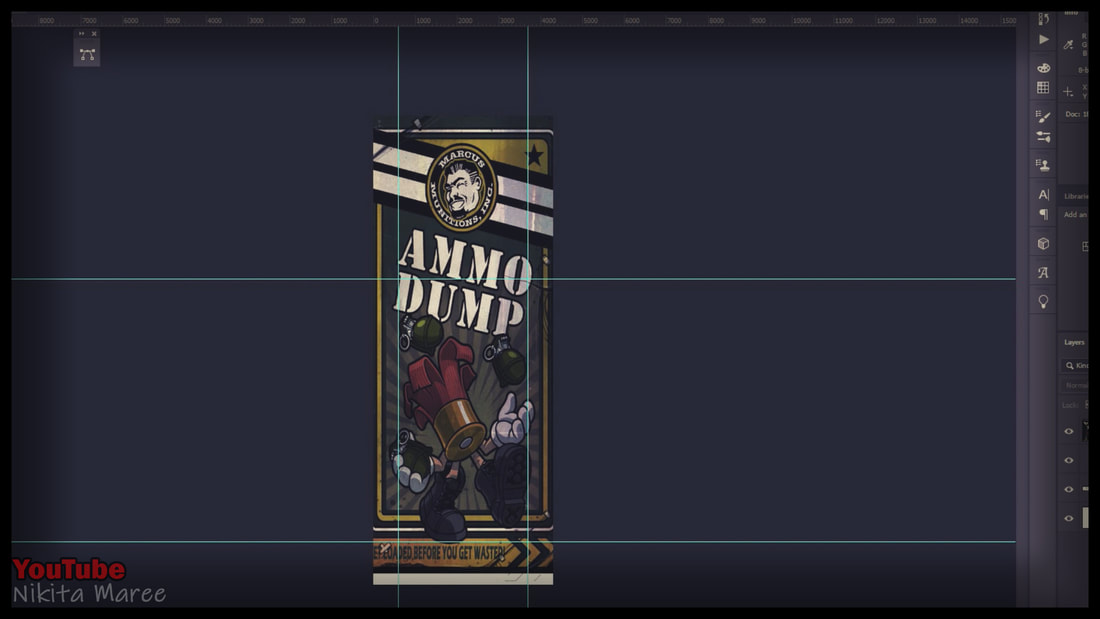
As you can see in the 4th image above. The aspect ratio of the reference image
does NOT match the dimensions of my fridge.
So I decided to take each individual element
and place them around to suit my fridge.
Took those measurements into Photoshop and made a canvas to that exact size.
I then placed on some guide lines to mark the fridge freezer line
and some other guide lines to help with framing everything up.
As you can see in the 4th image above. The aspect ratio of the reference image
does NOT match the dimensions of my fridge.
So I decided to take each individual element
and place them around to suit my fridge.
The Logo
|
|
|
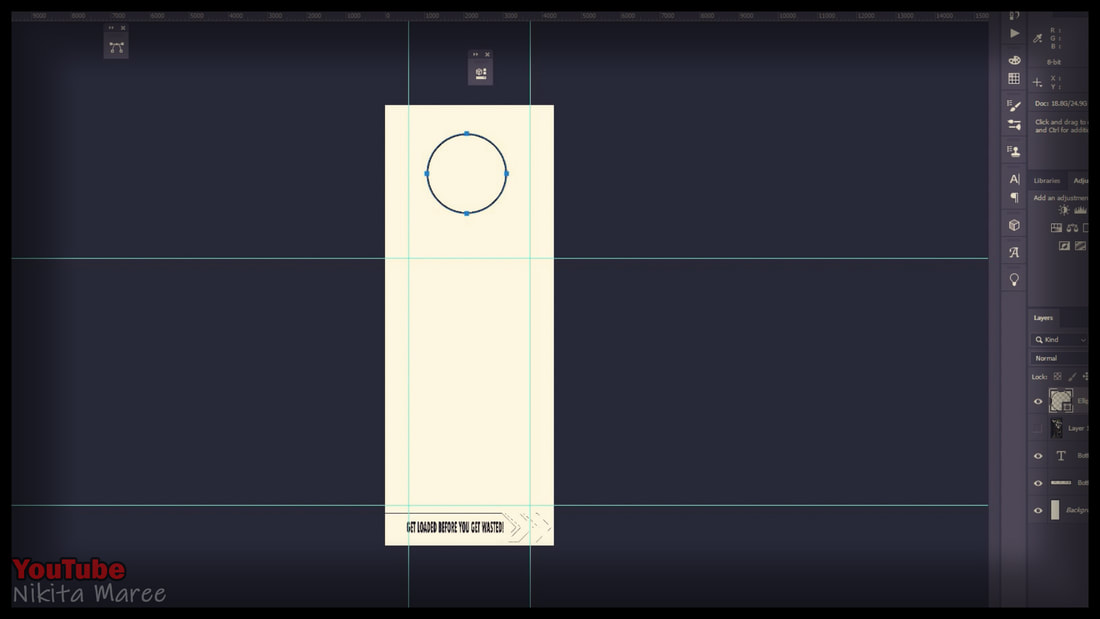
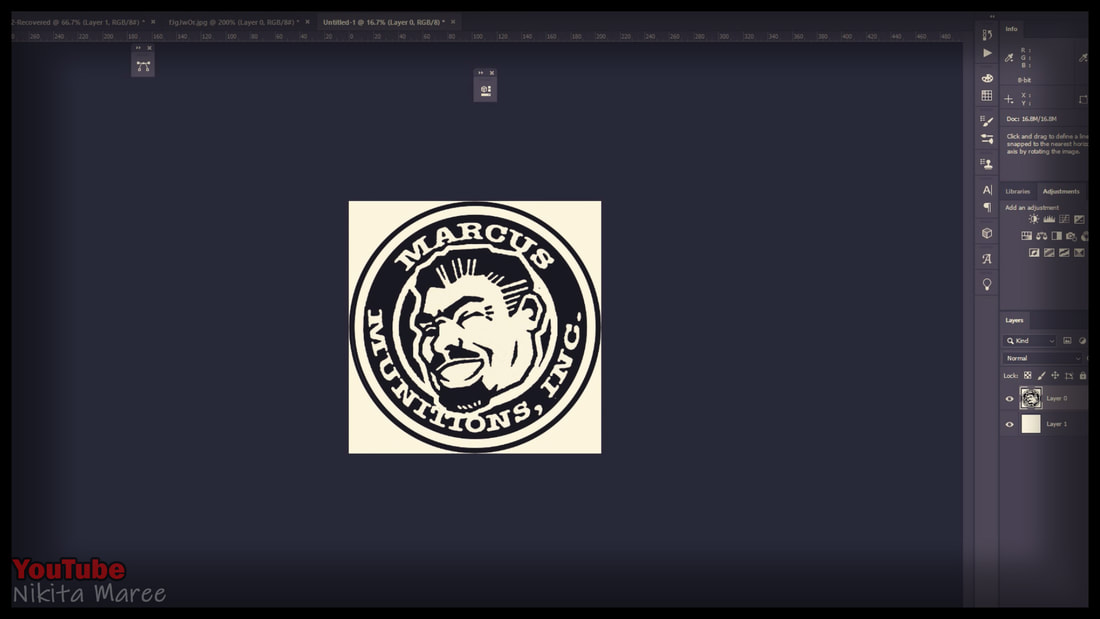
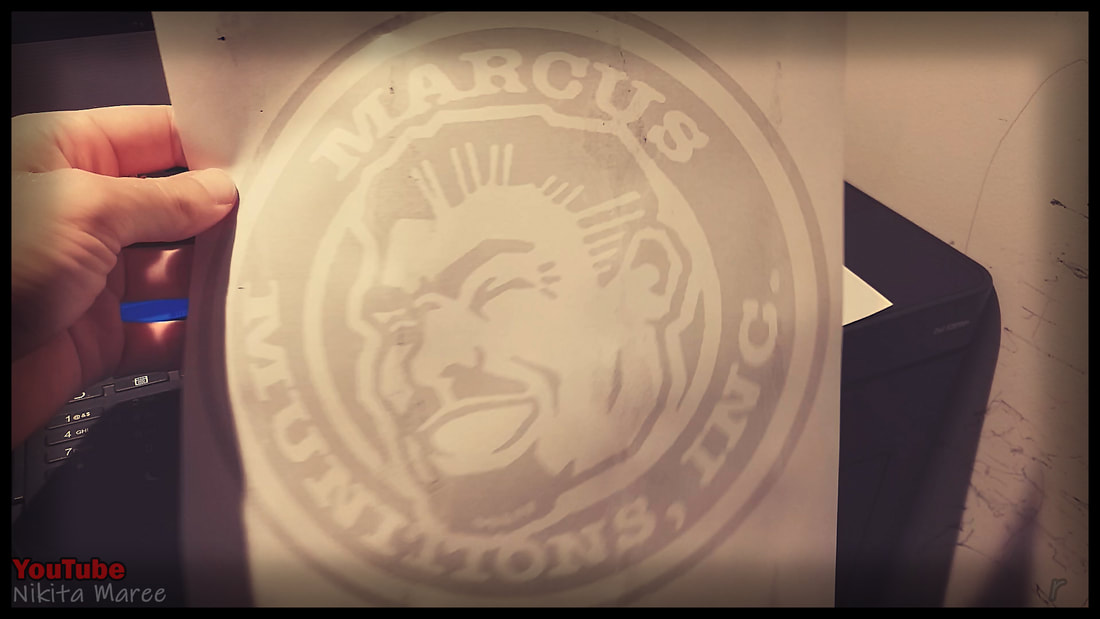
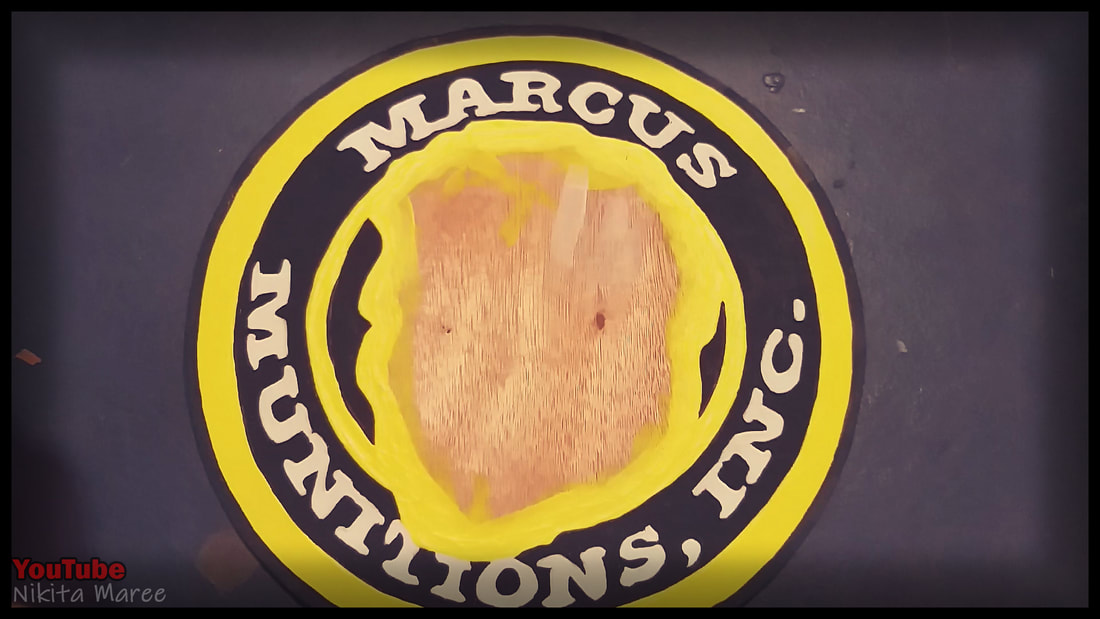
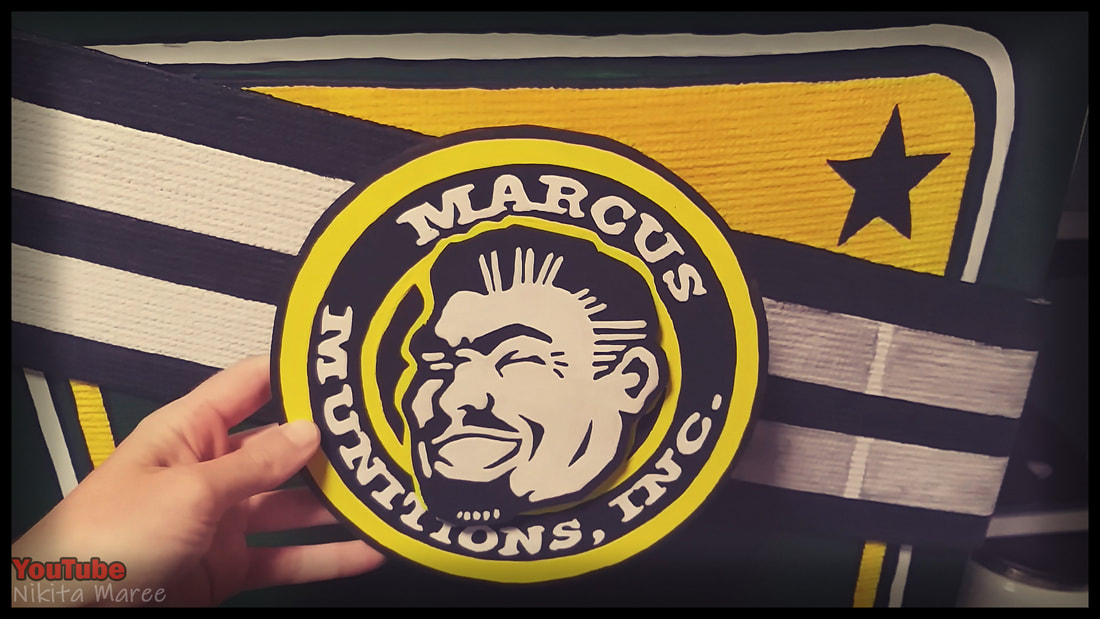
Starting with the 'Marcus Munitions' logo.
Image 1 - I decided on a size that would suit my fridge best.
Image 2 - I turned the logo to black and white.
Image 3 - I then lowered the opacity of the image to save on printer ink.
Image 1 - I decided on a size that would suit my fridge best.
Image 2 - I turned the logo to black and white.
Image 3 - I then lowered the opacity of the image to save on printer ink.
|
|
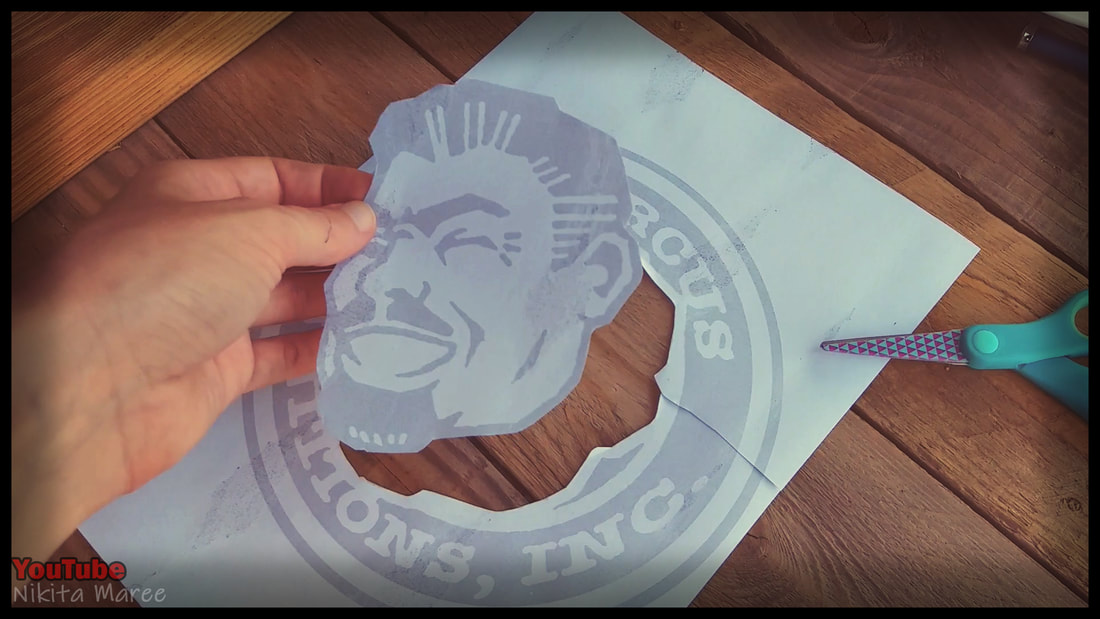
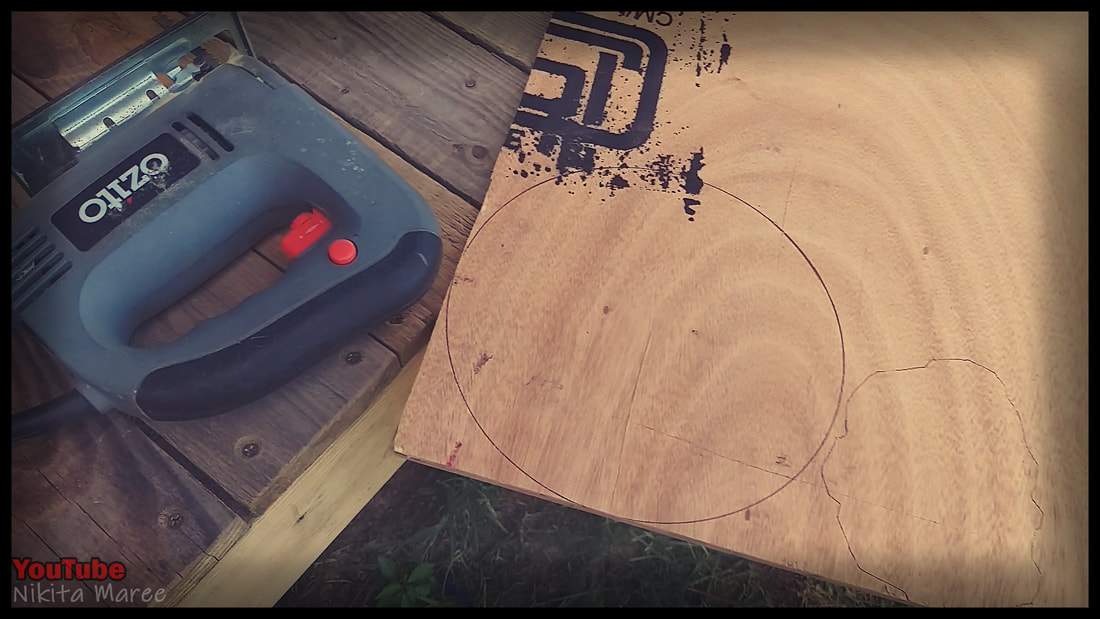
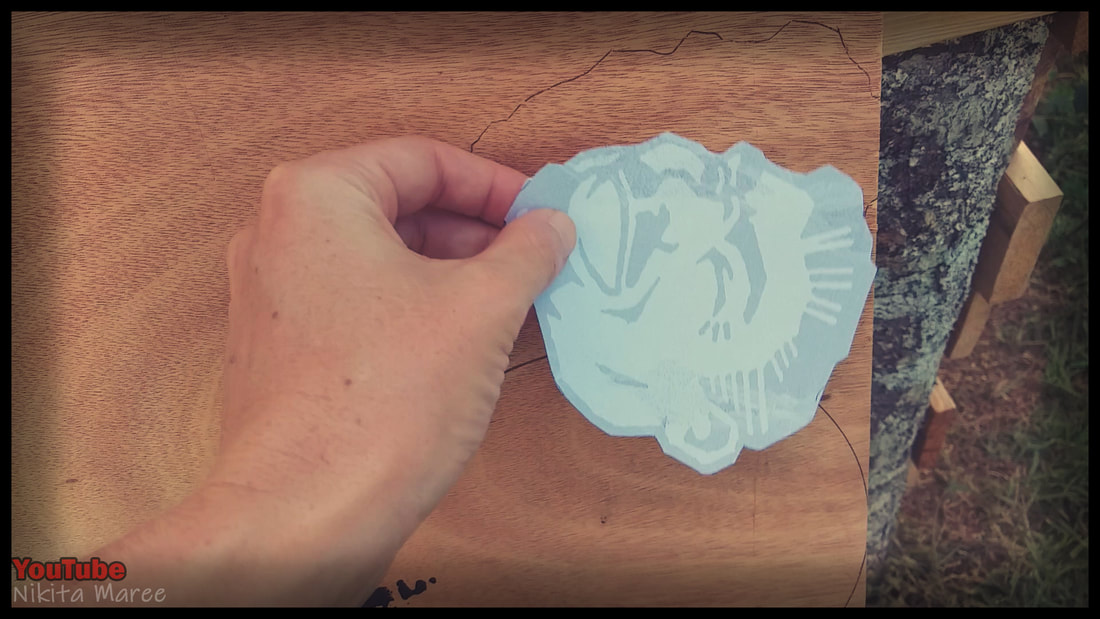
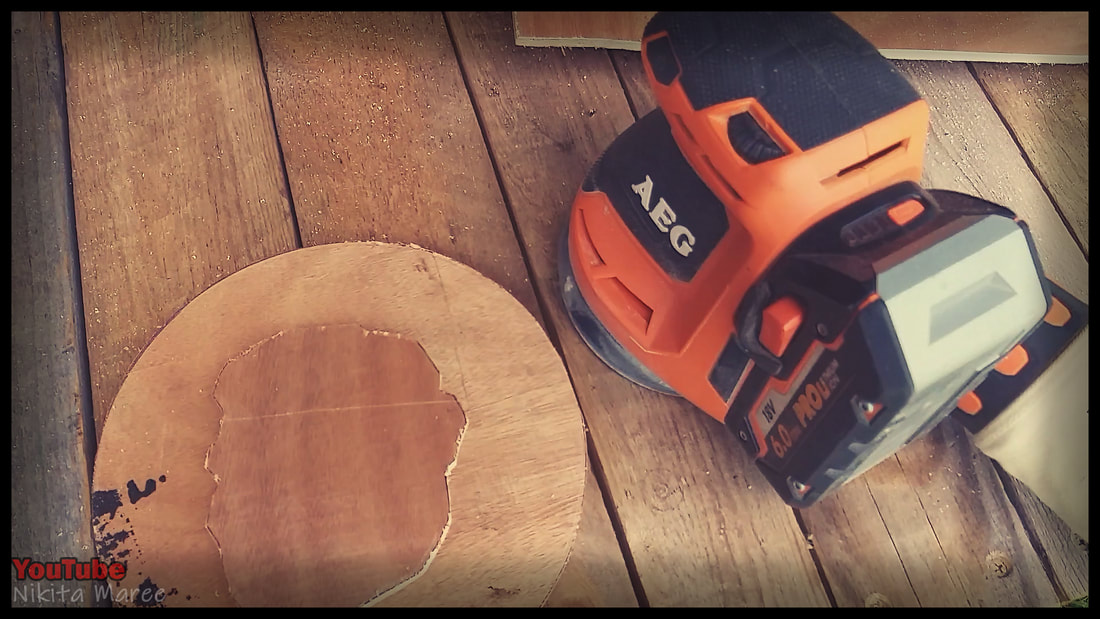
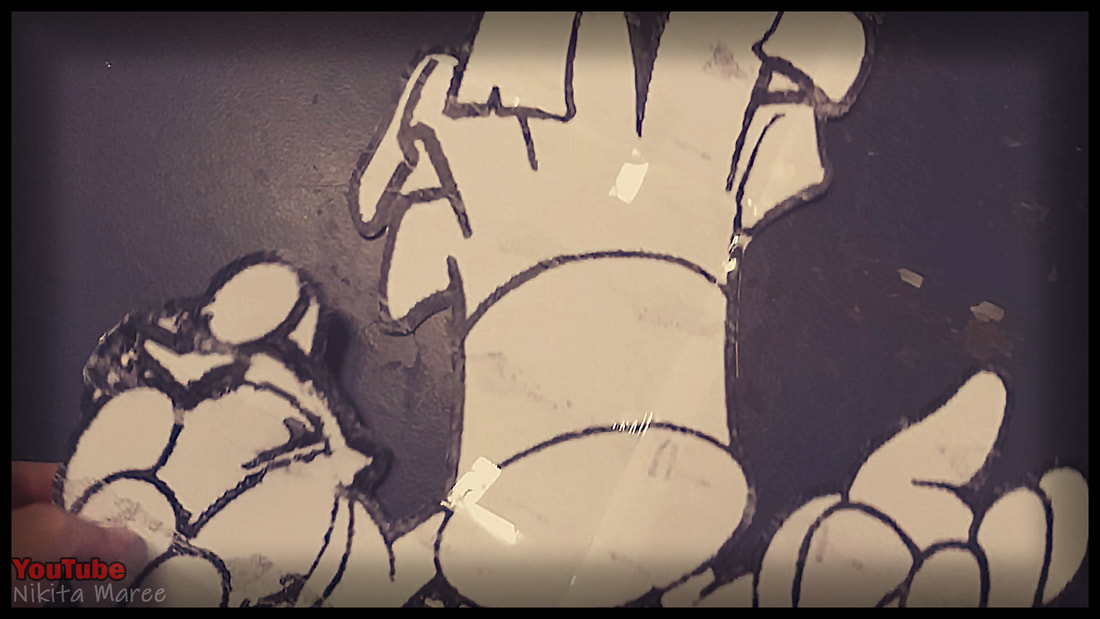
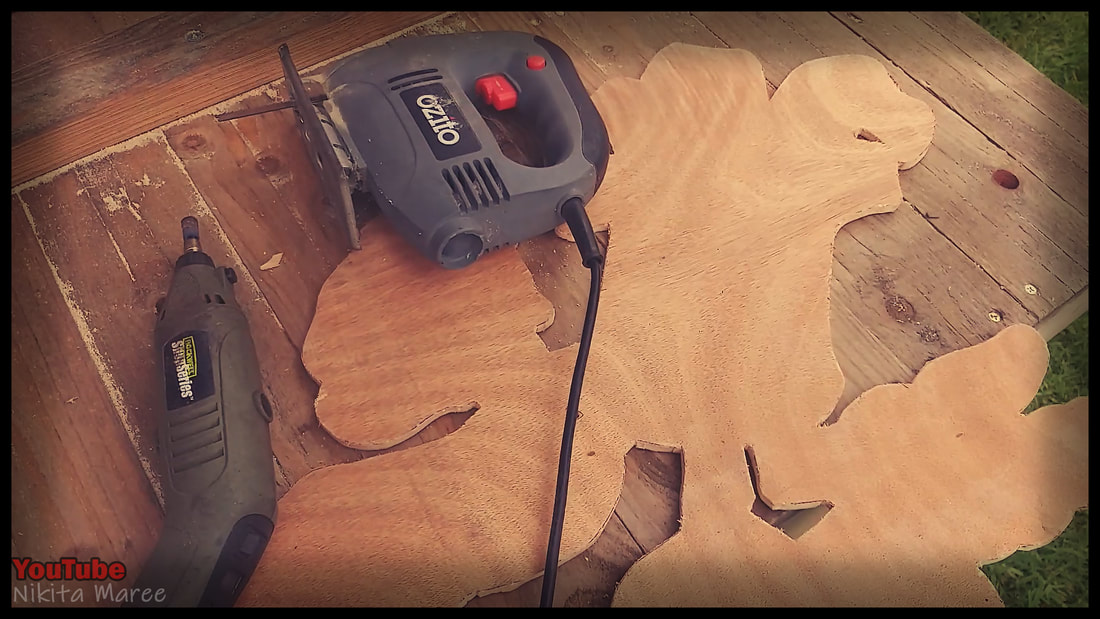
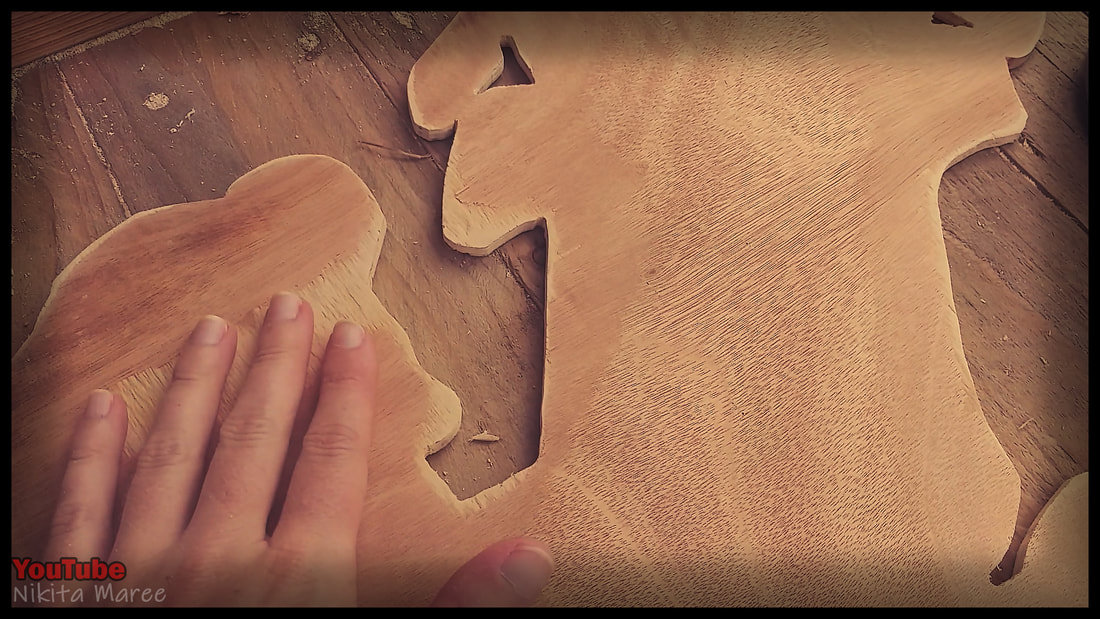
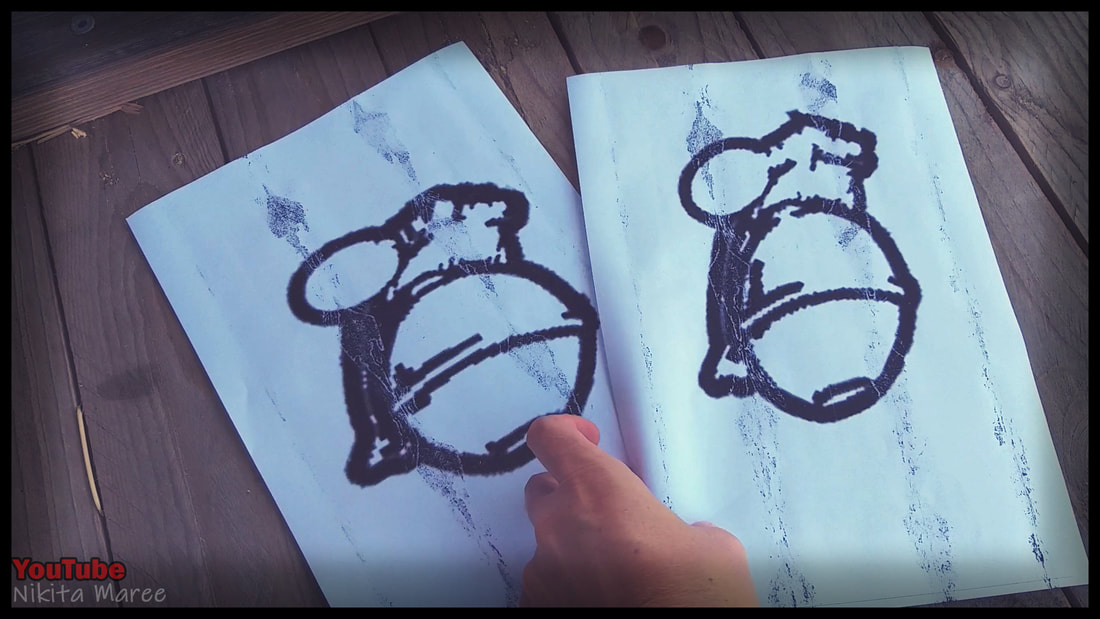
Image 1 - Cut out the paper head and circle.
Image 2 - trace around both Marcus's head and the circle onto some plywood.
Image 3 - This plywood is of poor quality but it was free, so I made work.
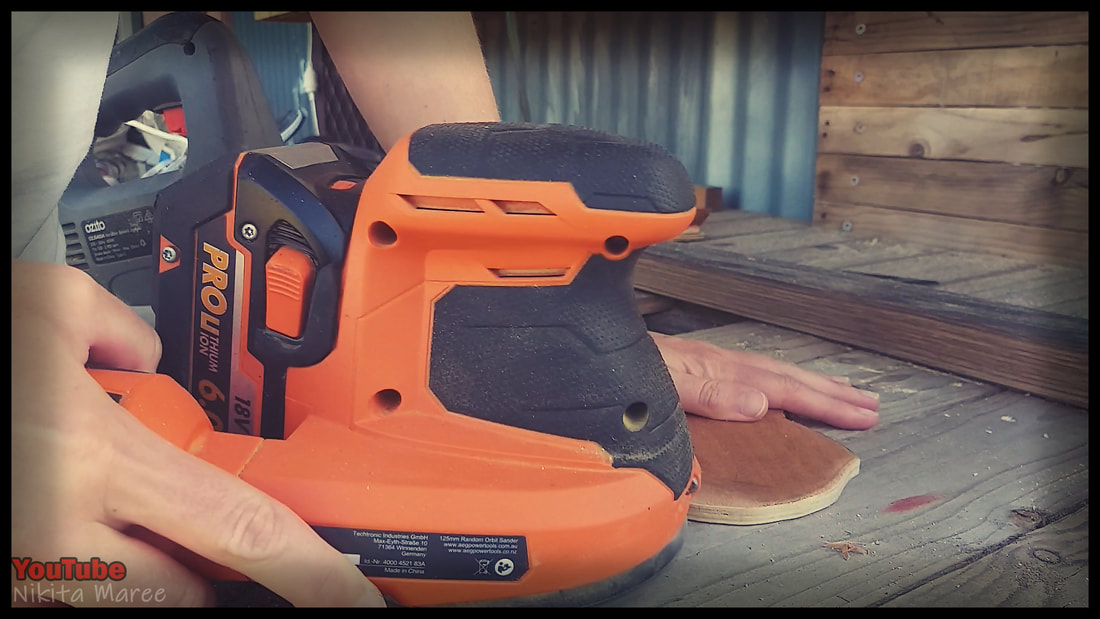
Image 4 - Gave both pieces a bit of a sand.
Image 2 - trace around both Marcus's head and the circle onto some plywood.
Image 3 - This plywood is of poor quality but it was free, so I made work.
Image 4 - Gave both pieces a bit of a sand.
|
|
|
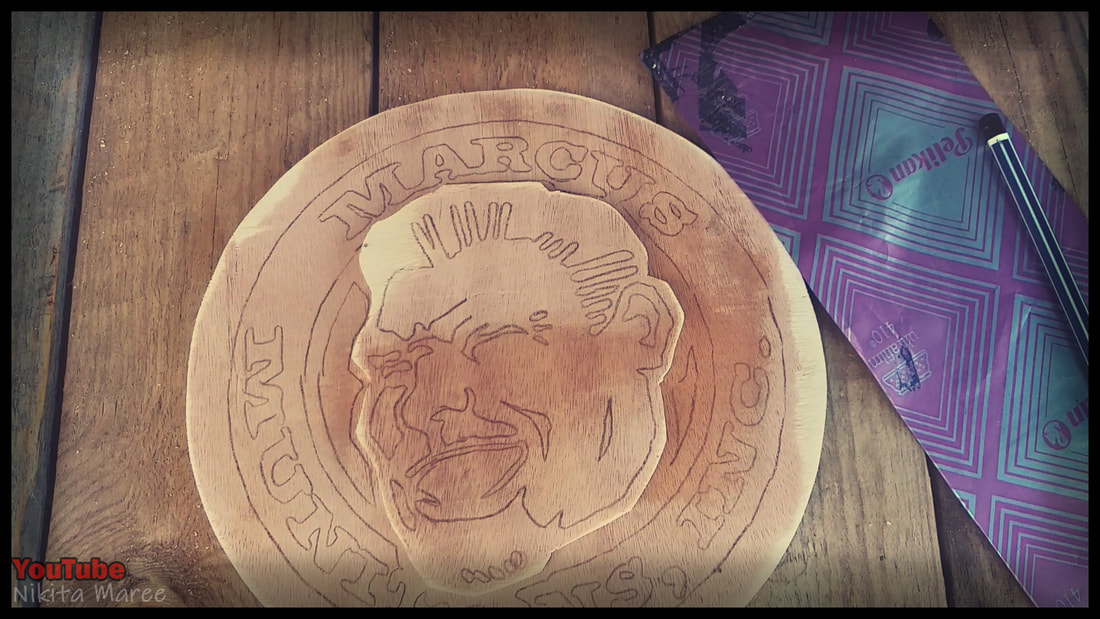
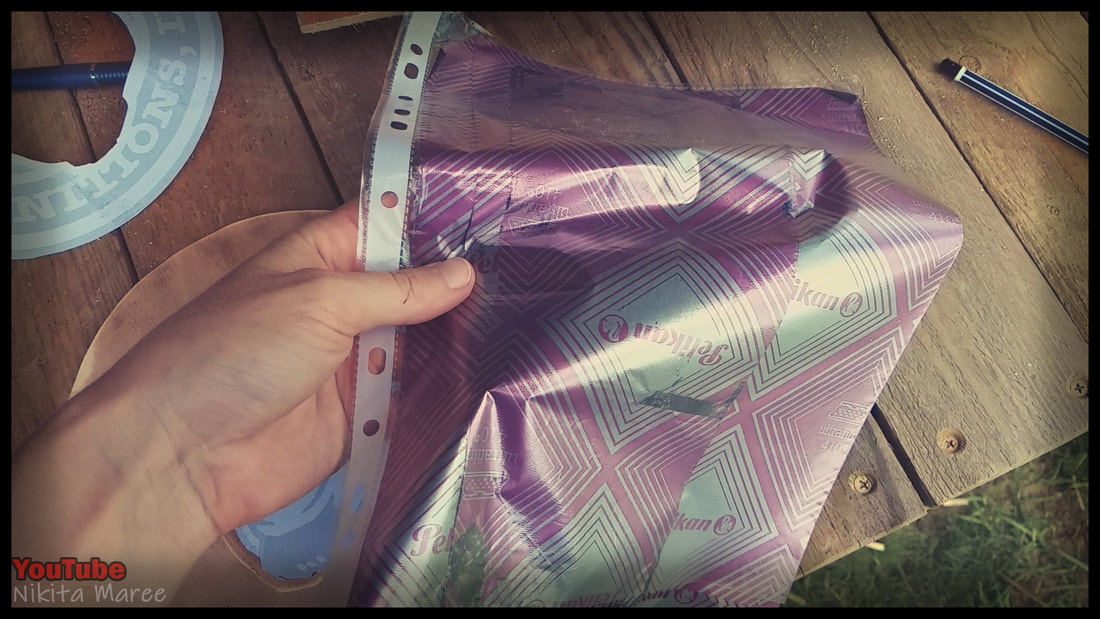
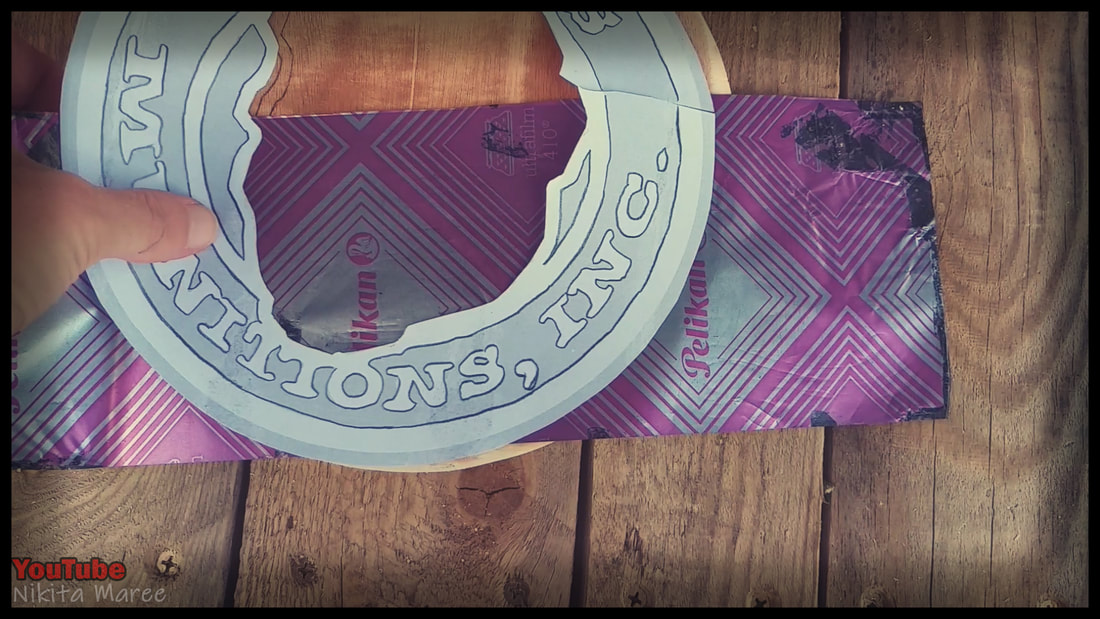
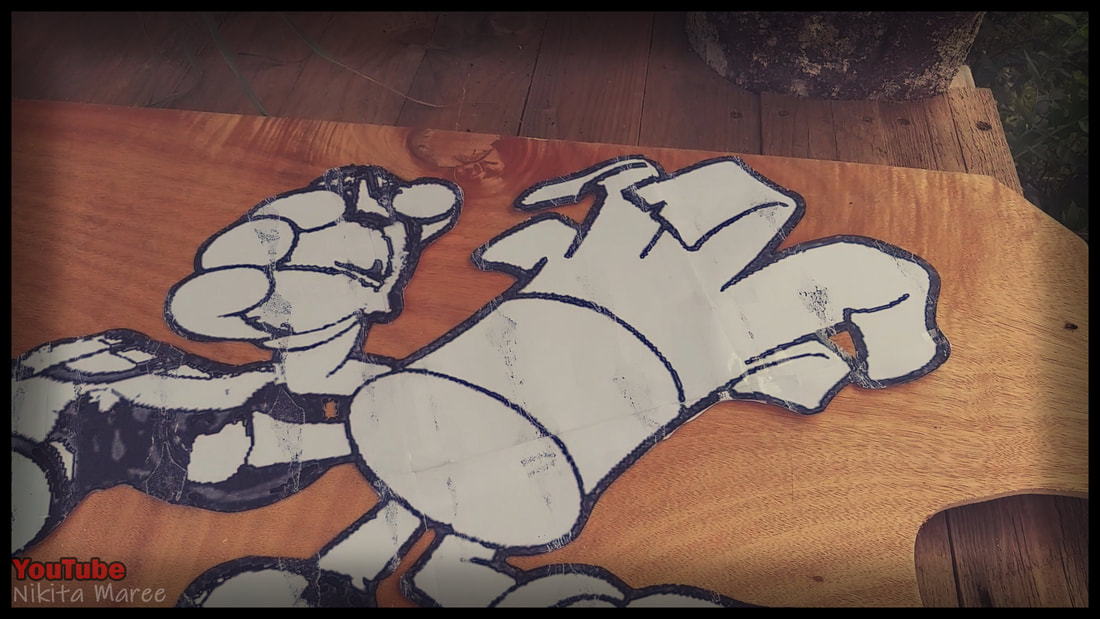
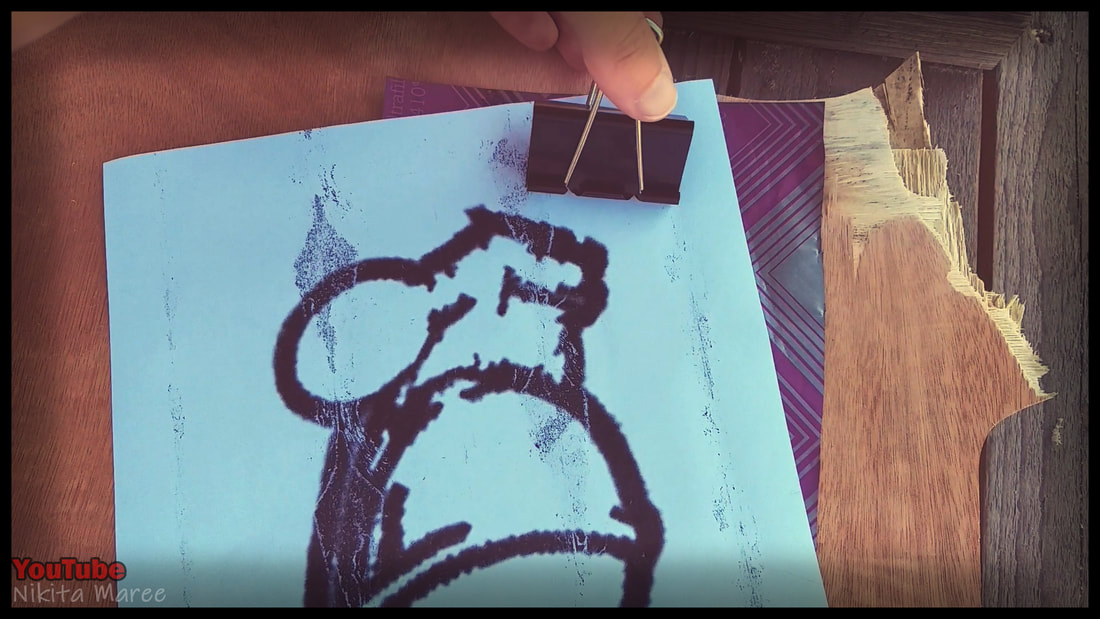
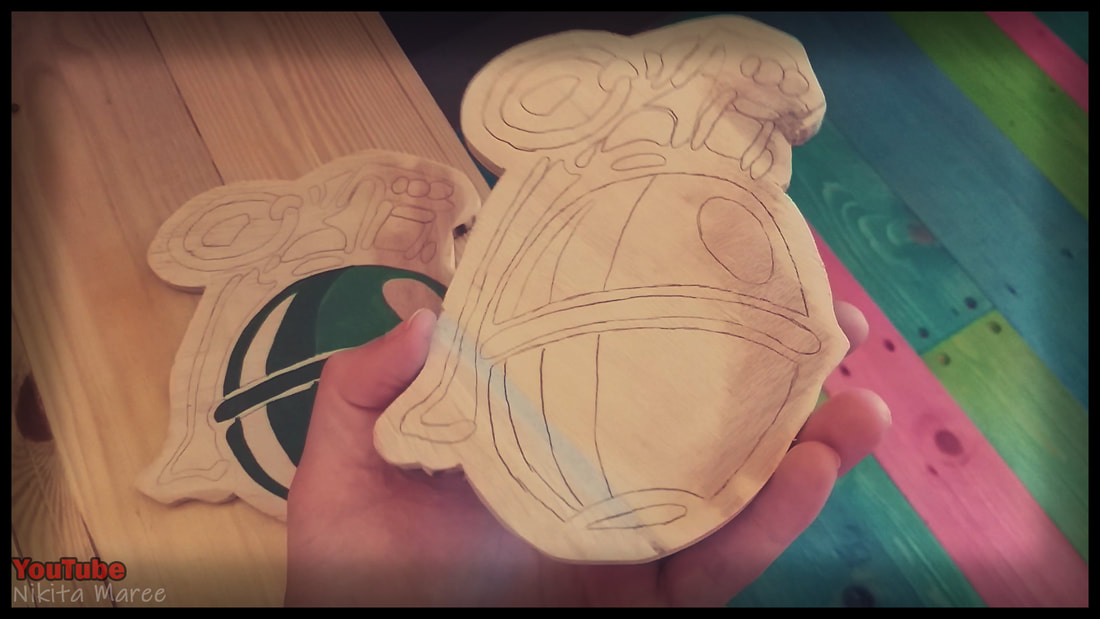
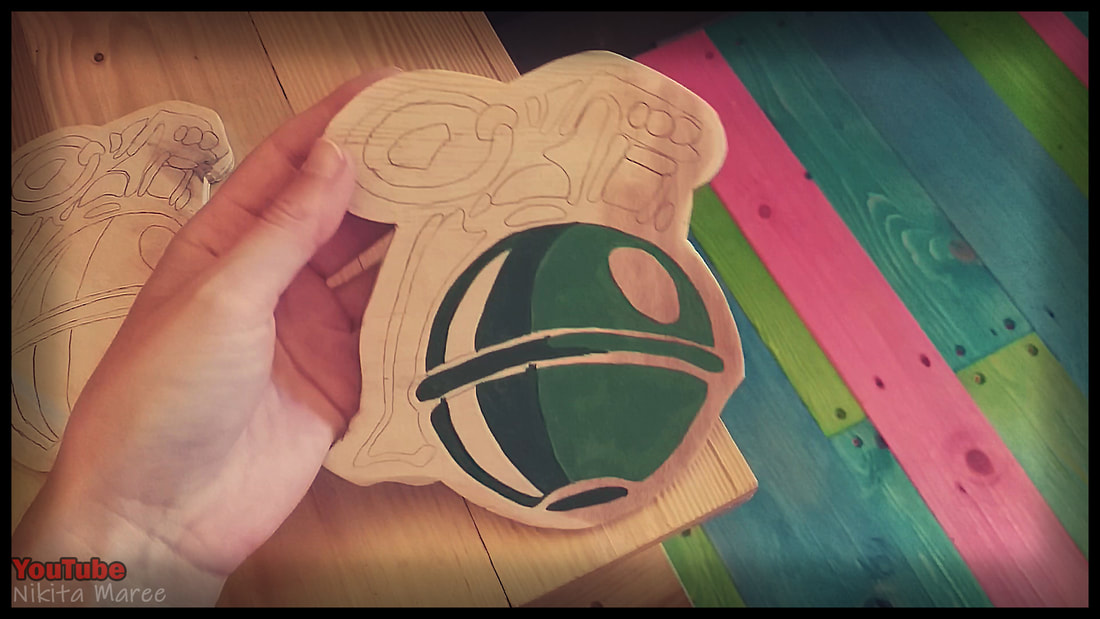
We can then transfer the details onto the plywood.
I used carbon paper under the printed stencil
and traced over all the lines.
I used carbon paper under the printed stencil
and traced over all the lines.
|
|
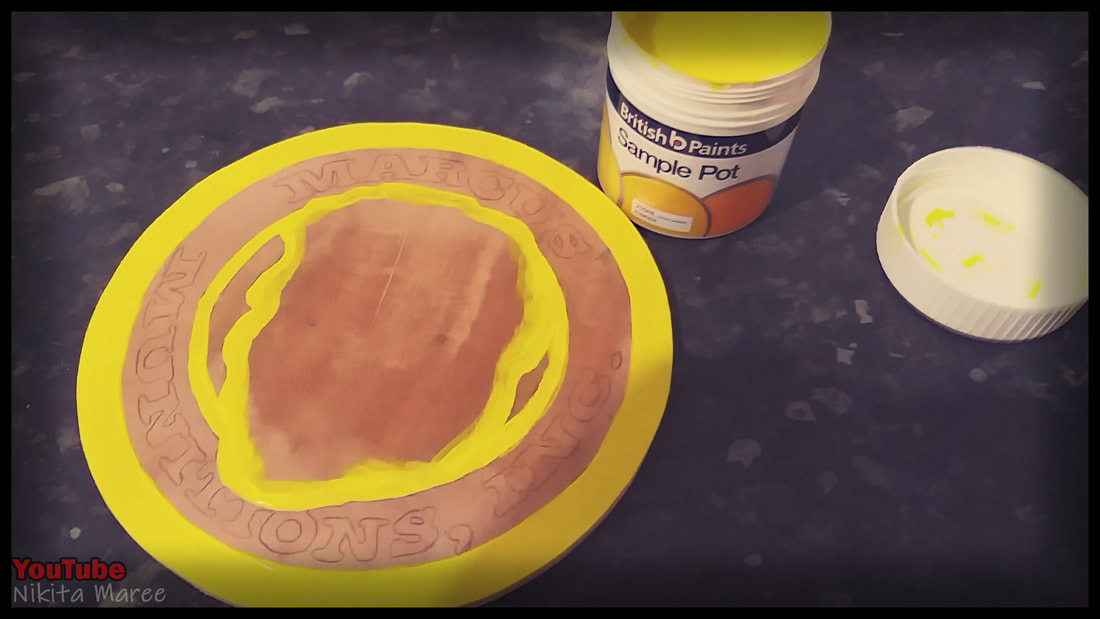
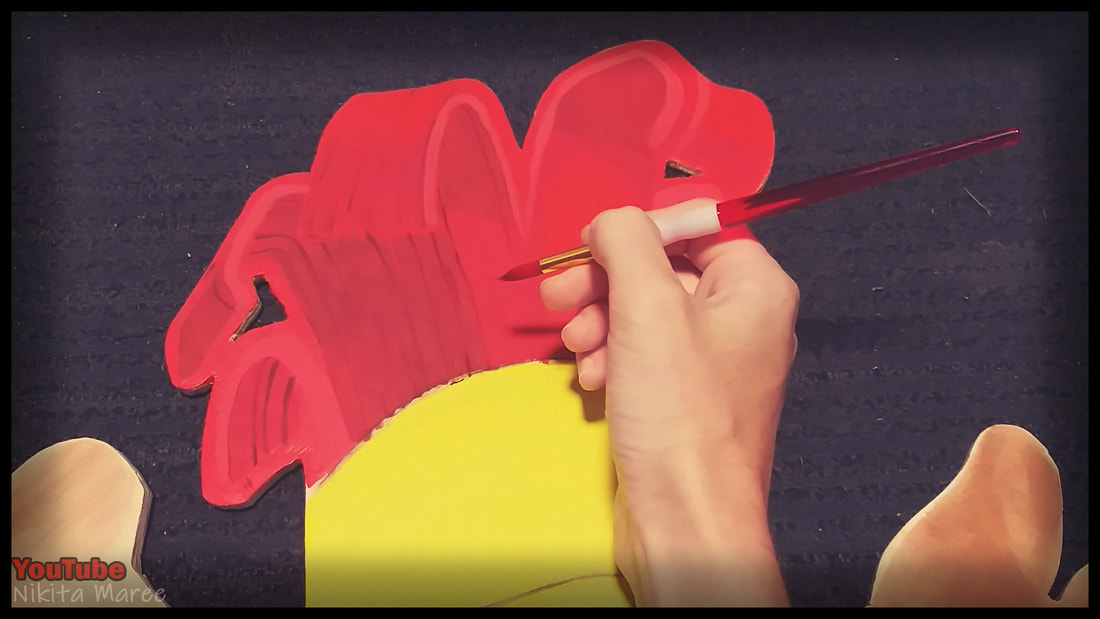
To paint the logo I used a combination of
acrylic paint and sample pots of house paint.
acrylic paint and sample pots of house paint.
|
|
|
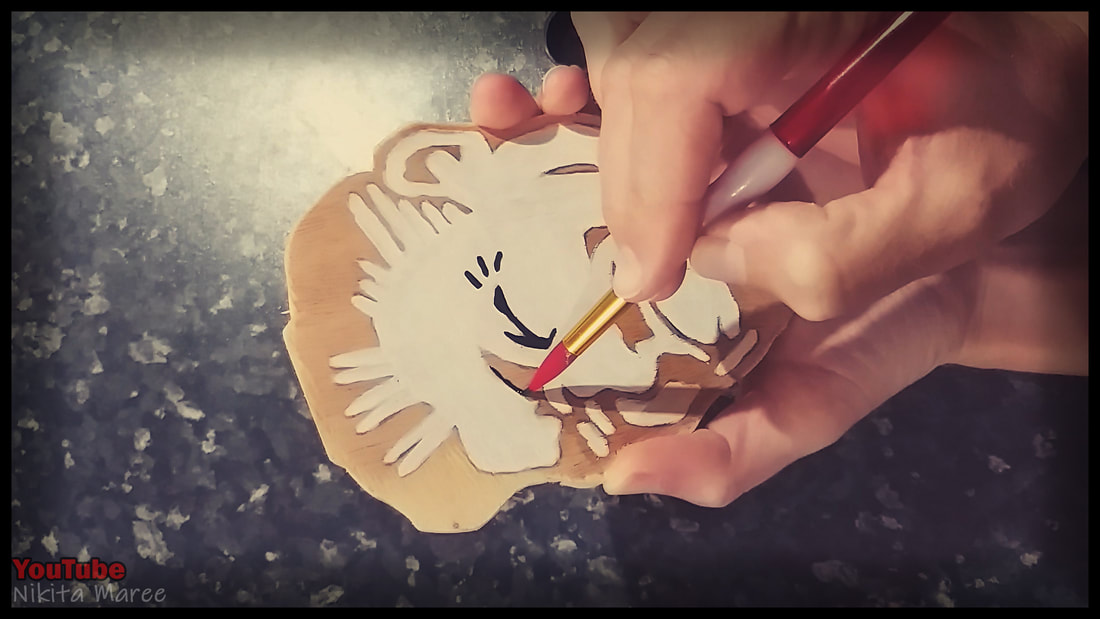
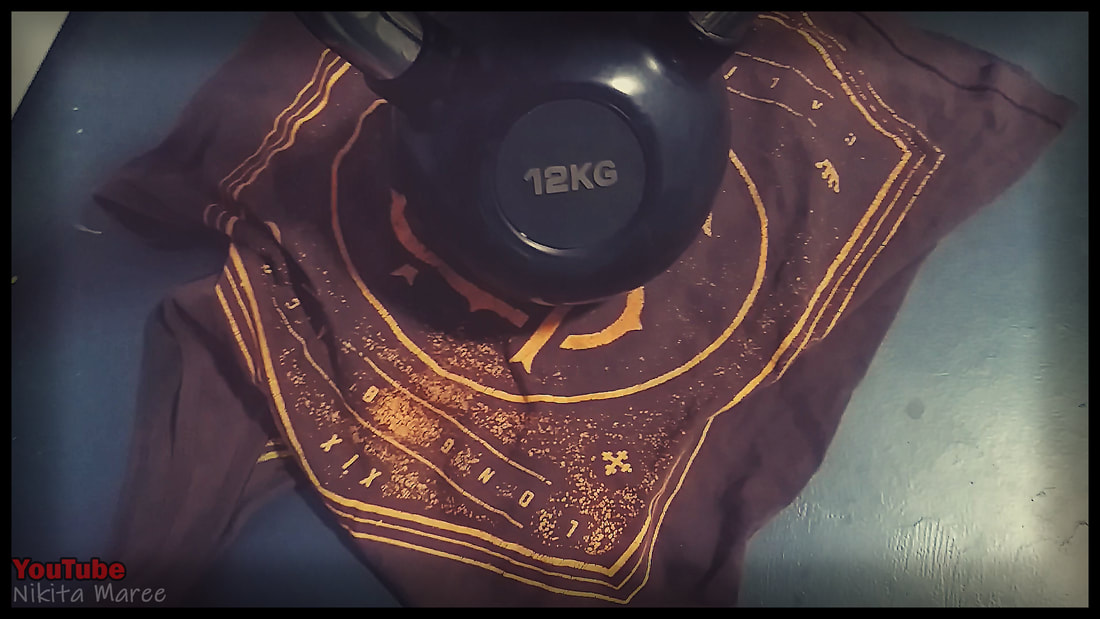
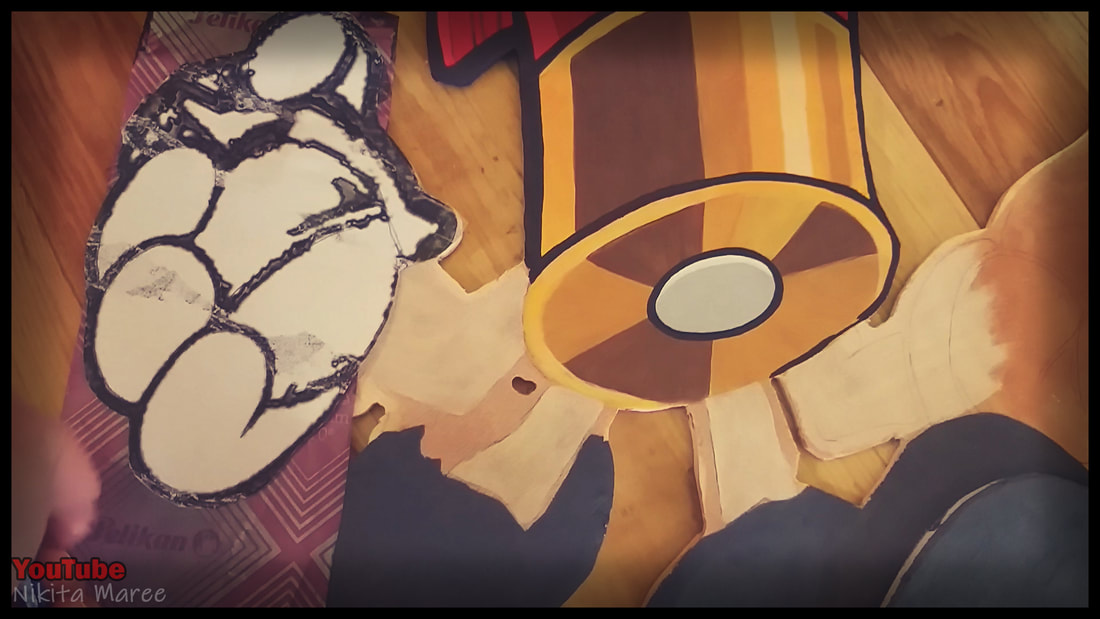
Image 1 - I save the black details for last, because they need to be as neat as possible.
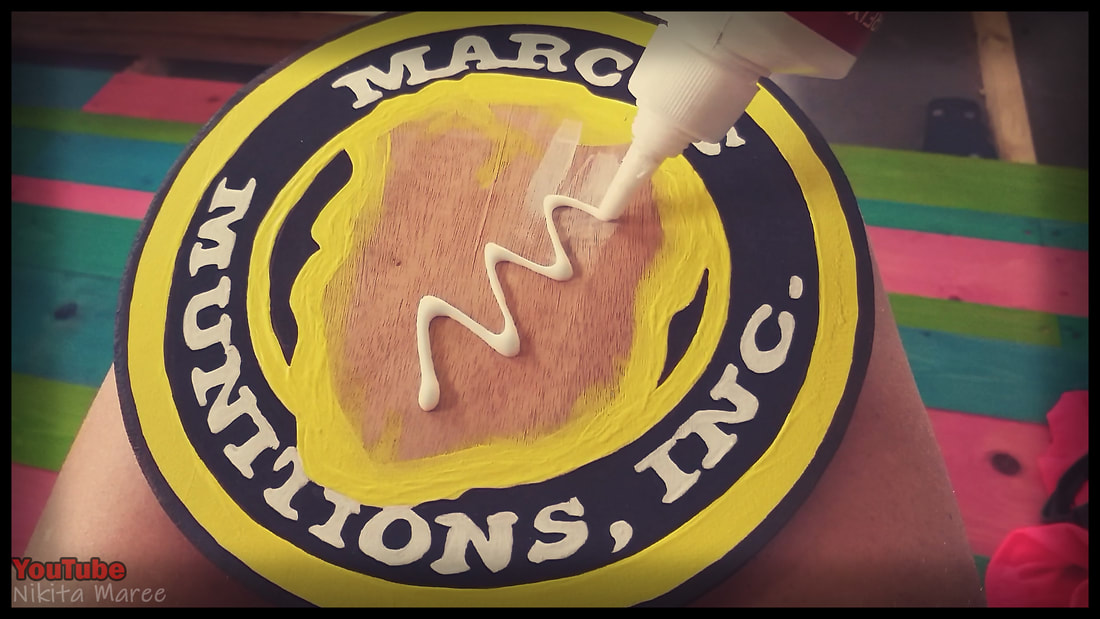
Image 2 - Wood glue to attach both of the pieces together.
Image 3 - I laid a shirt and a weight on top of the logo until the PVA glue had dried.
Image 2 - Wood glue to attach both of the pieces together.
Image 3 - I laid a shirt and a weight on top of the logo until the PVA glue had dried.
|
Now that the first element is complete,
we can move onto the next step. |
The Fridge
|
|
|
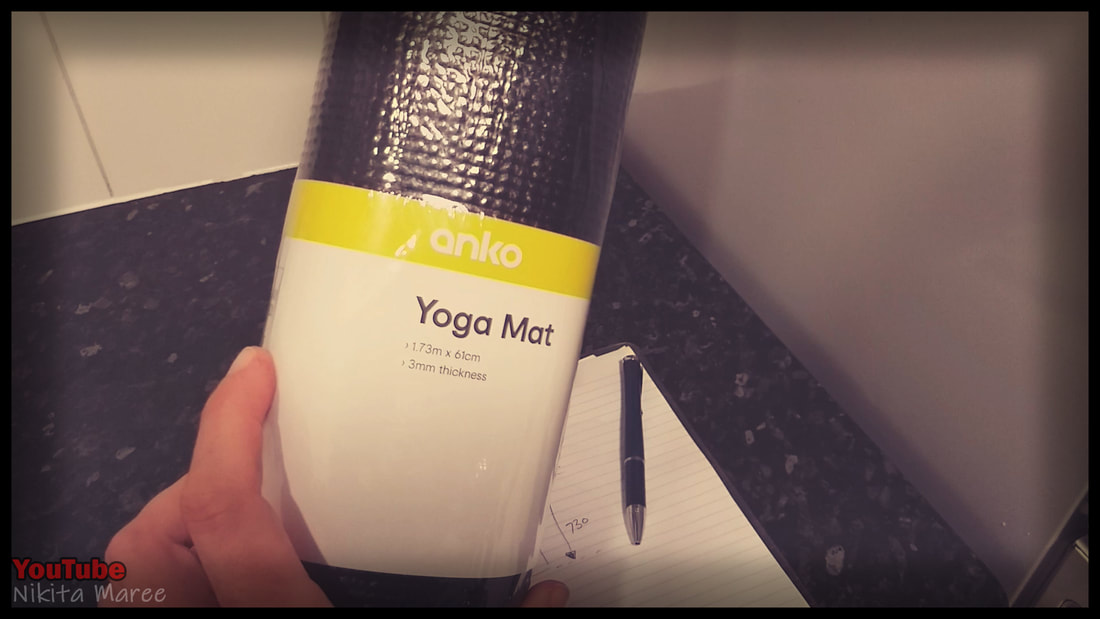
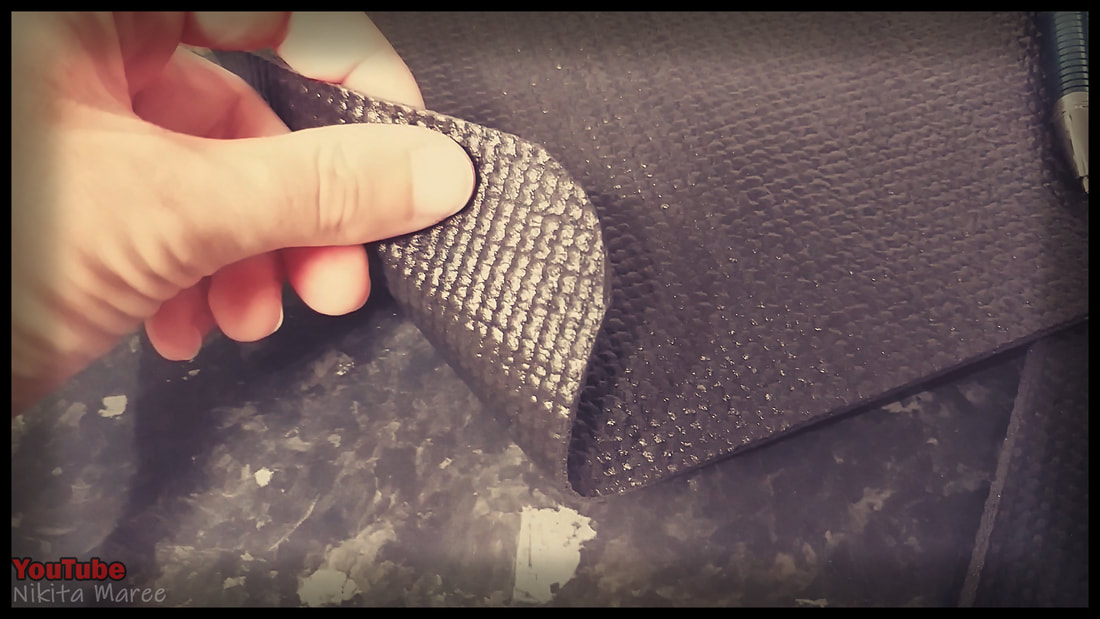
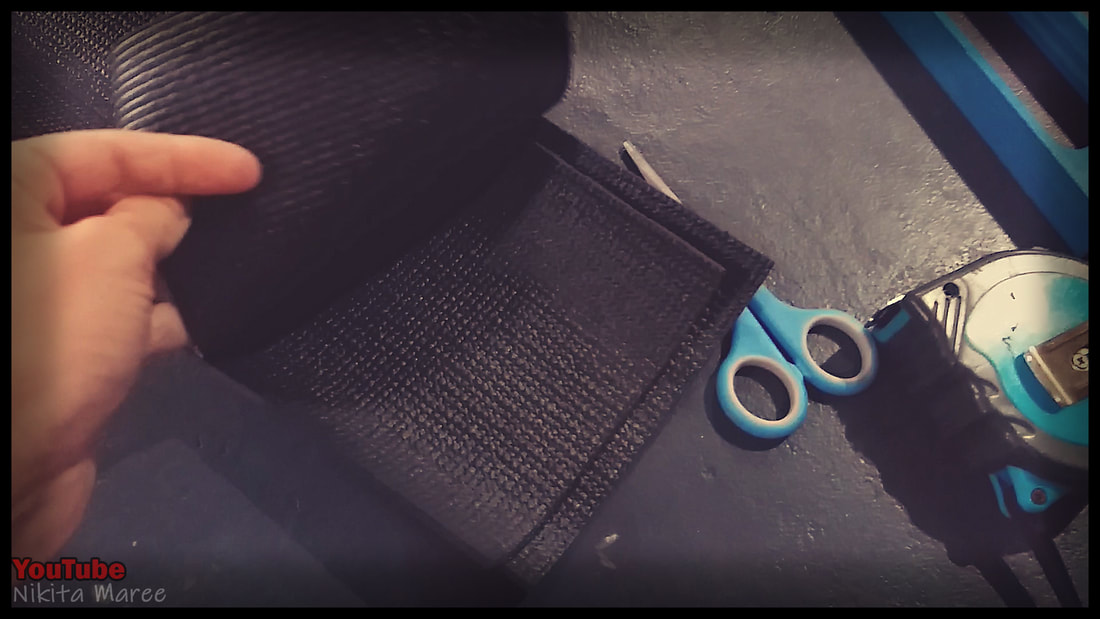
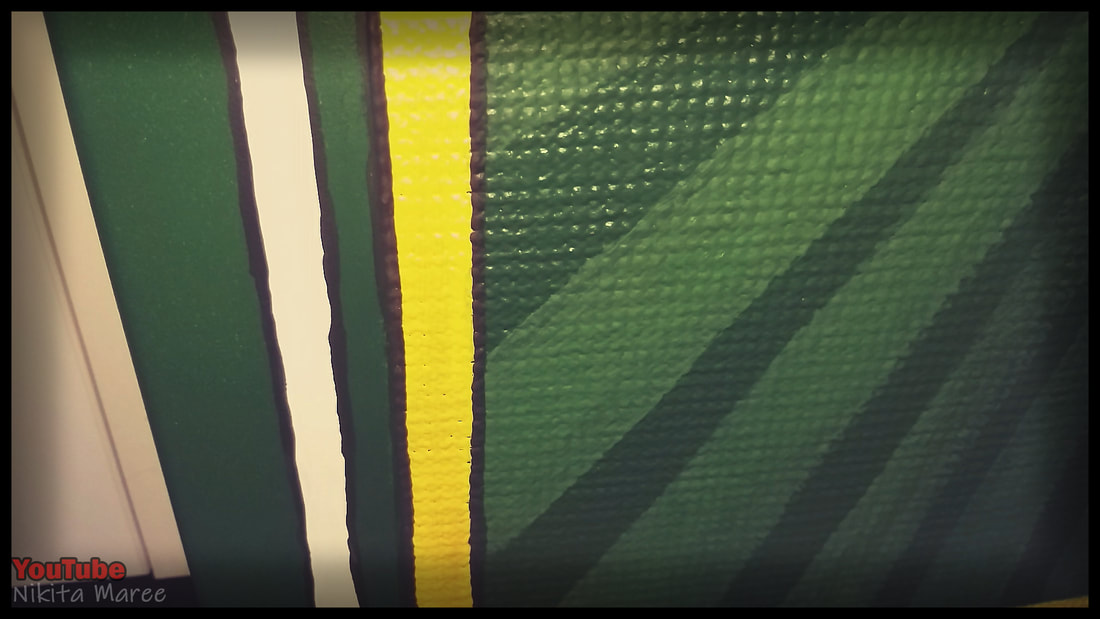
I wanted to add a bit of depth to the fridge so I used a cheap Yoga mat
for the large rectangle in the background.
Note: I should have spent a little more money and got a mat
that wasn't textured. But the overall goal for this project was 'Cheap'.
for the large rectangle in the background.
Note: I should have spent a little more money and got a mat
that wasn't textured. But the overall goal for this project was 'Cheap'.
|
|
|
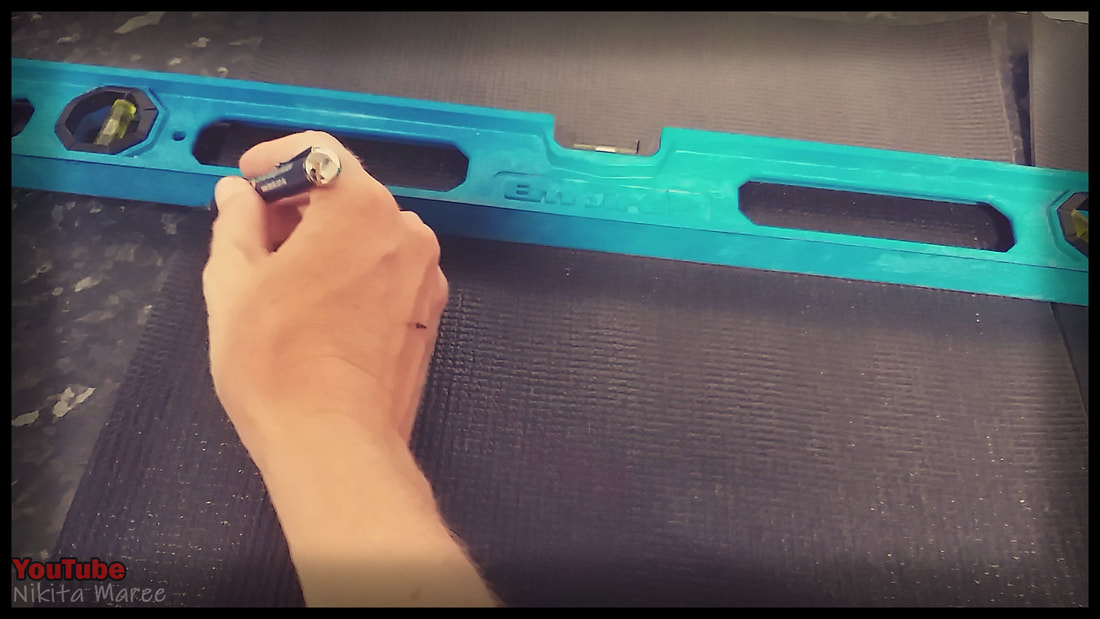
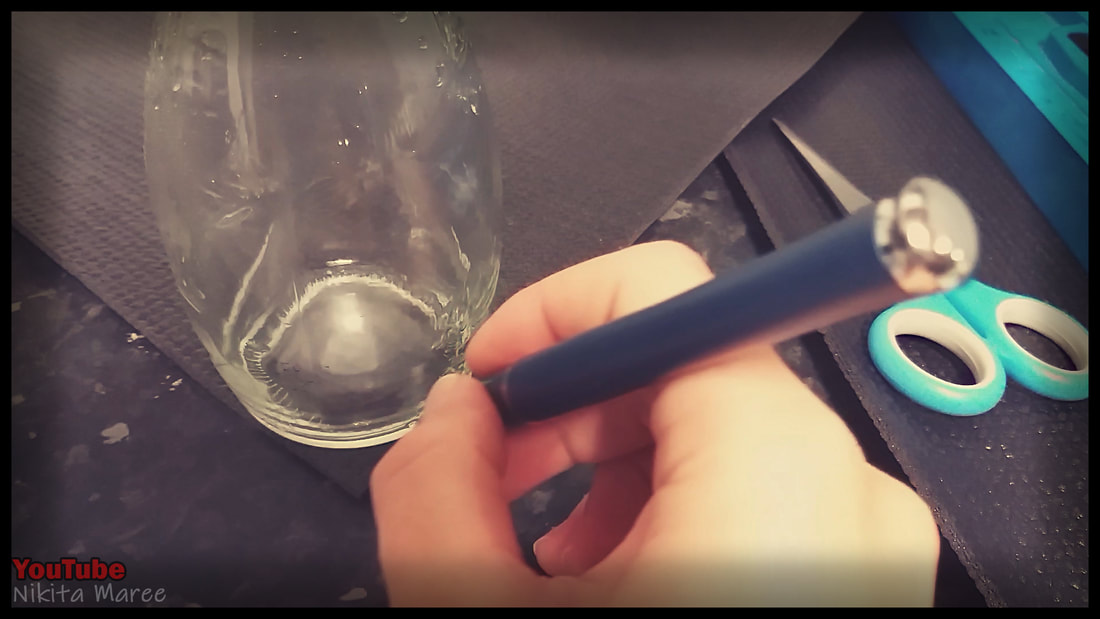
Image 1 - The large rectangle has curved corners.
Image 2 - I used a bottle to trace around.
Image 3 - Cut out all the corners.
Image 2 - I used a bottle to trace around.
Image 3 - Cut out all the corners.
|
|
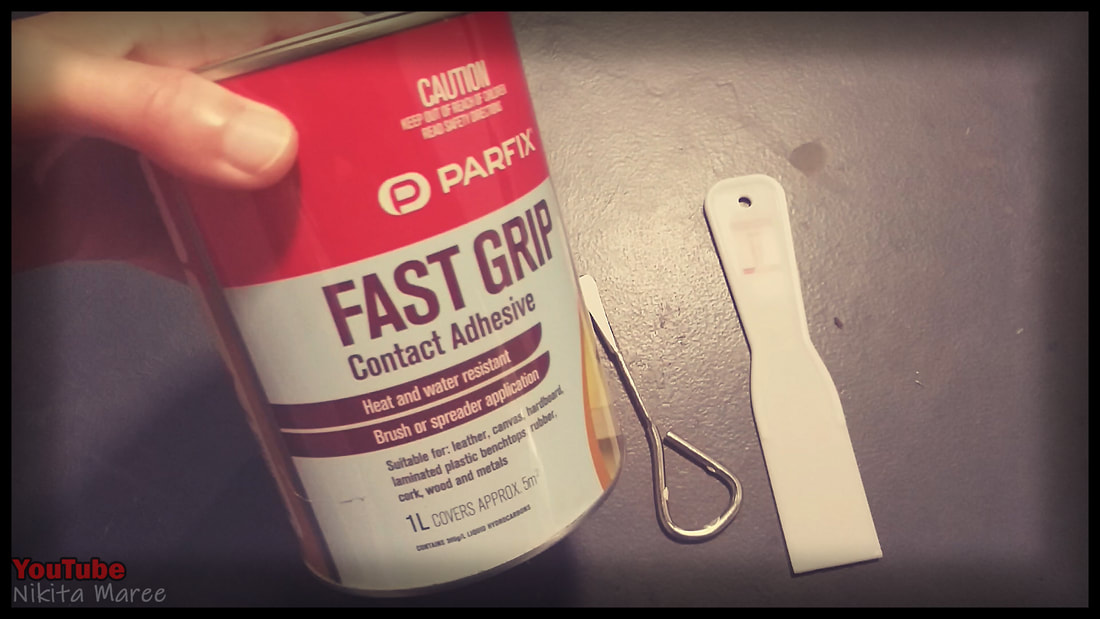
Image 1 - I attach almost everything in this project with Contact Adhesive.
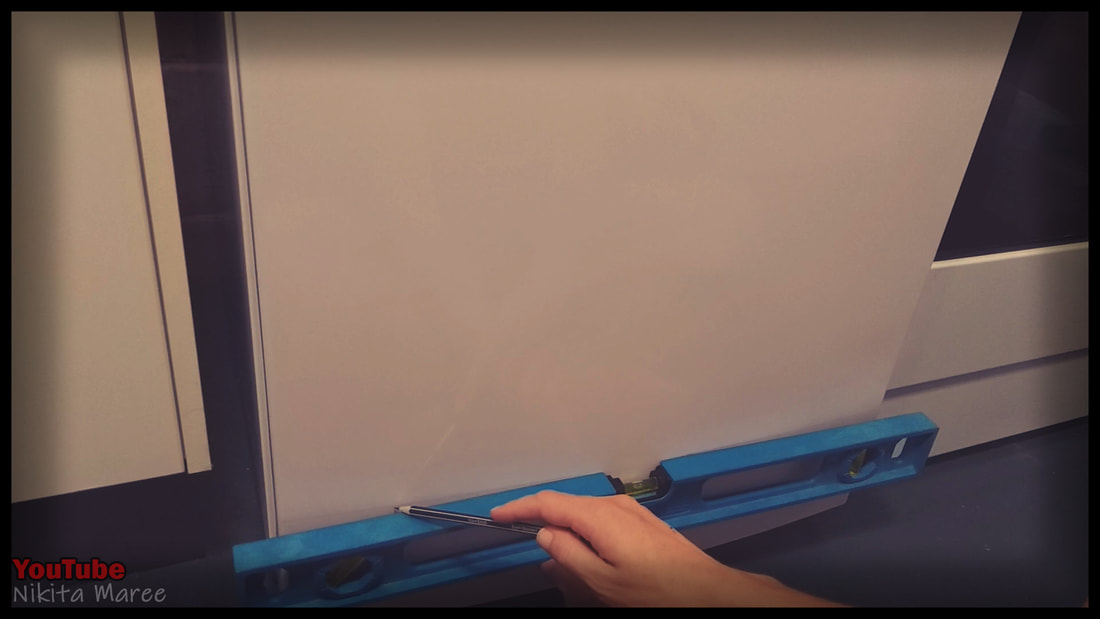
Image 2 - Lightly mark out some guide lines on the fridge.
Image 2 - Lightly mark out some guide lines on the fridge.
|
|

|
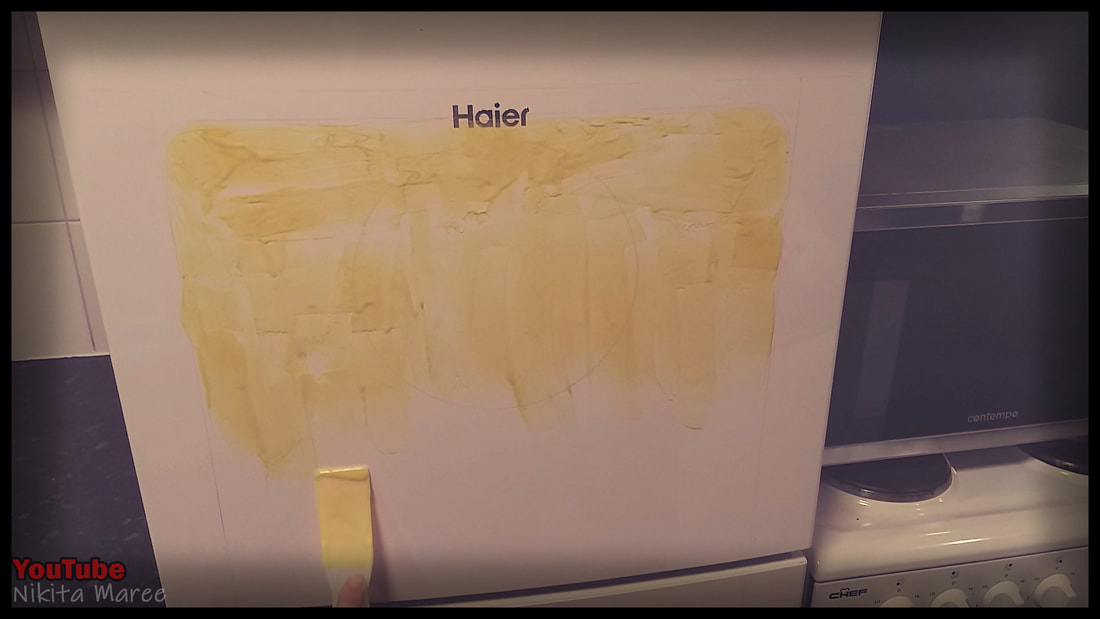
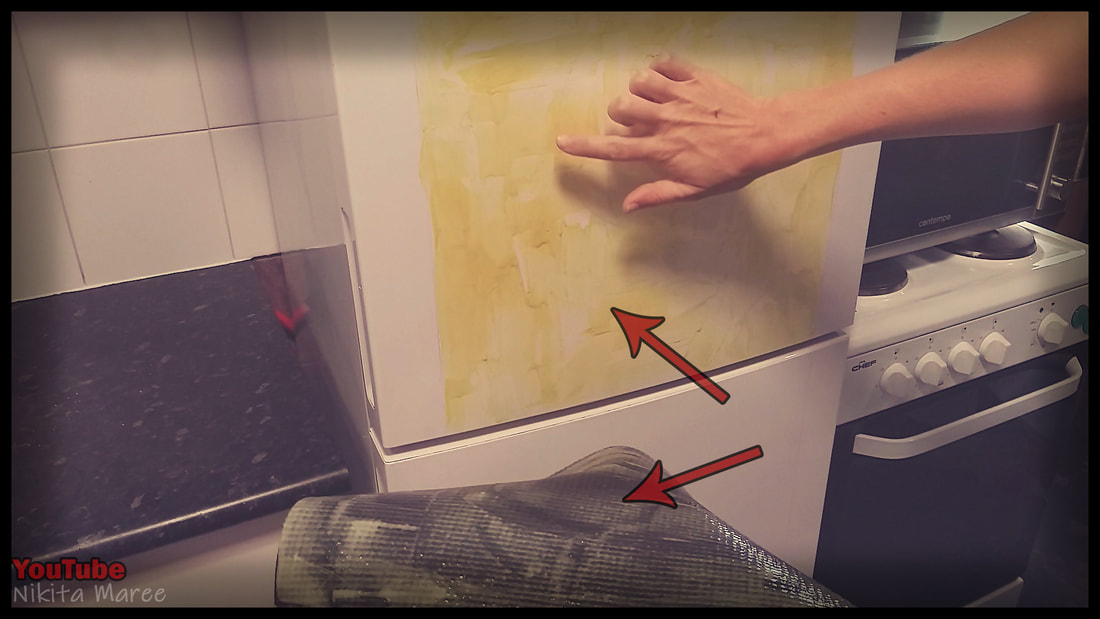
Image 1 - Apply contact adhesive on both the fridge and Yoga mat.
Image 2 - Let the adhesive sit for a bit and wait until it is no longer tacky to the touch.
Image 3 - Carefully press the mat onto the fridge.
Note: Remember that all artwork goes through an 'Ugly' stage.
I always remind myself this. It helps me to push through a project and NOT give up.
Image 2 - Let the adhesive sit for a bit and wait until it is no longer tacky to the touch.
Image 3 - Carefully press the mat onto the fridge.
Note: Remember that all artwork goes through an 'Ugly' stage.
I always remind myself this. It helps me to push through a project and NOT give up.
|
|
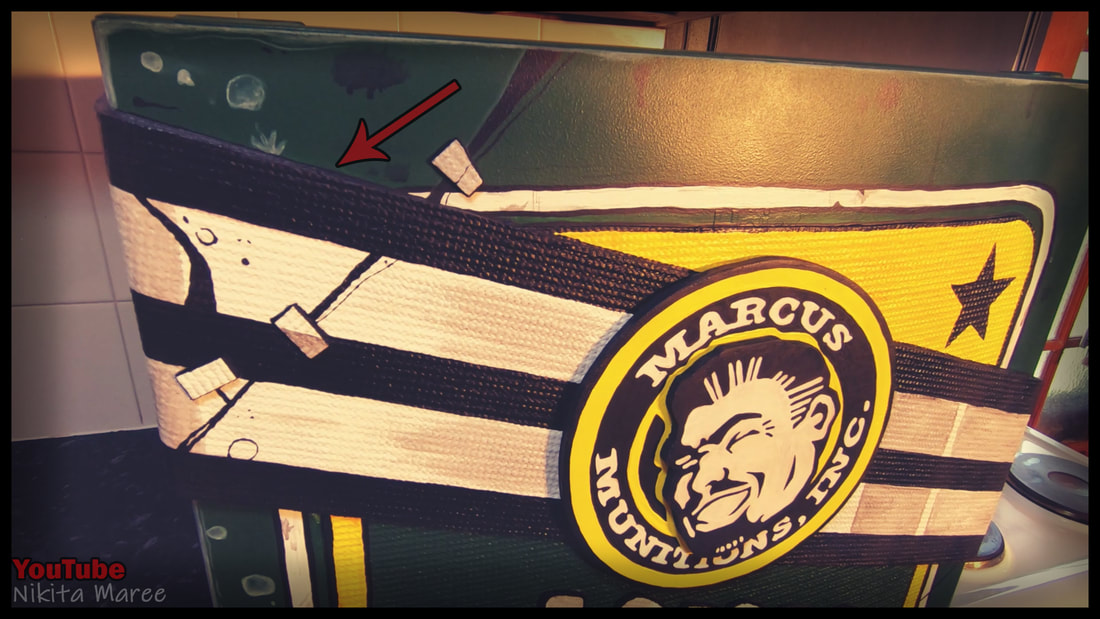
Image 1 - The black and white diagonal strip is applied in the
same manner as the large rectangle.
Image 2 - Simply cut some long rectangles and apply with adhesive at a diagonal.
same manner as the large rectangle.
Image 2 - Simply cut some long rectangles and apply with adhesive at a diagonal.
|
|
|
|
|
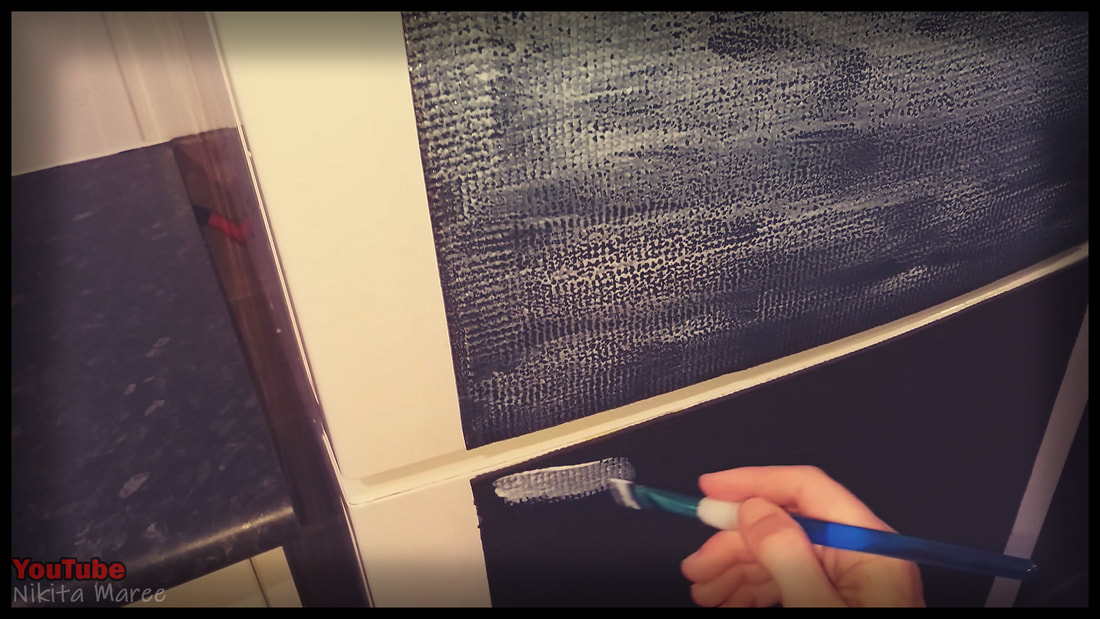
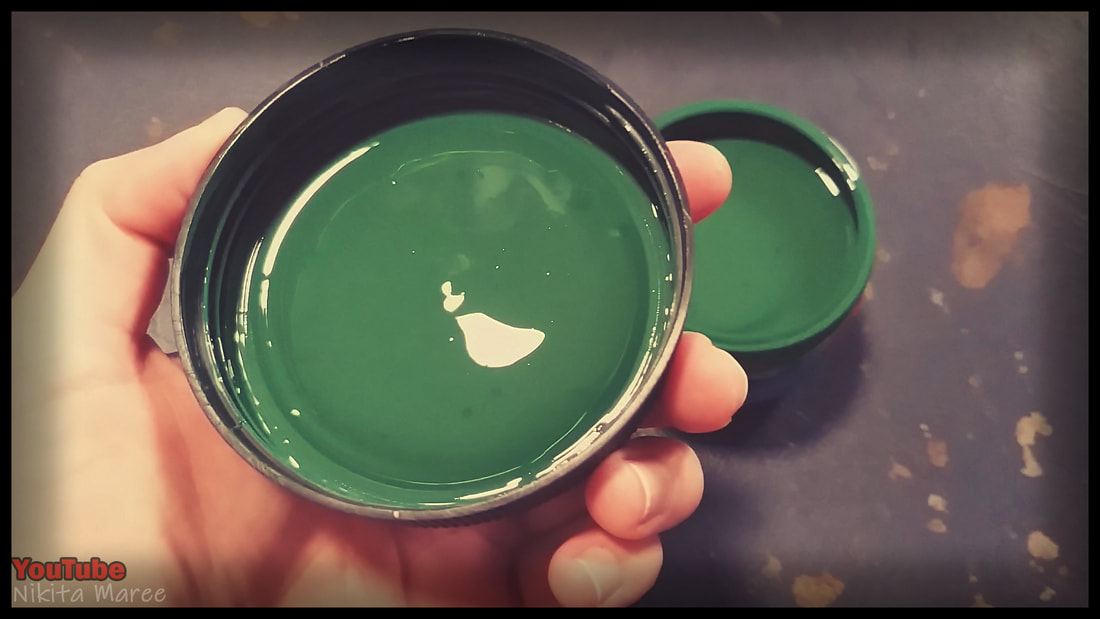
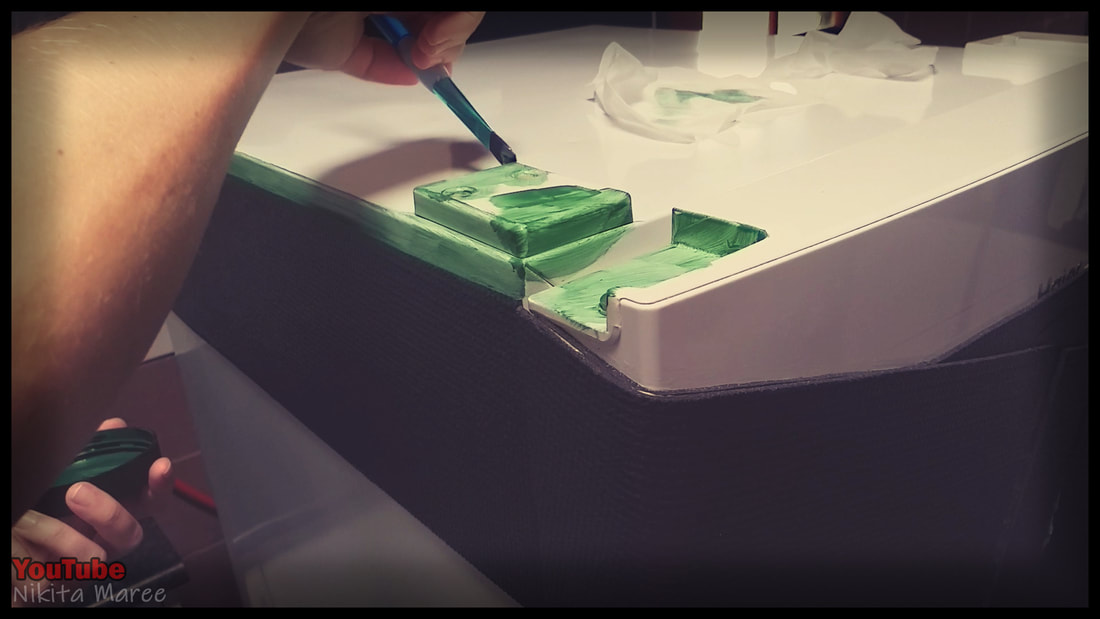
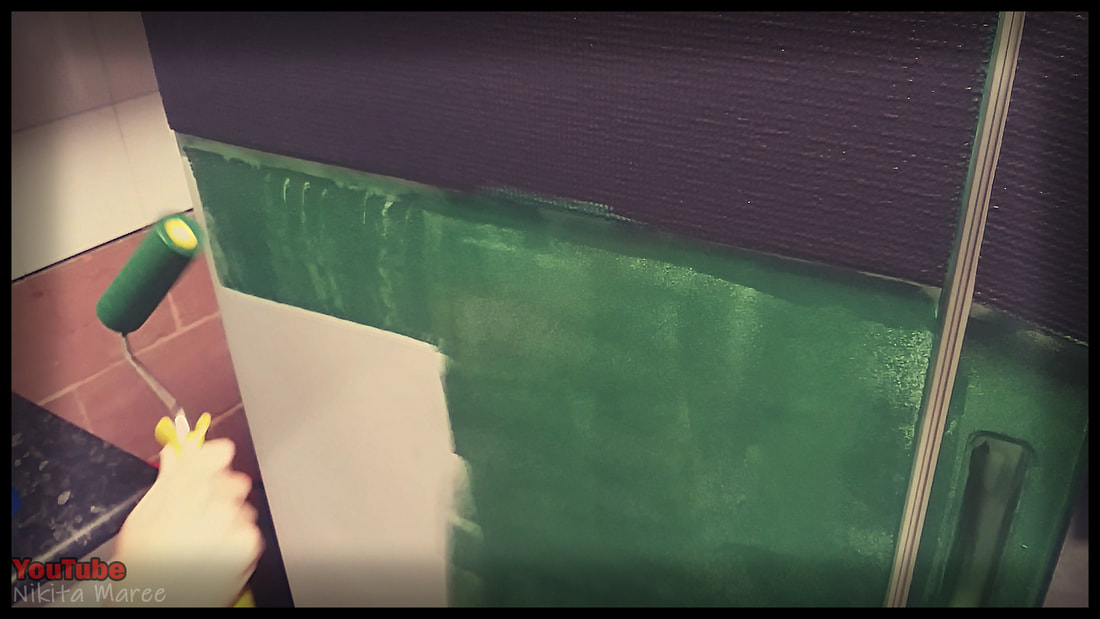
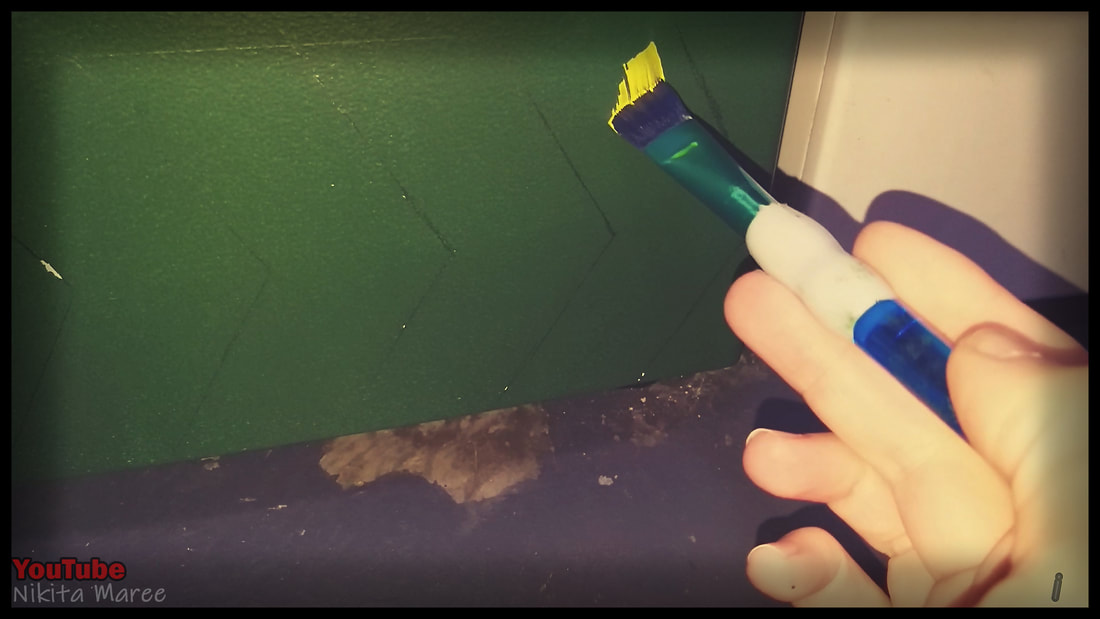
Image 1 - I gave the Yoga mat areas an undercoat of PVA glue, to help seal them.
Image 2 - I am using a sample pot of house paint in the color 'Brunswick Green'.
Image 3 - I first use a little brush to paint around all the small and hard to get to places.
Image 4 - Then use a roller to paint over the entire fridge.
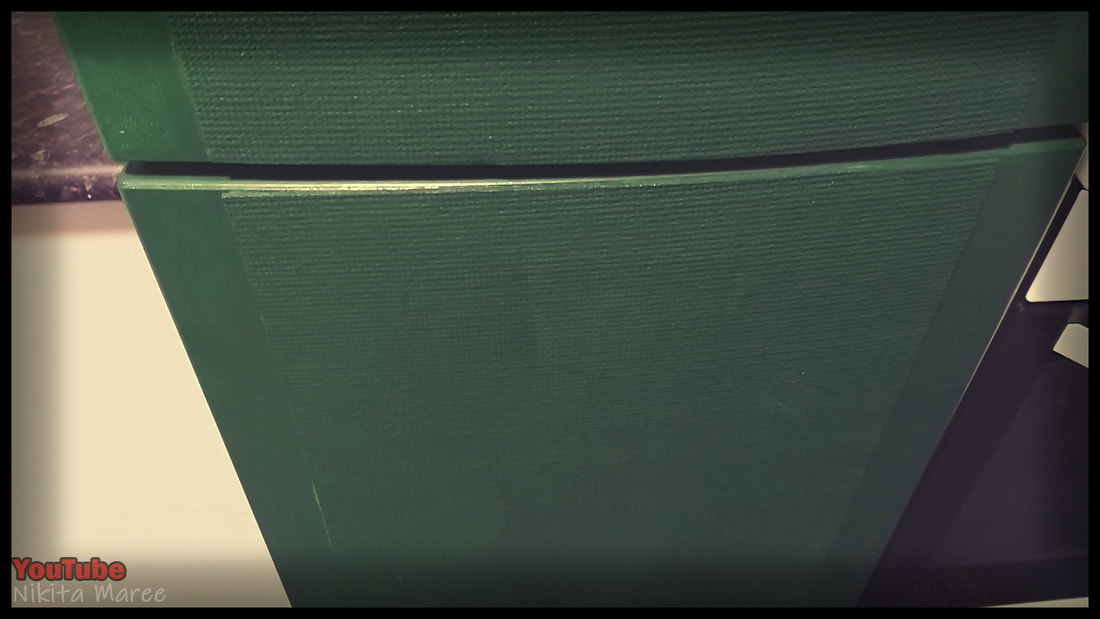
Image 5 - I was happy with how 3 coats looked.
Image 2 - I am using a sample pot of house paint in the color 'Brunswick Green'.
Image 3 - I first use a little brush to paint around all the small and hard to get to places.
Image 4 - Then use a roller to paint over the entire fridge.
Image 5 - I was happy with how 3 coats looked.
|
|
|
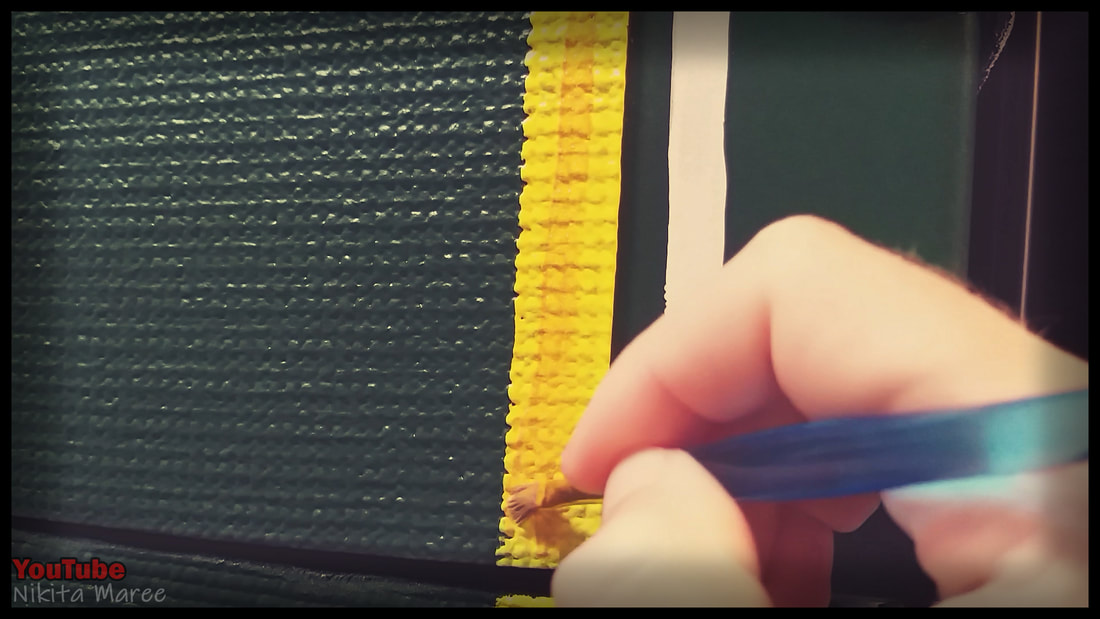
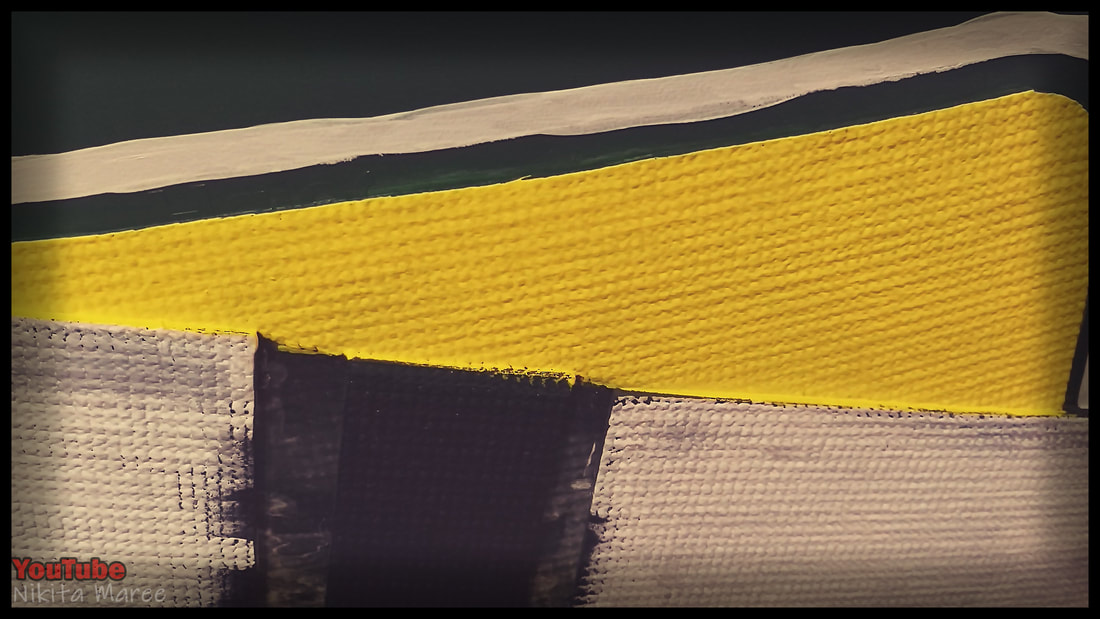
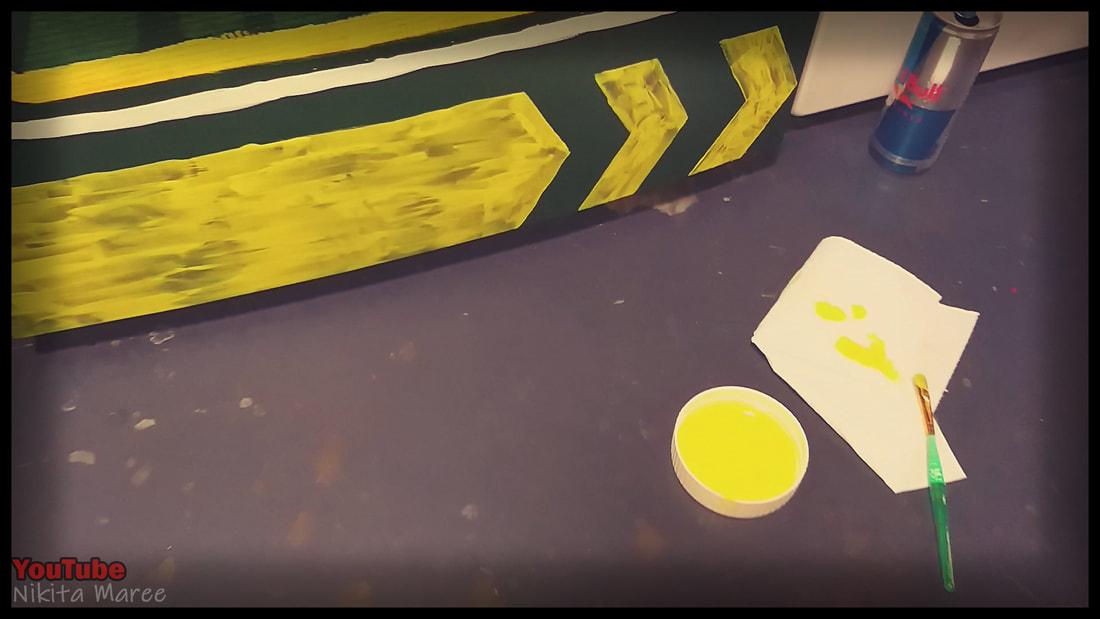
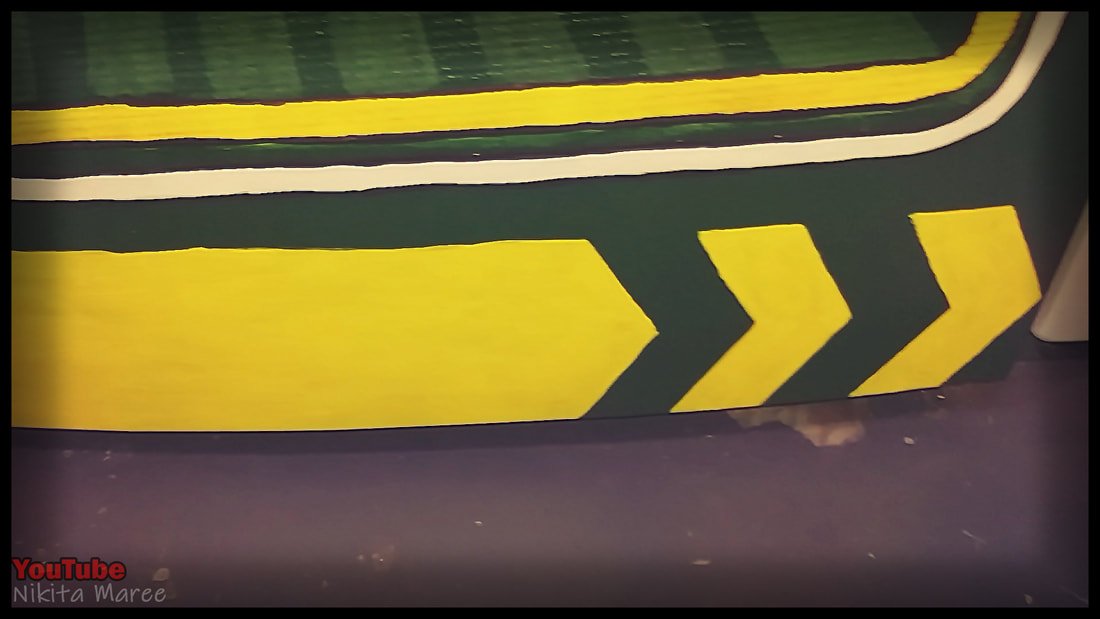
Image 1 - I painted on the yellow and white border lines.
Image 2 - As well as the yellow triangle section in the top right.
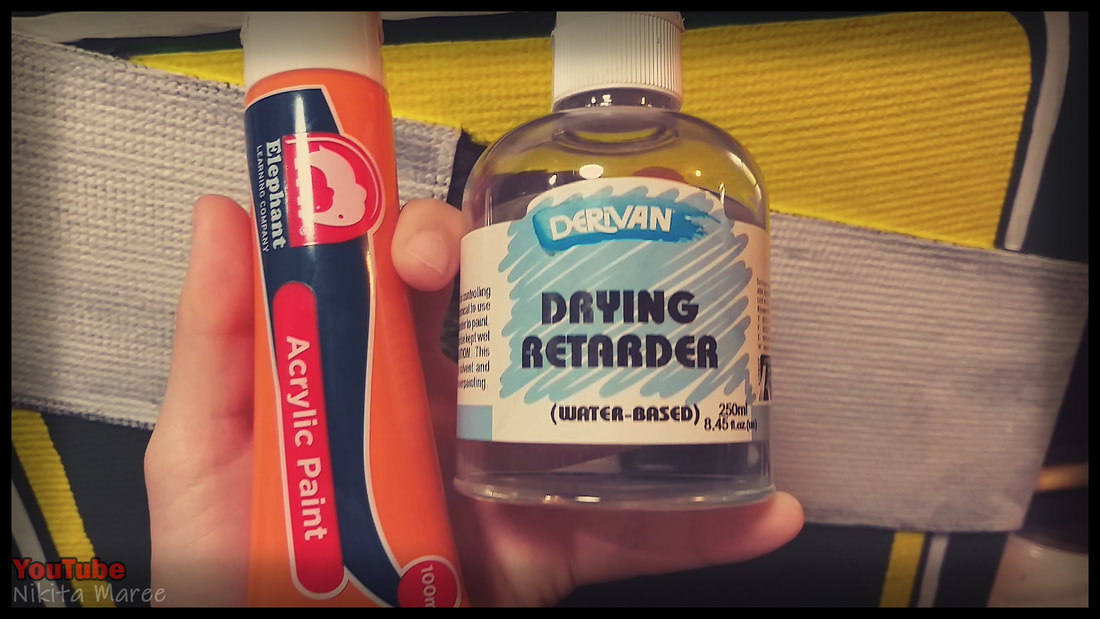
Image 3 - I mixed in some orange acrylic paint with some drying retarder
and buffed that into the yellow areas.
Note: This helps to make it look more grungy.
Image 2 - As well as the yellow triangle section in the top right.
Image 3 - I mixed in some orange acrylic paint with some drying retarder
and buffed that into the yellow areas.
Note: This helps to make it look more grungy.
|
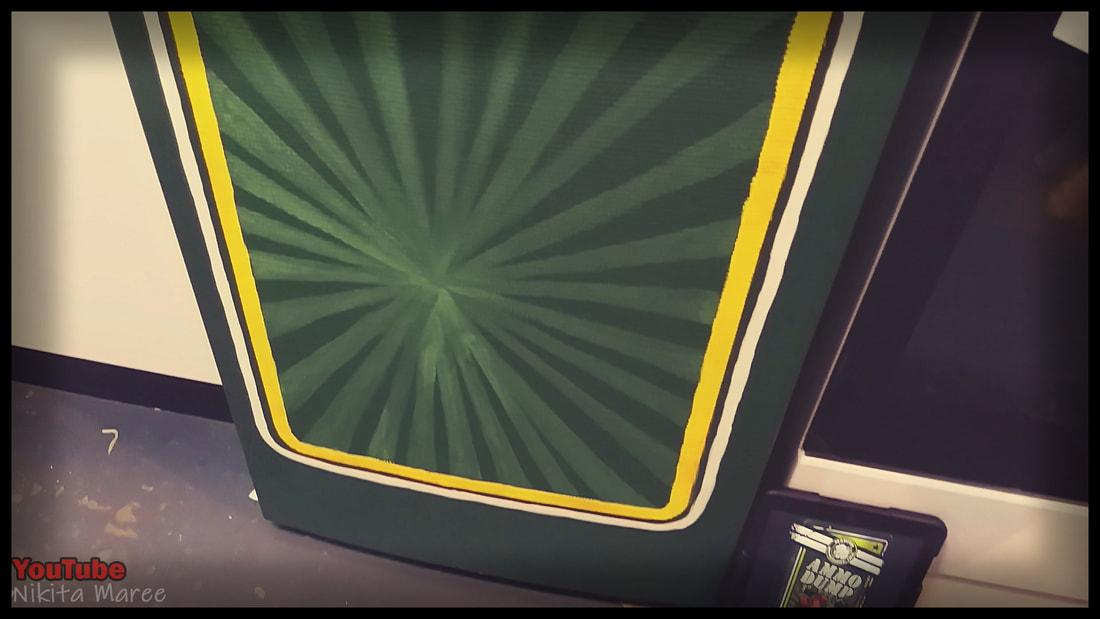
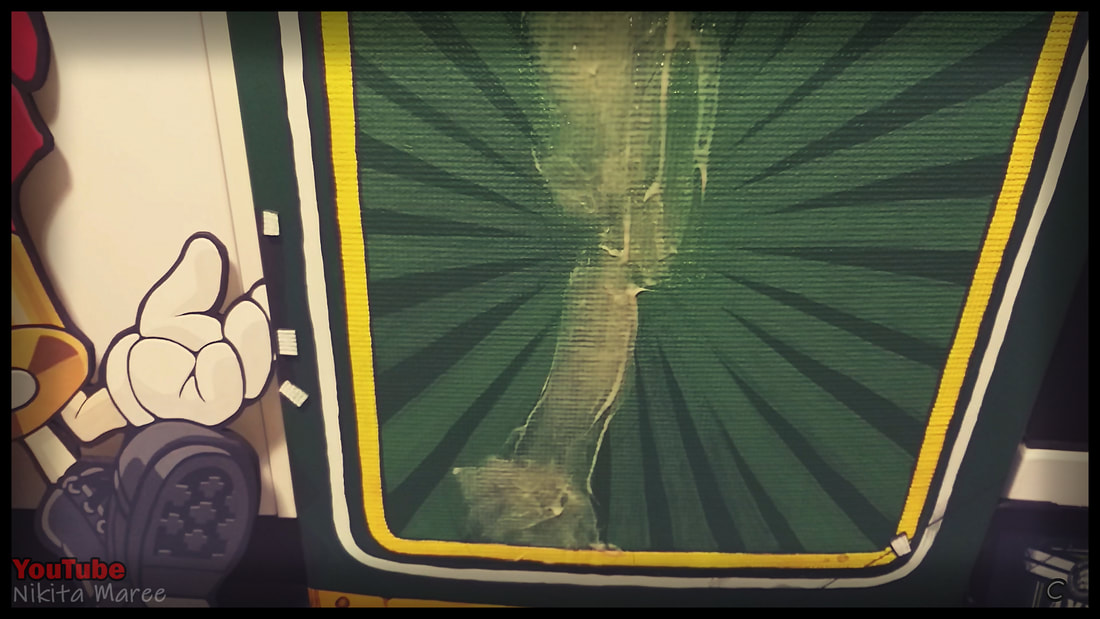
I used a lighter green to paint on the rays
in the center of the fridge. I kept the reference image beside me so I could keep checking back to it as I went. |
|
|
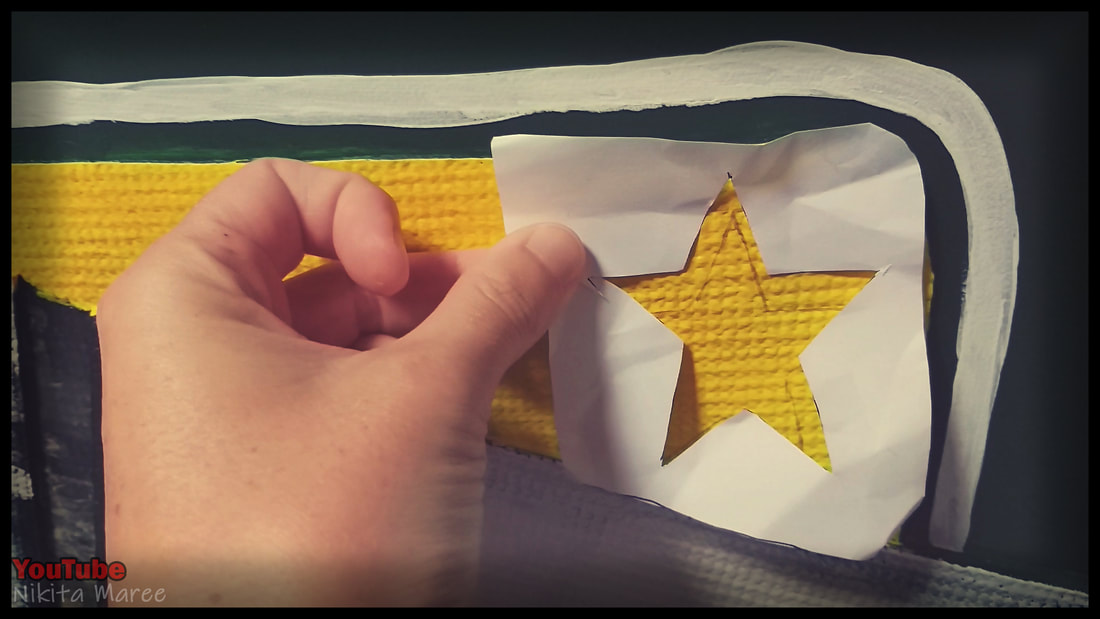
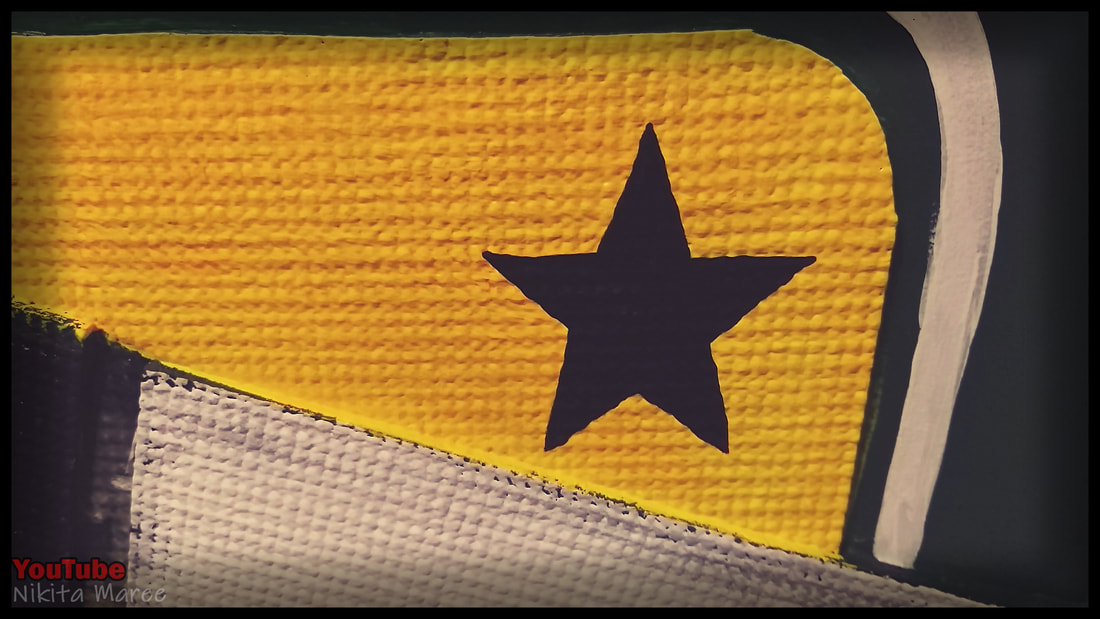
Image 1 - Made and cut out a star template on a piece of paper.
Drew that in the corner on the right.
Image 2 - Paint the star with black acrylic paint.
Drew that in the corner on the right.
Image 2 - Paint the star with black acrylic paint.
|
|
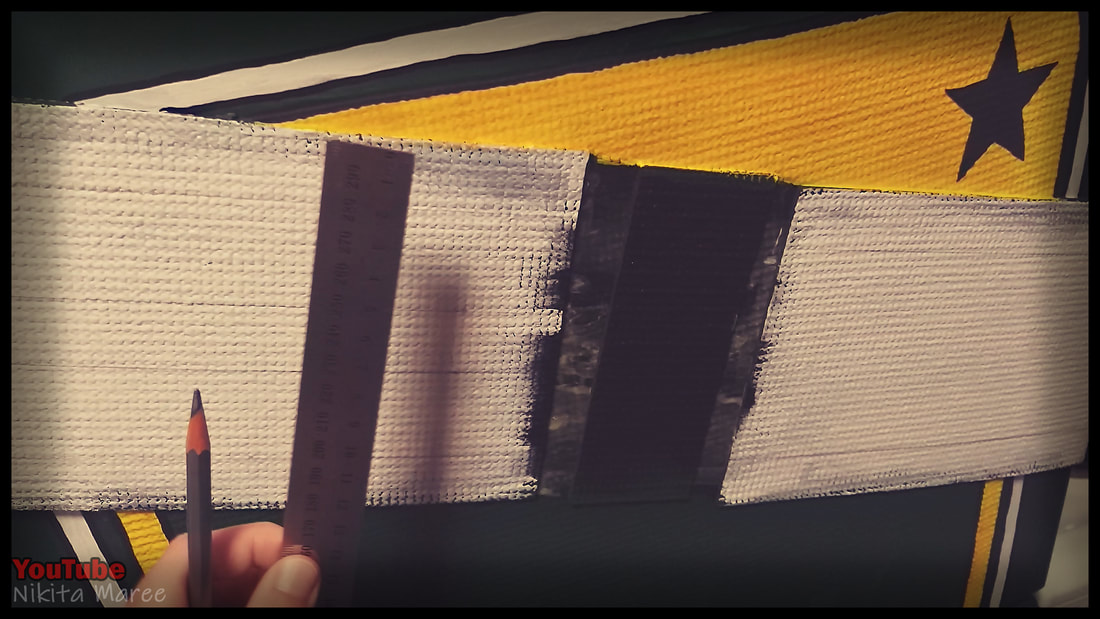
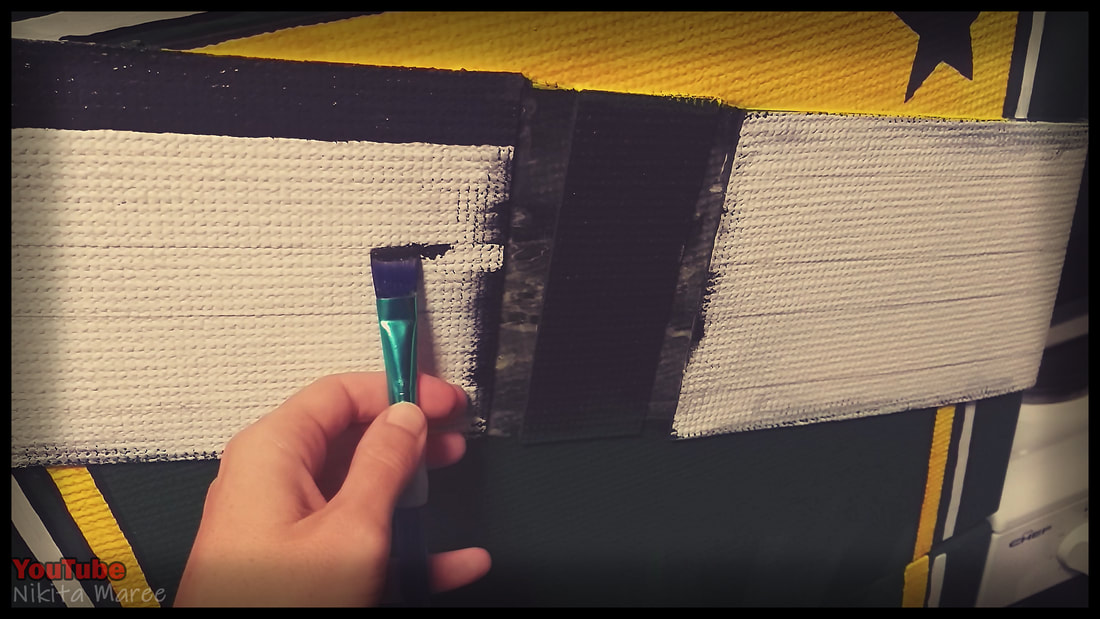
Image 1 - Paint the diagonal strap white and lightly mark out were the 3 black stripes will go.
Note: Don't worry about the very center of the strap, this will be covered with the circle logo.
Image 2 - Add some gray sections to the band. This will make the white areas look like highlights.
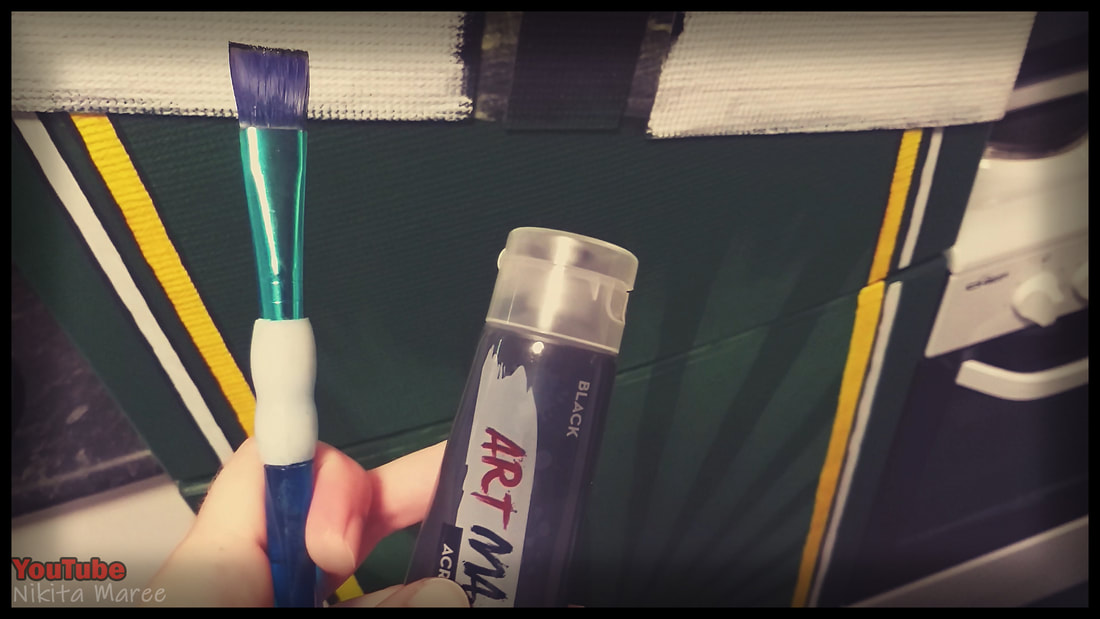
Image 3 - I used a flat brush and black acrylic paint for the stripes.
Image 4 - This was a bit difficult due to the Yoga mat being textured.
But I persevered and I eventually got the look I was going for.
Note: Don't worry about the very center of the strap, this will be covered with the circle logo.
Image 2 - Add some gray sections to the band. This will make the white areas look like highlights.
Image 3 - I used a flat brush and black acrylic paint for the stripes.
Image 4 - This was a bit difficult due to the Yoga mat being textured.
But I persevered and I eventually got the look I was going for.
|

|

|
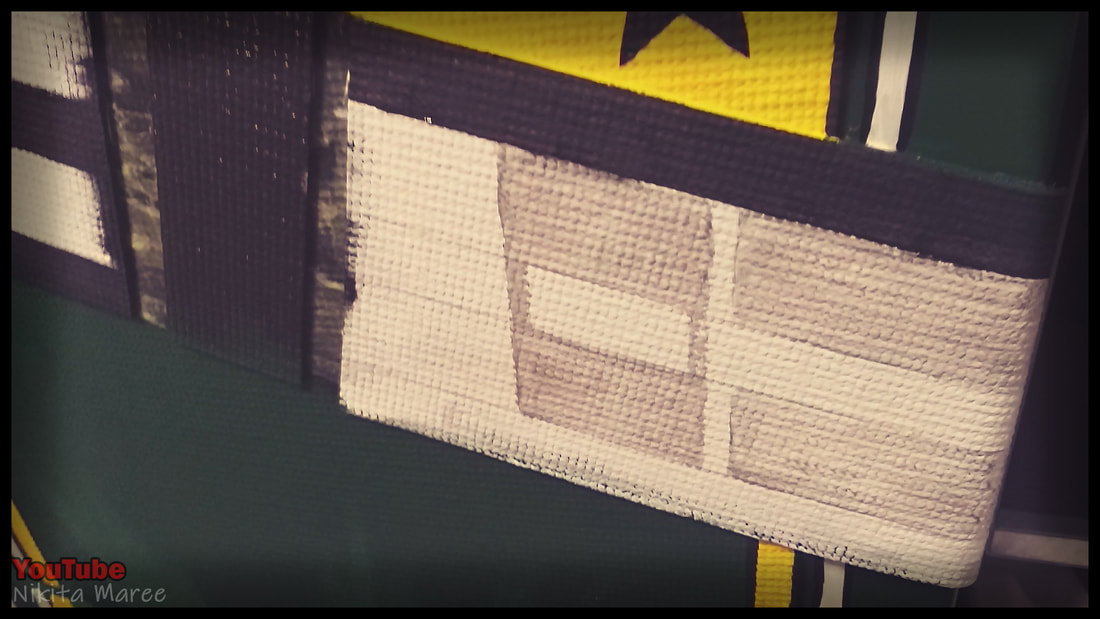
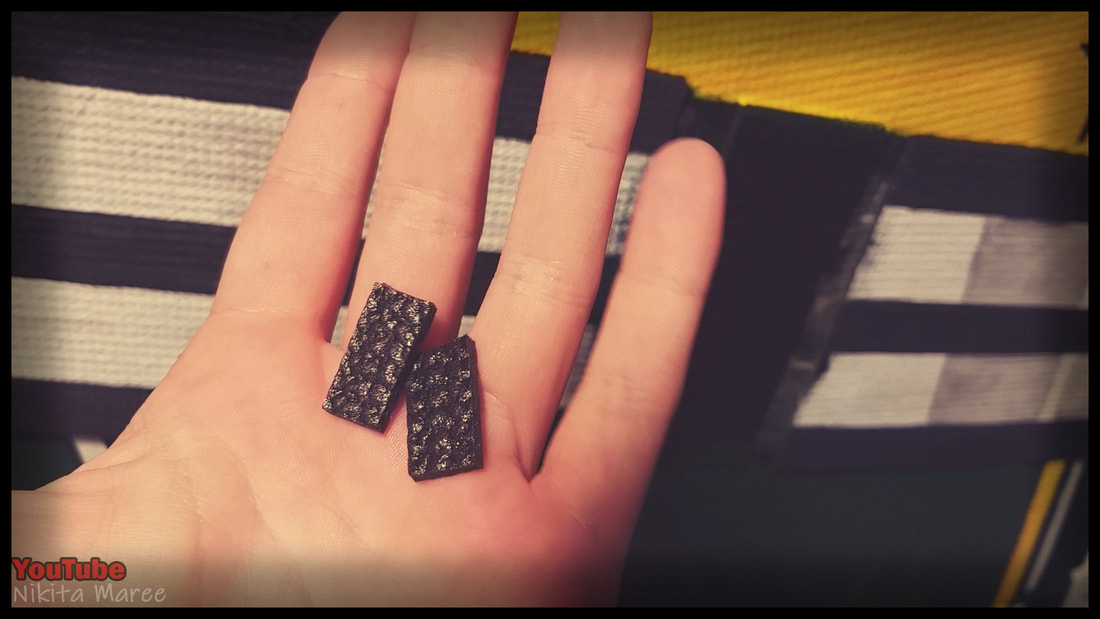
Image 1 - Cut out some small rectangles from the Yoga mat.
Image 2 - Glue them on according to the reference image.
Image 3 - Paint the tabs white with a black border.
Image 2 - Glue them on according to the reference image.
Image 3 - Paint the tabs white with a black border.
|
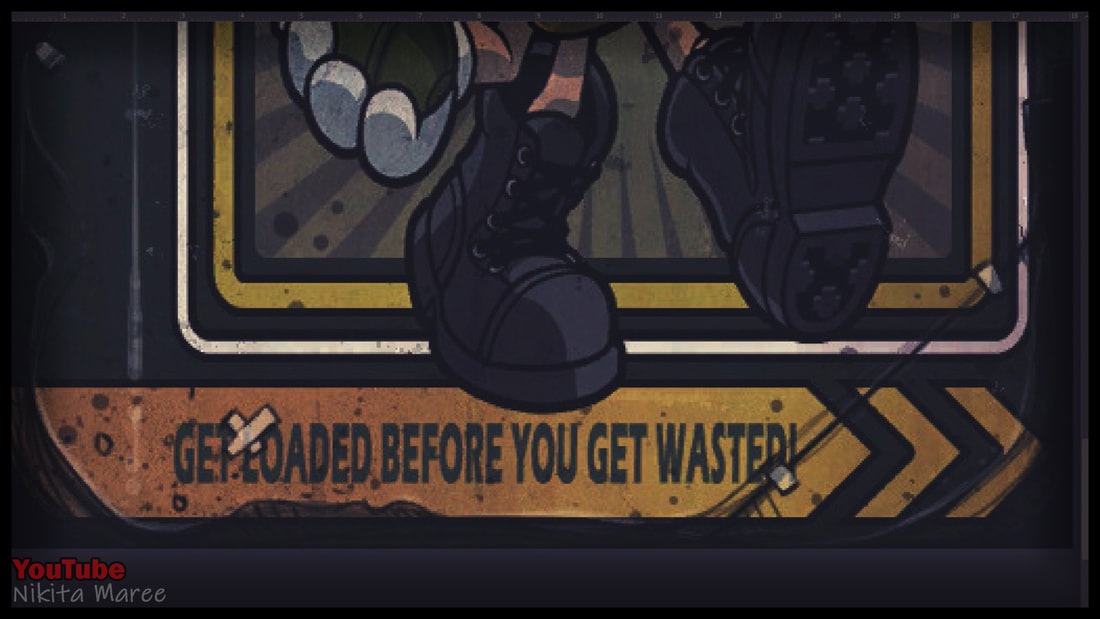
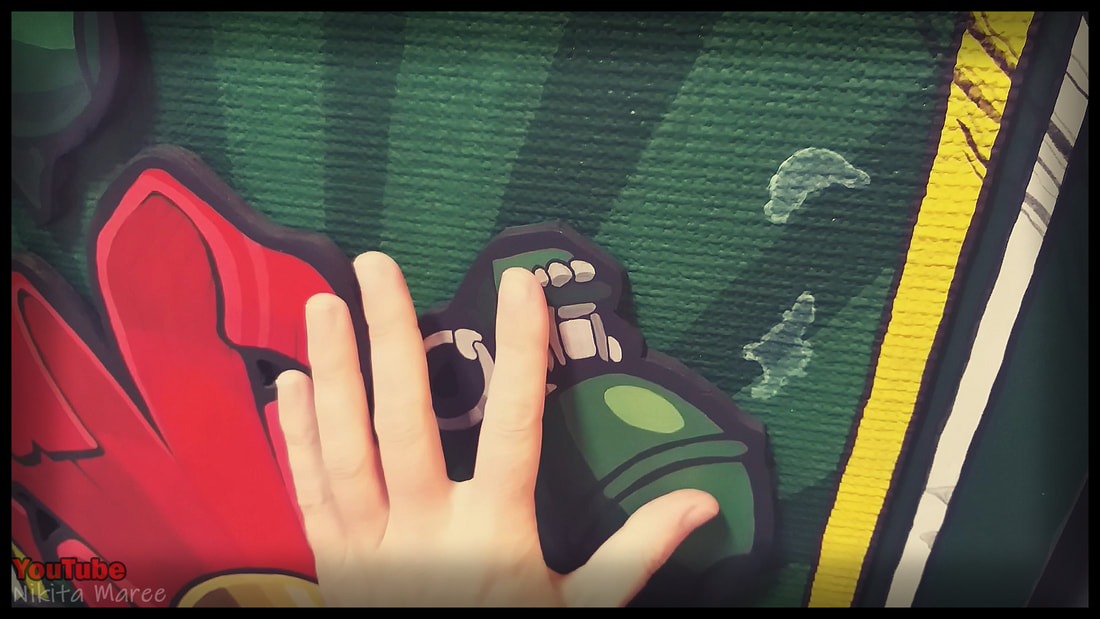
Looking at the reference image and painting on the details of the cracks and dents.
I used a small detail brush with black acrylic paint. |
|
Repeat the above step, but for the white details.
Adding in some highlights, drips and splashes. |
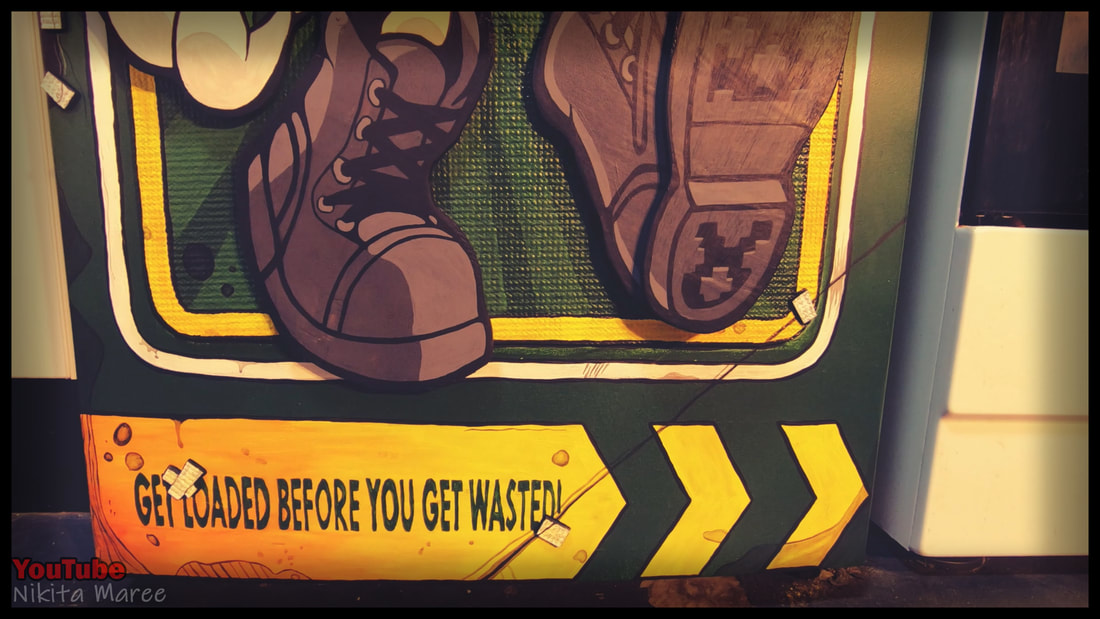
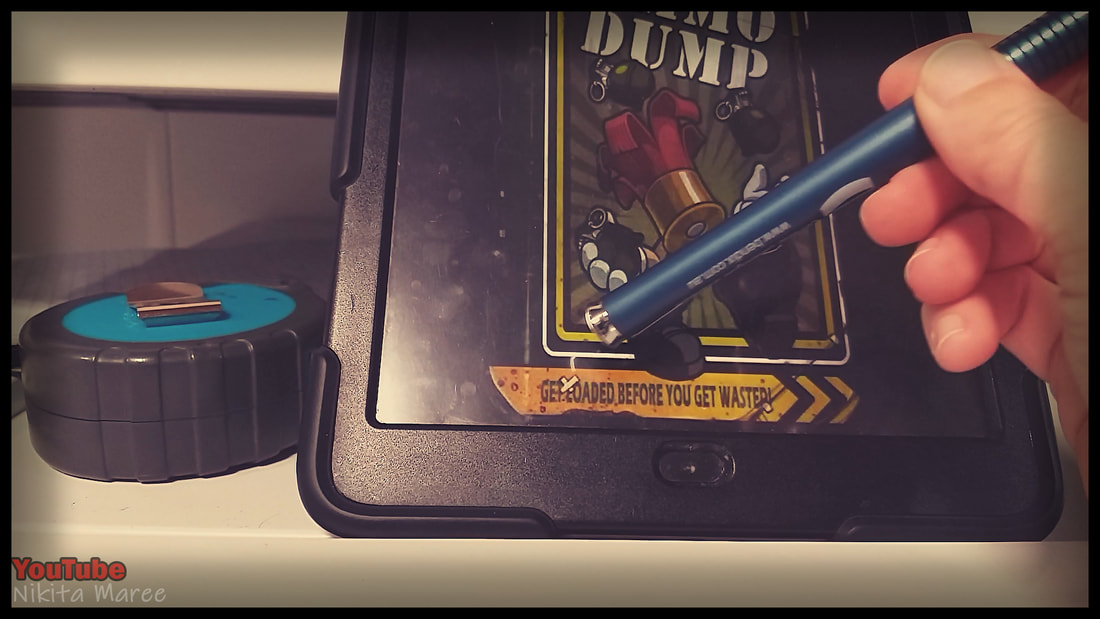
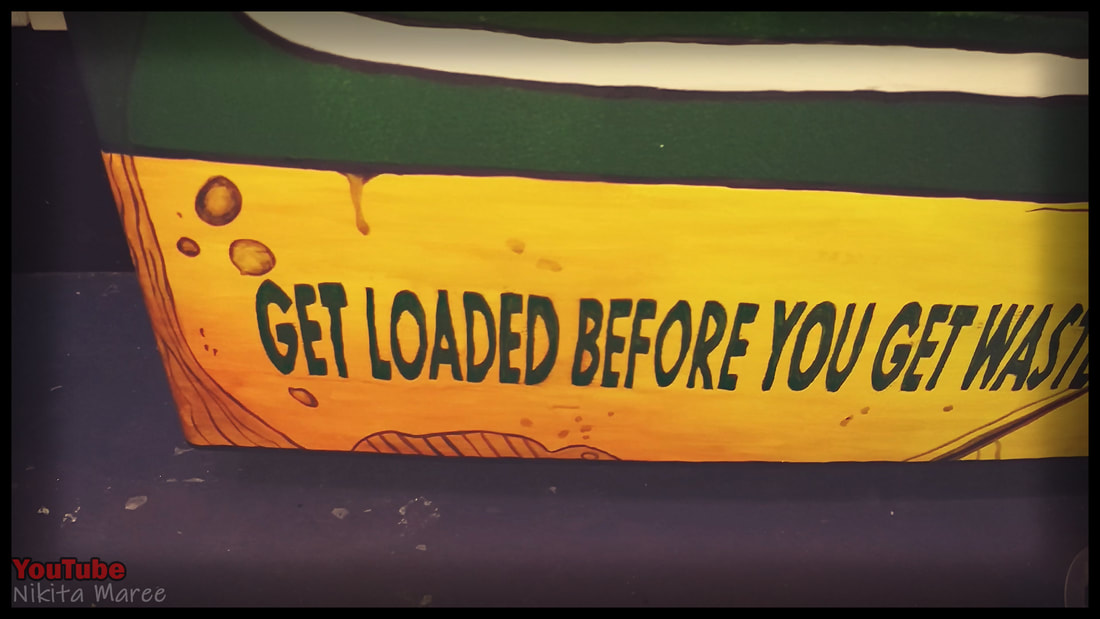
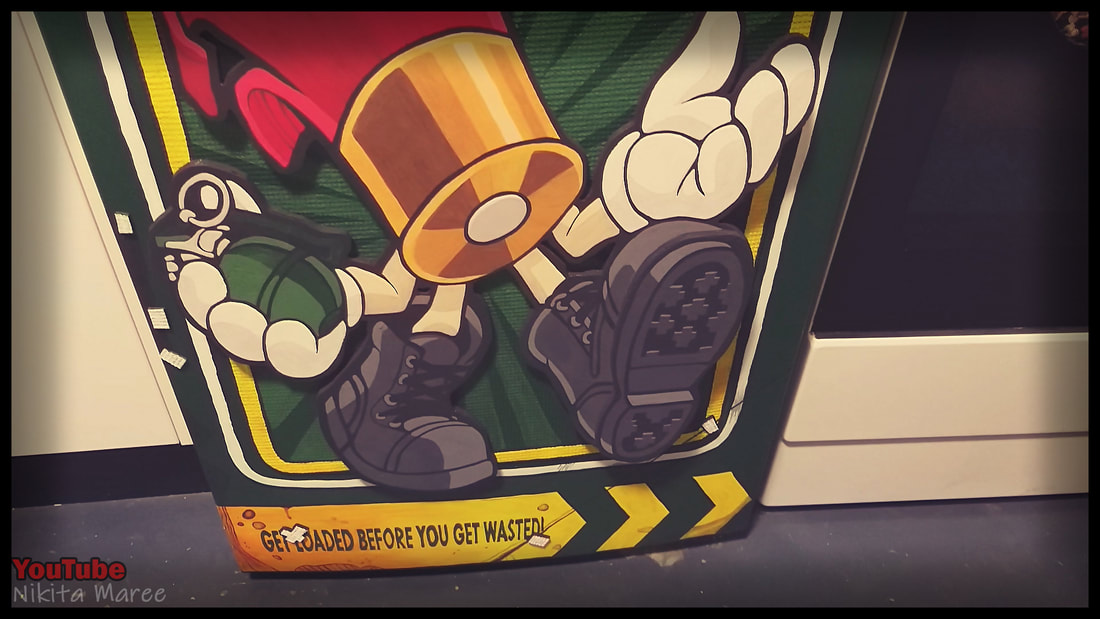
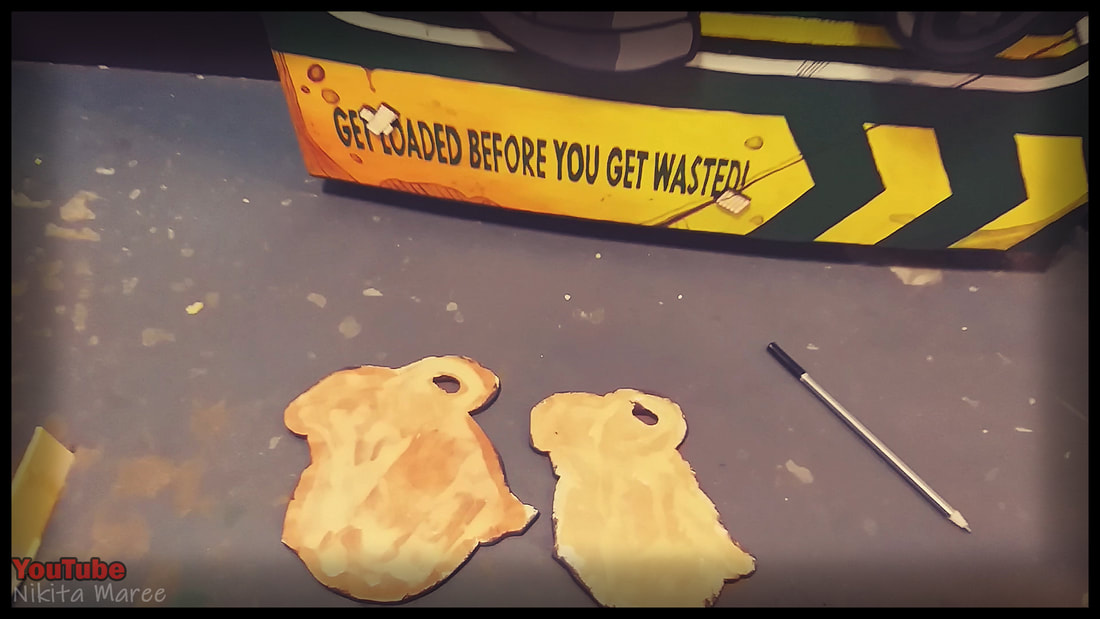
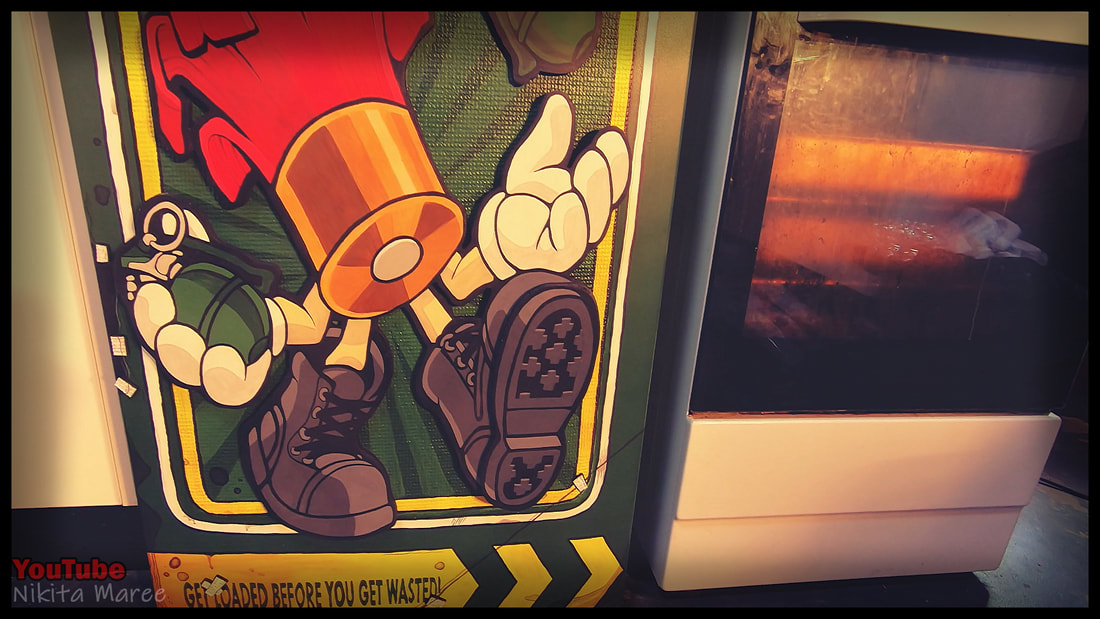
GET LOADED BEFORE YOU GET WASTED!
|
Moving onto the yellow arrow
at the bottom of the fridge. |
|
|
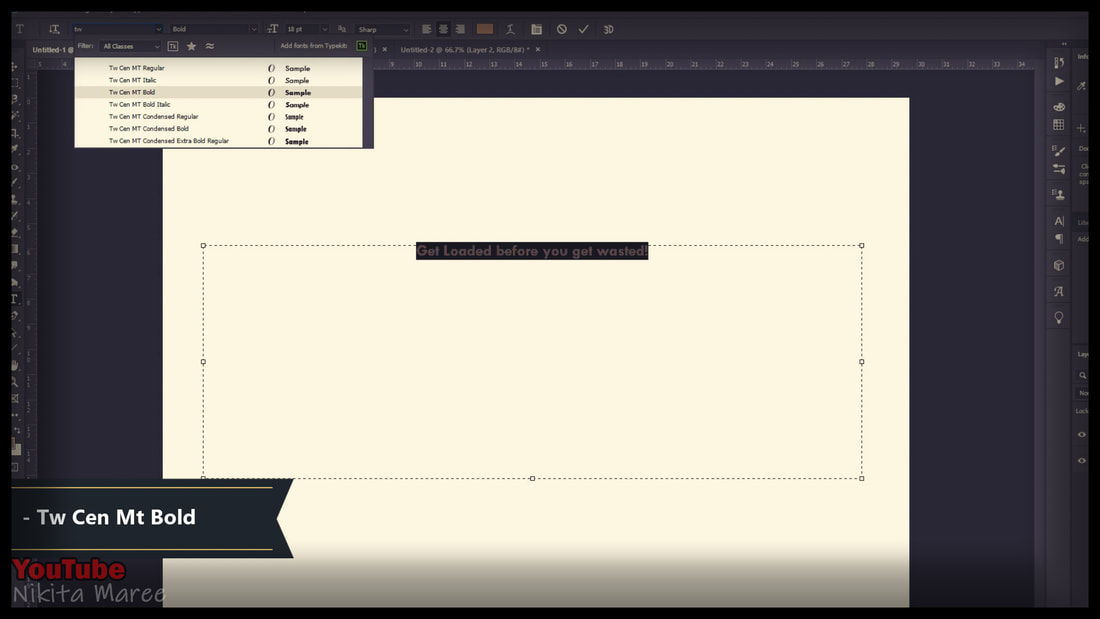
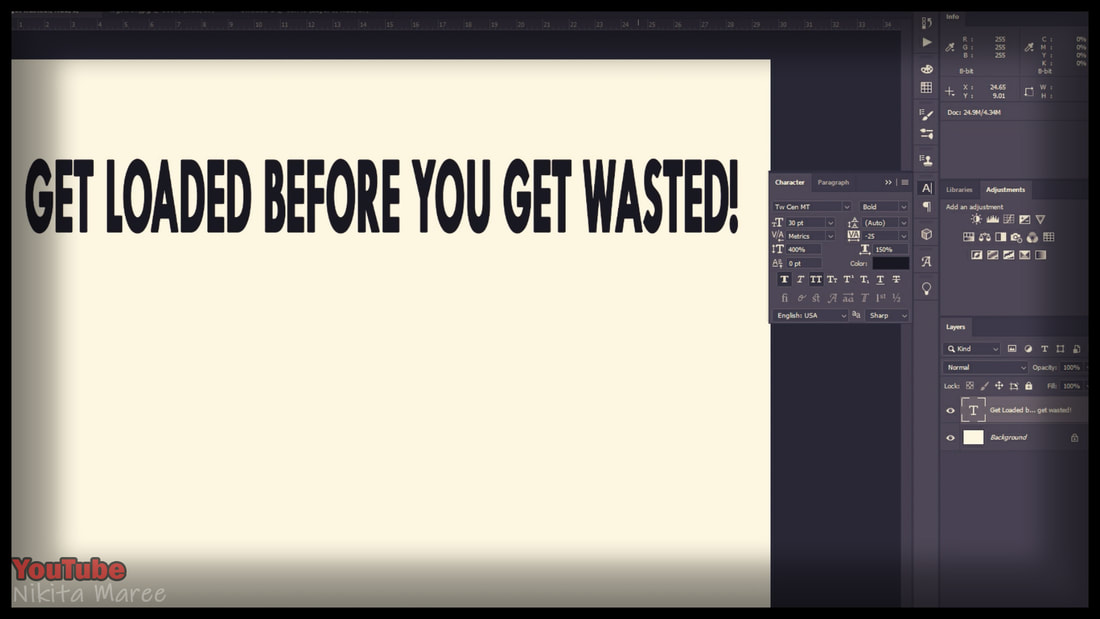
Image 1 - I took some time in Photoshop to find a font that looked the closest to the reference.
I choose 'Twentieth Century Monotype Bold'.
Image 2 - I changed the font properties to be all in upper case
and stretched the letter height to 400%.
I choose 'Twentieth Century Monotype Bold'.
Image 2 - I changed the font properties to be all in upper case
and stretched the letter height to 400%.
|
|
|
Image 1 - Sketch out the area to be painted.
Image 2 - I used a sample pot of yellow house paint.
Image 3 - I was happy with the coverage after 4 coats.
Image 2 - I used a sample pot of yellow house paint.
Image 3 - I was happy with the coverage after 4 coats.
|
|
|
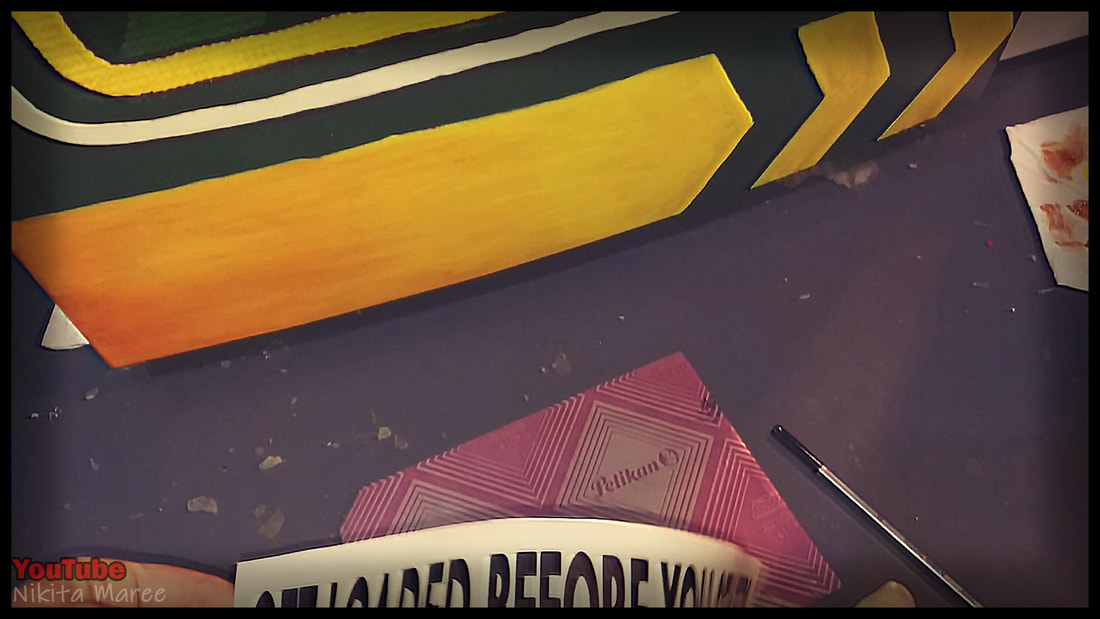
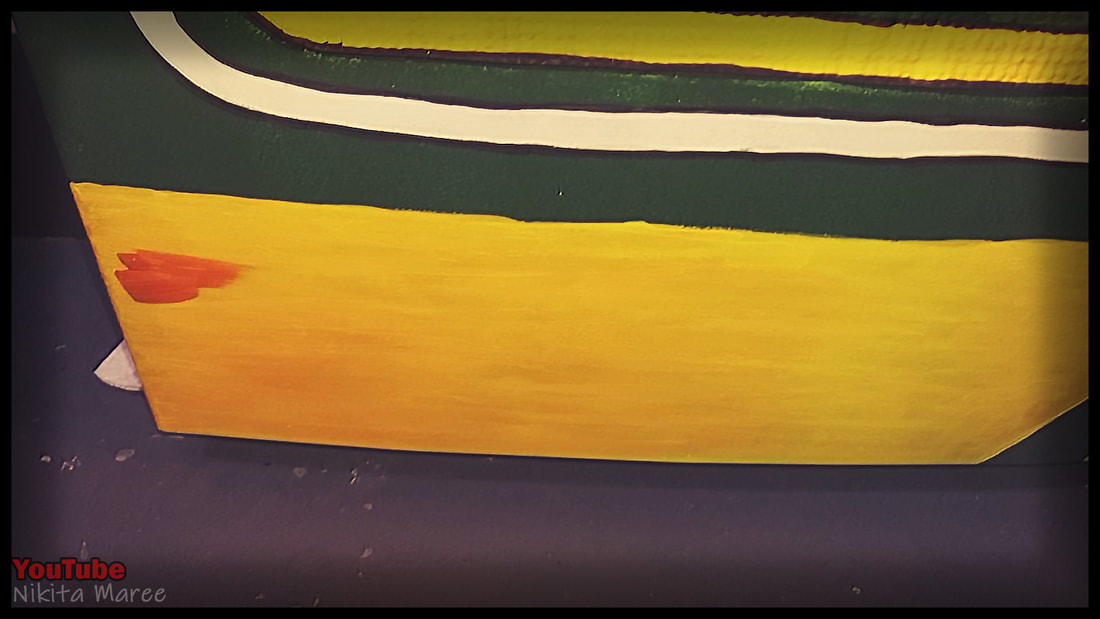
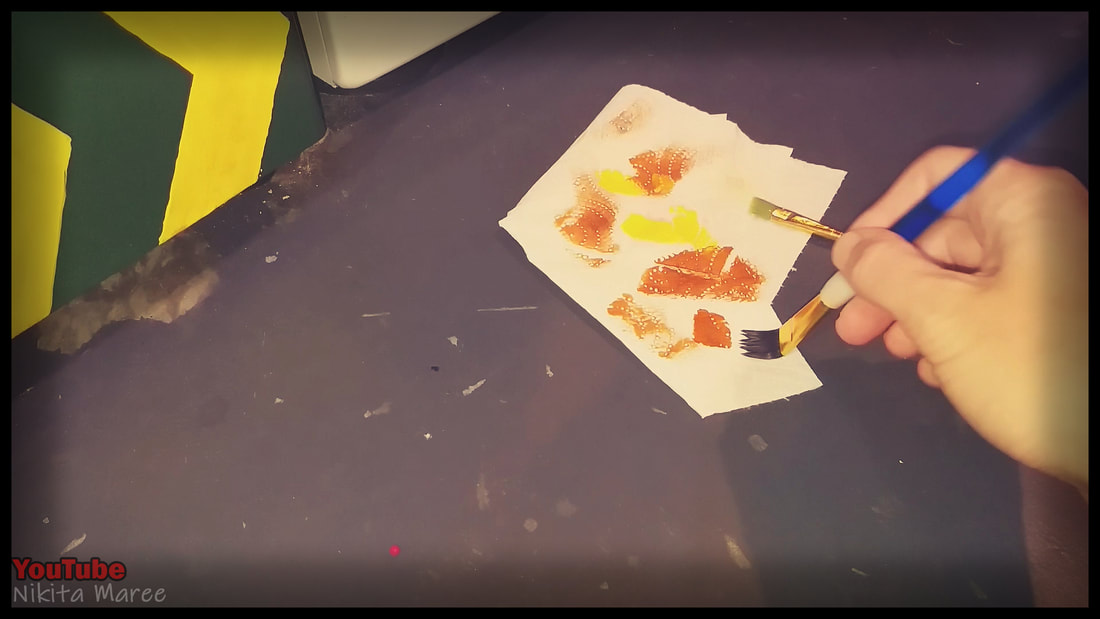
Image 1 - Creating the orange to yellow gradient.
Image 2 - I dabbed blobs of orange paint on the left and blended it lightly towards the right.
Image 3 - I found it helpful to remove the excess paint onto some paper towel.
Image 2 - I dabbed blobs of orange paint on the left and blended it lightly towards the right.
Image 3 - I found it helpful to remove the excess paint onto some paper towel.
|
|
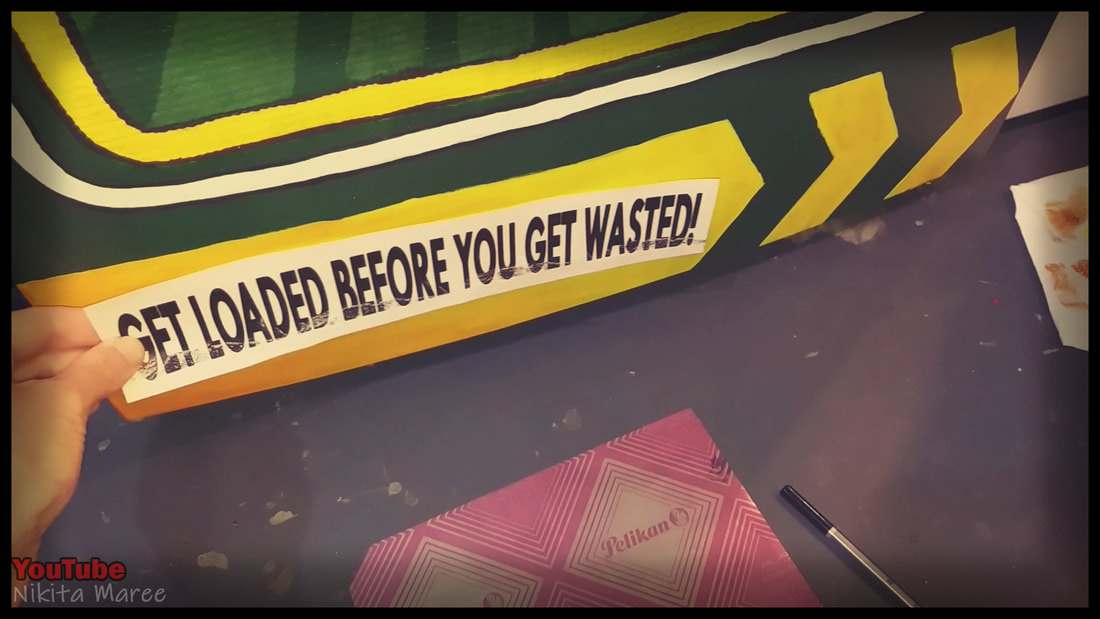
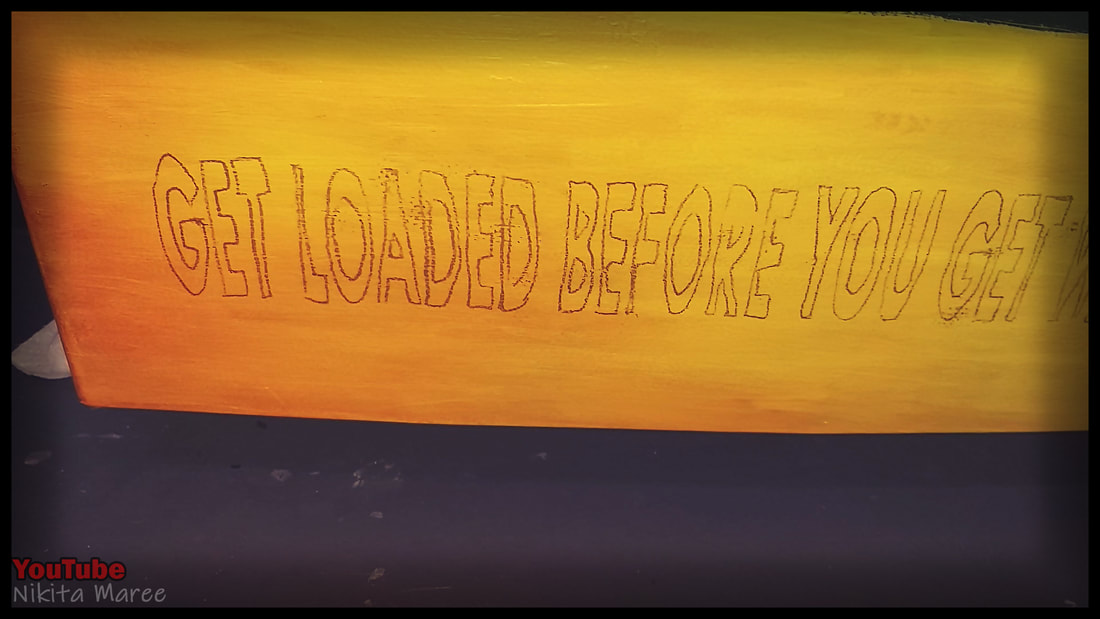
Image 1 - Printed out the wording.
Image 2 - Used carbon paper to trace around the text onto the fridge.
Image 2 - Used carbon paper to trace around the text onto the fridge.

|
Paint on the writing with the
'Brunswick Green'. |
|
|
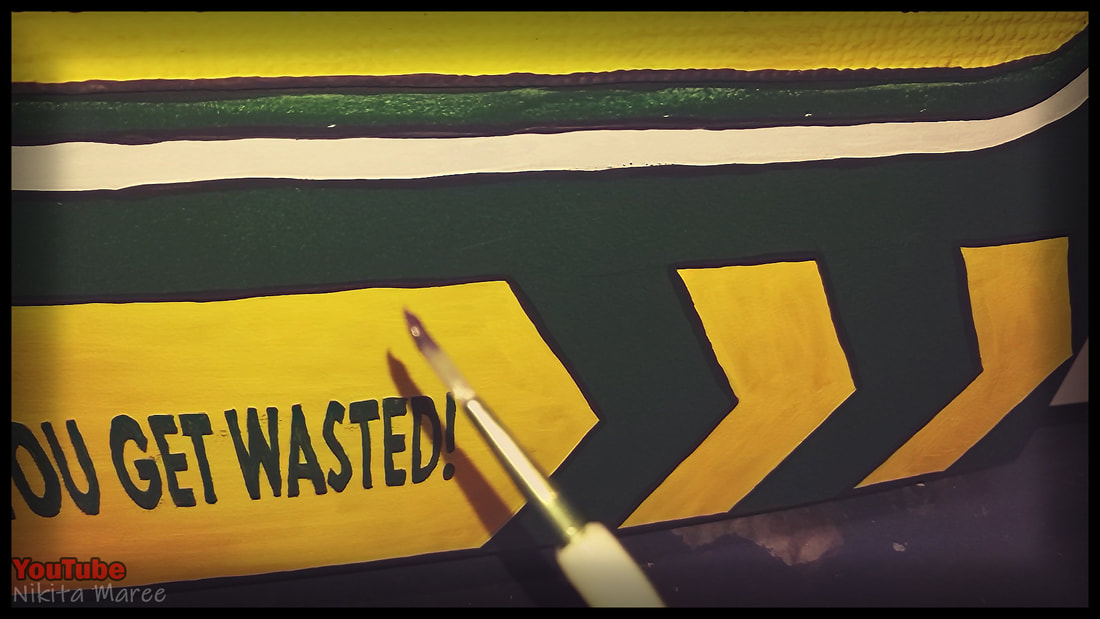
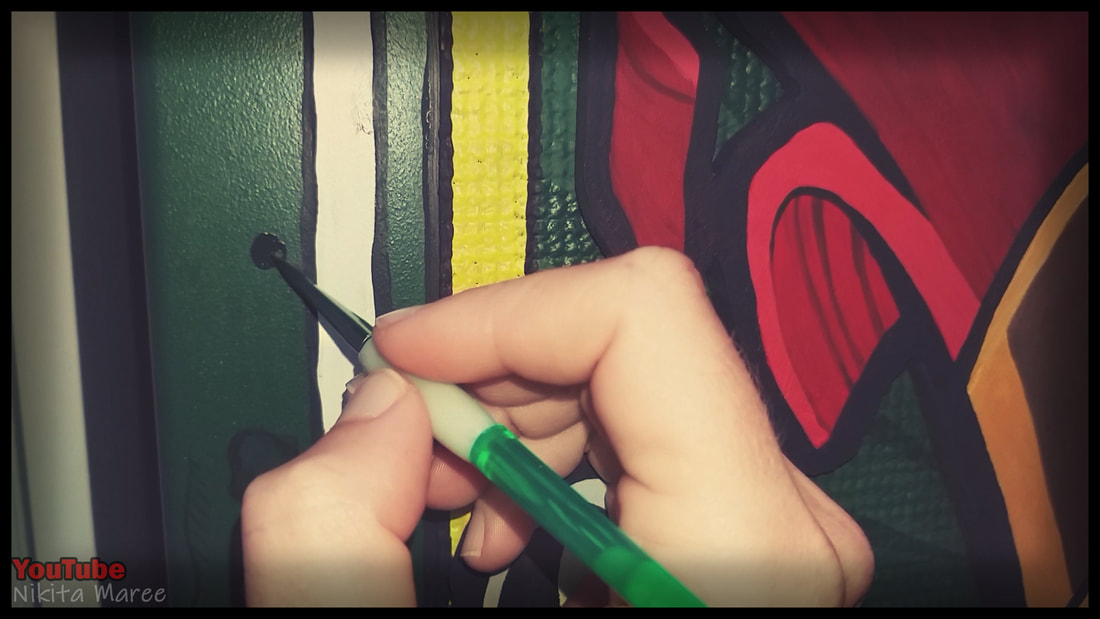
Paint a black border around all the yellow sections.
As well as around the white and yellow rectangle borders.
As well as around the white and yellow rectangle borders.
|

|
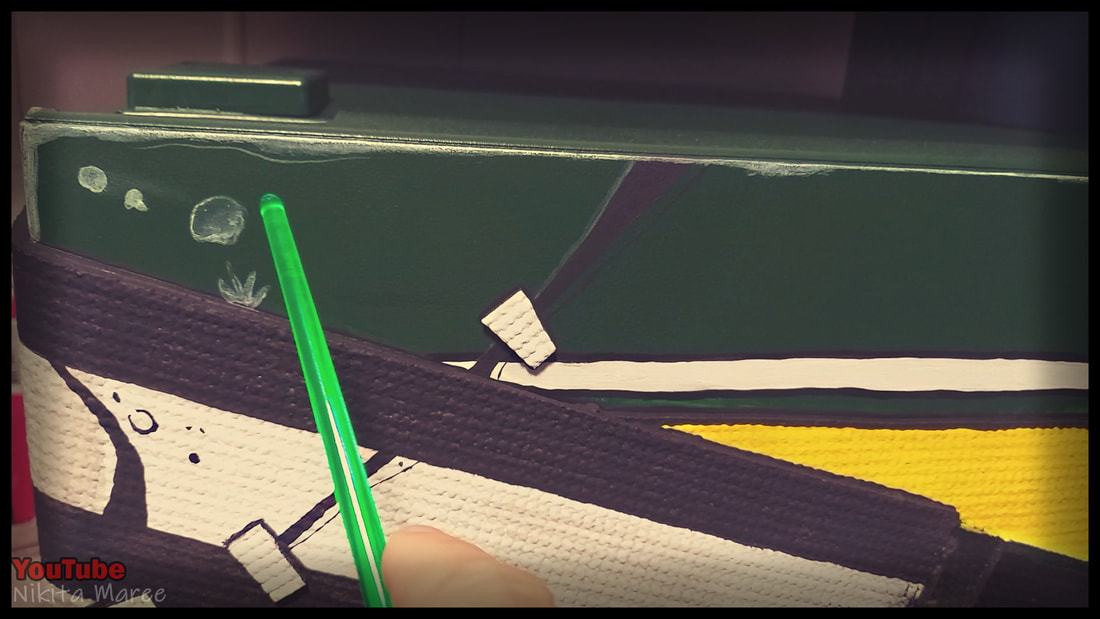
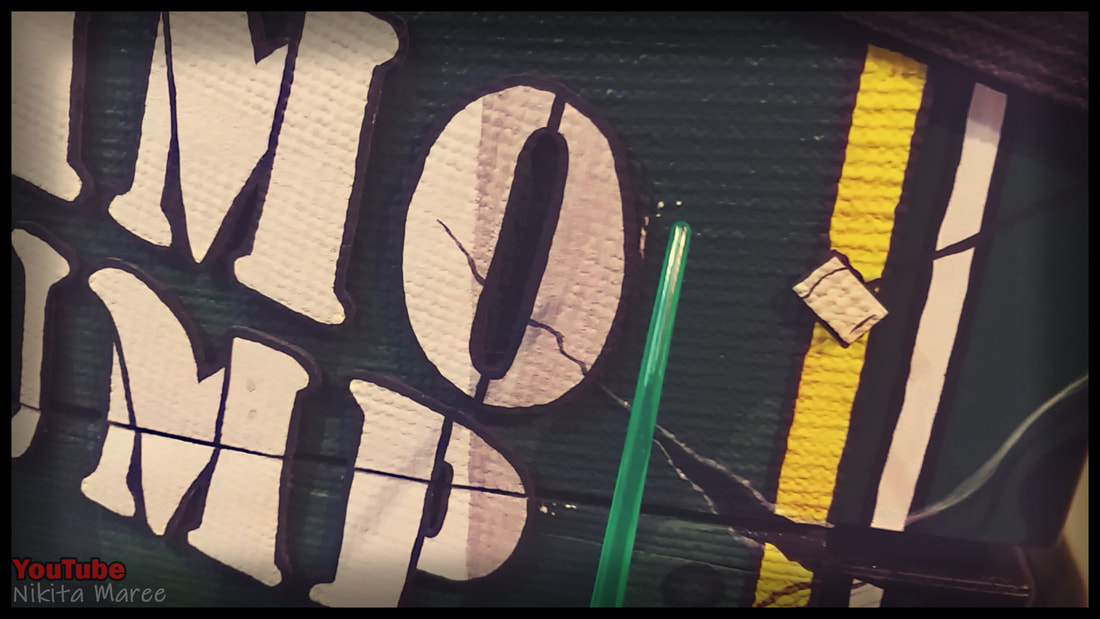
Pencil in the details you can see in the reference image.
And paint over them with a small brush and black acrylic paint.
This is my favorite step.
I love the grungy cartoon look that this adds.
And paint over them with a small brush and black acrylic paint.
This is my favorite step.
I love the grungy cartoon look that this adds.
|
|
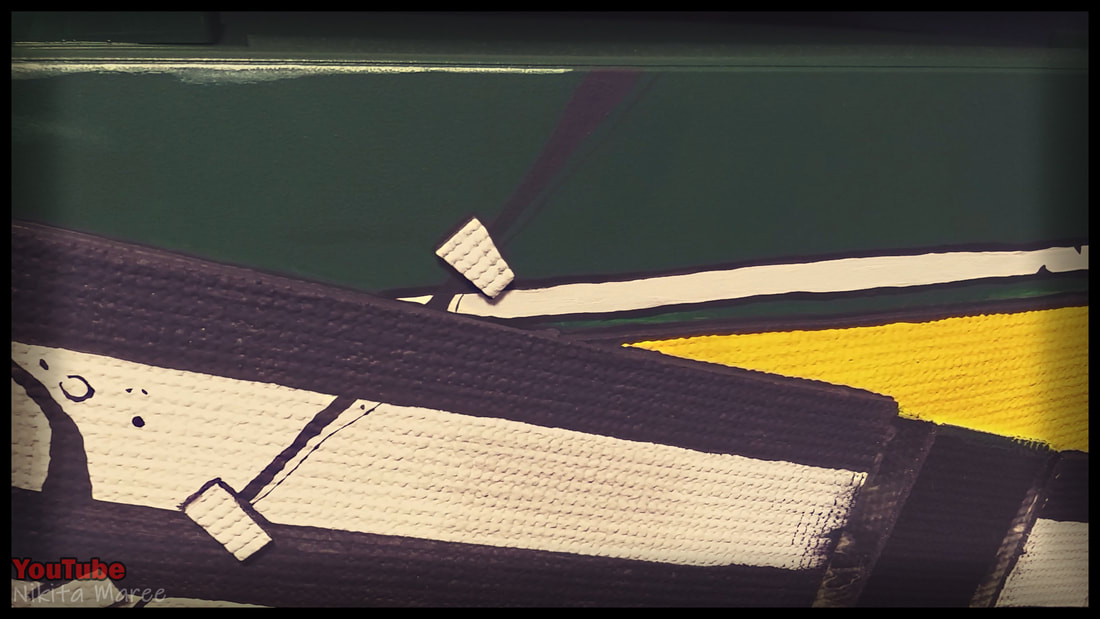
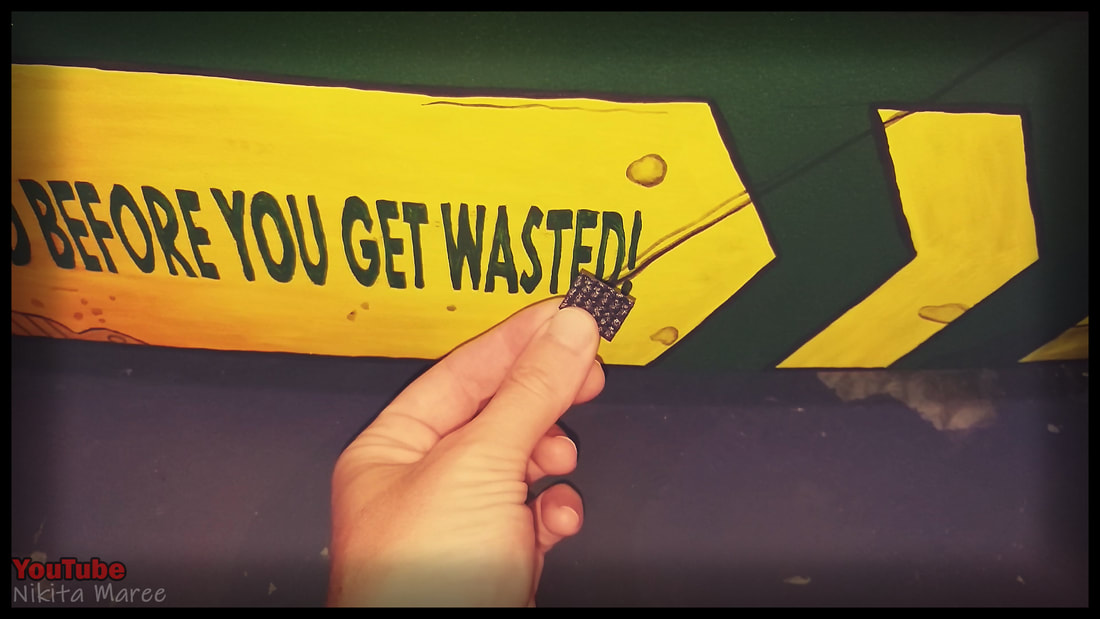
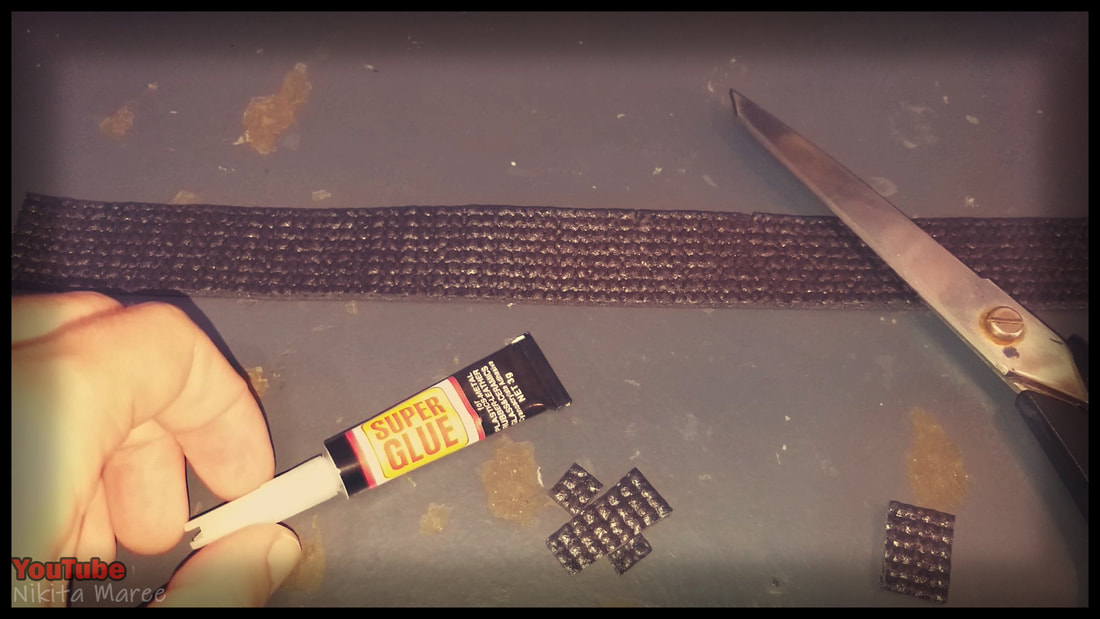
Cut out some rectangles from the Yoga mat and glue them into position.
This time I used Supper Glue, because of how small they are.
This time I used Supper Glue, because of how small they are.

|
Paint the tabs white with a black border.
|
Shotgun Shell
|
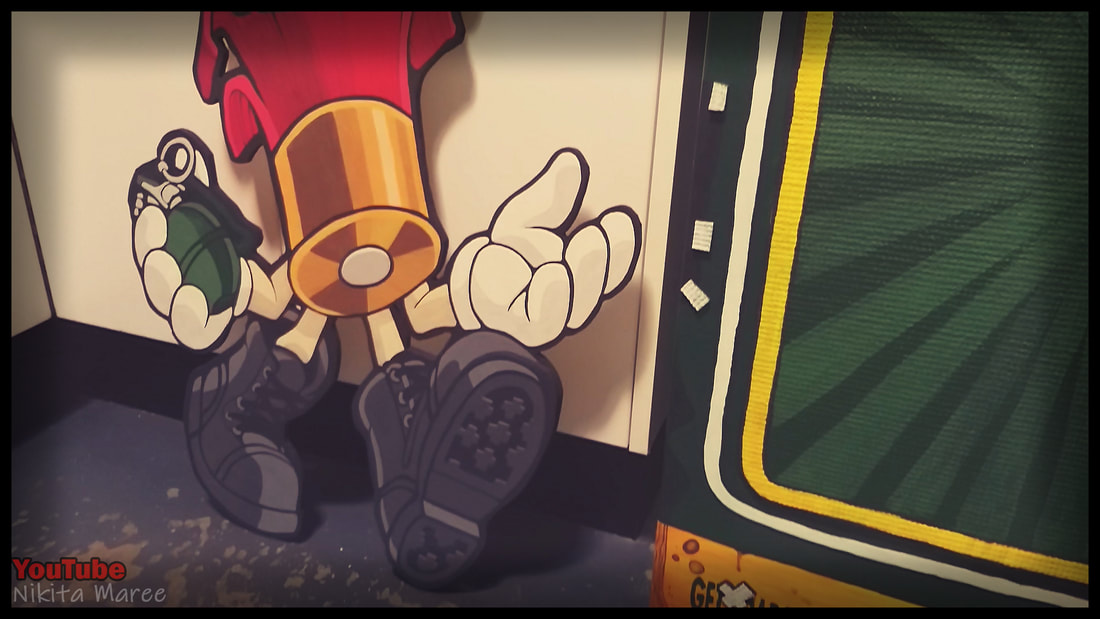
Moving onto the shotgun shell.
|
|

|
|
Image 1 - I use the fridge dimensions to figure out what size I want the
shotgun shell to be. In Photoshop I use guide lines to mark out the size of A4 sheets of paper.
Image 2 - I then crop and save each individual A4 section.
Image 3 - Print, cut out and tape the stencil together.
shotgun shell to be. In Photoshop I use guide lines to mark out the size of A4 sheets of paper.
Image 2 - I then crop and save each individual A4 section.
Image 3 - Print, cut out and tape the stencil together.
|
|
|
Image 1 - Trace around the stencil onto some plywood.
Image 2 - Cut around the shape with a Jig Saw.
Image 3 - Give the shotgun shell a light sand.
Image 2 - Cut around the shape with a Jig Saw.
Image 3 - Give the shotgun shell a light sand.

|
|
Image 1 - With carbon paper under the stencil, I then traced over all the details.
Image 2 - With acrylic paint I started blocking out the basic colors.
Image 2 - With acrylic paint I started blocking out the basic colors.

|
|
Image 1 - After the colors have been painted in,
I then go in with a thin brush and outline everything with black acrylic paint.
Image 2 - This process takes awhile. So I work in small sections at a time.
I then go in with a thin brush and outline everything with black acrylic paint.
Image 2 - This process takes awhile. So I work in small sections at a time.
|
|
We can now use contact adhesive to attach the shotgun shell to the fridge.
Note: Because the fridge face has a curved surface,
I concentrate the adhesive to just the center vertical section of the fridge.
Note: Because the fridge face has a curved surface,
I concentrate the adhesive to just the center vertical section of the fridge.
|
Now that the Shotgun Shell
is in place, we can move onto the next step. |
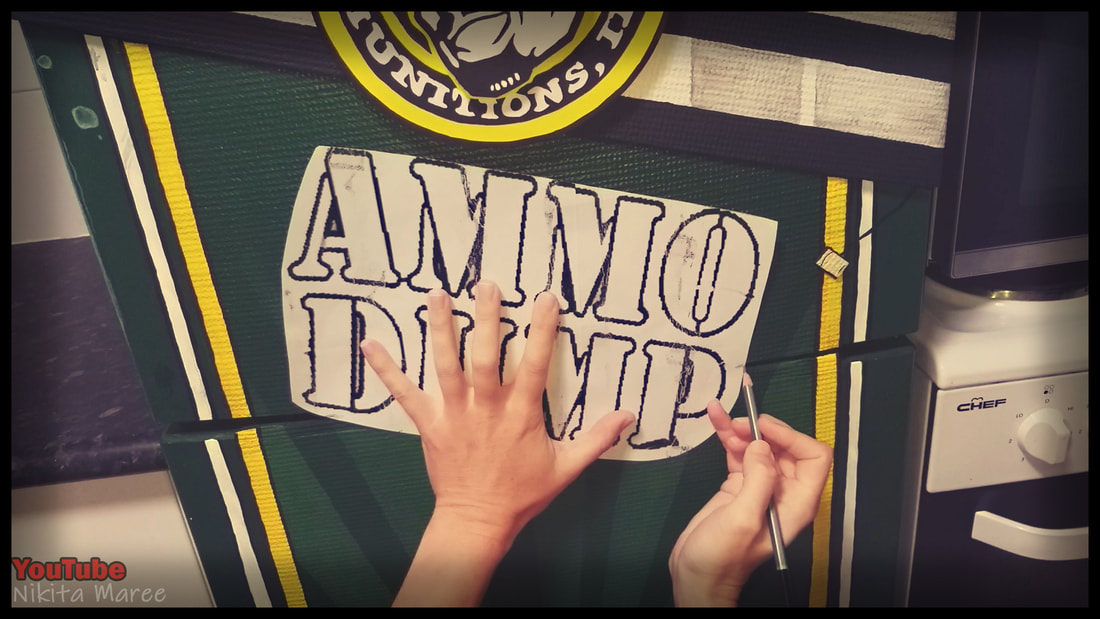
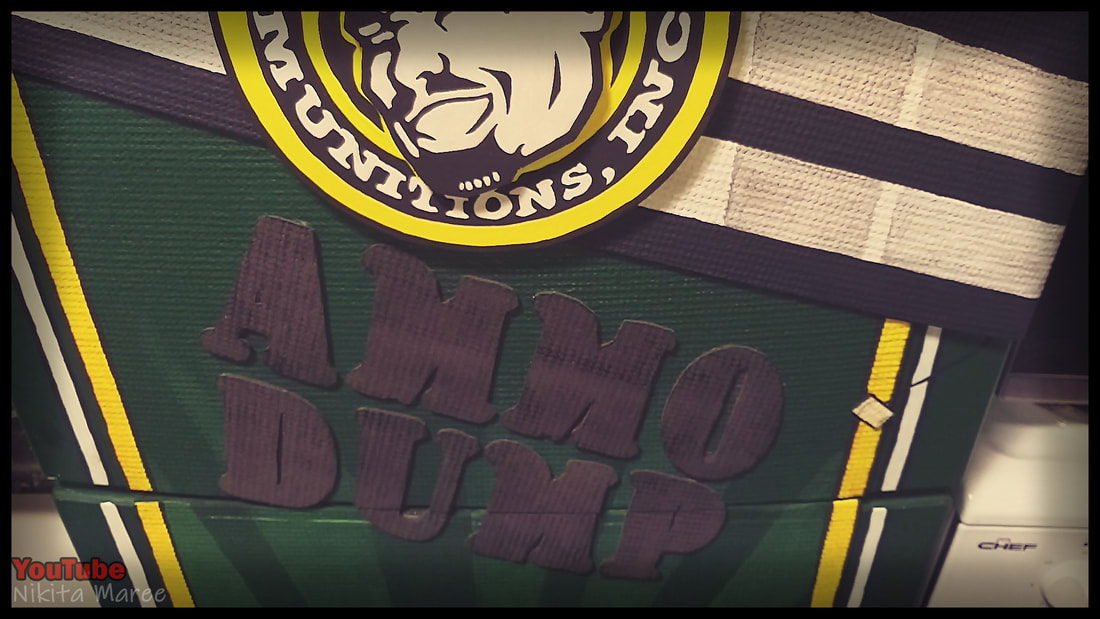
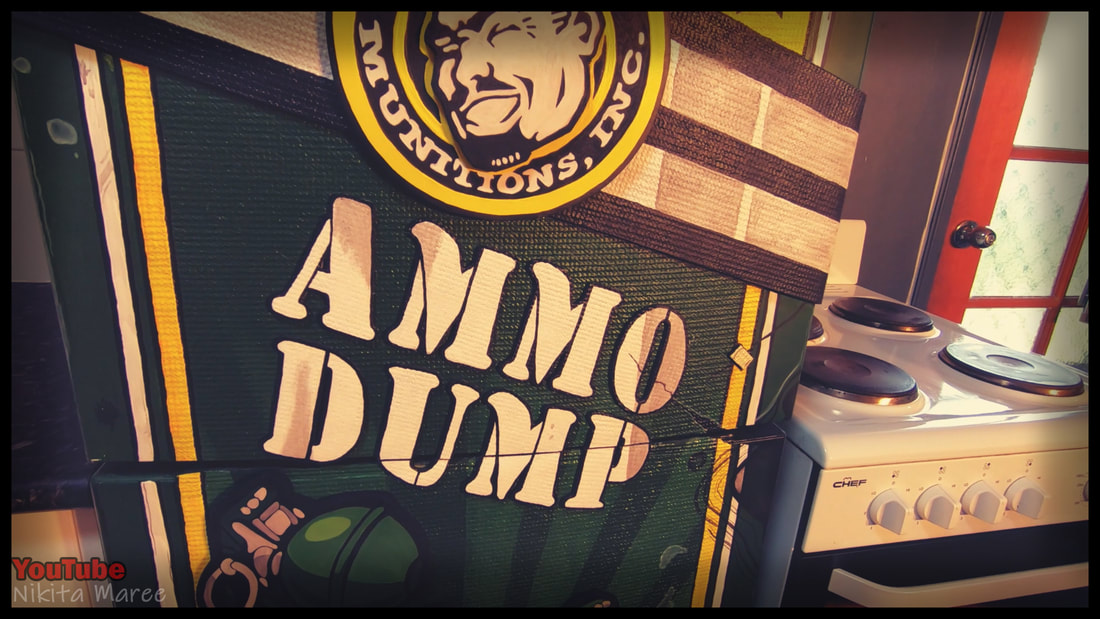
AMMO DUMP

|
|
|
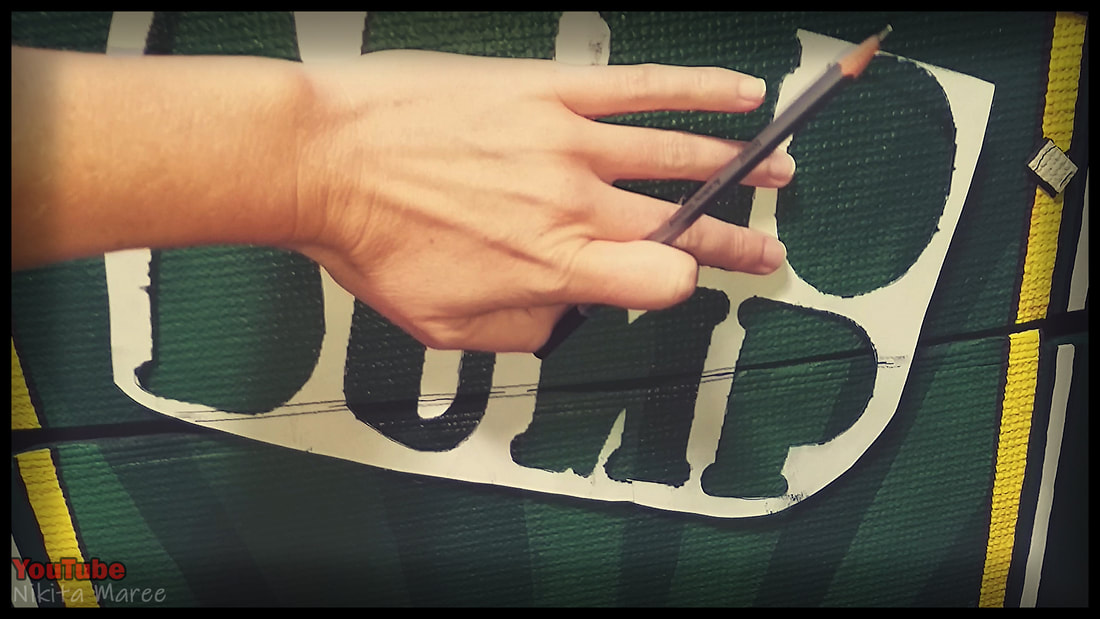
Image 1 - Print out the paper template.
Image 2 - Because I chose to put this on my fridge, I have to mark were
the fridge/freezer divide line is.
Image 3 - I then connect the dots, so I know were to cut the letters latter on.
Image 2 - Because I chose to put this on my fridge, I have to mark were
the fridge/freezer divide line is.
Image 3 - I then connect the dots, so I know were to cut the letters latter on.
|
|
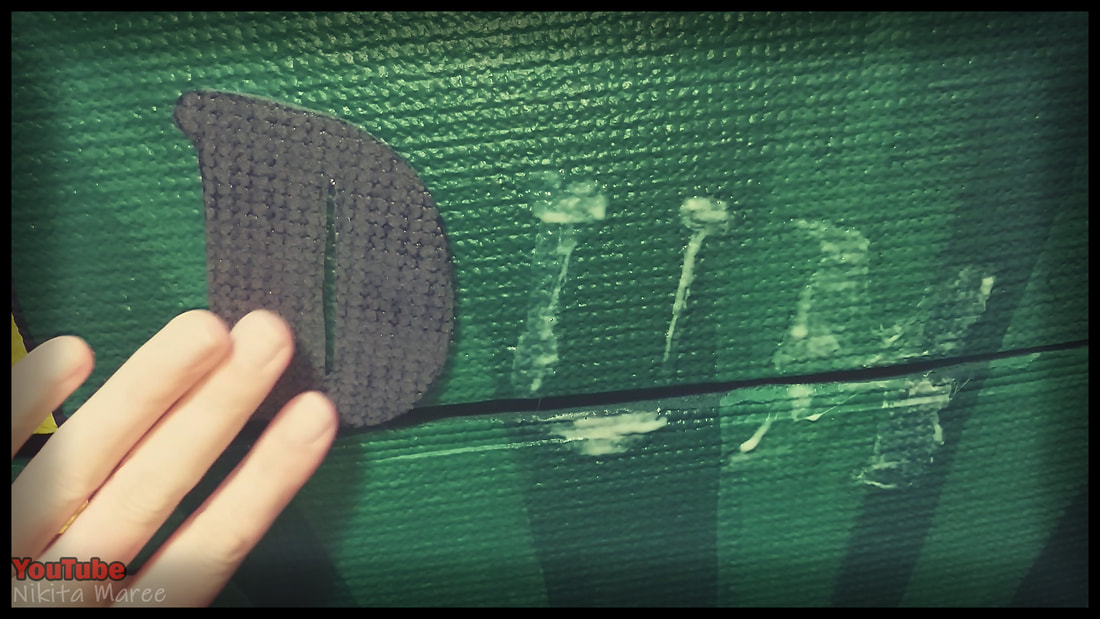
Image 1 - I am using the Yoga mat again for the letters. But this time sanding it down a bit.
Image 2 - Cut the letters out of the paper template and trace them onto the Yoga mat.
Image 2 - Cut the letters out of the paper template and trace them onto the Yoga mat.
|
|
|
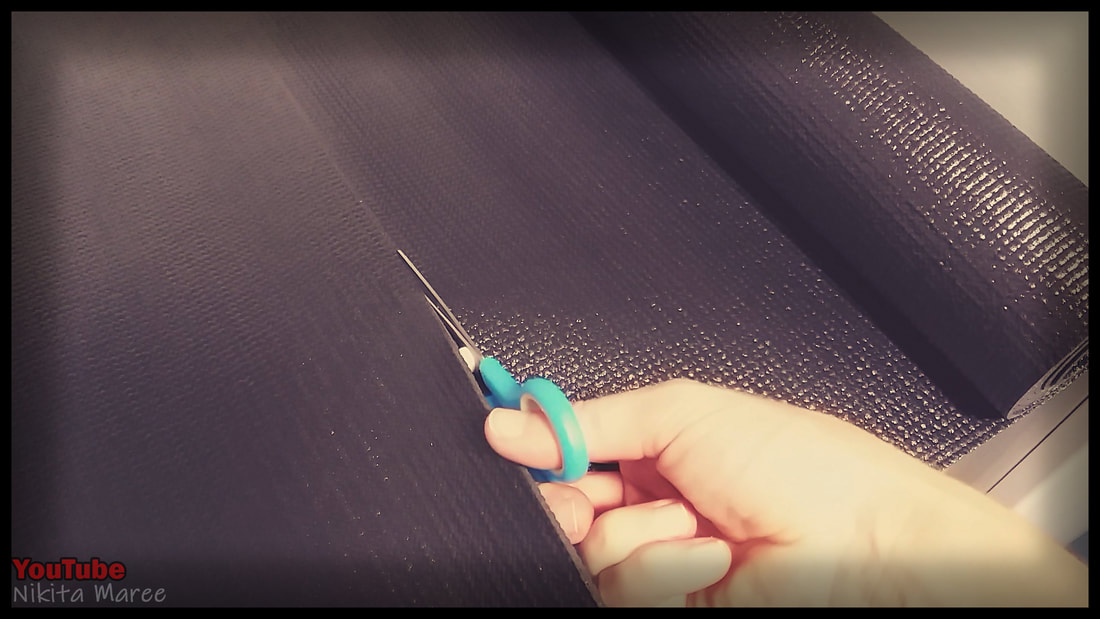
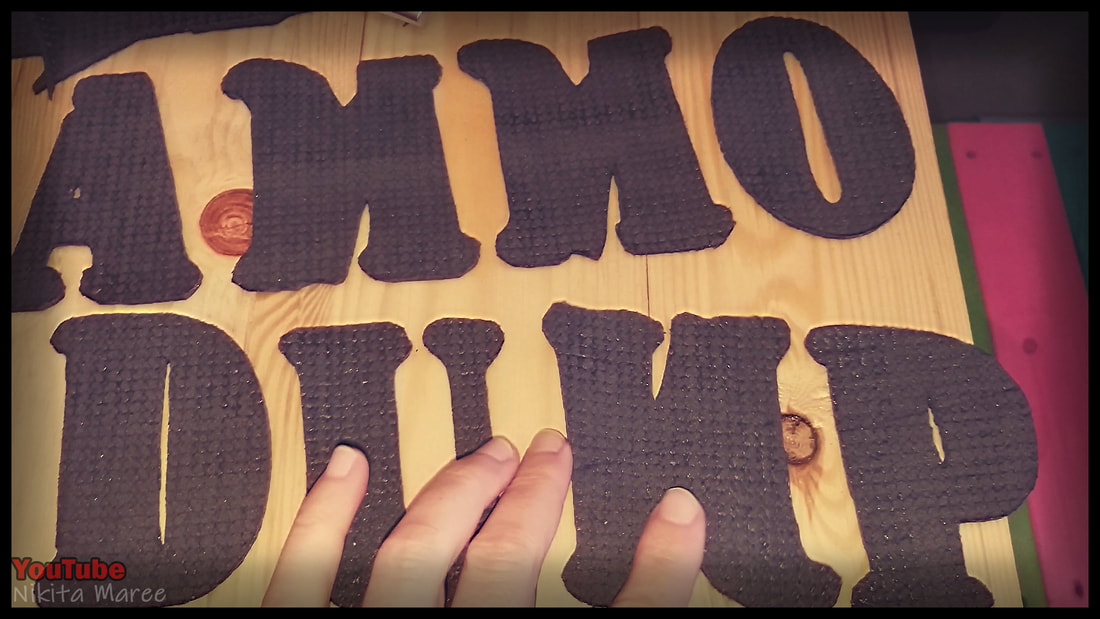
Image 1 - Because the Yoga mat is so thin, these letters are really easy
to cut out with scissors.
Image 2 - Cut out all the letters.
Image 3 - Also cut along the line were the fridge/freezer is split.
to cut out with scissors.
Image 2 - Cut out all the letters.
Image 3 - Also cut along the line were the fridge/freezer is split.
|
|
|
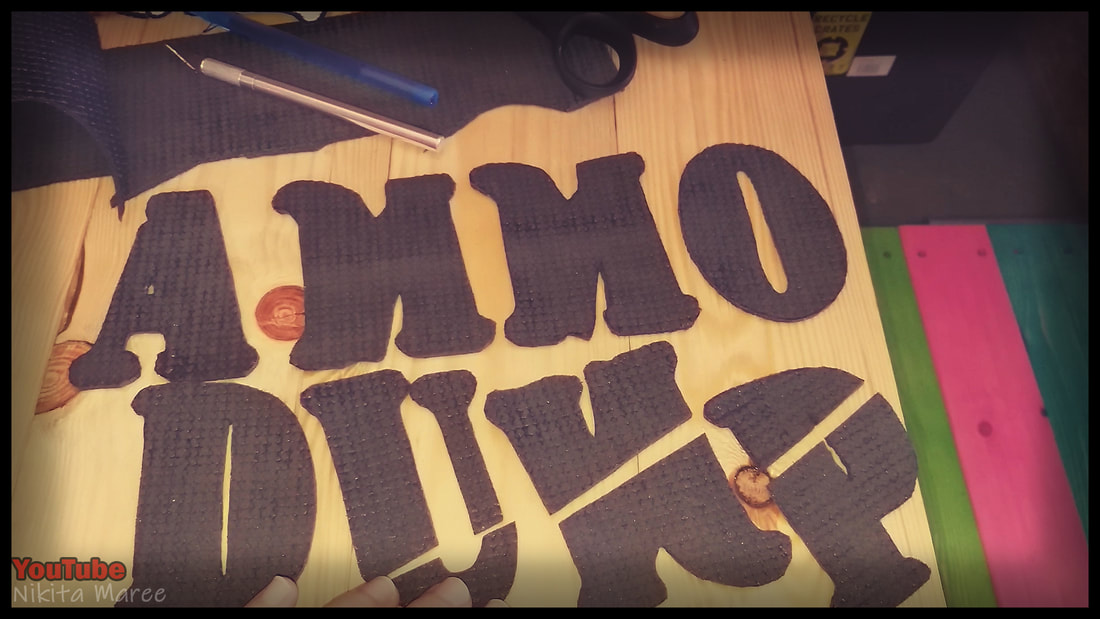
Image 1 - Lightly trace around the stencil onto the fridge.
Image 2 - Contact adhesive on both surfaces.
Image 3 - Place all the letters in position.
Image 2 - Contact adhesive on both surfaces.
Image 3 - Place all the letters in position.
|
|
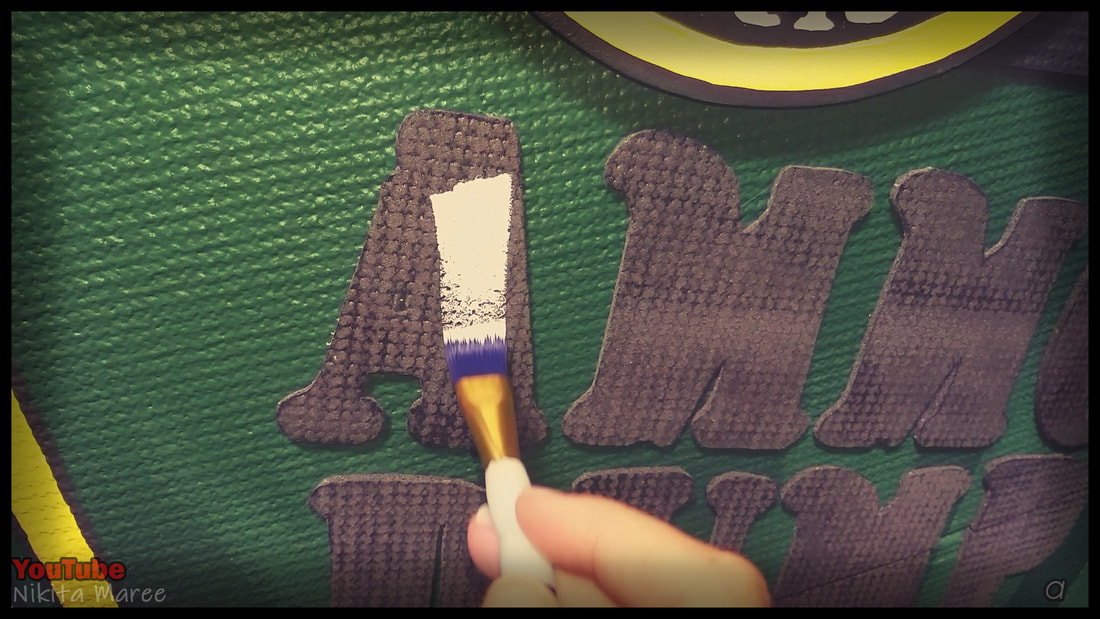
Image 1 - I gave all the letters an undercoat with PVA glue and then 2 coats of white paint.
Image 2 - Paint on some light gray areas.
Image 2 - Paint on some light gray areas.
|
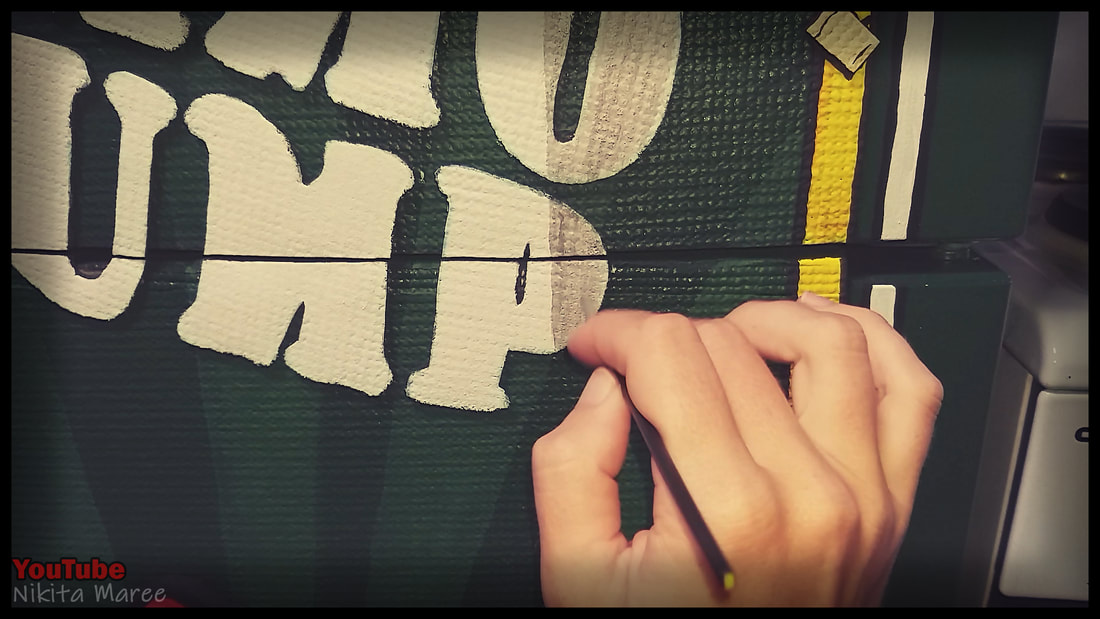
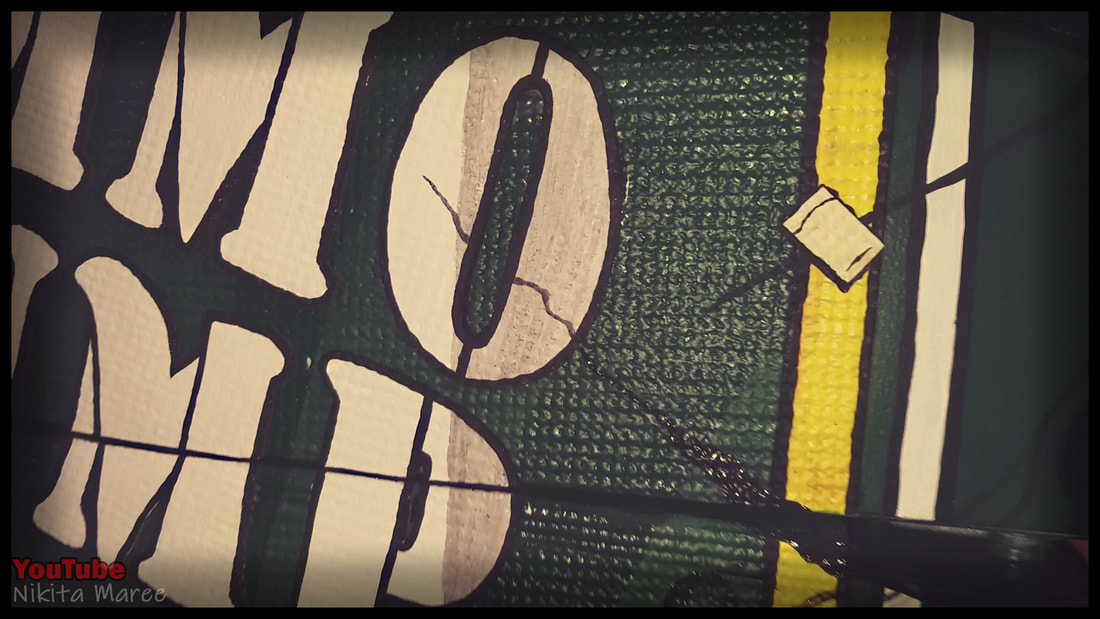
Finish off the letters by outlining them all with
a thin black border. |
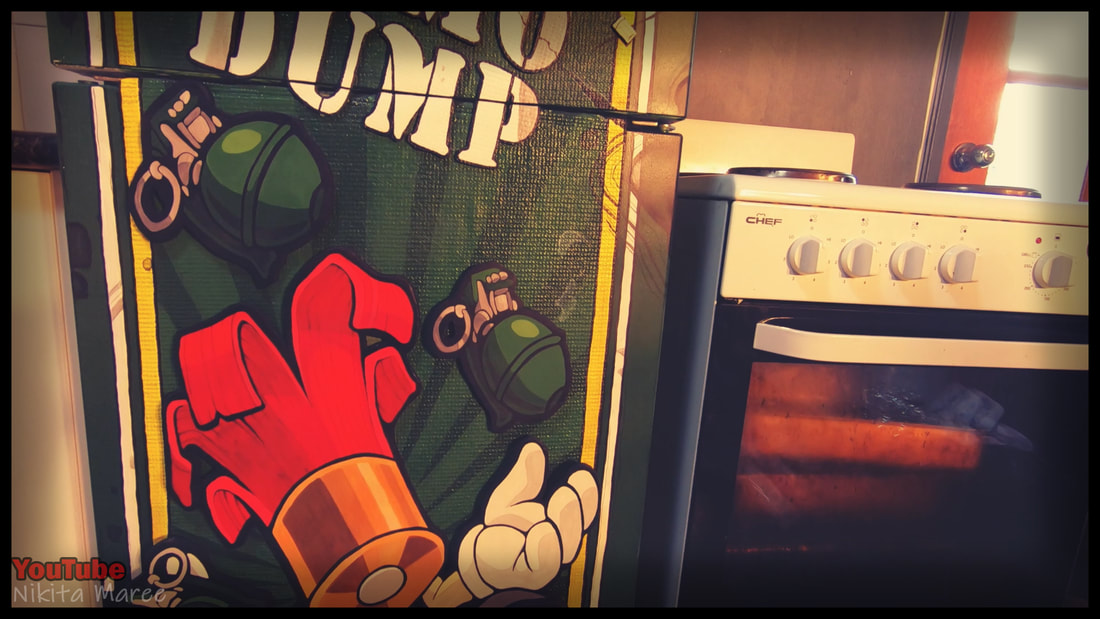
GRENADES
|
|
|
Print out the grenades and trace them onto the plywood.
Cut them out with the Jig Saw and give them a bit of a sand.
Cut them out with the Jig Saw and give them a bit of a sand.
|
|
|
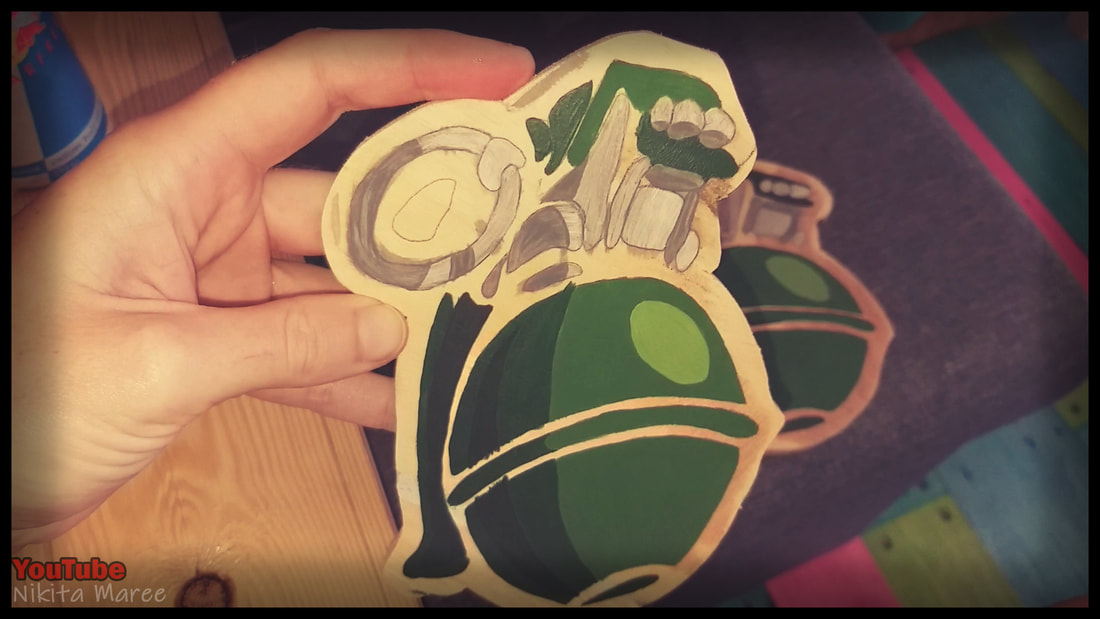
Image 1 - Use carbon paper to trace on all the detail lines.
Image 2 - Paint in the basic colors.
Image 3 - Then add in the highlights and a few extra details.
Image 2 - Paint in the basic colors.
Image 3 - Then add in the highlights and a few extra details.
|
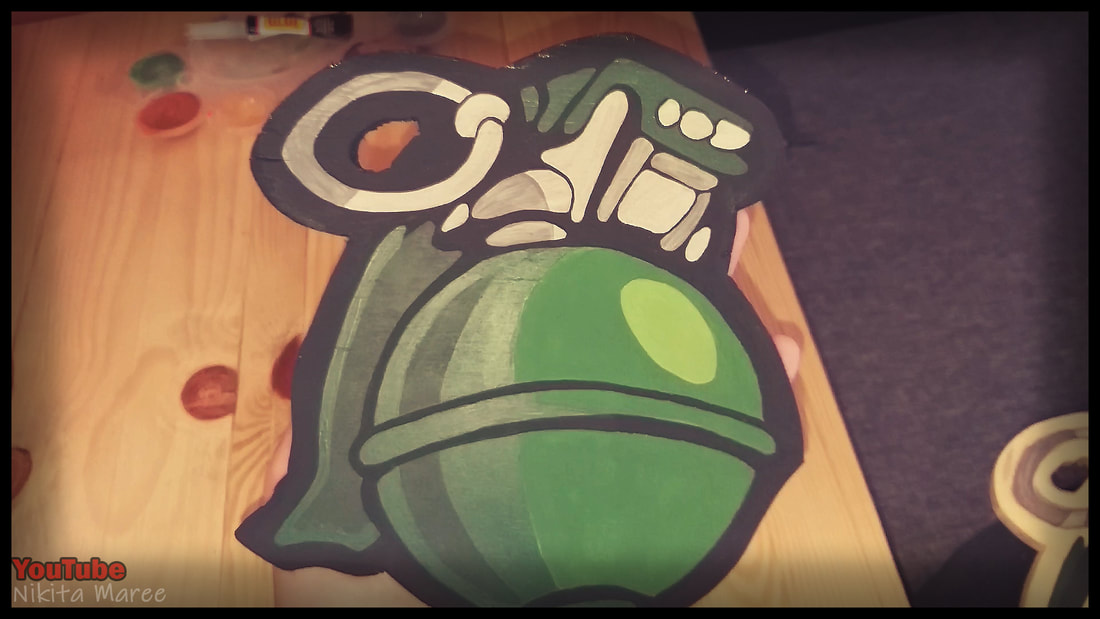
Paint in the black details and borders
with a small brush. |
|
|
Contact adhesive on both surfaces and place in position.
FINISHING DETAILS
|

|
|
Add in some extra spills, drips and splashes all around the fridge.
With both the black and white acrylic paint.
With both the black and white acrylic paint.
|
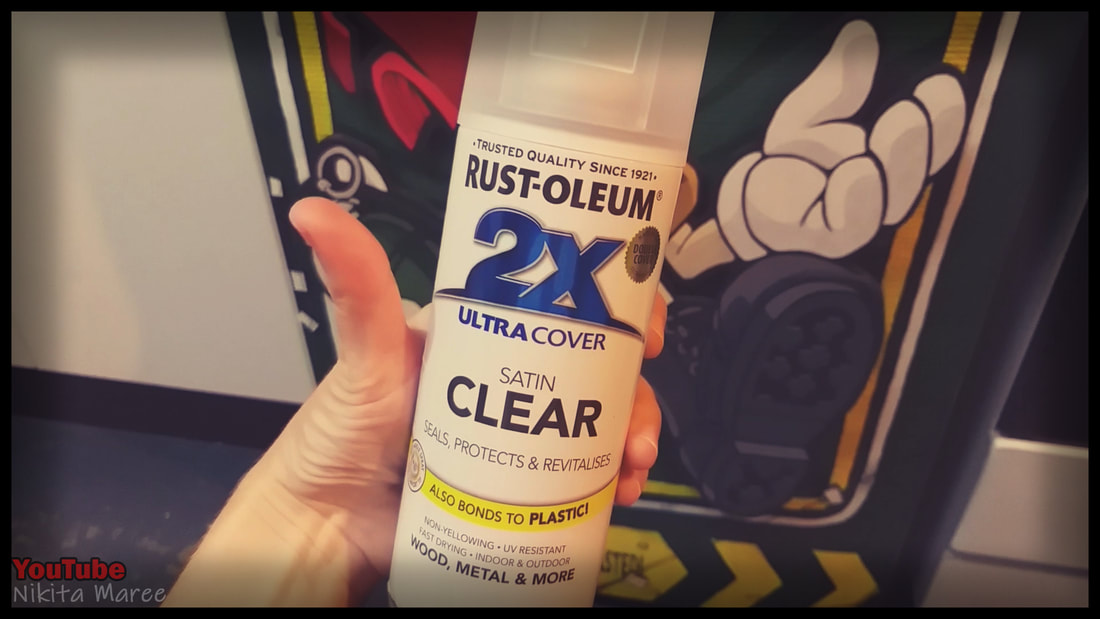
Now that everything is finished,
it is time to protect the paint work. I used an Ultra Cover clear satin finish. |
FINAL THOUGHTS

|
|
|
|
I learnt a lot from this project.
Especially about painting.
I definitely had movements that I felt like giving up,
when certain materials were not working for me.
This project took me many months to complete but after all that,
I have something I was proud of.
I have the full video tutorial on YouTube
if you wanted to see some of the issues that arise
and how I overcame them.
