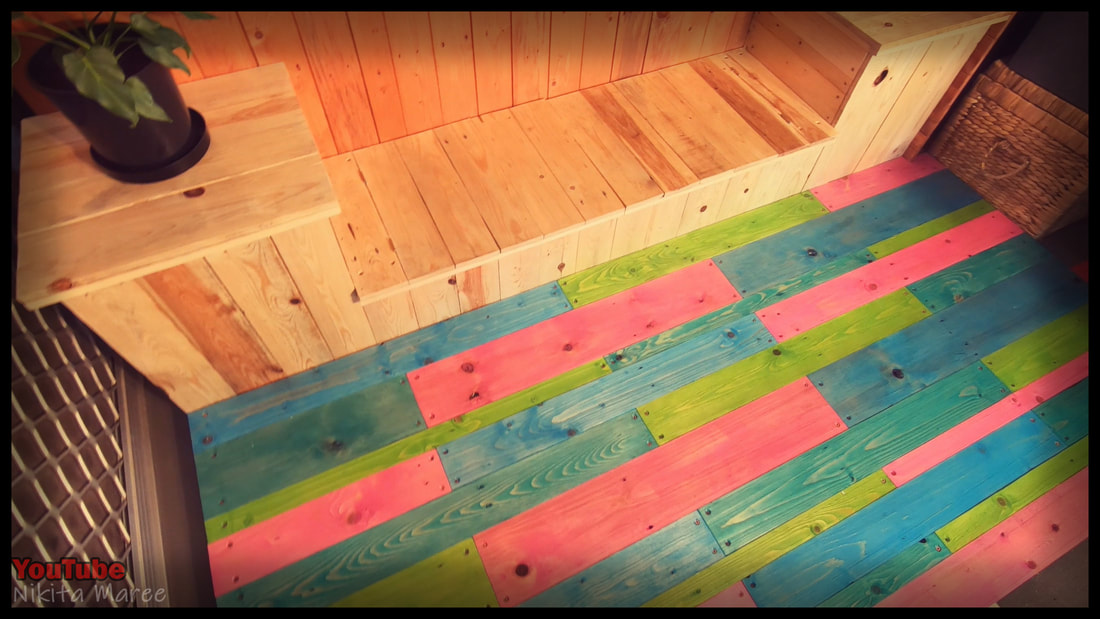
How to Build a Pallet Paling Floor
In this video, I go over the steps I took in creating this bright floor in our school room.
I used pallet wood palings and non-structural pine.
Cheap chip board screws to attach them and poster paint to color.
I used pallet wood palings and non-structural pine.
Cheap chip board screws to attach them and poster paint to color.
|
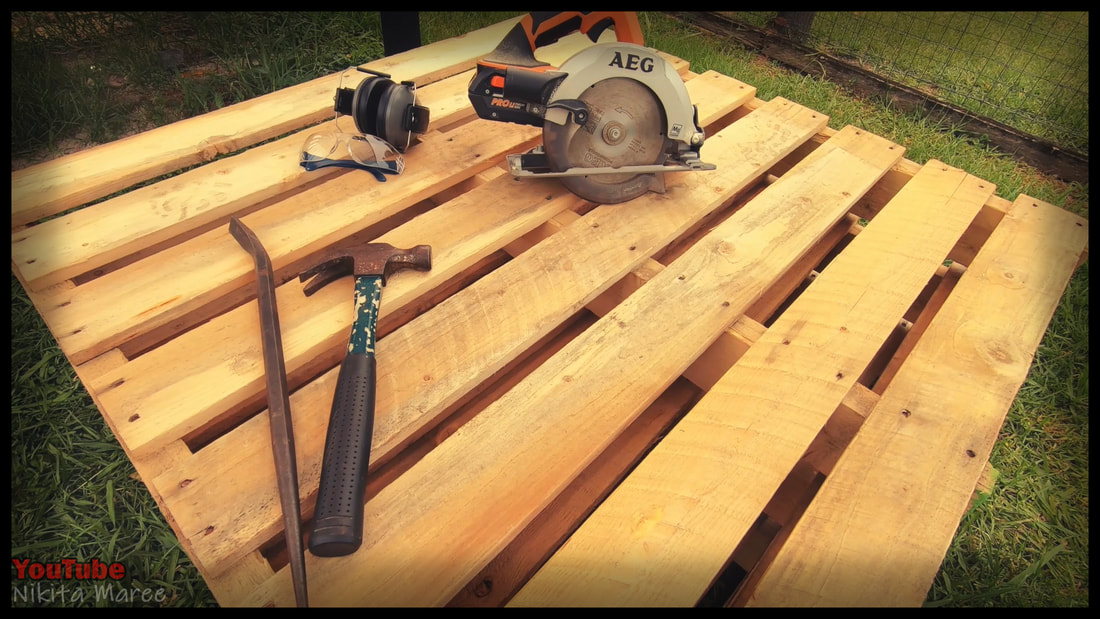
Start by cutting and pulling apart some pallets.
|
|
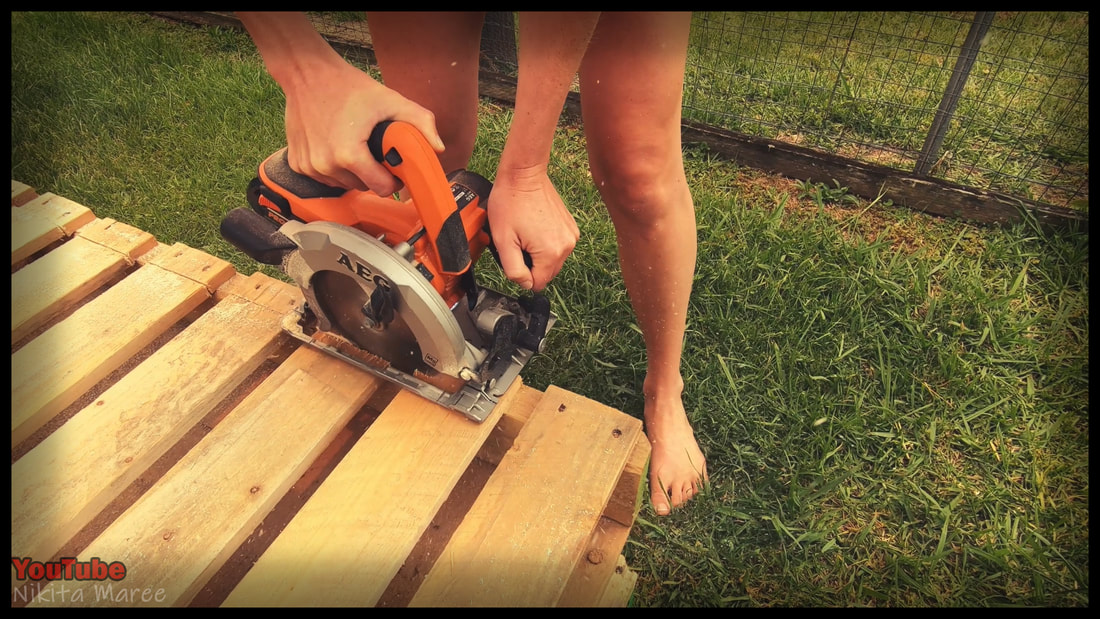
Run the circular saw down either side
of the pallet. |
|
|
flip it over and do the same for the other side.
|
|
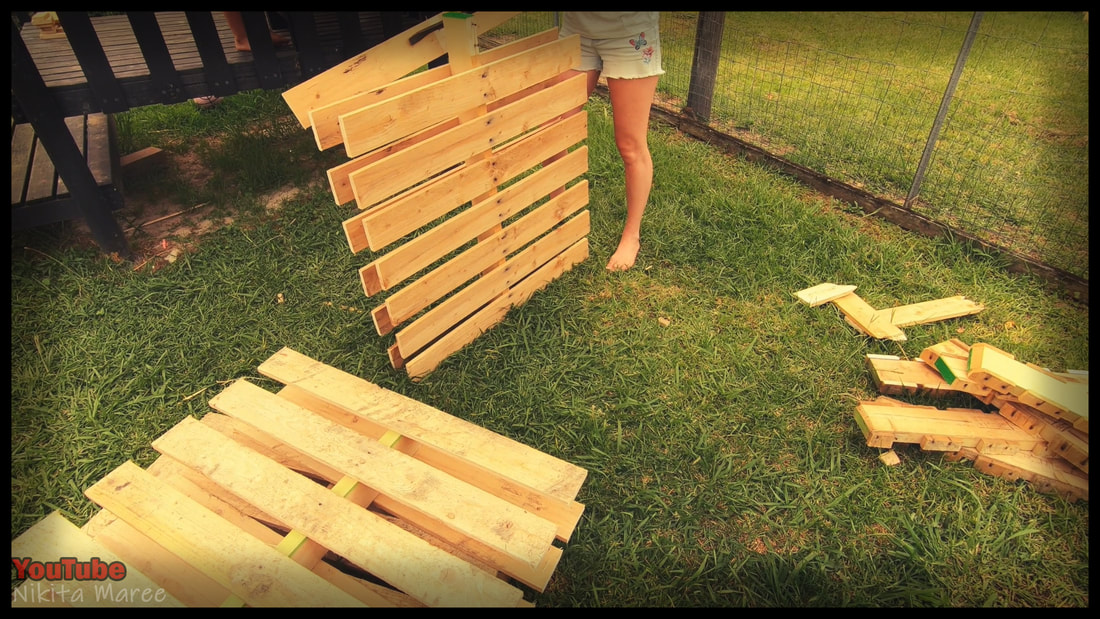
Twist and rock the palings back and forth then leaver them off with a pry bar.
|
|
|
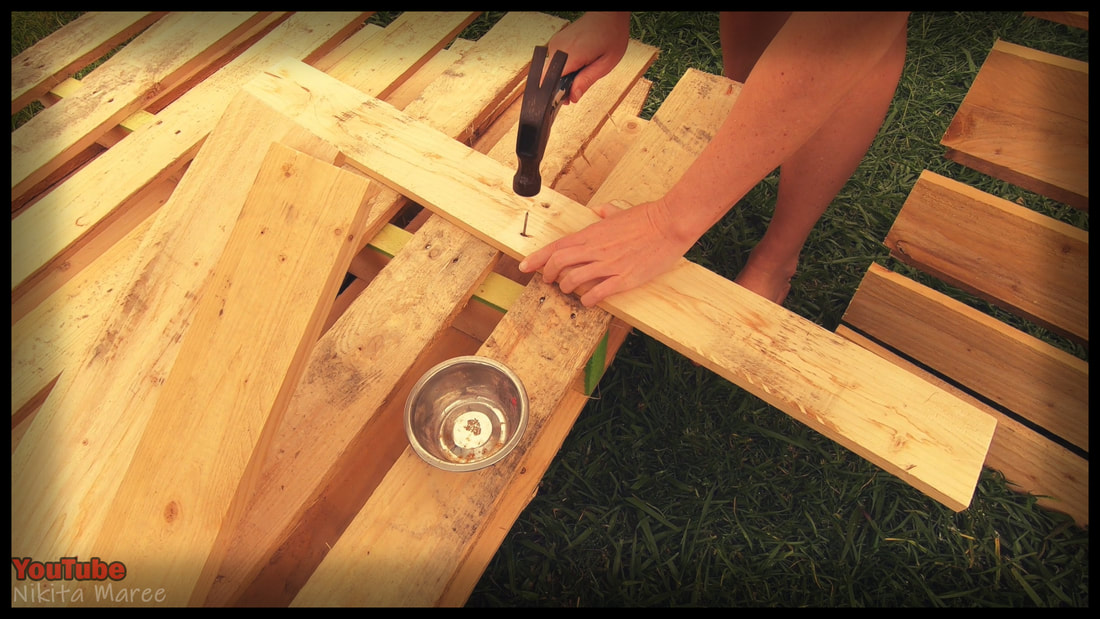
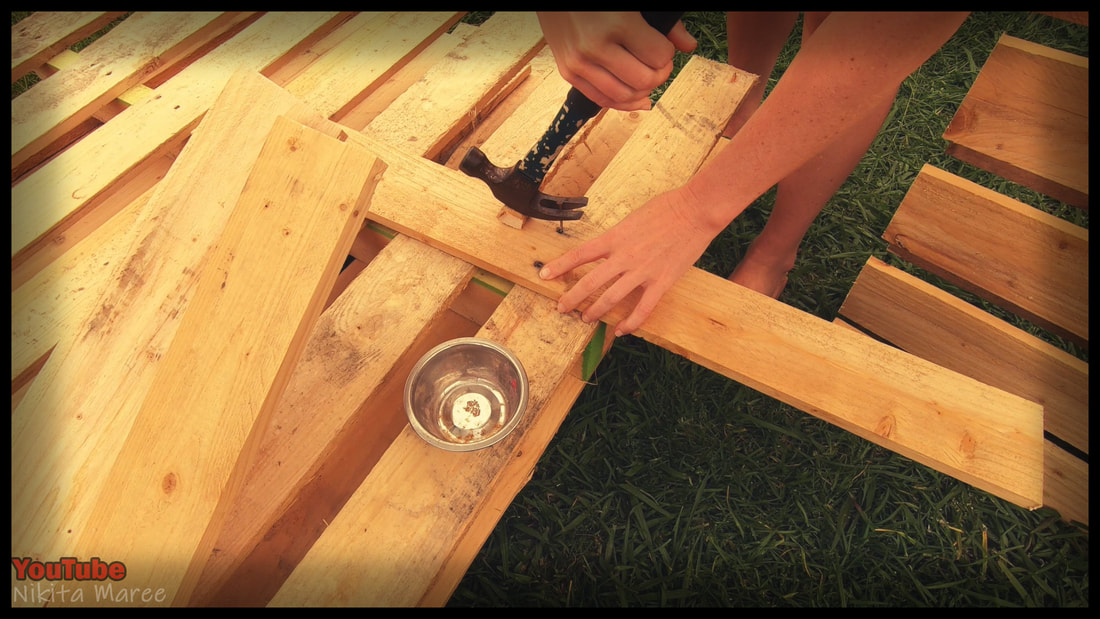
Hammer out all the nails.
|
|
Flip it over and use some kind of chock
to remove them. |
|
|
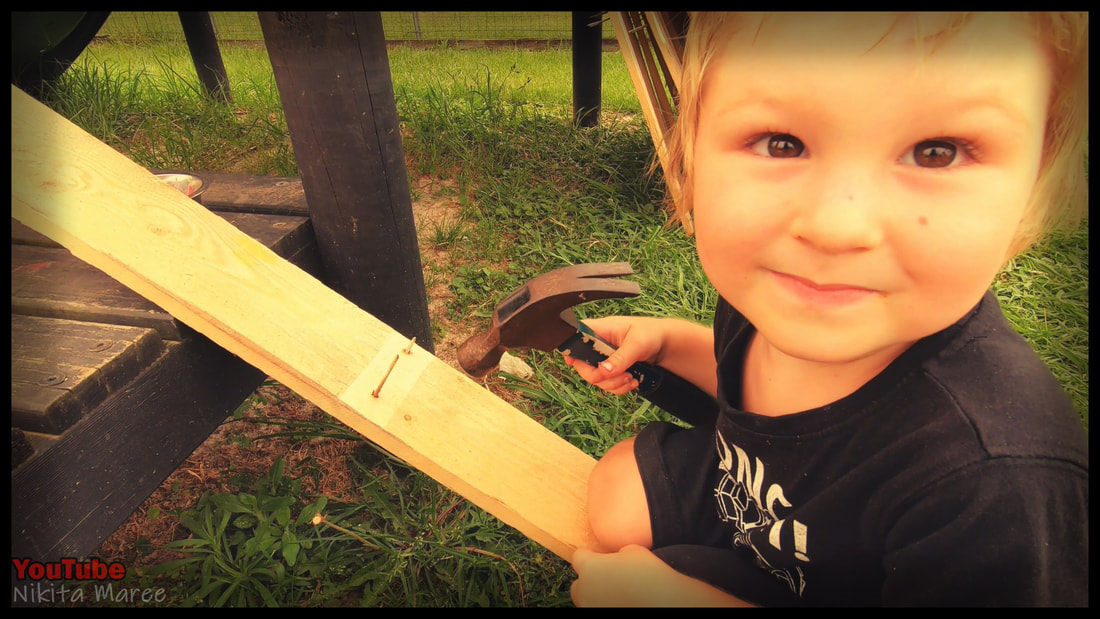
The kids love helping with this part.
|
|
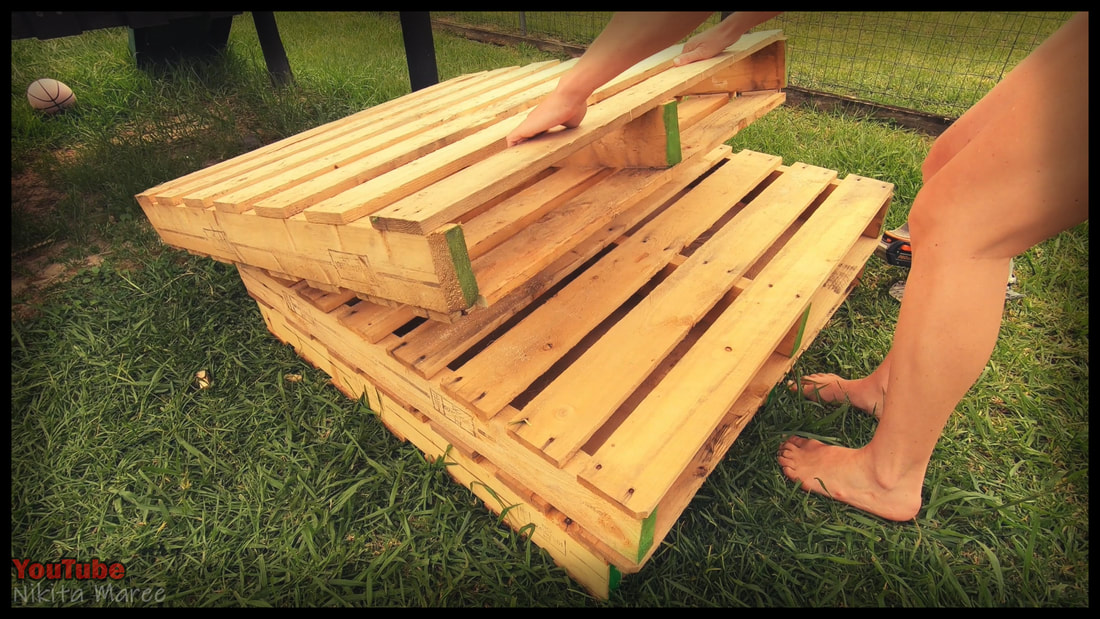
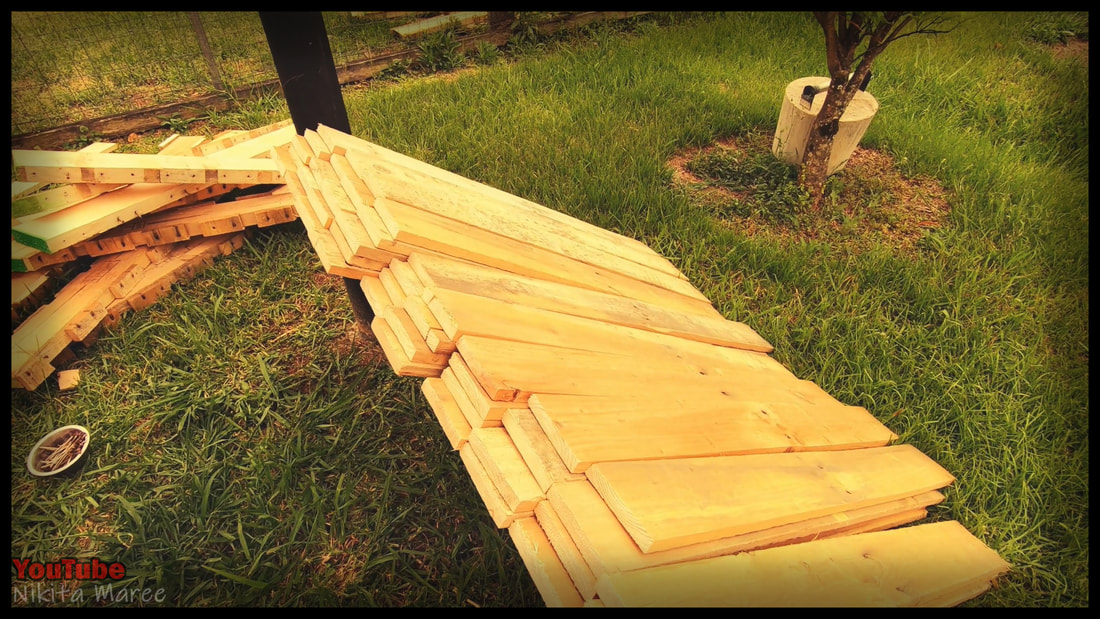
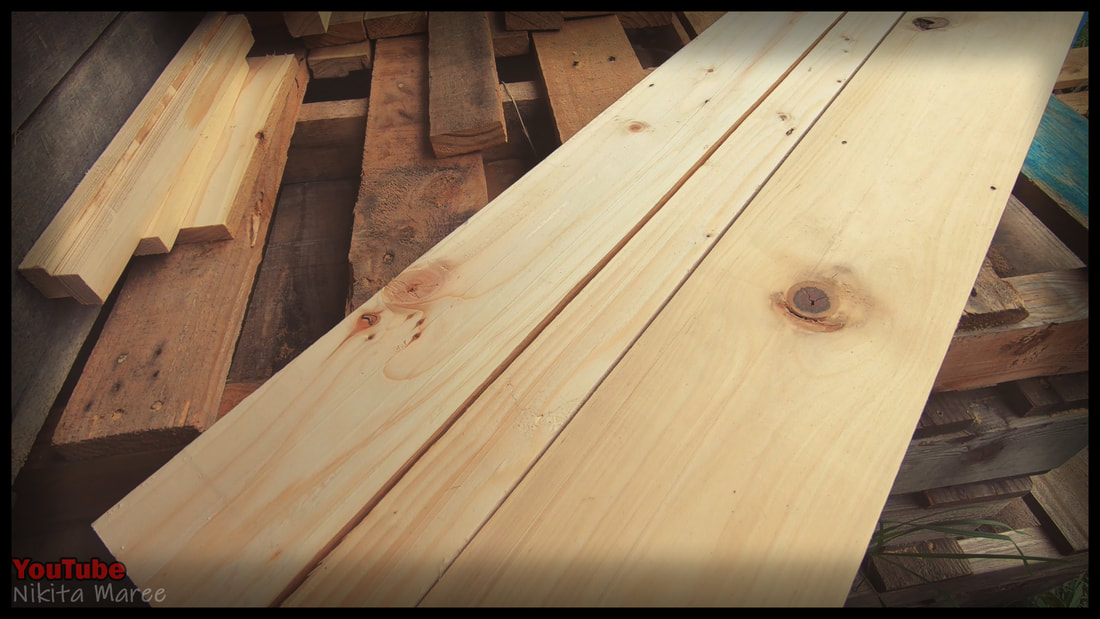
3 pallets worth of palings make quite
a nice starting point. |
|
|
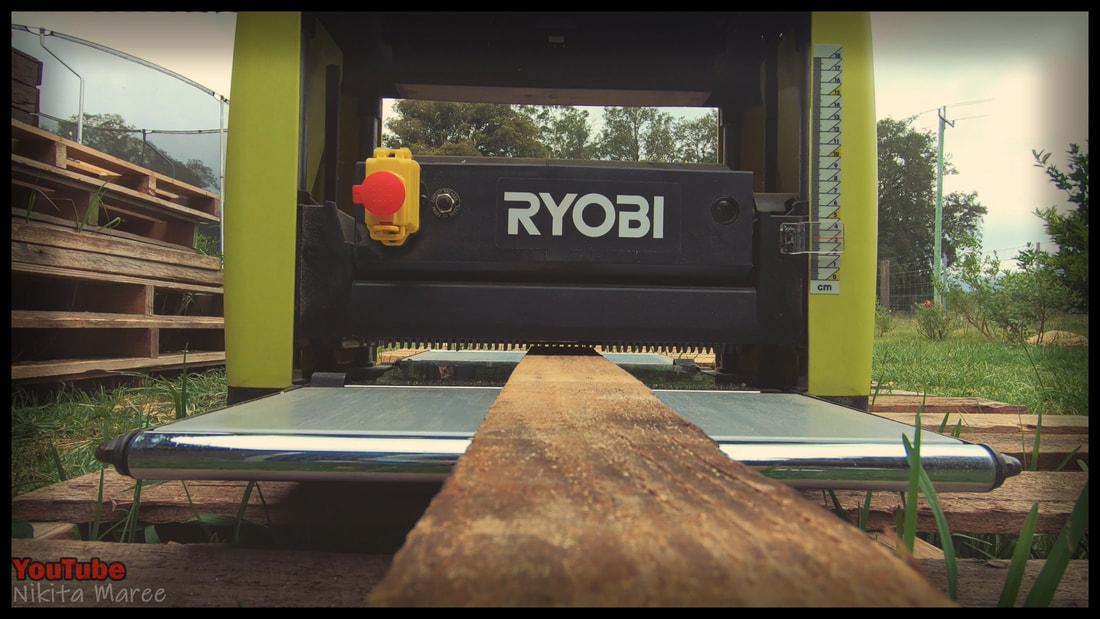
If you have a thicknesser, then you can
run all the palings through that, just to clean then up a bit. |
|
But if not, you could use an eighty grit
flappy disk on the angle grinder and a 120 grit on the sander. |

|
|
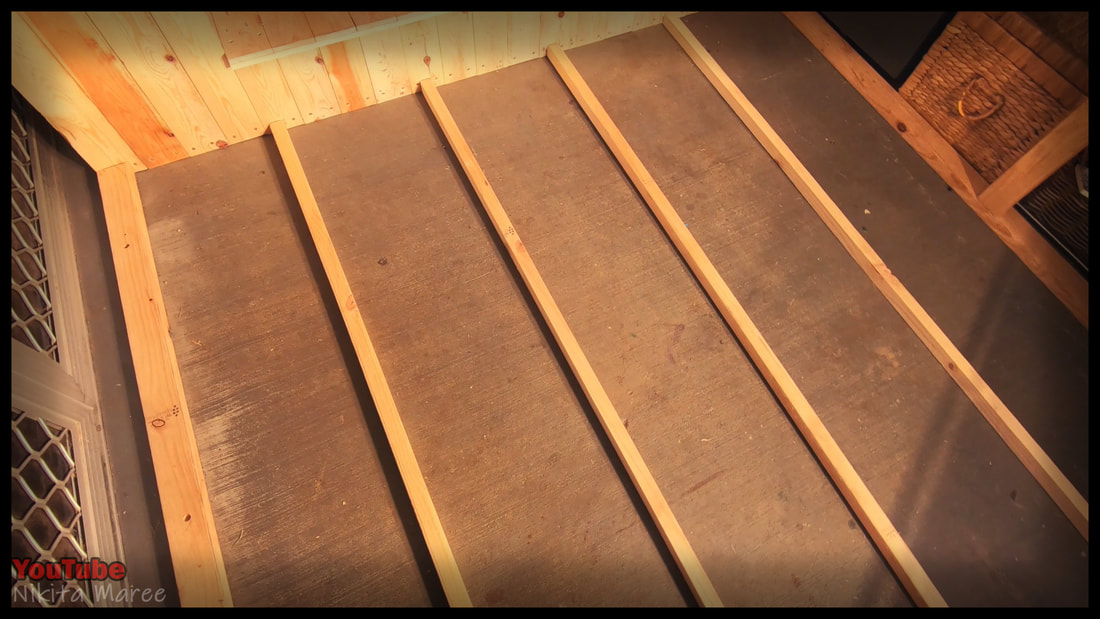
Decide were you want to put your floor and what direction you want the floorboards to run.
|
|
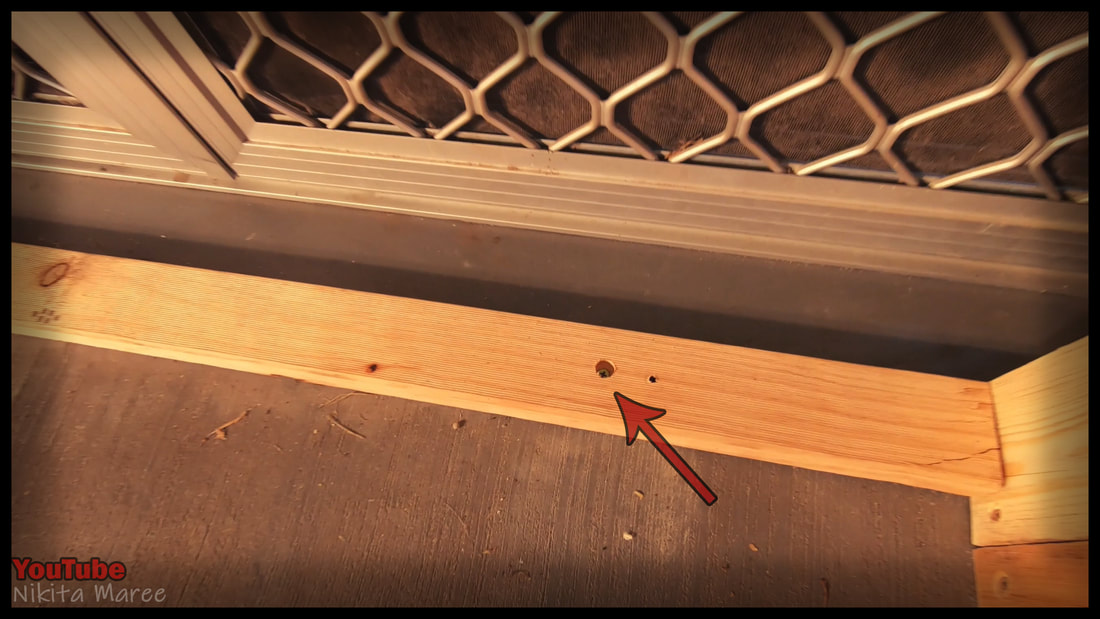
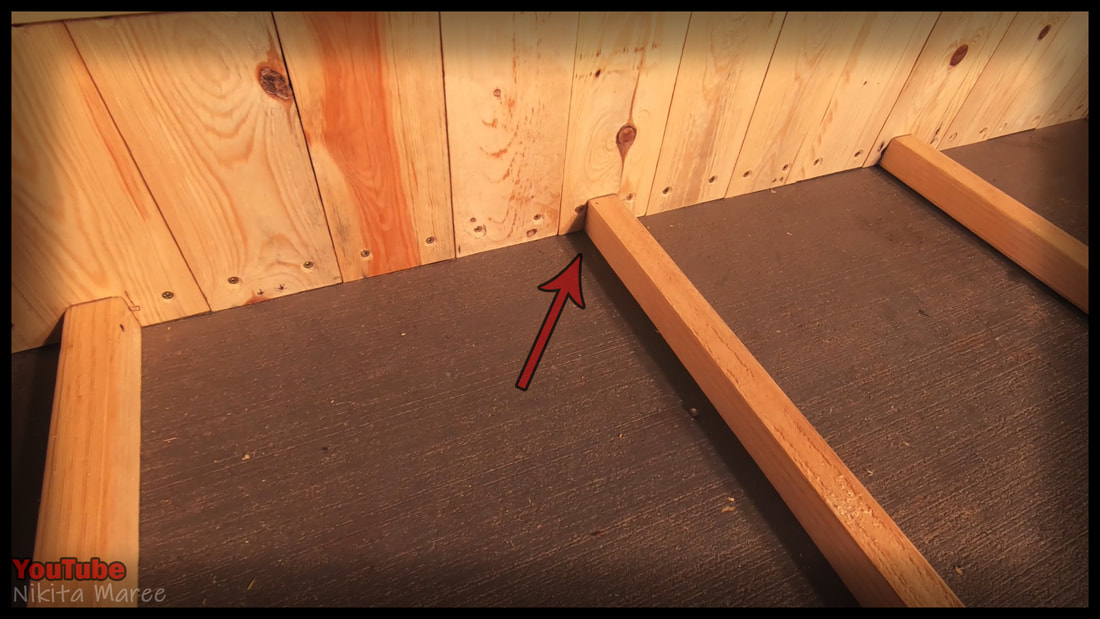
The edge frame of the floor is attached into the concrete using a masonry drill bit
and plastic plugs. |
|
|
The rest of the pieces are just resting
on top of the ground. |
|
But to prevent them from being kicked
out of position by my kids, I attached them either end using pocket holes. |
|

|
This isn't exactly how you are meant to use
this jig, but I don't have the rest of it and this works just fine. |
|
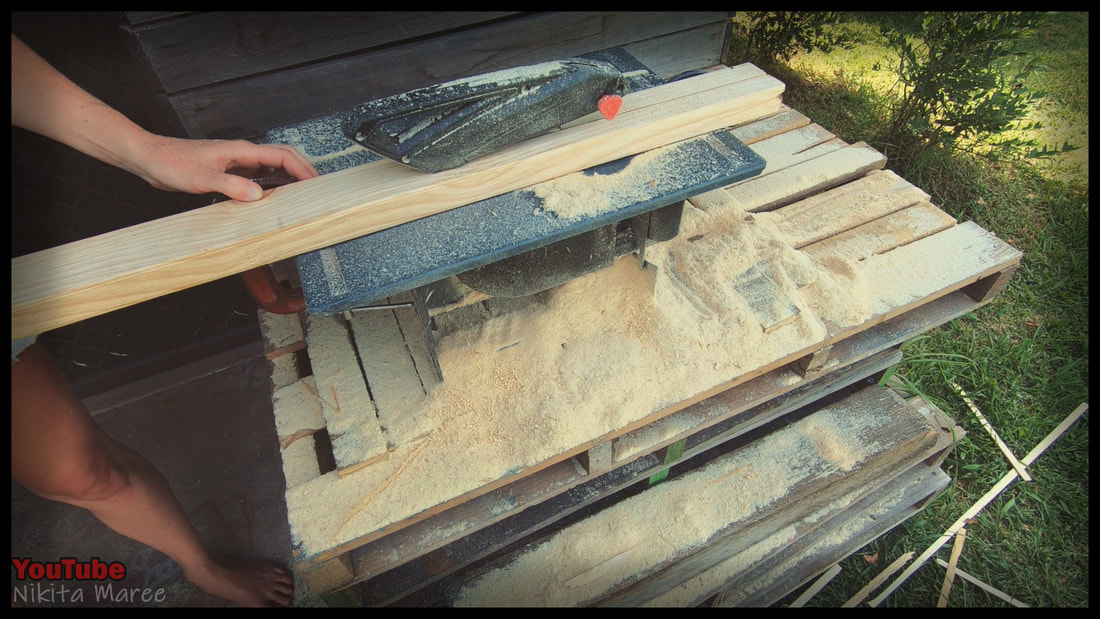
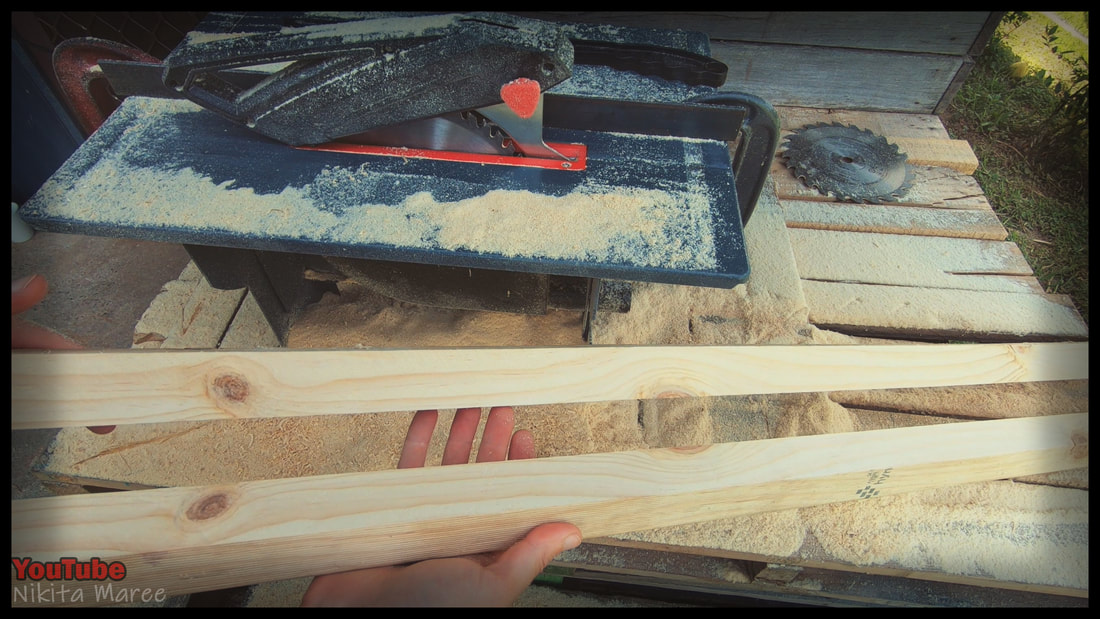
To save on both space and money. I run the lengths of 70x35 down the table saw...
|
|
|
to rip them half.
|
|
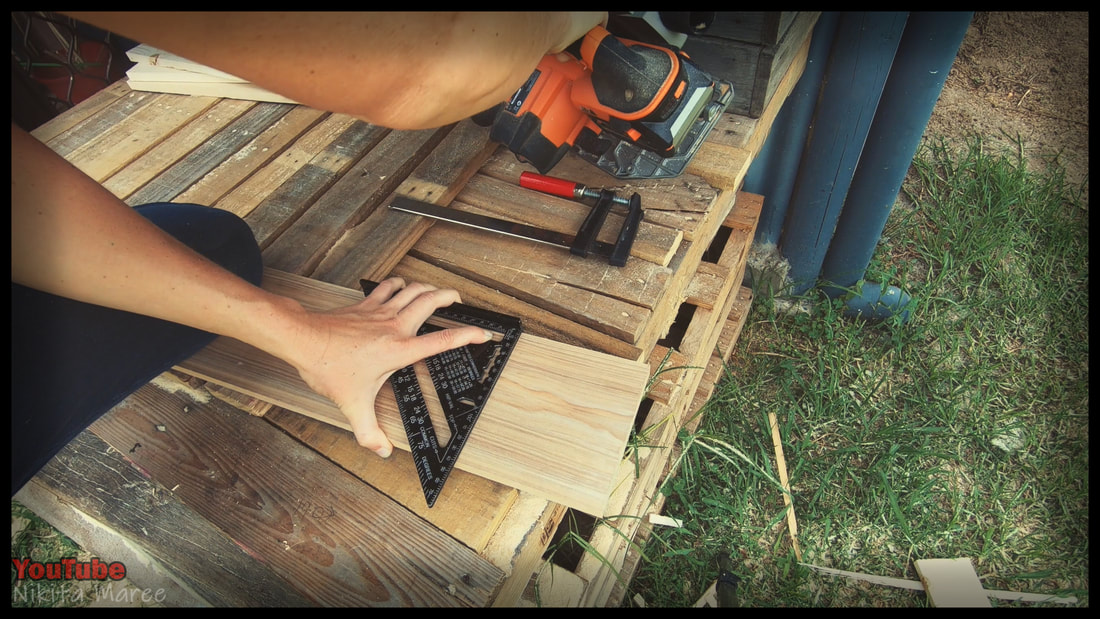
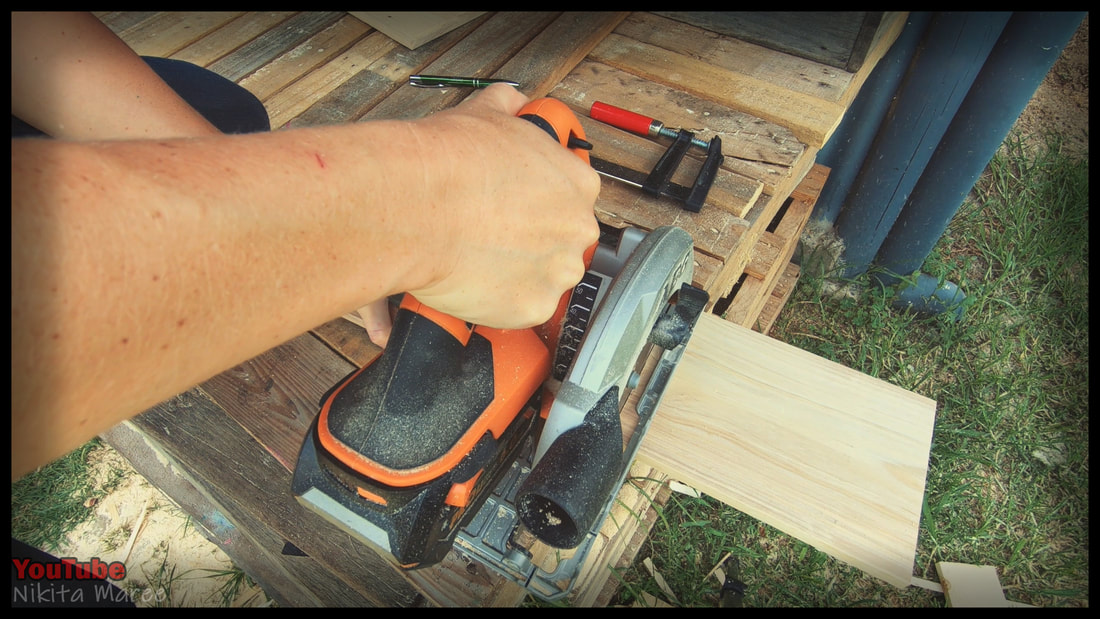
For the pallet palings, I first square up one end.
I do this by running the circular saw along the speed square. |
|
|
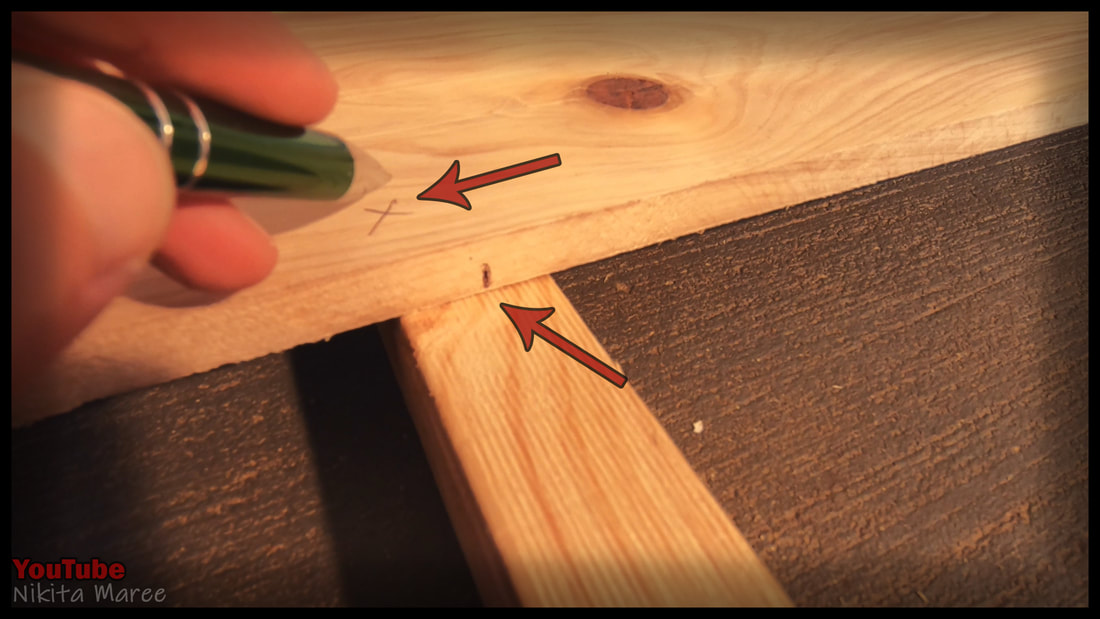
Mark the length and were you want
the screw to go. |
|
Take it back out side, and cut it to length.
|
|
|
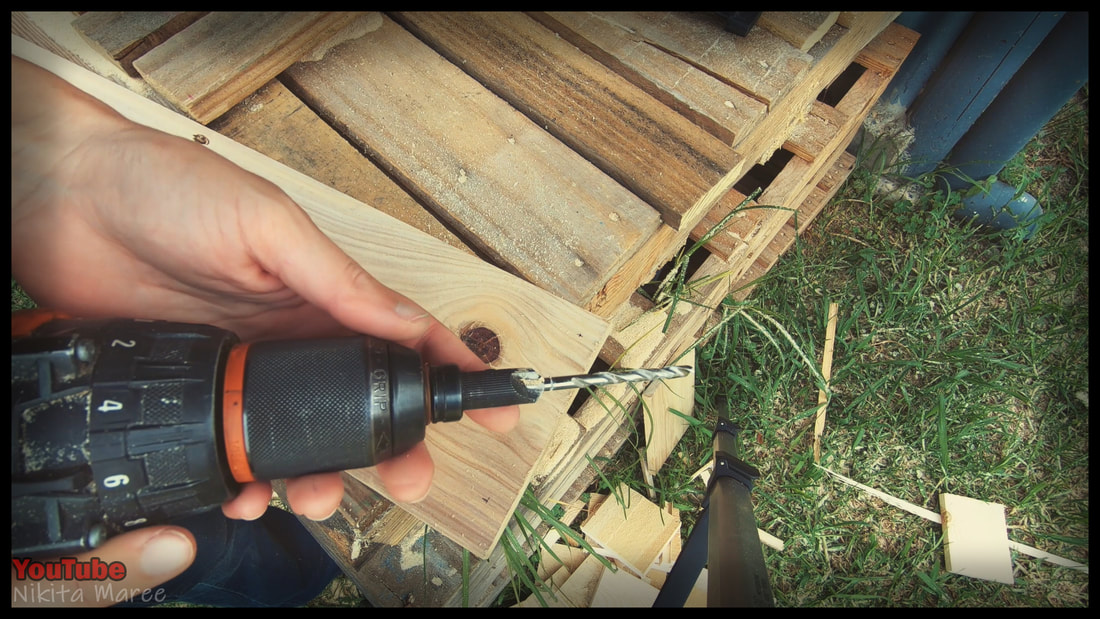
Pre-drill and chamfer the holes.
Thanks to dad, I now have a counter sink drill bit to both of those jobs in one go. |
|
otherwise you can just do one
and then the other. |

|
|
If you want to add a bit of extra character,
you can vary the widths of the boards. I did this by running the palings down the table saw. |
|
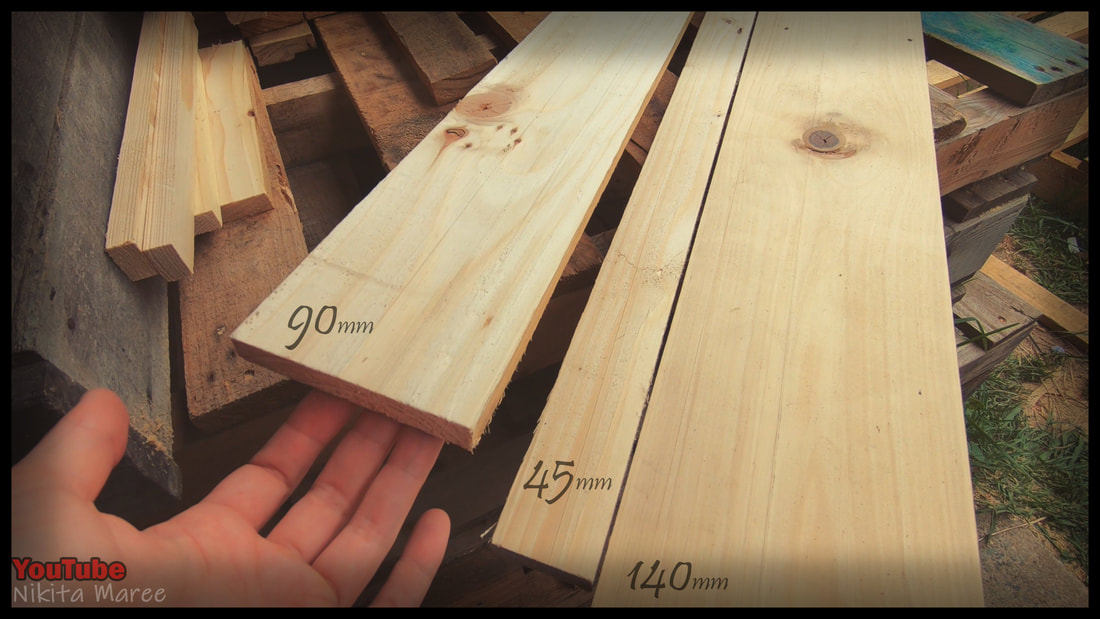
I picked 45mm, 90mm and 140mm
for my varying widths |
|
|
when you have all the pieces cut,
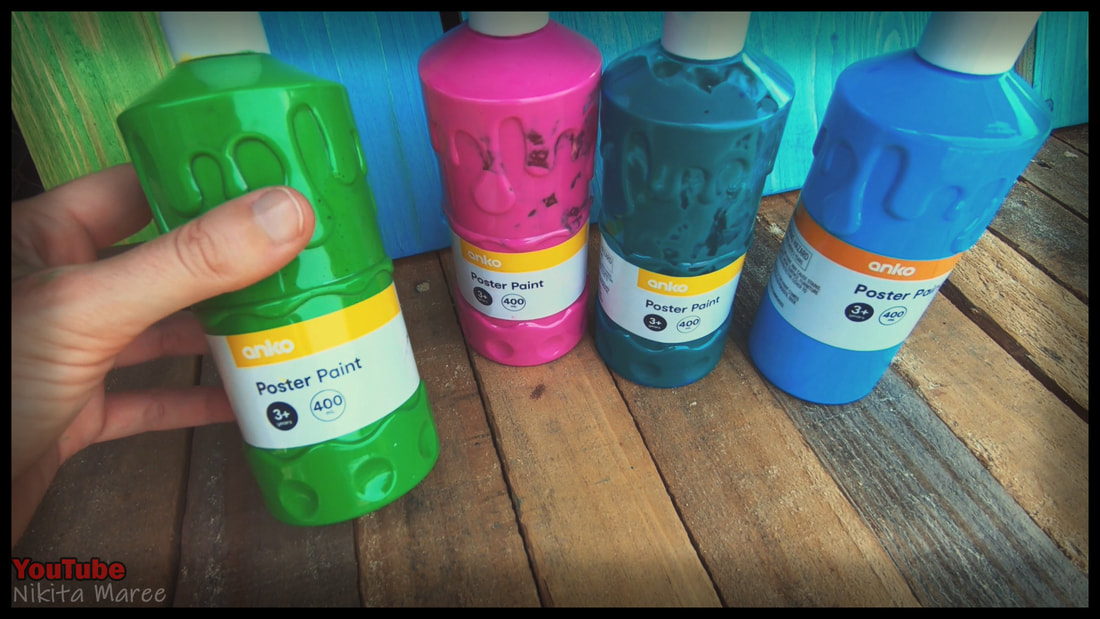
it is time to paint them. I am using cheap Poster paint. |
|
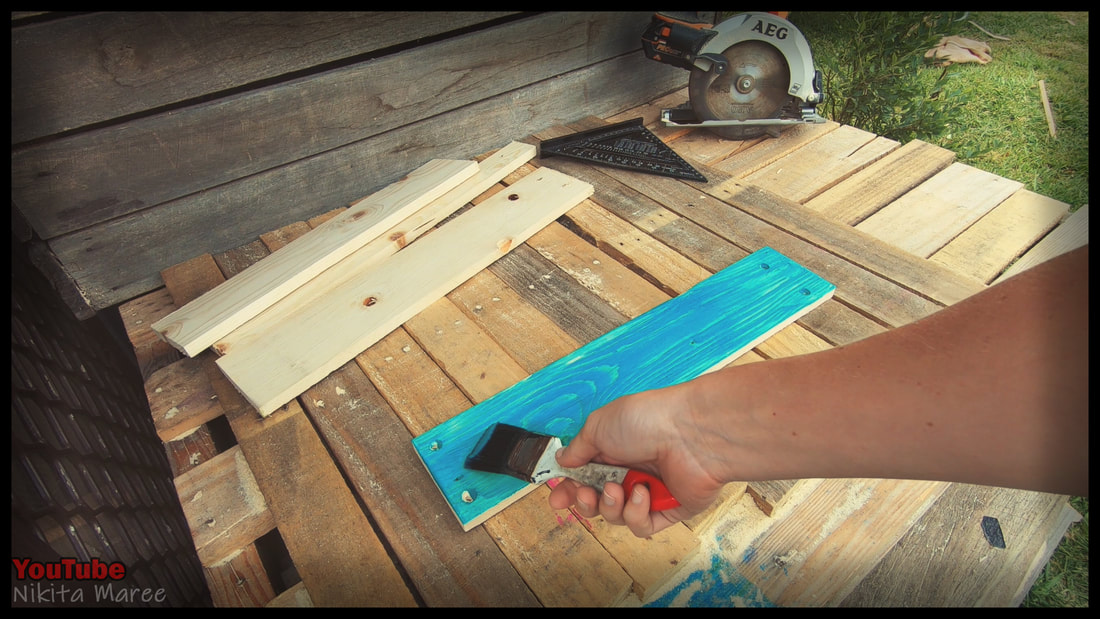
And then slap on some paint.
I gave each board 2 coats each. |
|
|
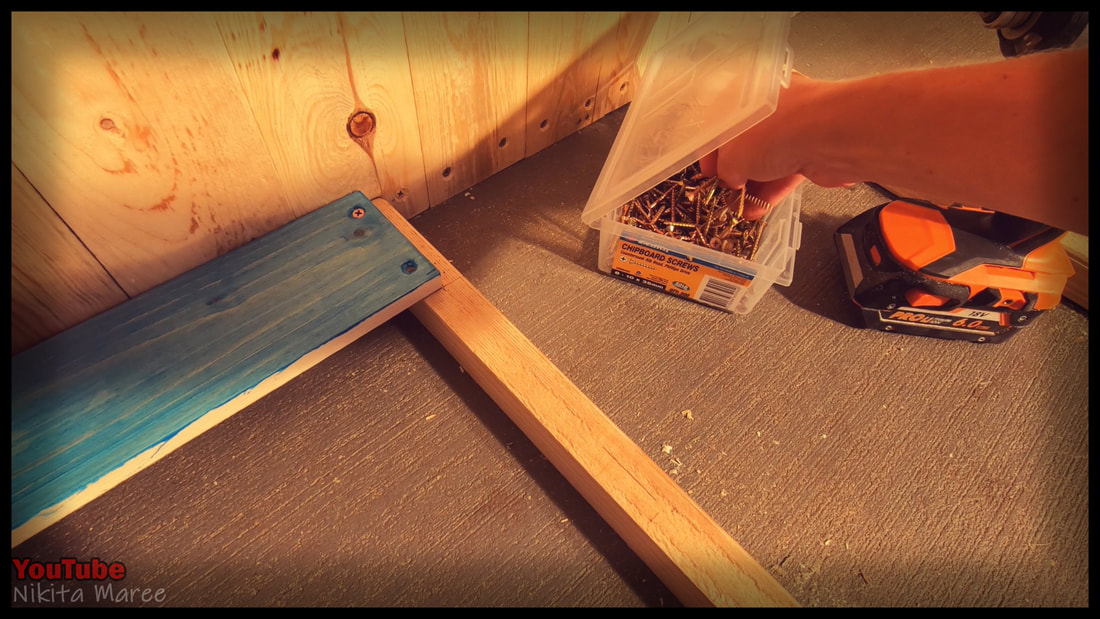
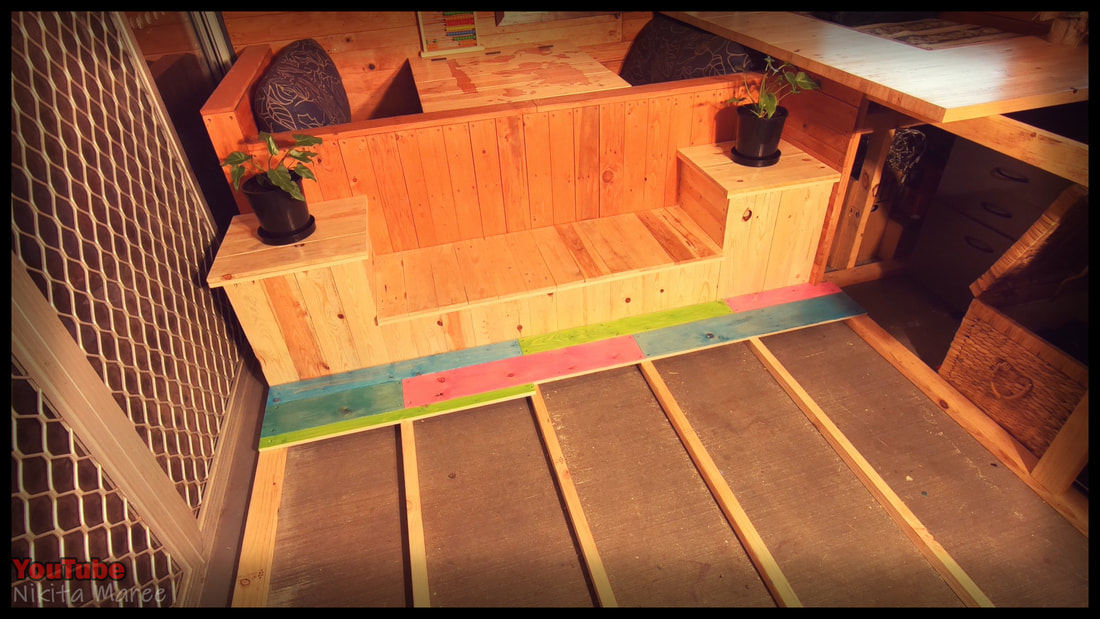
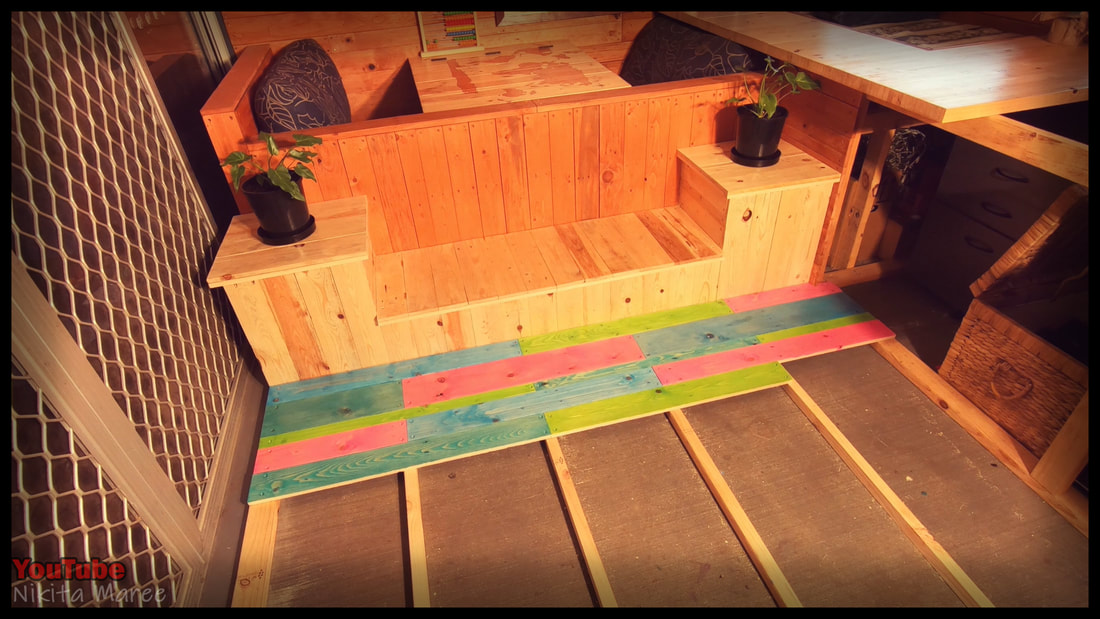
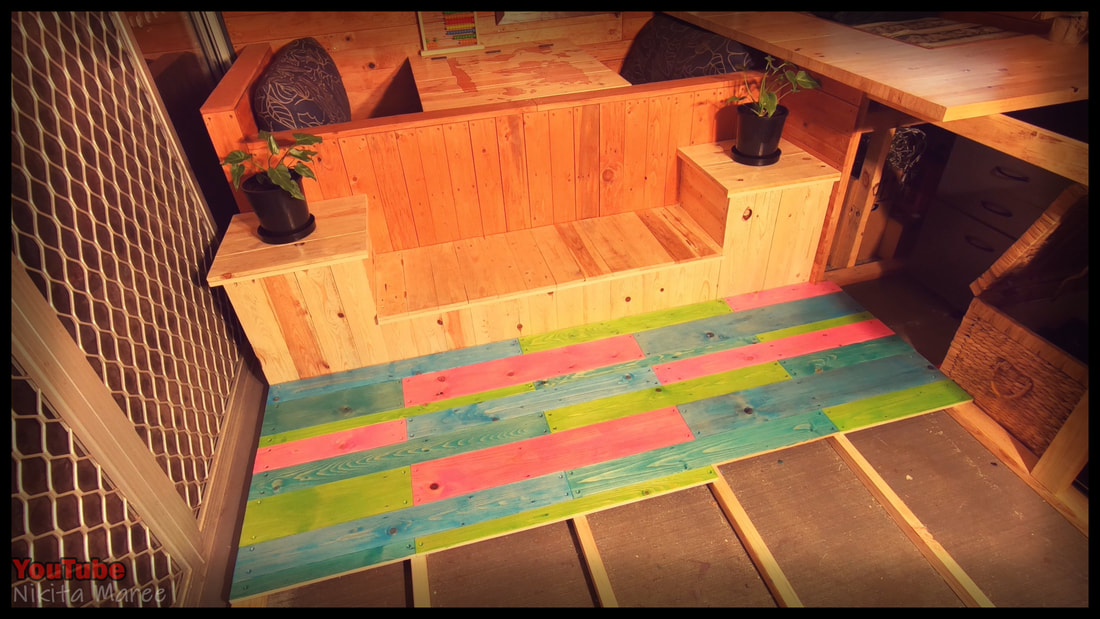
Attach the boards to the floor frame,
using 35mm chipboard screws. (because they are affordable). |
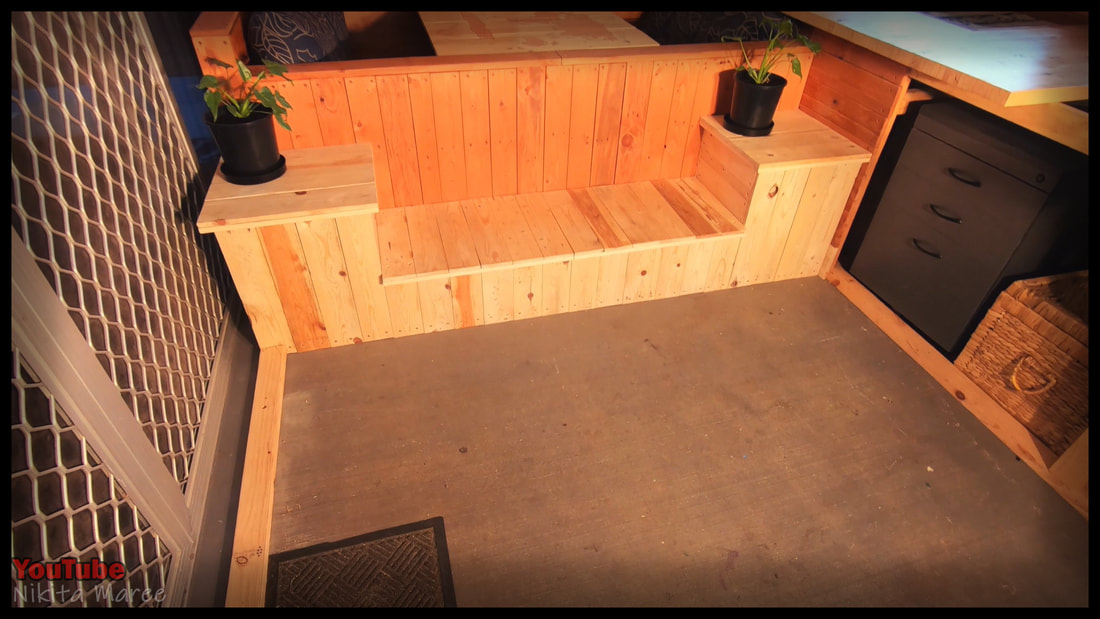
Then sit back and watch the floor come together.
This would also look great as a bedhead or a studio wall.
This would also look great as a bedhead or a studio wall.
|
|
|
|
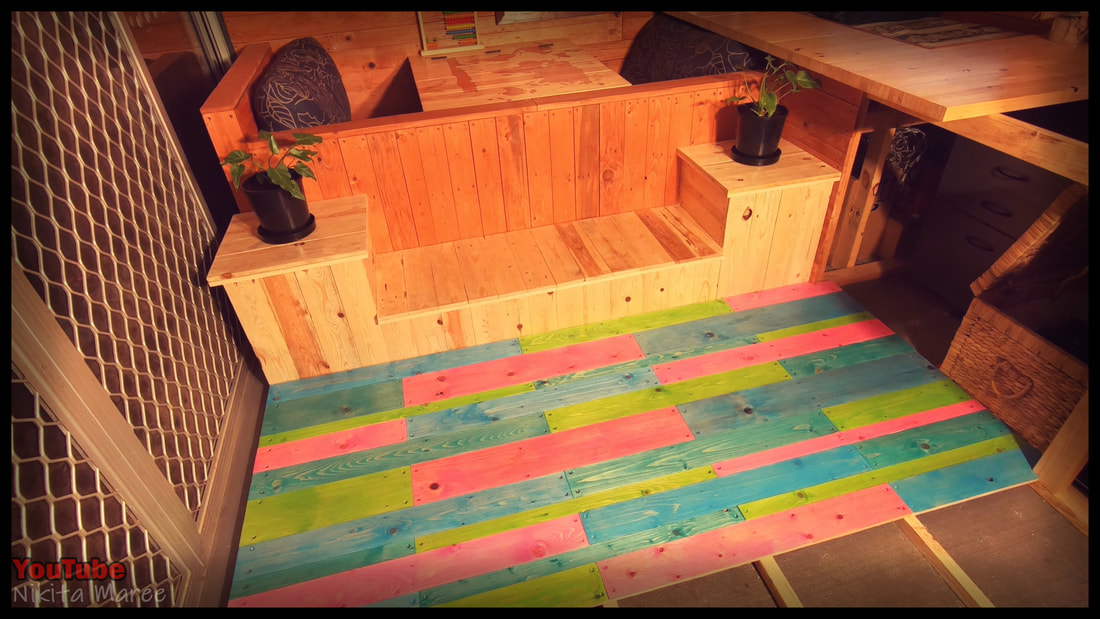
And it is done.
This floor has been in, for well over a year now
and is in the high traffic zone of our house (horse shed)
and it has held up really well and still looks great.
This floor has been in, for well over a year now
and is in the high traffic zone of our house (horse shed)
and it has held up really well and still looks great.
|
|
I have more pallet wood builds
over on YouTube. And I would love to have you there ♥ |
|
|
|
|
