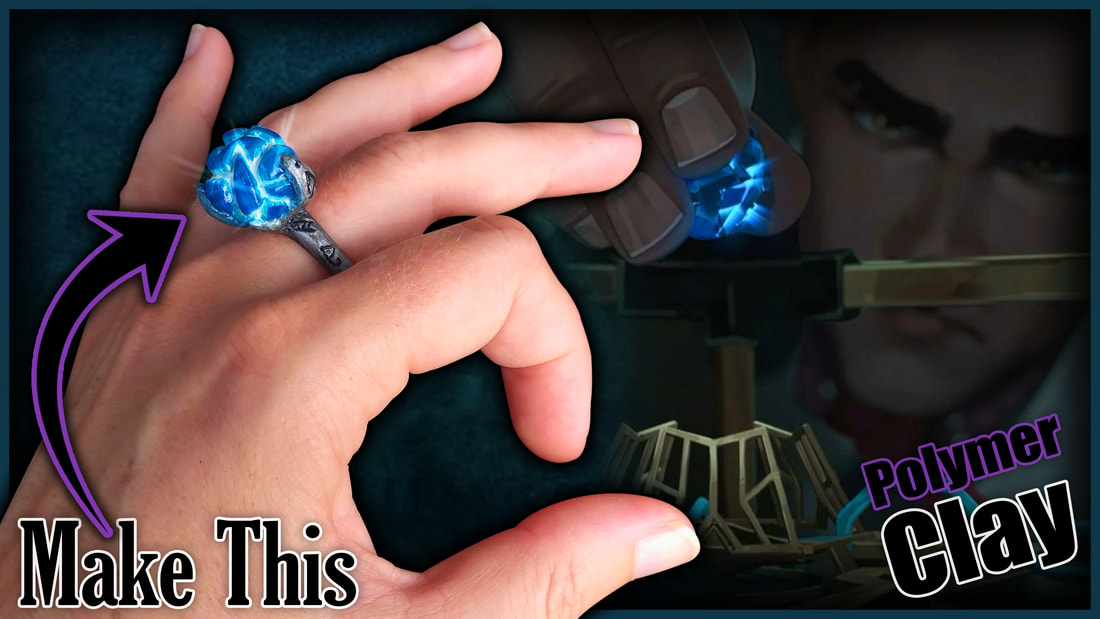
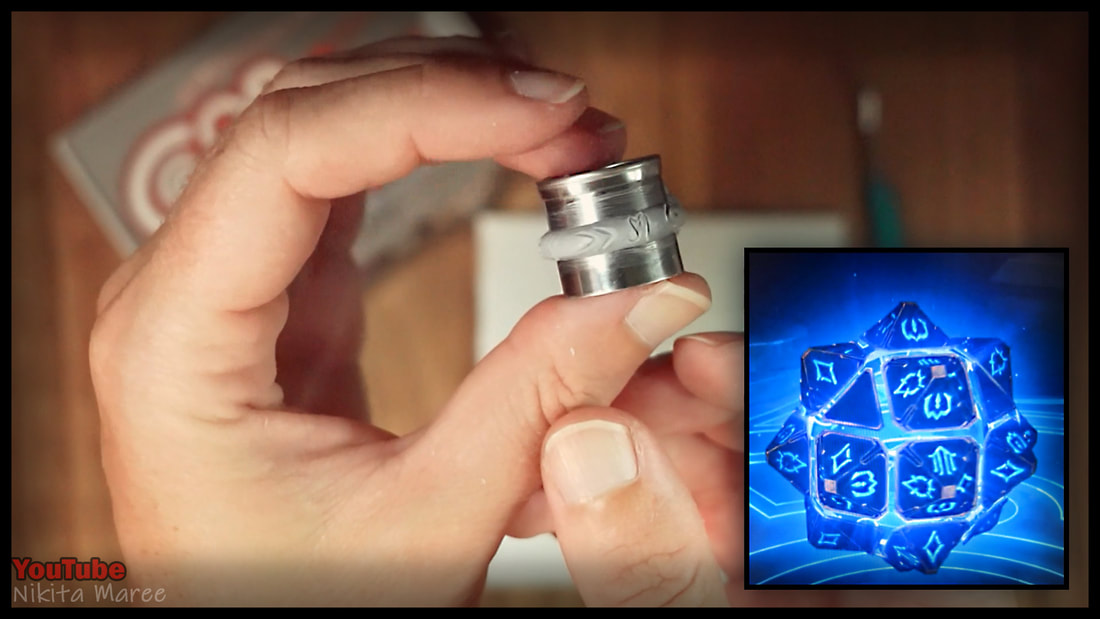
Hextech Crystal Ring
Polymer Clay Tutorial
|

|
|
|
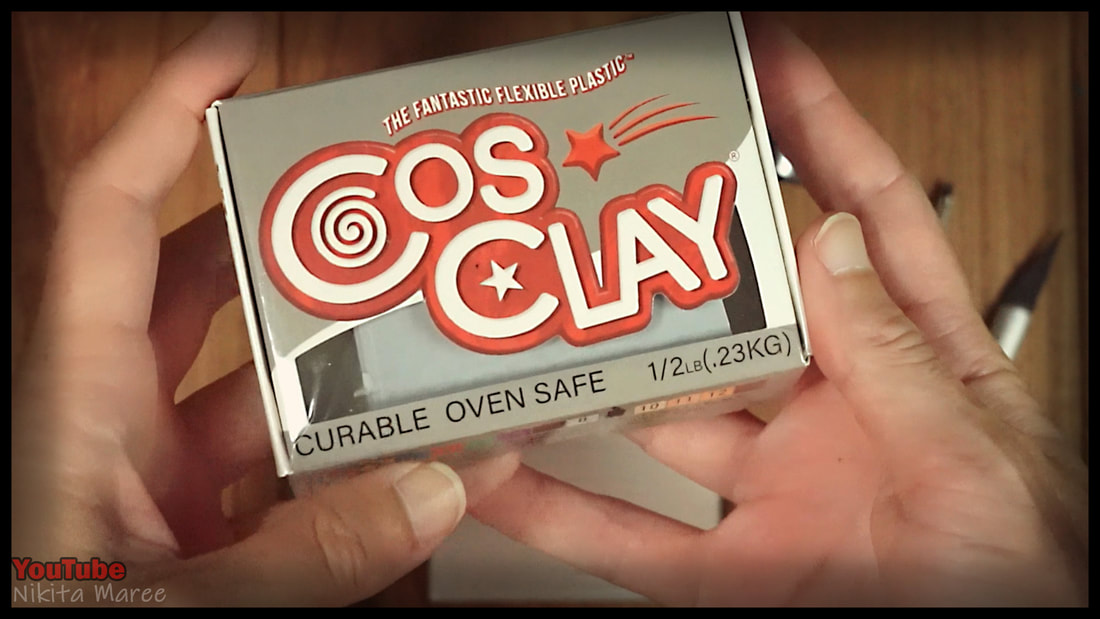
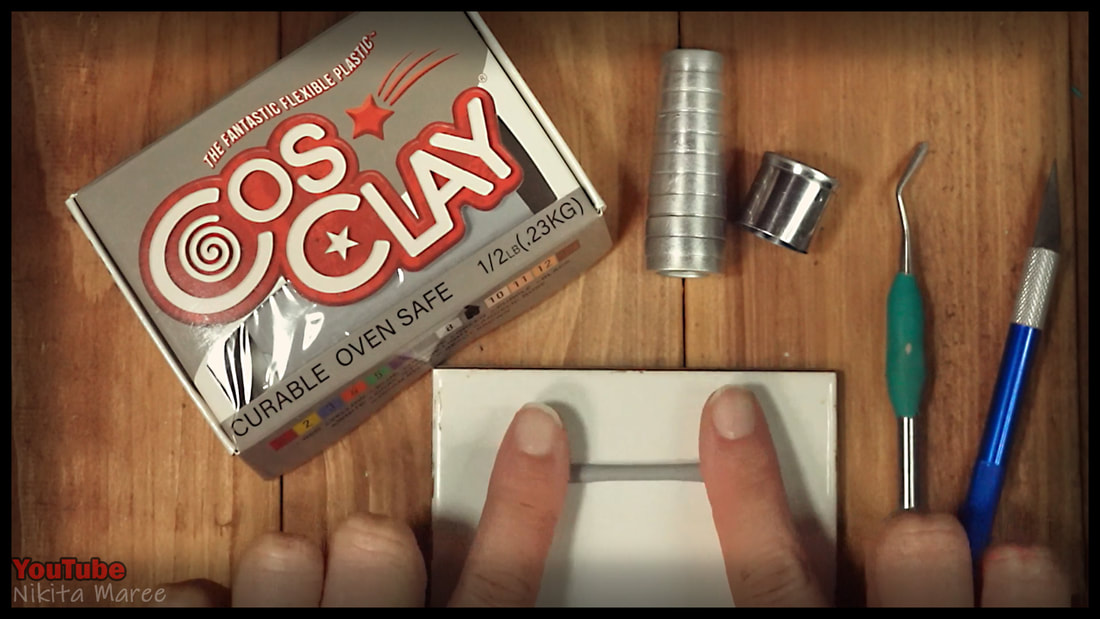
For this tutorial I am using a polymer clay called 'Cos Clay'.
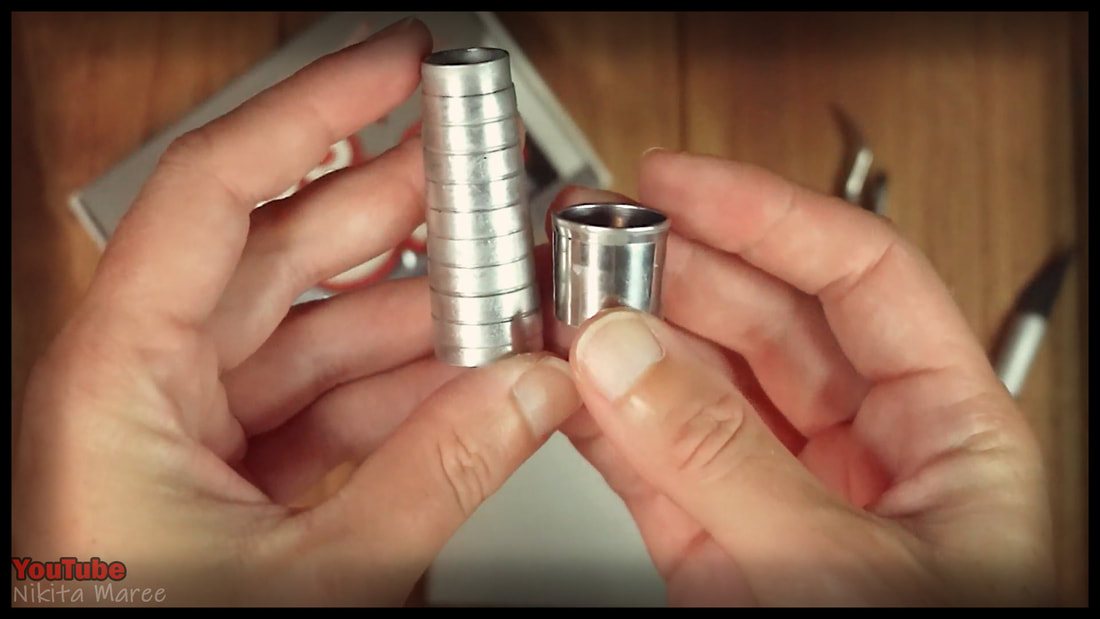
For sculpting the ring onto, you can use a ring sizer or a metal cutter
or even a rolled up piece of foil.
For sculpting the ring onto, you can use a ring sizer or a metal cutter
or even a rolled up piece of foil.
|
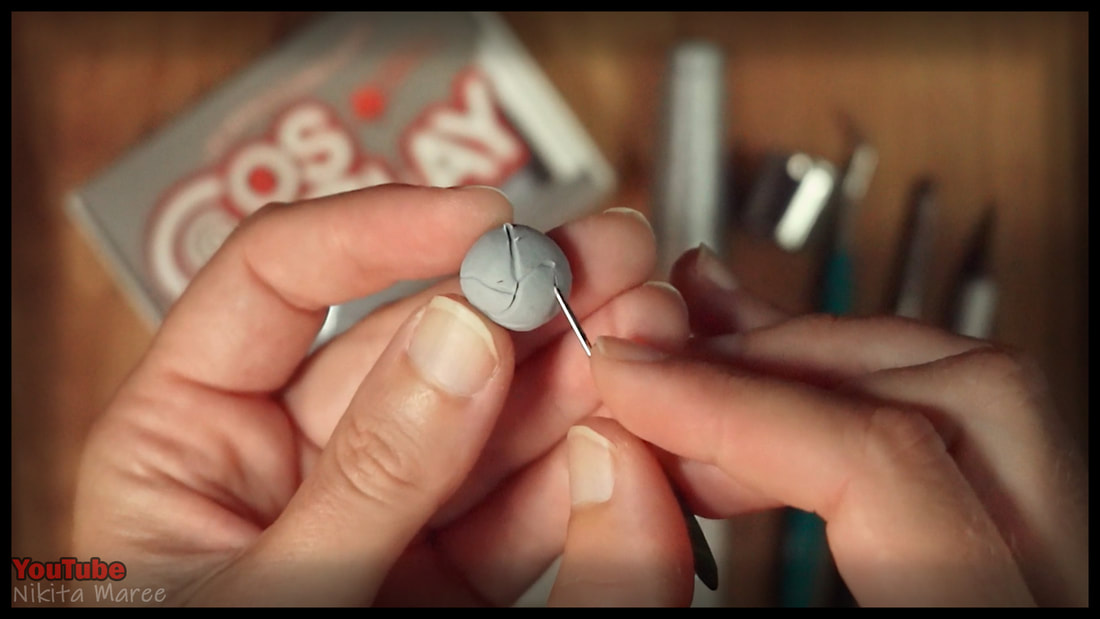
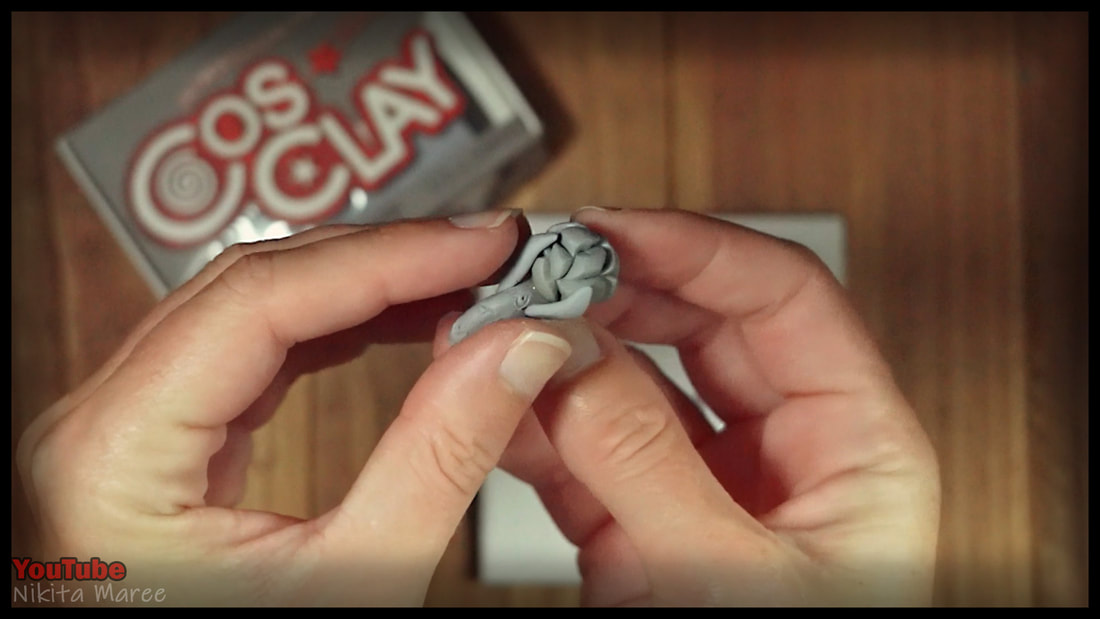
Start by rolling a ball of clay.
Then lightly mark in some jagged cracks. |
|
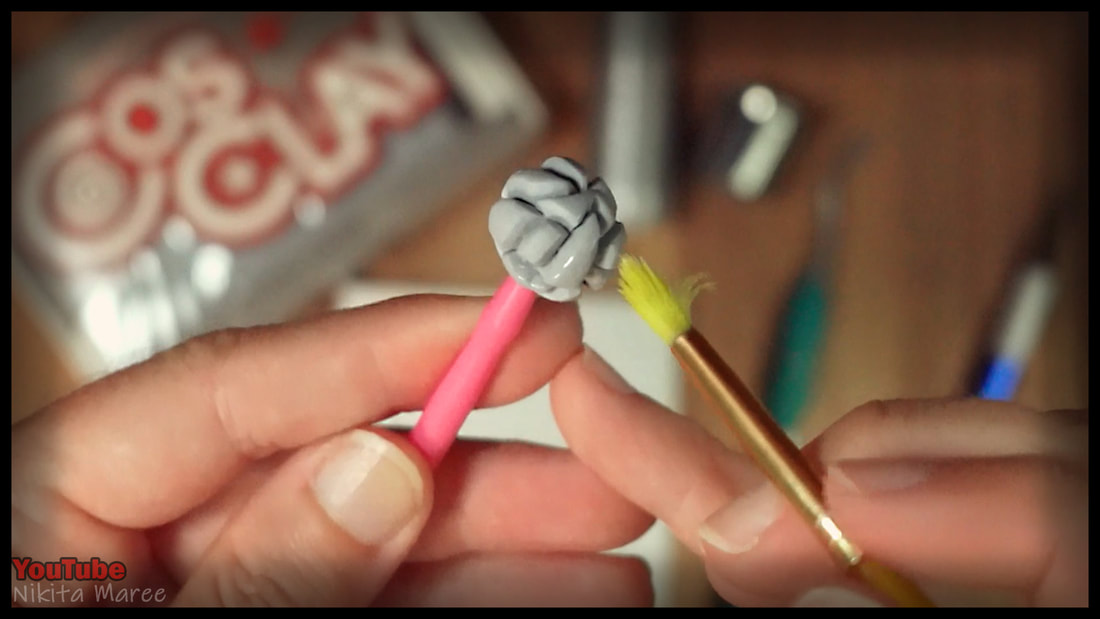
I placed the ball onto a tool,
so it was easier to handle. Deepen and refine the cracks, then smooth down with some baby oil on an old paintbrush. |
|
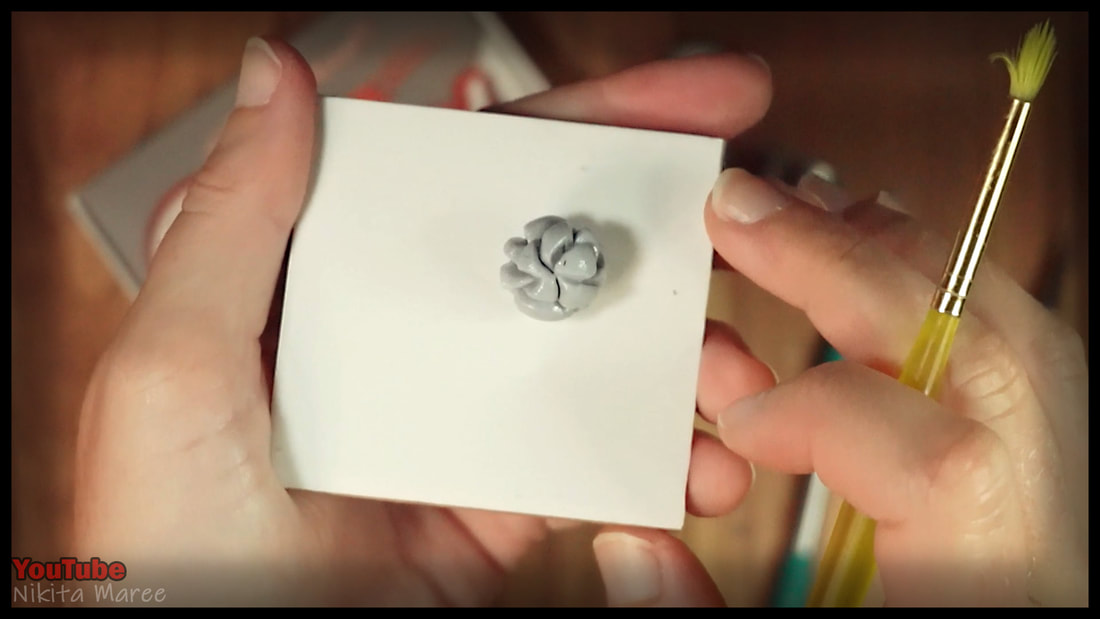
Place this on to a tile,
then bake. |
|
|
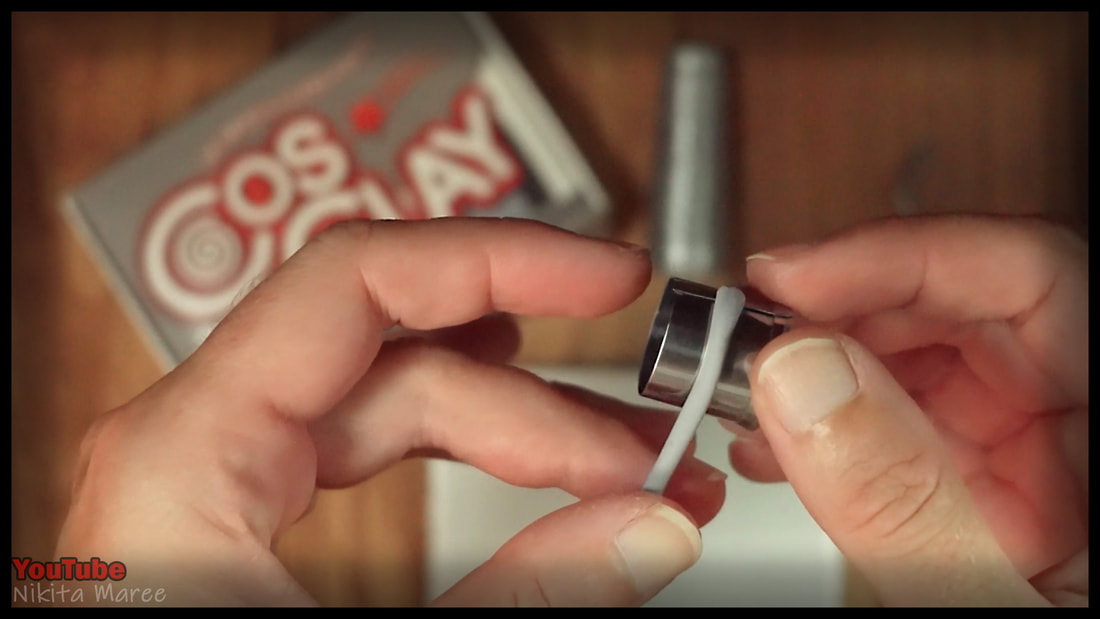
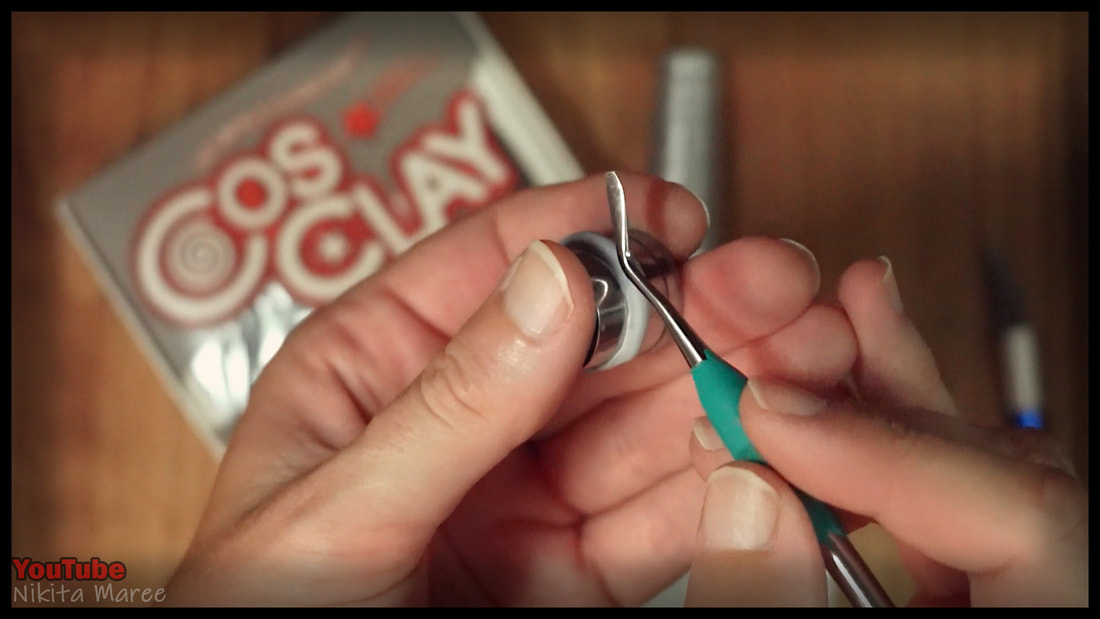
Roll out a length of clay.
Then wrap that around your ring sizer.
In my case 'a metal cutter'.
Then wrap that around your ring sizer.
In my case 'a metal cutter'.
|
|
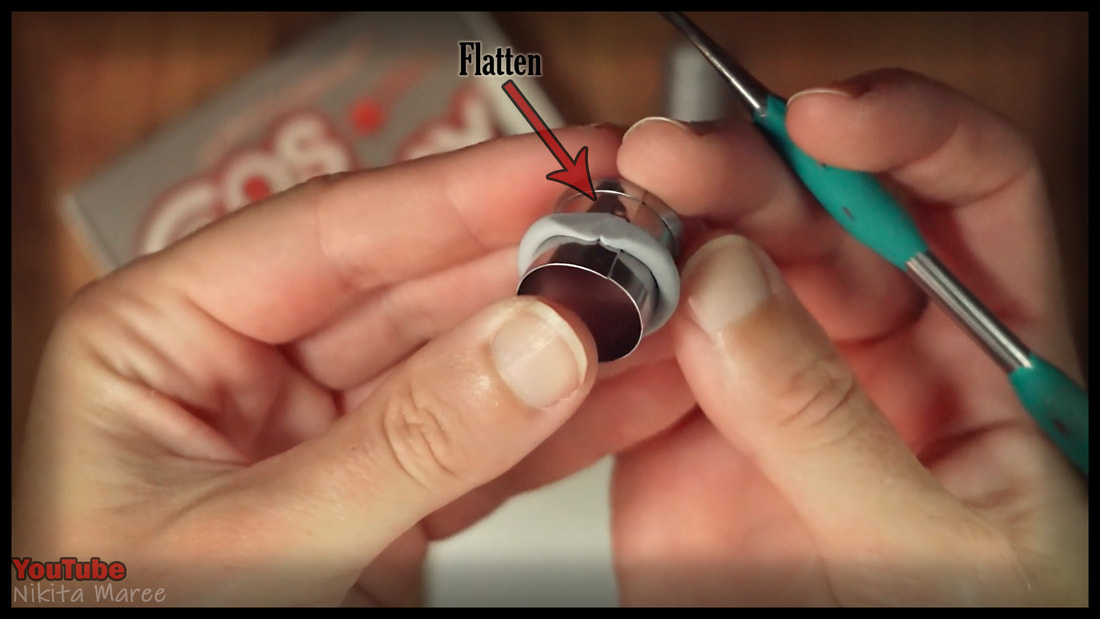
Flatten out an area on top, for the crystal to sit on.
Then smooth out the edges of the ring band.
Then smooth out the edges of the ring band.
|
Place on the baked crystal.
Using a small amount of liquid clay to hold the pieces together. |
|
|
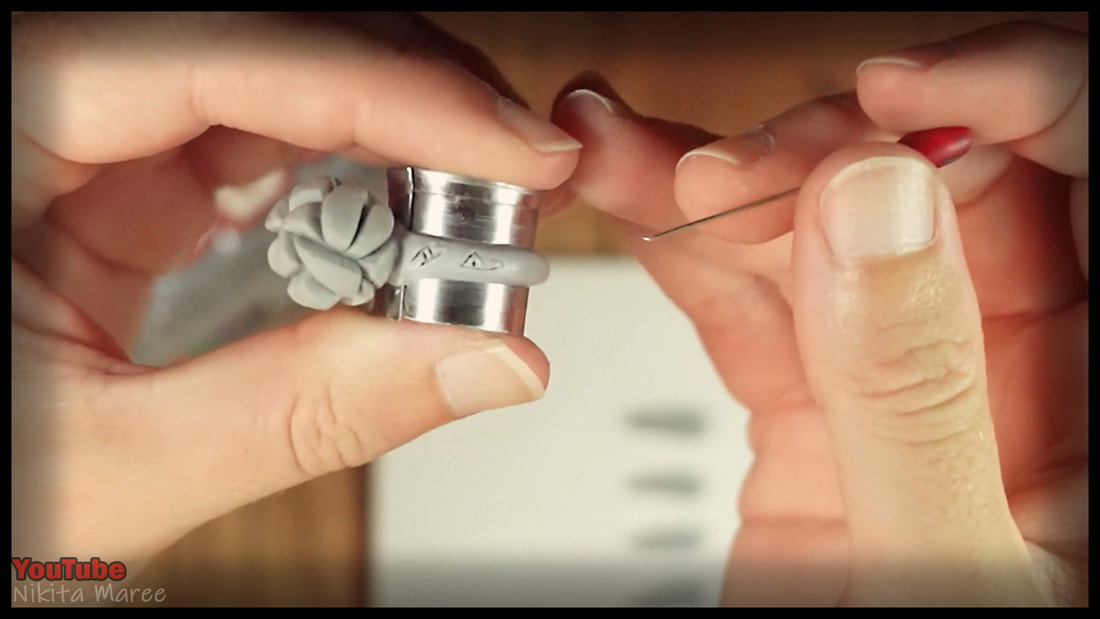
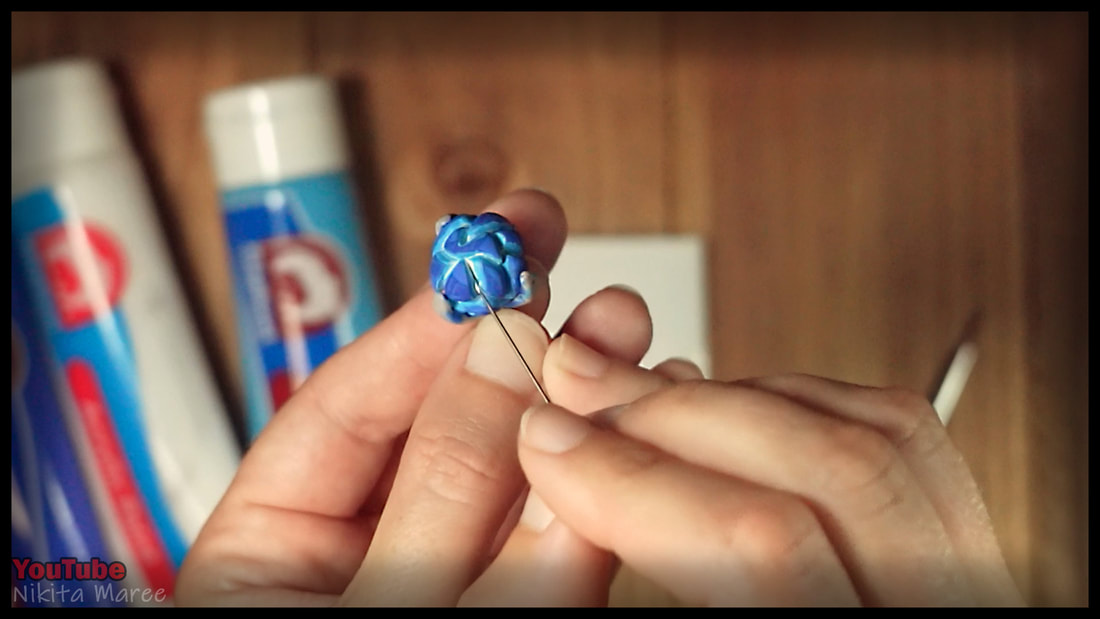
With a small needle tool I carve in some rune symbols
from the Arcane Hex Core.
I then baked it again, so I didn't squish what I had already worked on.
from the Arcane Hex Core.
I then baked it again, so I didn't squish what I had already worked on.
|
|
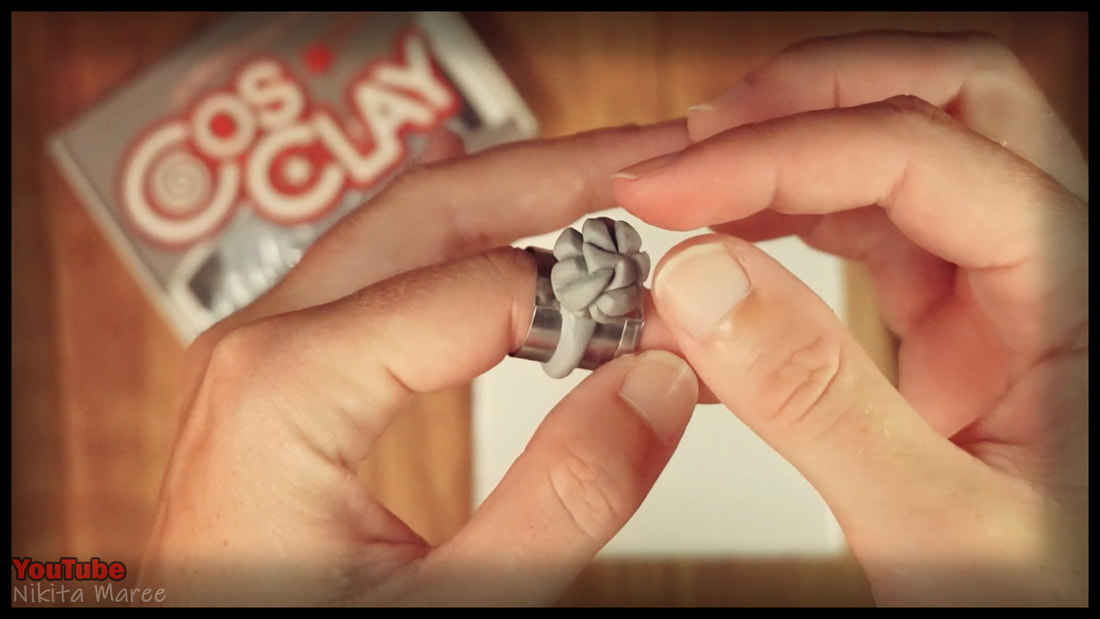
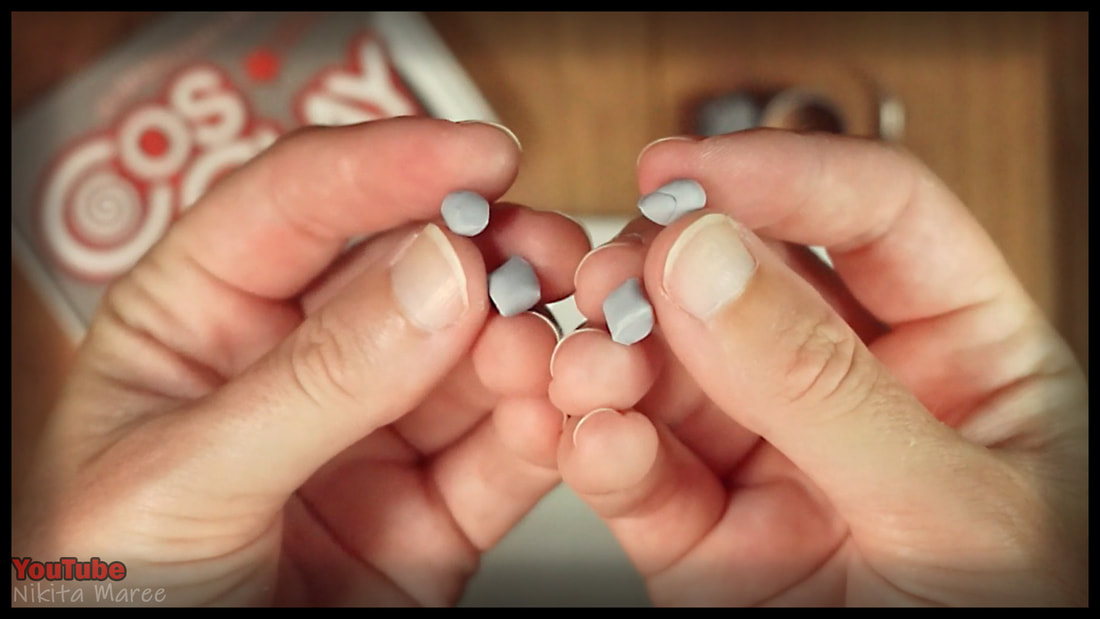
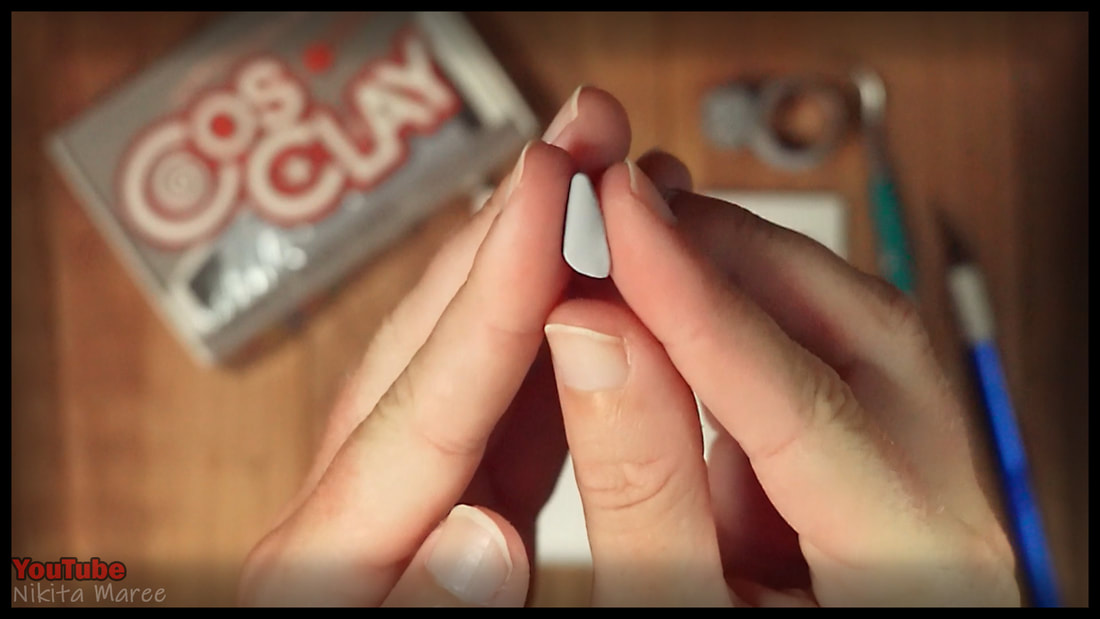
With 4 small pieces of clay.
I roll these into cone shapes, then flatten in to triangles.
I roll these into cone shapes, then flatten in to triangles.
|
|
|
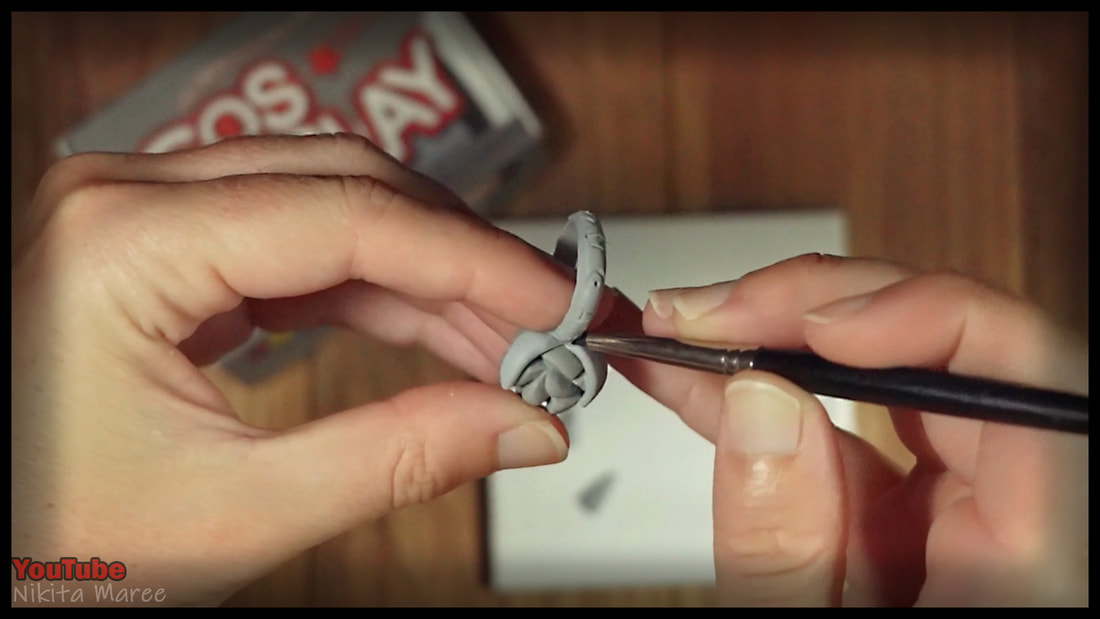
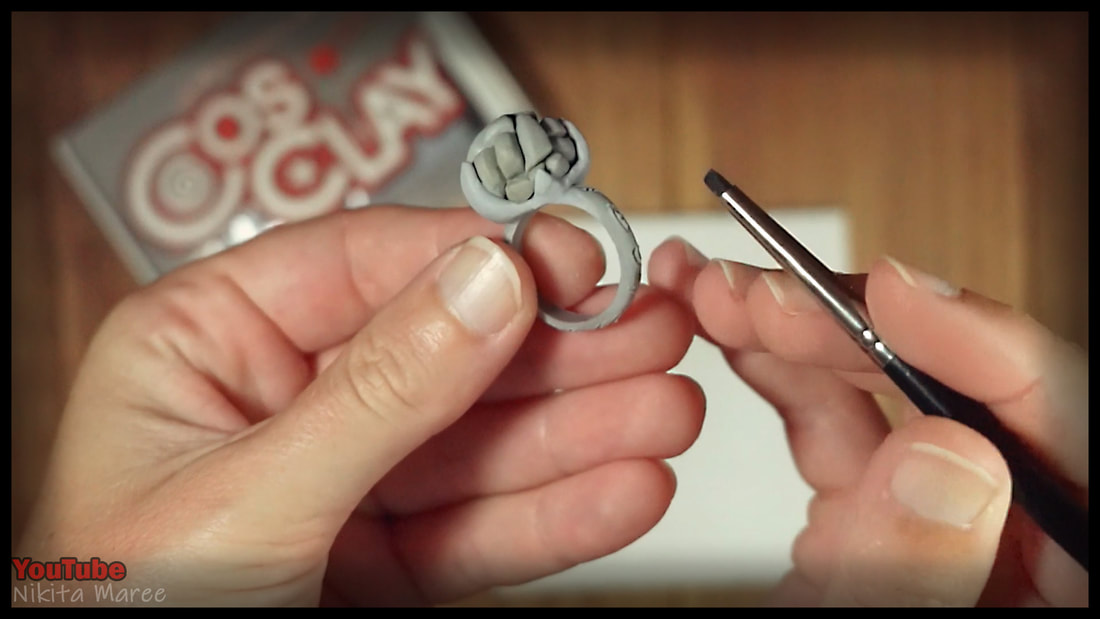
Lightly place on the triangles, to see were they would suit.
These triangles are claws that hold the crystal in place.
I then blend these claws to the ring band.
I varied the lengths of the claws to give it
more of an ominous appearance.
These triangles are claws that hold the crystal in place.
I then blend these claws to the ring band.
I varied the lengths of the claws to give it
more of an ominous appearance.
|
Then carve in some more rune symbols
on the claws of the ring. |
|
|
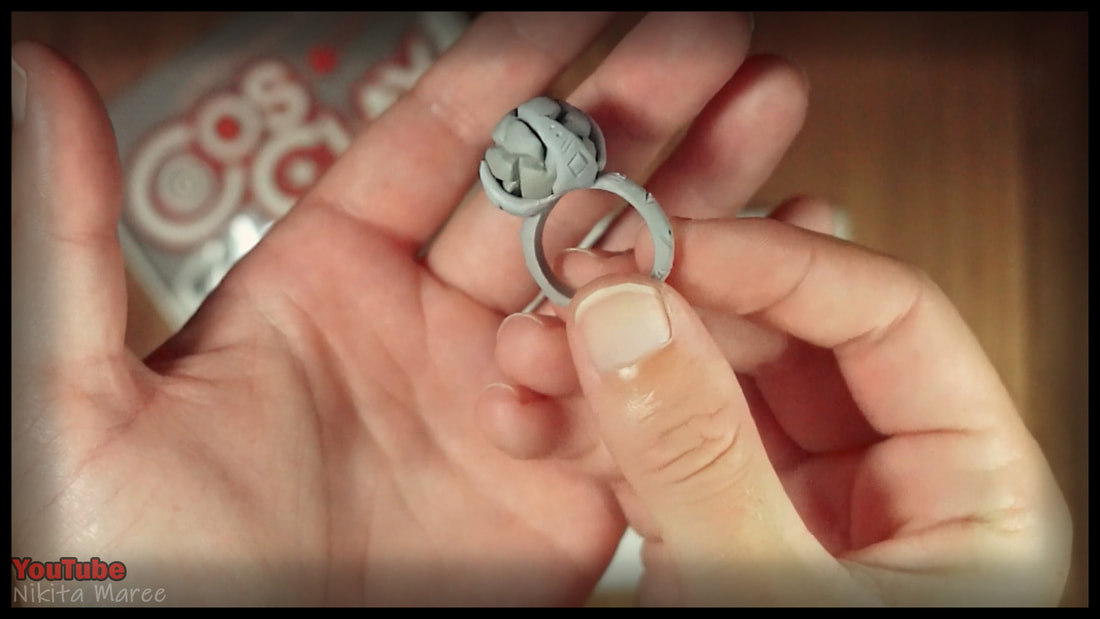
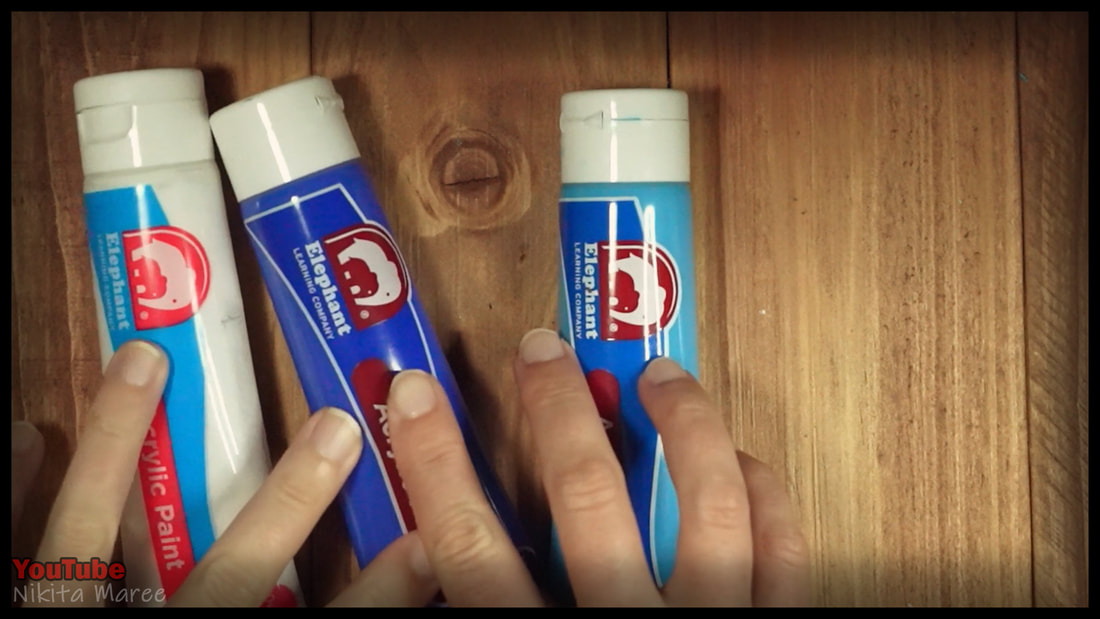
After it has been baked for the final time.
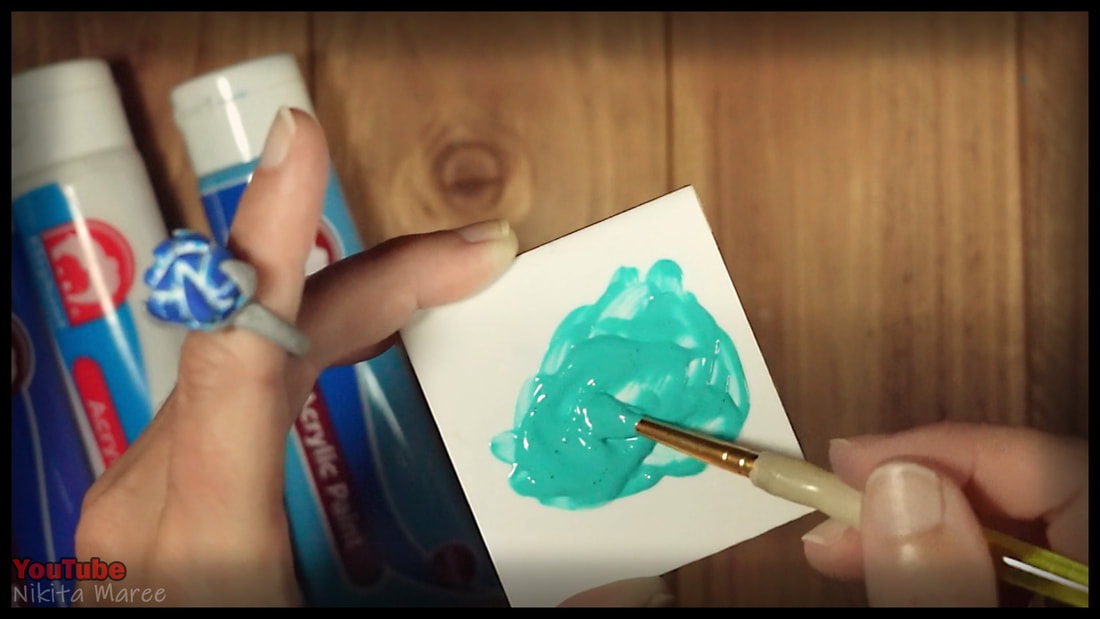
It is time to paint with acrylic paint.
I start with a couple of coats of a medium blue.
It is time to paint with acrylic paint.
I start with a couple of coats of a medium blue.
|
|
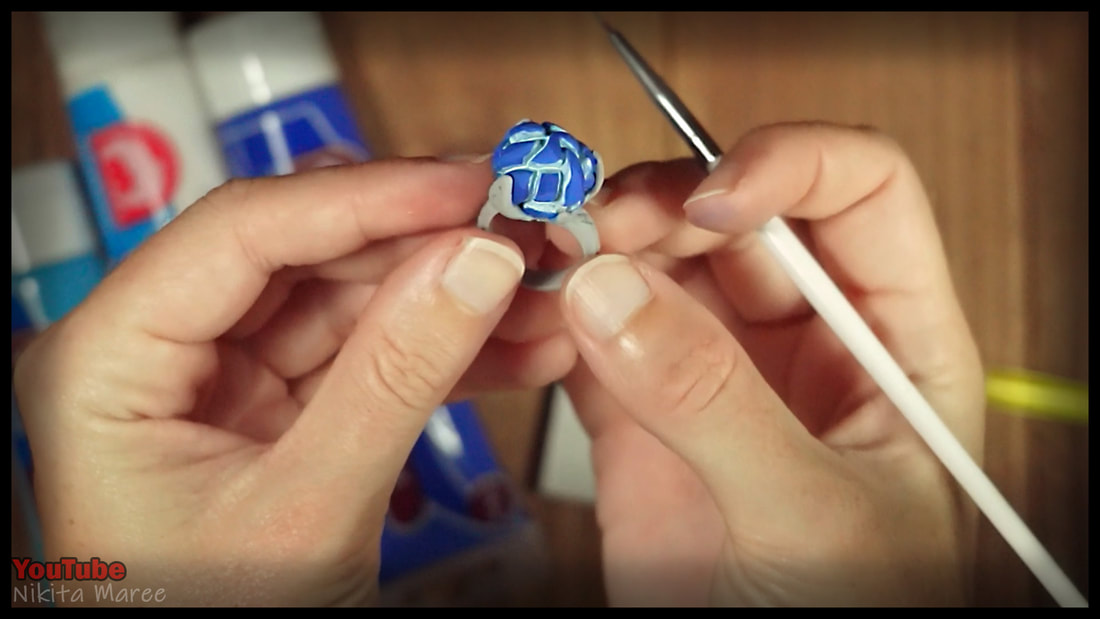
I then paint in all the cracks with a lighter blue,
using a fine detail brush.
I then go in with white on a needle tool.
And paint in the deepest parts.
using a fine detail brush.
I then go in with white on a needle tool.
And paint in the deepest parts.
|
With a needle tool and some white paint,
I add some random white lines coming from the cracks. This will help it appear to be producing it's own light. |
|
|
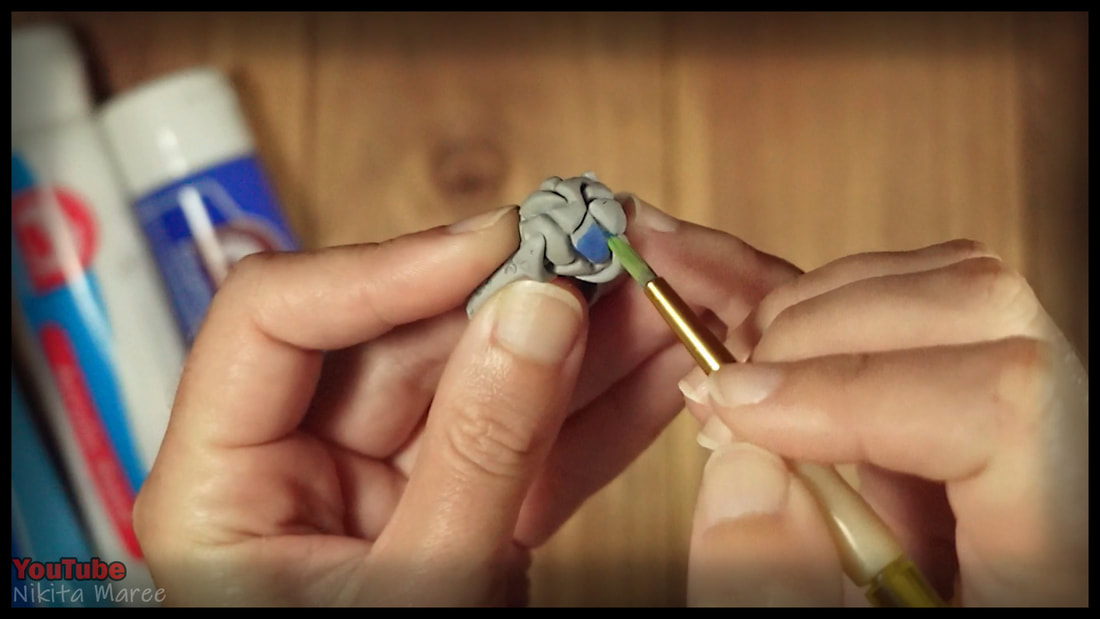
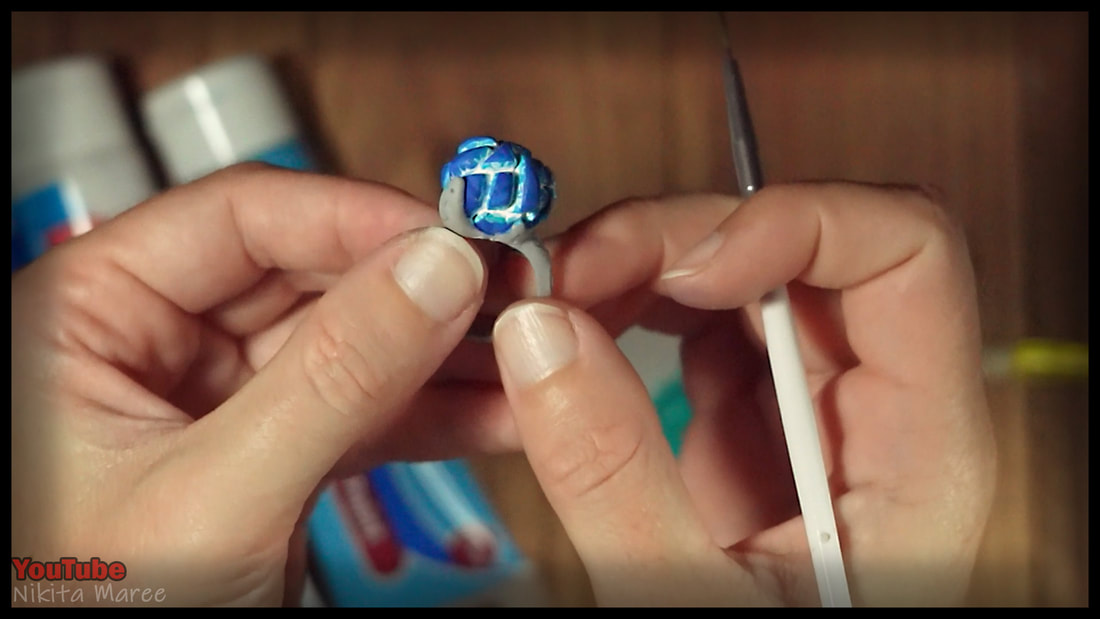
I add some fluorescent green in with the blue paint, to create a slightly different hue.
I then brush this over some of the white lines to dull those down a bit.
I then brush this over some of the white lines to dull those down a bit.
|
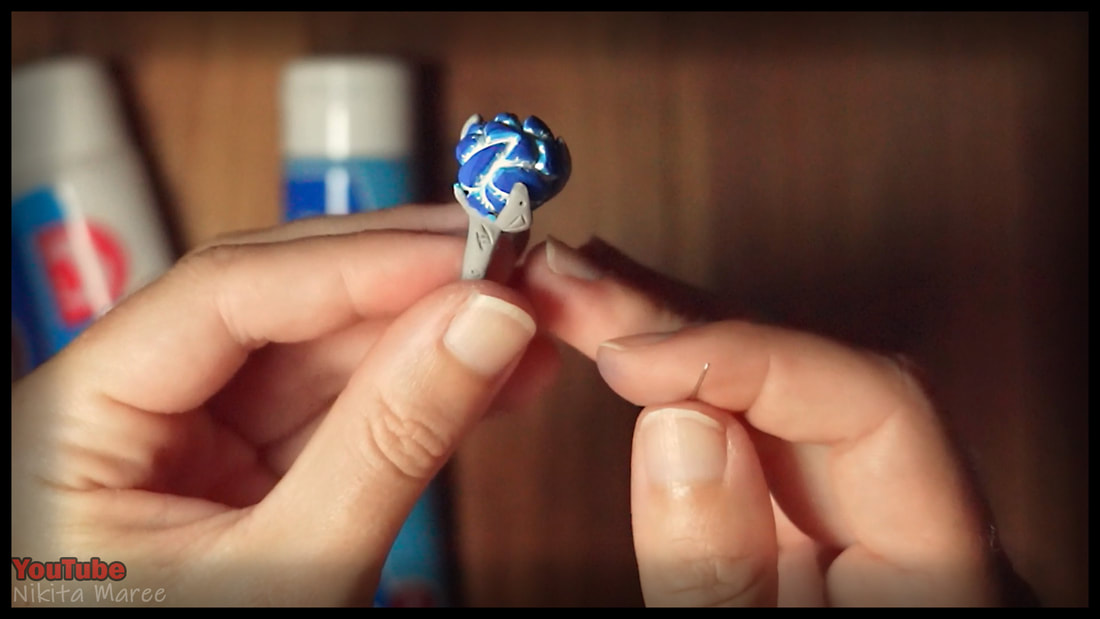
I then painted the ring band with a metallic silver
and added black paint into the rune carvings with a small detail brush. |
|
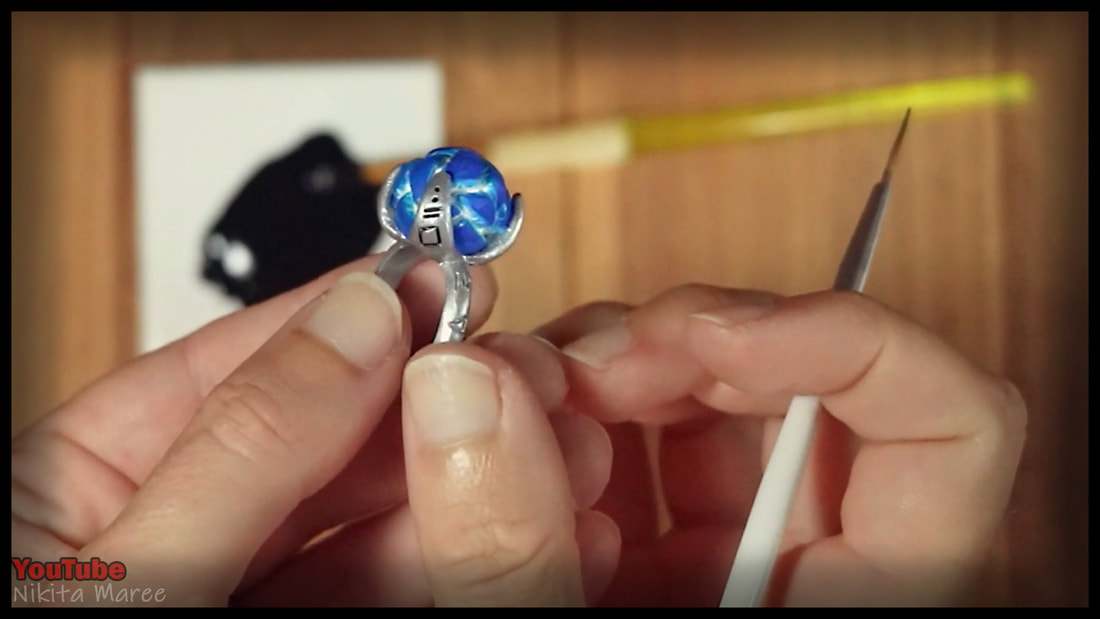
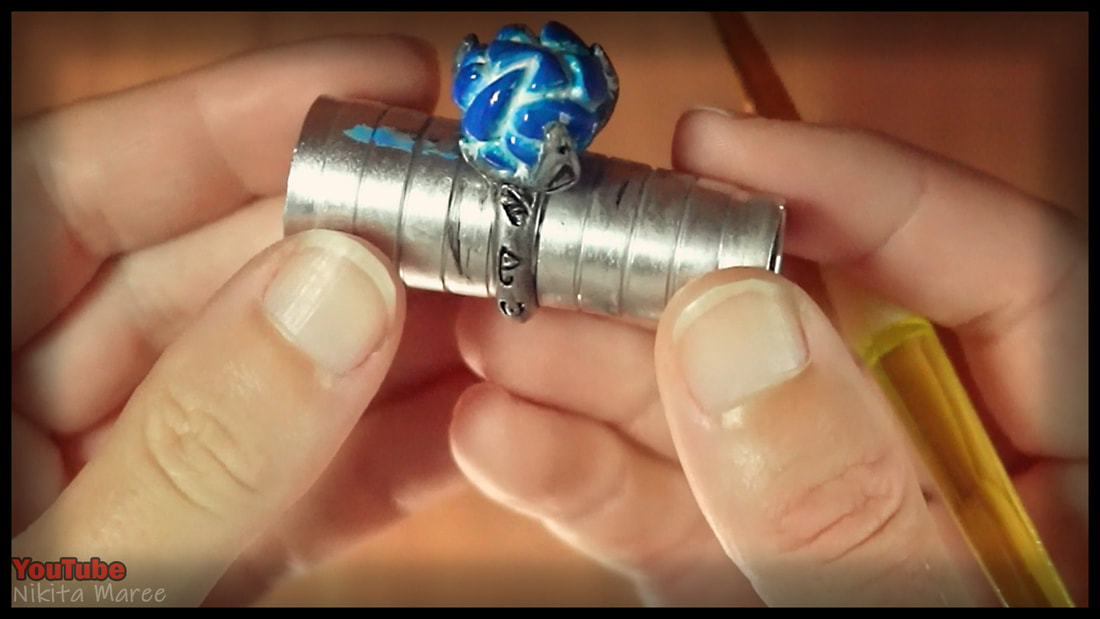
To give the crystal some extra shine,
I gave it 3 coats of polyurethane gloss. |
|
|
The Hextech crystal ring is now complete
and ready to wear. |
