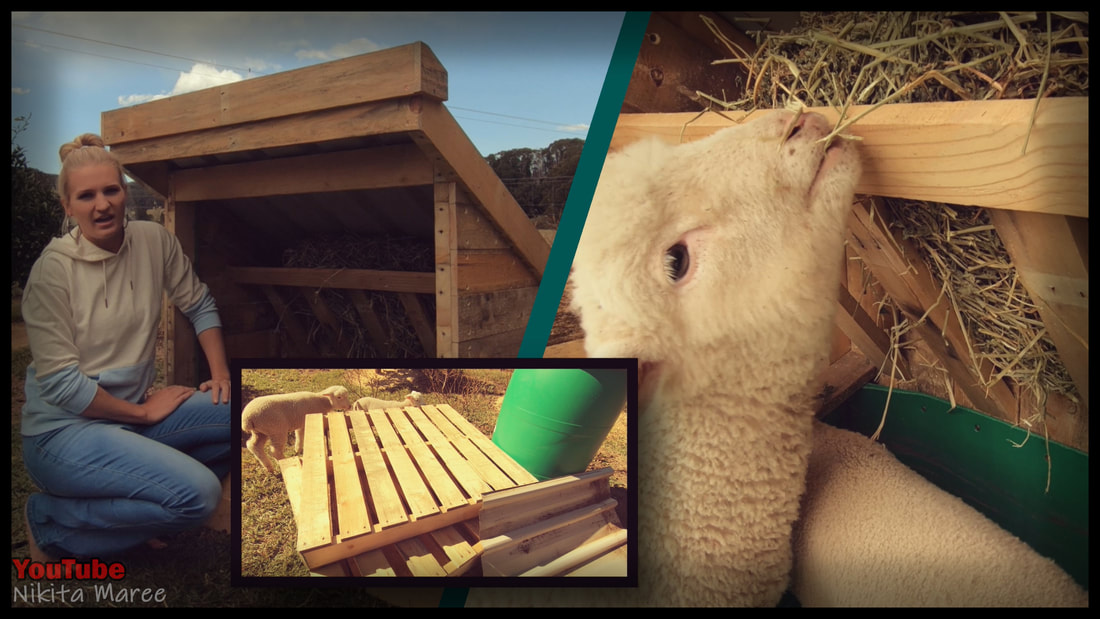
How to make an animal feeder.
|
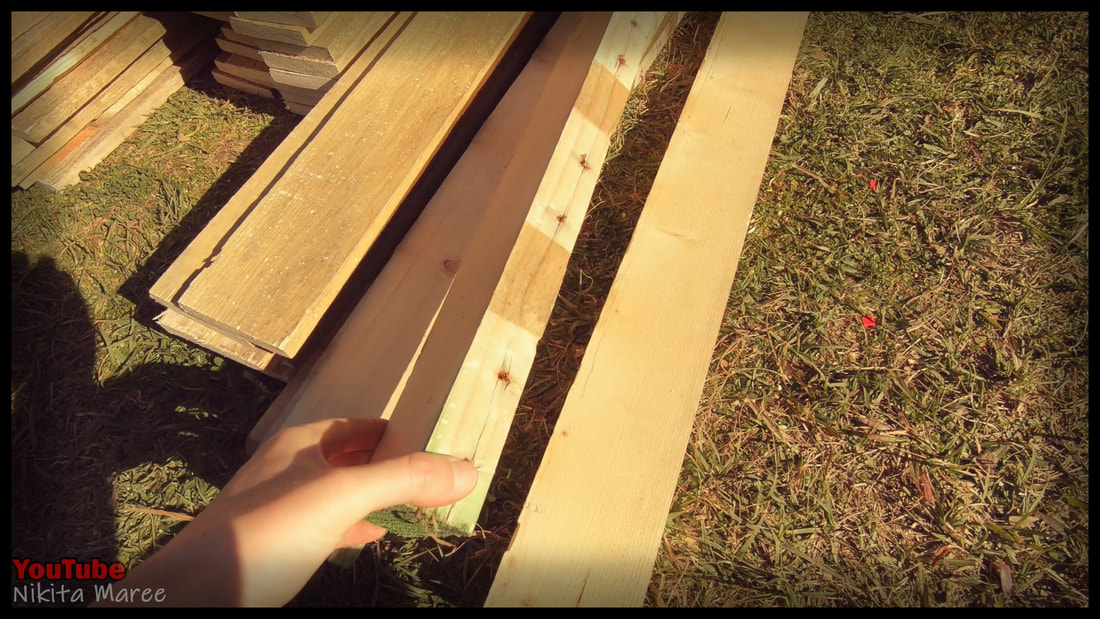
This is how I went about making this sheep feeder. From pallet wood, scrap corrugated iron and an old drum.
|
|
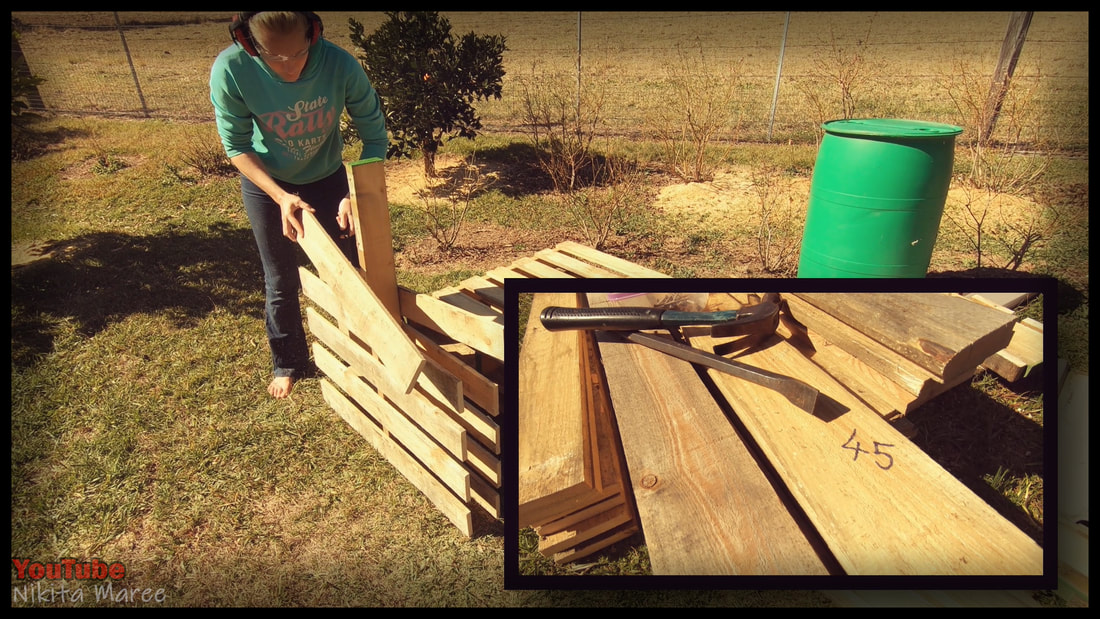
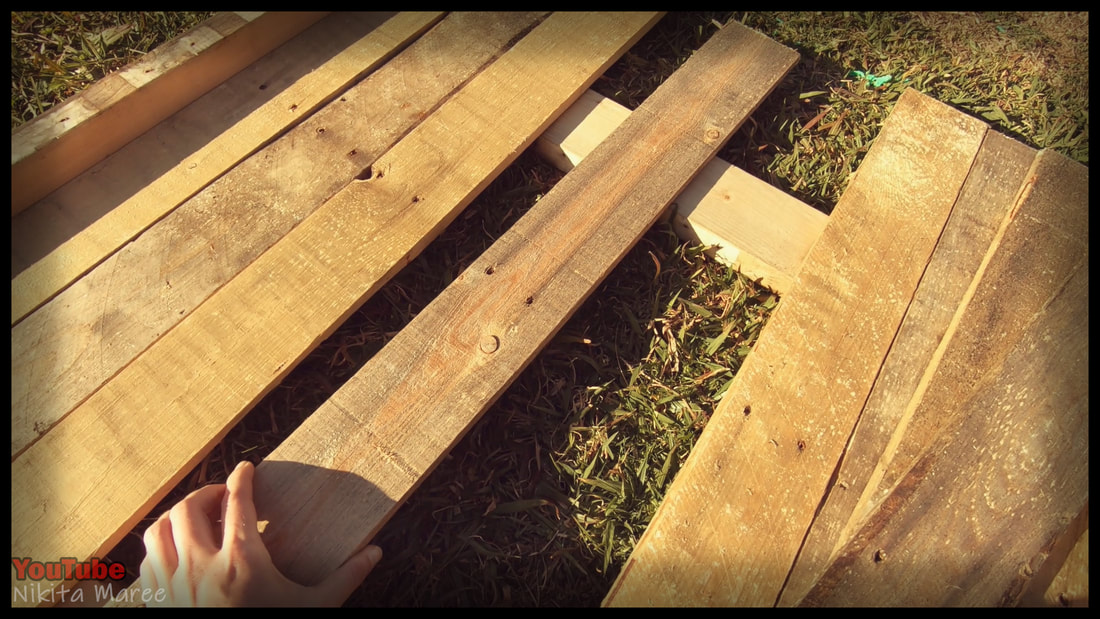
As always I started by cutting and pulling apart the pallets. 45 palings ended up being plenty.
|
|
|
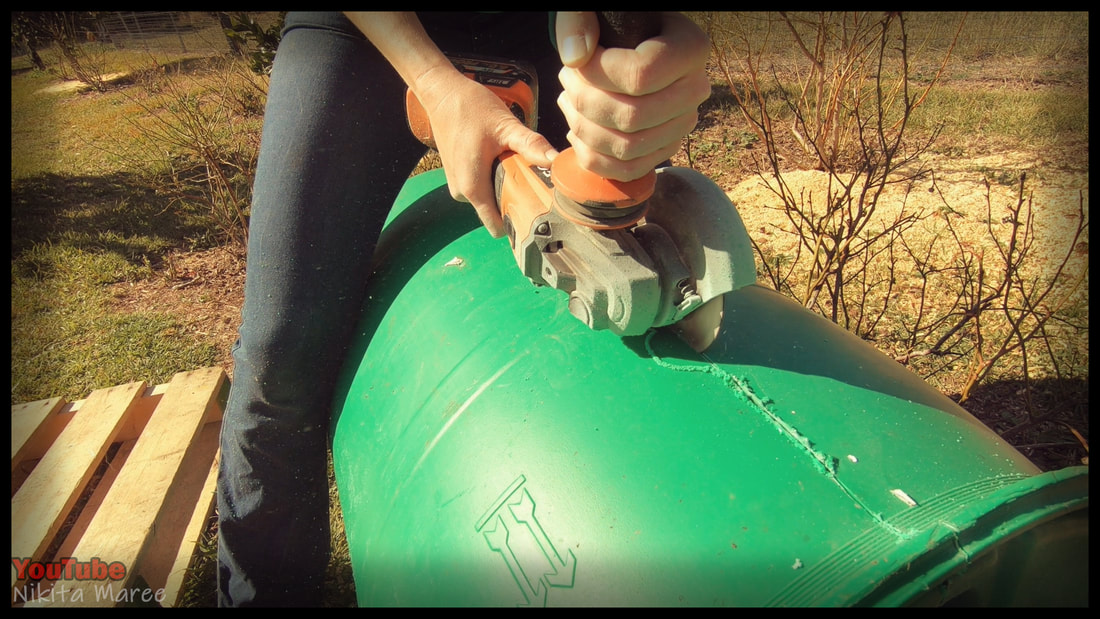
I used a cutting disc on the angle grinder to cut the drum in half, length-ways.
|
|
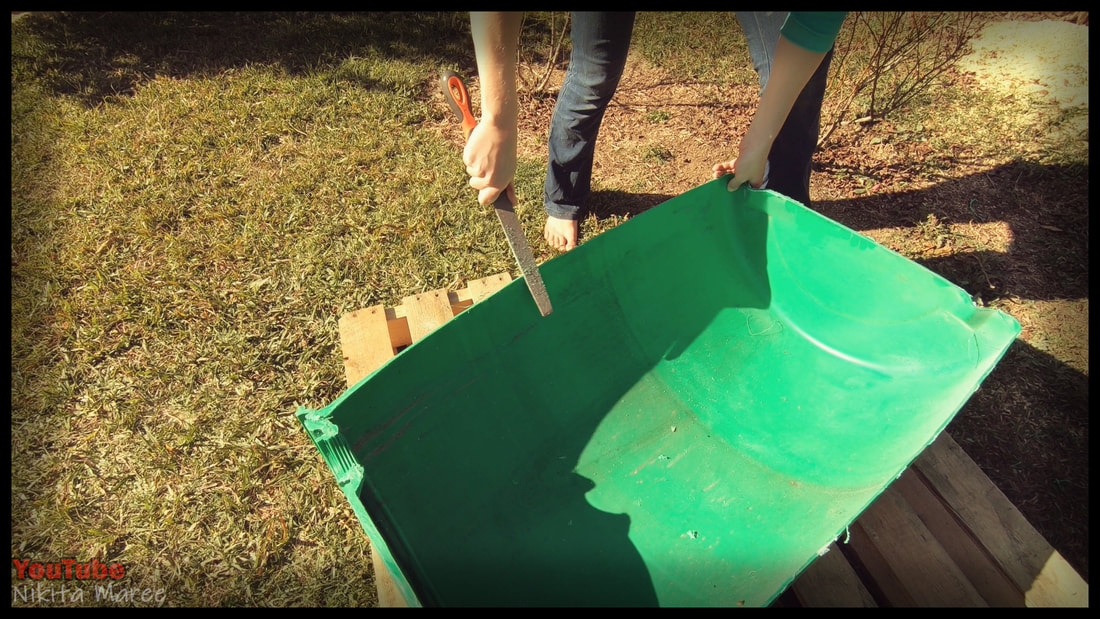
I then cleaned up the edges with a rasp.
|
|
|
For the main structure I used the
center beams of the pallet. (The stringers) |
|
I made the back wall first and that is just a simple frame held together with bugle screws.
|
|
|
I use my speed square to keep all
my cuts straight. |
|
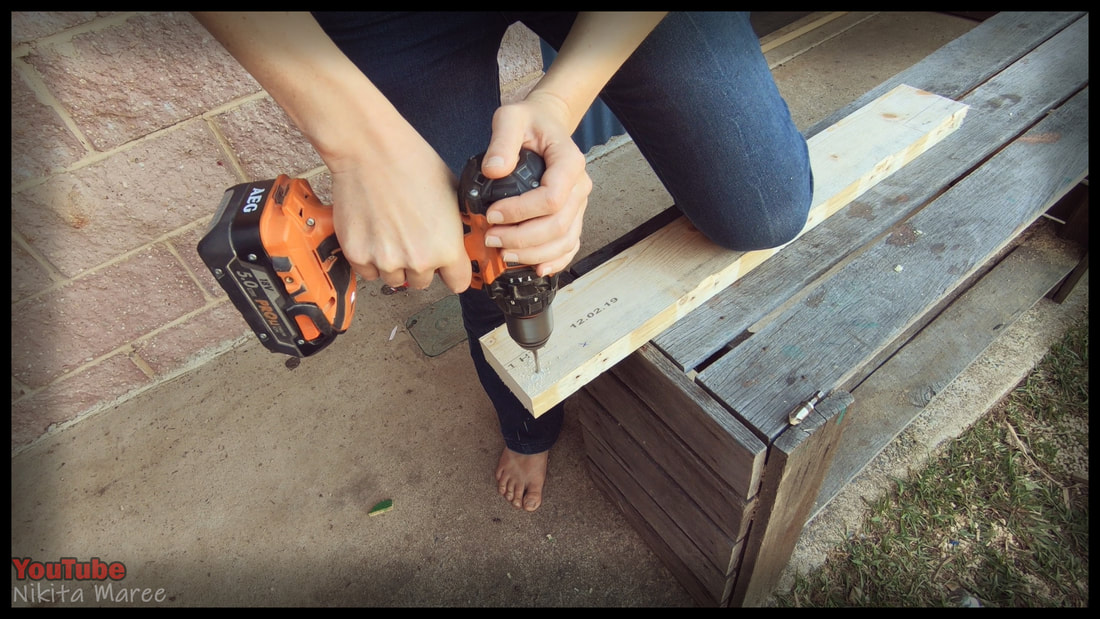
Pre-drill all your holes then give them a chamfer.
|
|
|
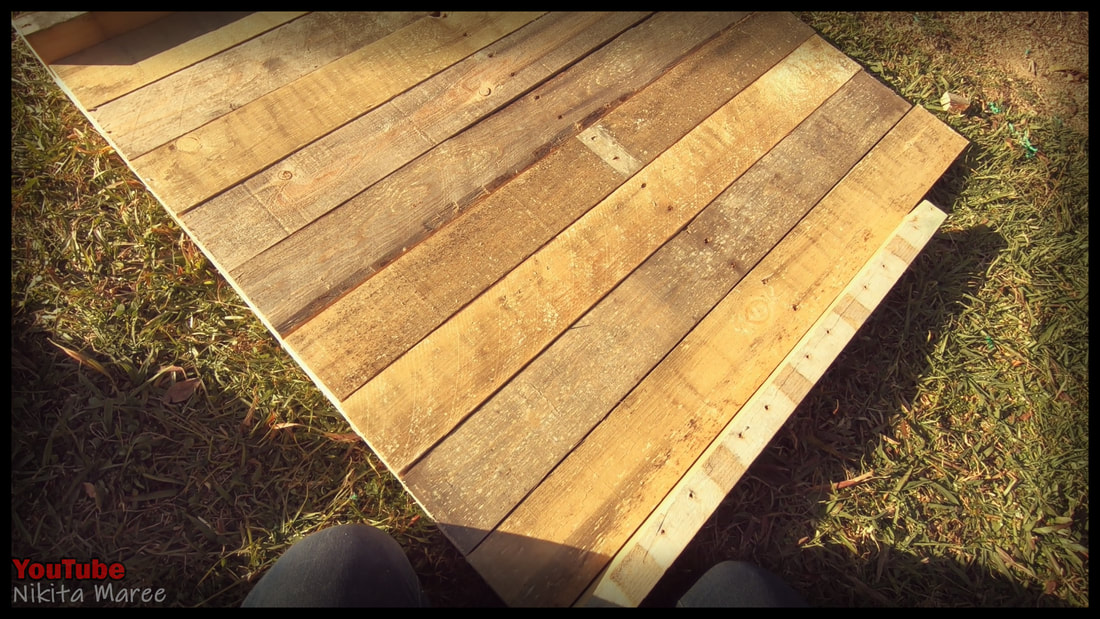
I then started laying down all the palings
for the back wall. |
|
Keeping the bottom edge flush.
|
|
|
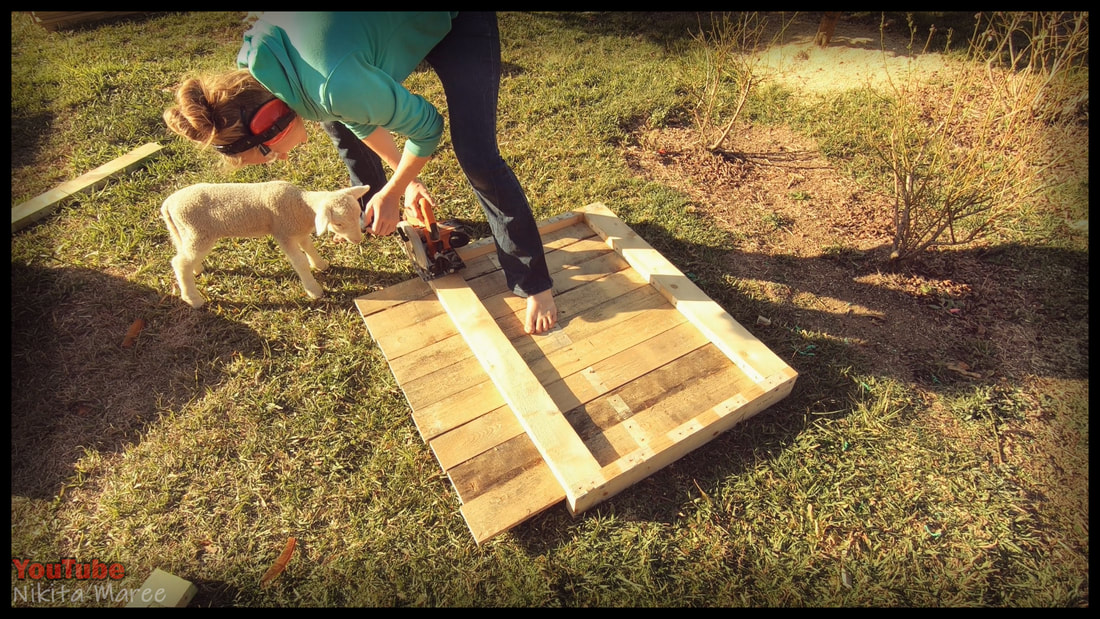
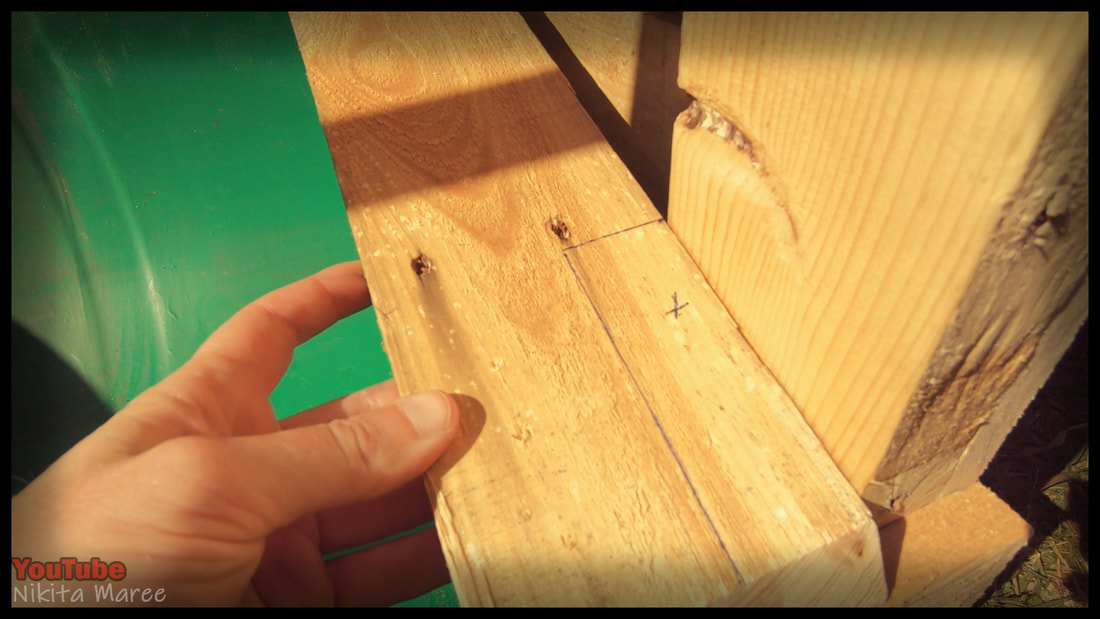
To quickly mark where I wanted my holes, I used a straight edge to mark center
of my top and bottom beam. |
|
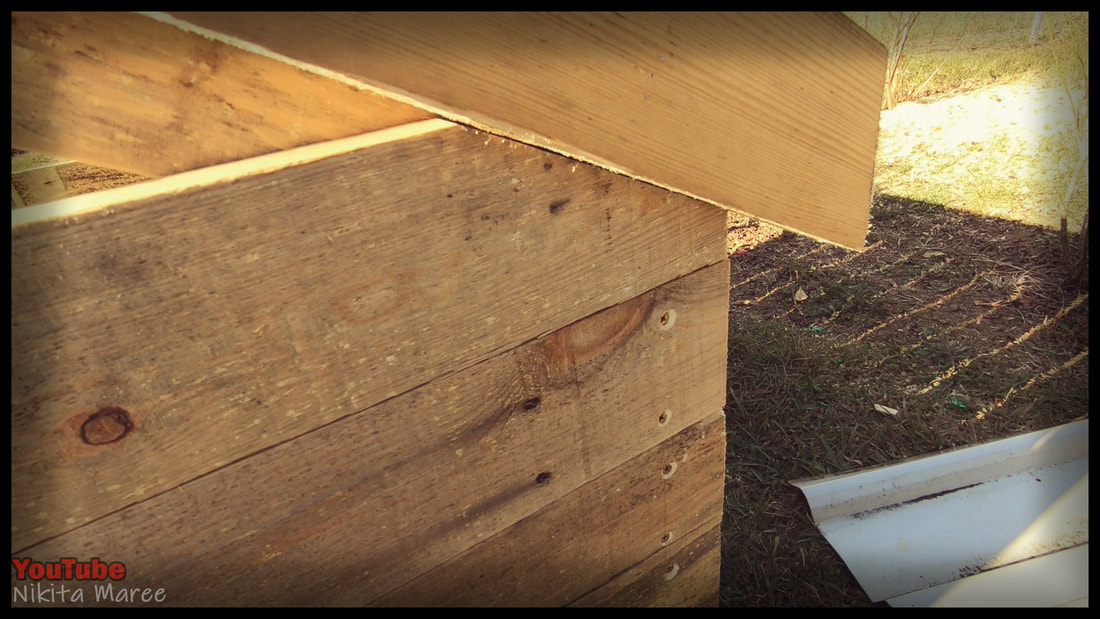
Once all the palings are attached, flip it over and cut your top edge flush with the beam.
|
|
|
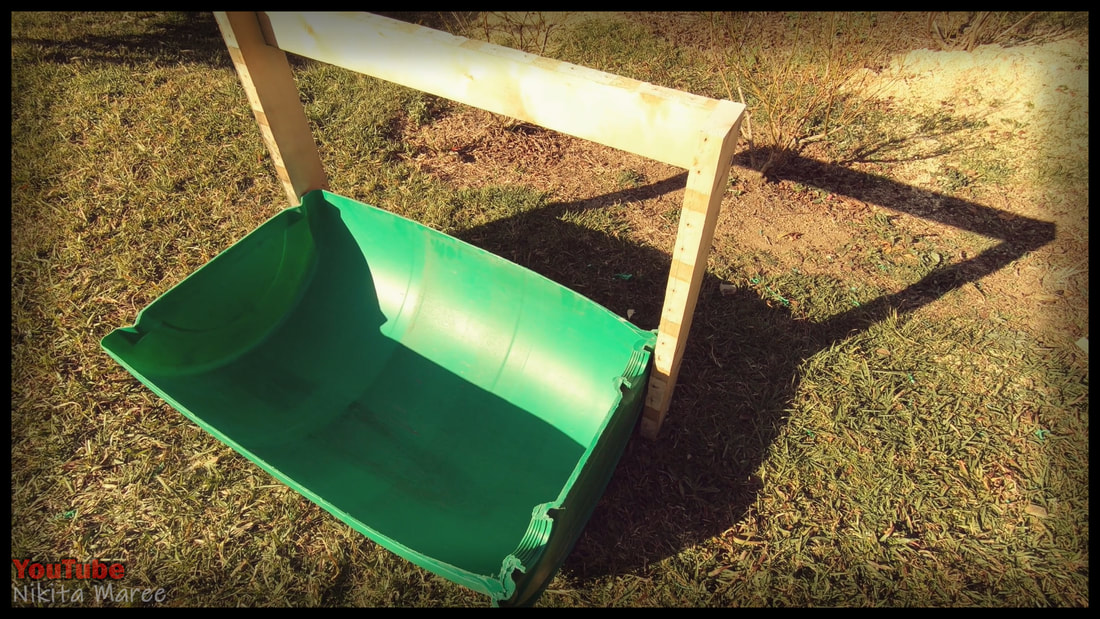
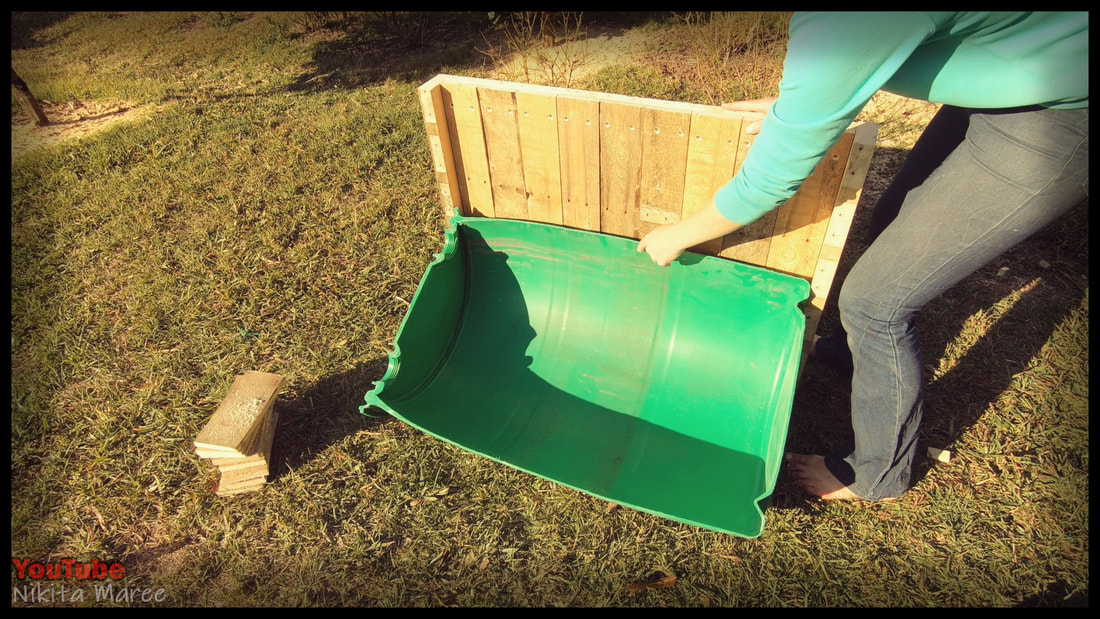
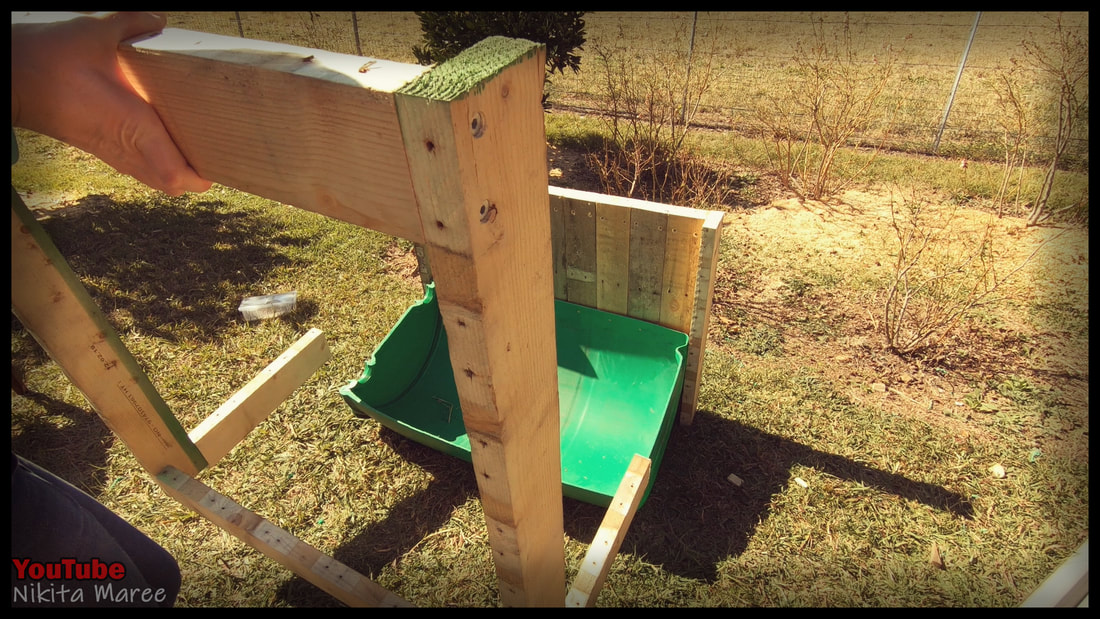
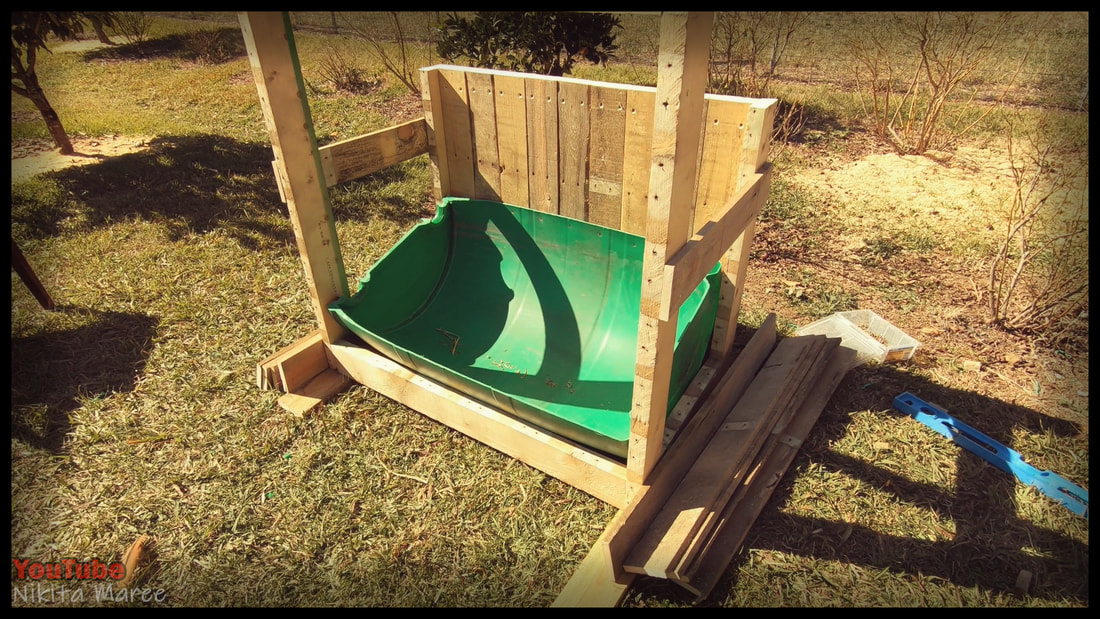
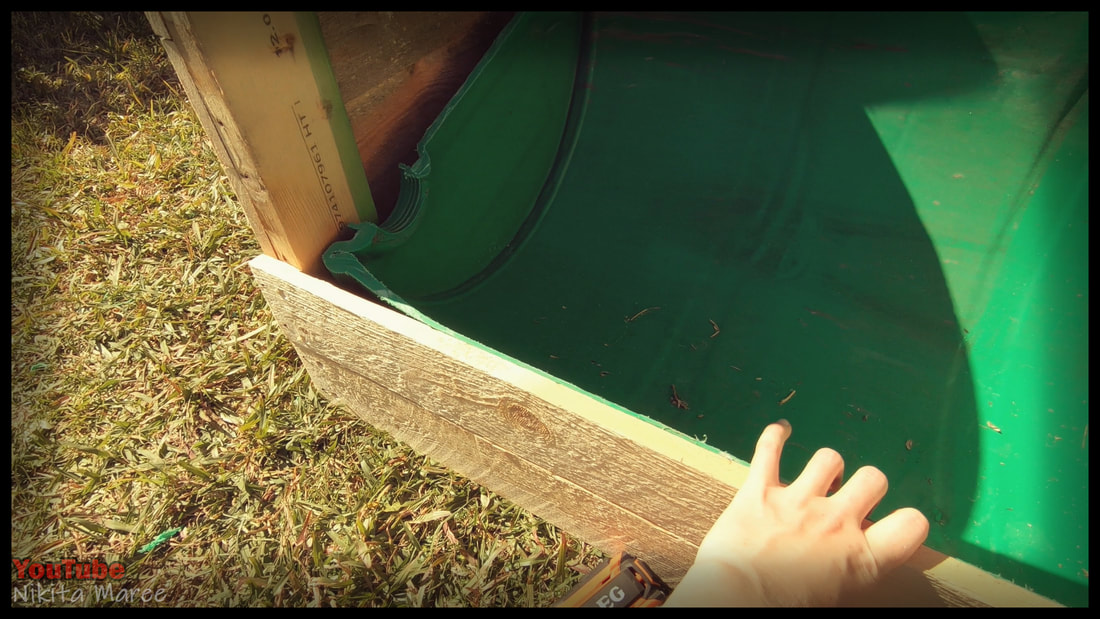
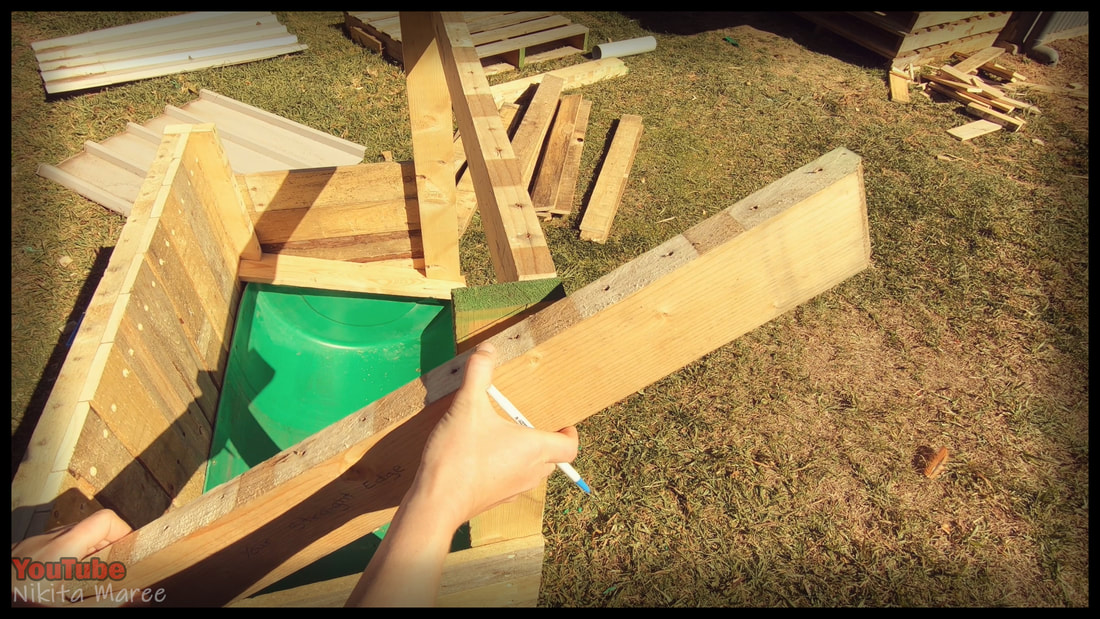
I want the front edge of the drum to be closer to the ground to make it a little bit easier
for them to eat out of. |
|
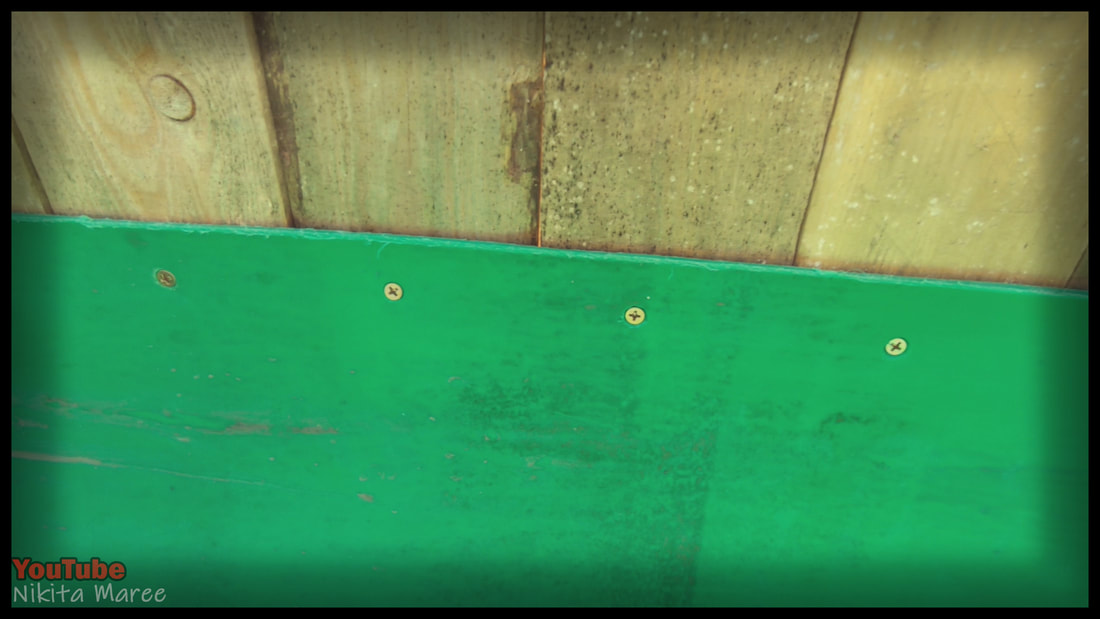
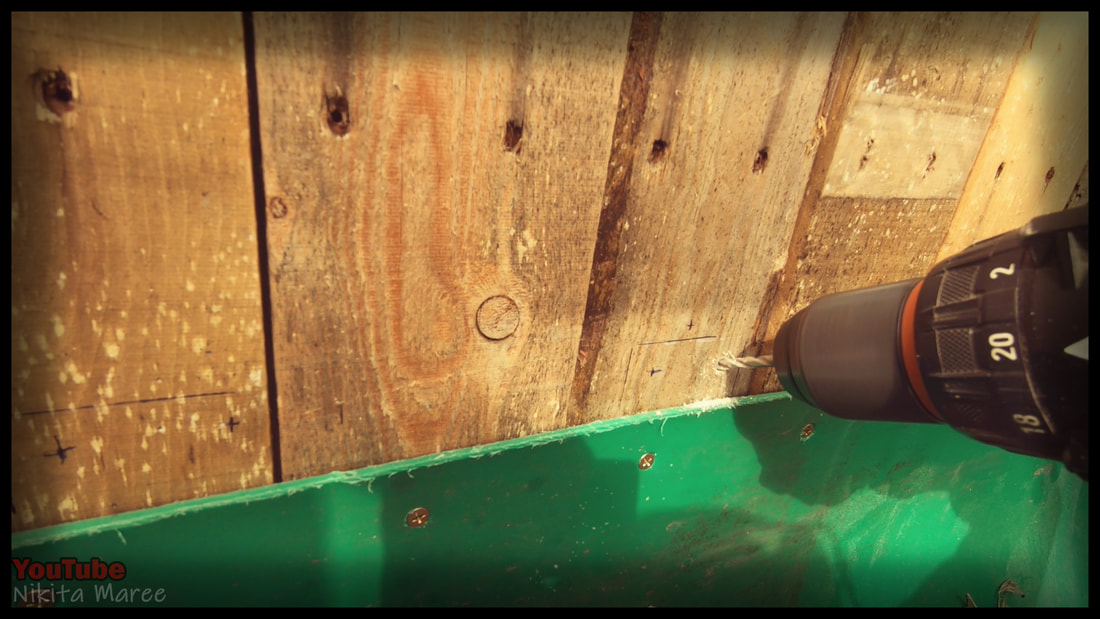
I then drilled and attached the drum
to the back wall. |
|
|
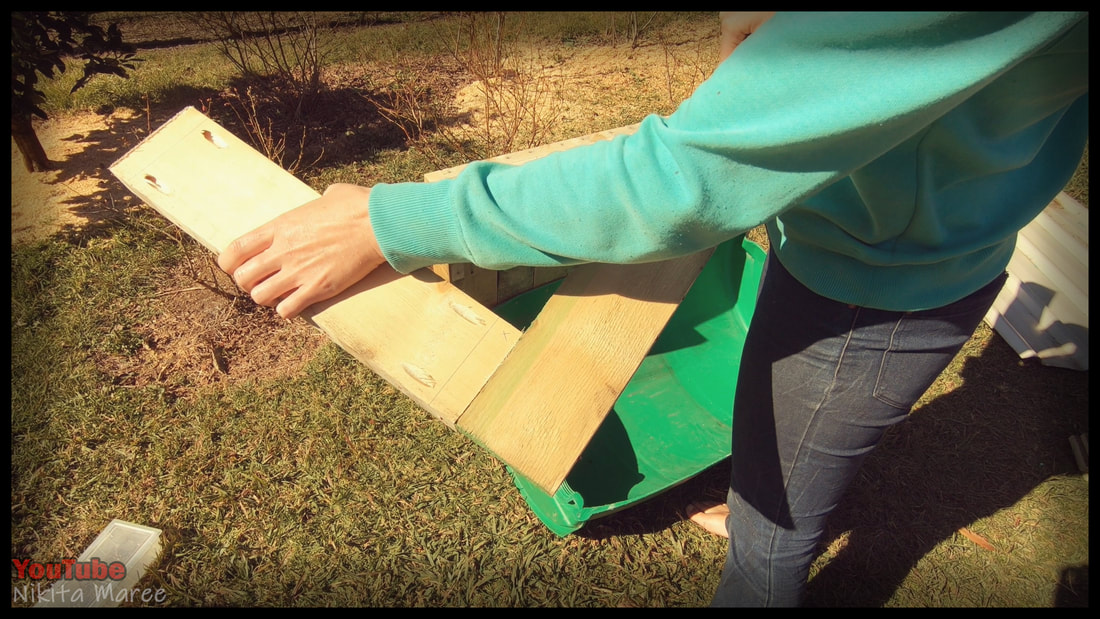
Moving on to the side wall, I drilled
two pocket holes on either side. |
|
I wanted a decent pitch for the roof, so I made the front post a foot longer than the back.
|
|
|
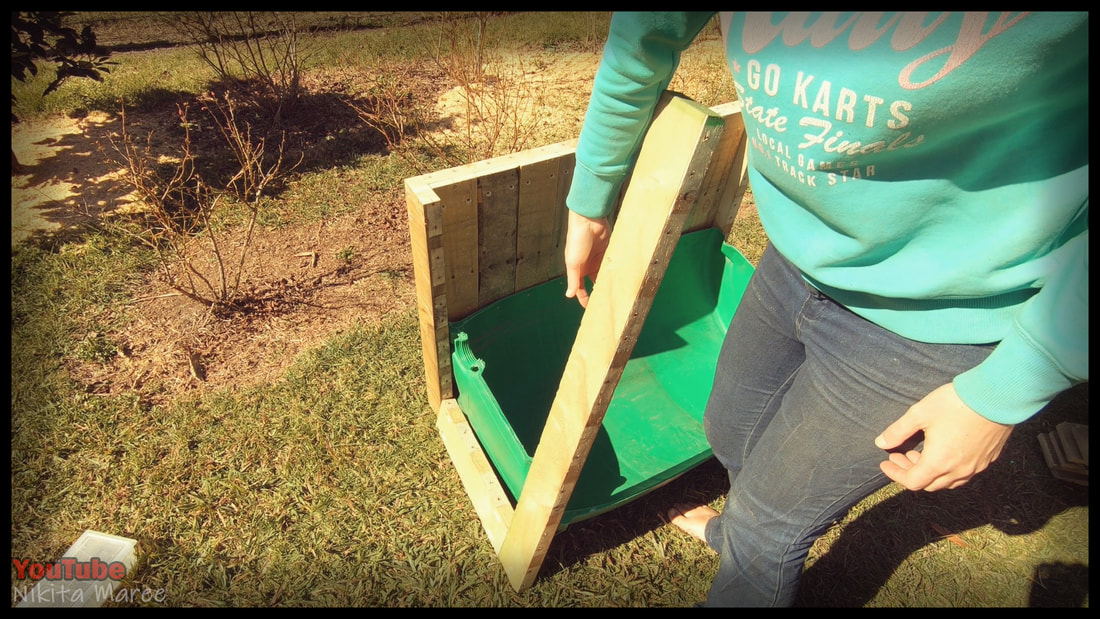
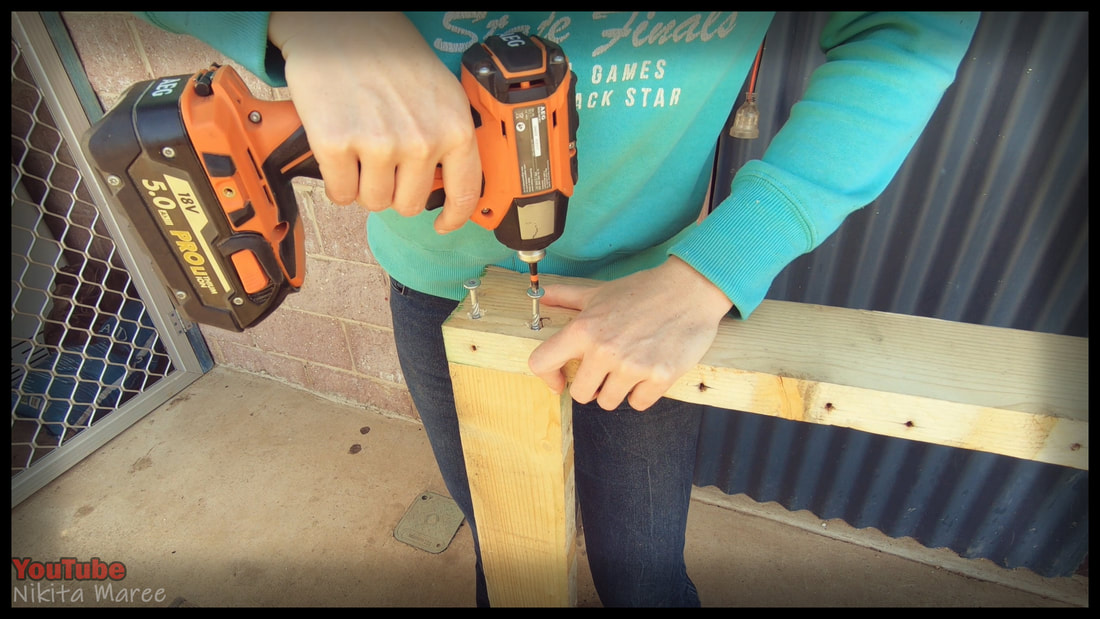
Now to join your two "L" pieces together.
|
|
It's easier to lay one of the "L" pieces on a flat surface, with the other one balancing on top of both your top and bottom beam.
|
|
|
And it is a bit of a juggling act
so I give the bugles a good tap with the hammer, to get them started in the correct position. |
|
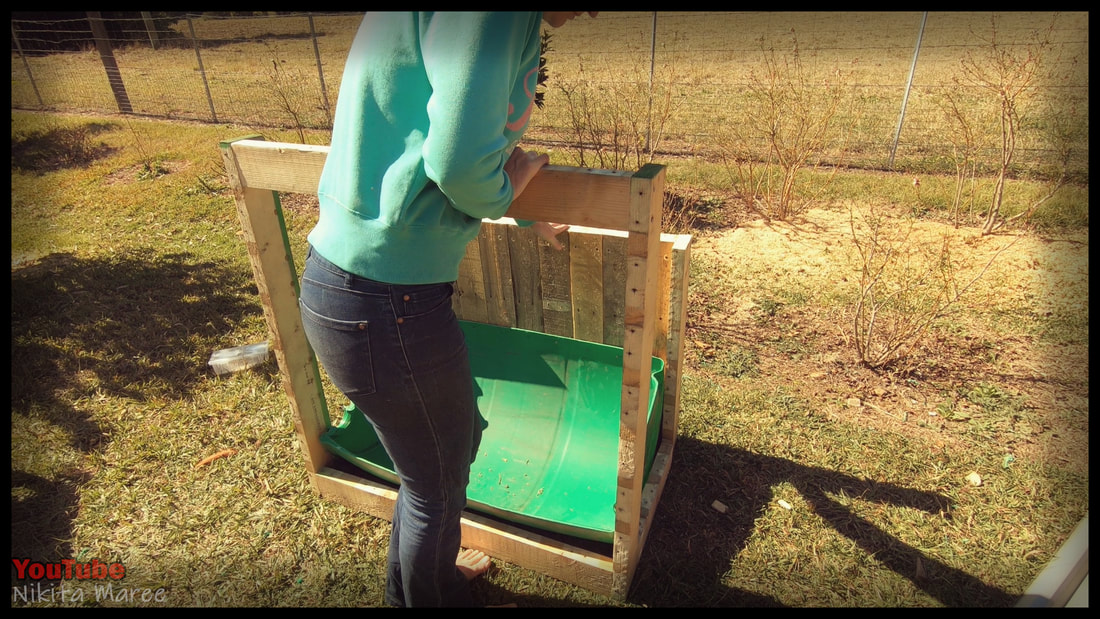
Now we can walk that back over to the rest of the build and attach them at the bottom where we previously drilled our pocket holes.
|
|
|
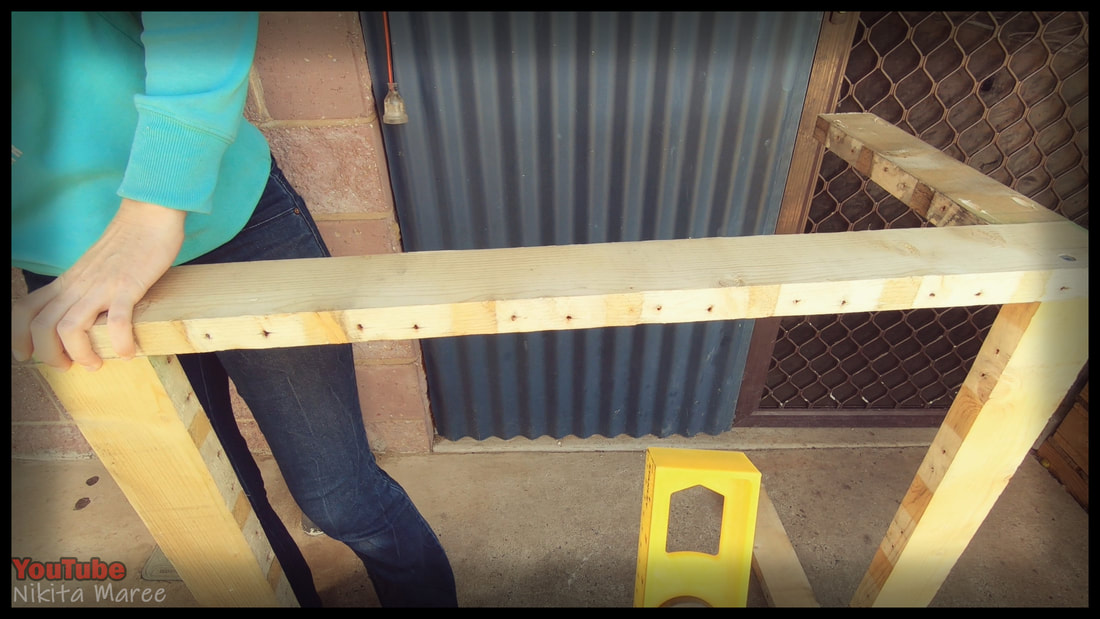
To keep the front parallel with the back I cut two palings the same length as the base and attached them higher up.
It is now square and strong. |
|
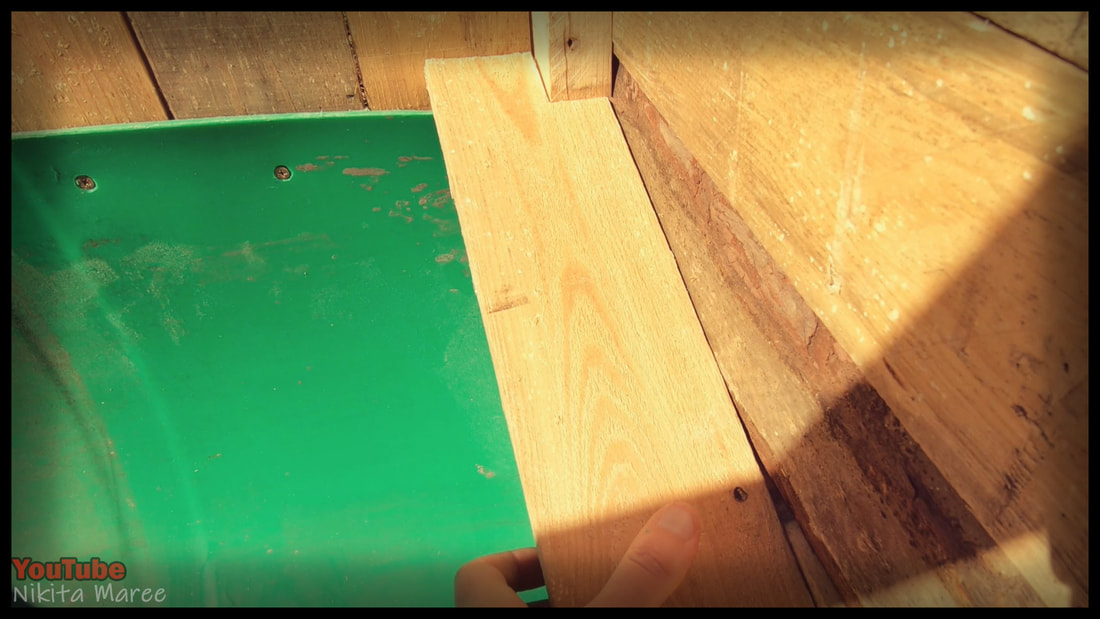
I pre-cut and drilled my side panels and used a spare paling underneath the base to give me a flatter surface than the grass.
|

|
|
Attach two palings along the lower front to give it a cleaner finish.
|
|
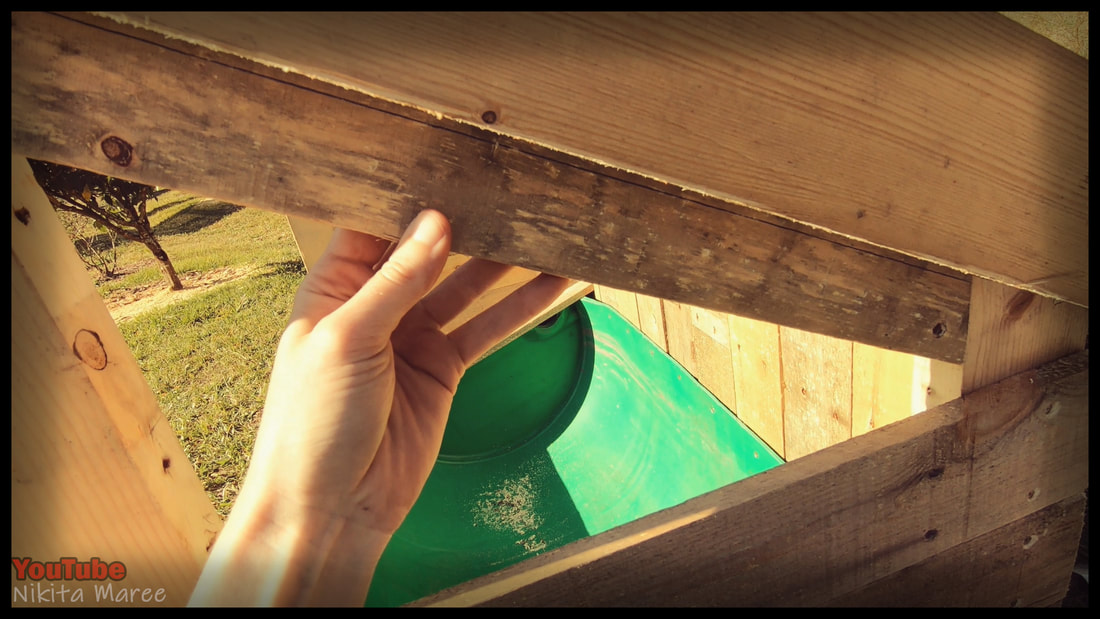
Moving on to these side pieces, this isn't necessary, but it does hide
the ugly sides of the drum. |
|
|
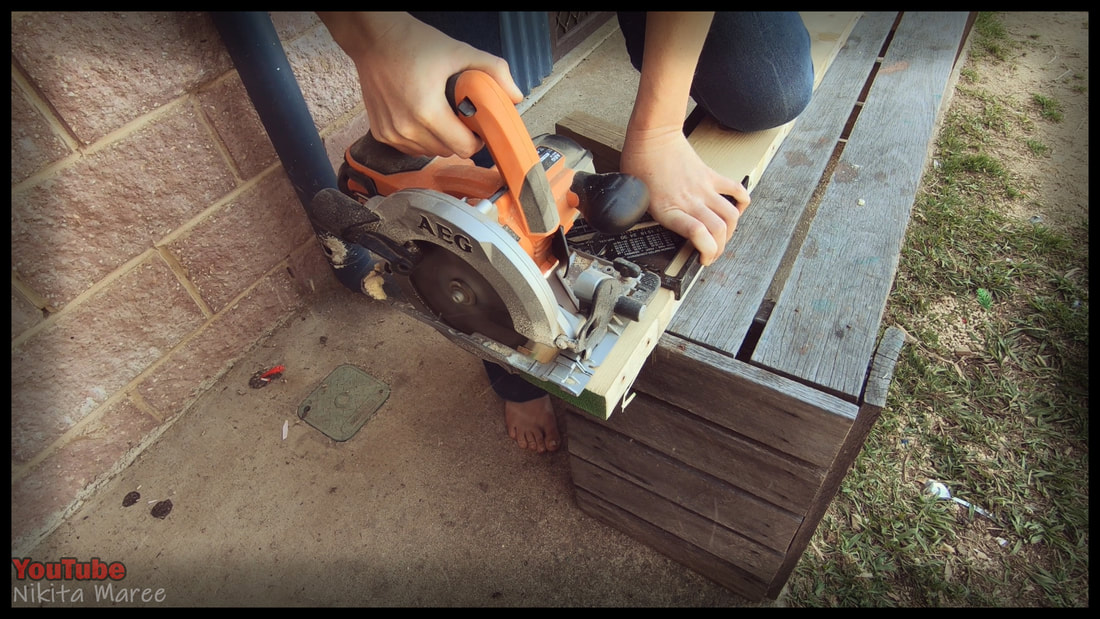
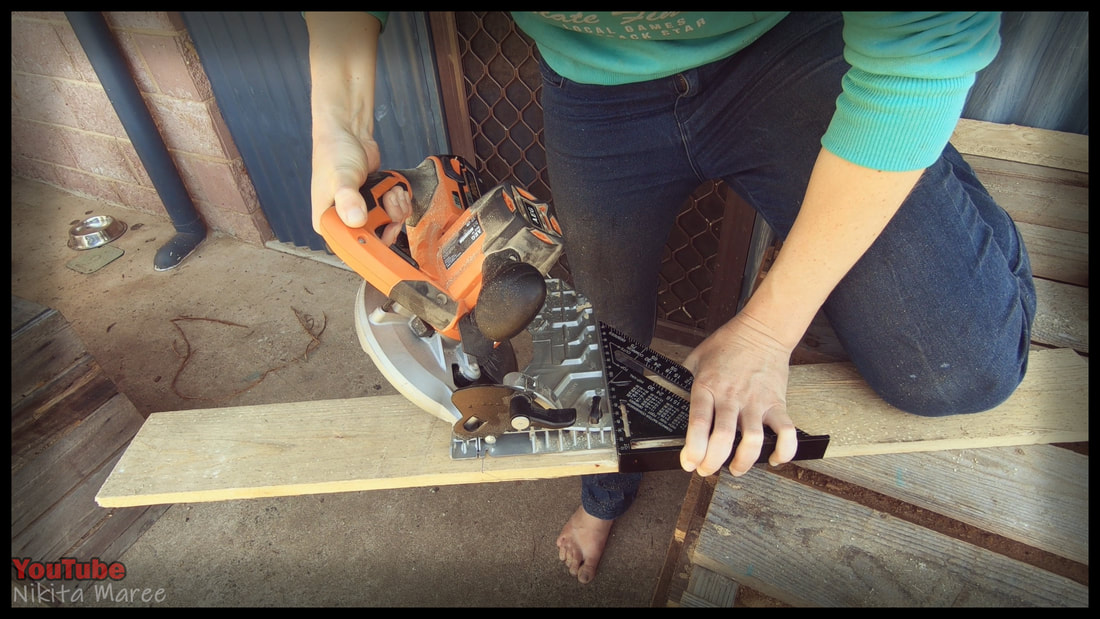
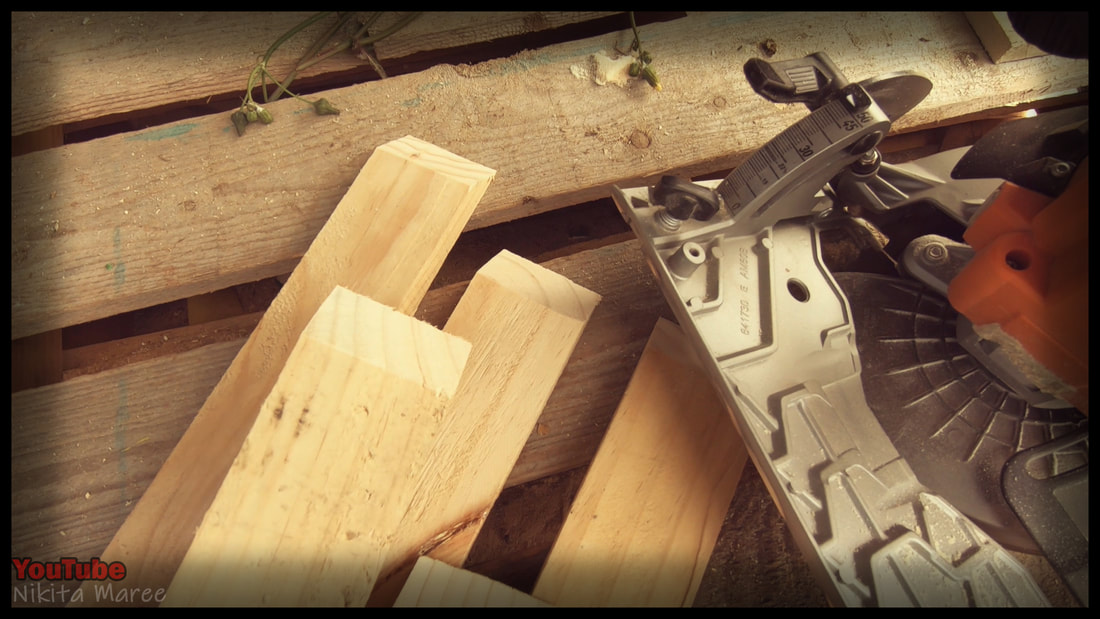
For the back cut I set the circular saw at 15 degrees, and the front edge at 45 degrees, using the speed square to keep the cuts straight.
|
|
Mark where you will be making your cuts.
|
|
|
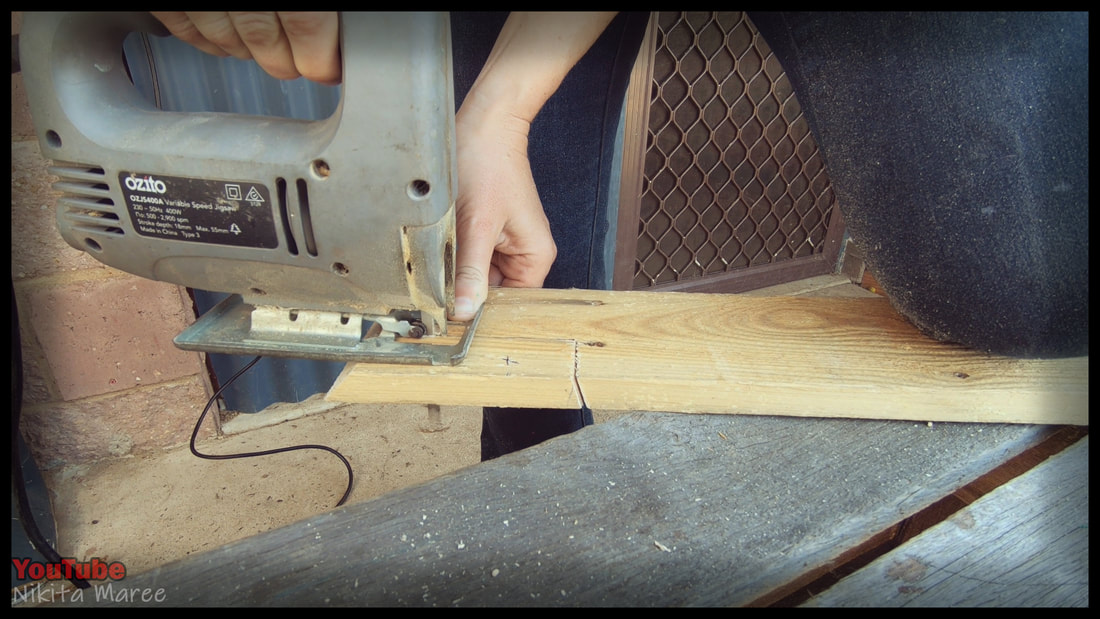
Then use a jigsaw to cut them out.
|
|
Moving onto the roof.
I attach the rafters from the inside. |
|
|
To finish off the sides I attach a paling to the inside of the rafter to give me something to attach the side palings too.
|
|
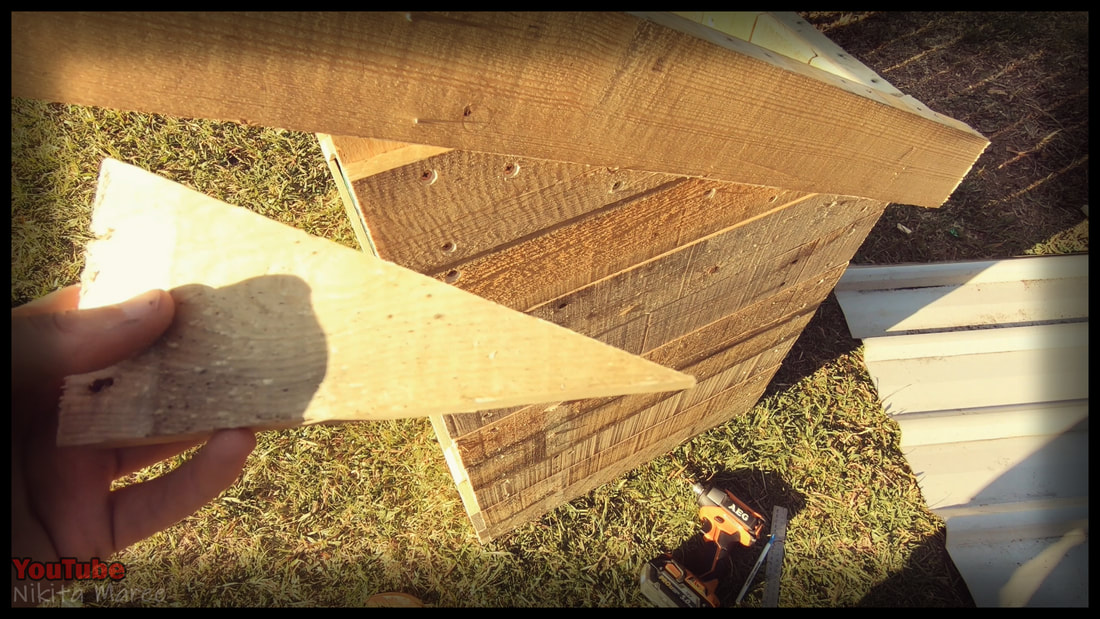
I cut the back angle first, then mark where I'll cut the front edge.
|
|
|
And since the pitch of the roof remains the same you can use the off-cuts further up.
|
|
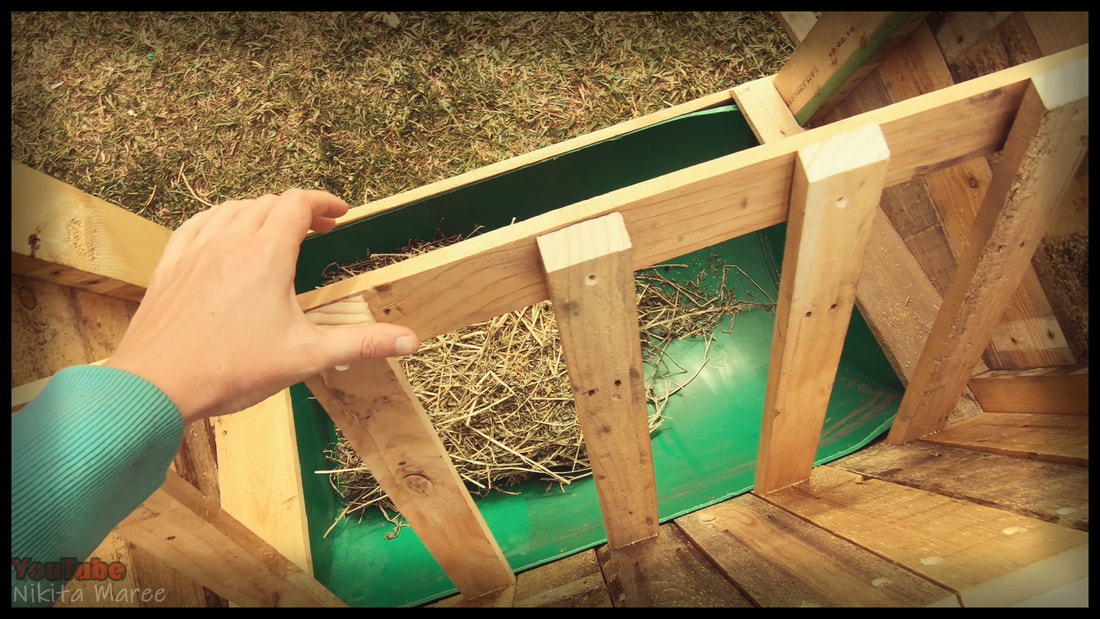
Moving on to the hay feeder at the back.
|
|
|
I cut 5 palings at 50 degrees.
|
|
Worked out my spacing and drilled
two holes for each. |

|
|
Drill your holes at a bit of an angle to allow the screws to go straight up into your palings.
|
|
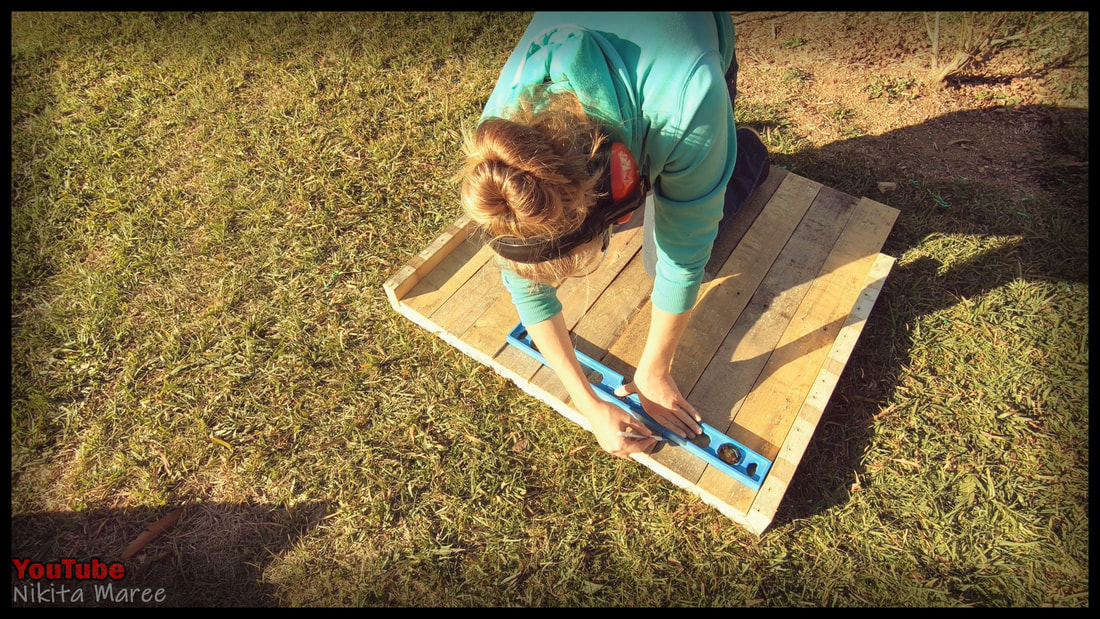
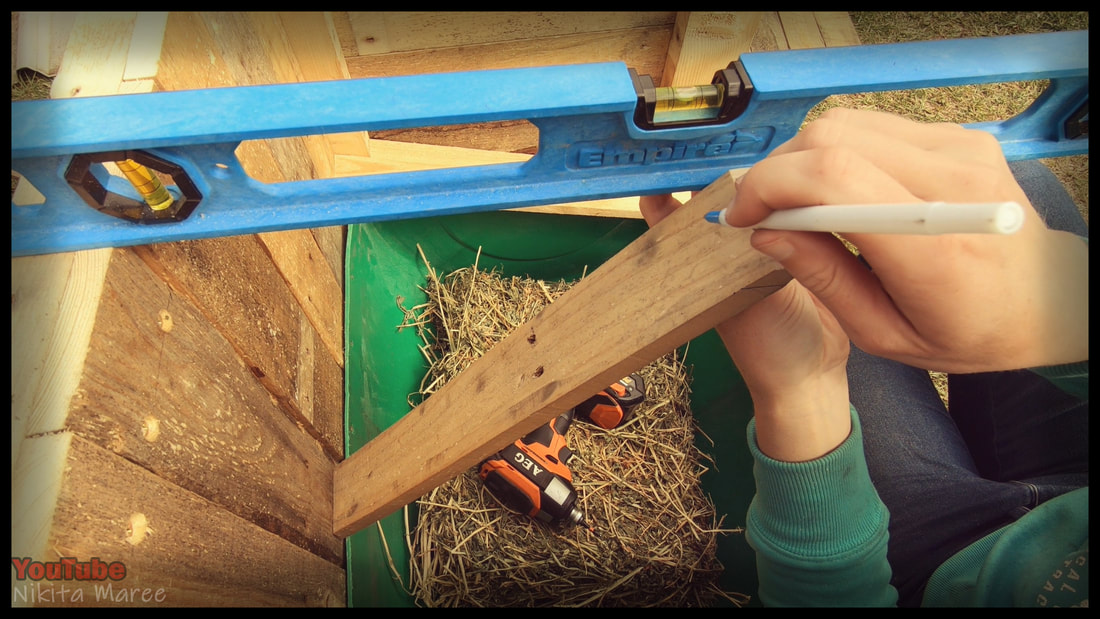
I decided I wanted the height of the hay feeder to be the same height as the back wall.
So I held the spirit level on the back wall and marked the height onto the paling. |
|
|
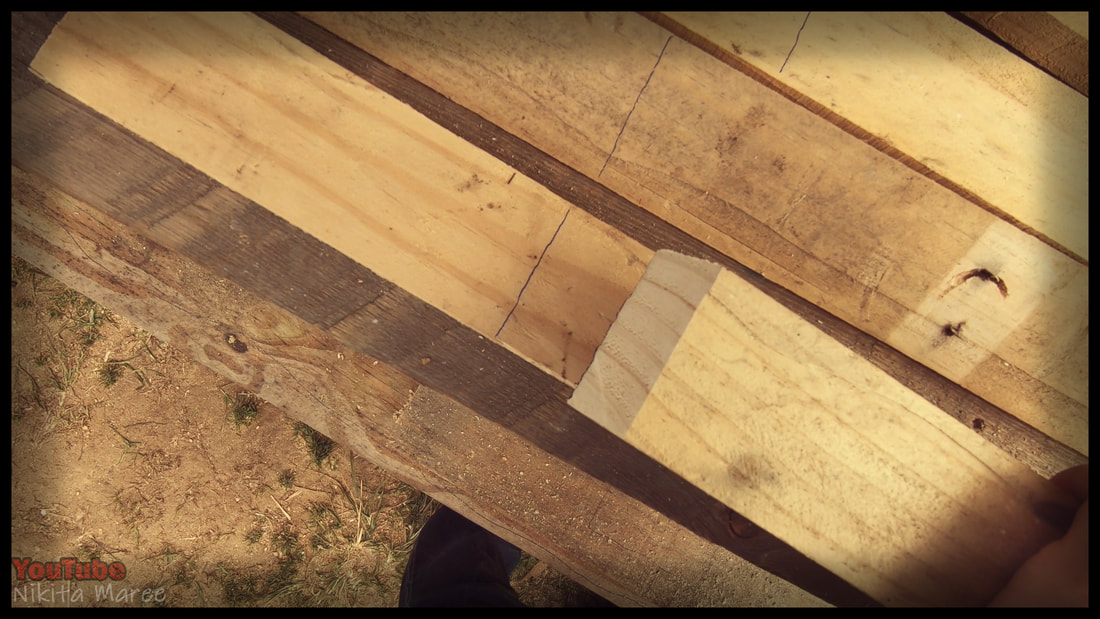
Transfer that length on to the rest of the palings and cut those at 40 degrees.
|
|
Attach and pre-drill a hole into each
of those pieces. |
|
|
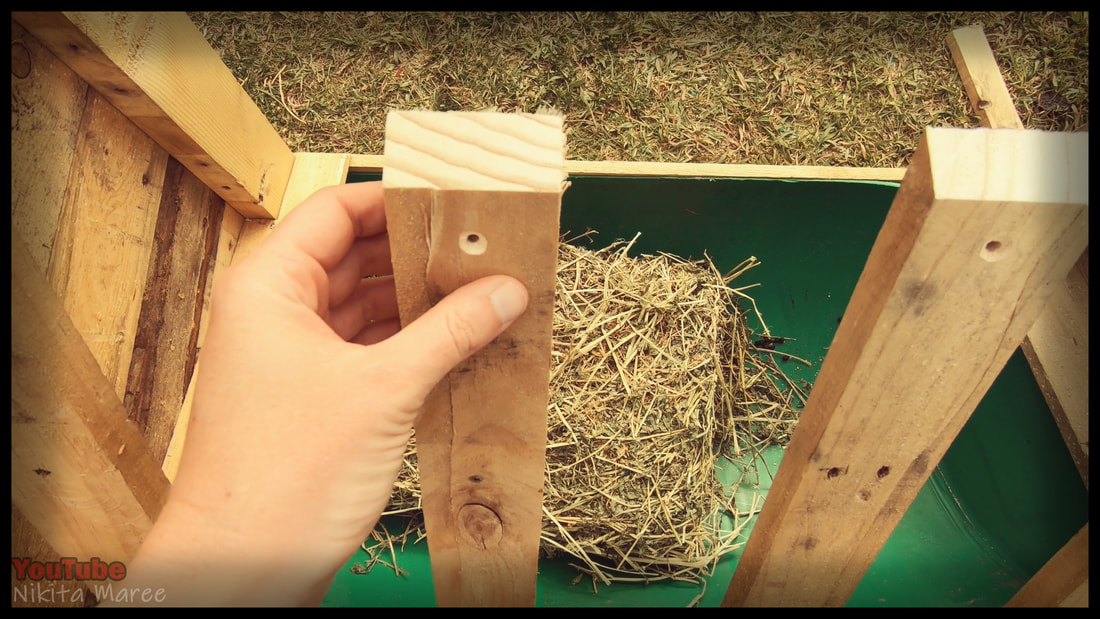
Then bring in your joining piece.
|
|
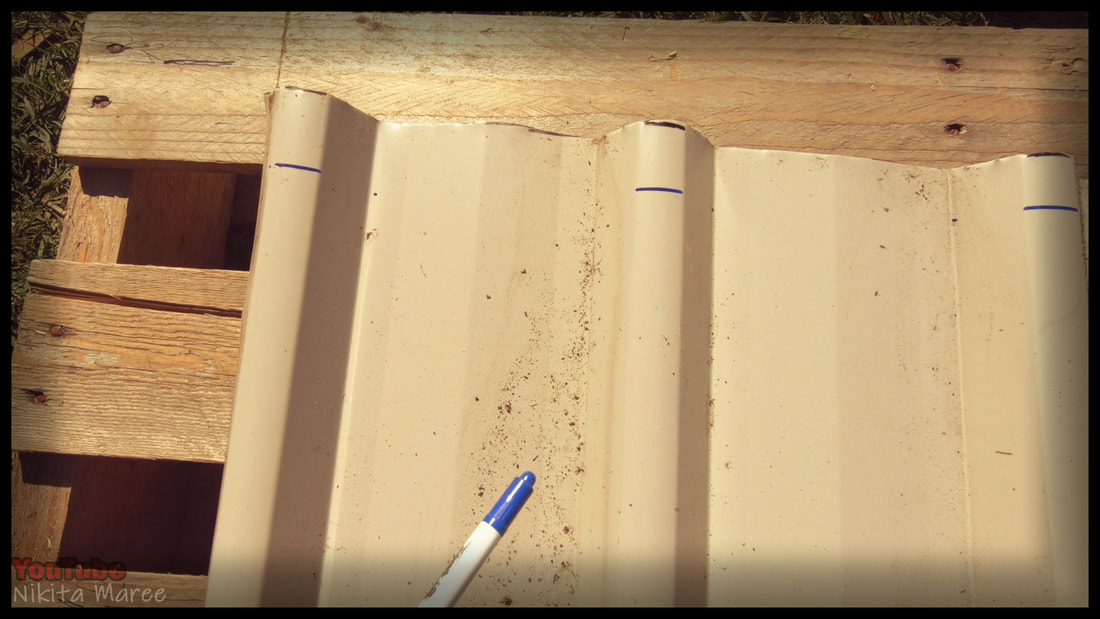
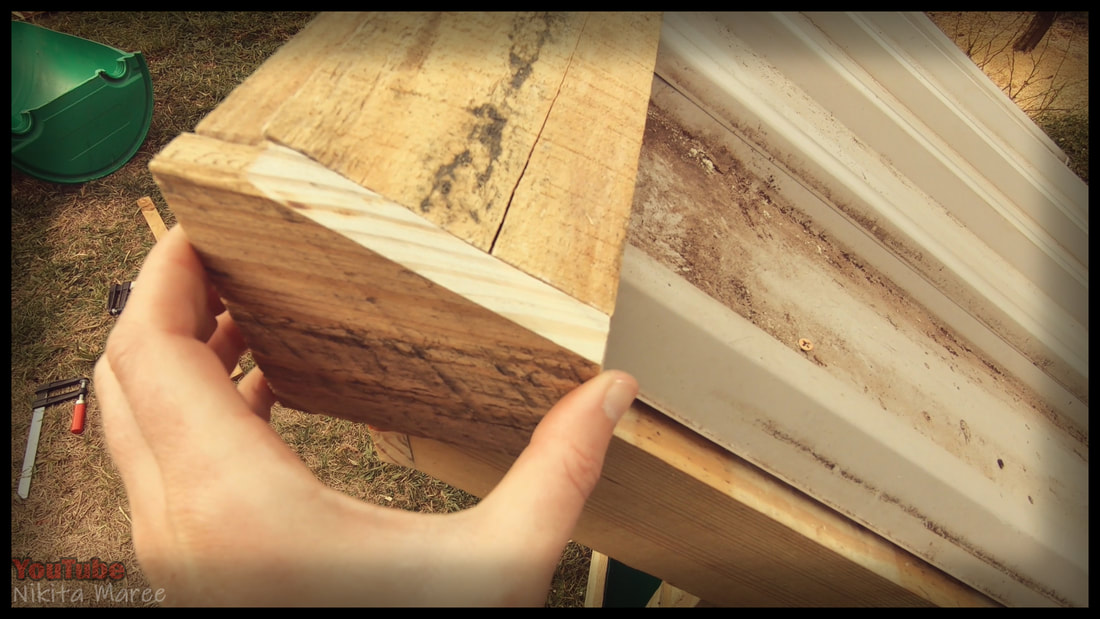
The length of the roof was determined by the off-cuts of the corrugated iron.
I just needed to straighten up the edges. |
|
|
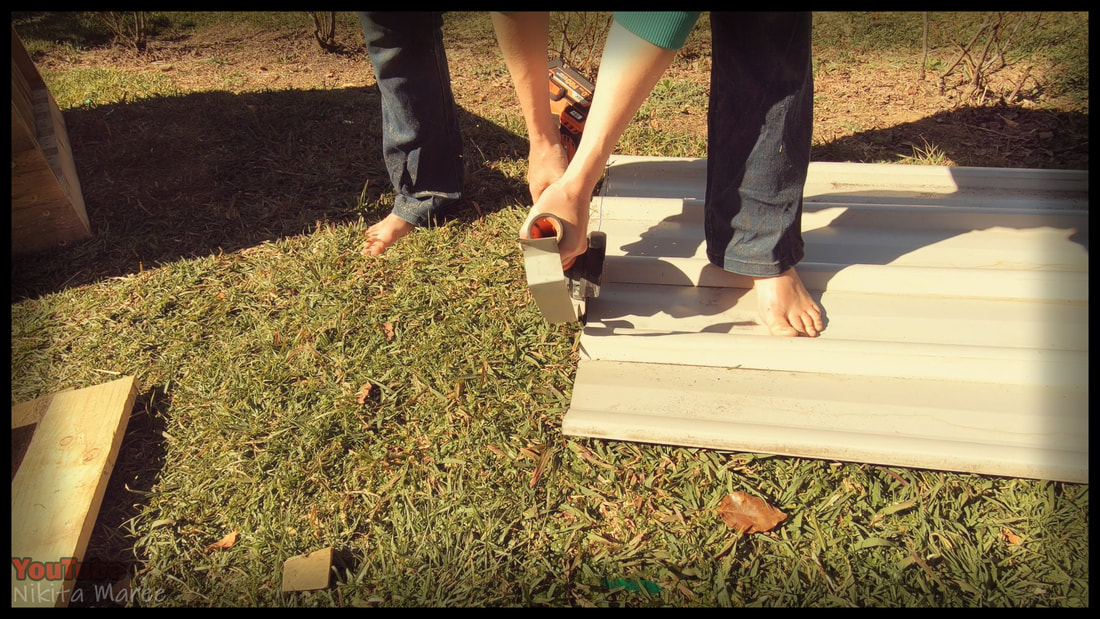
Use tin snips or a cutting disc on the angle grinder to cut your sheets.
|
|
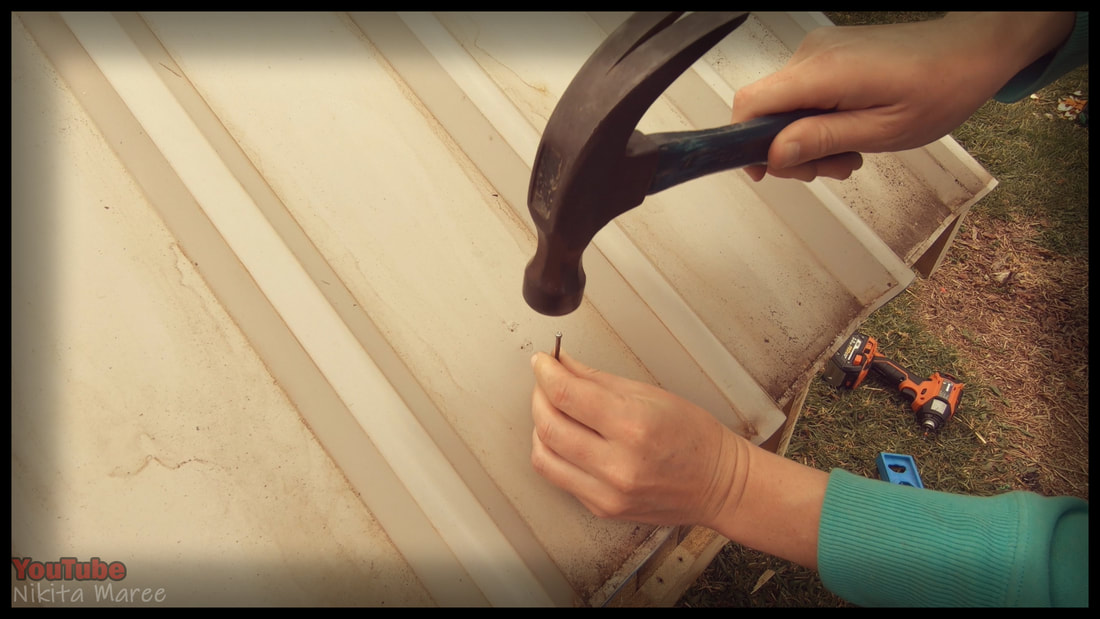
To attach the corrugated iron, I punched a nail through first to create a hole for the screws.
|
|

|
You would normally put the screws on the ridge, but the screws I have are not long enough.
And this is a feeder, not a house. So I think we will be fine. |
|
Now for another unnecessary step that does nothing for the structural integrity of the feeder, but does make it look better
is the fascia. |
|

|
I joined these two pieces together before attaching to the feeder.
|
|
And then I made these little end caps. This step is crucial because it looks like garbage without it.
|
|
|
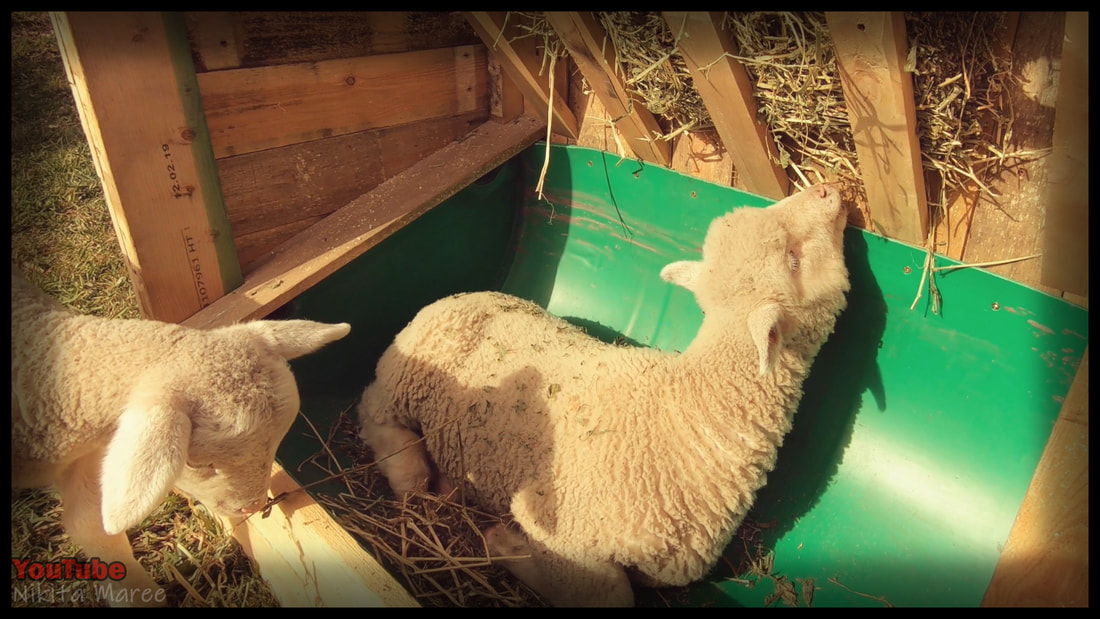
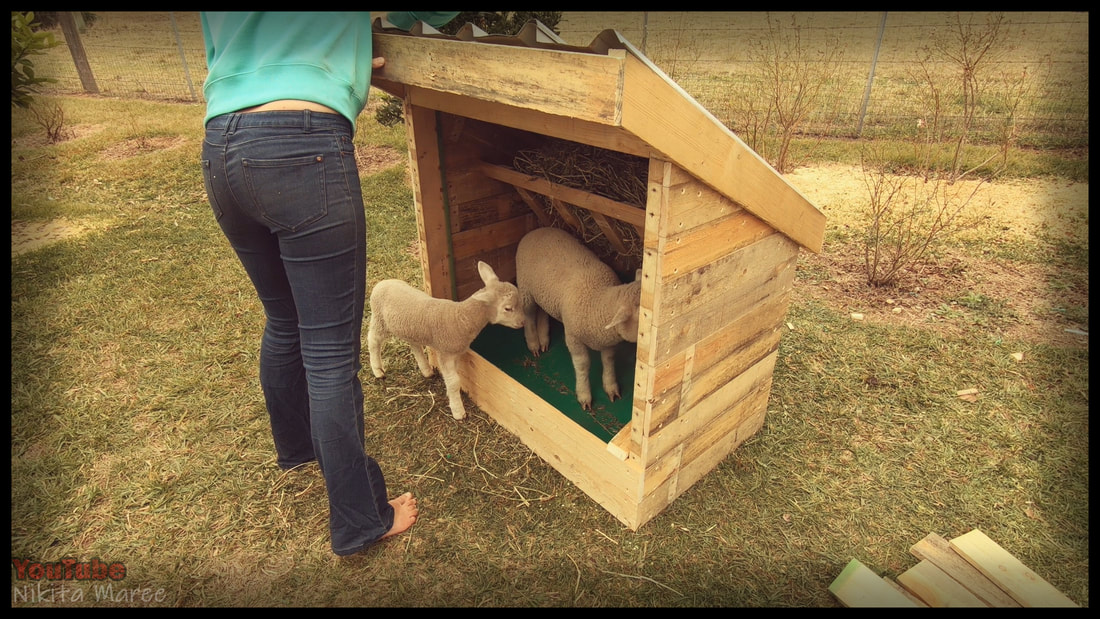
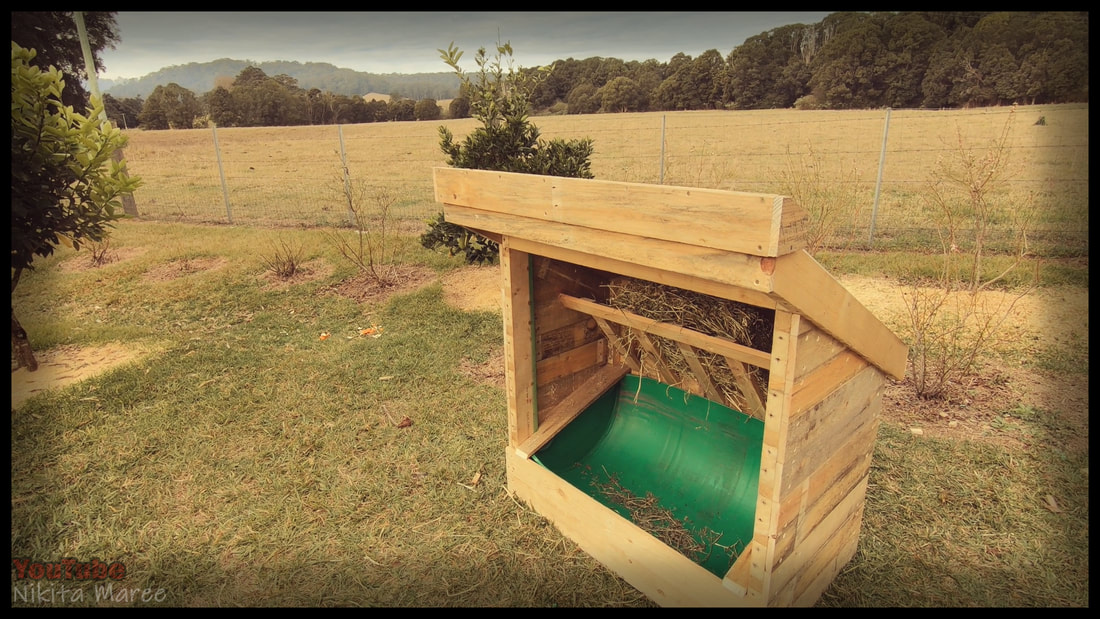
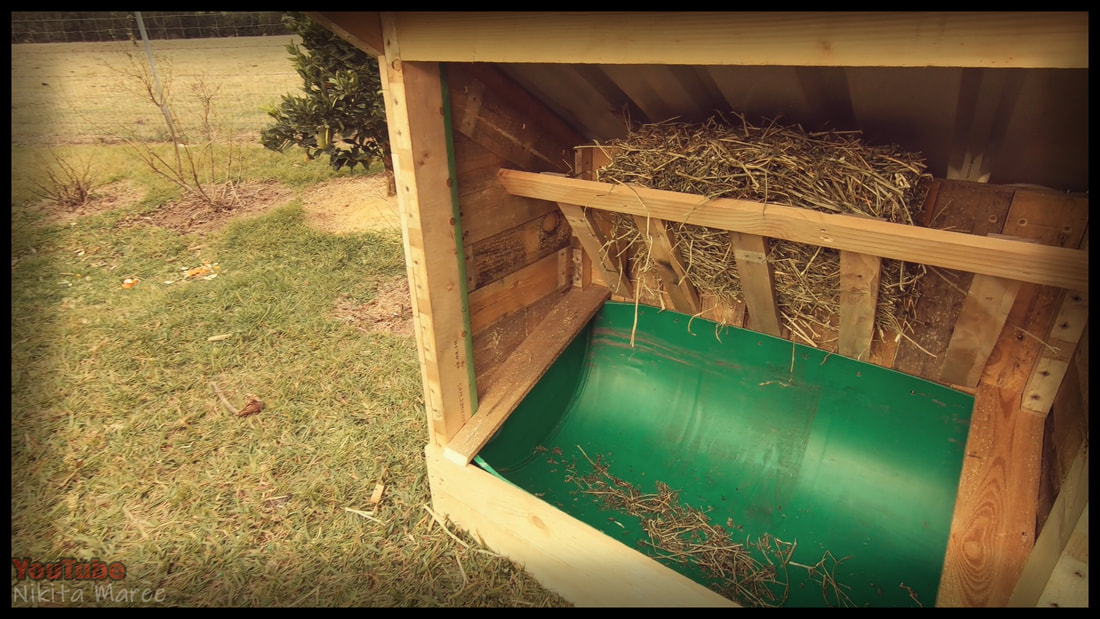
Here we have the hay cage at the top and the grain drum at the bottom.
Which also helps catch the fallen hay. |
|
I really like the hay cage because it prevents them from pulling the entire thing out and stomping it into the ground.
|
|
|
|
I have more DIY farm builds
over on YouTube. And I would love to have you there ♥ |
