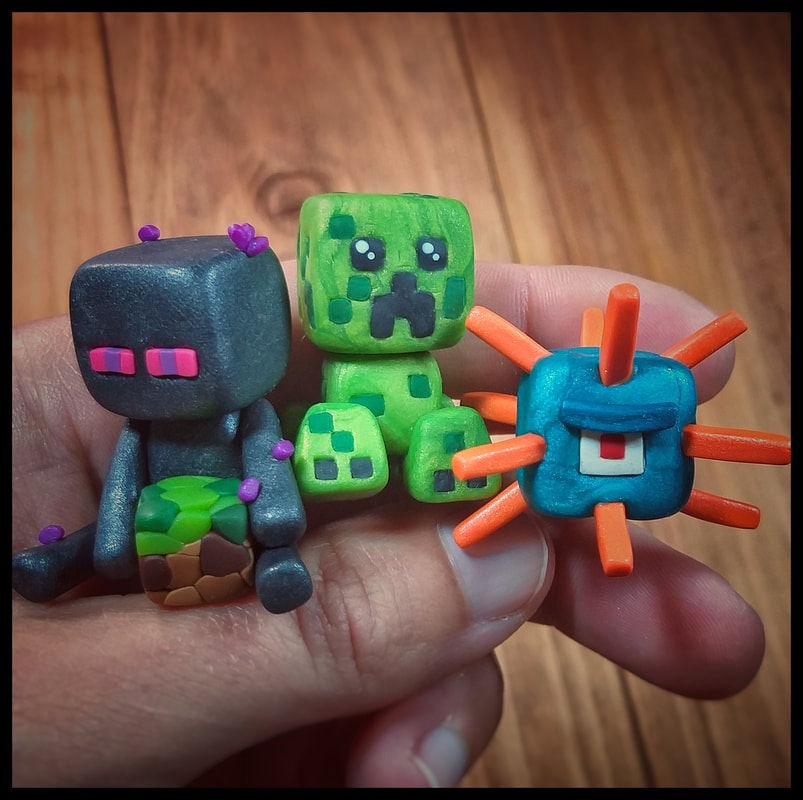
Polymer Clay Tutorial
How to make a Chibi Creeper
|
|
|
|
|
In this tutorial I will be going over the step involved in making a MINECRAFT Creeper Mini Figure made out of polymer clay.
|
|
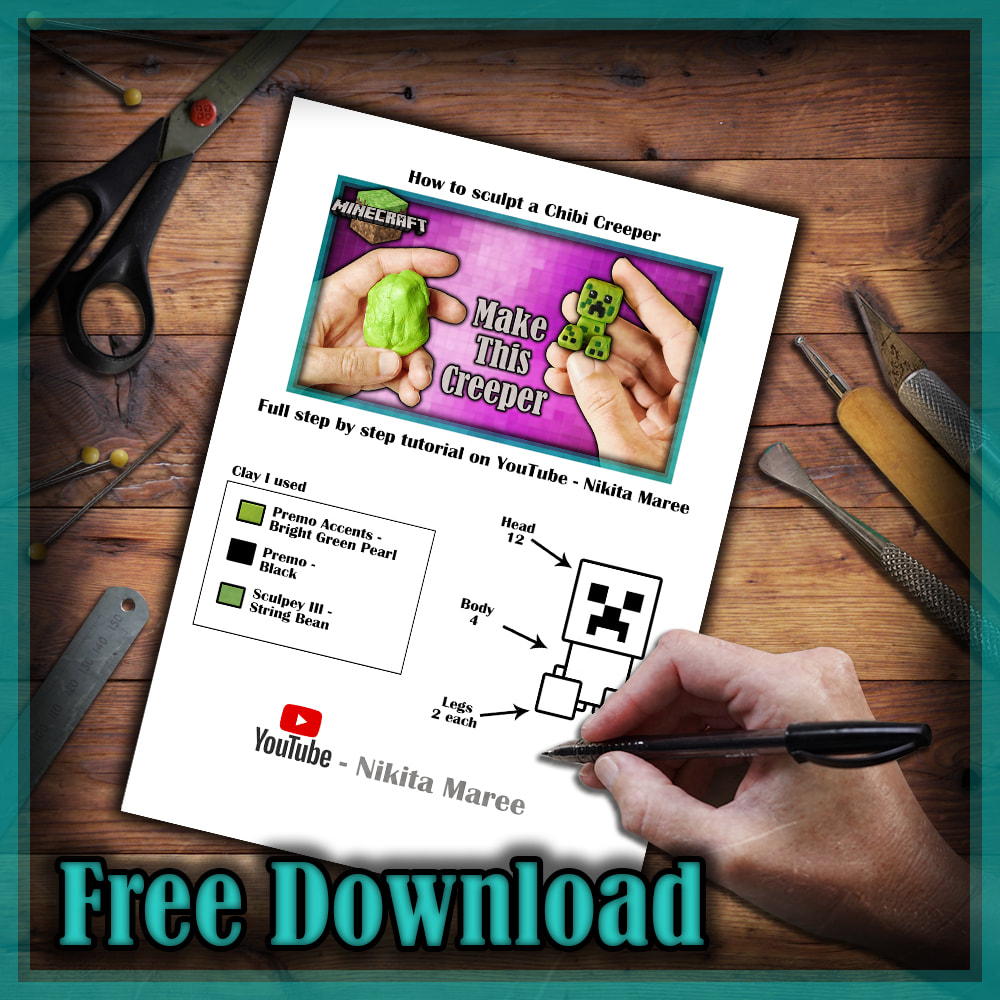
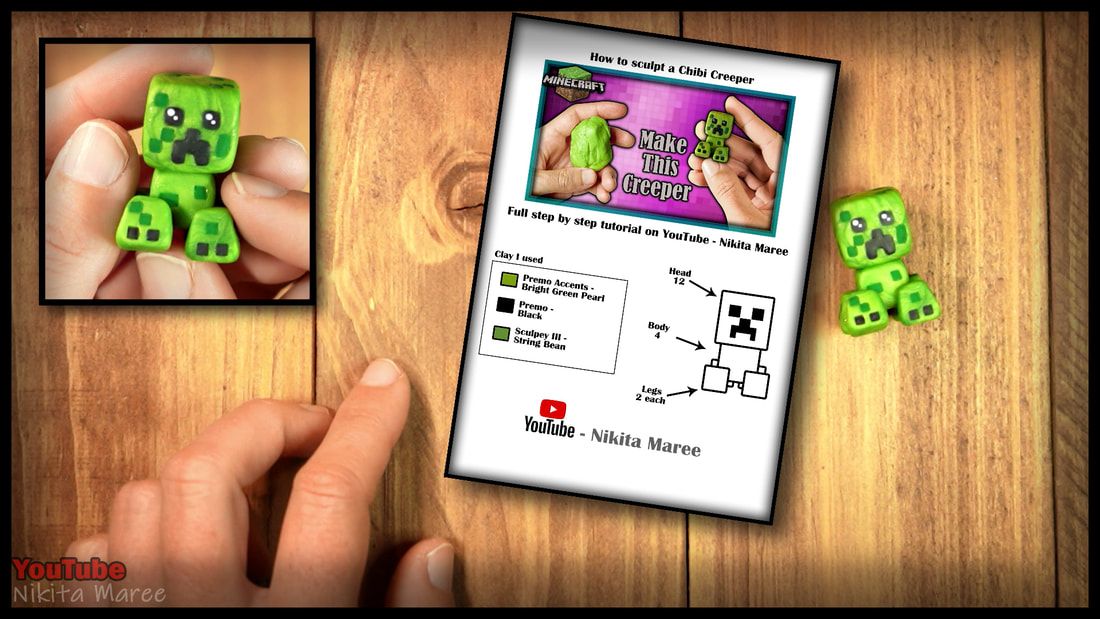
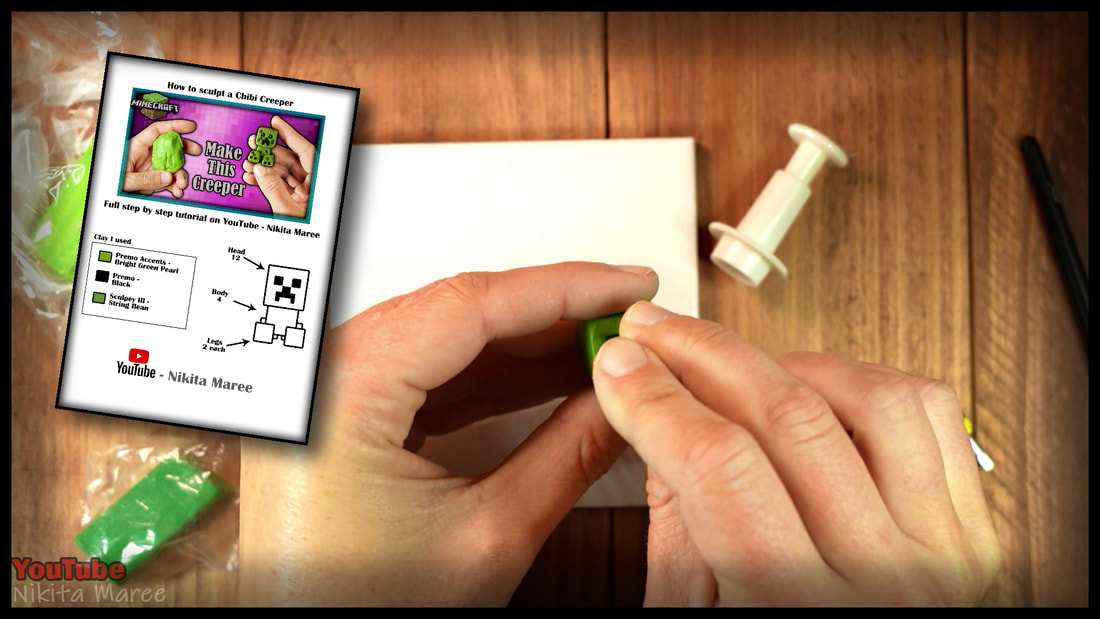
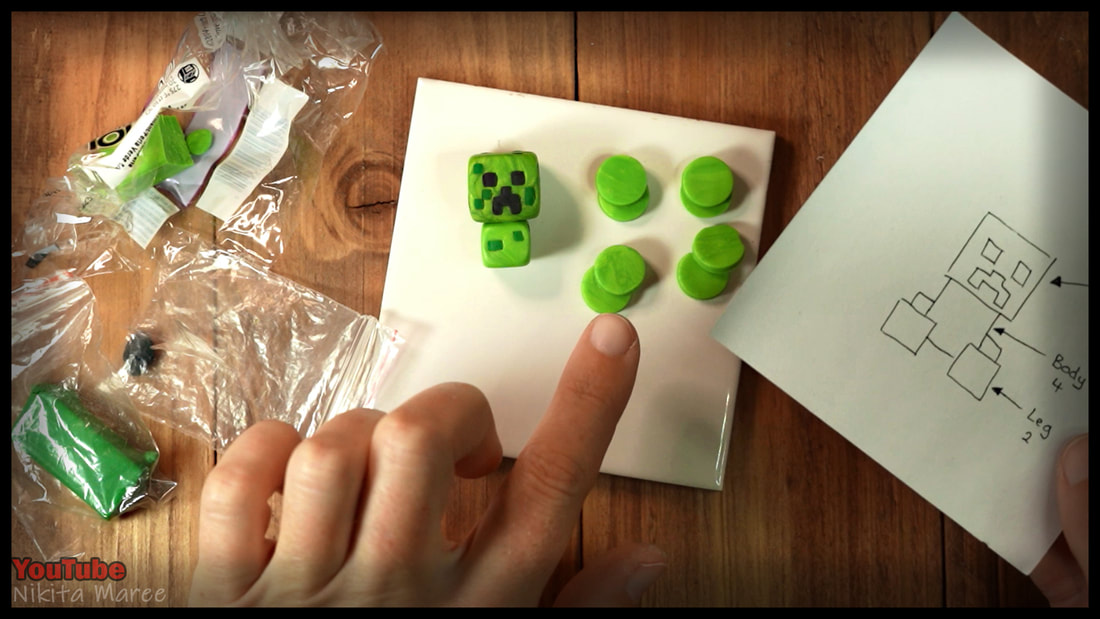
Save or print out the free reference sheet.
It has the list of colors I used and the amount of pieces you will need for each body part. |
|
|
|
|
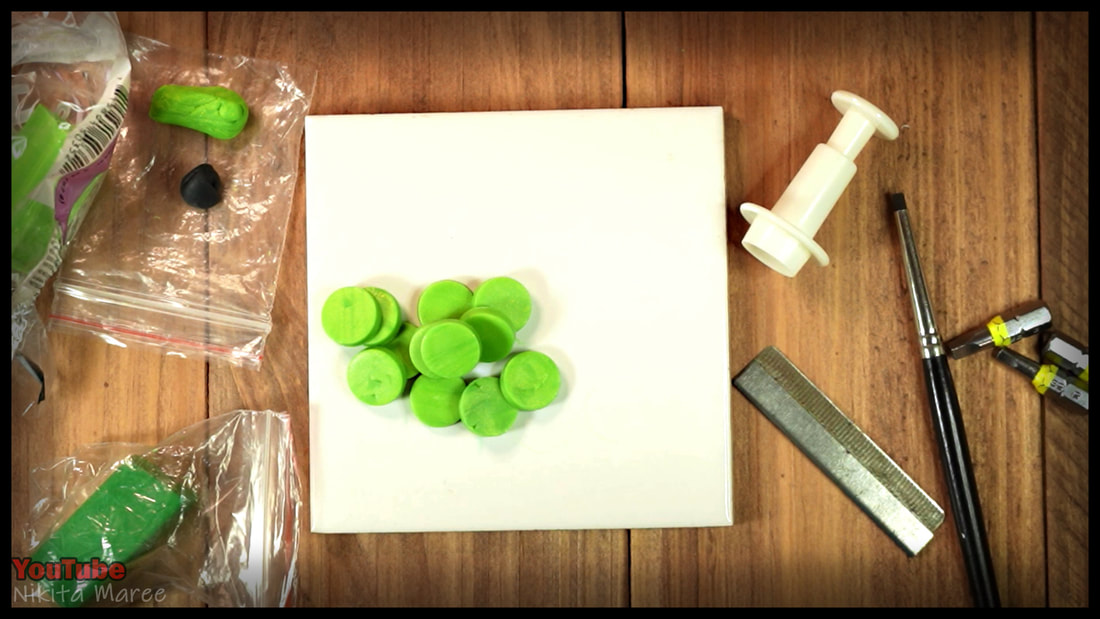
Roll out a flat sheet of the main body color.
Then press out 12 pieces for the head.
Then press out 12 pieces for the head.
Note: It doesn't matter what size or shape your cutter is.
As long as you use the same one throughout the sculpt.
And keep the clay thickness the same, every time you roll it out.
This will ensure the correct ratio of all body parts.
As long as you use the same one throughout the sculpt.
And keep the clay thickness the same, every time you roll it out.
This will ensure the correct ratio of all body parts.
|
|
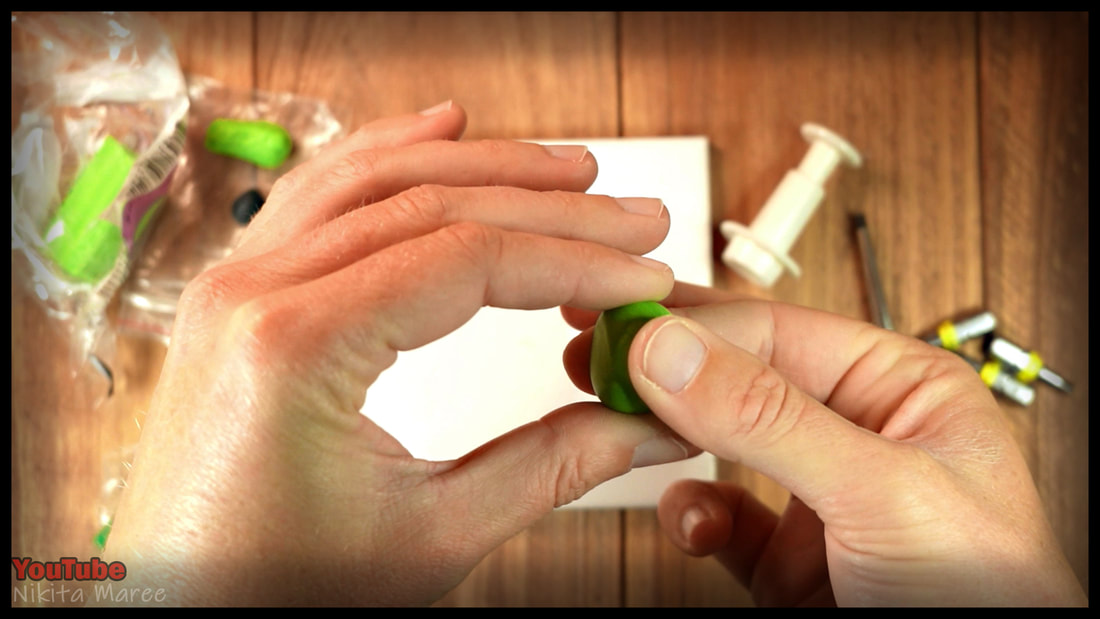
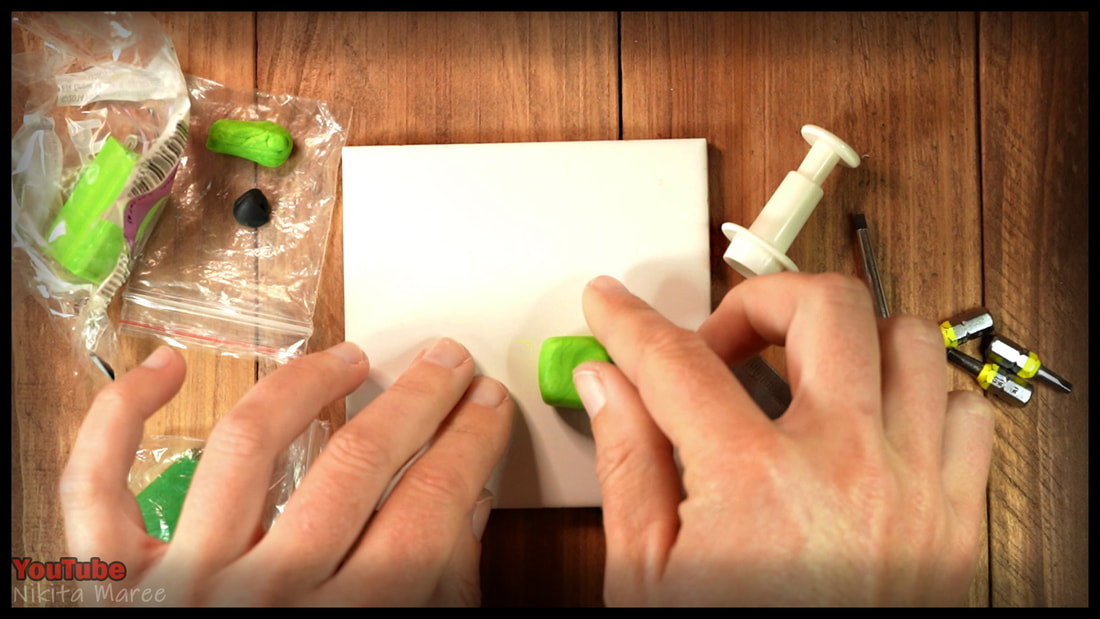
Condition the clay until it is soft.
Then start pressing it into a cube.
Lightly press all the sides of the cube onto a flat surface, to help achieve this.
Then start pressing it into a cube.
Lightly press all the sides of the cube onto a flat surface, to help achieve this.
|
|
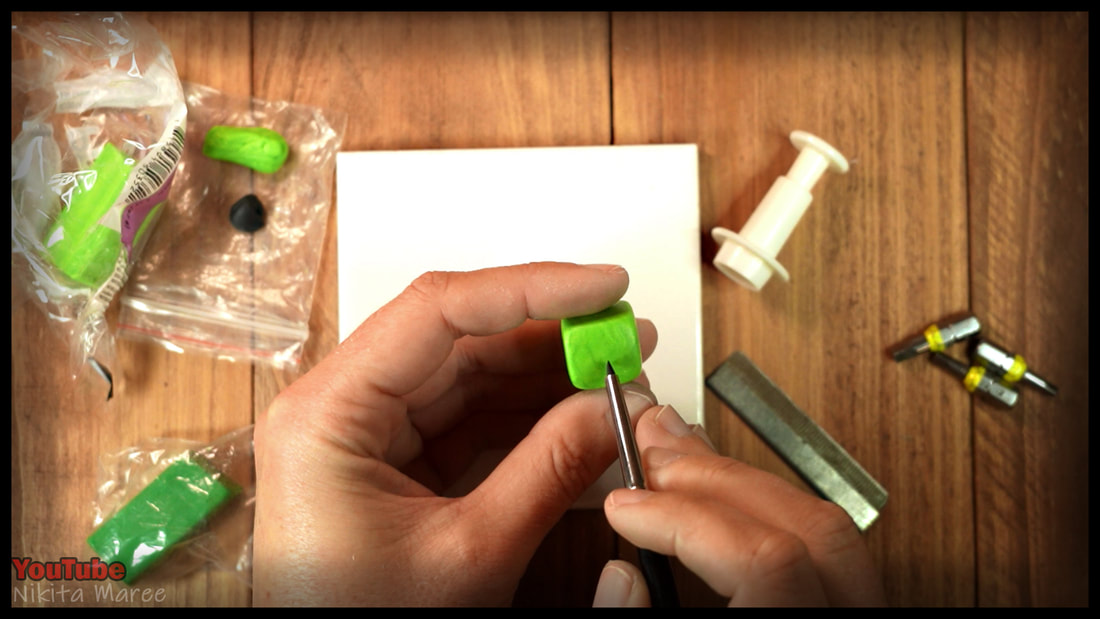
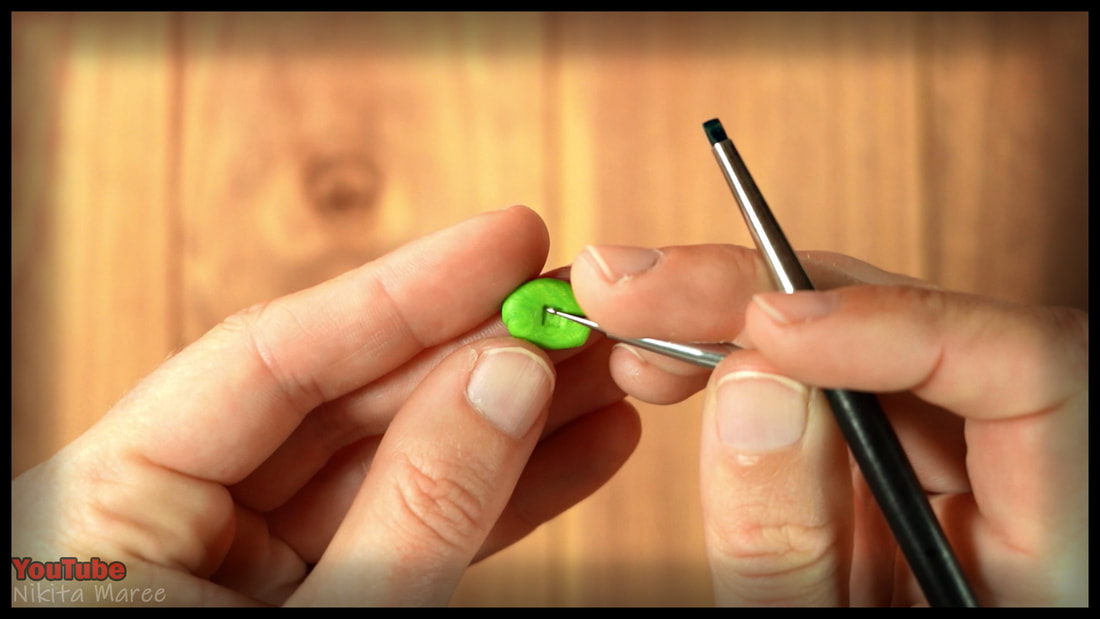
Gently mark the center nose position.
Then stamp in a square.
Then stamp in a square.

|
|
Alternatively: You can use sculpting tools or a ball tool,
to shape in the squares by hand.
It is a little slower, but just as effective.
to shape in the squares by hand.
It is a little slower, but just as effective.
|
|
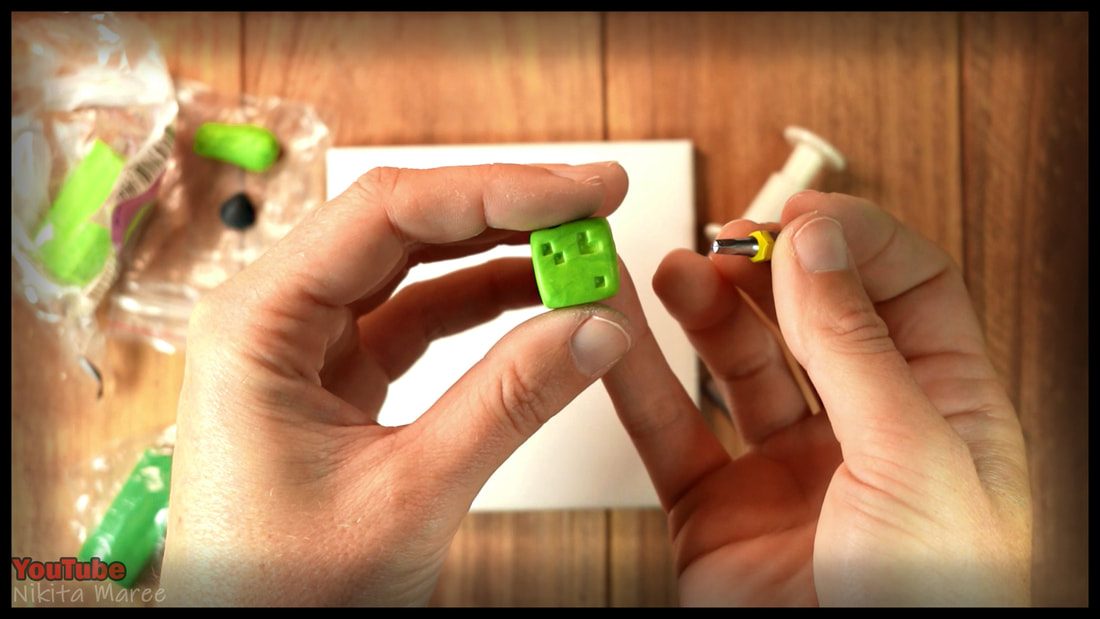
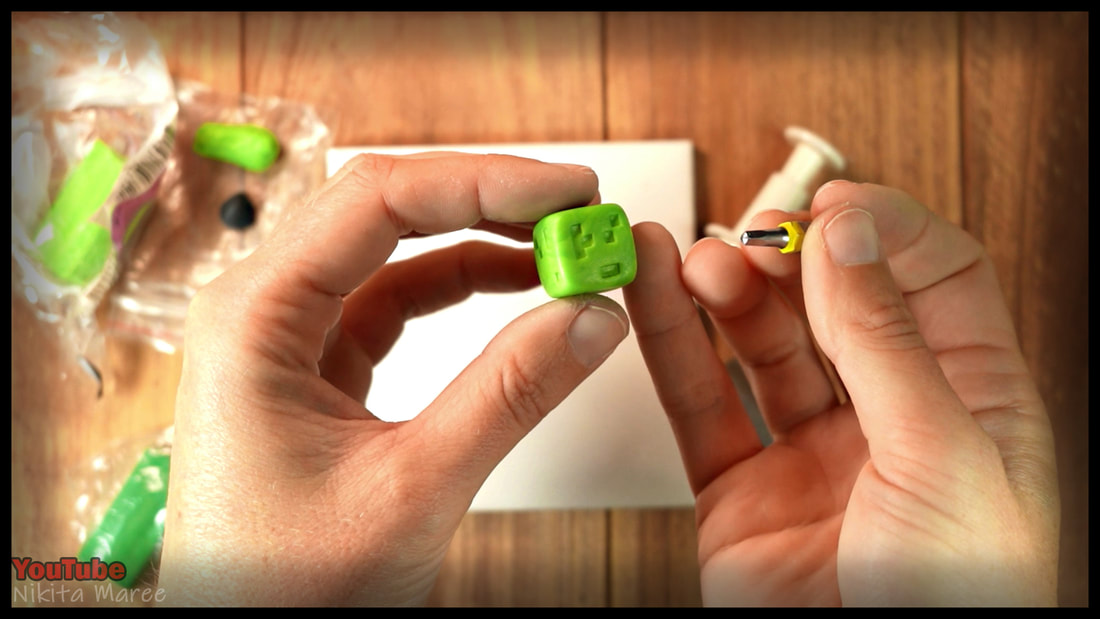
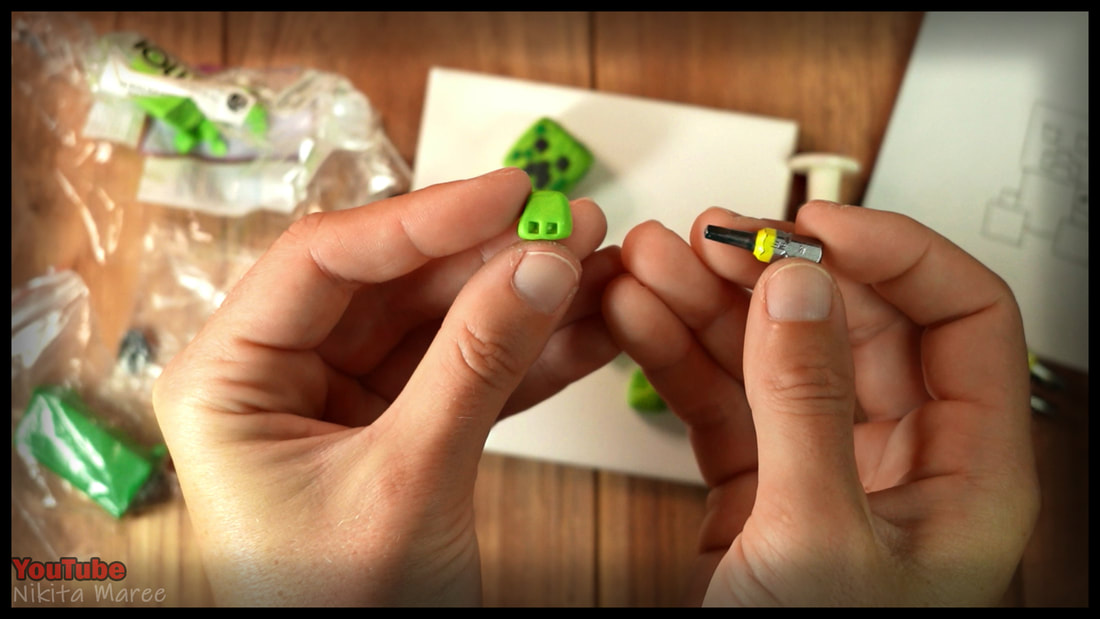
Continue to press in square shapes for the face.
While constantly checking back with the reference sheet.
While constantly checking back with the reference sheet.
|
|
|
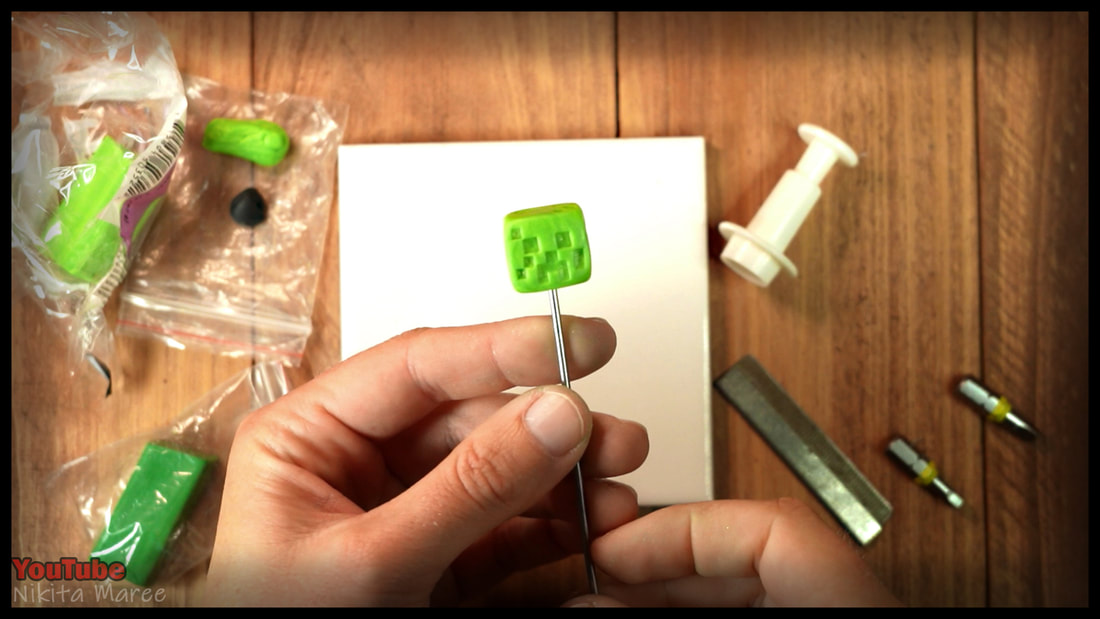
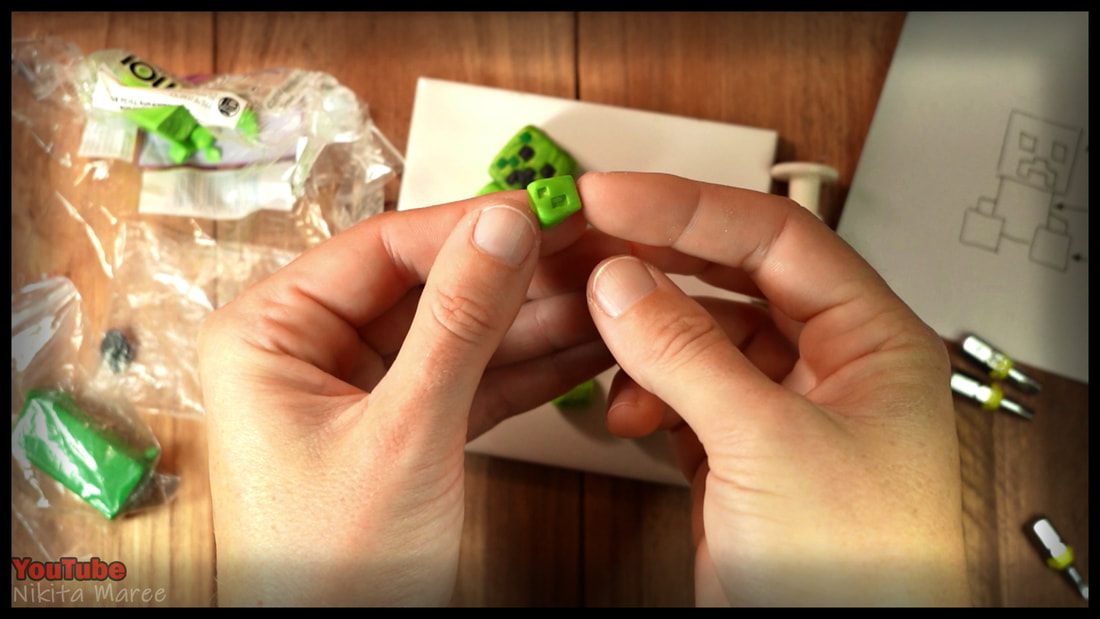
Randomly place smaller squares around the surface of the head.
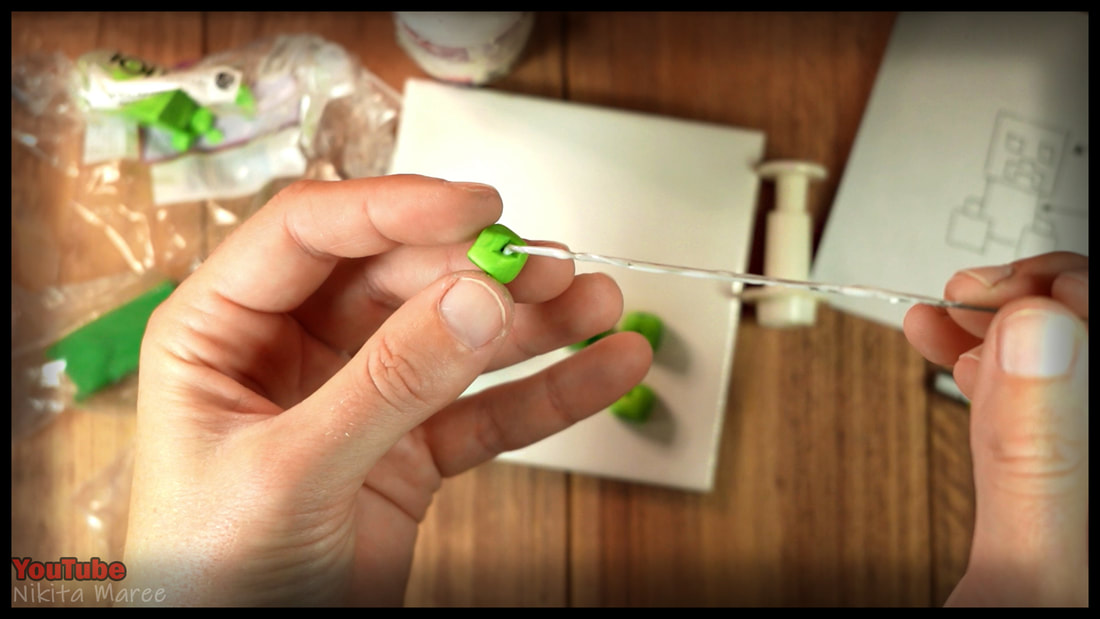
Then place the head on a skewer so you don't have to touch the sculpt too mach.
Then place the head on a skewer so you don't have to touch the sculpt too mach.
|
|
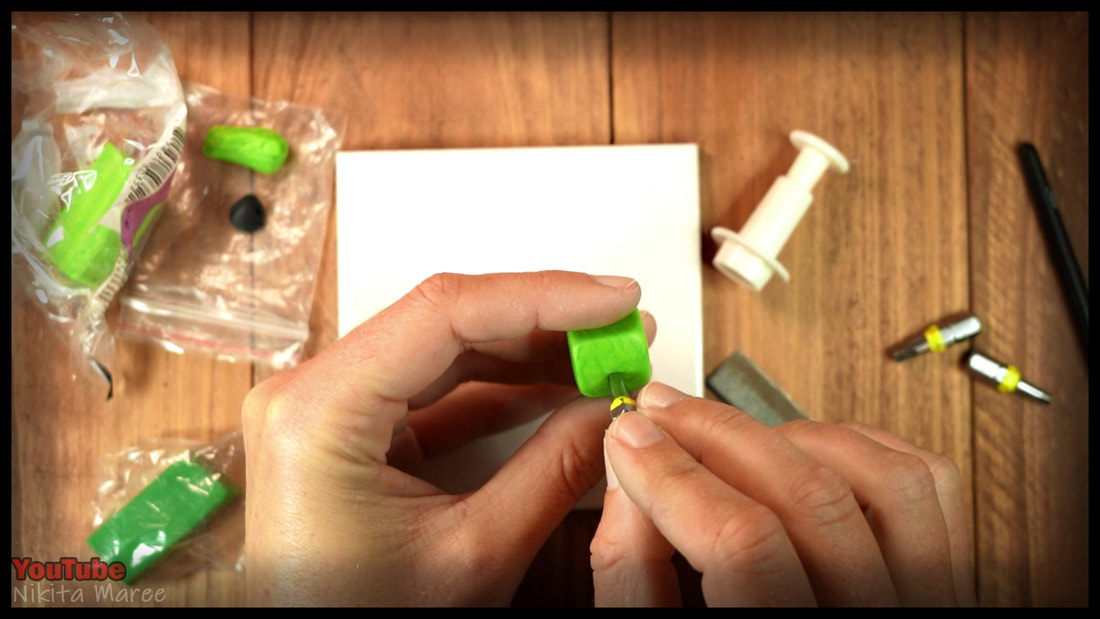
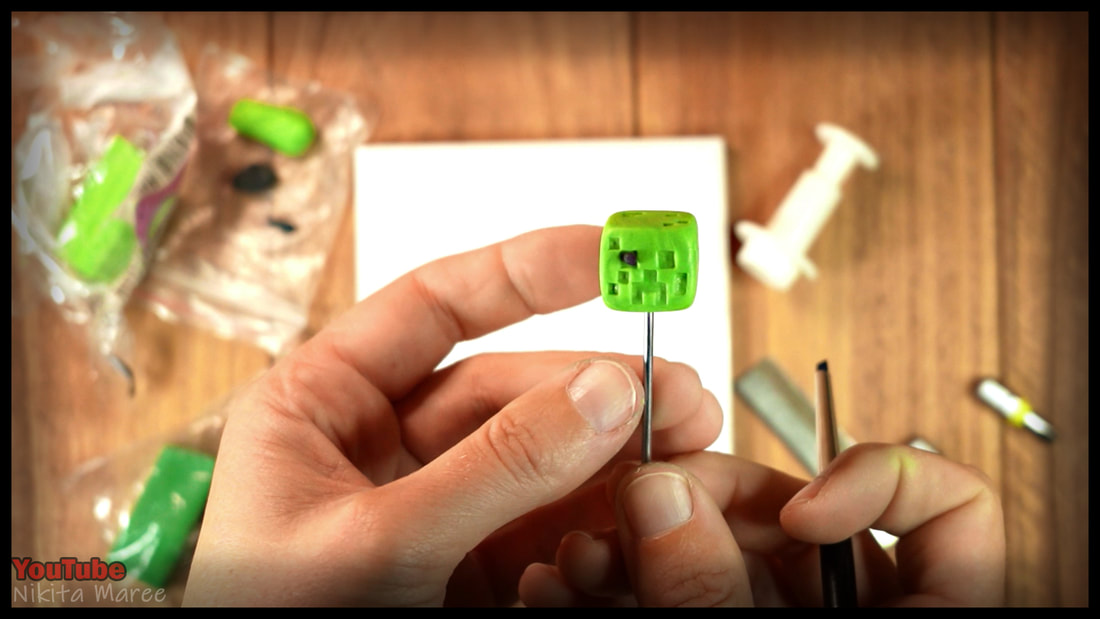
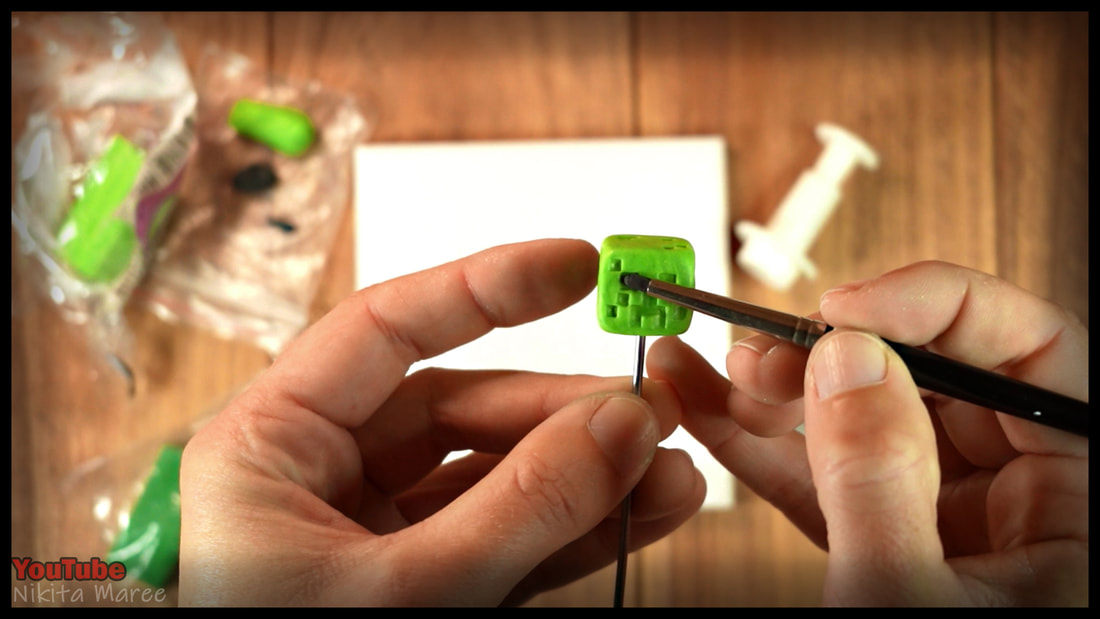
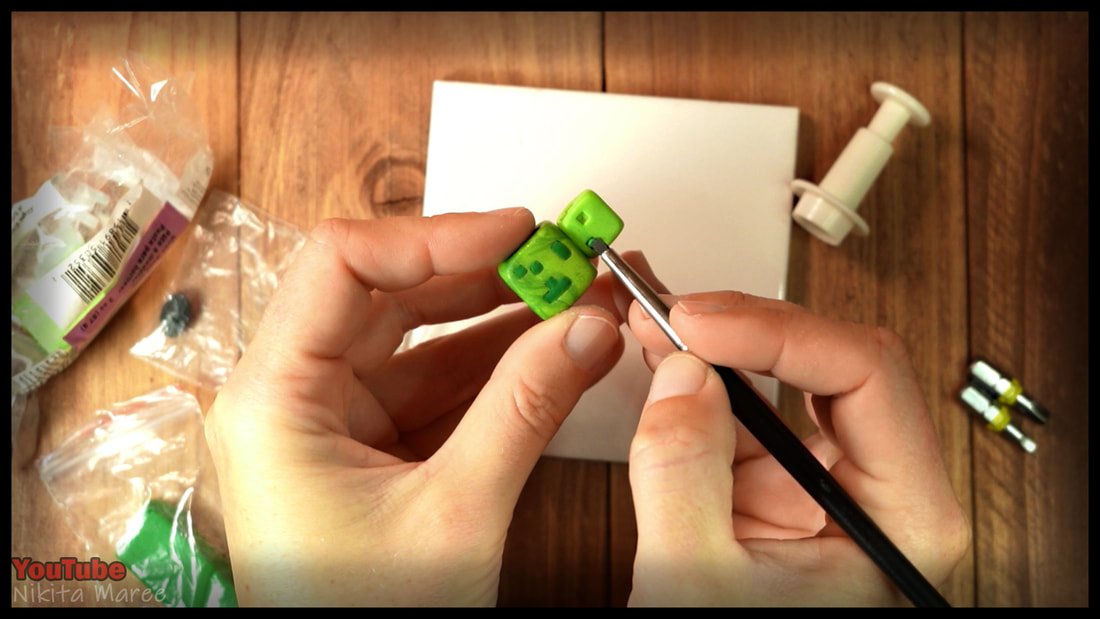
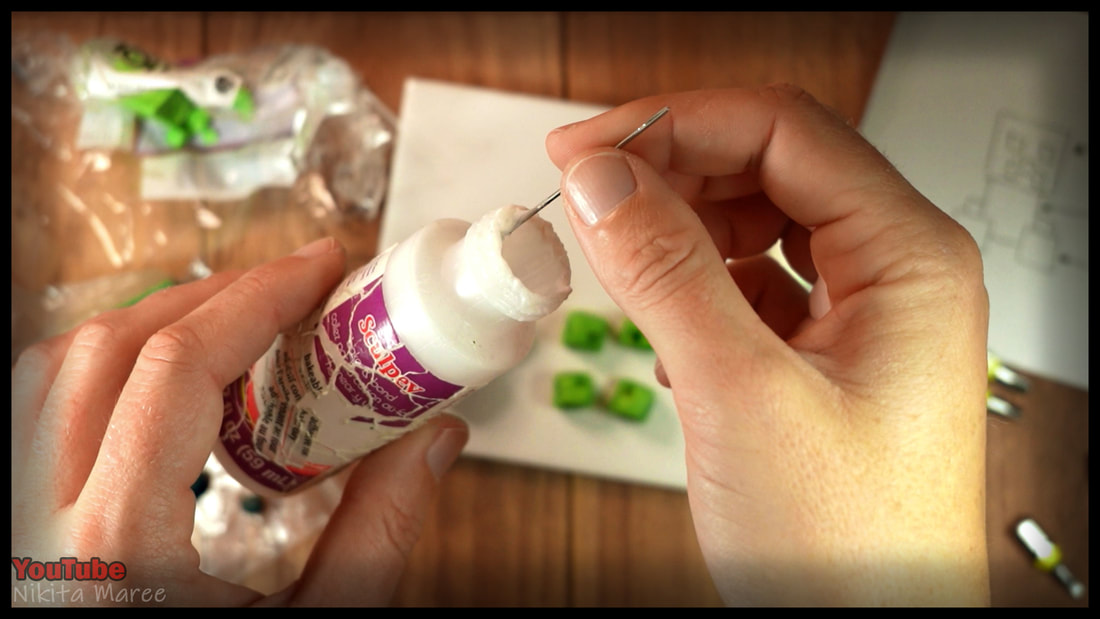
Place a small amount of black clay in the eyes, nose and mouth area.
Then carefully push it in with a sculpting tool to fill the squares.
Then carefully push it in with a sculpting tool to fill the squares.
|
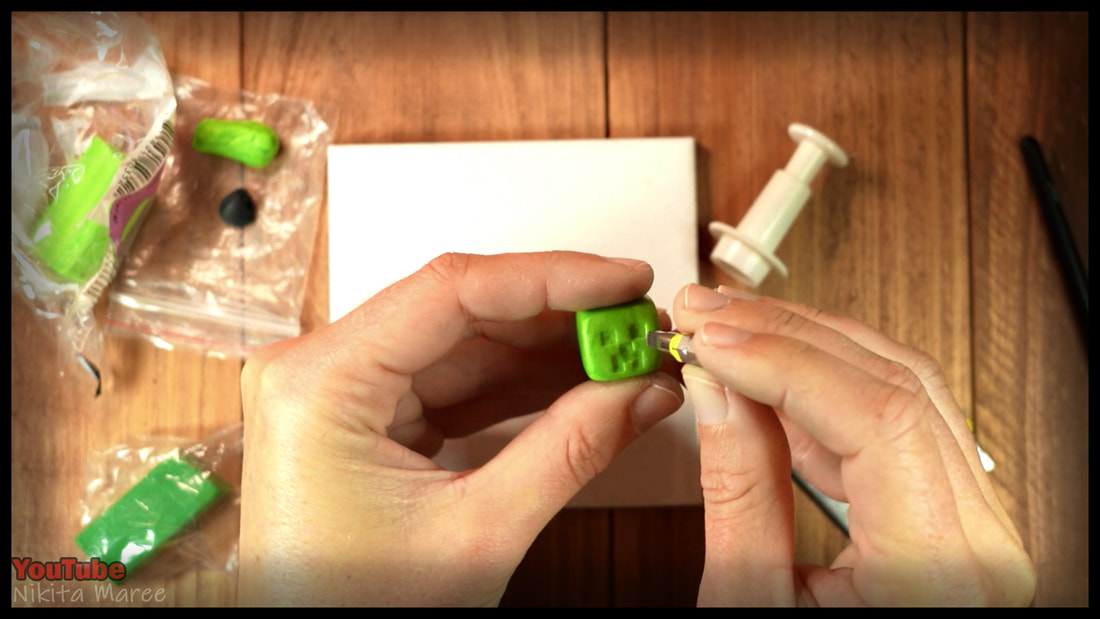
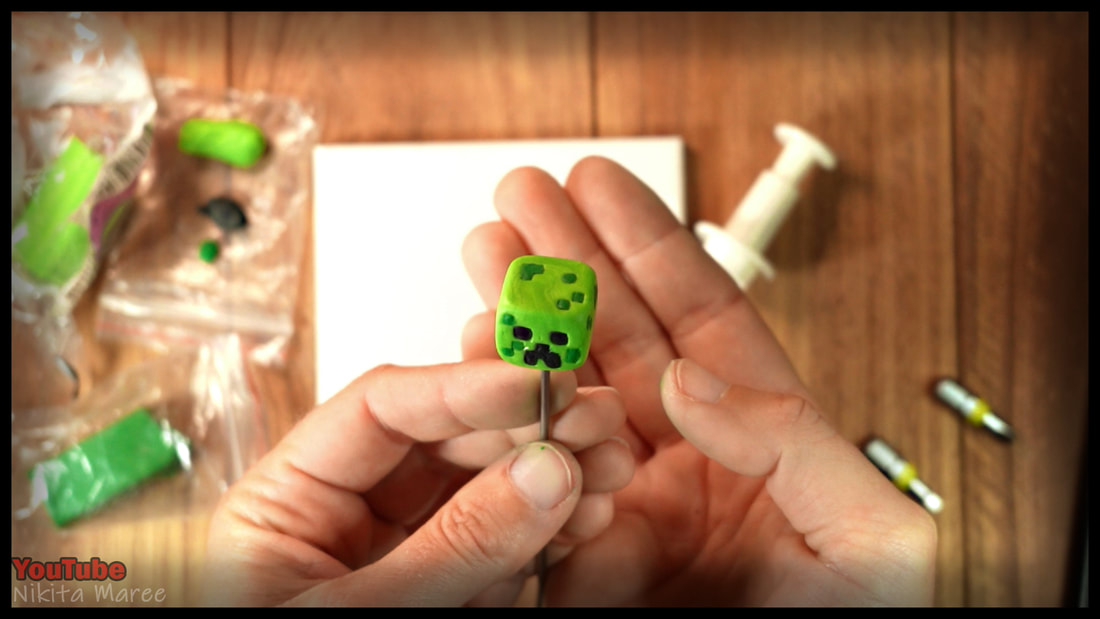
Repeat the same steps with the
darker green clay, filling in all the smaller squares around the head. I then put it in the oven for a short time, so I didn't have to worry about squishing it. |
|

|
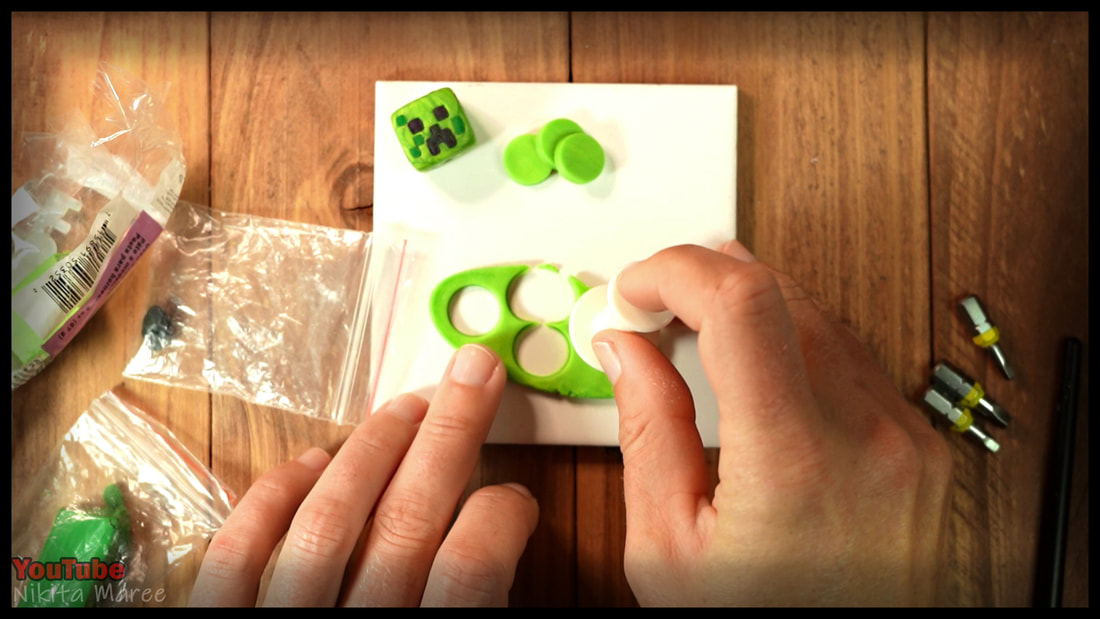
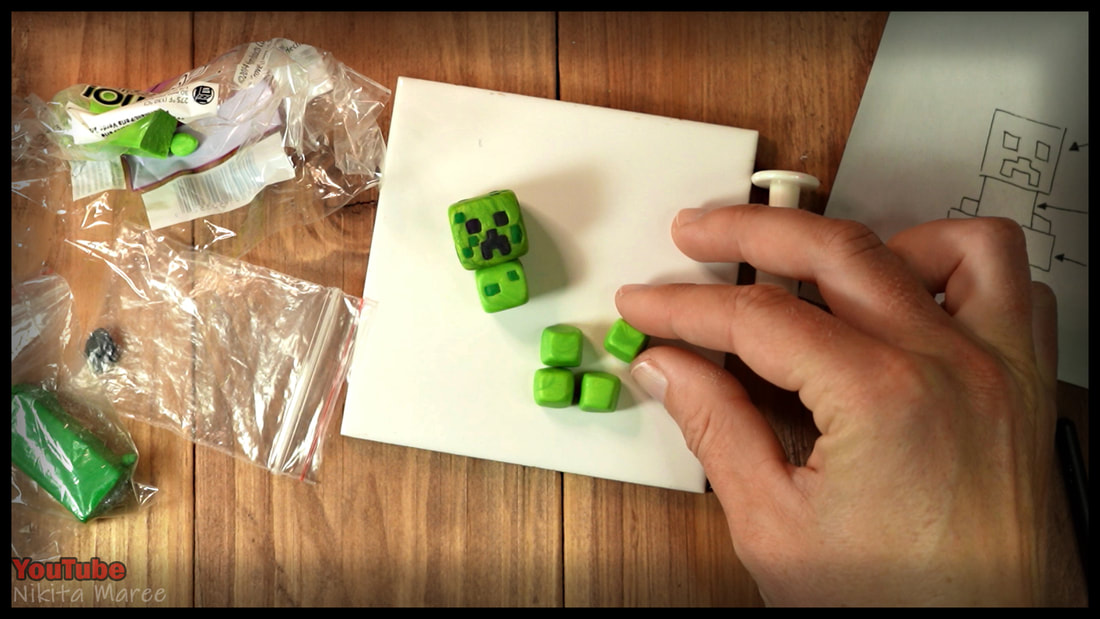
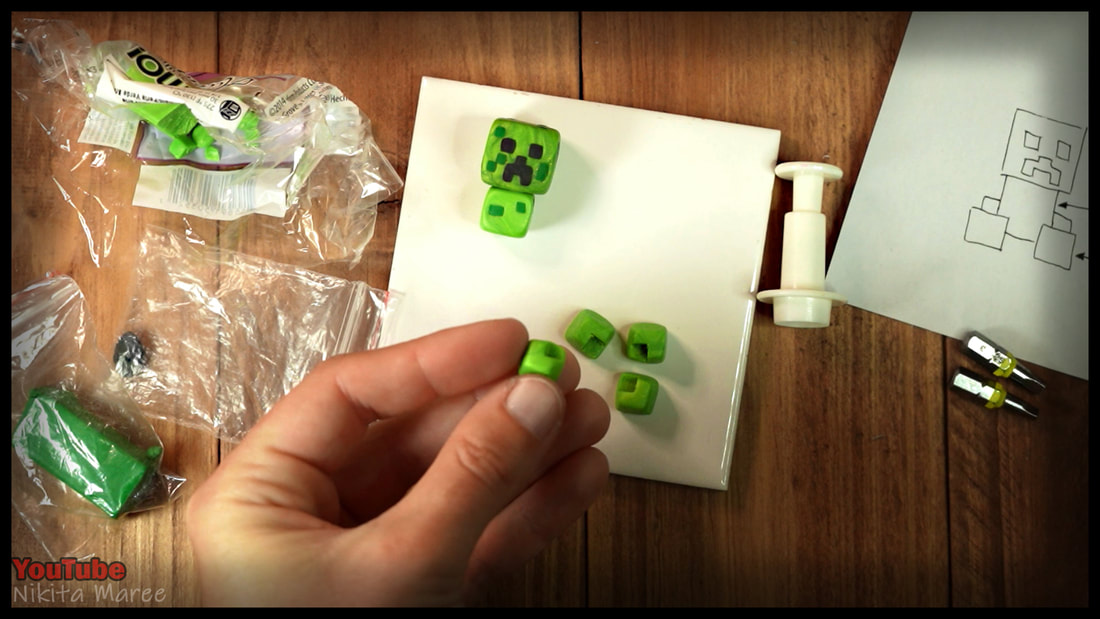
Press out four pieces for the body.
Then shape it into a cube.
Press the head onto the body with a toothpick
and a small amount of liquid clay.
Then shape it into a cube.
Press the head onto the body with a toothpick
and a small amount of liquid clay.
|
|
Add a few more randomized squares around the body.
Then fill them in with the darker green.
Then fill them in with the darker green.
|
Moving onto the legs.
Each leg is made up of 2 pieces. |
|
|
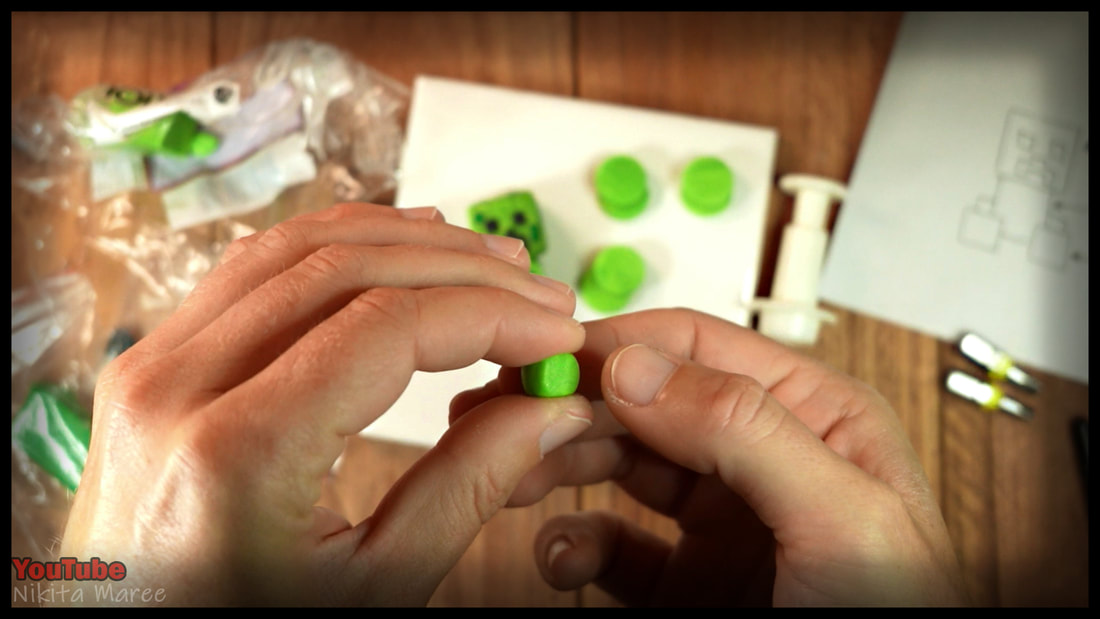
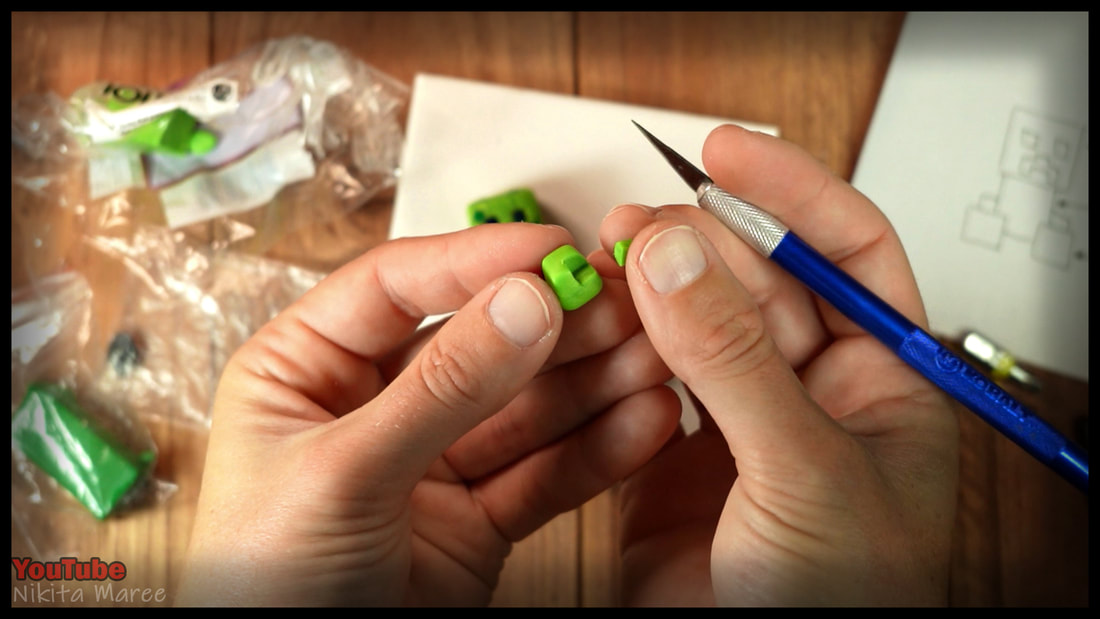
Soften the clay, then shape into a cube.
I am slightly tapering in the tops of the legs,
by putting more pressure at the tips of my fingers.
I am slightly tapering in the tops of the legs,
by putting more pressure at the tips of my fingers.
|
|
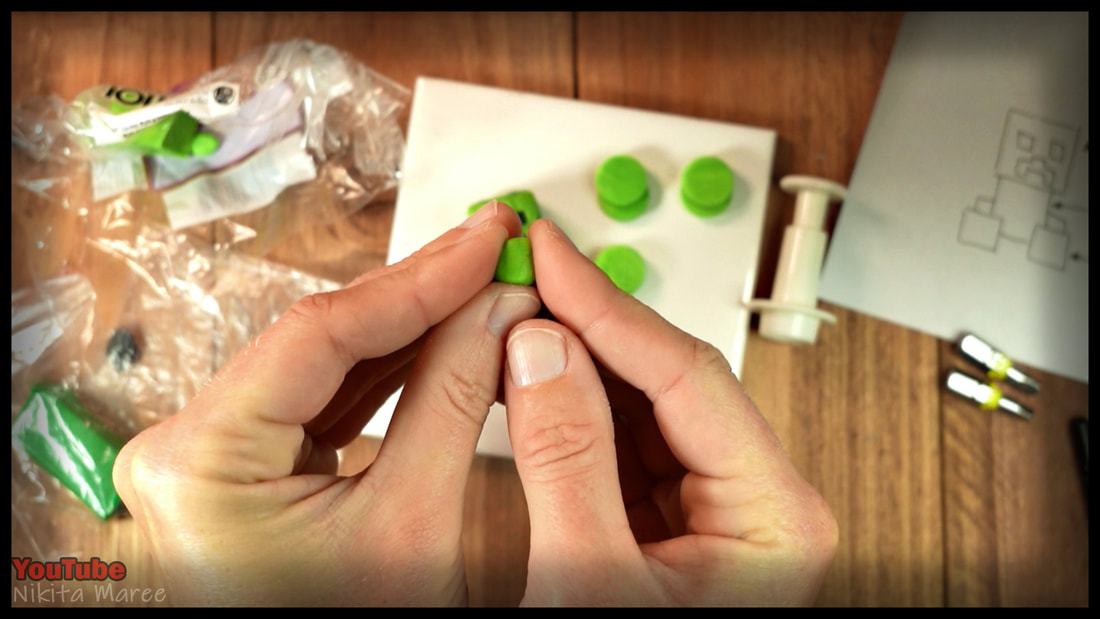
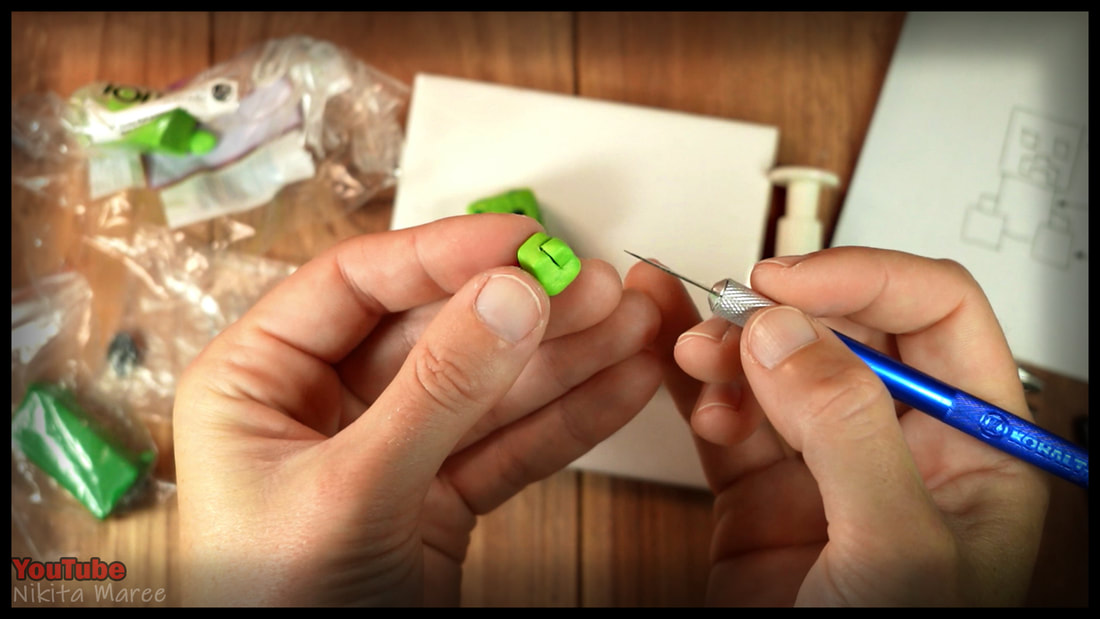
Now that the 4 legs are shaped,
we can notch out the sections for the body to sit in.
I am roughly cutting out 1/8th of each leg.
we can notch out the sections for the body to sit in.
I am roughly cutting out 1/8th of each leg.
|
Press in 2 squares at the front of each leg.
These will be the toenails. |
|

|
Again add some more random squares, to fill with the darker green.
And a small amount of black clay, pressed into each toenail.
And a small amount of black clay, pressed into each toenail.
|
|
Some 'Bake and Bond' to attach the legs to the body.
|
|
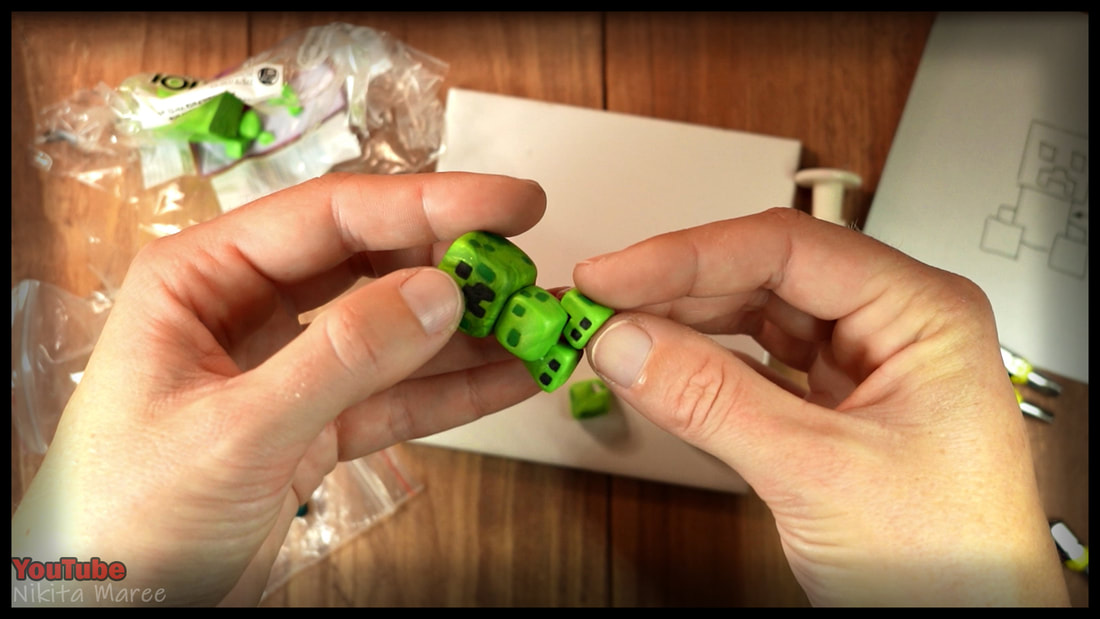
I attached the 2 back legs first.
Then the front.
Then the front.

|
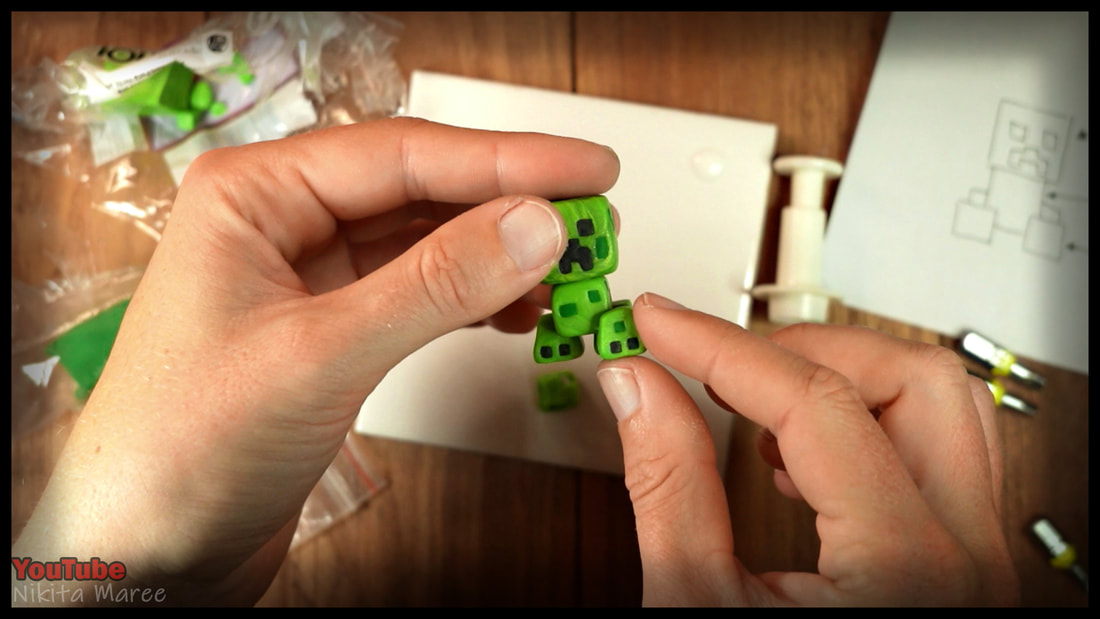
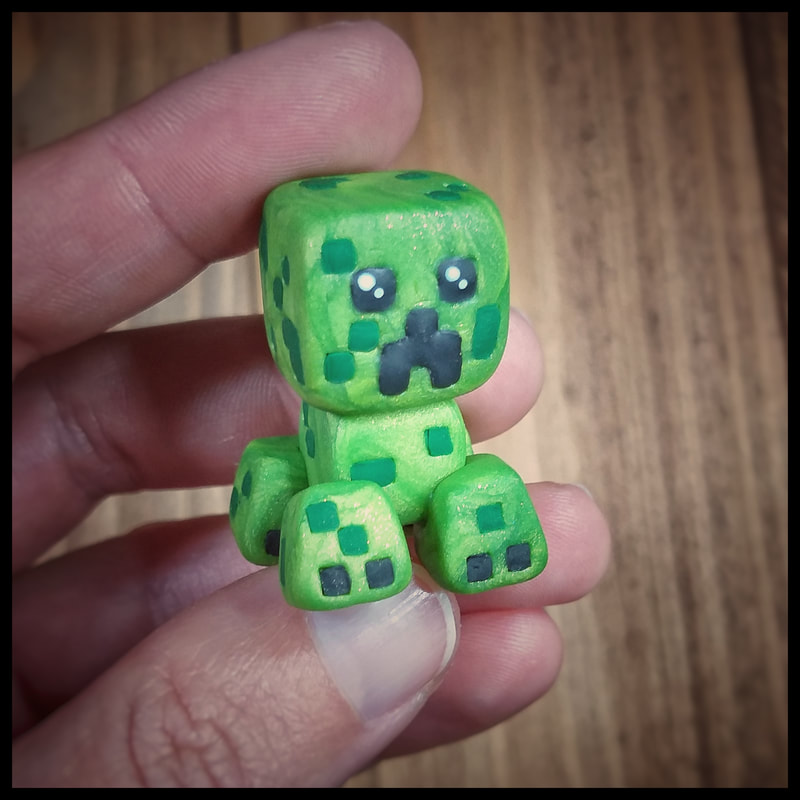
I wanted to add some movement
to the sculpture. So I adjusted his front right leg, to look like he was taking a step. |
|
|
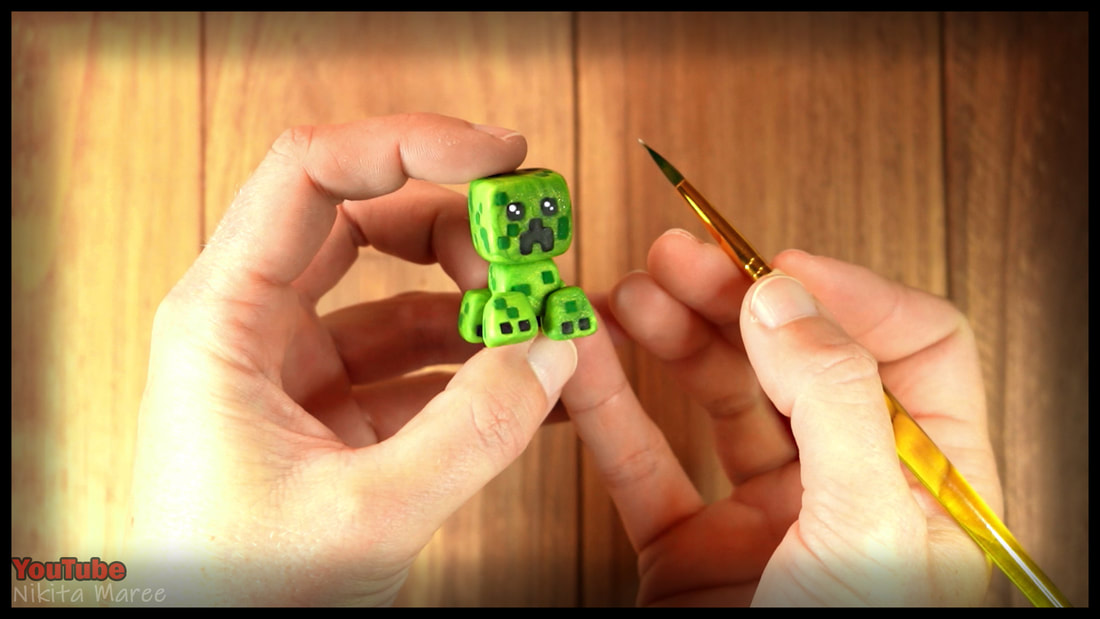
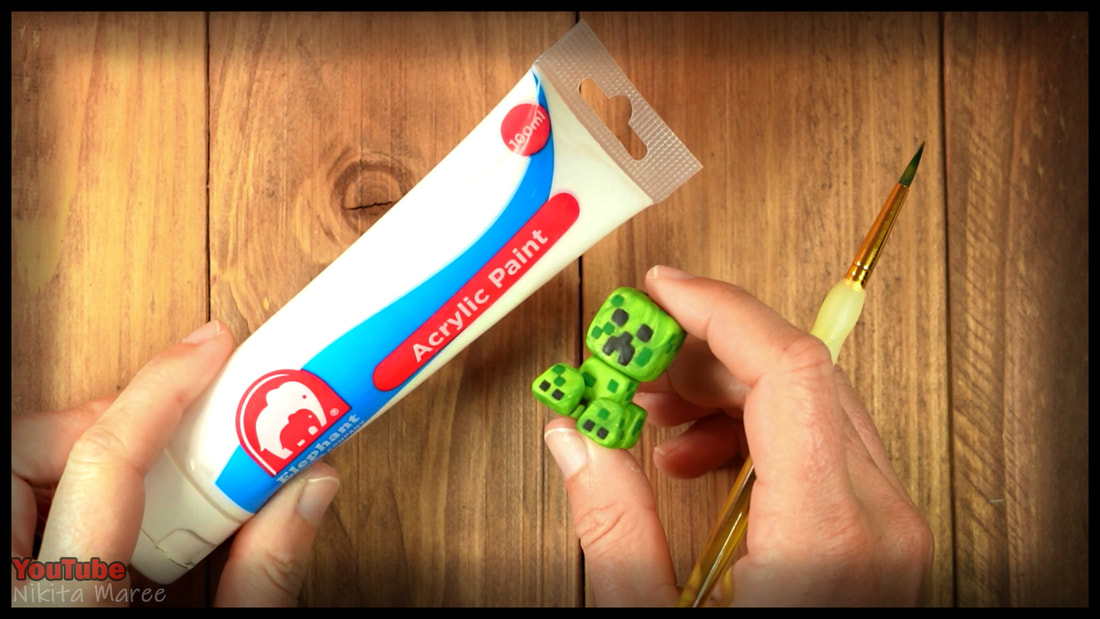
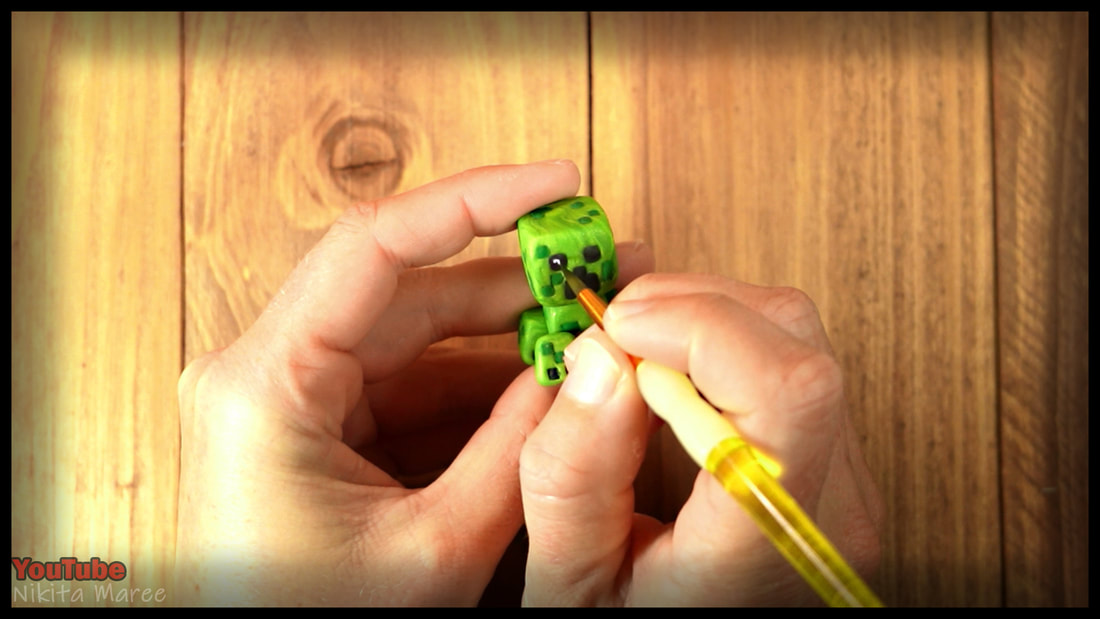
After he was fully baked and cooled down,
I used some white acrylic paint to add some eye shine.
I used some white acrylic paint to add some eye shine.
|
I had a lot of fun making this little guy.
This sculpture cost me less than $1 to make. And my kids and I are excited to add him to our collection. Our local store charges $15 for a Minecraft Figure and thankfully my kids think my creation is much nicer. ♥
|
|
If you love MINECRAFT
and want to start making your very own Mini Figure collection. I have more tutorials on YouTube and more coming very soon. |
