DIY Pallet Wood Vertical Drawers

|
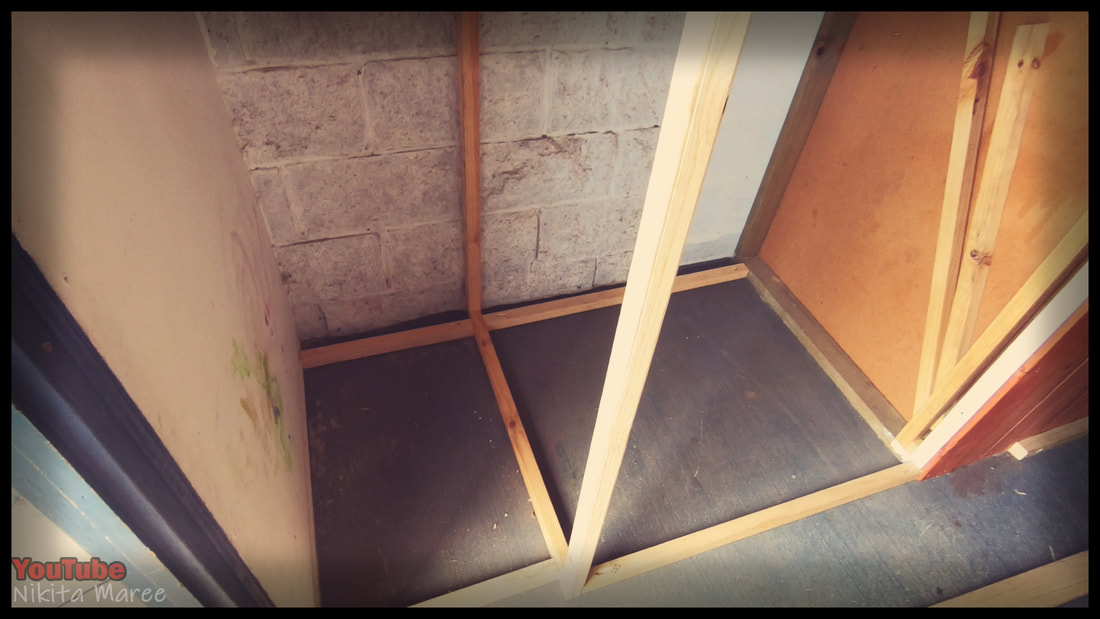
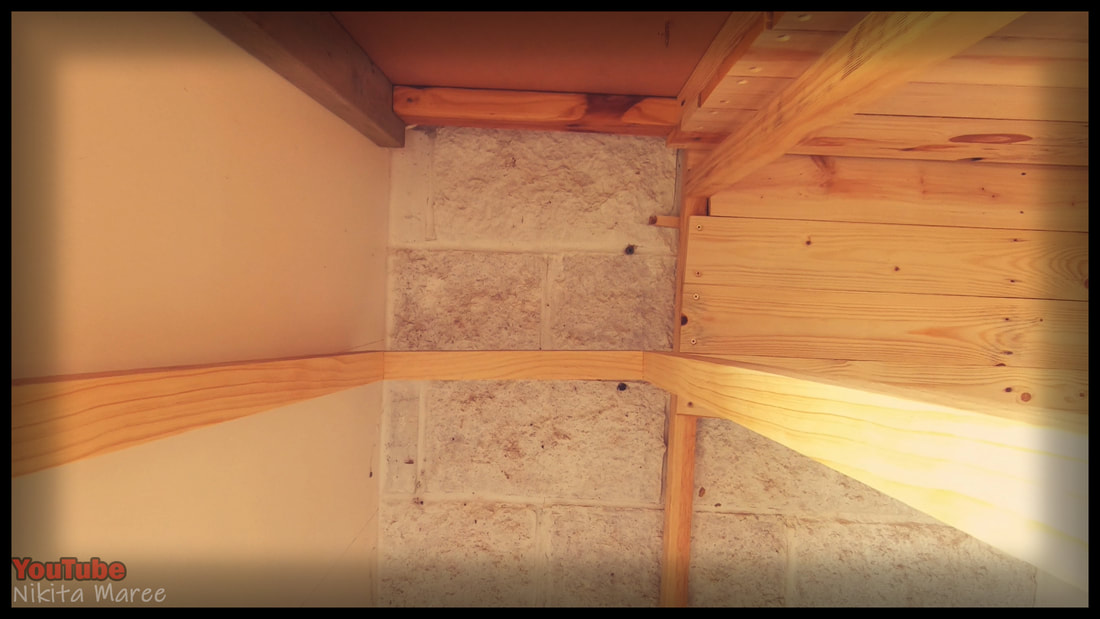
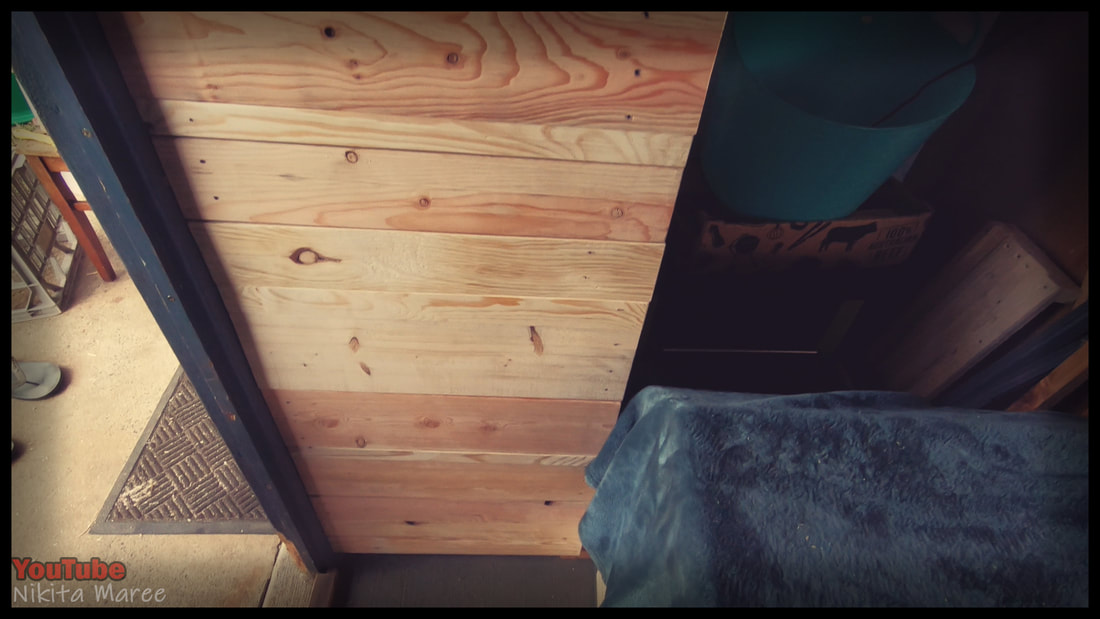
This is what the area looked like before.
|

|
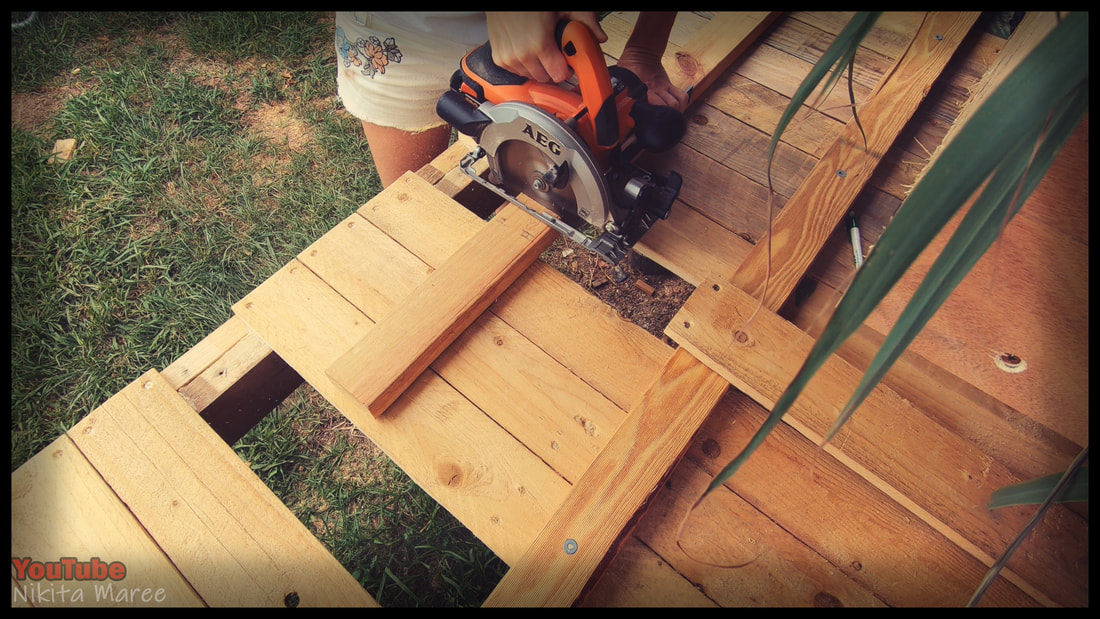
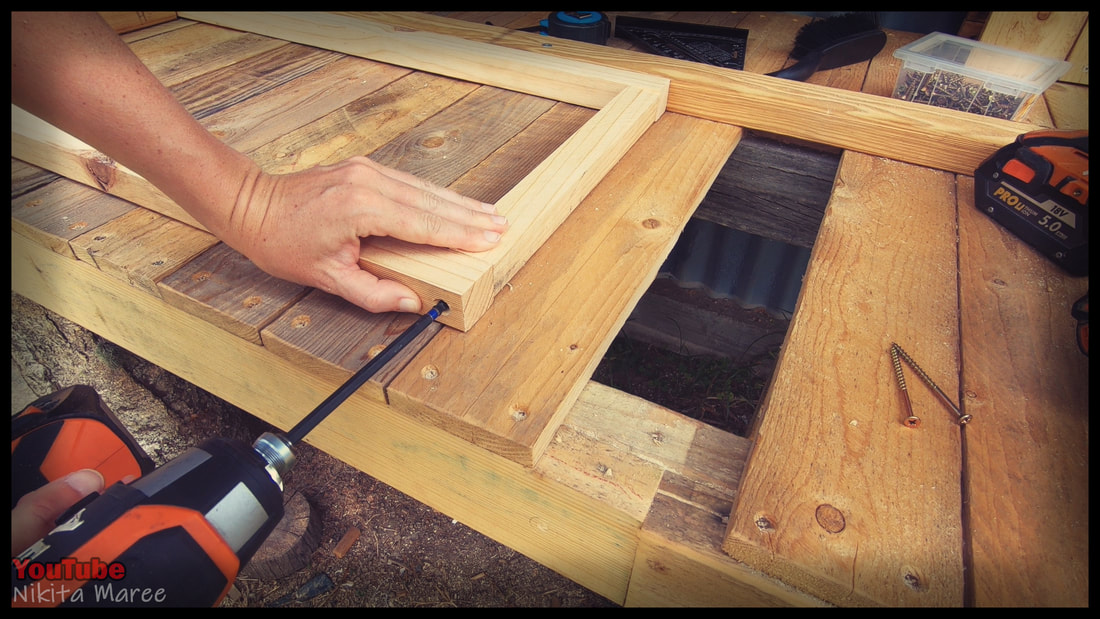
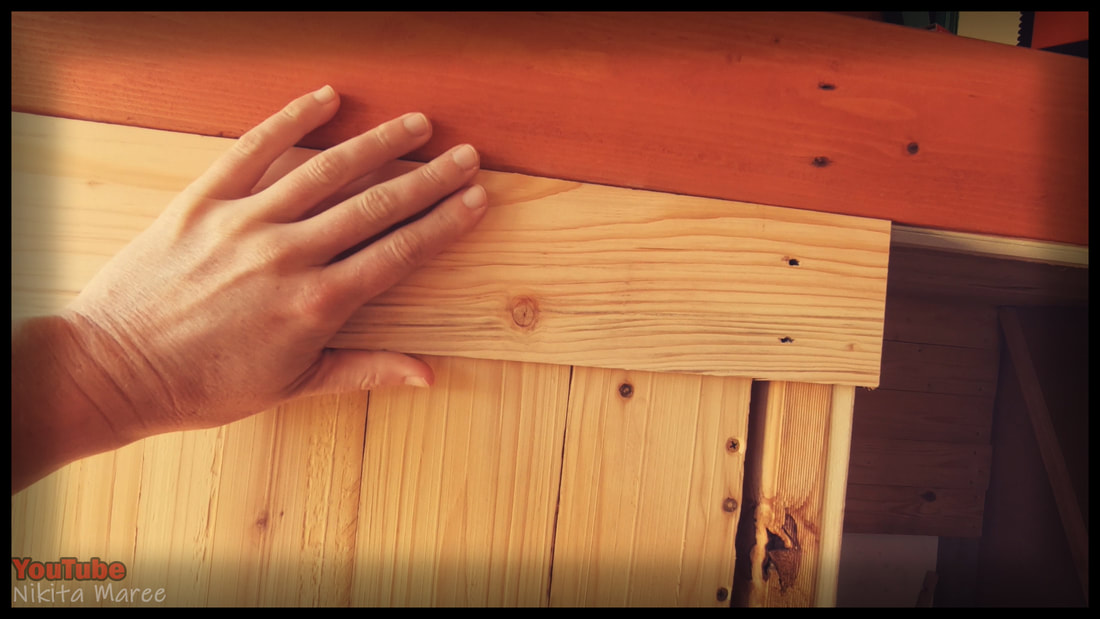
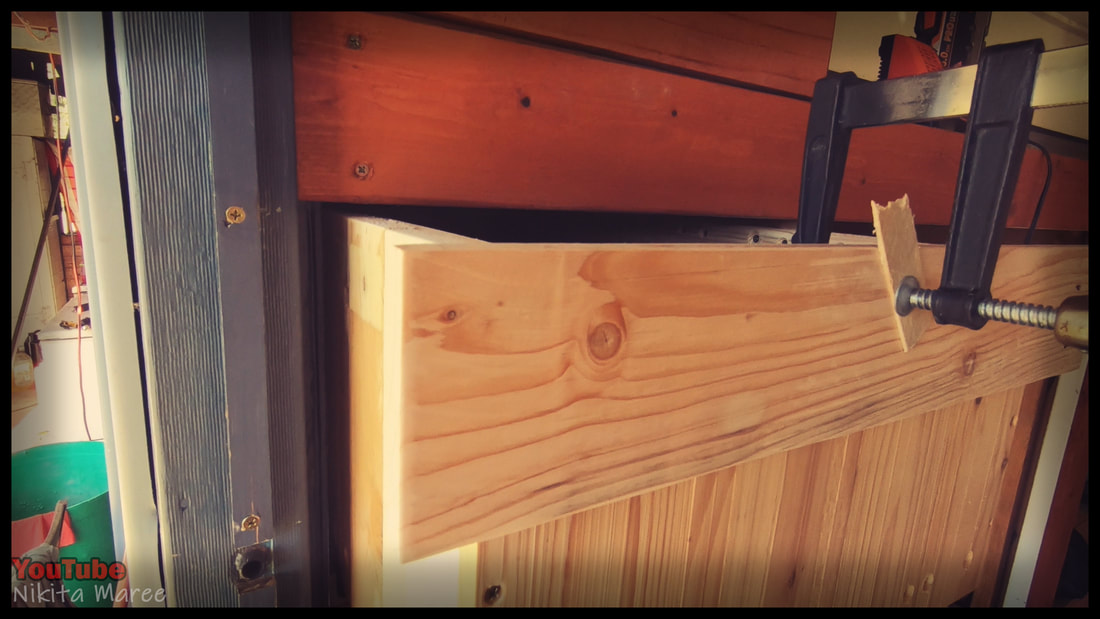
Starting with a basic frame to support the
drawer sliders. I also framed up this part of the floor. so it’s ready for the flooring to go in later. |
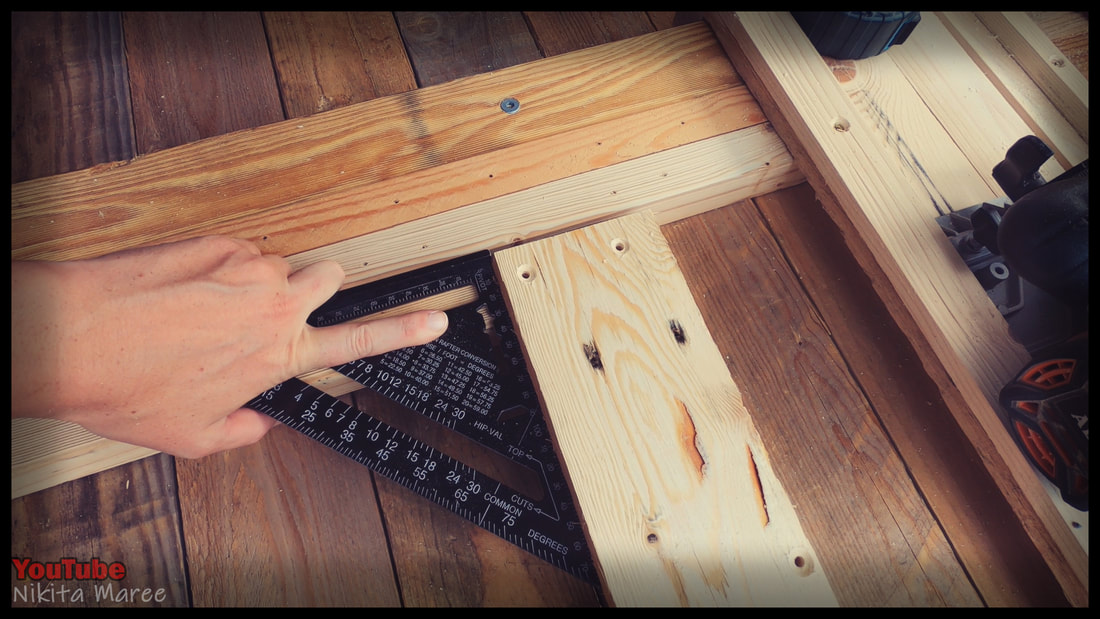
|
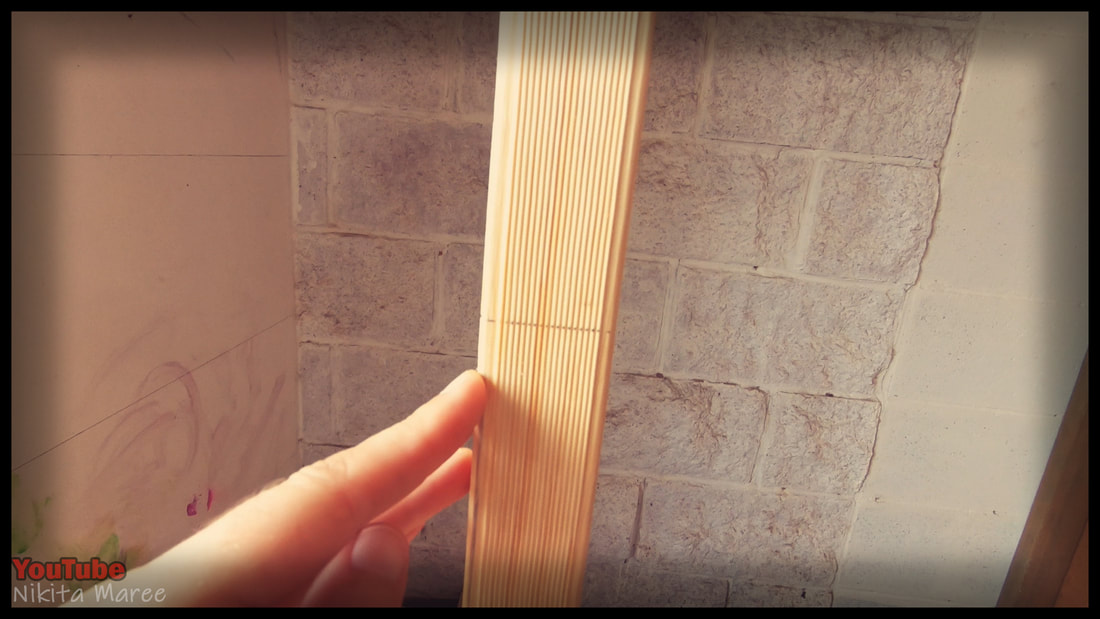
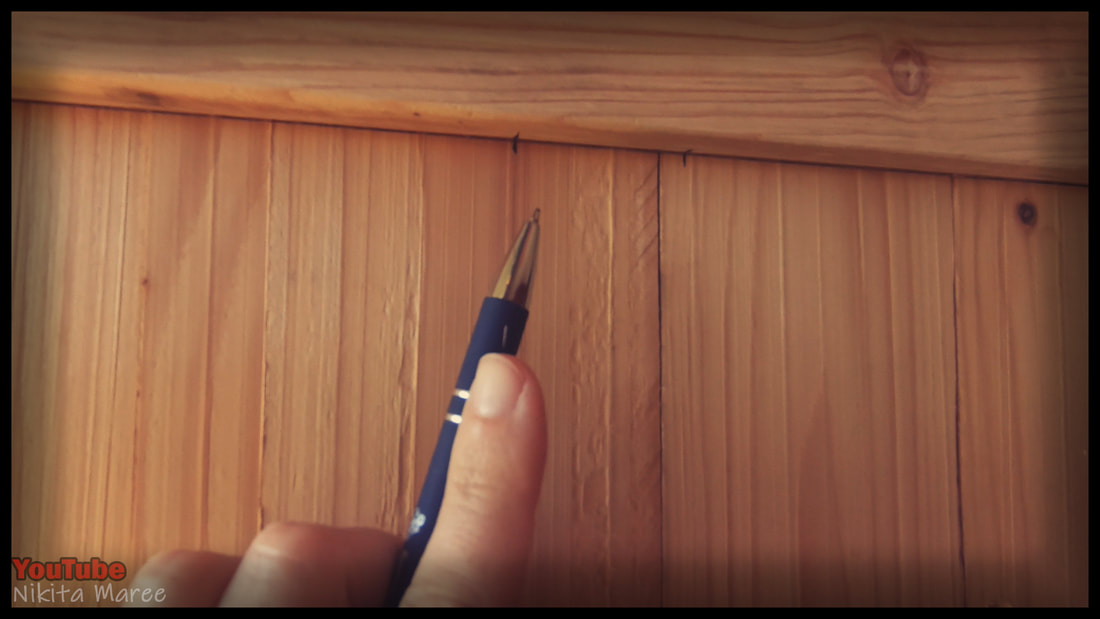
I then marked and leveled off were all
the drawer runners will be going. |
|
|
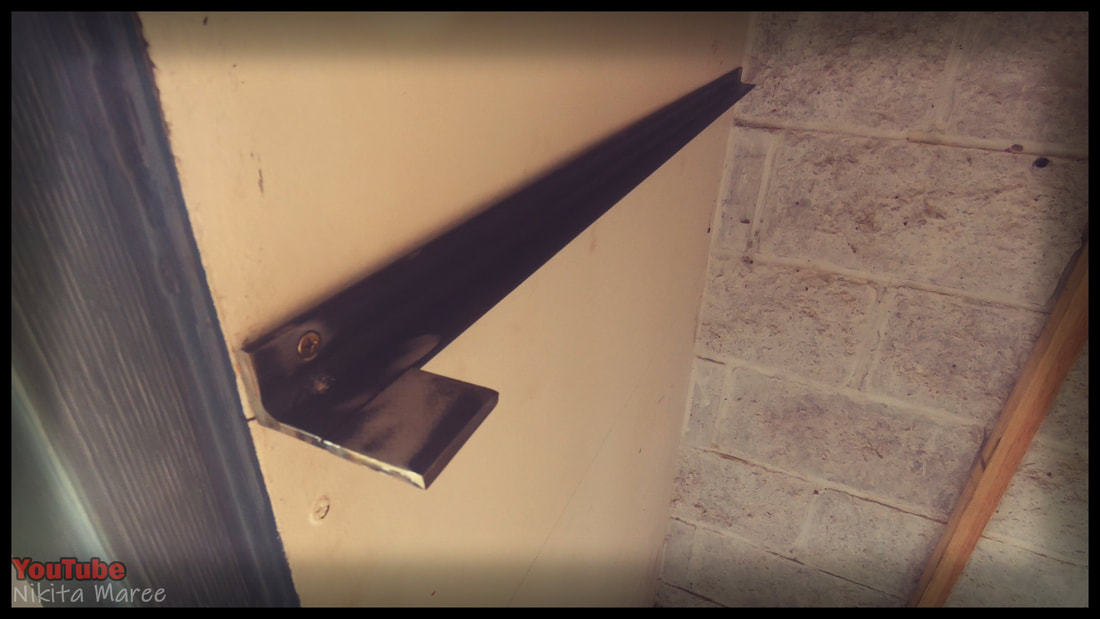
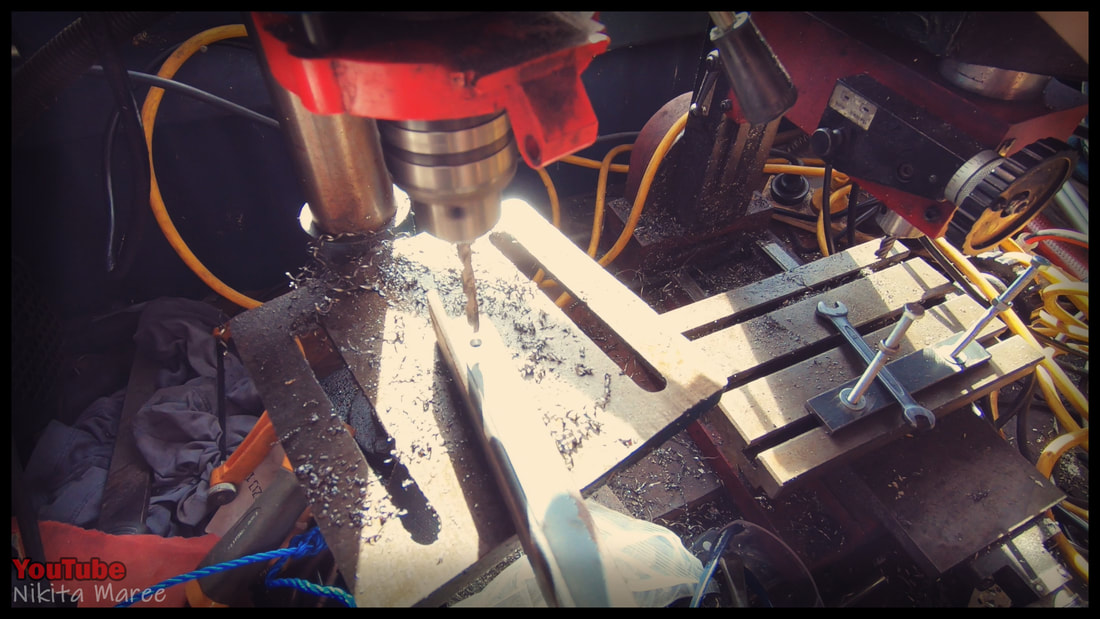
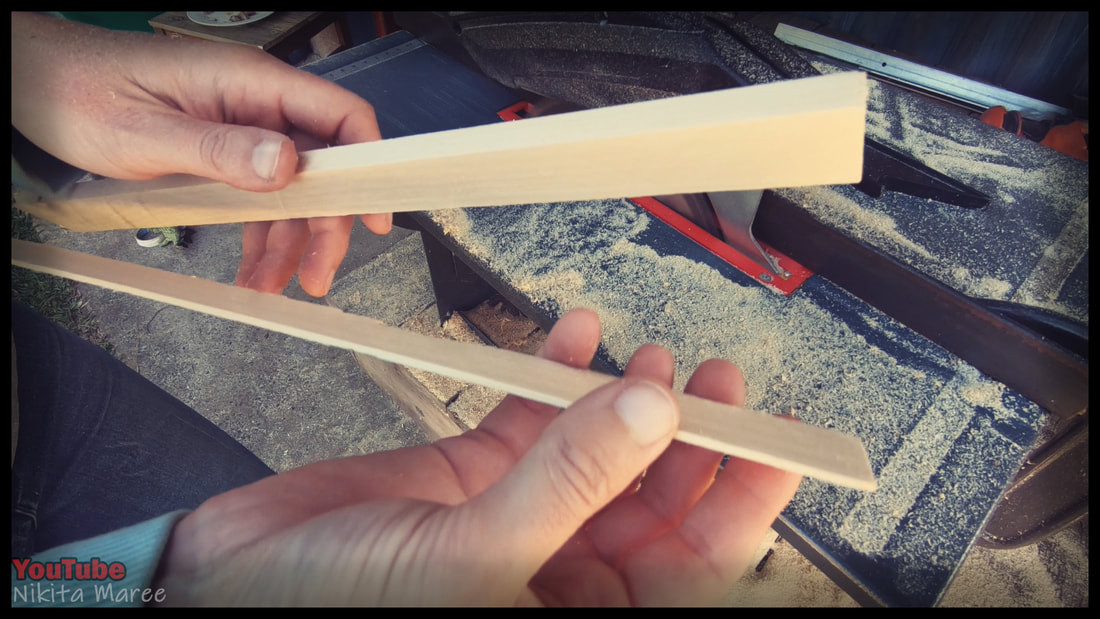
The sliders are made from angle iron.
|
|
Owen welded on flat bar to the ends.
These will act as stoppers to prevent the drawers from pulling all the way out. |
|
|
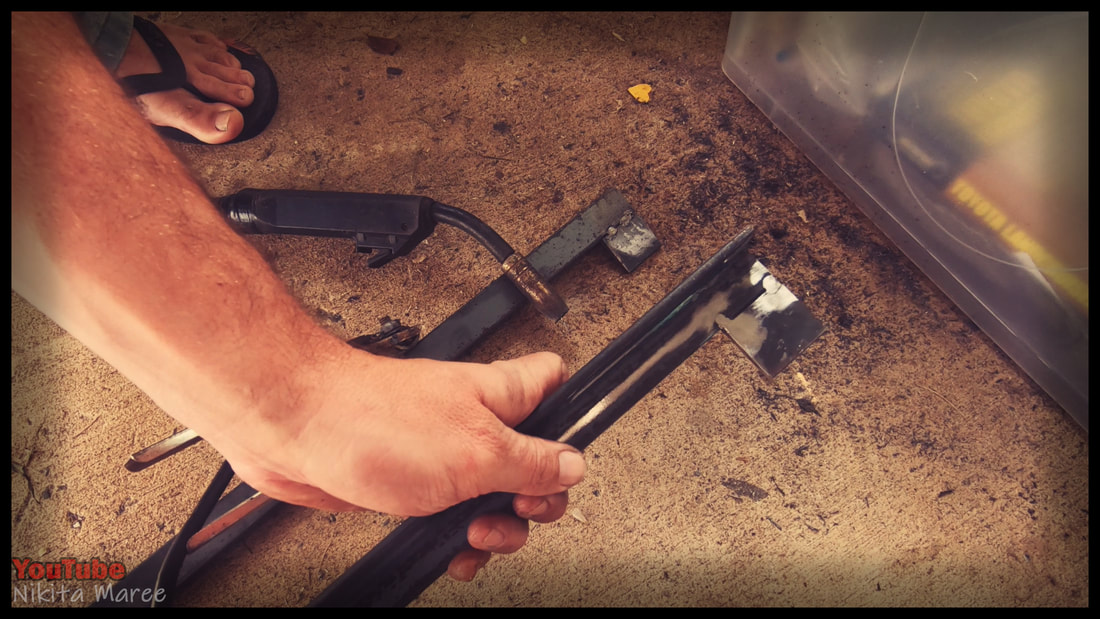
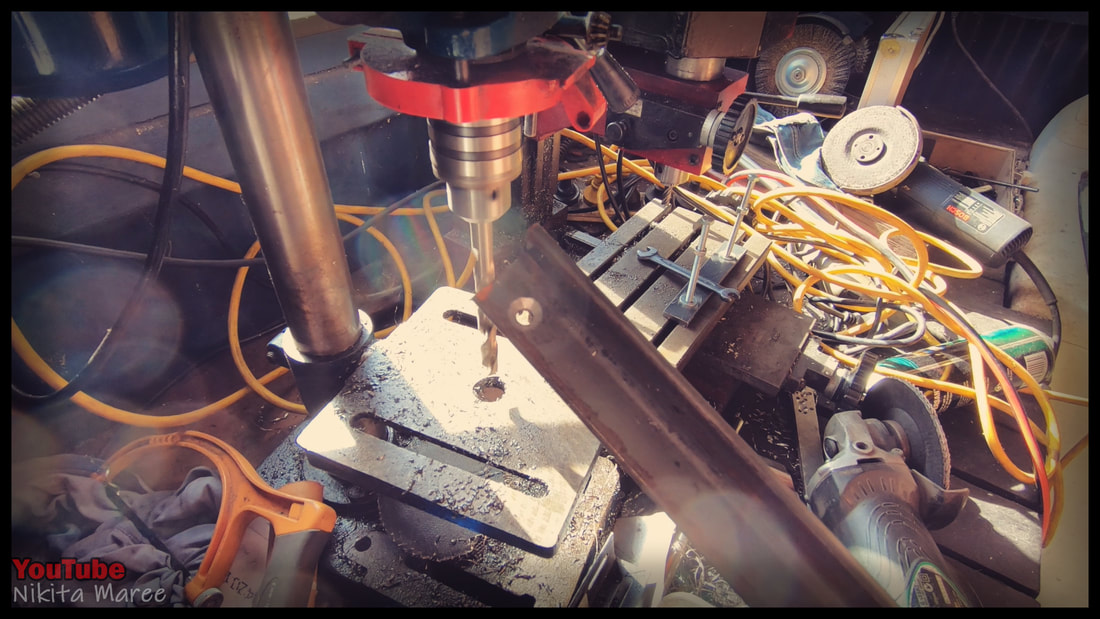
Drilled holes either end.
|
|
Then used a larger drill bit on the surface
to counter sink the screw heads. |
|
|
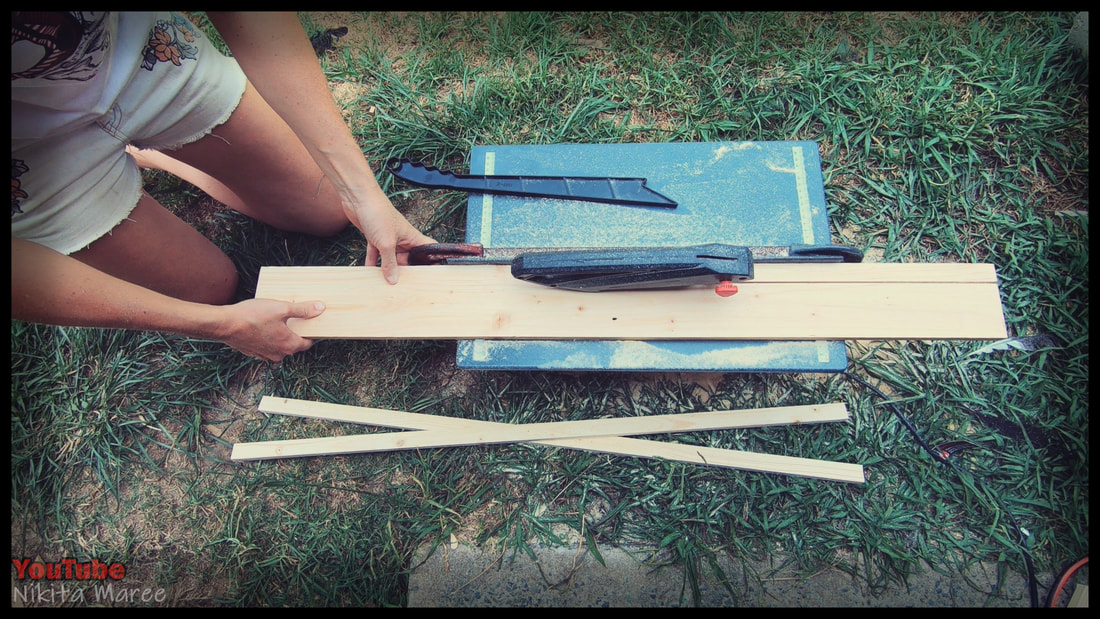
Starting with the base of the drawers.
I am using 35×70 non structural pine. |
|
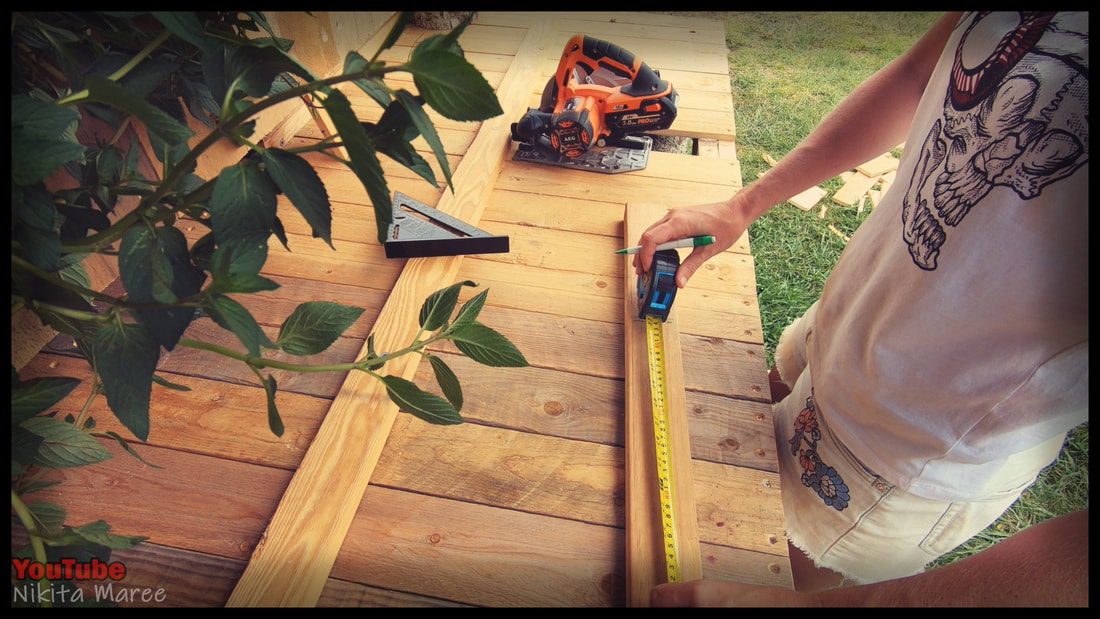
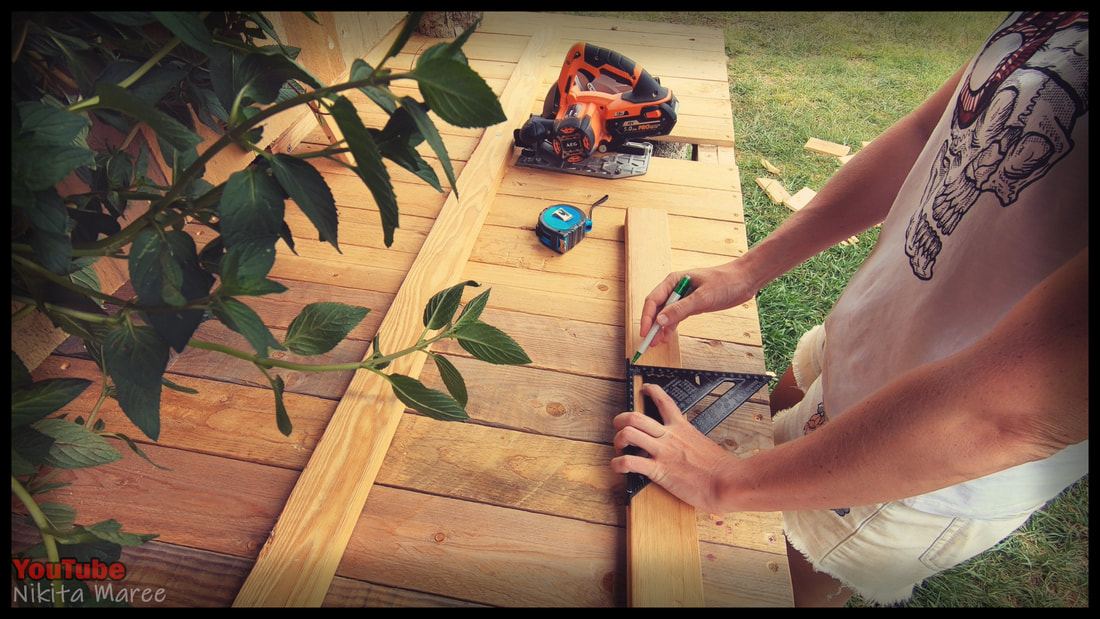
Measuring, Marking.
|
|
|
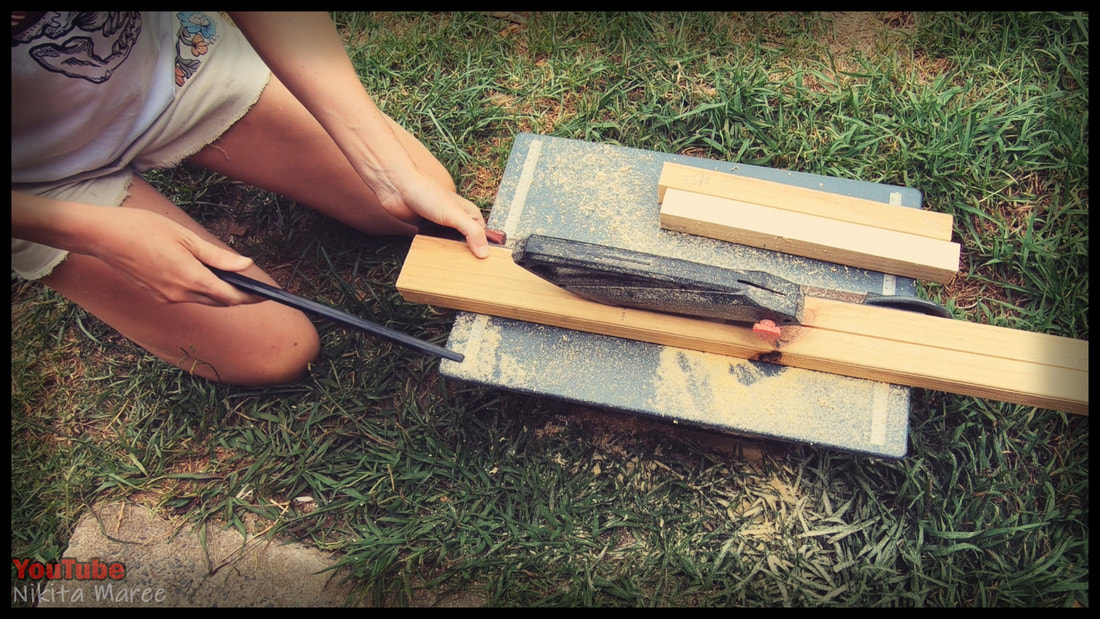
And cutting to length.
|
|
I then run those through the table saw
to rip them in half length ways. |
|
|
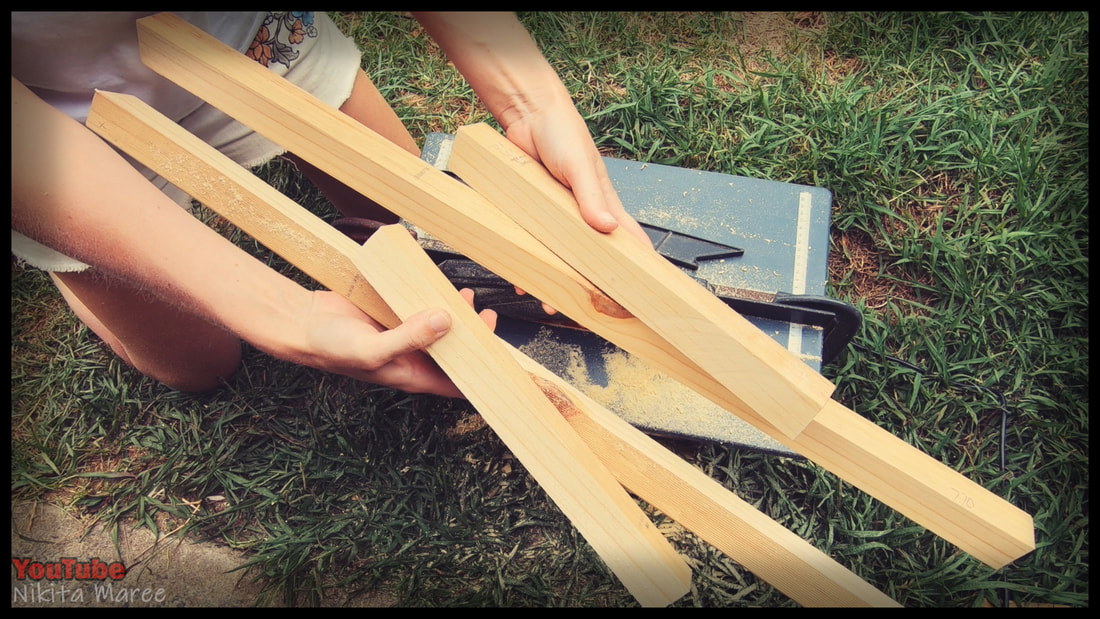
I now have front, back, and sides
of the drawer fame. |
|
Marked and pre-drilled either end
of the side pieces. |
|
|
Attached them to form a rectangle.
|
|
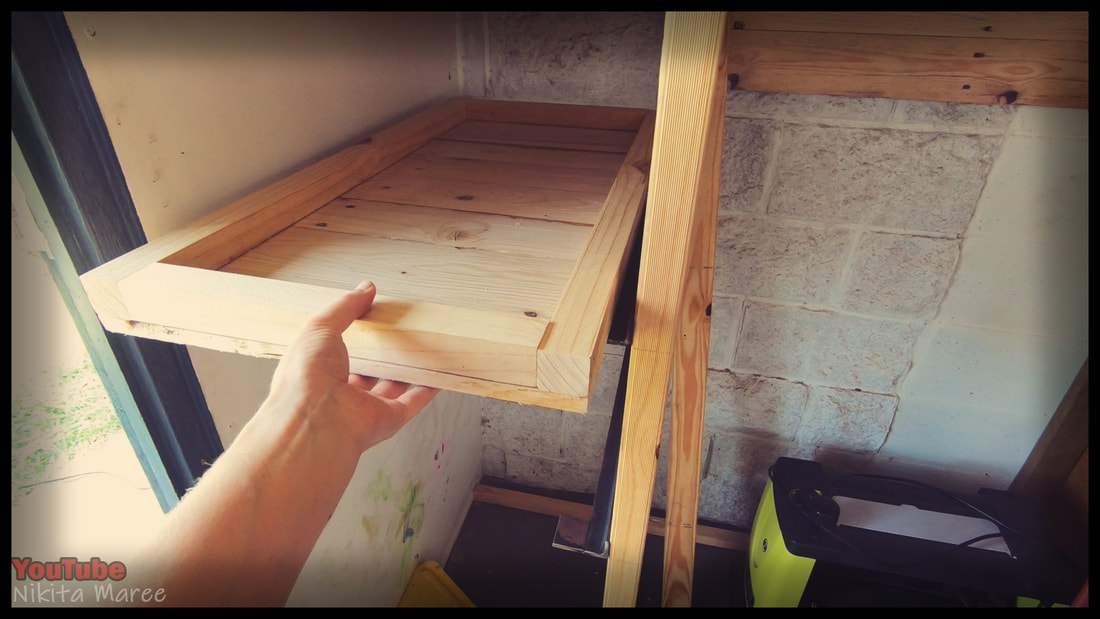
Checking to make sure it will fit.
|
|
|
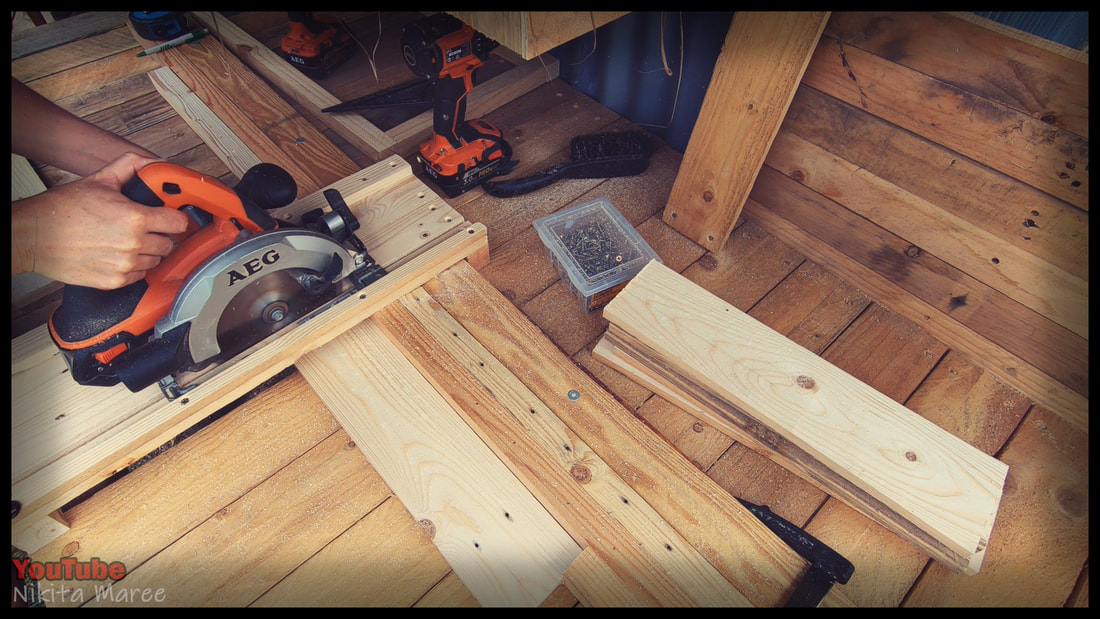
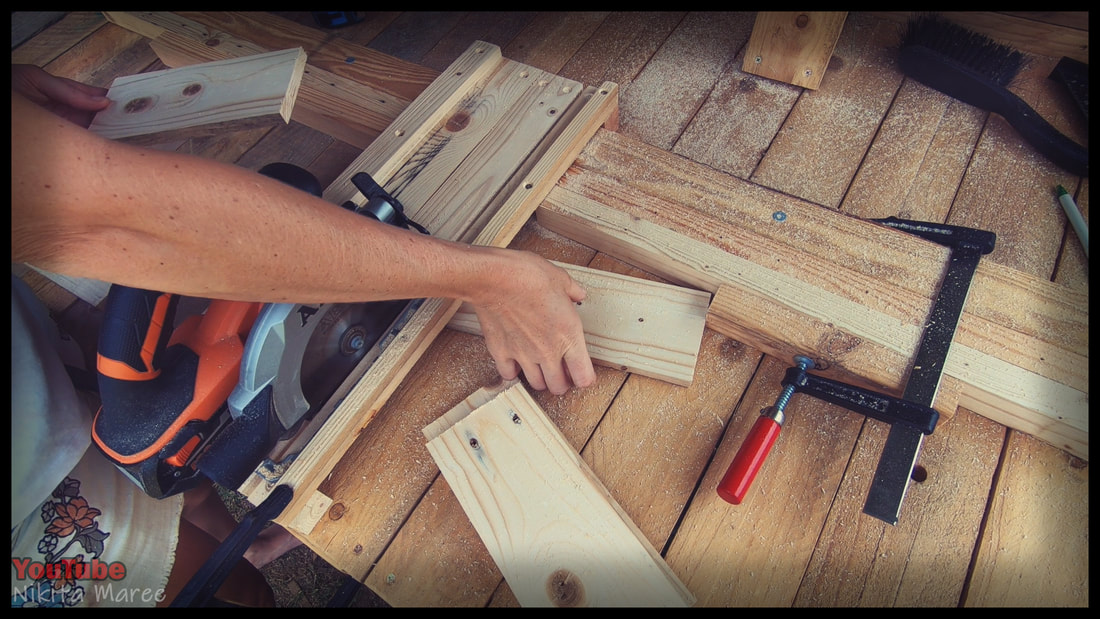
I then set up my cross cut jig and stop block to quickly cut all of my base pieces to length.
|
|
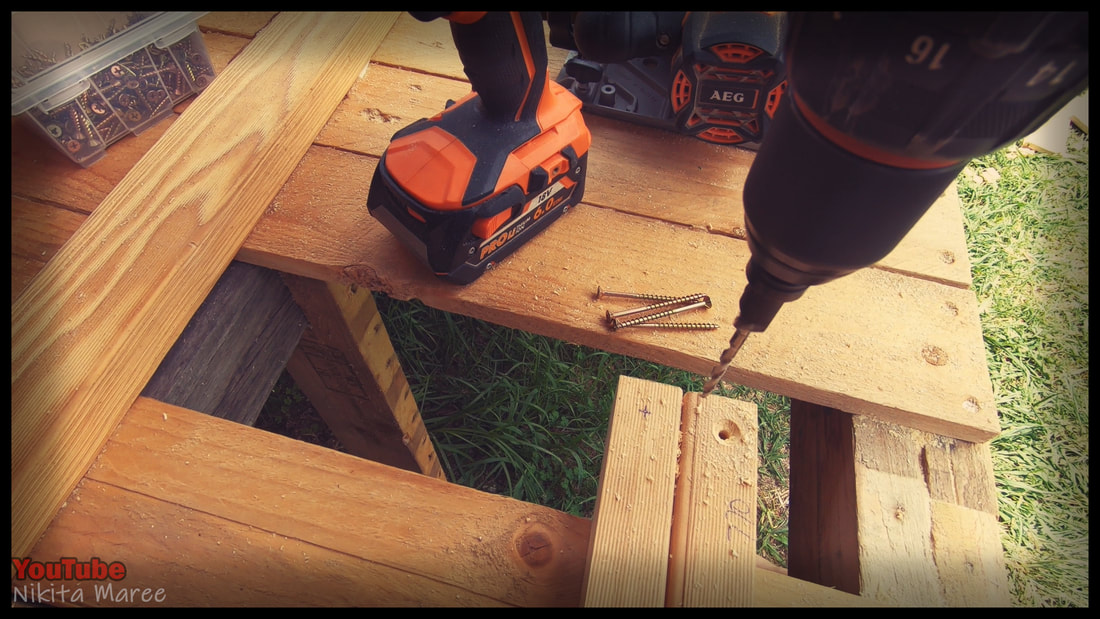
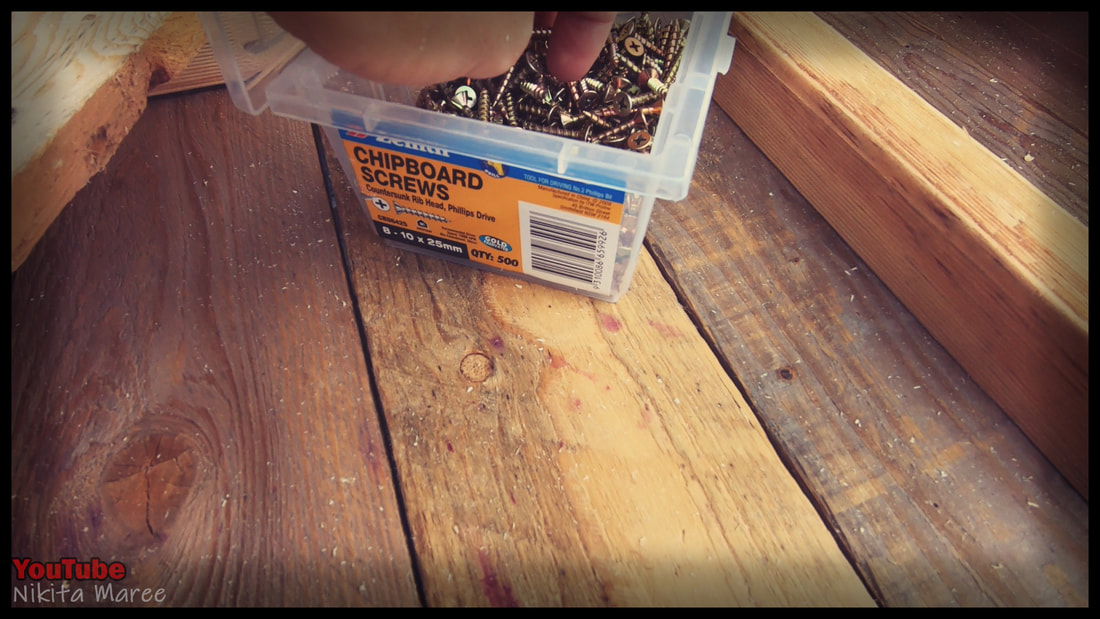
I use chipboard screws for all of my builds. because they are affordable.
|
|
|
Square up the first paling before attaching. |
|
Then add on the rest of the base pieces.
|
|
|
Moving onto the sides of the drawer and setting the stop block to 250 mm
|

|
Pre-drill and chamfer I end of either length.
|
|
Attach them around the
perimeter of the base. |
|
|
For the remaining gaps. I take the individual measurements from each side.
|
|
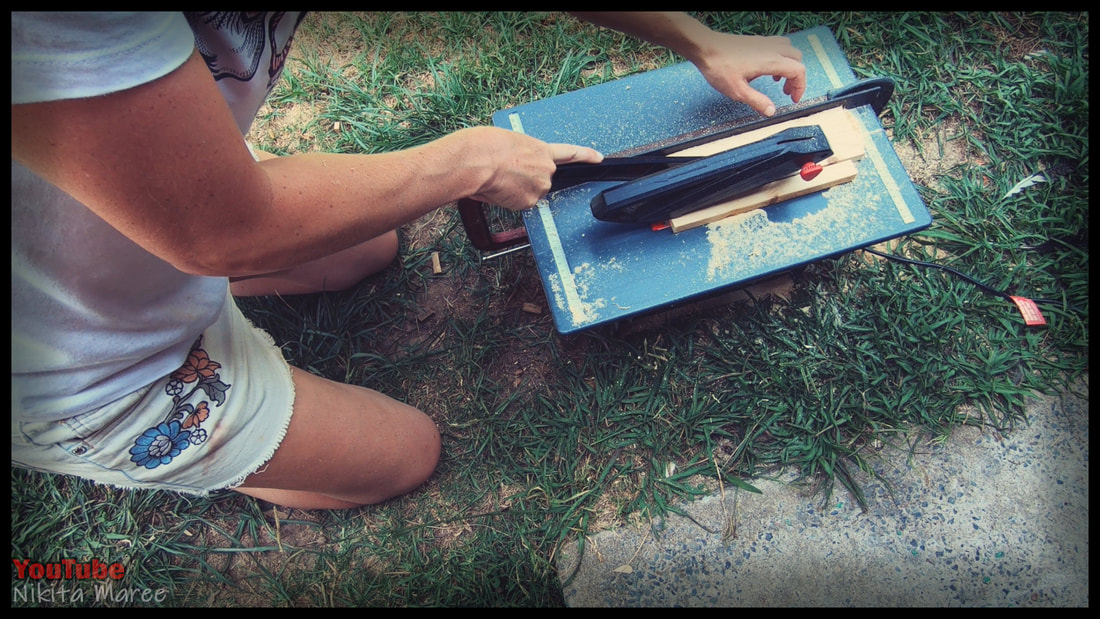
Rip the lengths to the required width.
|
|
|
Tap it into position.
|
|
Moving onto the top edge.
I set the table saw to 25 mm |
|

|
and run a full length paling
through a few times. |
|
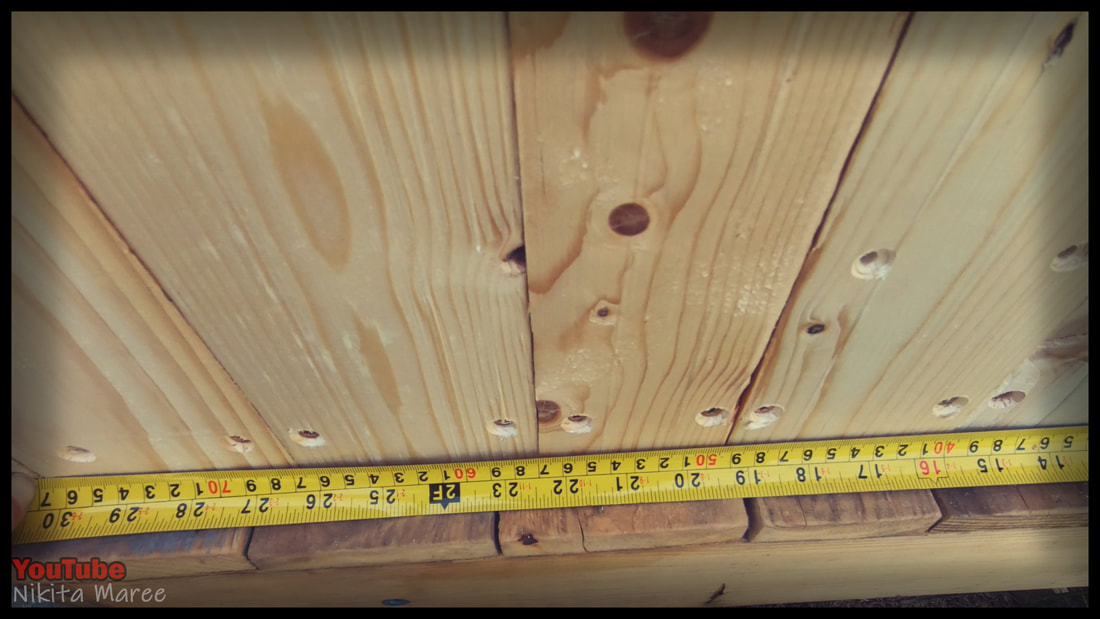
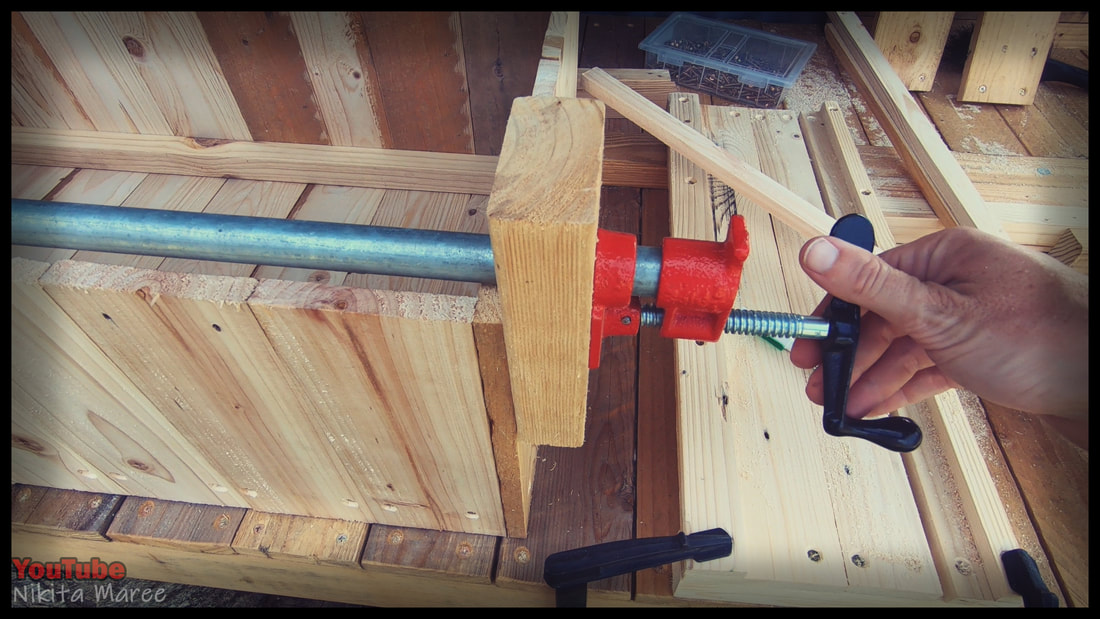
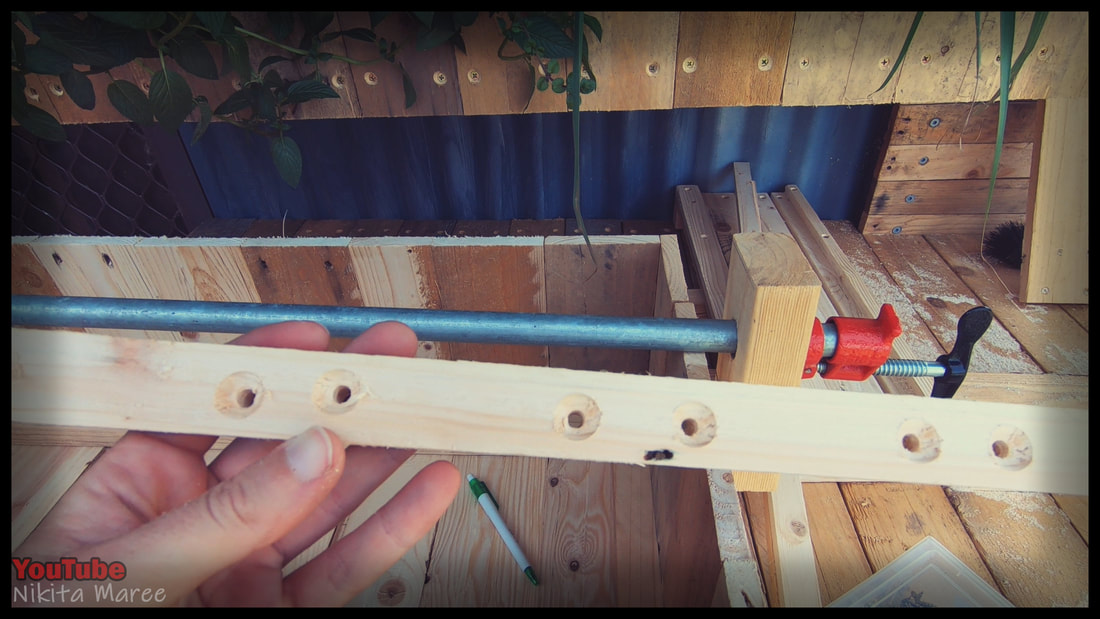
Measure the length of the base.
|
|
|
Tighten the pipe clamp until the top edge is the same length as the base measurement.
|
|
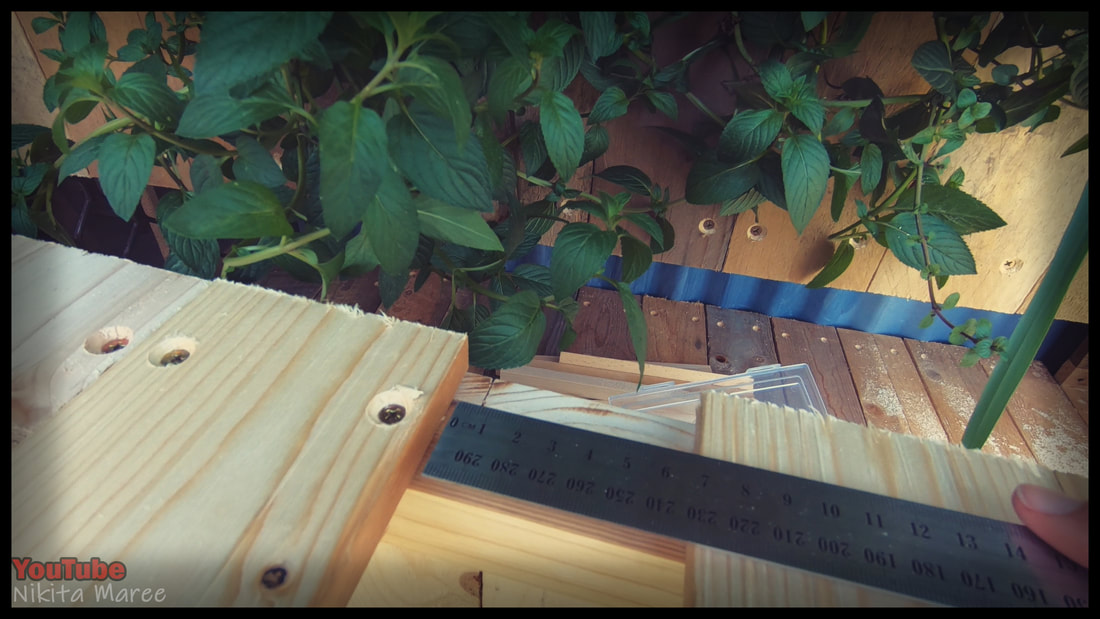
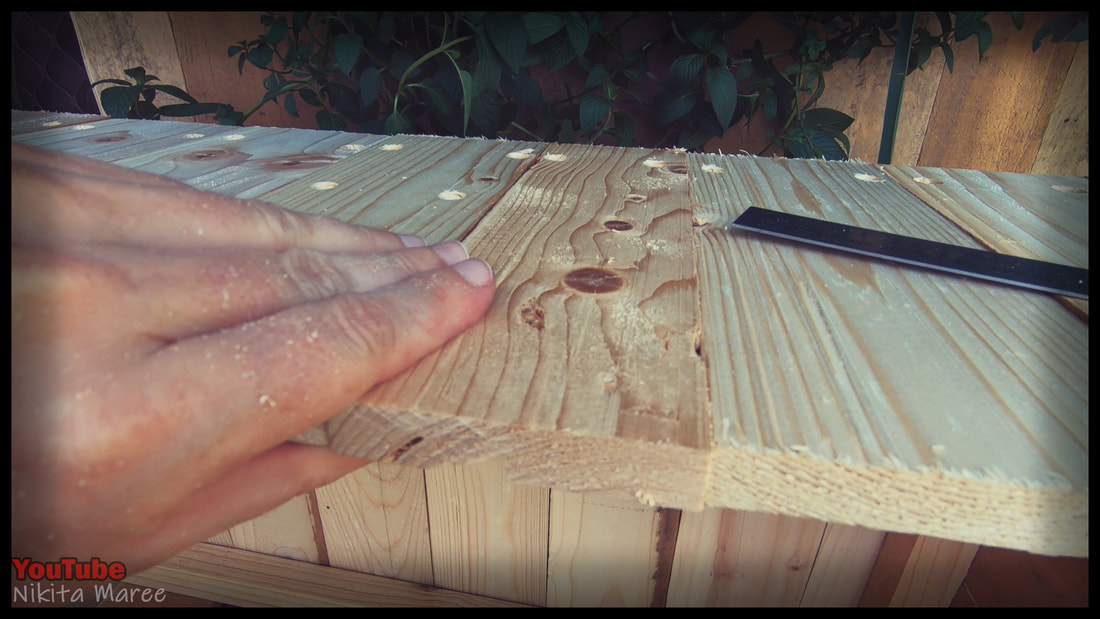
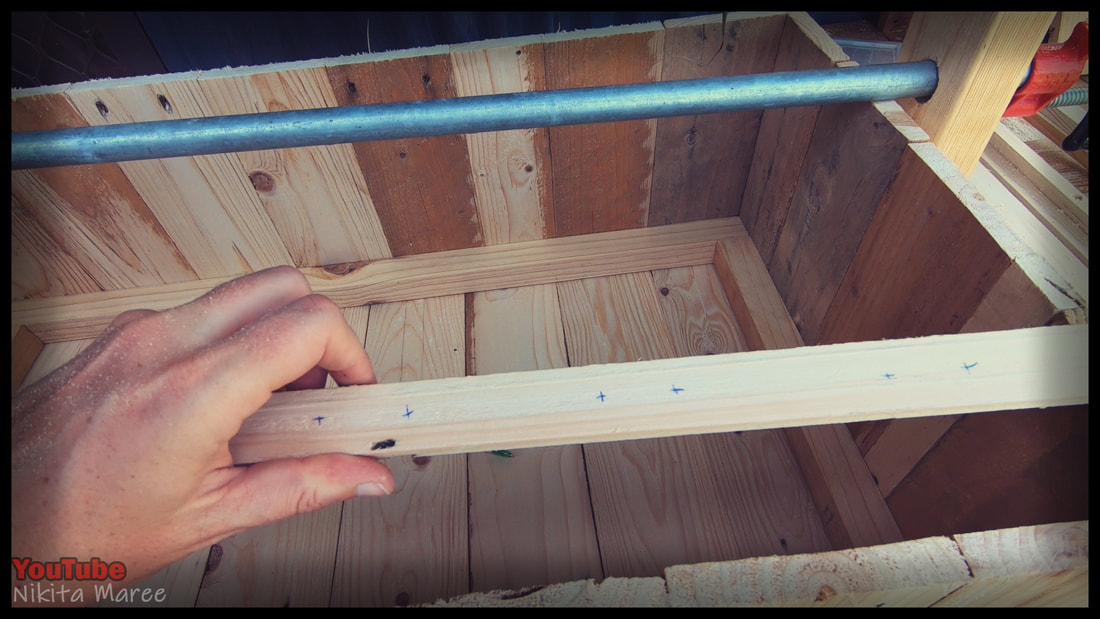
Mark all the holes.
|
|
|
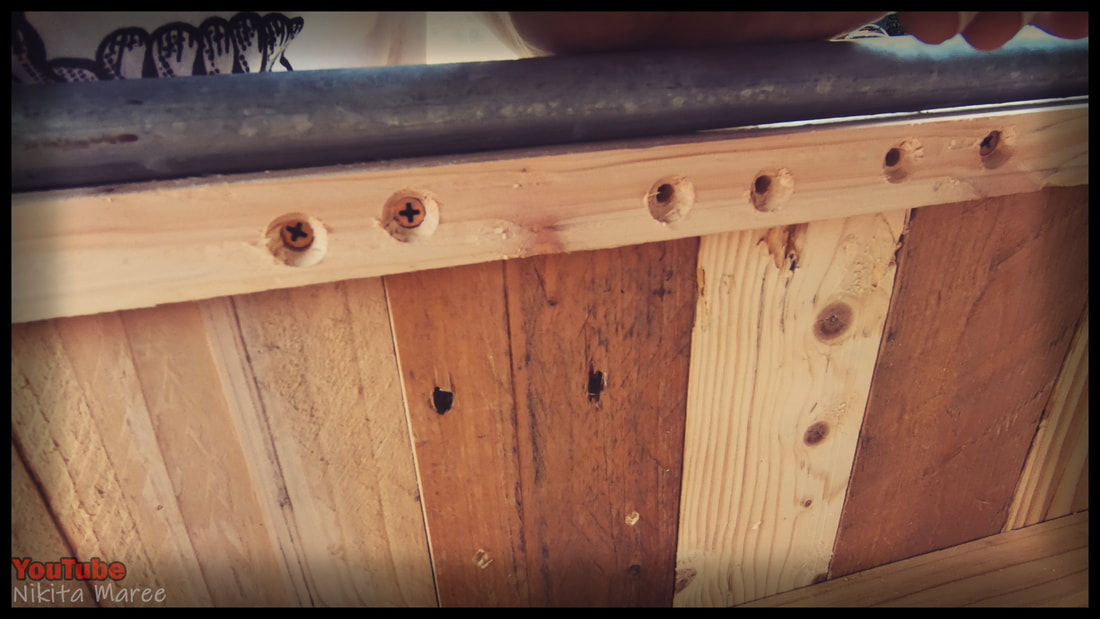
Drill and chamfer.
|
|
Attached with chipboard screws.
|
|
|
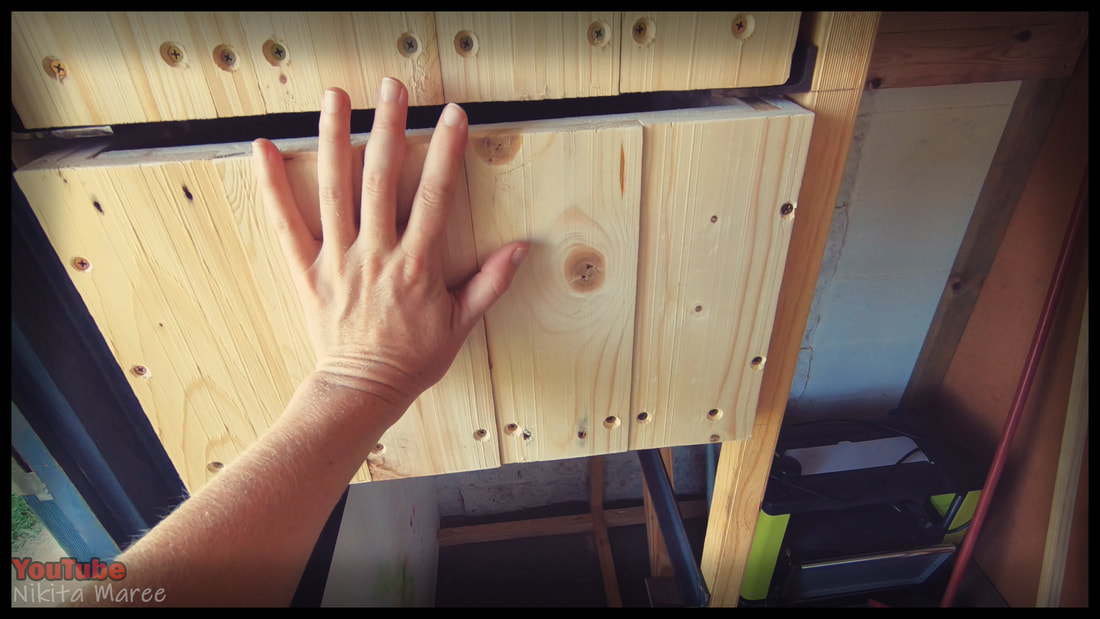
2 drawers down, 3 to go.
|
|
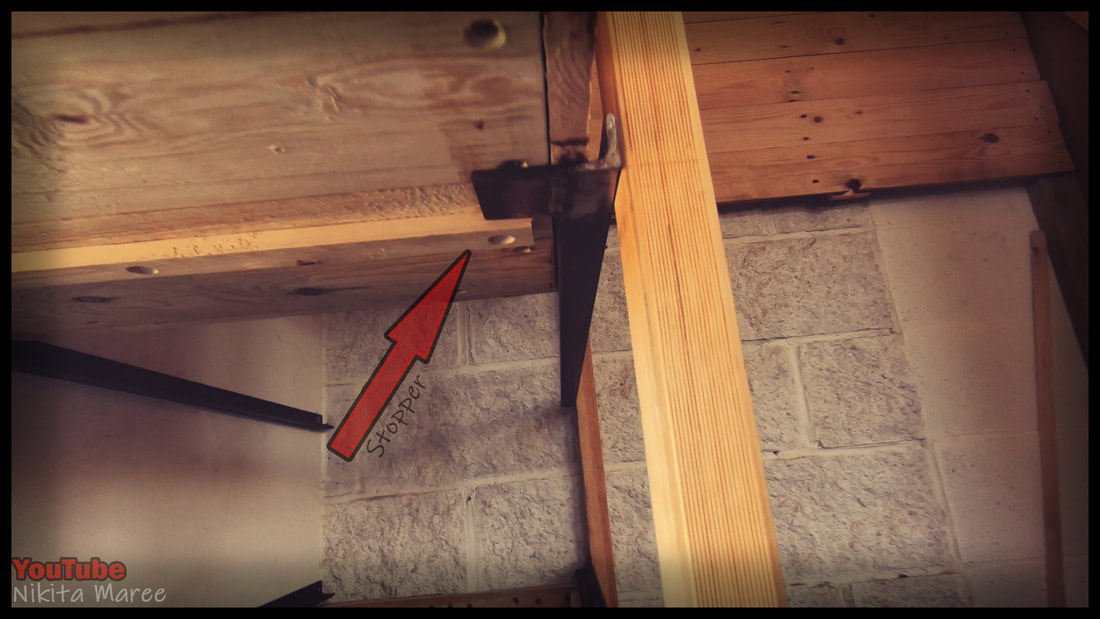
To prevent the drawers from pulling
all the way out, I attached stoppers on the underside of each draw. |
|

|
The stoppers are 25 mm wide,
I then turned them side on to cut a depth of 10mm |
|
I did this to prevent it from catching
on the drawer bellow it. |
|
|
Time to attach the face of the drawers.
|
|
Because these will be attached from the
back side, I added registration marks and level line. |
|
|
I can now clamp the face piece
precisely were it needs to be. |
|
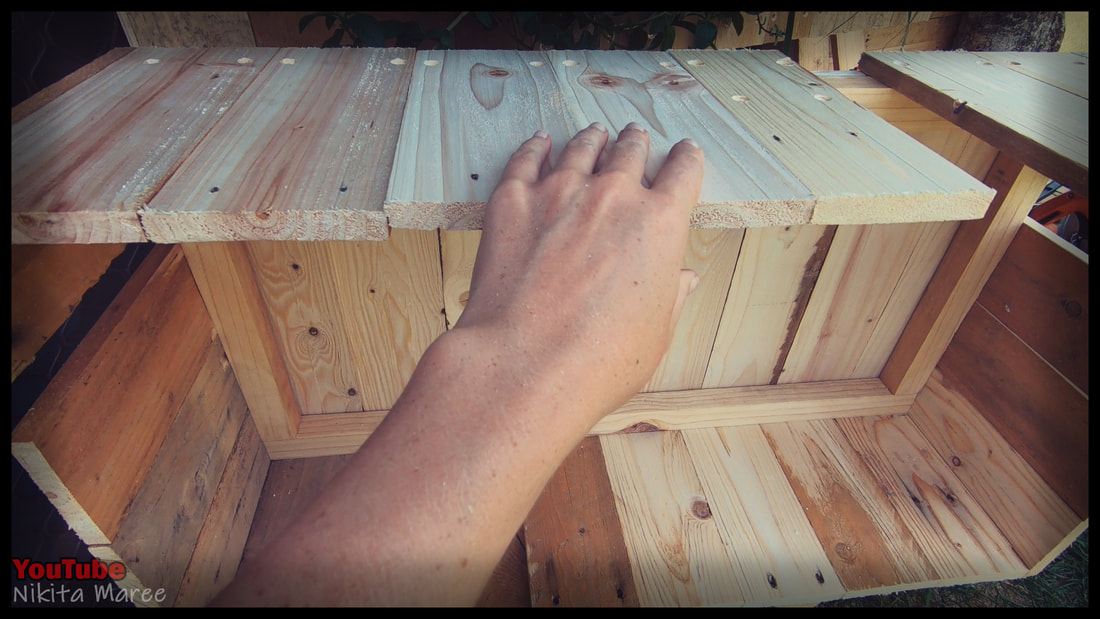
Now that the face of all the drawers are on.
It is time to stain them. |
|
|
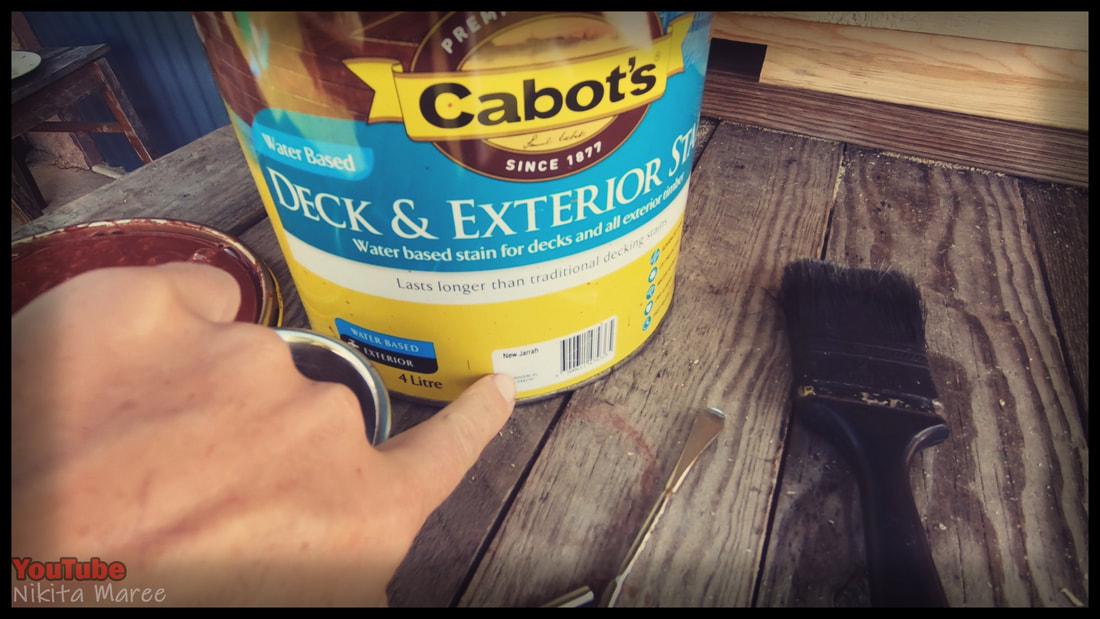
I am using Water based stain in the
colour ‘New Jarrah’. |
|
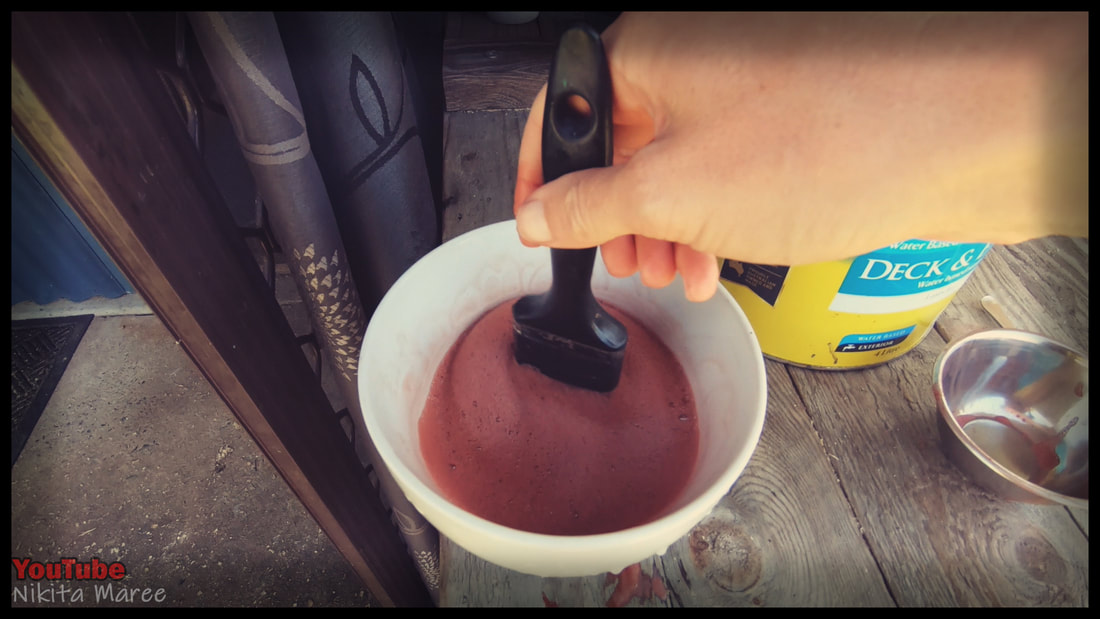
Watered it down to a 1:1 ratio in
the bowl that Auntie Neash left at our place. |
|
|
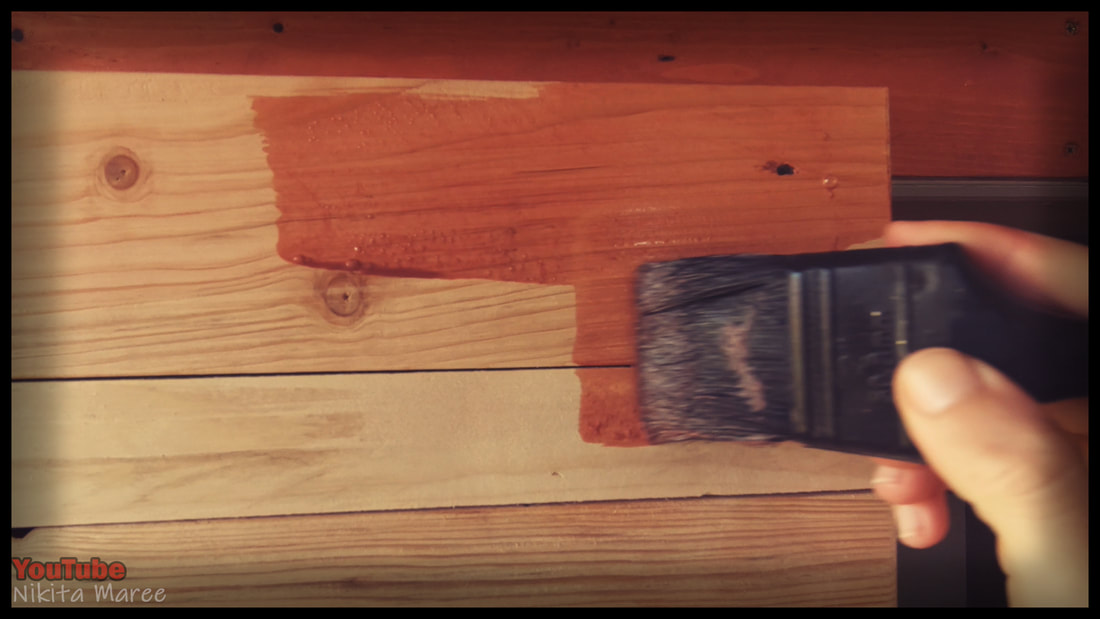
I only do 1 coat. Mainly because I couldn’t be bothered to do any more.
|
|
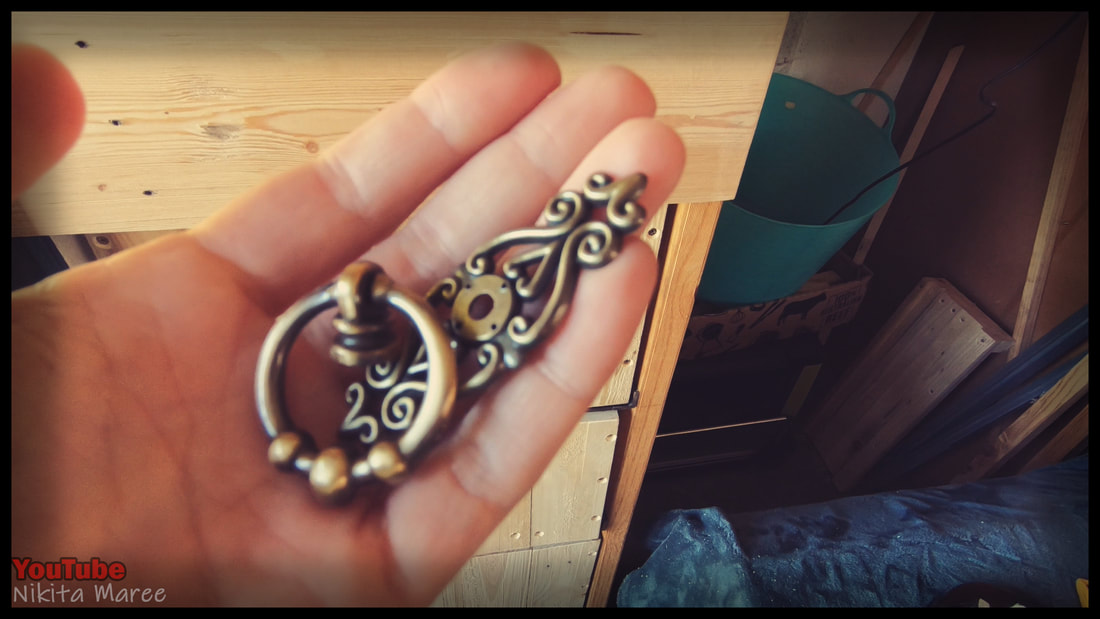
I got these drawer handles from
eBay for $1 each. |
|
|
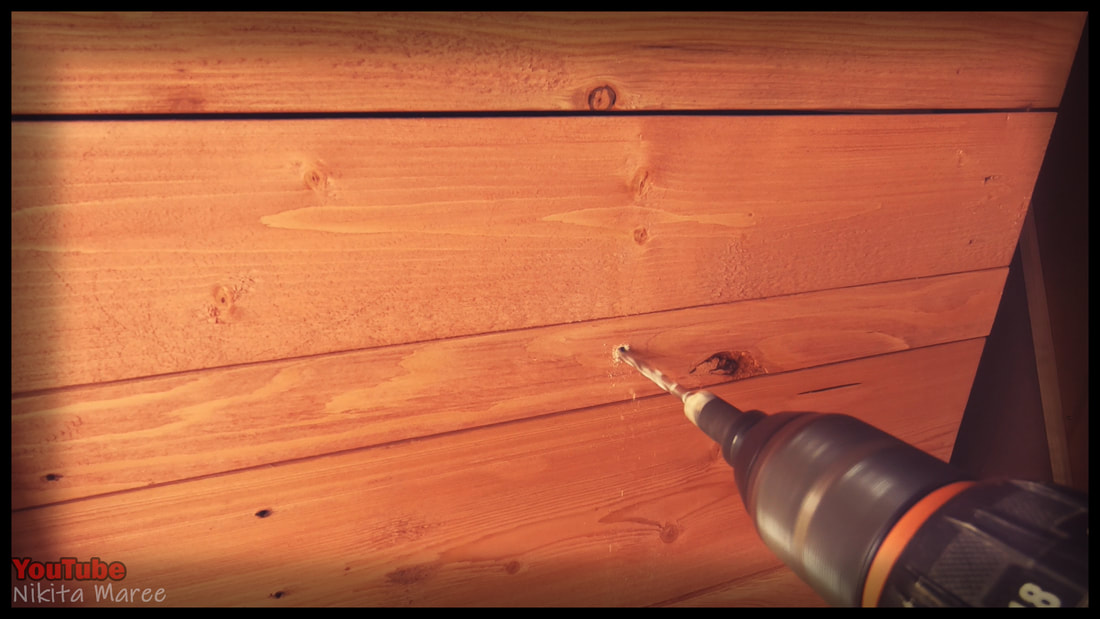
Mark out and drill the holes.
|
|
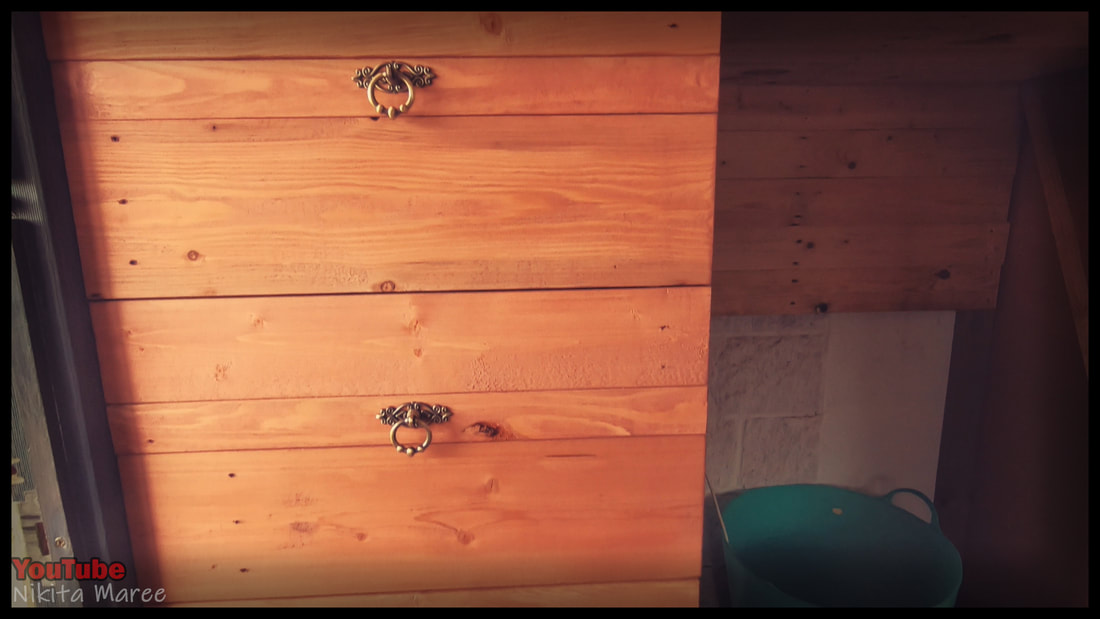
Then attach the handles.
|
|
|
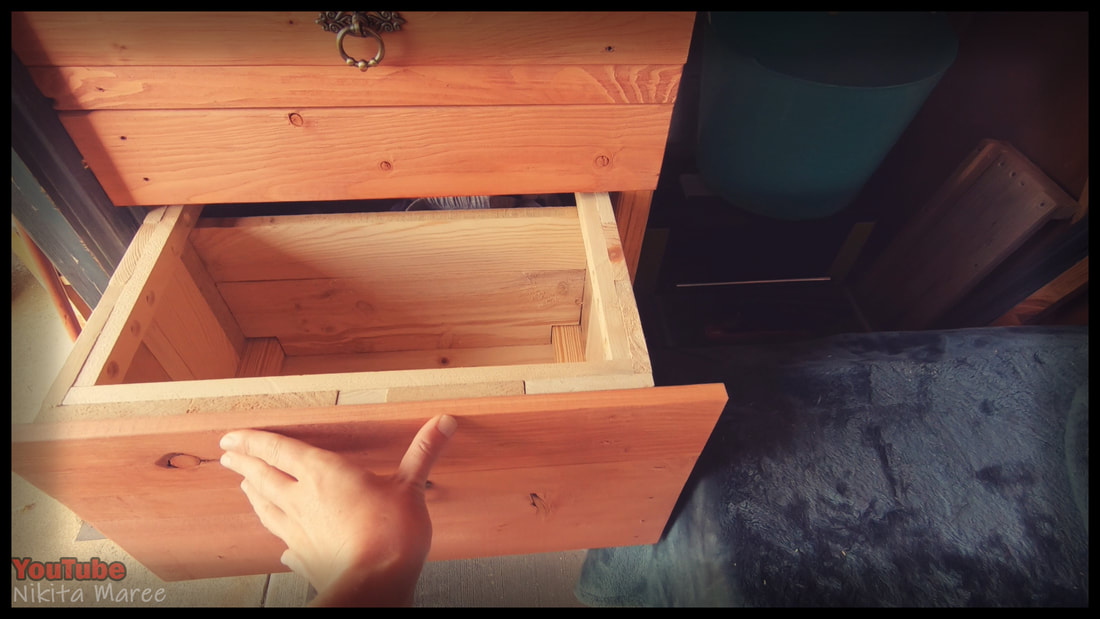
I added a couple of dividers
to some of the drawers. |


