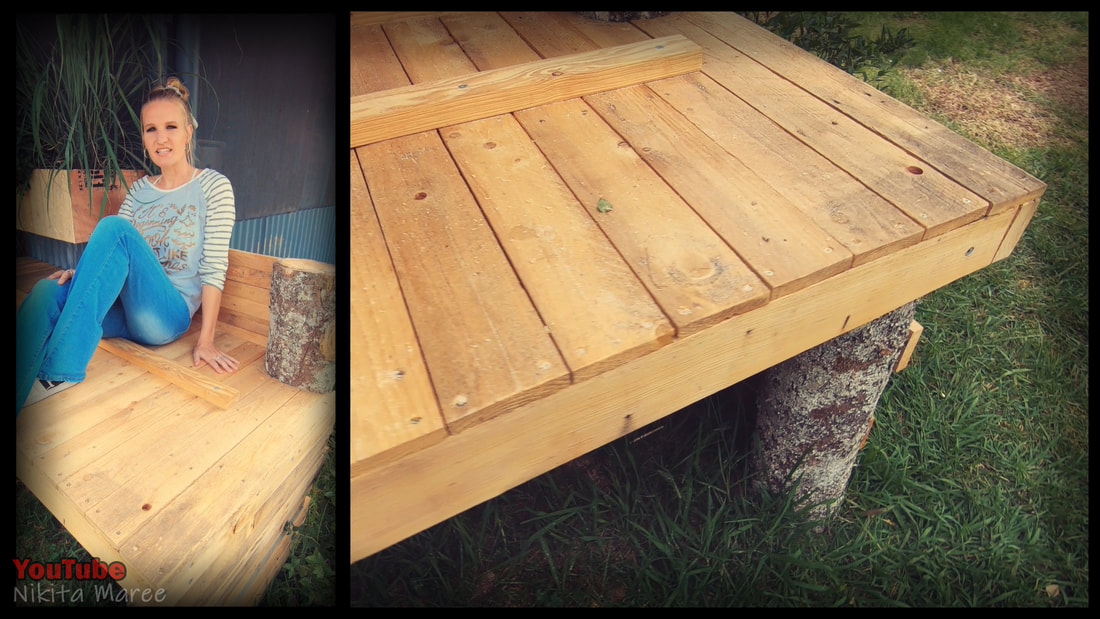
I am so glad I made time to build this workbench. Before this I was working on a stack of pallets.
|
This is the process involved in building this outside workbench, made from logs and pallet wood,
as well as some really useful Hidden Features that I have incorporated into this build. |
|
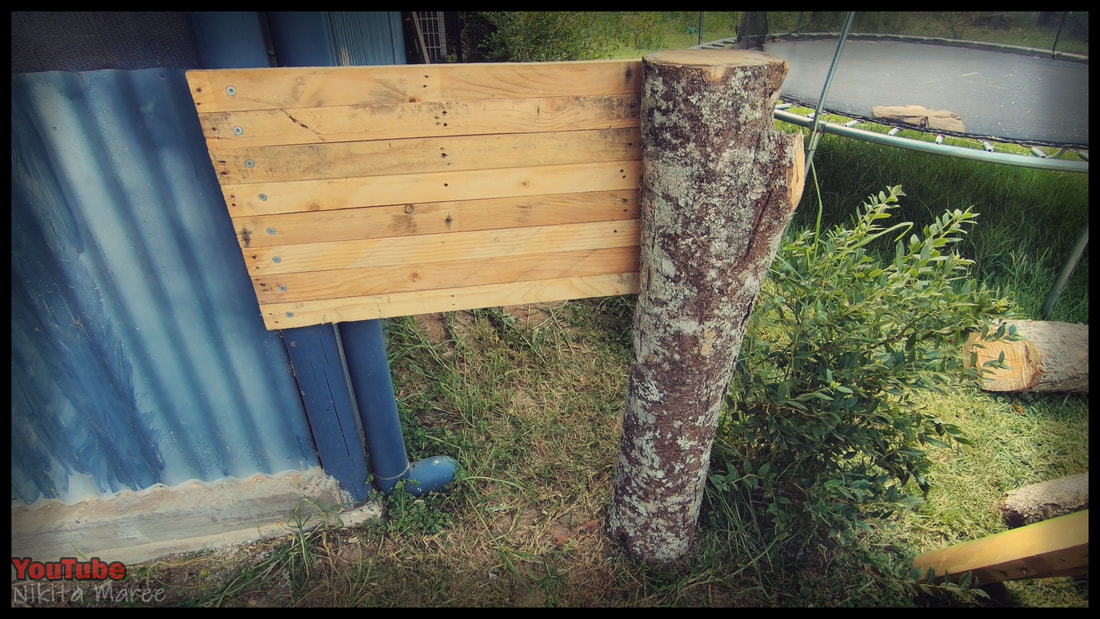
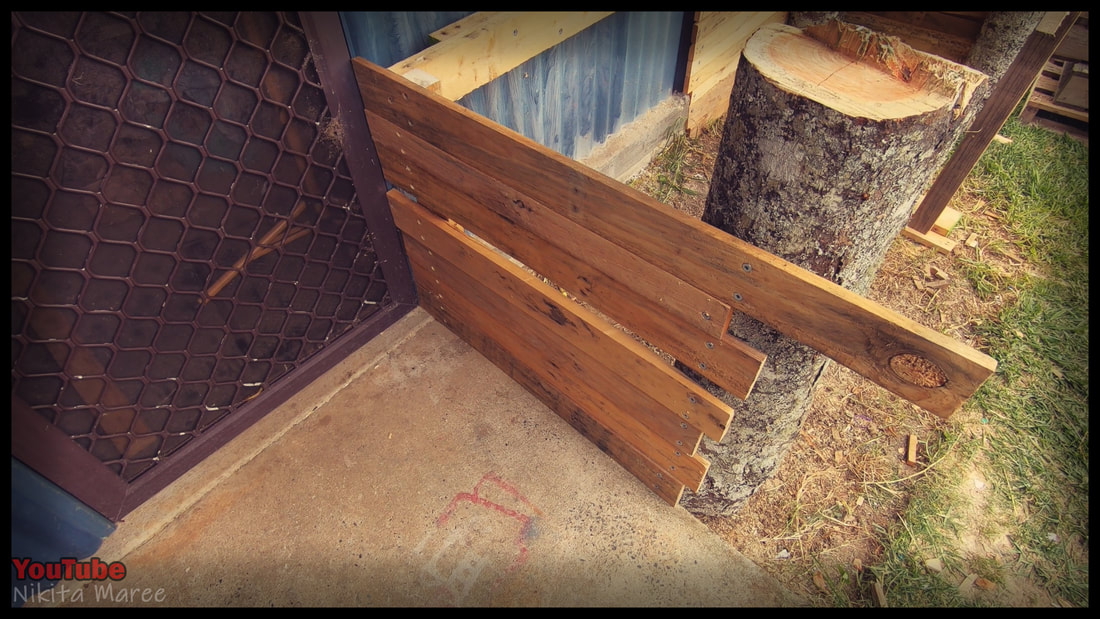
Placed my first full length log in line
with the house. Started attaching the palings with batten screws too both the log and the corner post of the house. |
|
|
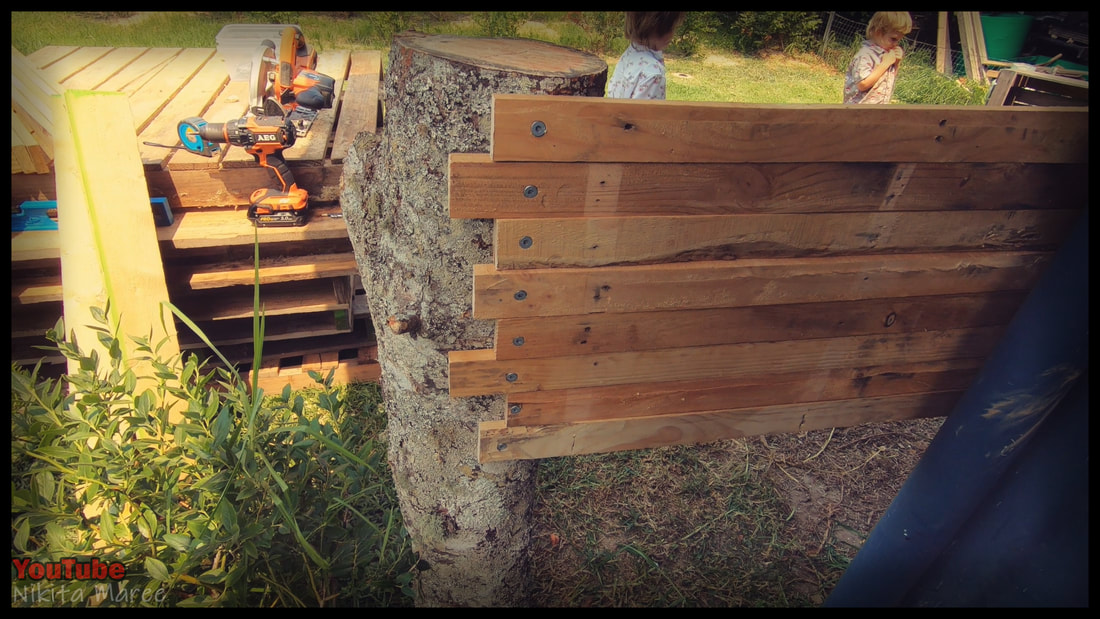
I've varied the lengths of the palings on the log side, to give it a bit more character.
|
|
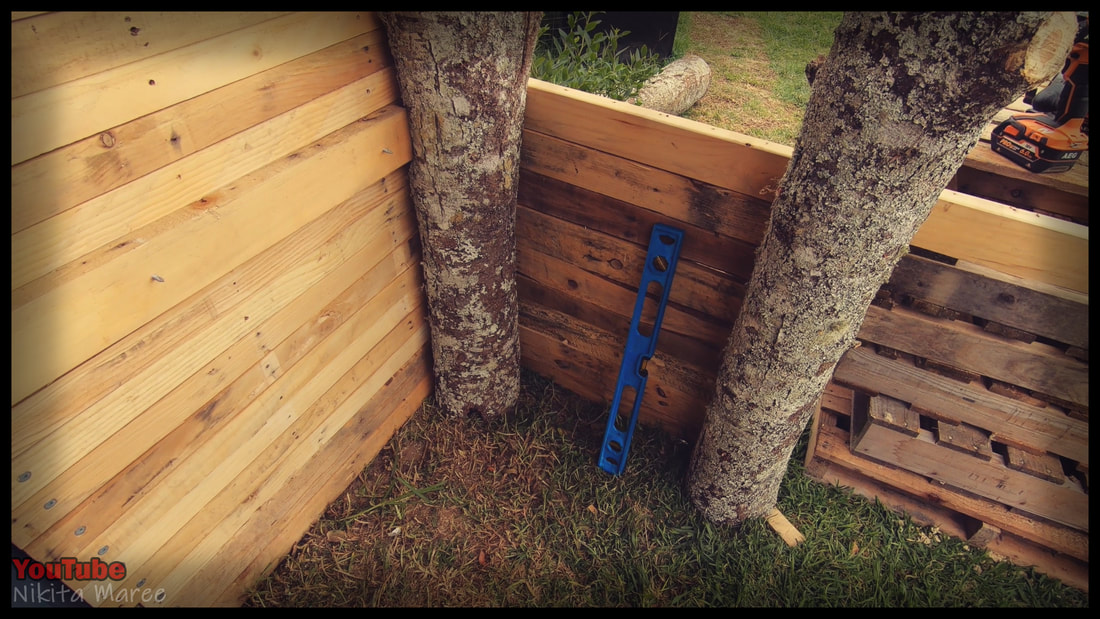
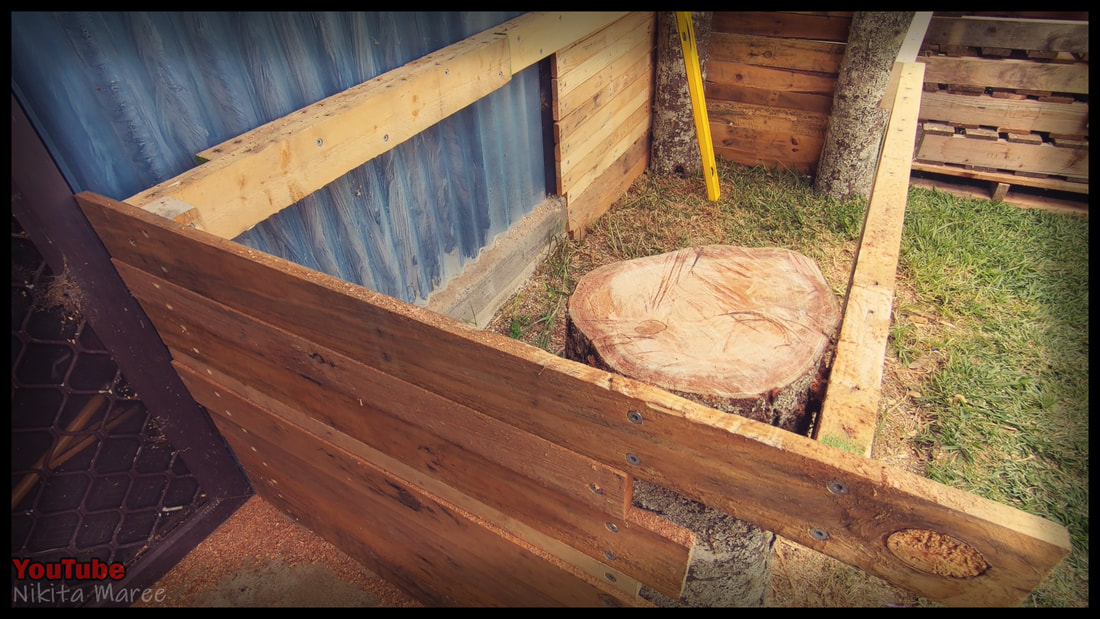
After I finished filling in the back wall I moved on to the right hand side.
|

|
|
Placed another log where I wanted the front leg to be, and filled in the side with palings.
|
|
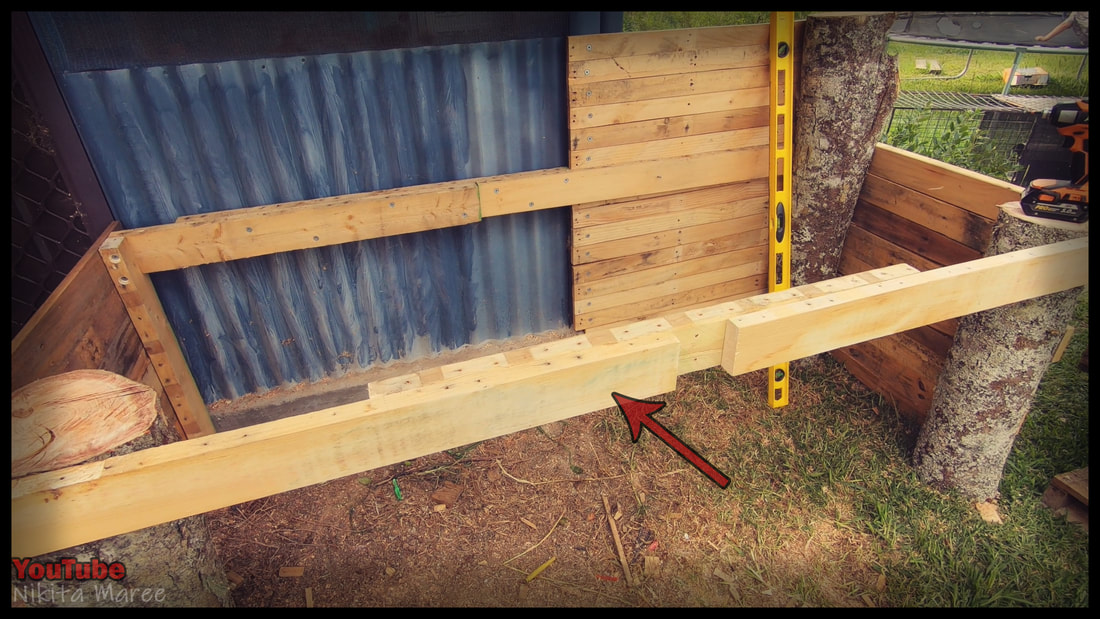
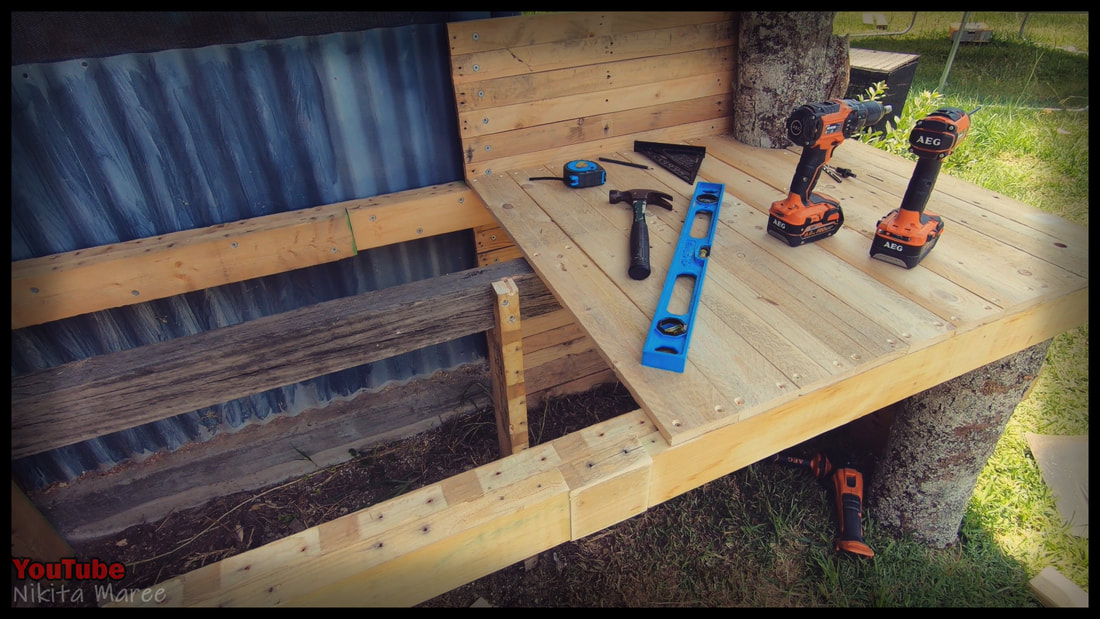
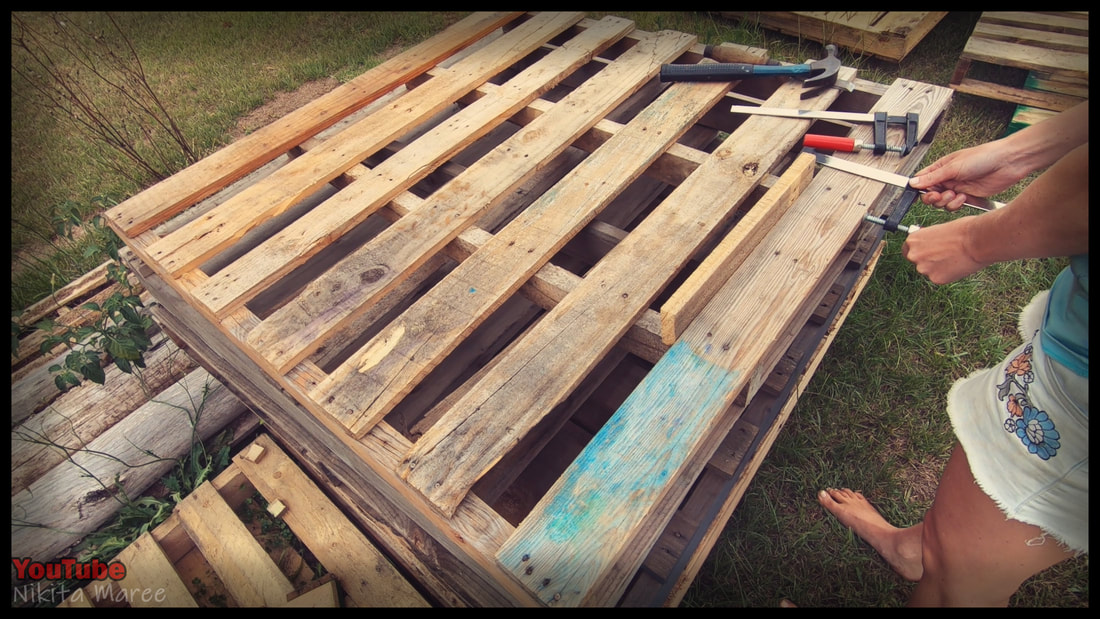
For the bench frame I used pallet stringers.
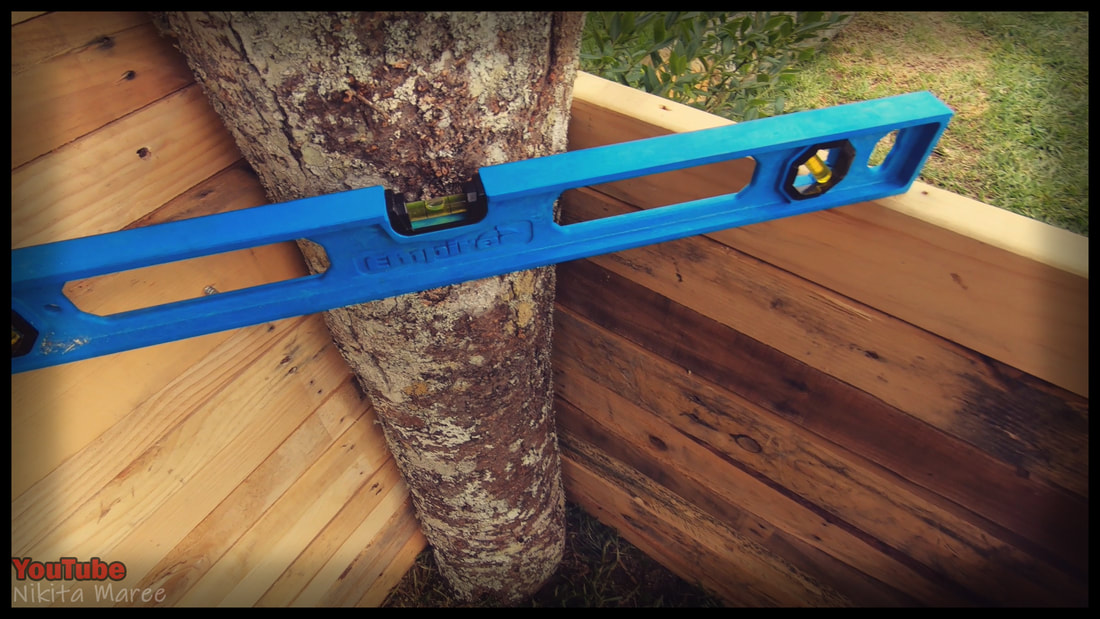
Picked my ideal bench height and checked that my right hand wall and back wall were level. |
|
|
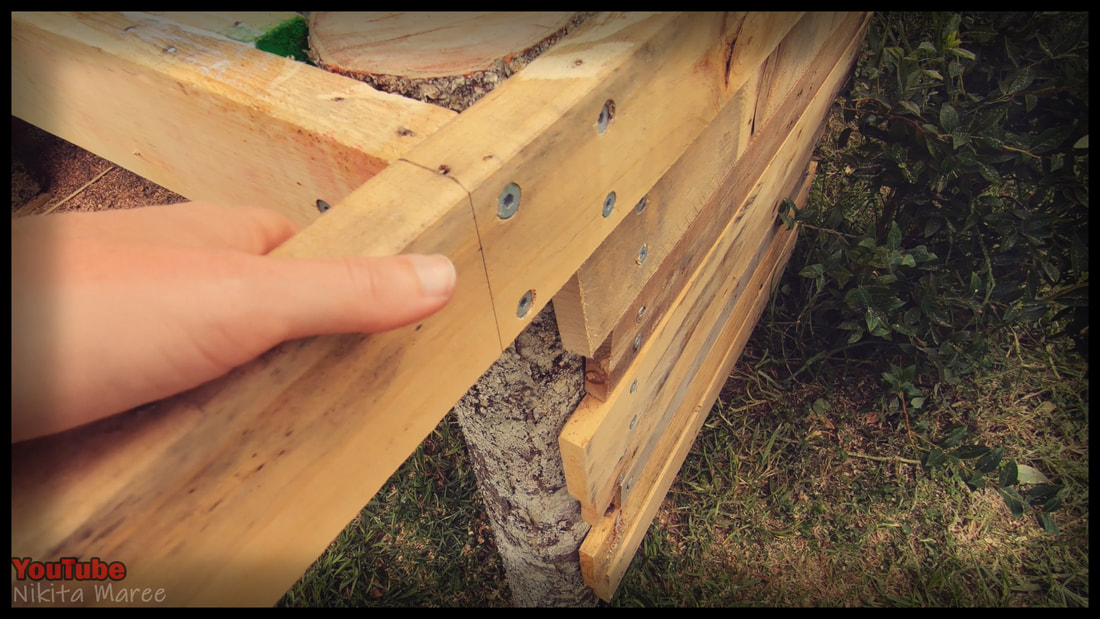
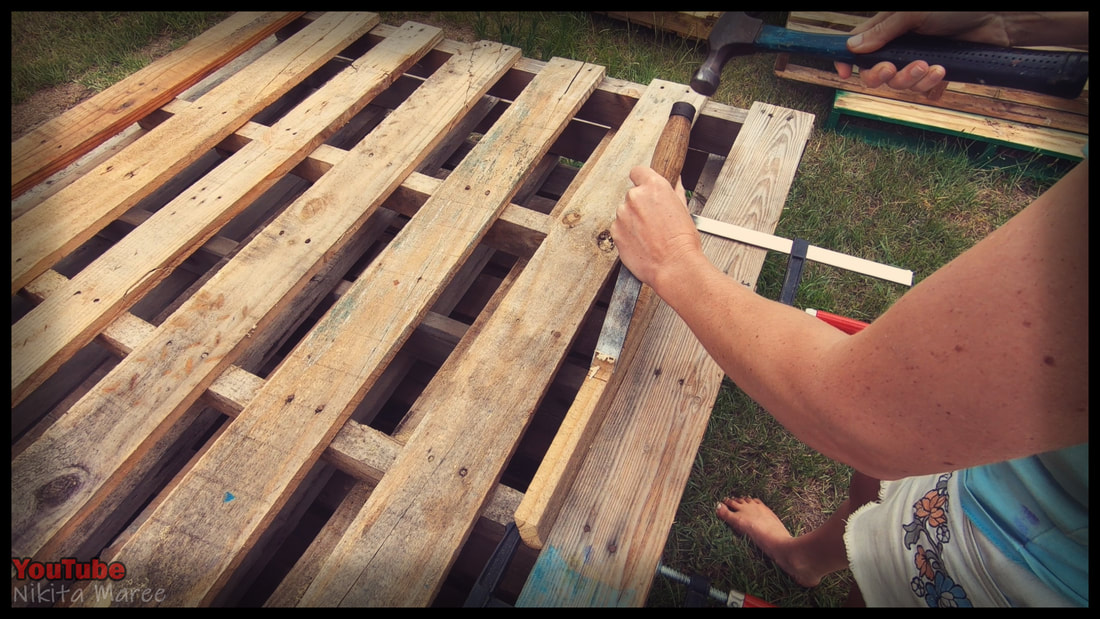
Pre-drilled three holes in the overhang.
|
|
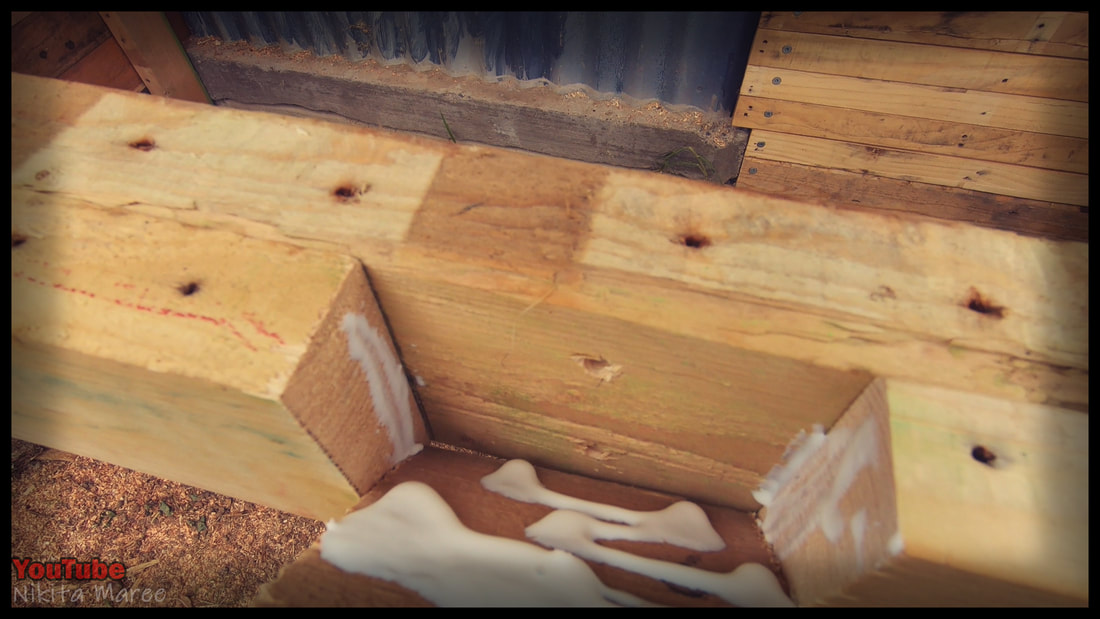
Grabbed another stringer, batten-screw them together with PVA glue in between them.
Did the same thing again until my back beam was the length that I needed. |
|
|
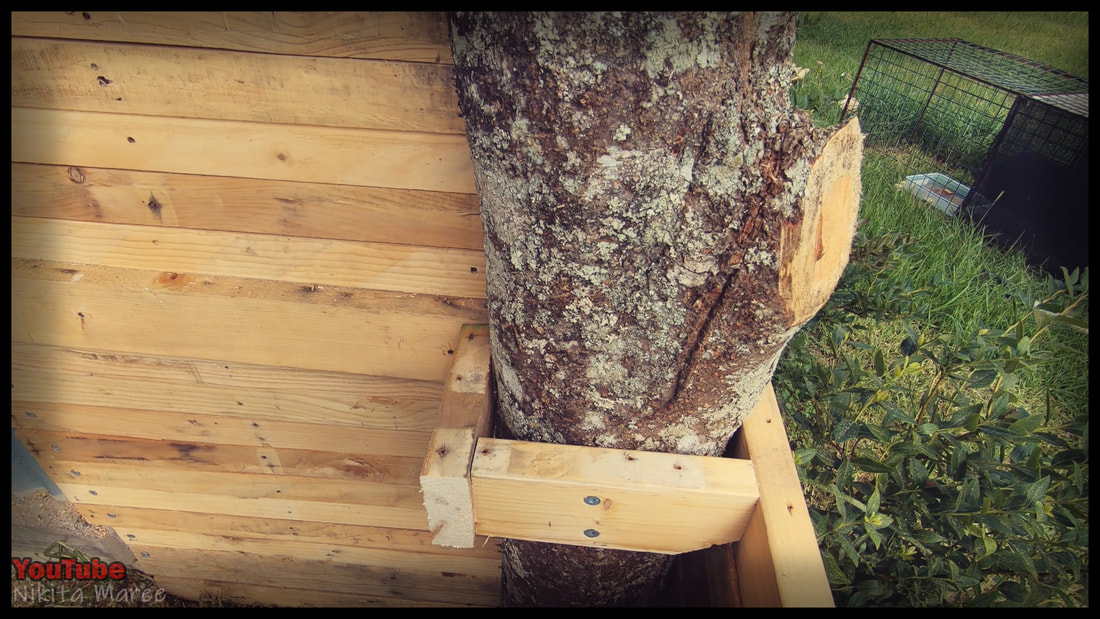
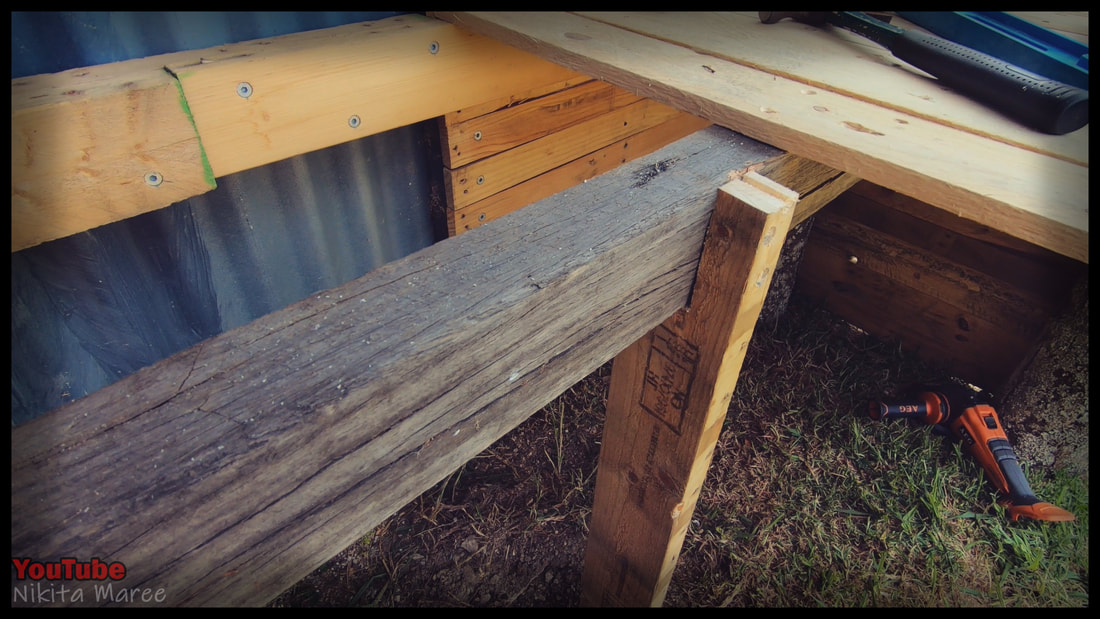
For the back post, I notched out a seat for my back beam to rest on.
|
|
Put the last log post in position and started filling in the left hand side with pallet palings.
|
|
|
Time to work on the front beam.
Cut the front two logs off at bench height. |
|
PVA glue and batten screw your stringers together until you have a full length beam.
|
|
|
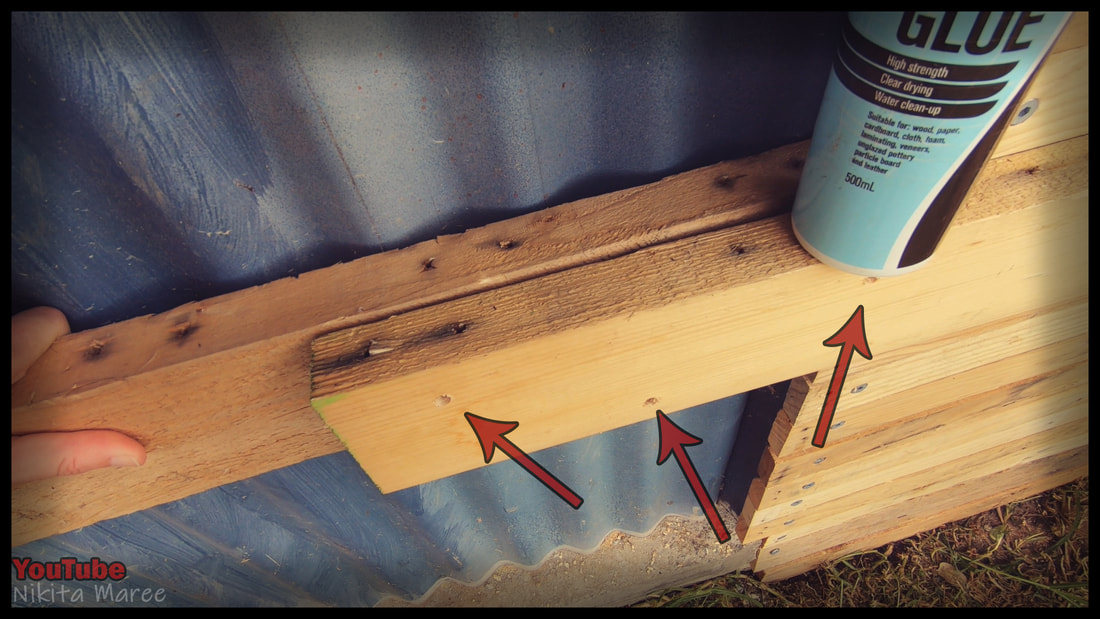
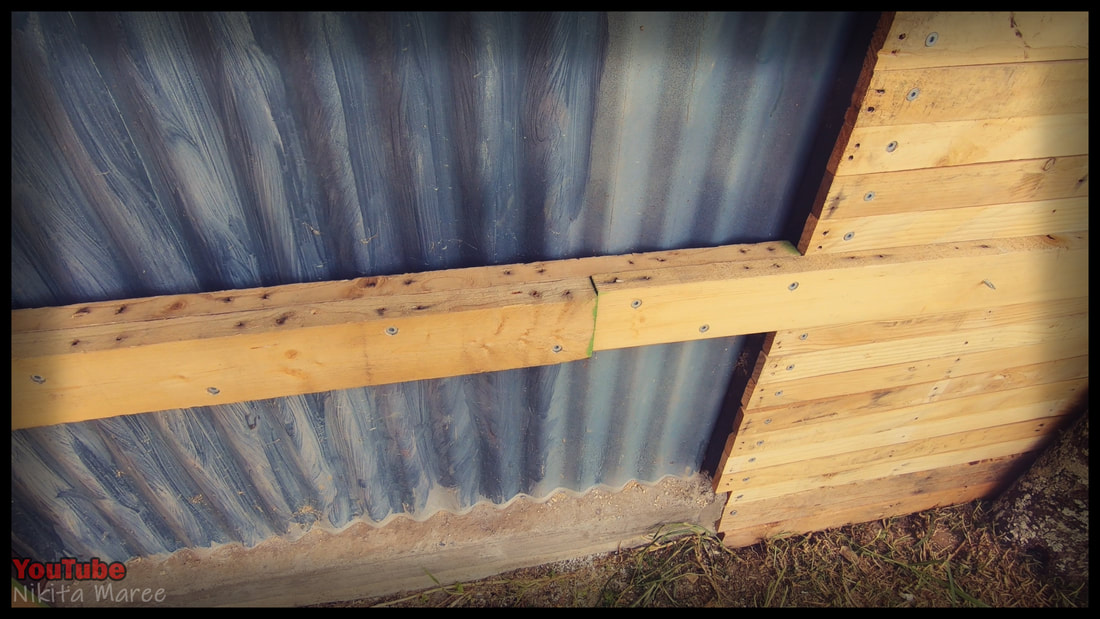
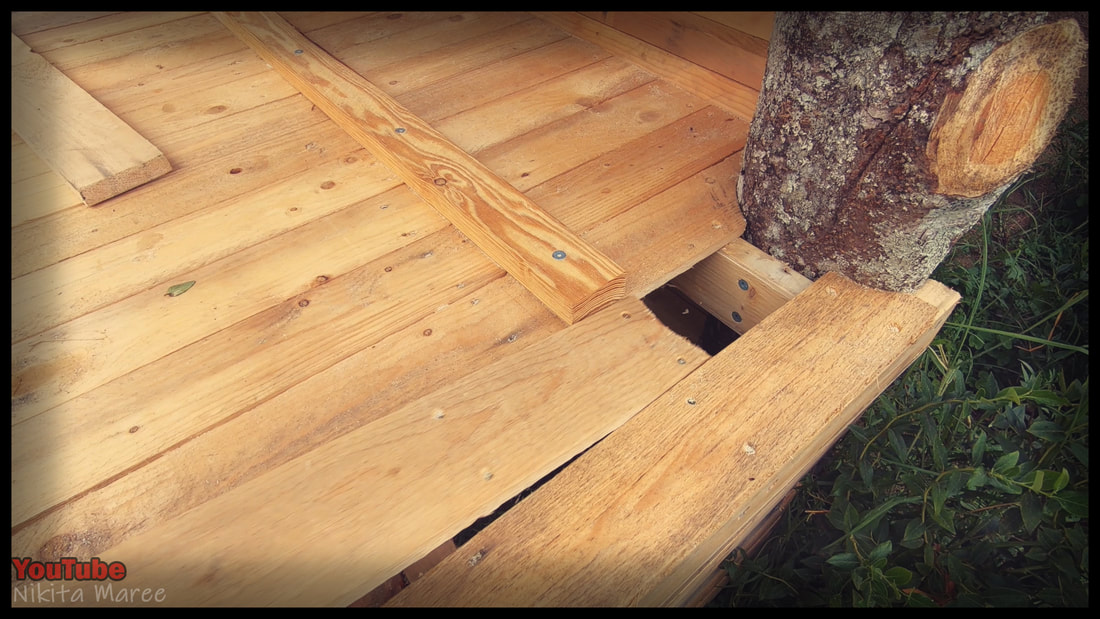
Filling in the gap, and I made sure to keep the batten screws on the inside edge to give the front face a cleaner looking finish.
|
|
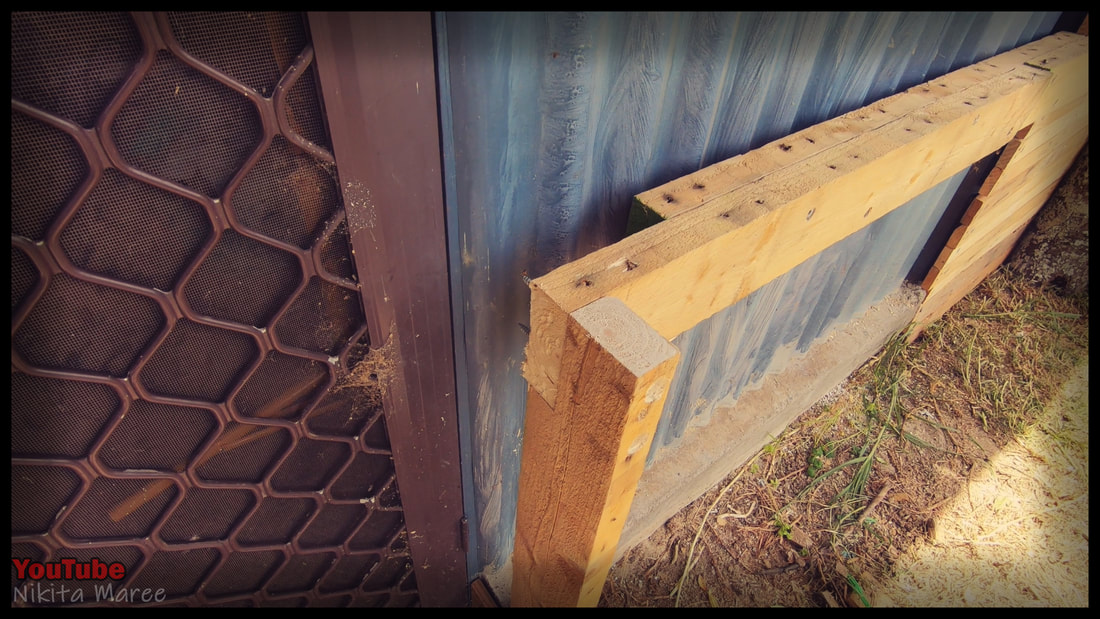
Mark your overhangs and cut them off,
flush with the front face. |
|
|
Frame up the back log, this is what i will end up attaching our bench top to.
|
|
We had a length of hardwood laying around
and I used this for the middle beam. |
|
|
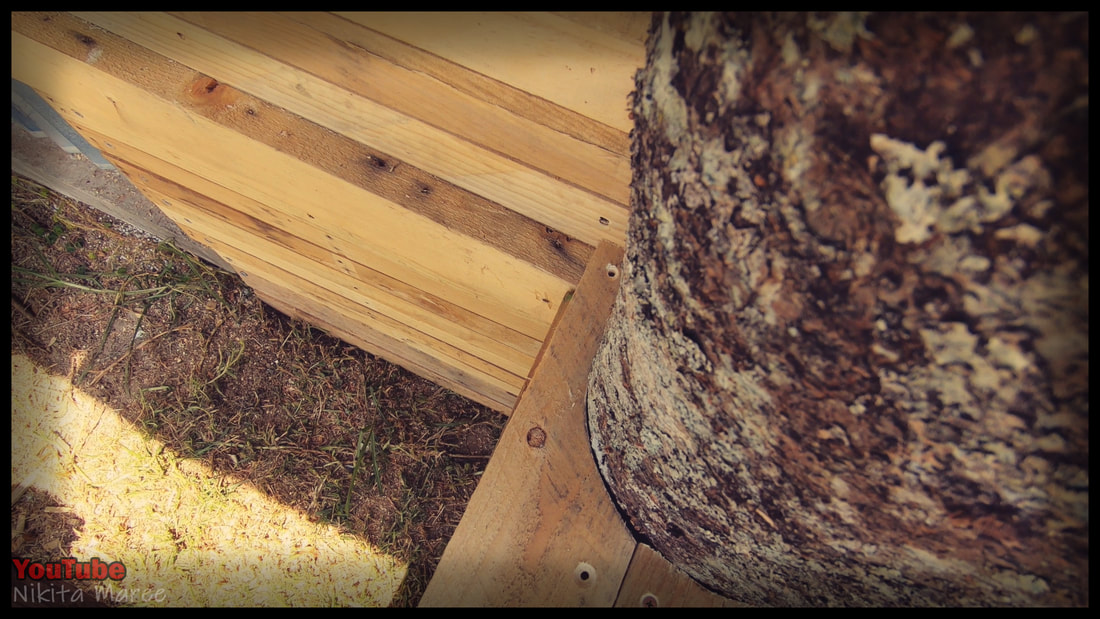
I used the jigsaw to custom cut the shape
of the log. |
|
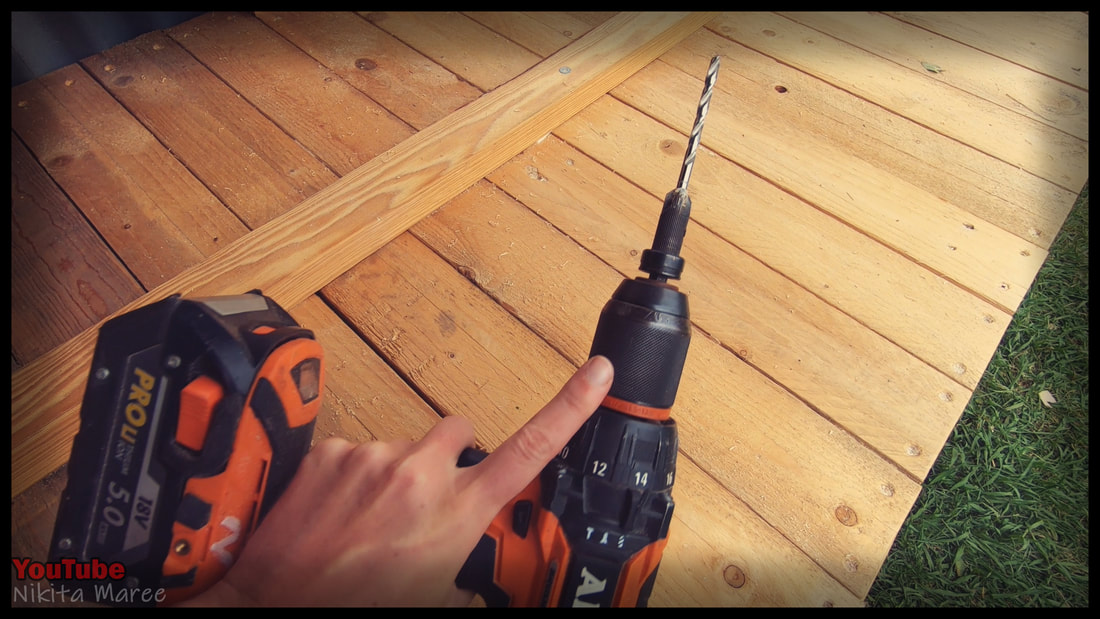
I pre-drill and chamfer the hole of each paling before attaching them.
|
|
|
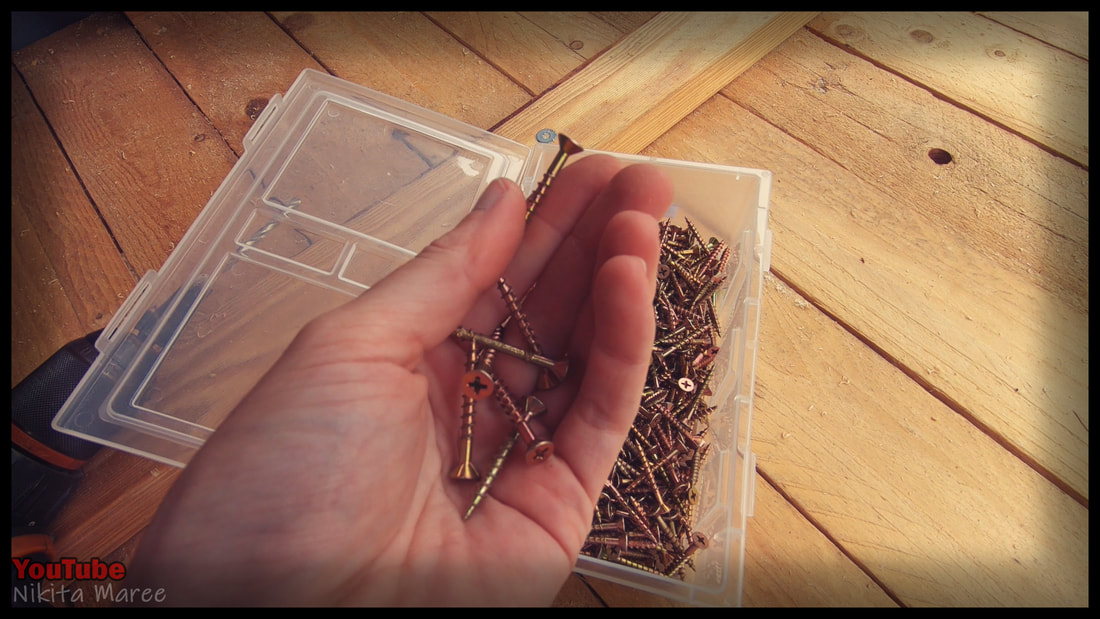
And I just used cheap 35mm chipboard screws.
|
|
Already started using my bench and I love it.
|
|
|
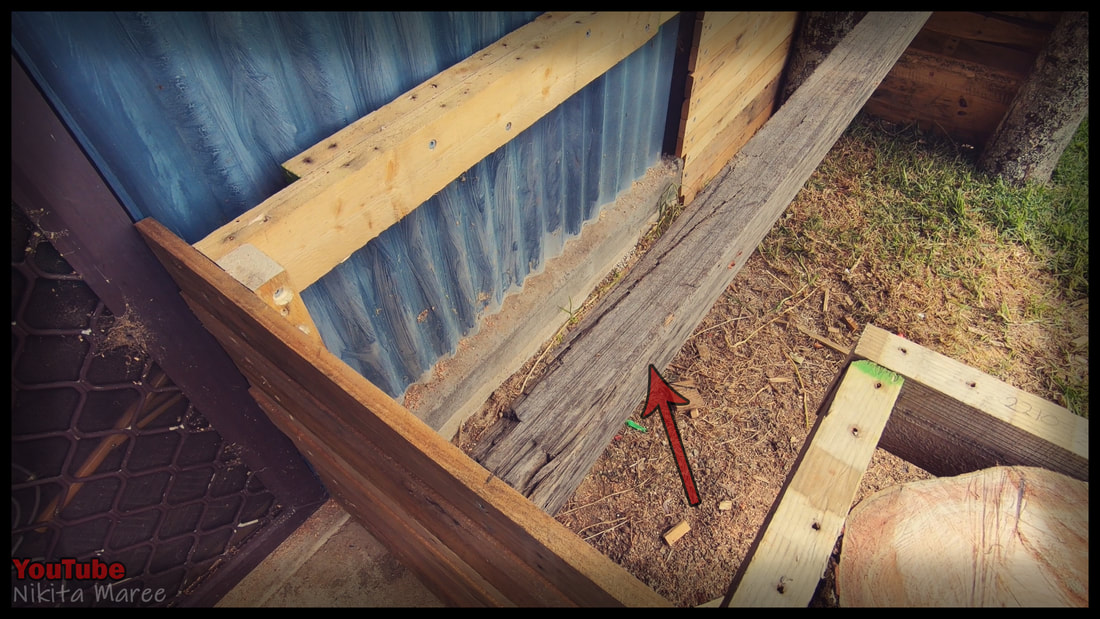
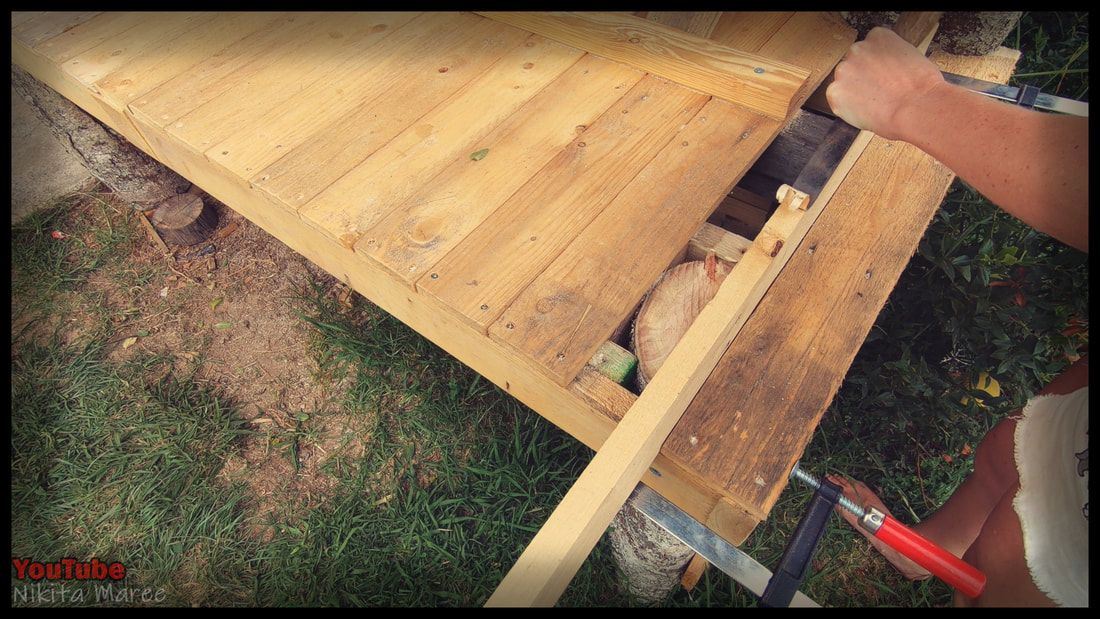
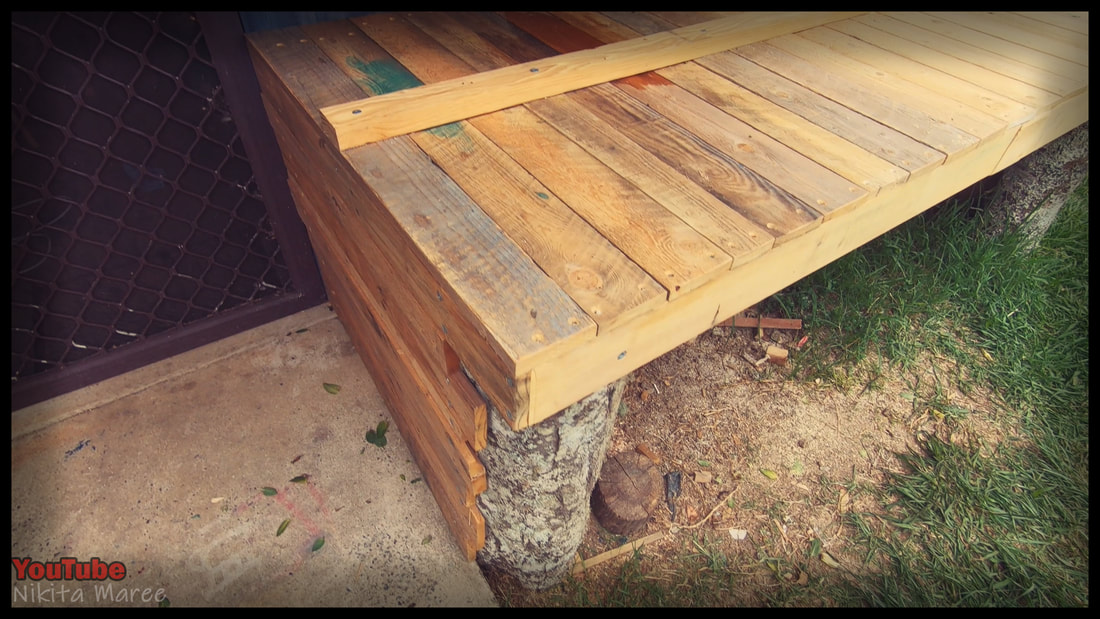
I added a support under the middle beam.
I dug this one into the ground and sat it on a brick just to prevent anything from sinking over time. |
|
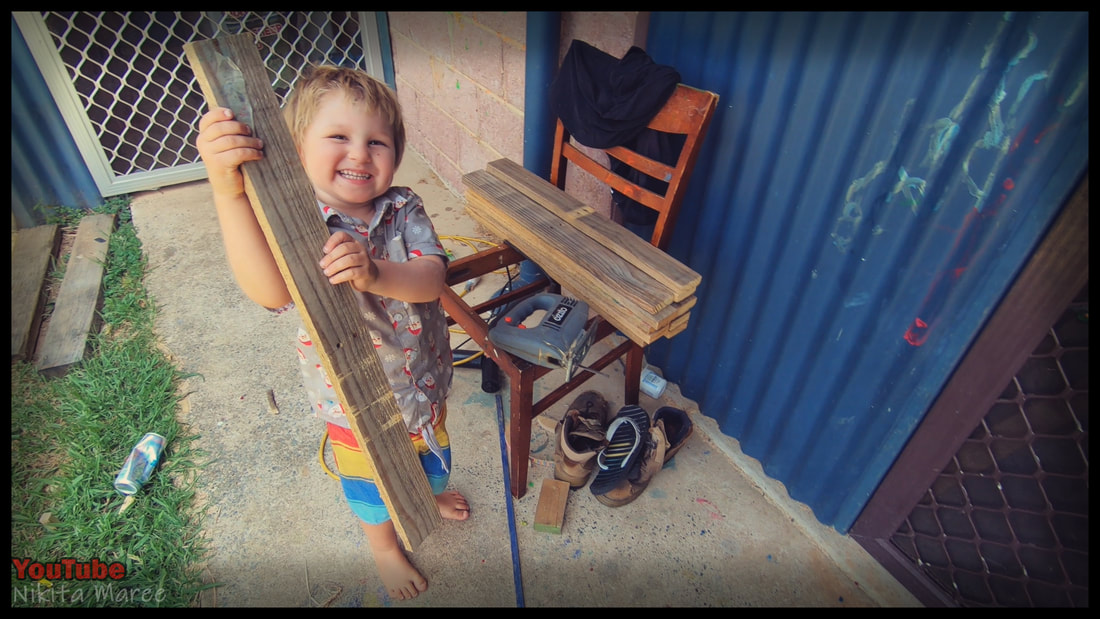
Little helper ♥
|
|
|
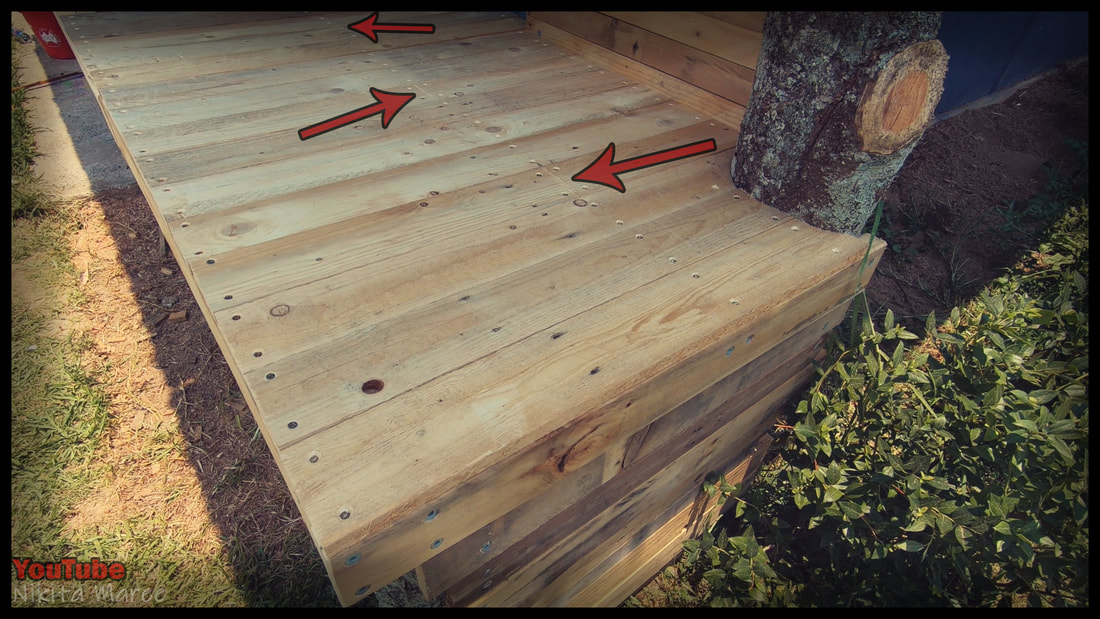
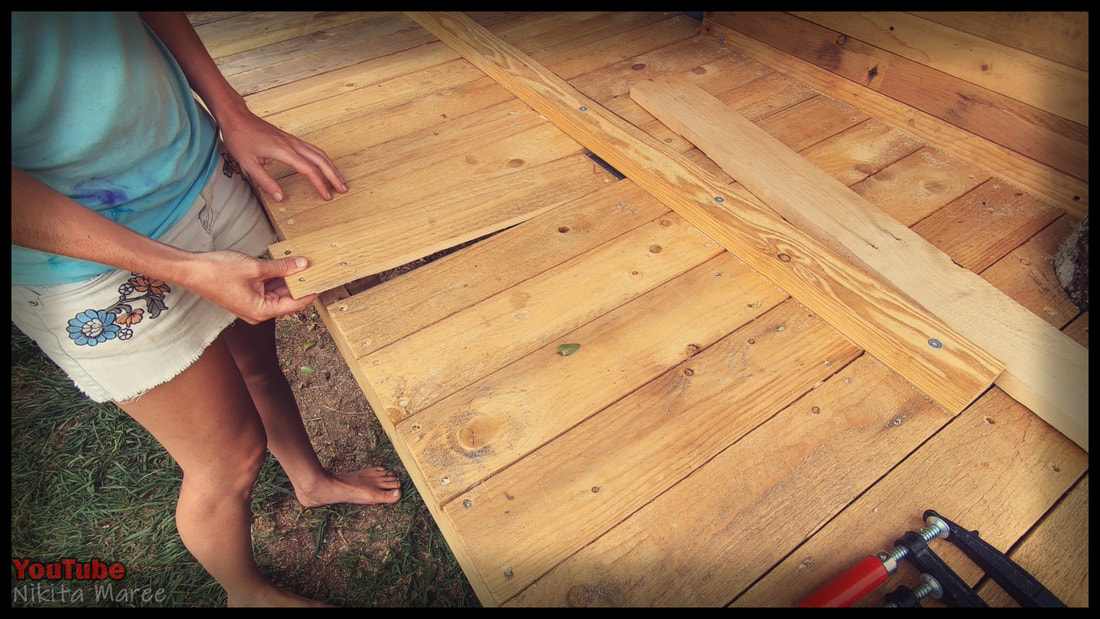
The paling sequence on the bench is three full lengths and then half lengths joined in the center beam, three full lengths again and so on.
The reason for this sequence will become apparent very soon. |
|
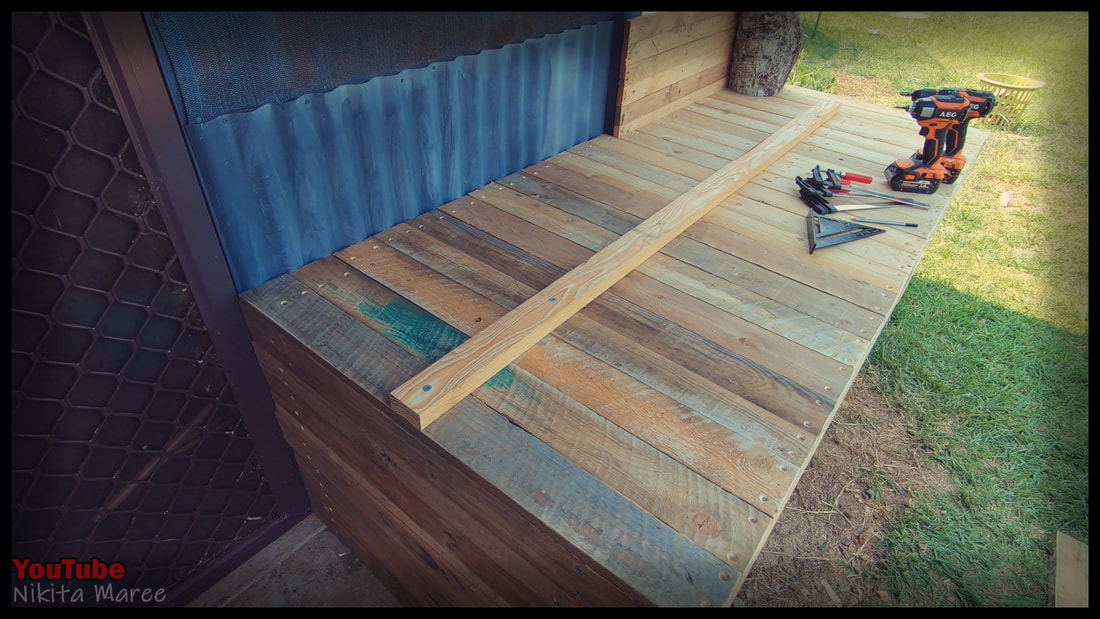
I have added a permanent straight edge that is attached right into the middle beam underneath.
|
|
|
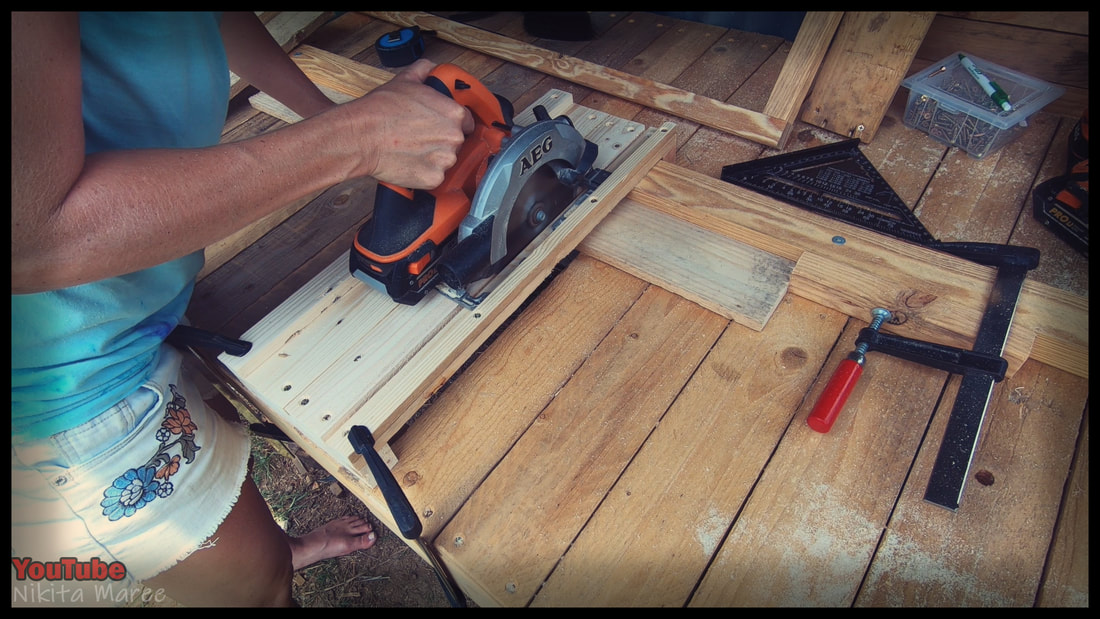
I use this straight edge for many things, but my favorite would be attaching my crosscut jig.
I place the crosscut jig on top and yes that is also made of pallet wood. Really easy and really quick to cut everything to the exact same length. |
|
So now for some of those hidden features.
One thing I really loved about working on pallets that I knew I had to incorporate into this bench, was the fact that it was so easy to clamp a piece on its side. |
|
|
This is useful for hand planing or even chiselling out a notch to attach a hinge.
|
|
I overcame this issue in my bench by
keeping this board free. I still added screws so it looked the part, but I cut them off on the backside. |
|
|
And here I am testing it out.
|
|
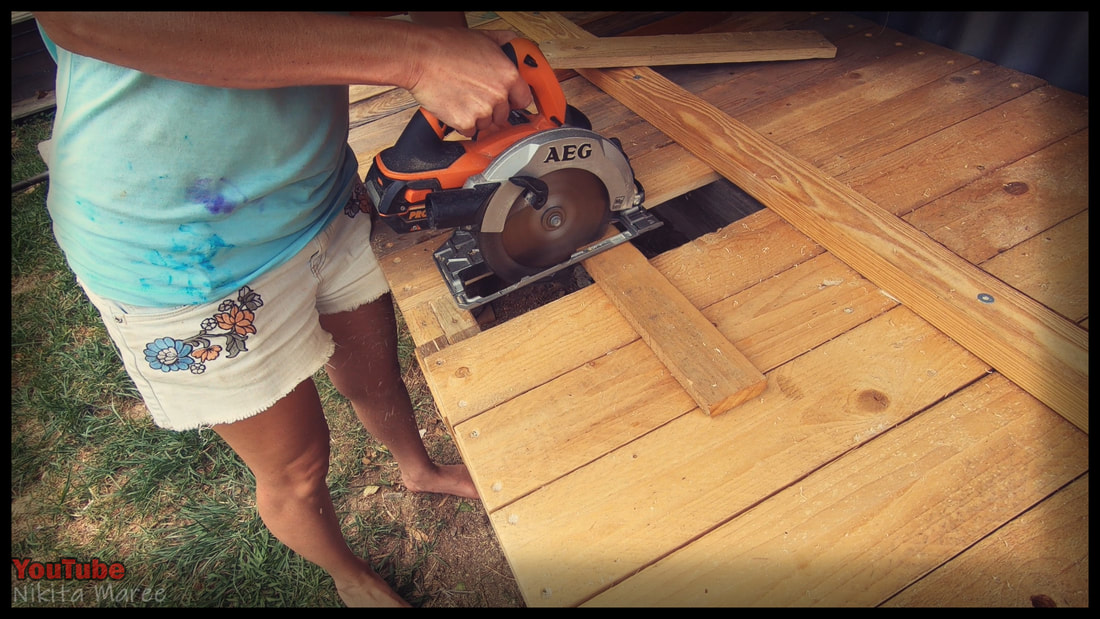
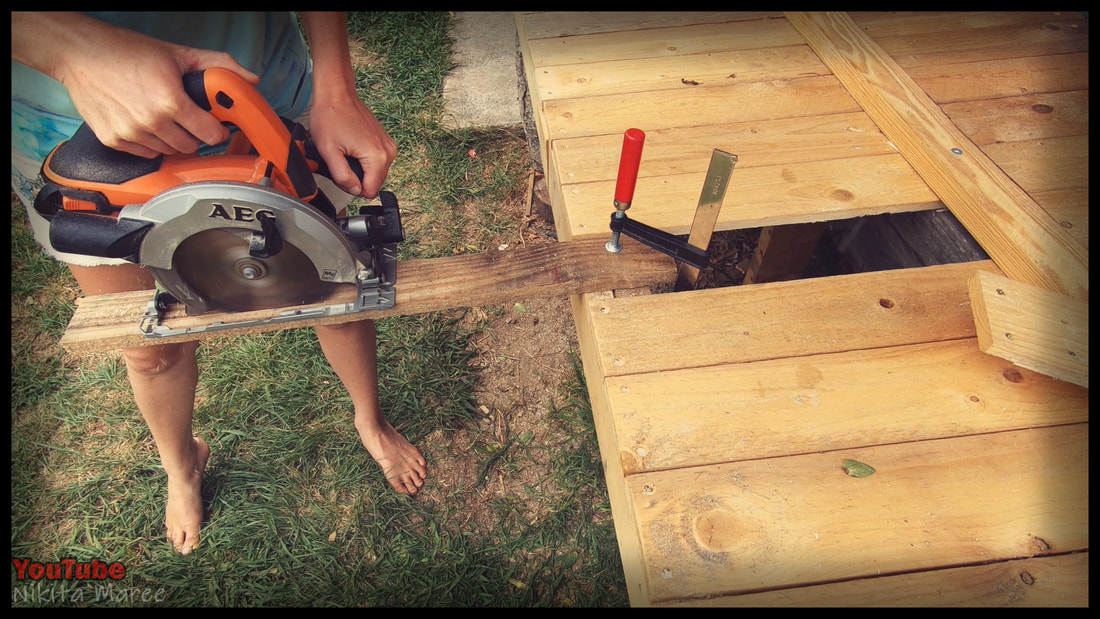
The other thing I came to enjoy about working on pallets, was having both sides of your timber supported while you are cutting it.
|

|
|
And this is where those half lengths
from earlier come into play. So every fourth board is able to be removed. |
|
This is really useful when you are working with really long lengths of timber.
|
|
|
So another thing I like to do is clamp on the
inside of the bench. I often use this technique when I need to rip a paling down the center. |
|
I'm so glad I finally got around to making it.
|
|
|
I have more DIY pallet wood builds
over on YouTube. And I would love to have you there ♥ |
|
|
|
|
|
