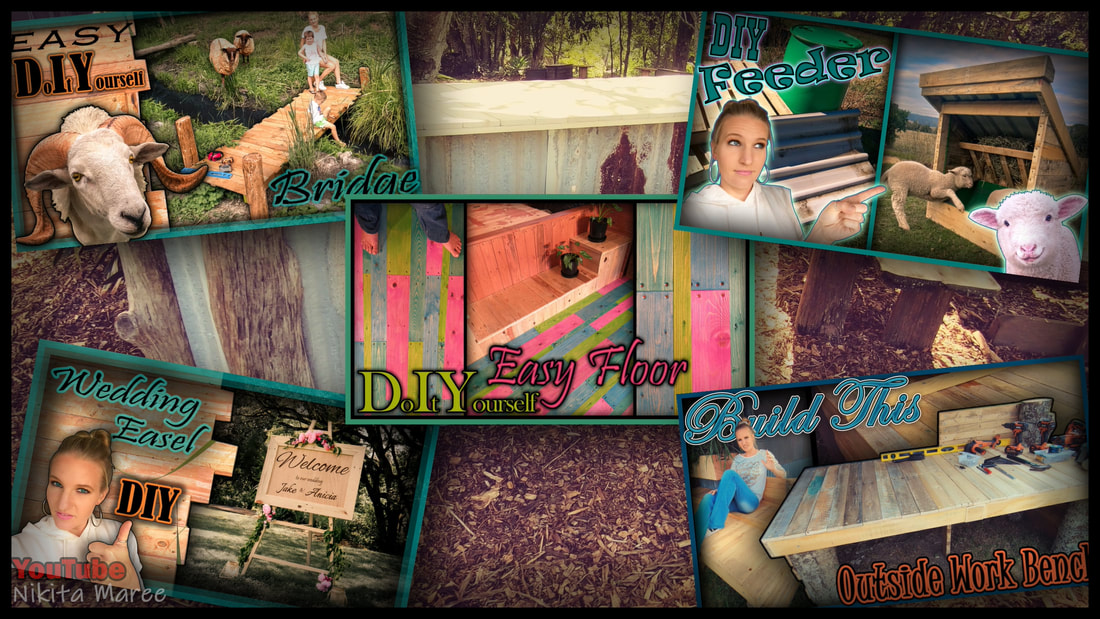
DIY Rustic Wedding Bar
|
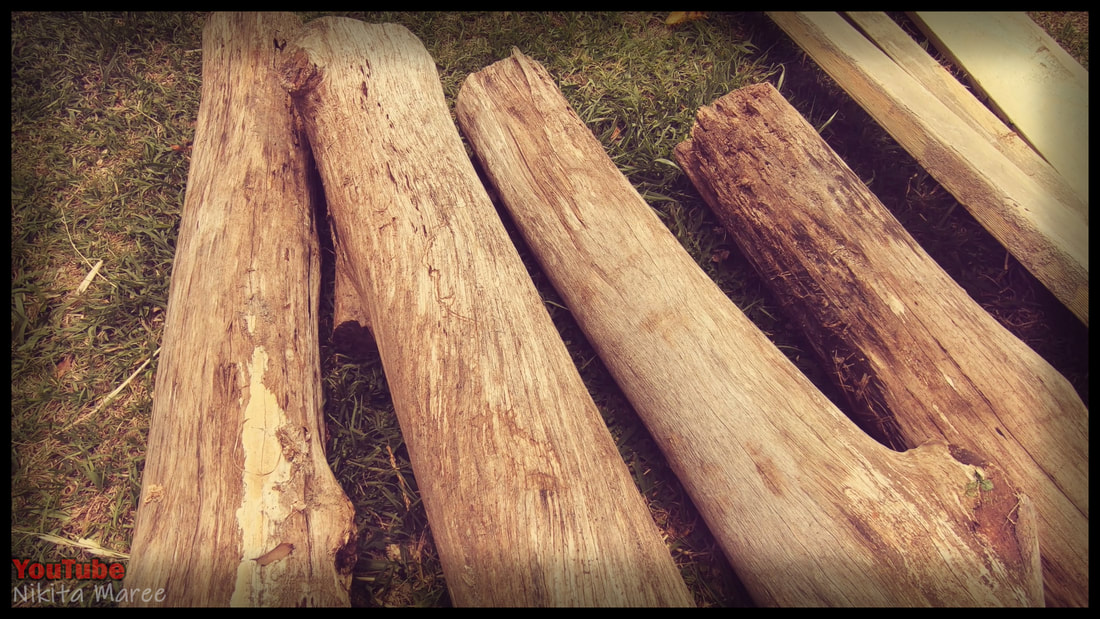
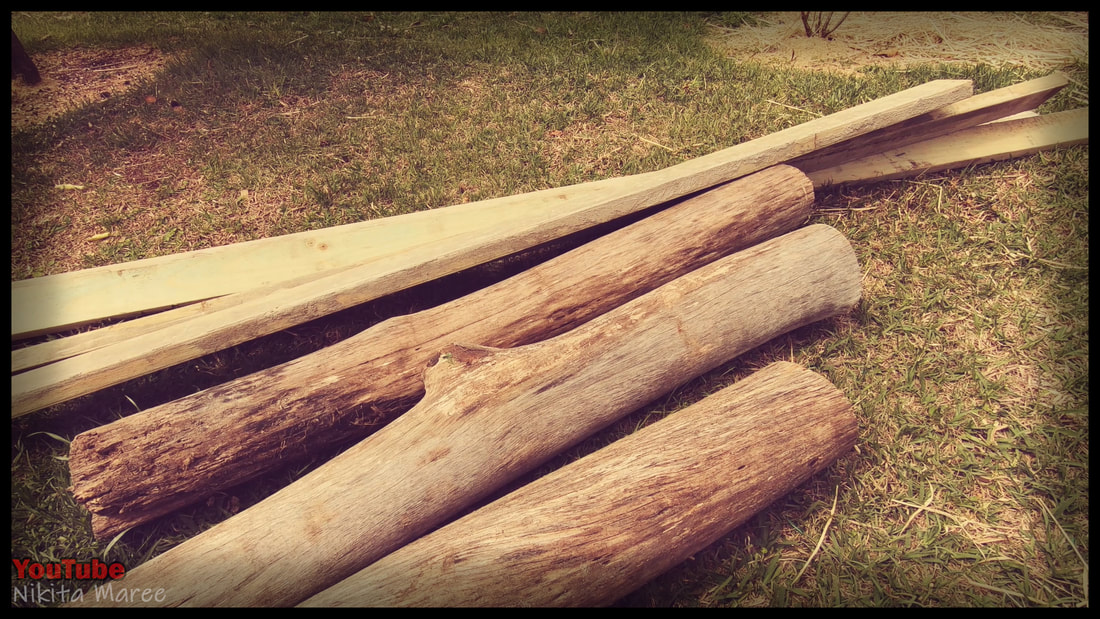
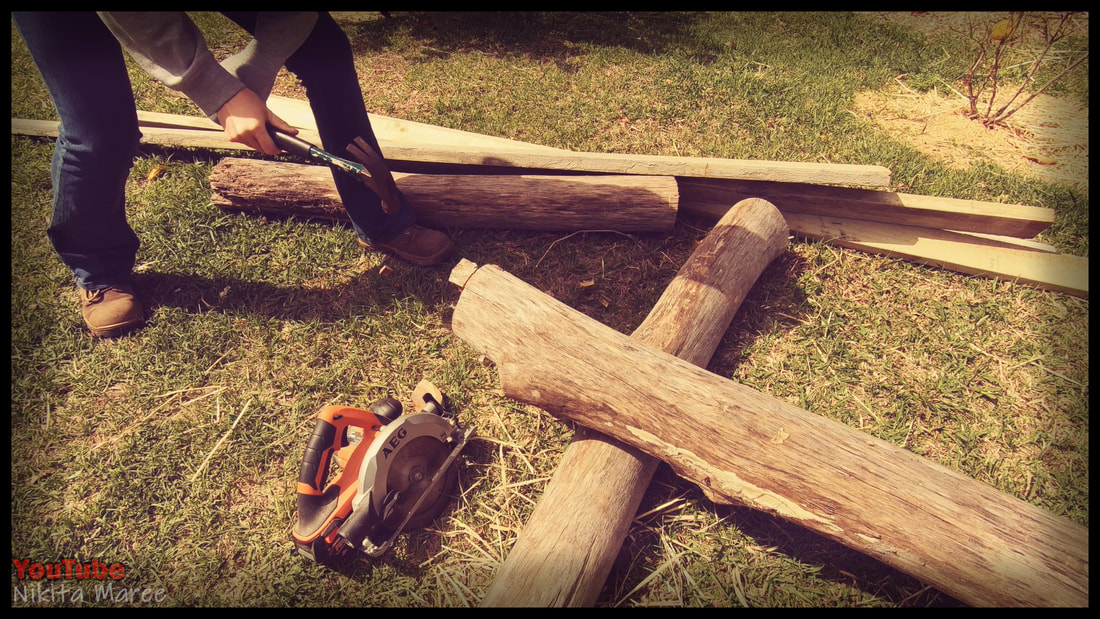
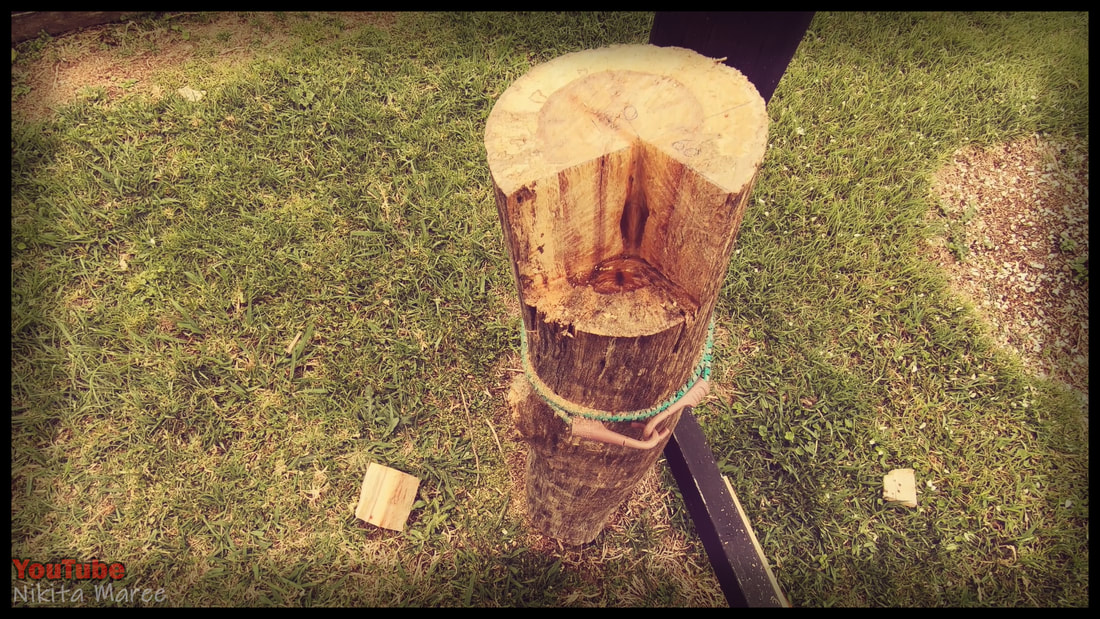
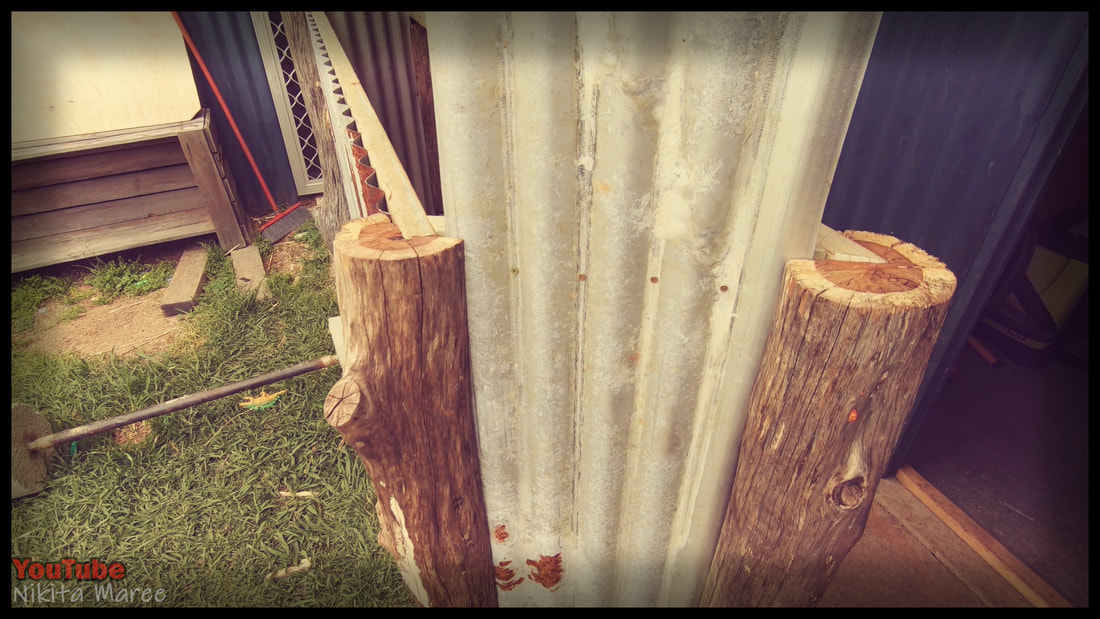
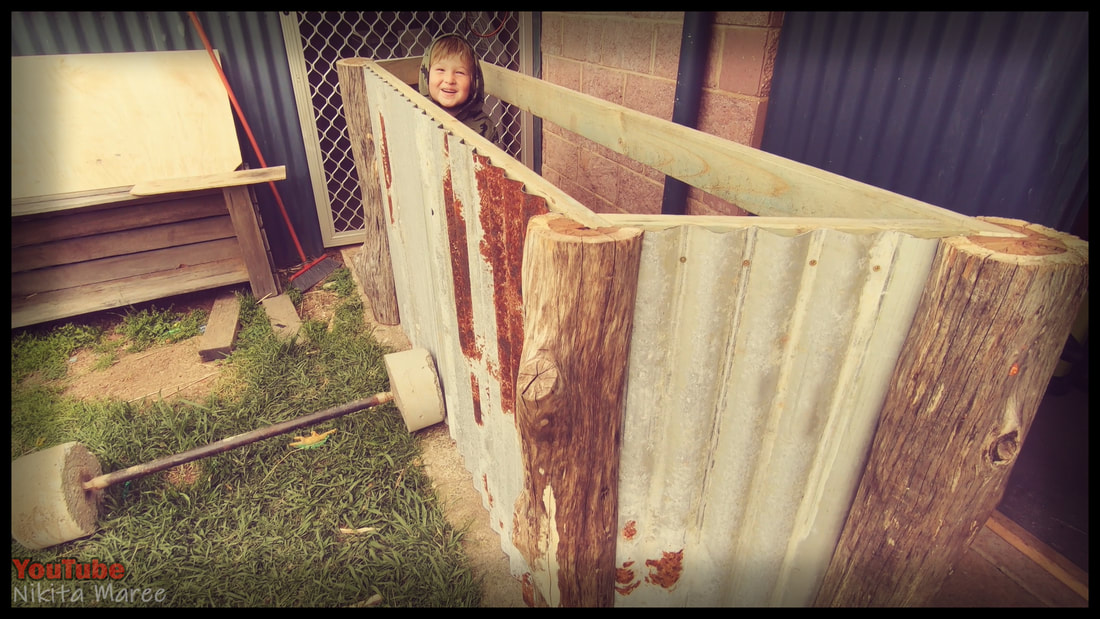
Start with 4 logs,
with as much character as you can find. |
|
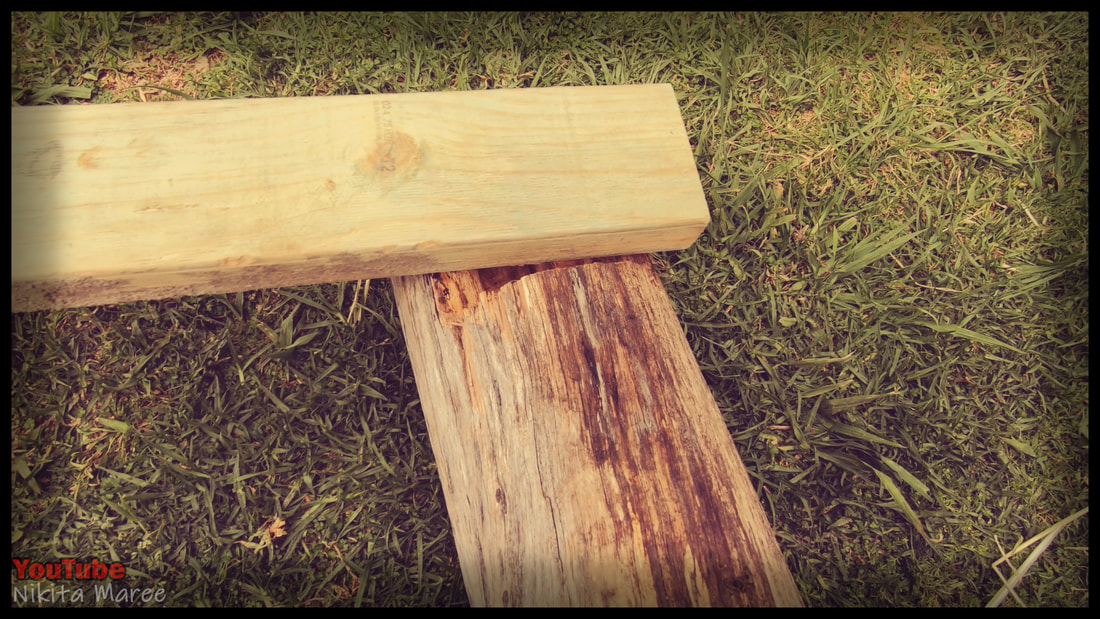
I used 90x45 mm pine.
That we had left, from concrete form work. |
|
|
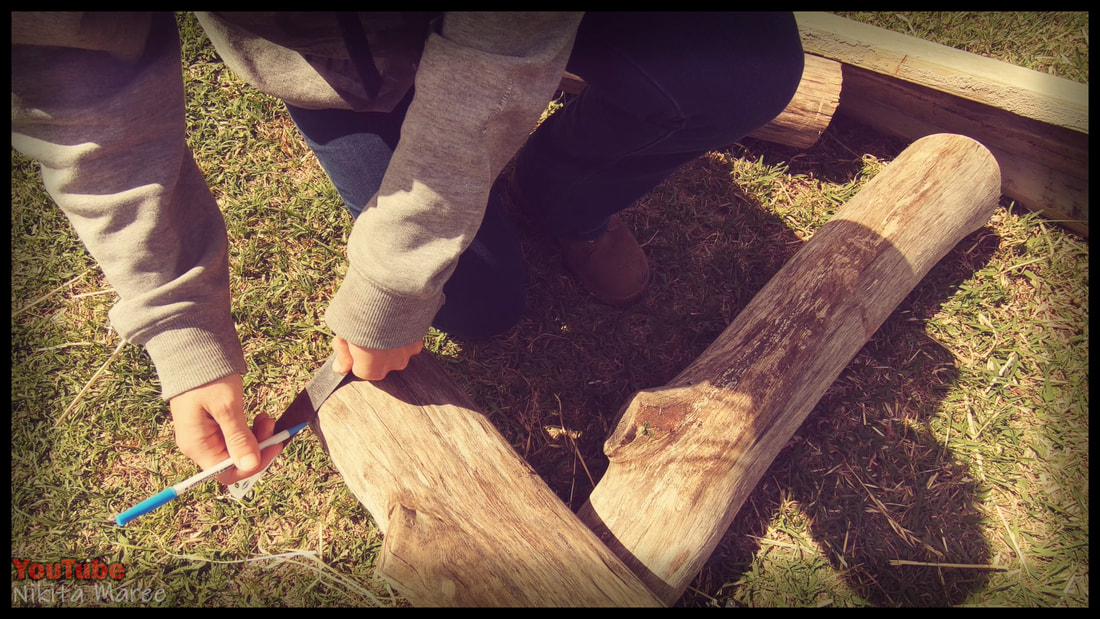
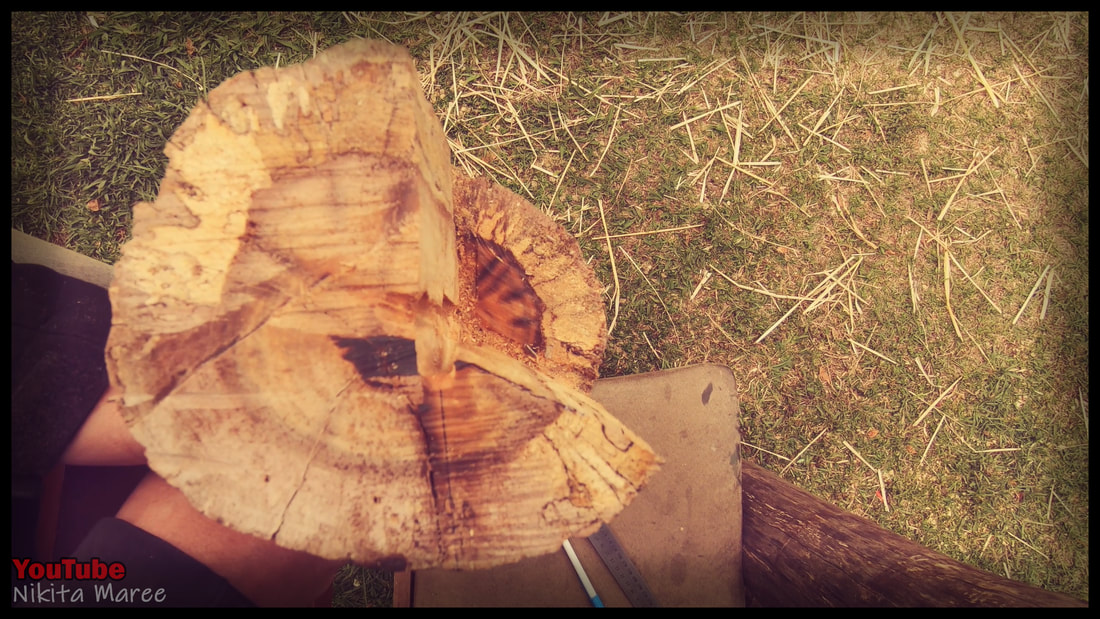
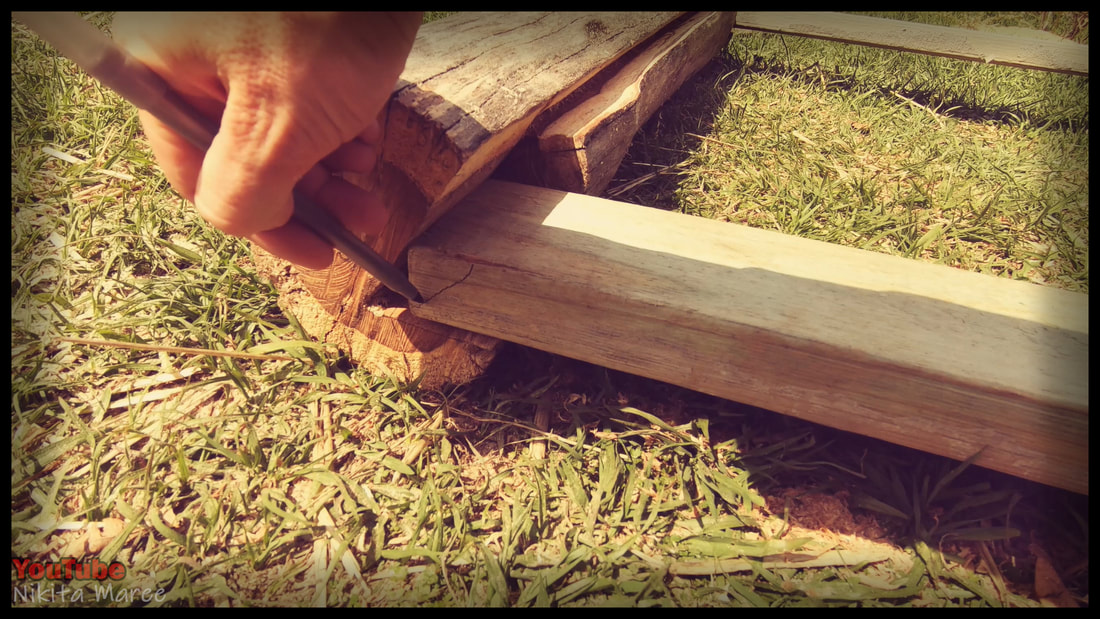
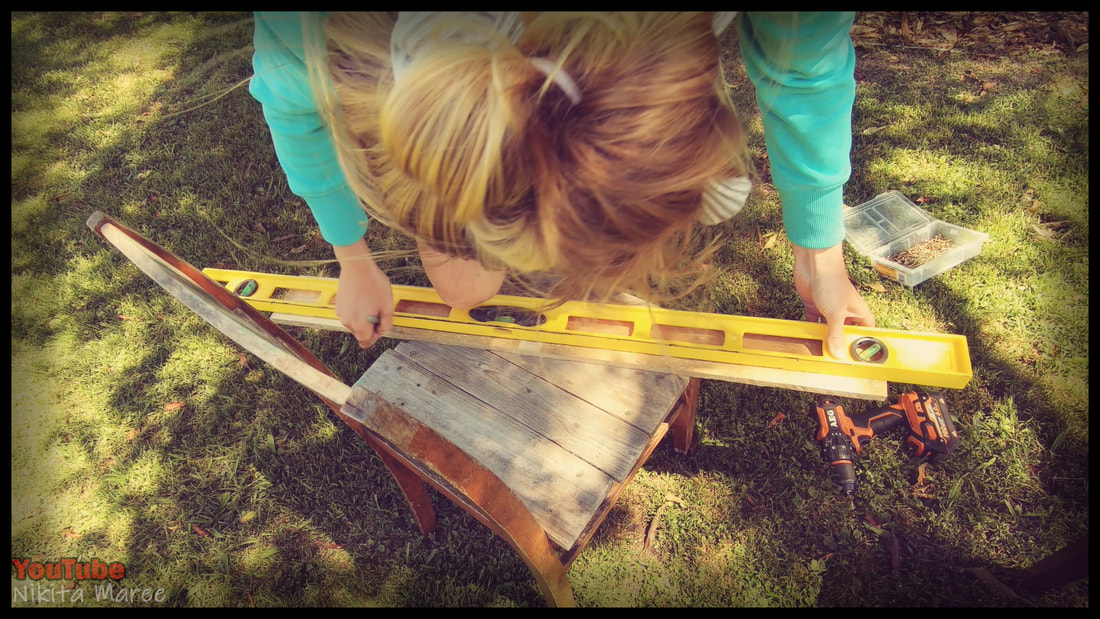
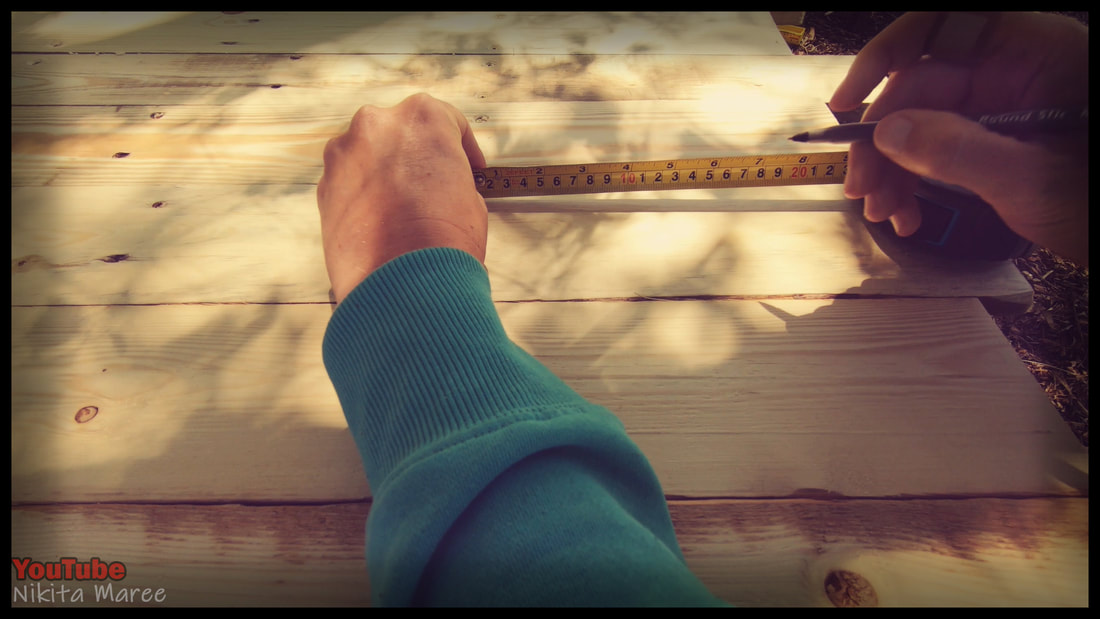
Measured the 4 posts
to the same length. |
|
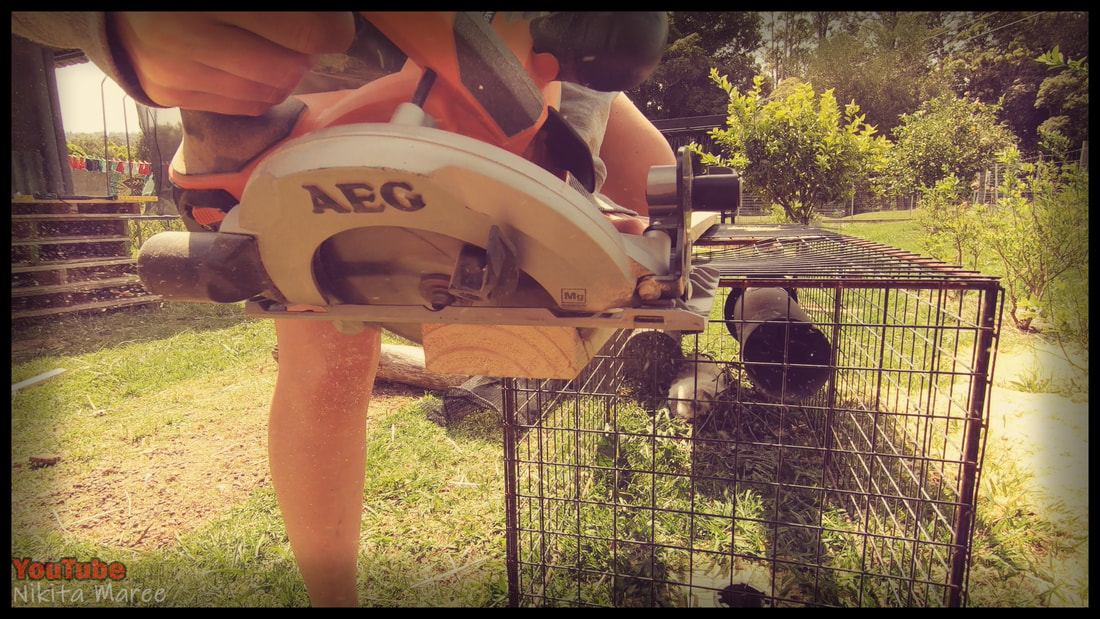
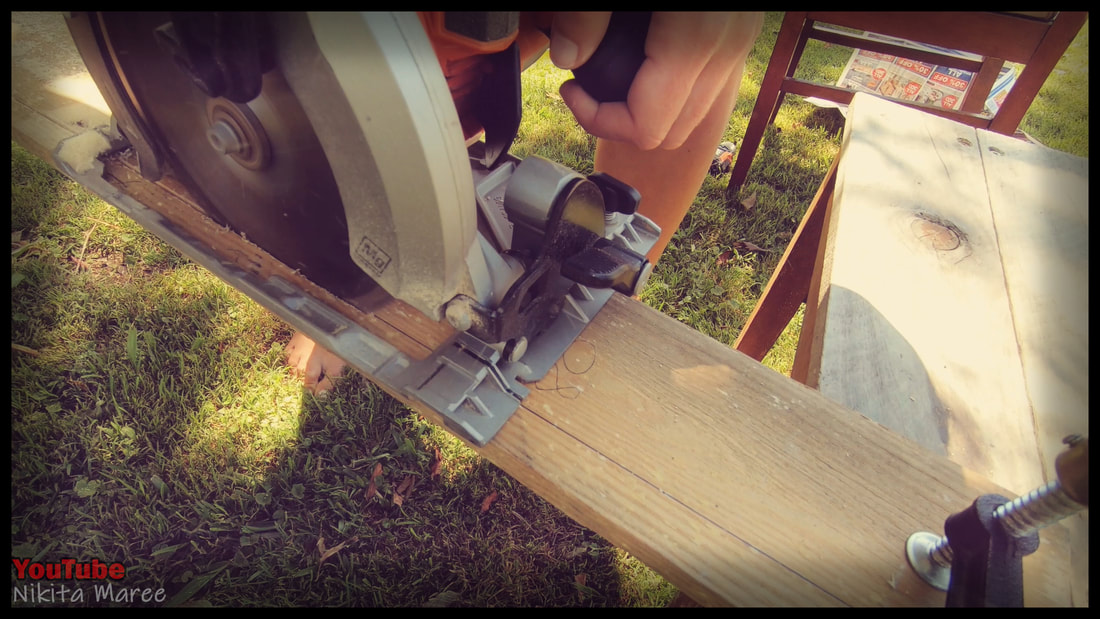
I cut the first post with the circular saw.
With the blade set at full depth. |

|

|
Rotating the log as I went.
|
|
If the blade depth is still not enough.
Just give the cut end a wack with a hammer. |
|
|
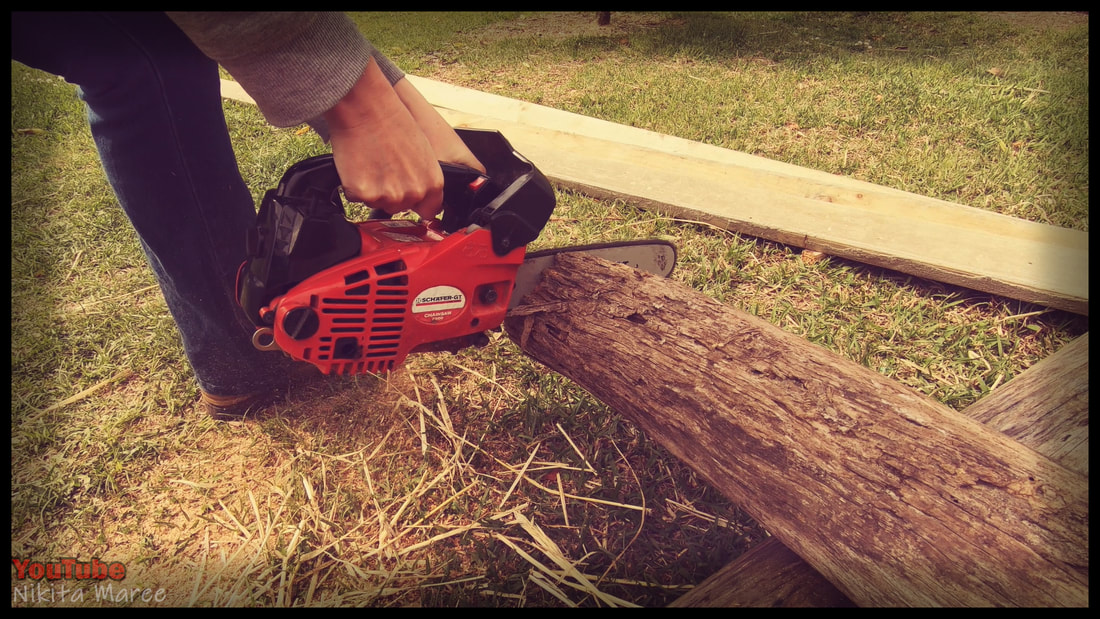
That took too long.
So I switched over to the chainsaw. |
|
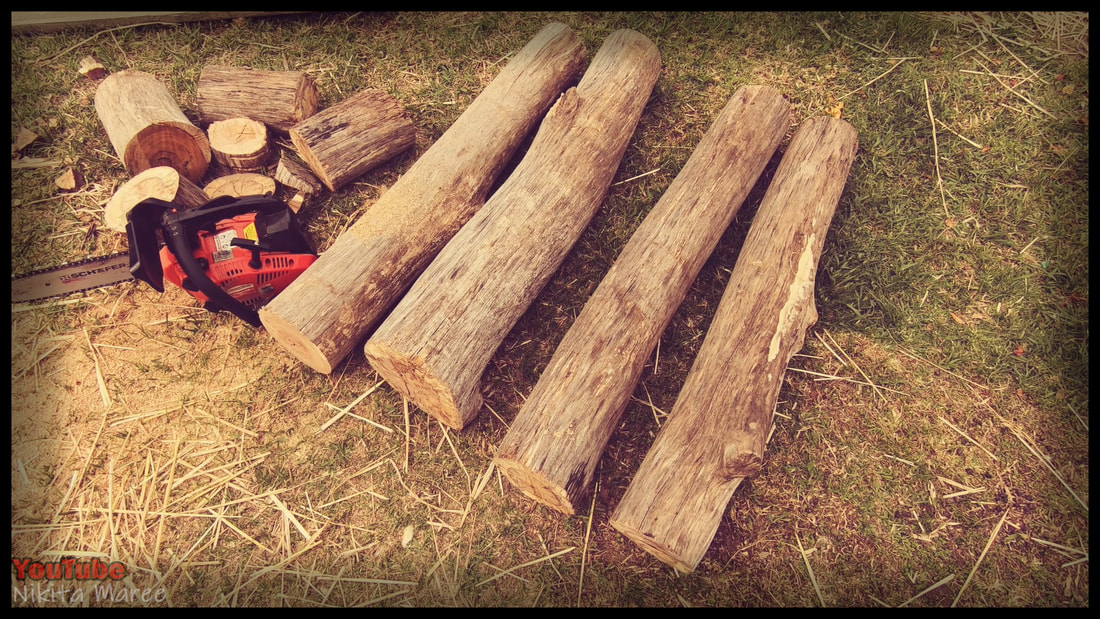
Now all 4 posts are the same length.
|
|
|
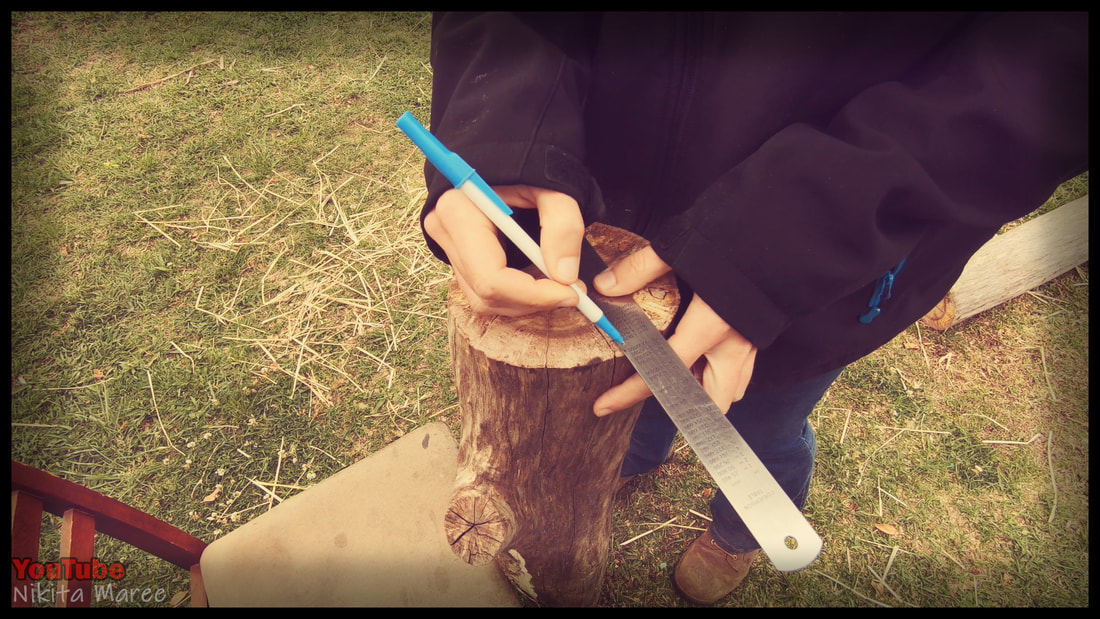
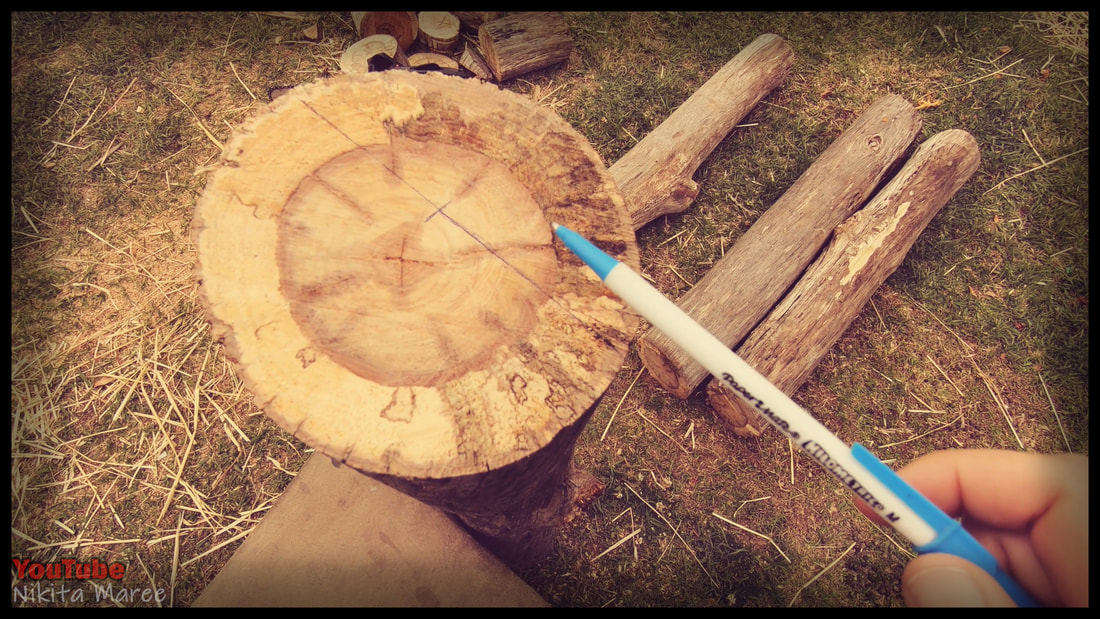
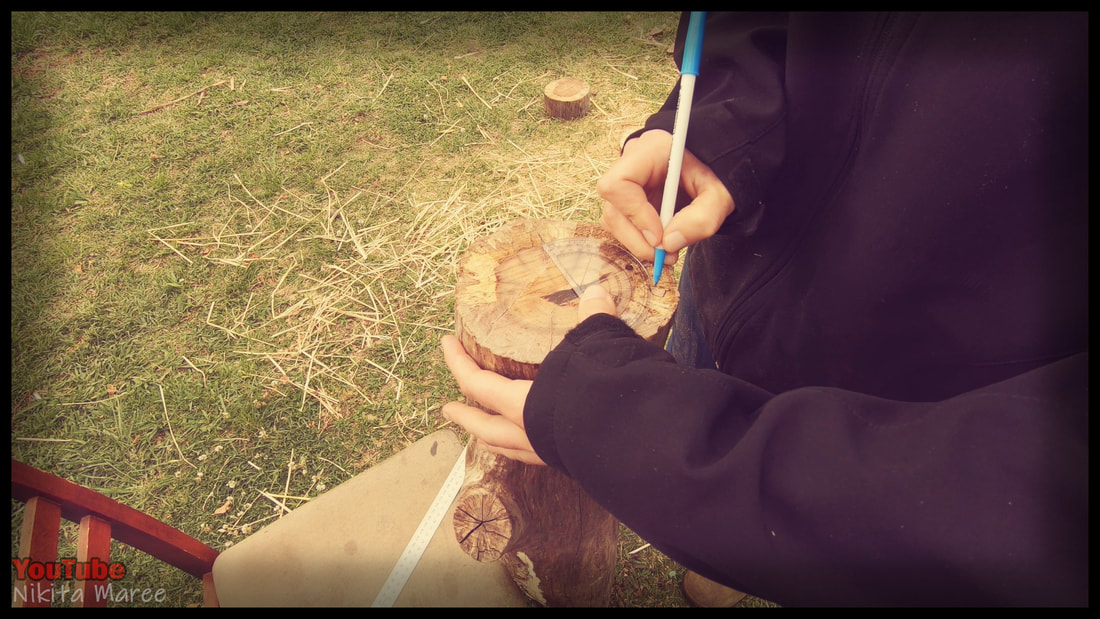
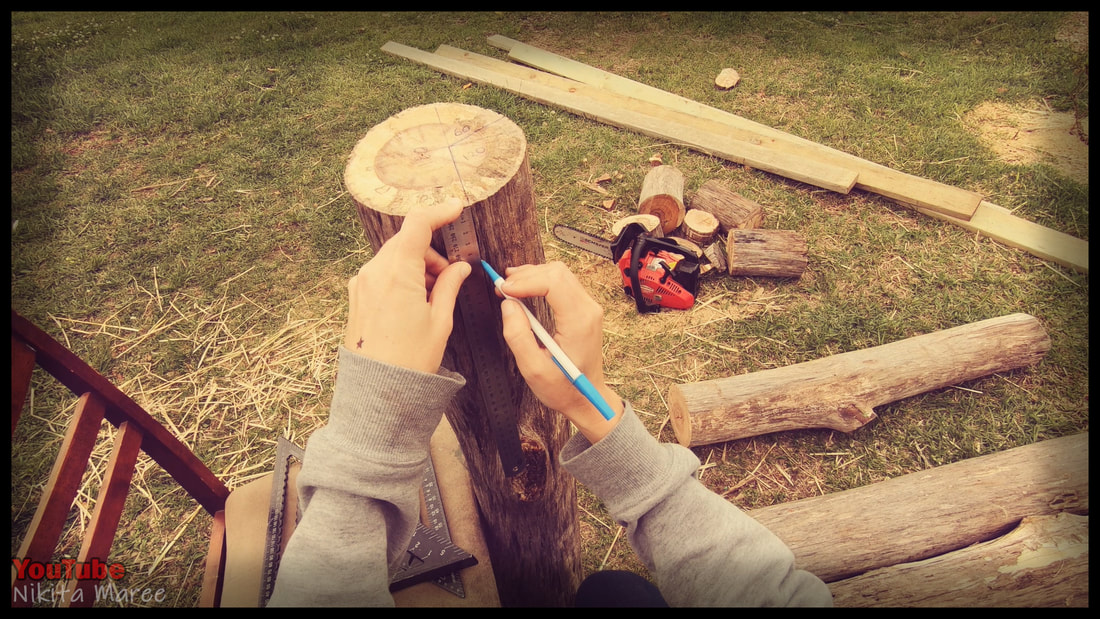
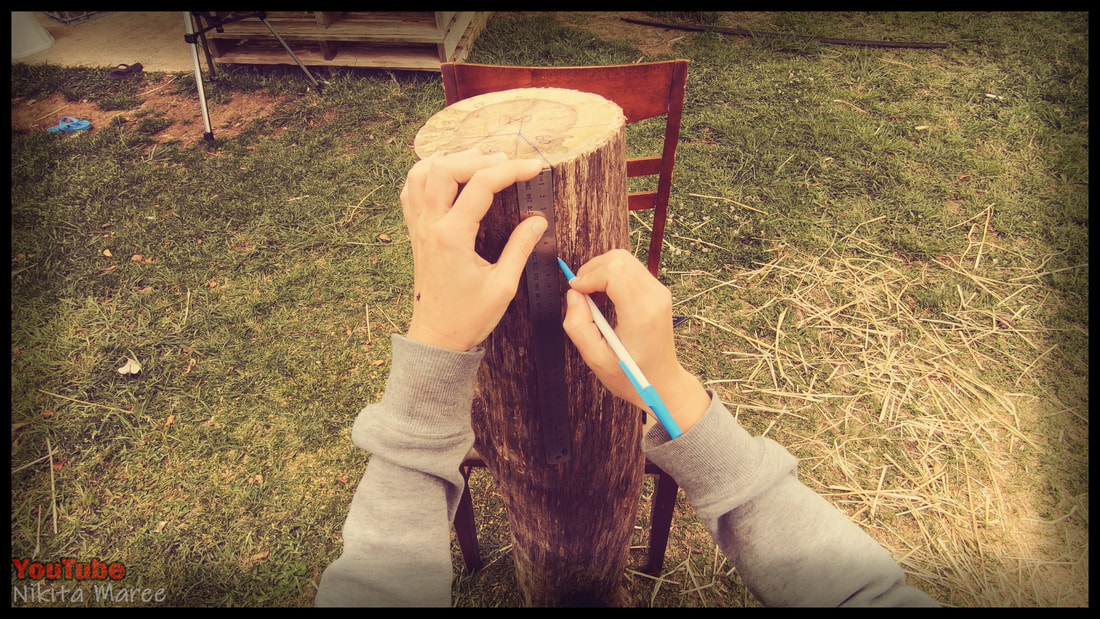
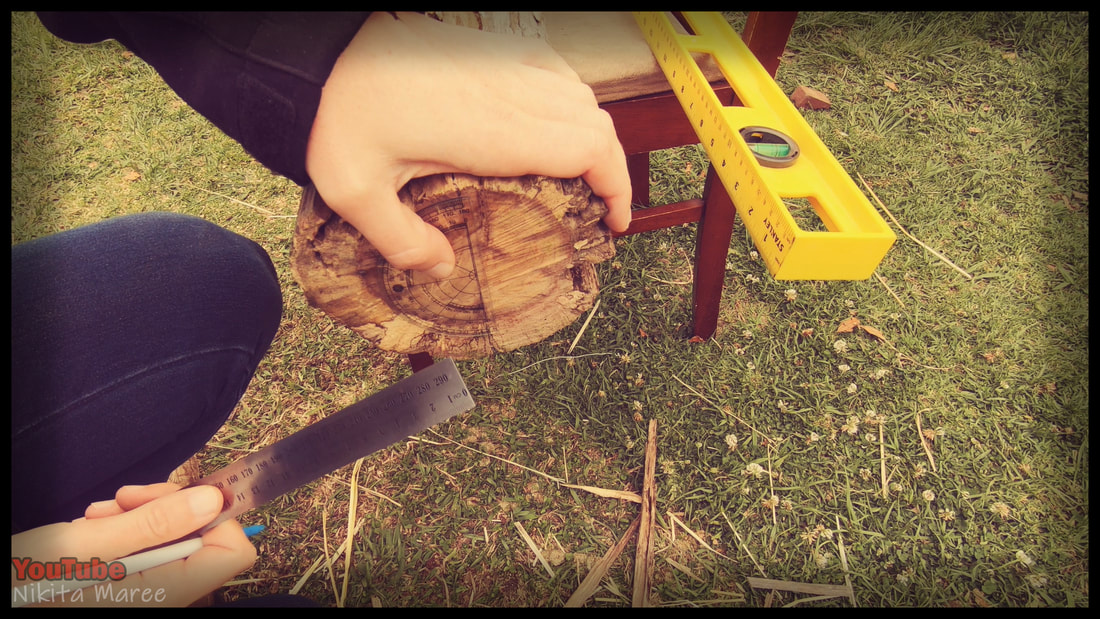
Here we are looking at the top
left hand side post. Mark a straight line. Just shy of half way. |
|
Then mark the center of that line.
|
|
|
Use a protractor to mark 60°
|
|
You should be left with something like this.
|
|
|
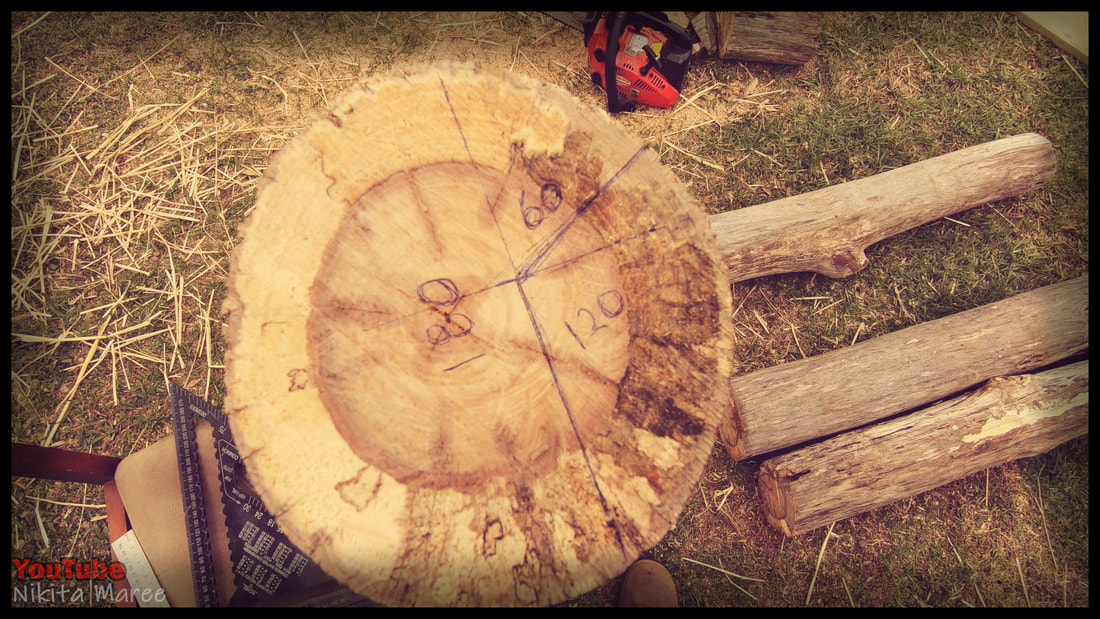
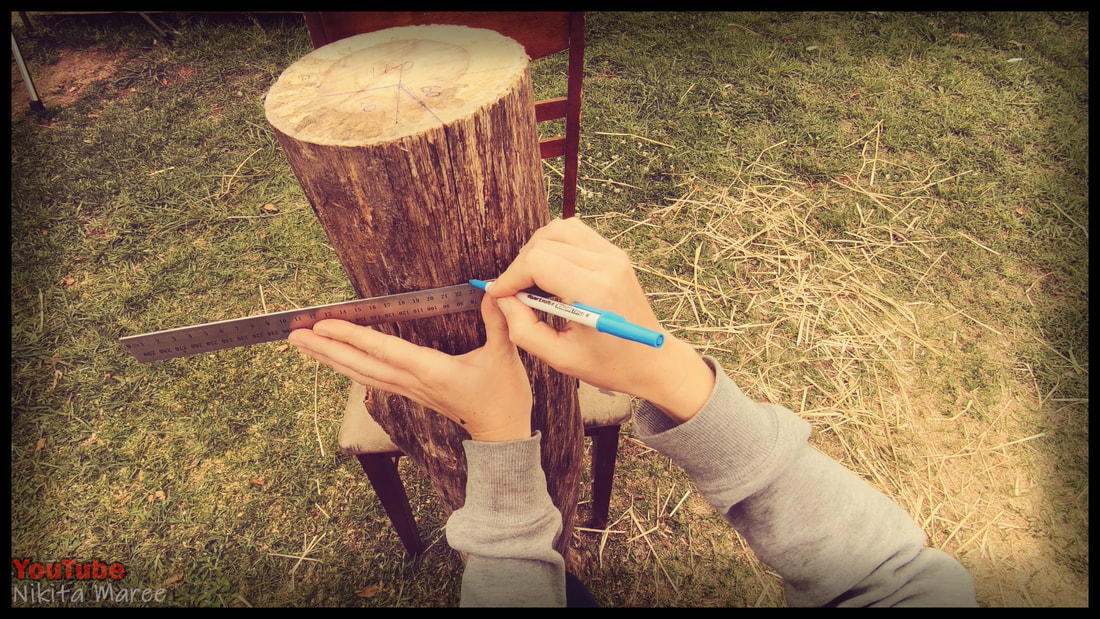
We are going to be cutting out
that 120° wedge. |
|
Draw a vertical line 100mm down,
from one side of the 120° wedge. |
|
|
Another vertical line for the other side.
|
|
Roughly sketch a horizontal line across,
joining those 2 points together. |
|
|
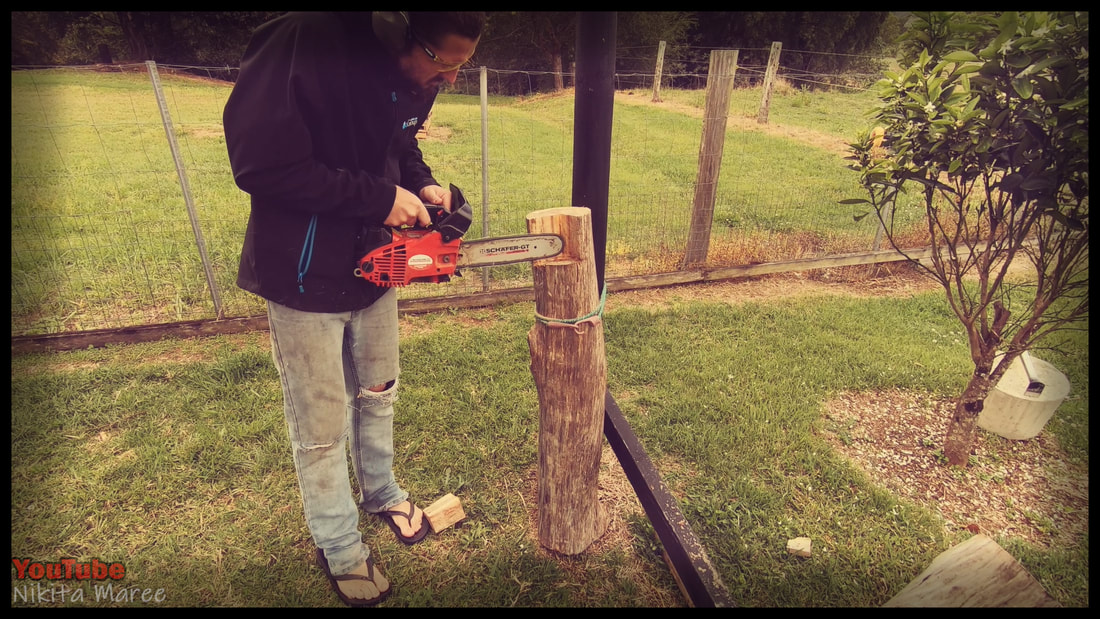
Owen Is better on the chainsaw than I am.
So he volunteered to cut out the wedges for me. |
|
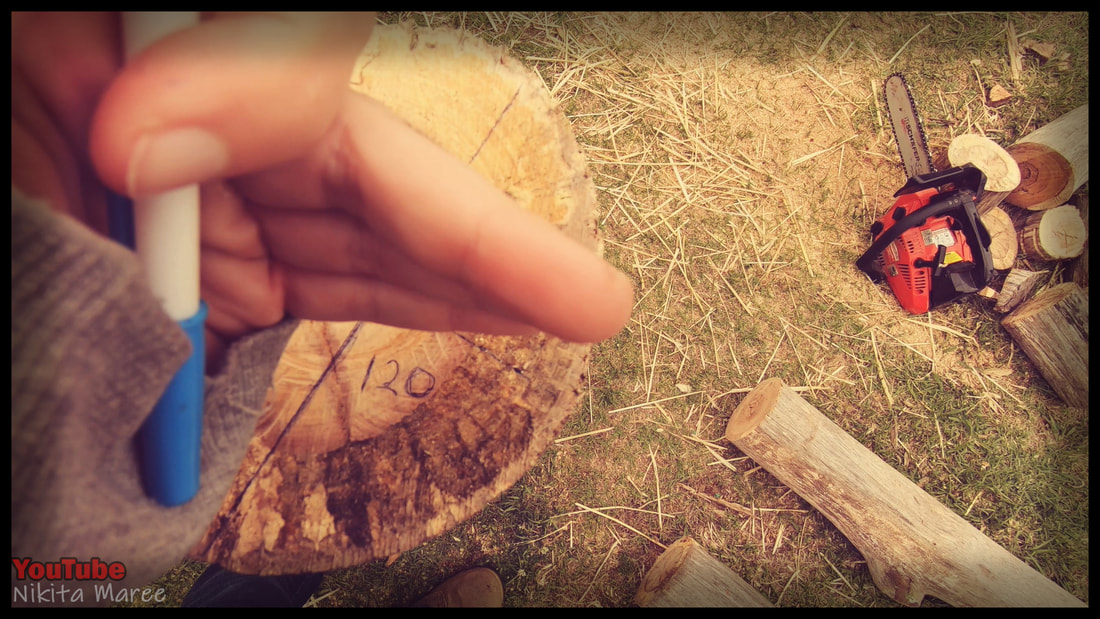
The 120° wedge is now cut out.
|
|
|
The front right hand side
is a mirror image of the other side. |
|
The back is marked out the same as
the front. Only we will be cutting out the 60° wedge opposed to the 120° wedge. |

|
|
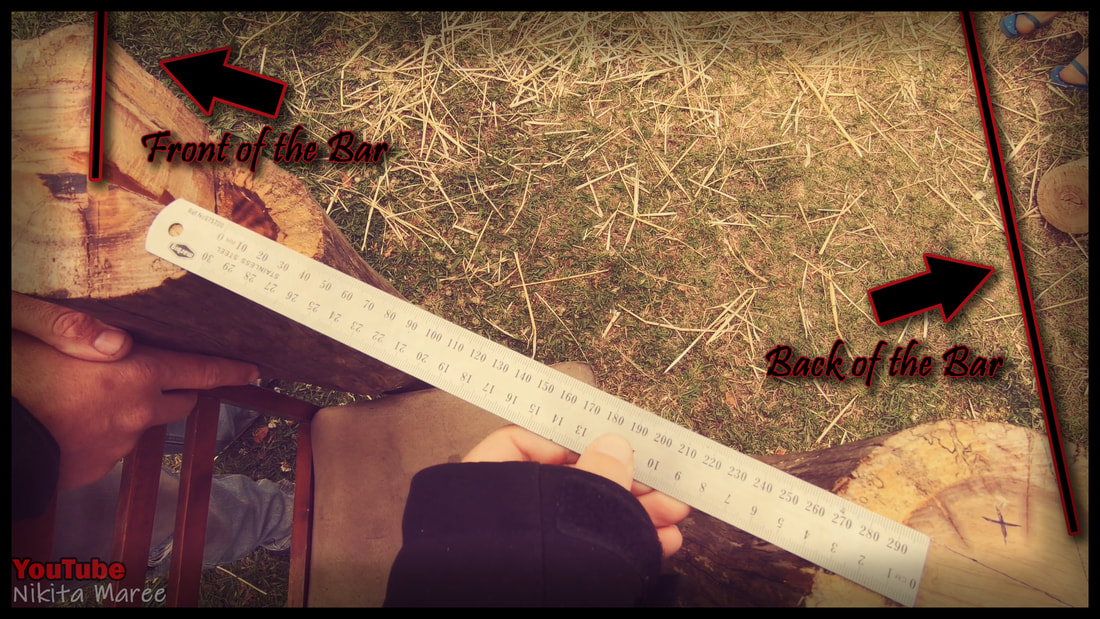
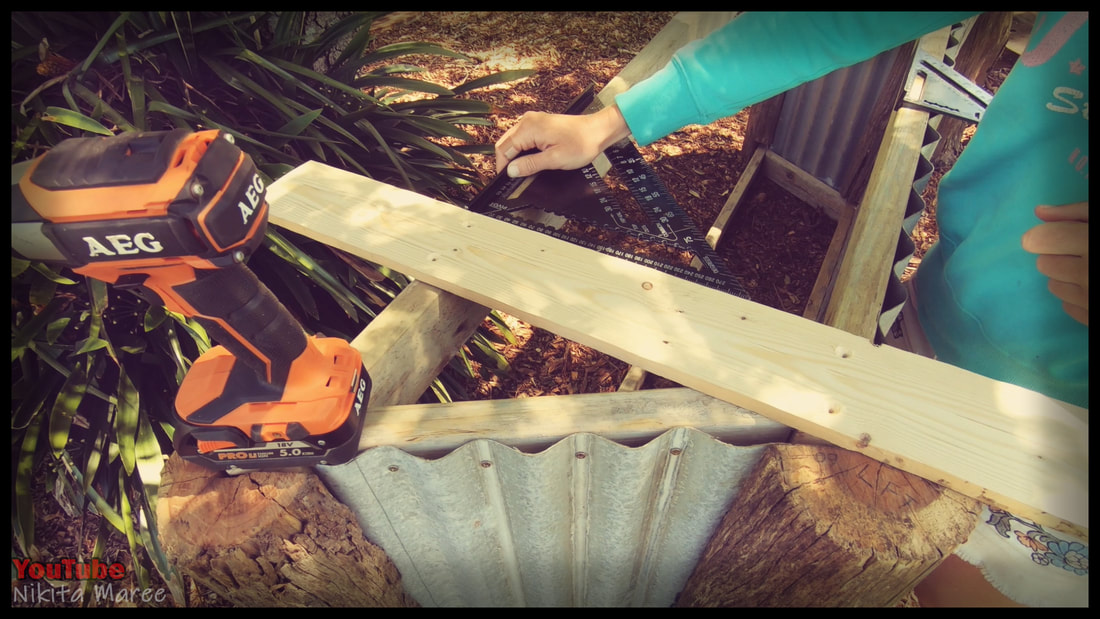
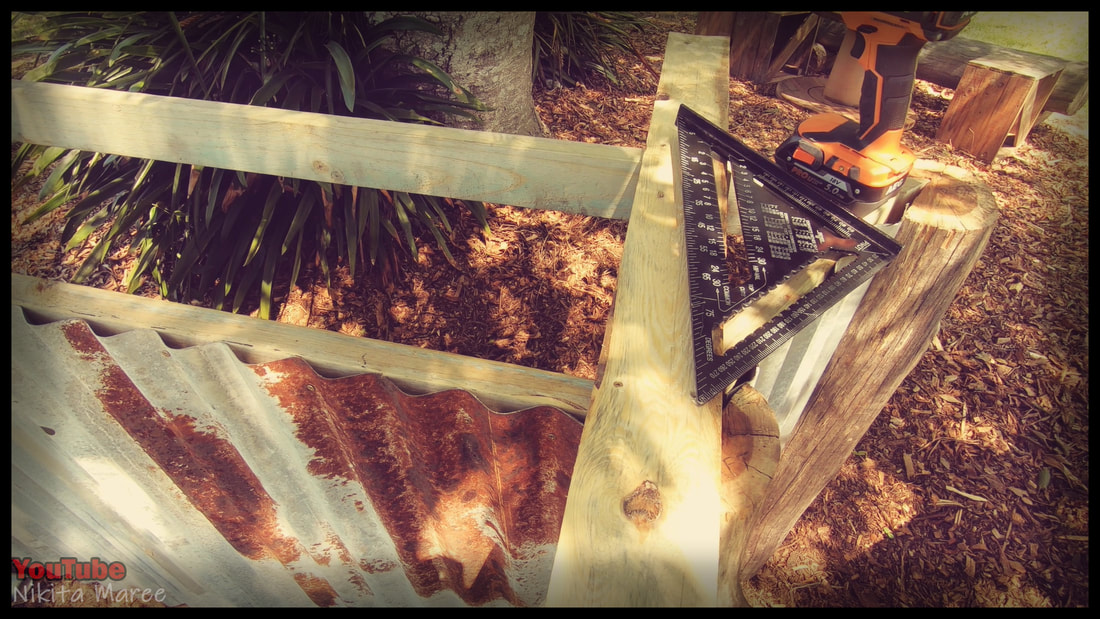
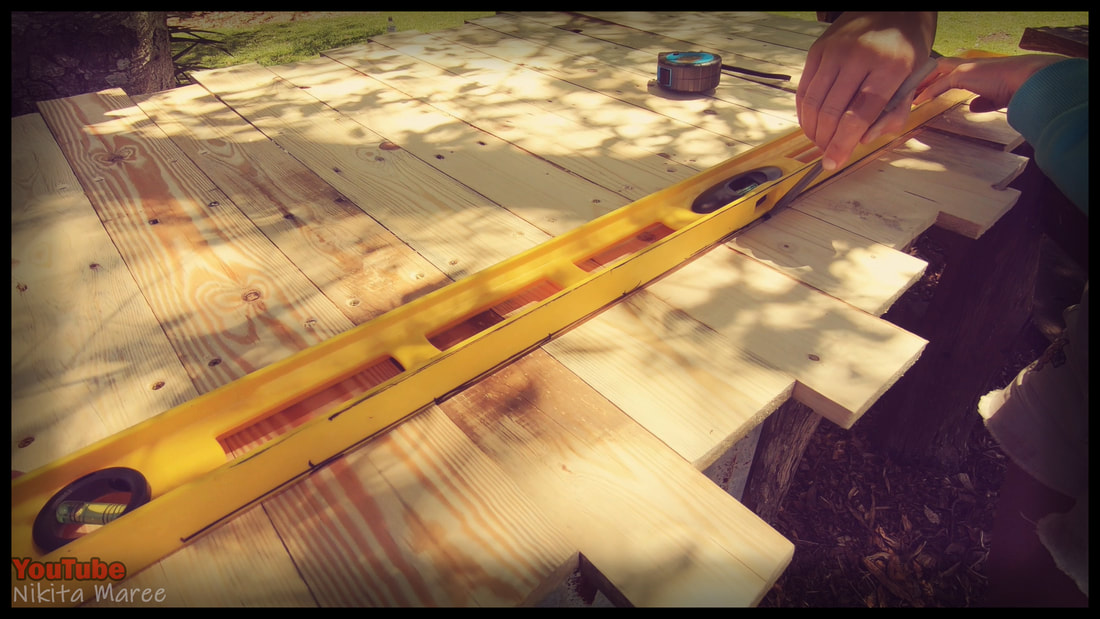
The ruler is demonstrating were
the side wall will be. |
|
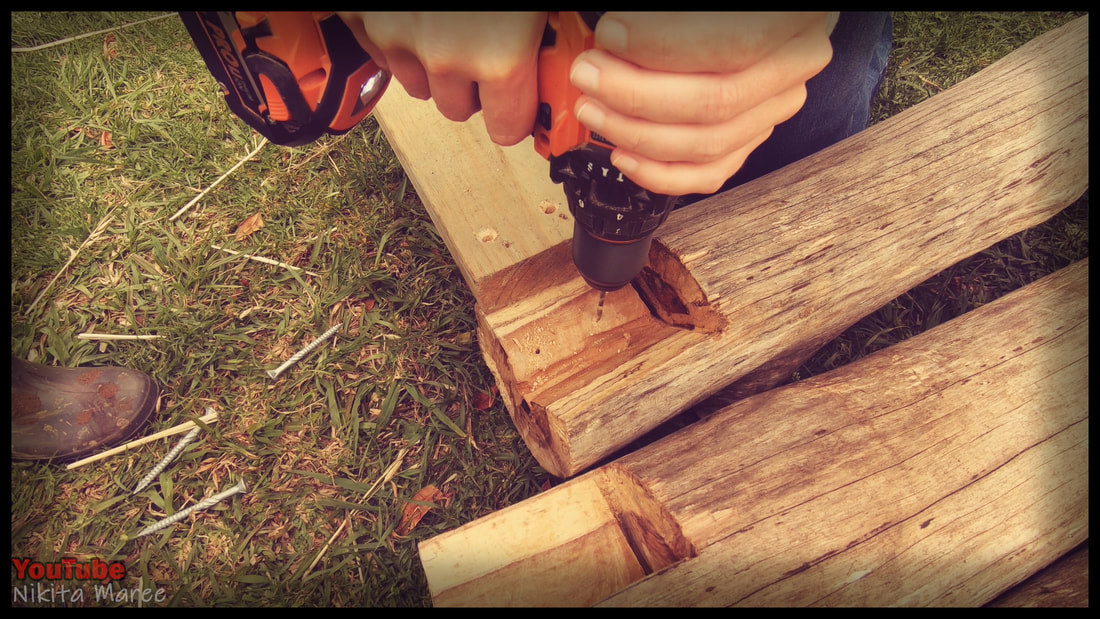
Now that all the top wedges are cut out.
We have to do the same for the bottom of all the posts. I am using a straight edge as a guide, to make sure the bottom wedge lines up with the top. |
|
|
Checking and adjusting the lines slightly.
To make sure the degrees are the same. |
|
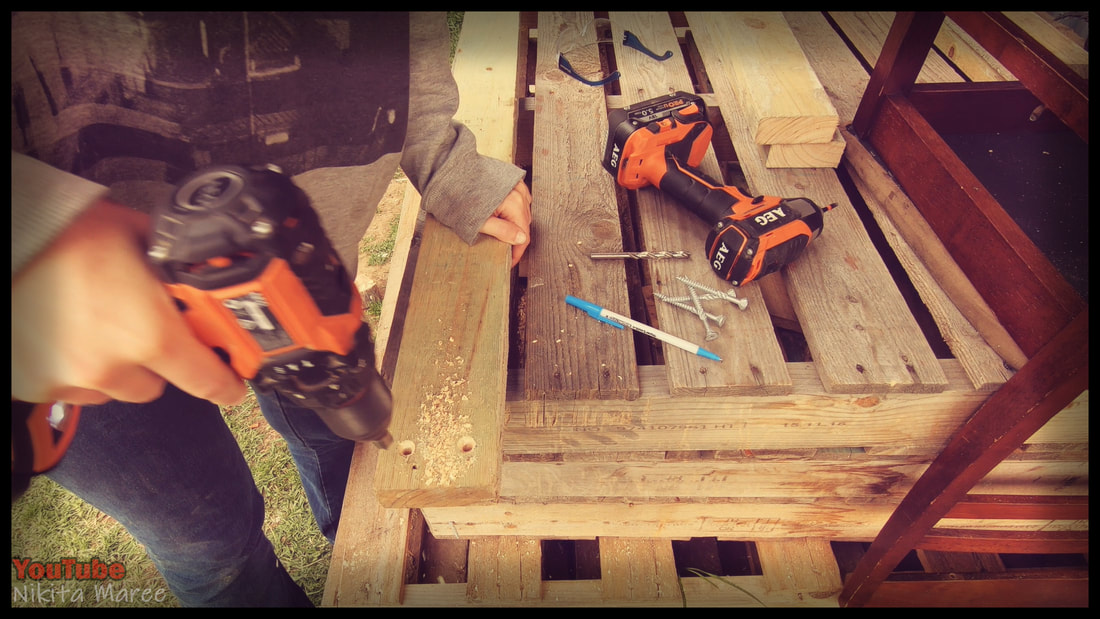
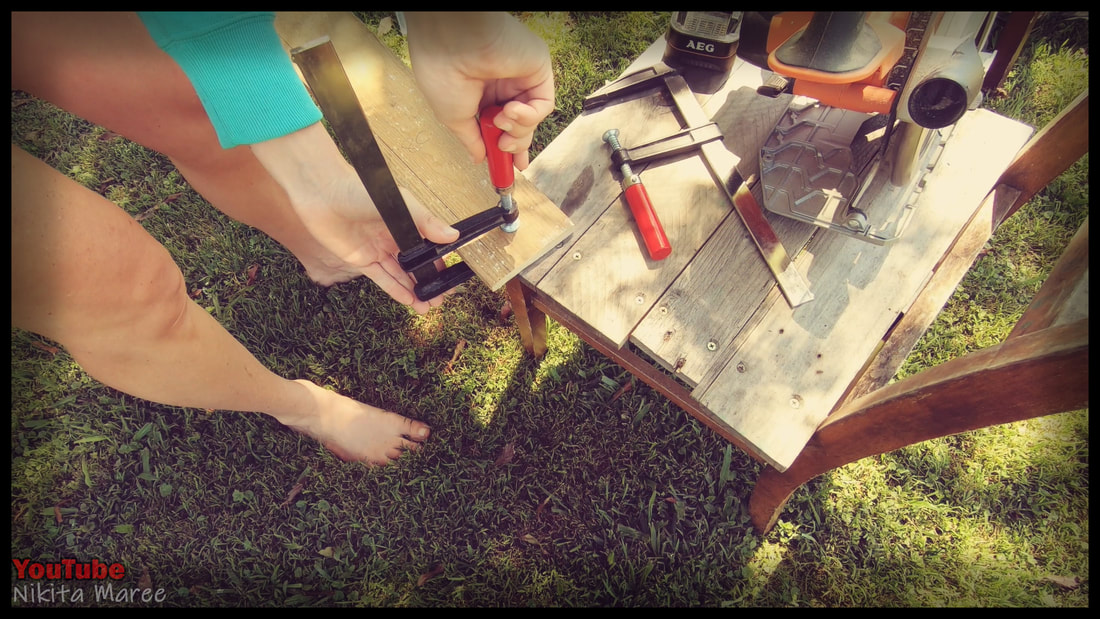
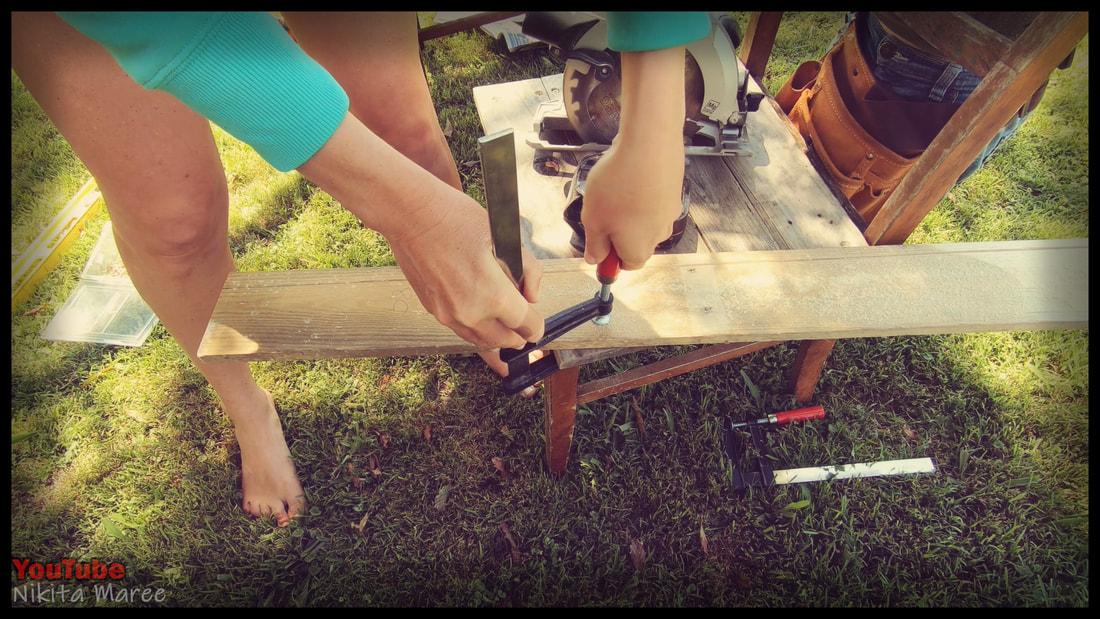
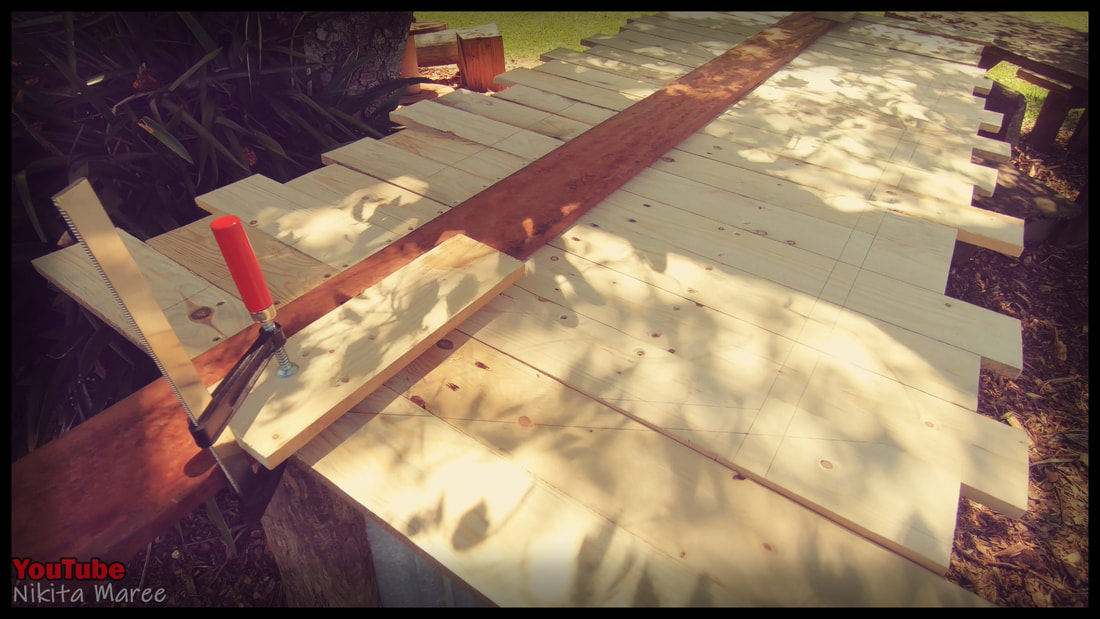
I scraped as much concrete as I could
off of the pine lengths. |
|
|
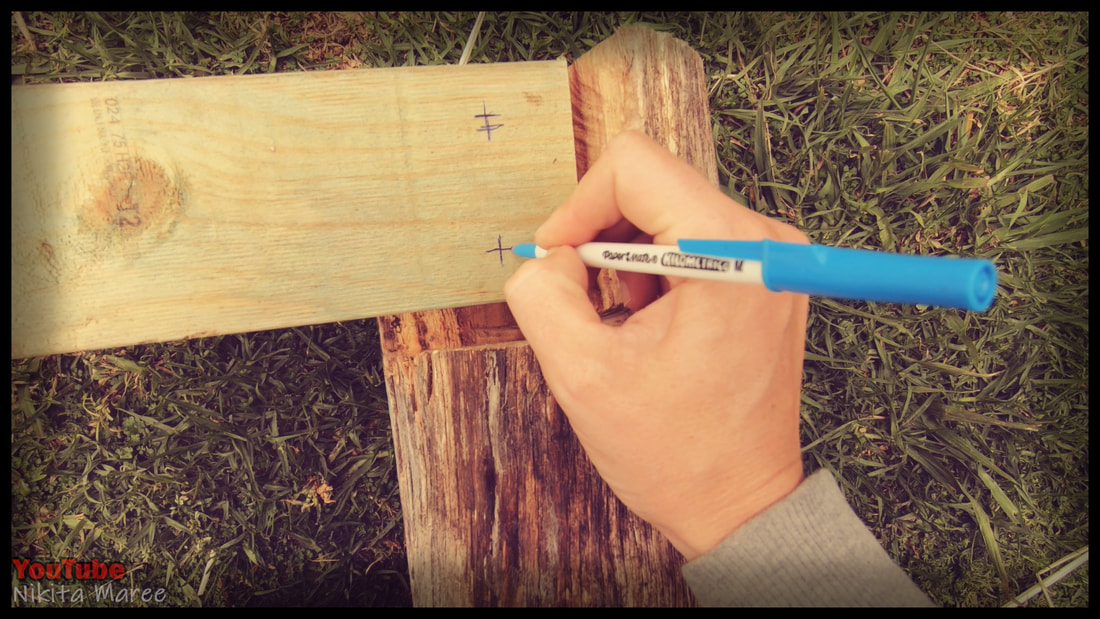
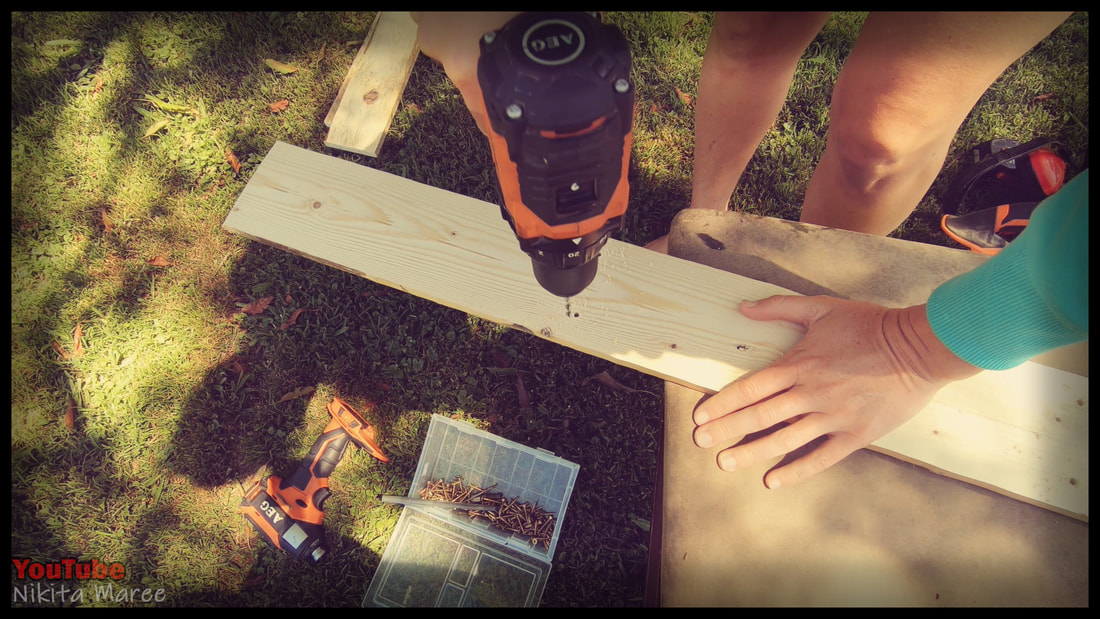
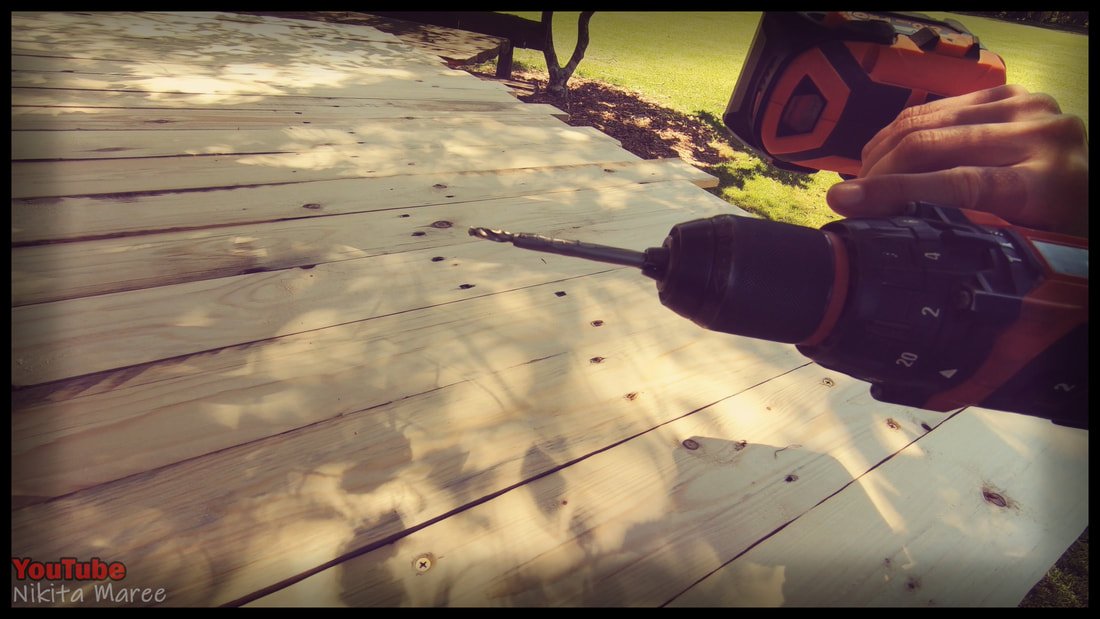
Mark the 2 spots to be drilled.
|
|
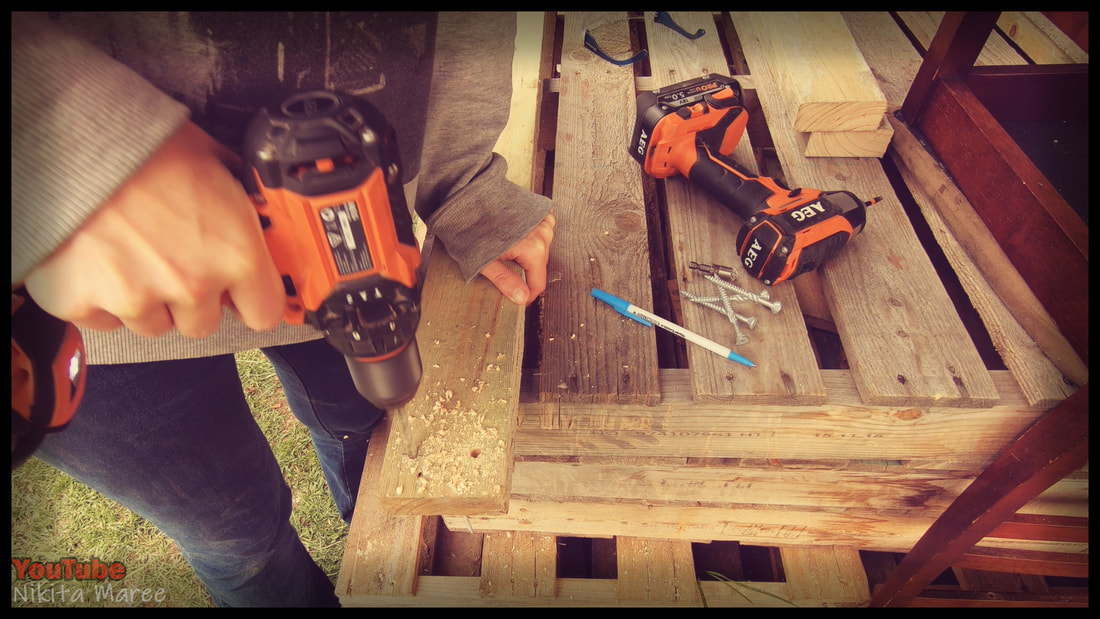
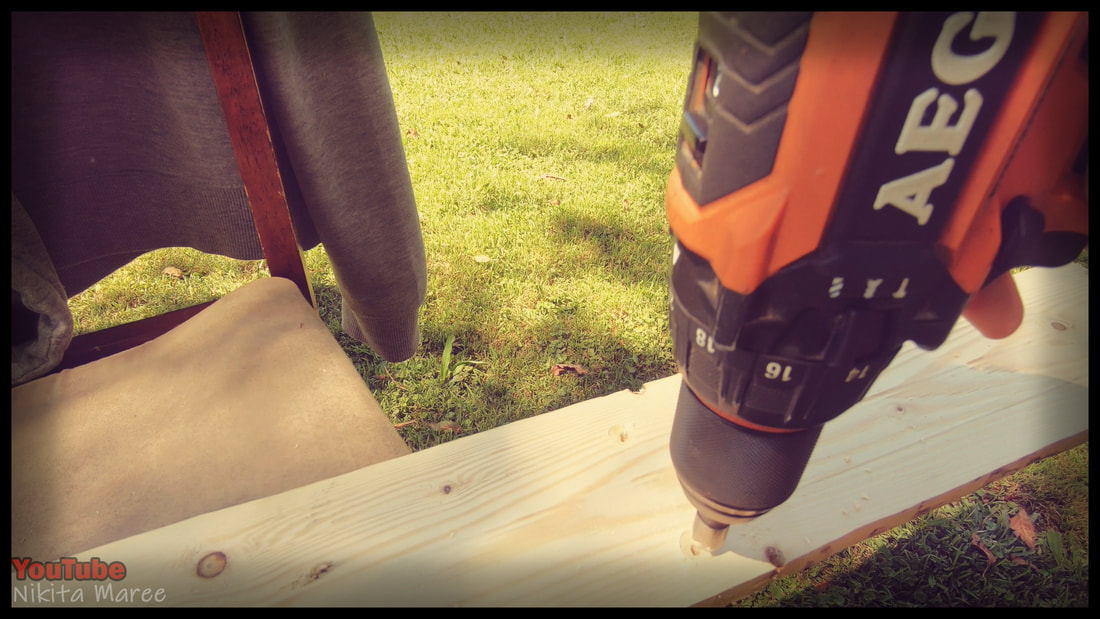
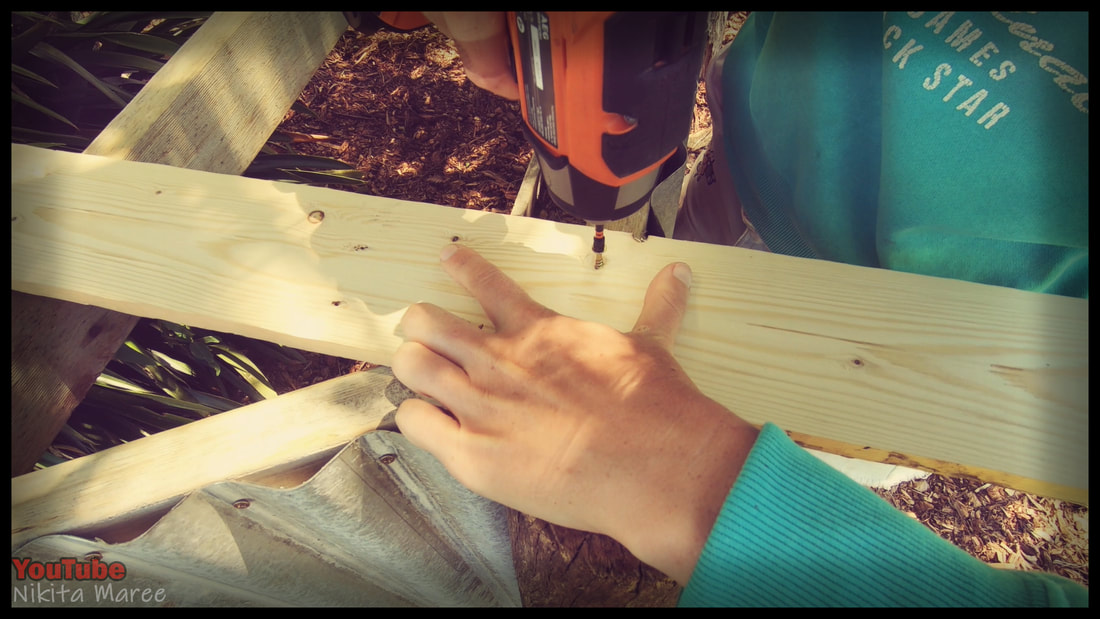
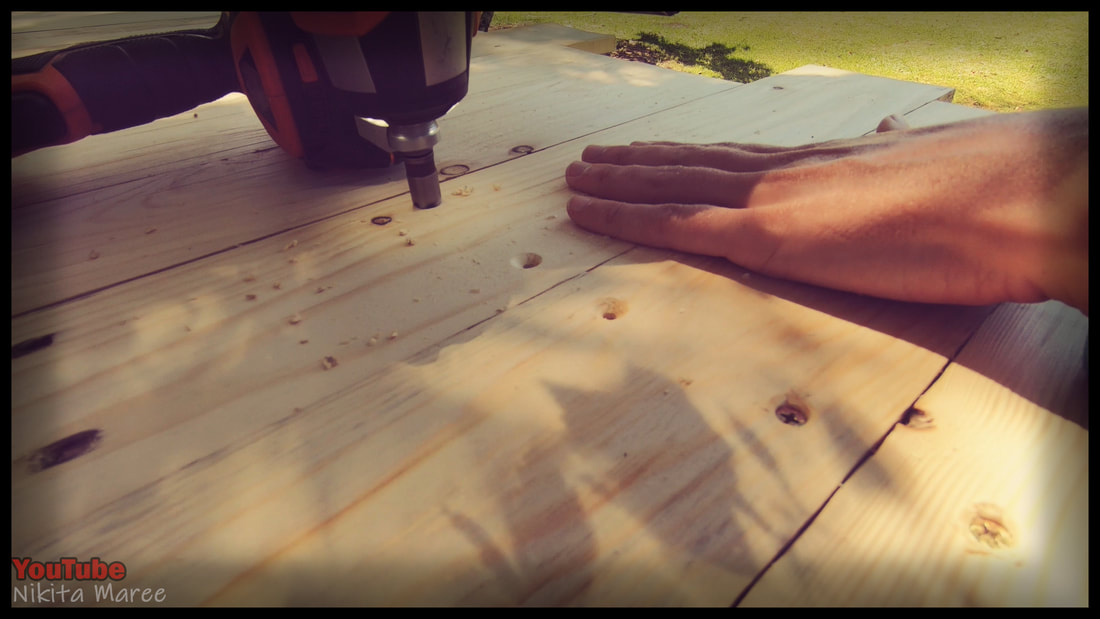
Pre-drill the holes.
Larger than the shank of the screws. |
|
|
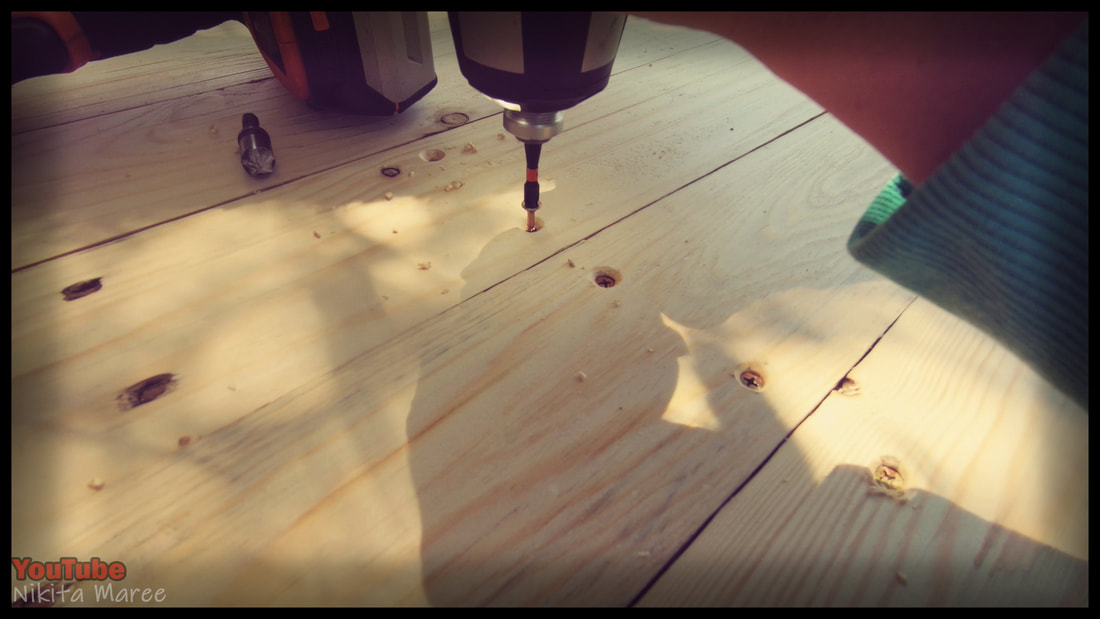
Chamfer the holes.
|
|
I used a decking screw in reveres
to score the post bellow it. |
|
|
Then with a drill bit smaller than the shank of the screw. Drill a pilot hole, to prevent any splitting.
|
|
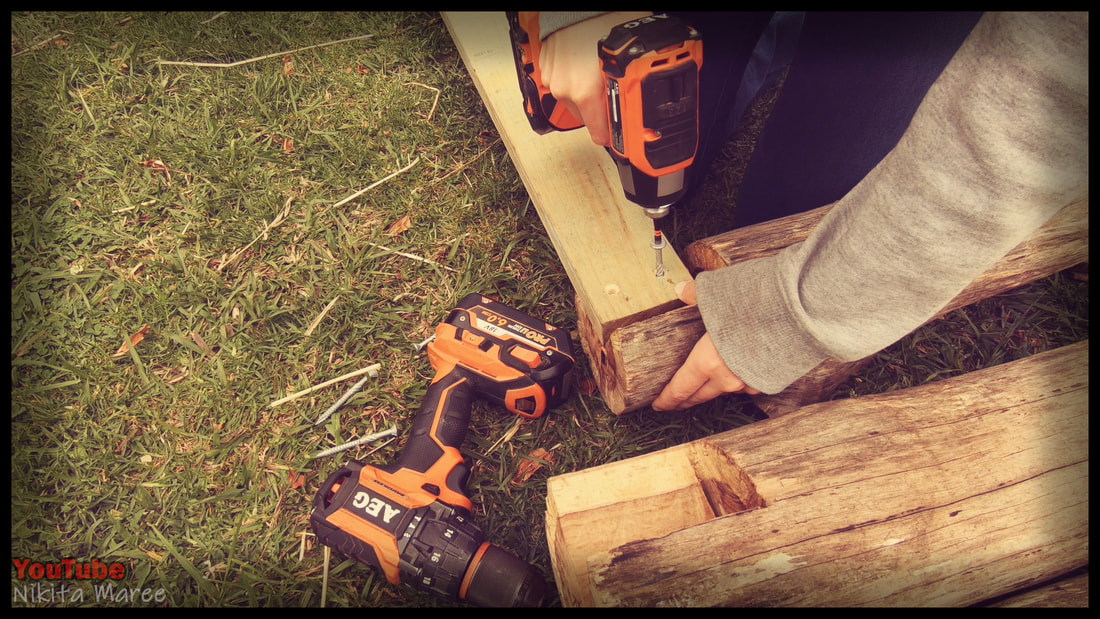
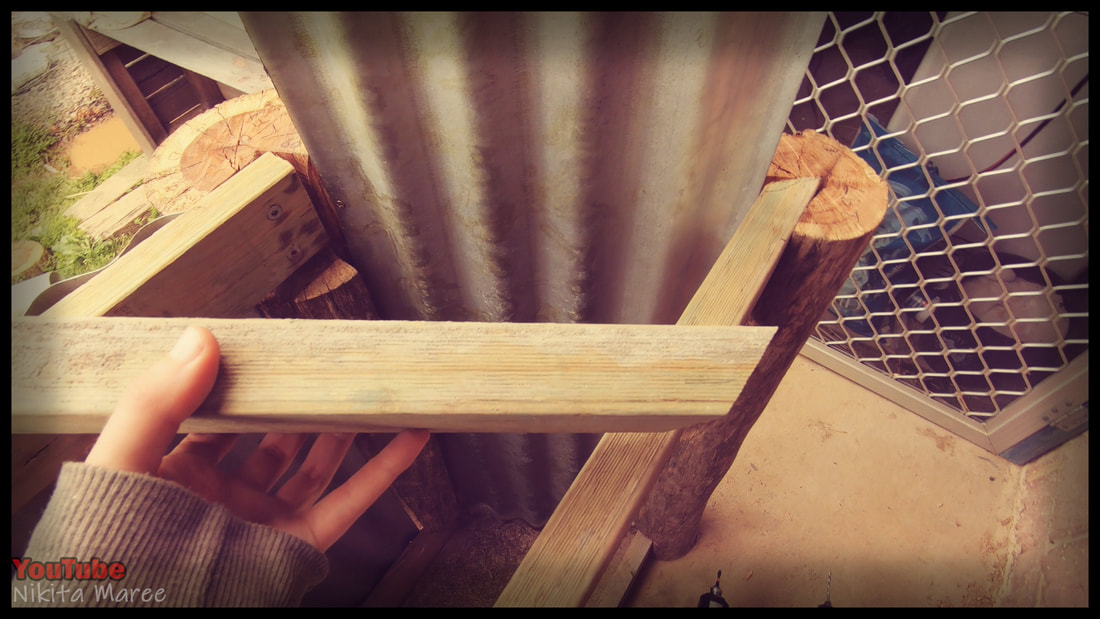
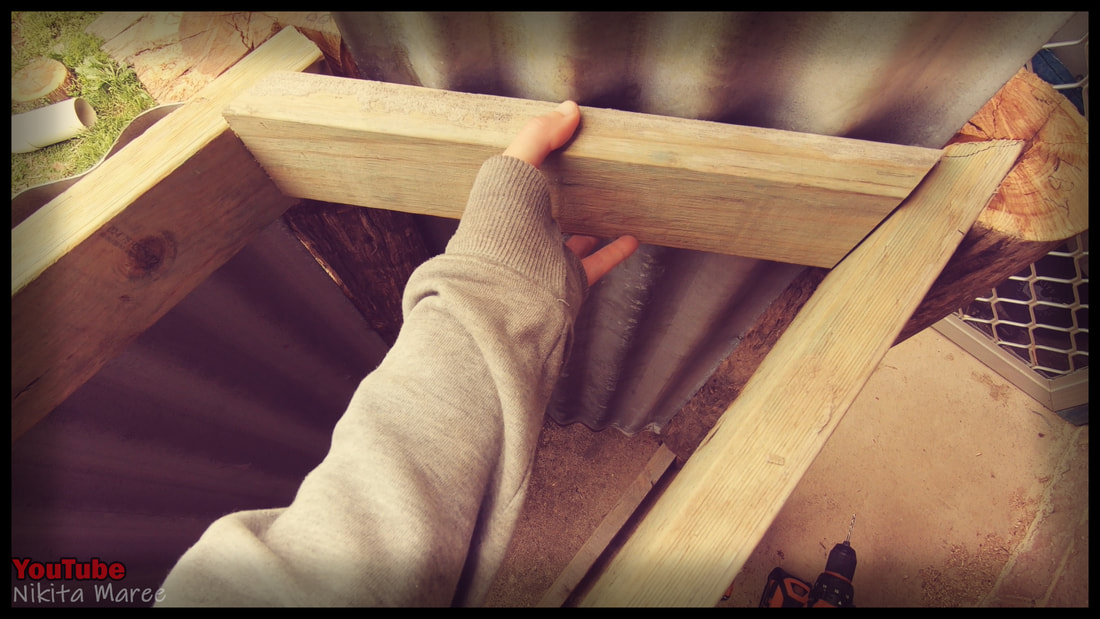
Do the same for the bottom as we did
for the top. Now we have the front face of the bar all framed out. |
|
|
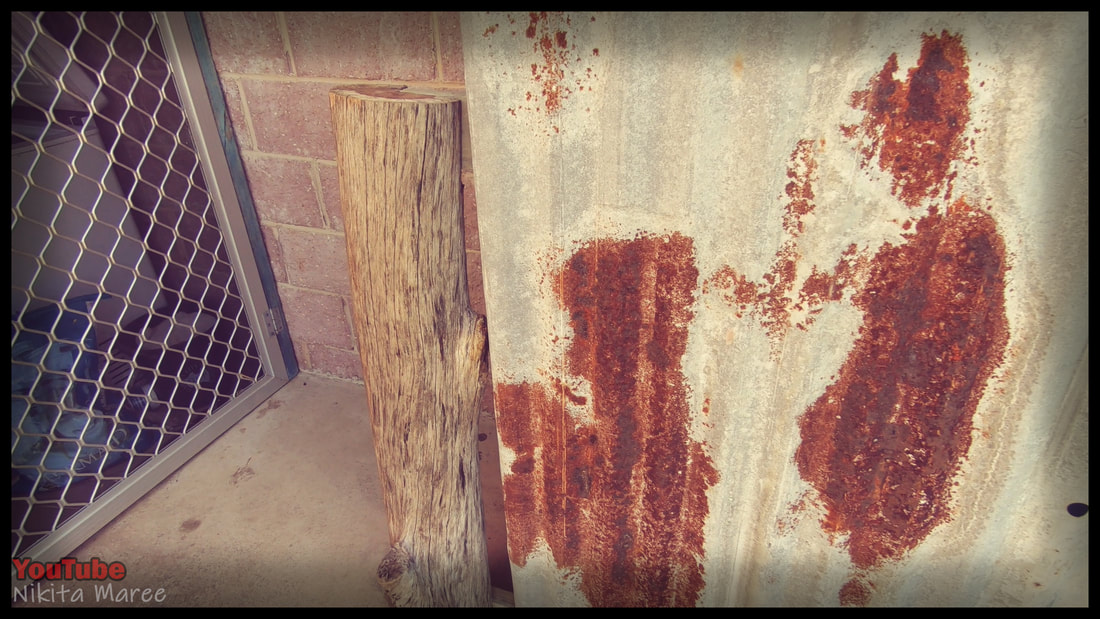
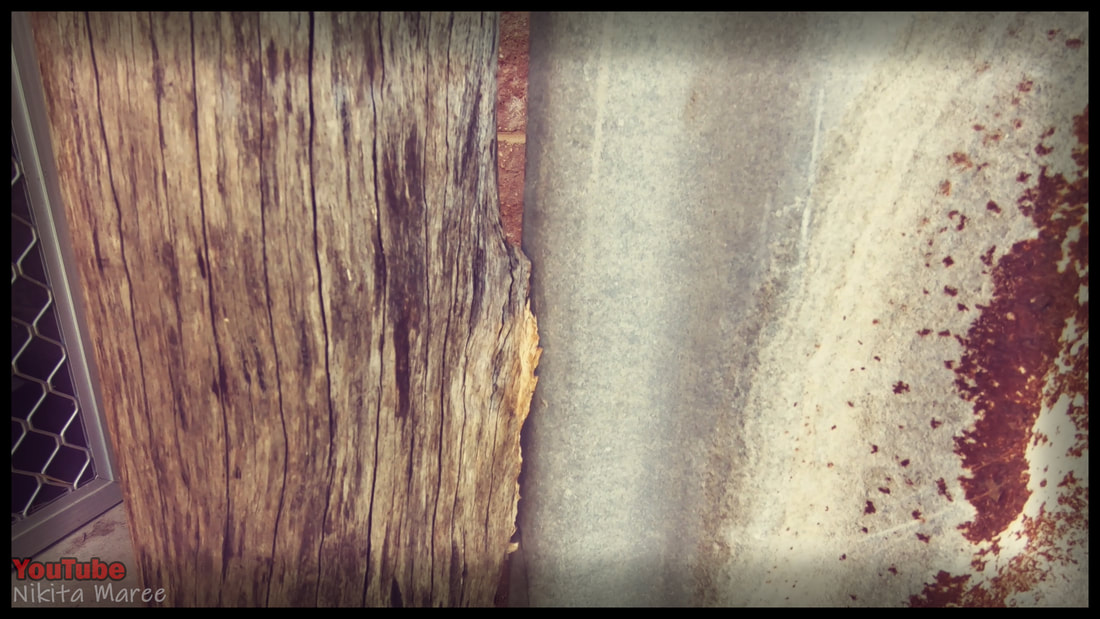
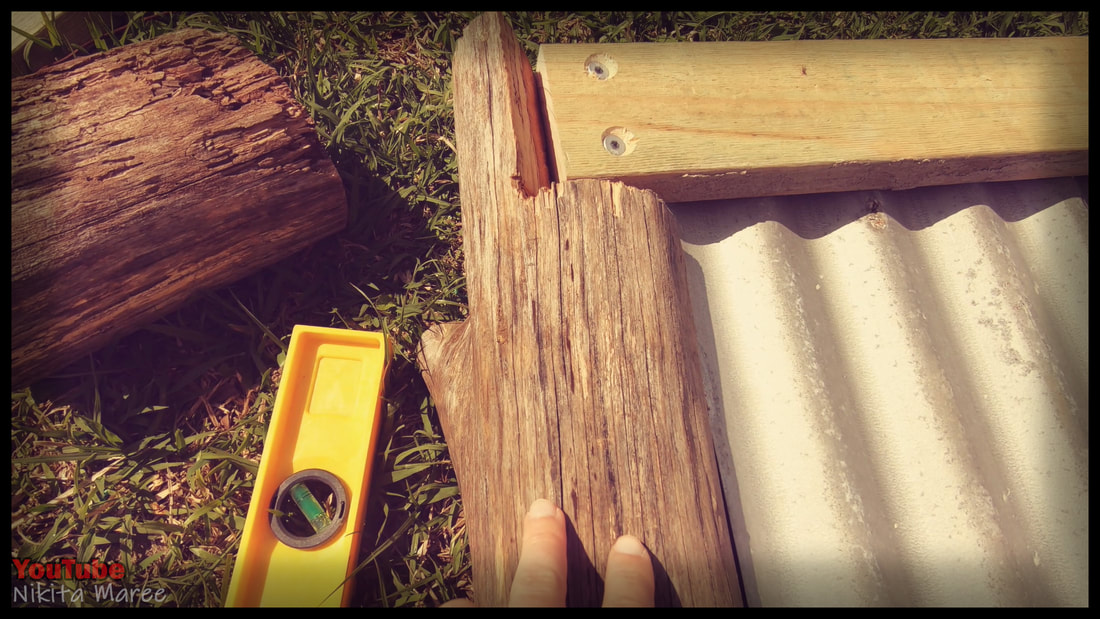
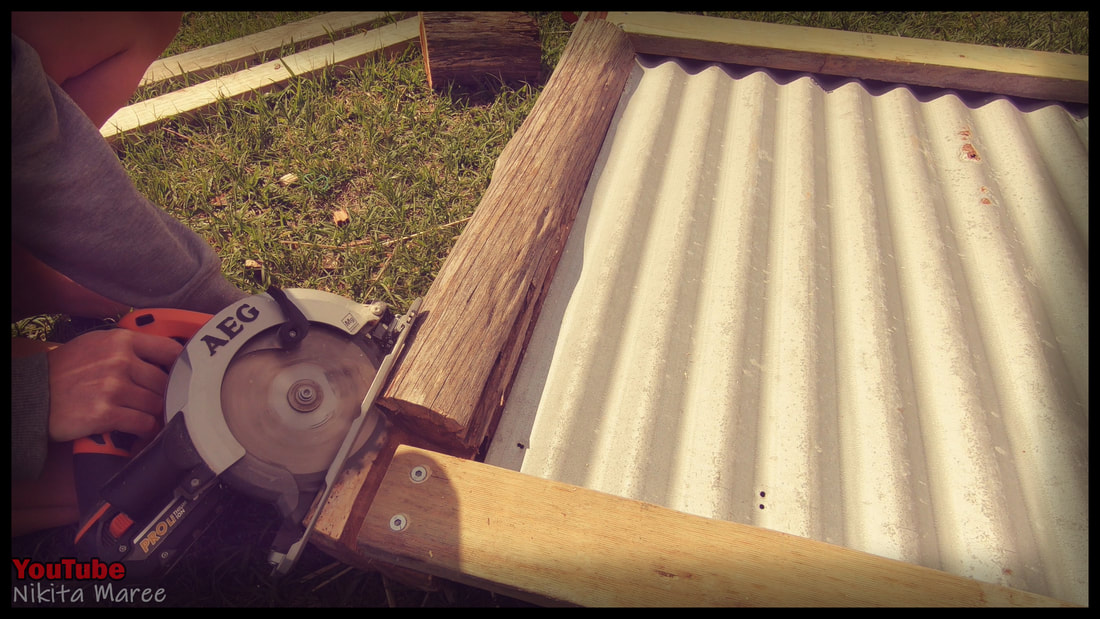
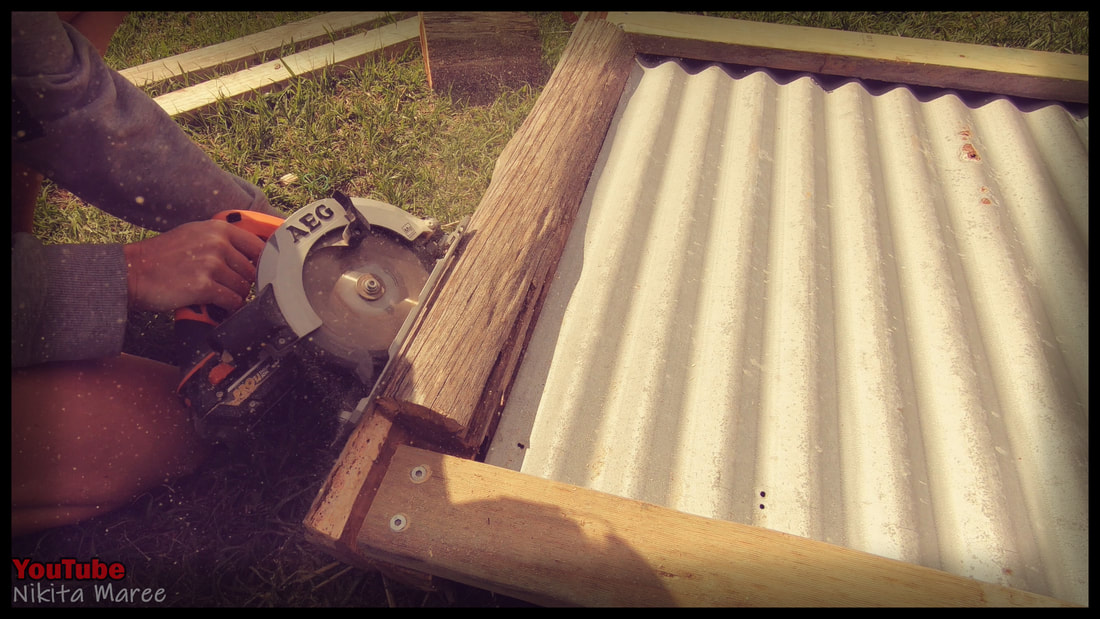
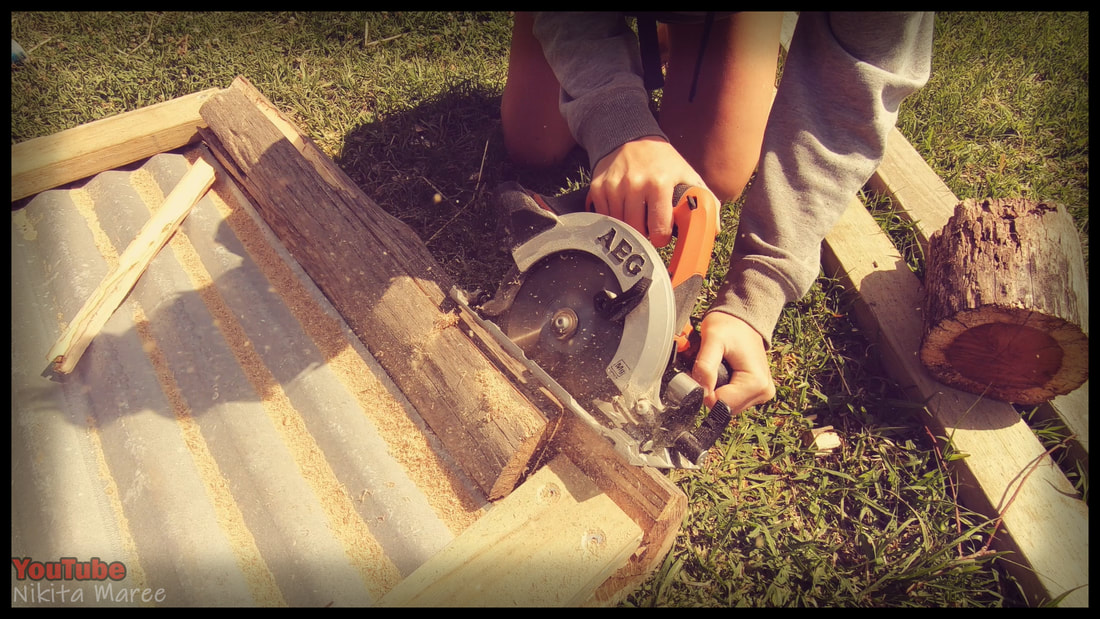
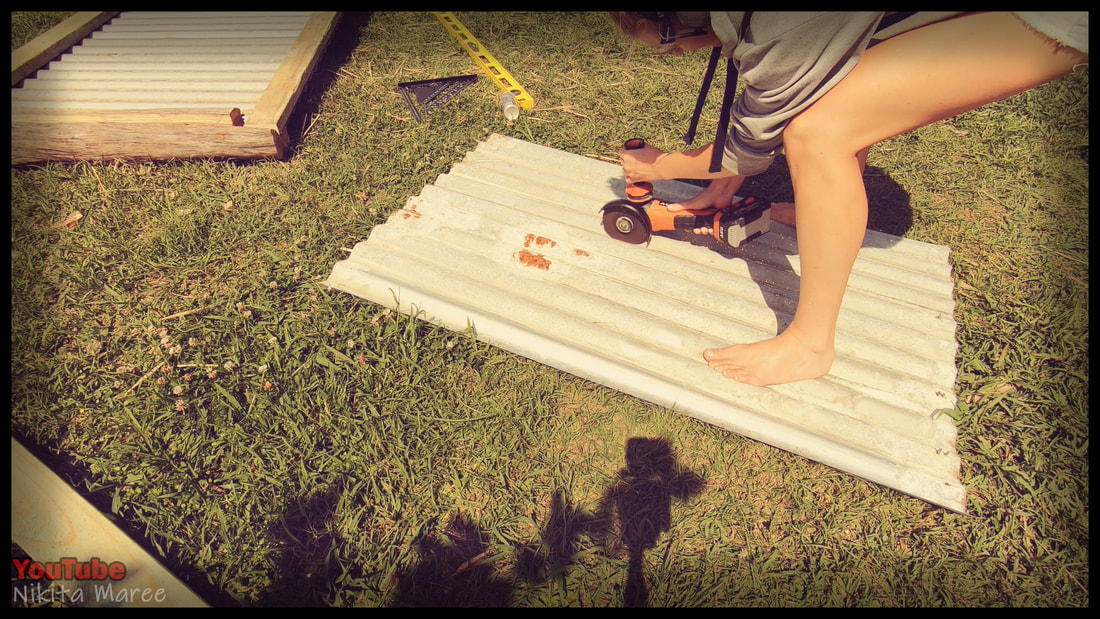
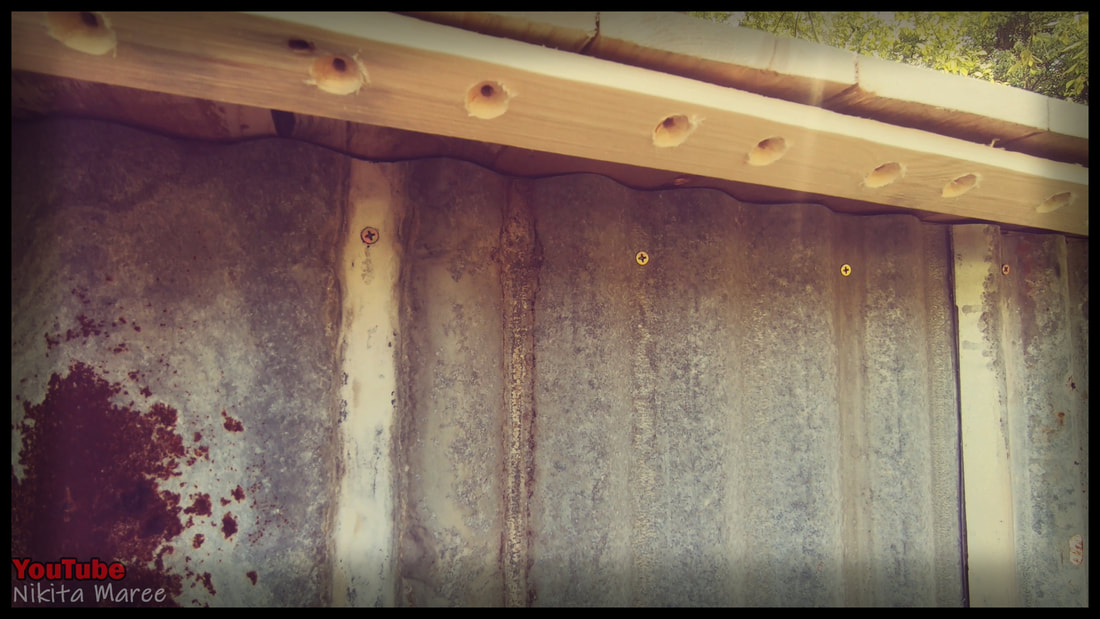
If you want the corrugated iron to fit neatly up against the post. . . .
|
|
You are going to need to cut a channel for
it to slide into. |

|
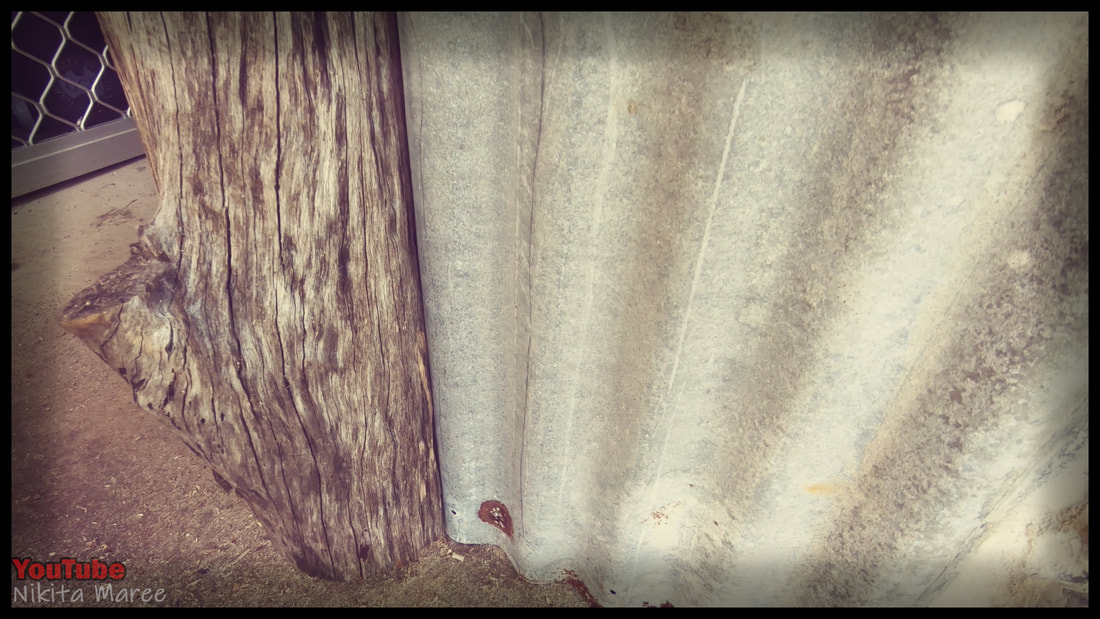
|
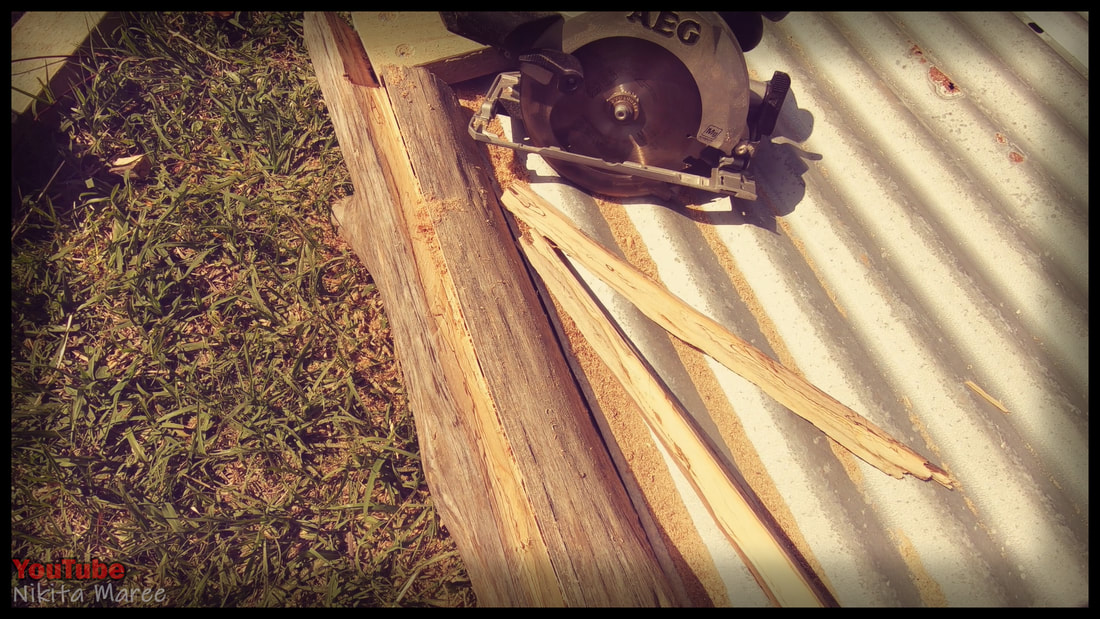
Only take a little off at a time.
Keep sliding the iron up against the post, to see were you need to take some more from. |
|
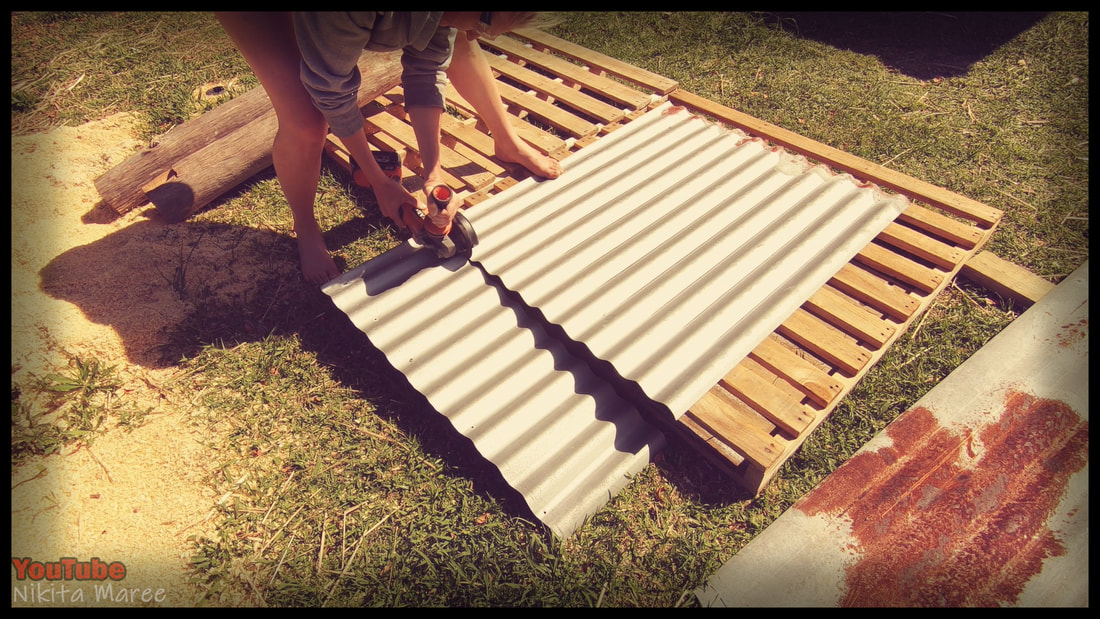
Now the corrugated iron fits.
|
|
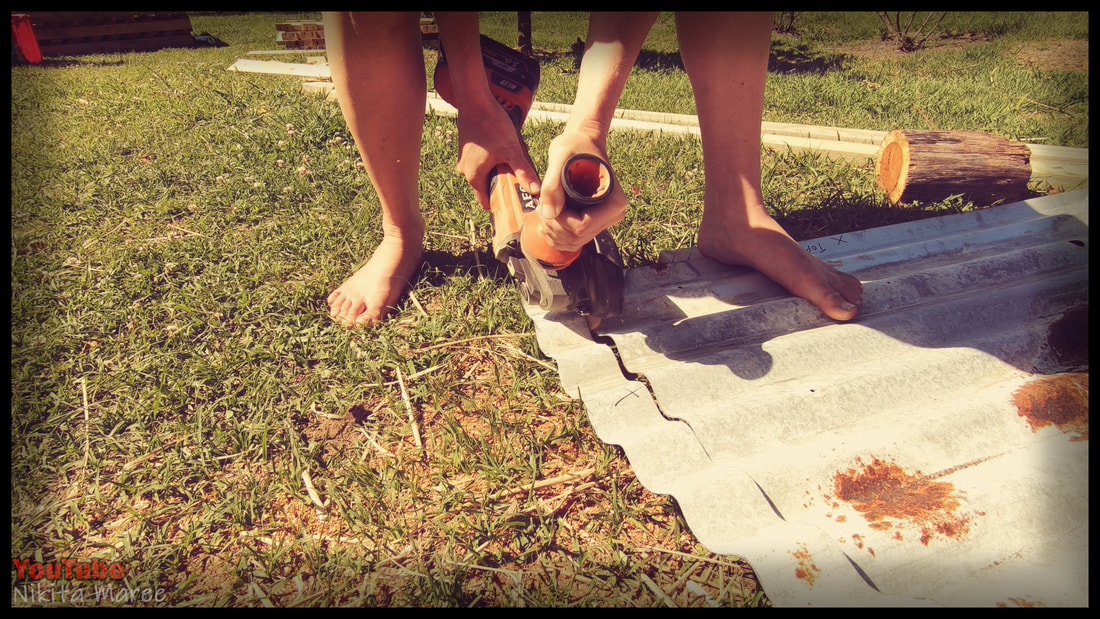
|
Square up one end of the iron.
With the cutting disk on an angle grinder. |
|
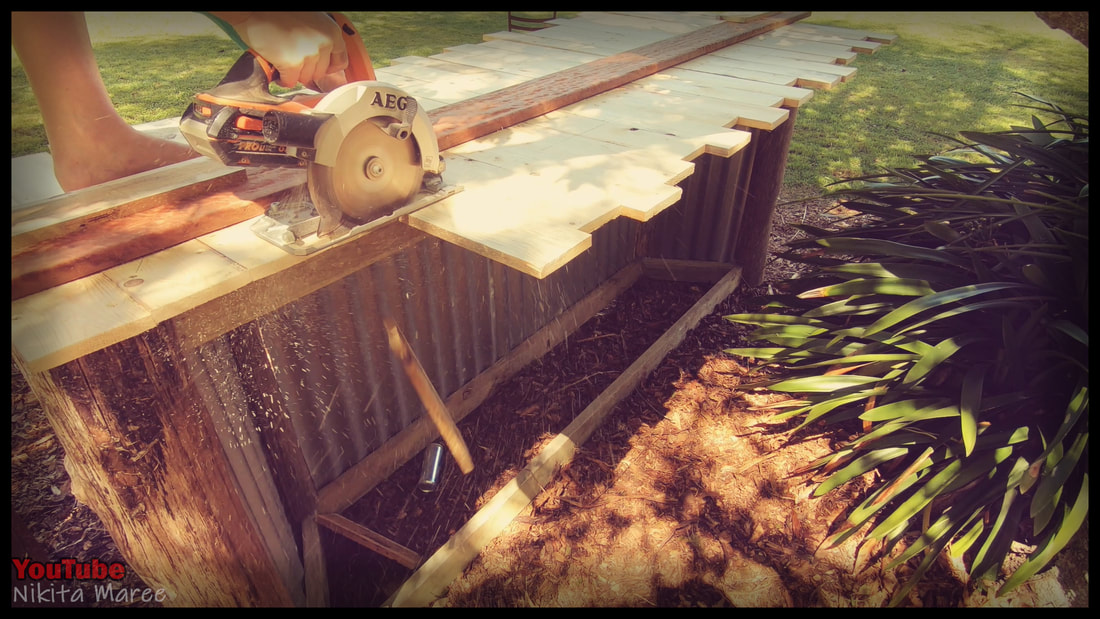
Measure the height of the bar and
cut the iron to length. |
|

|
Use a nail and a hammer to punch a hole through the corrugated iron. So that the screws can easily got into the timber behind it.
|
|
I attached the iron with with
cheap chipboard screws. |
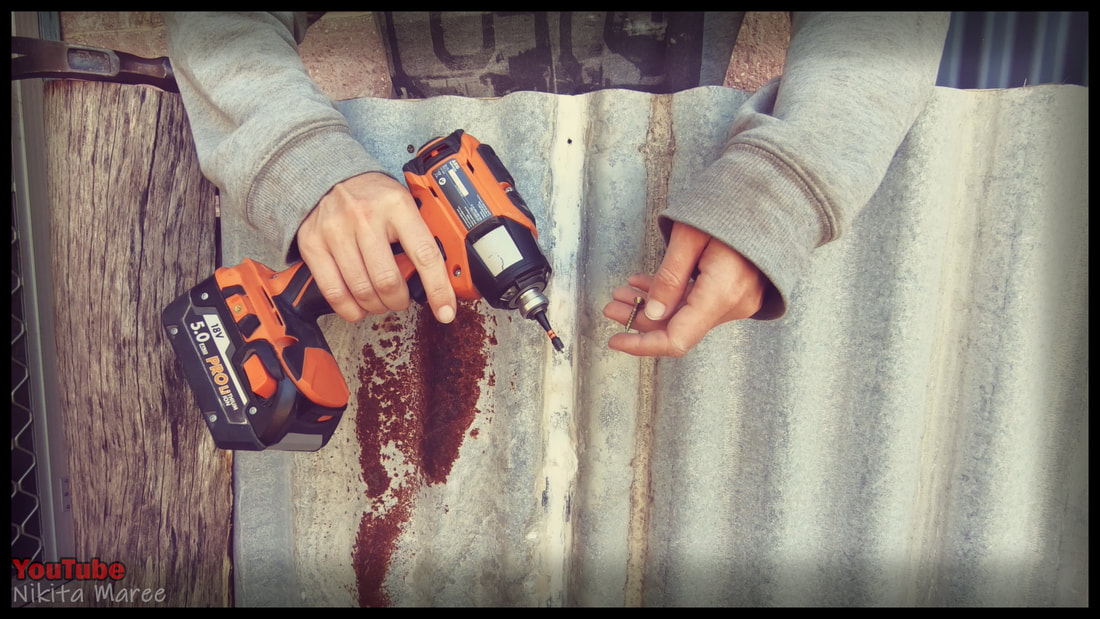
|
|
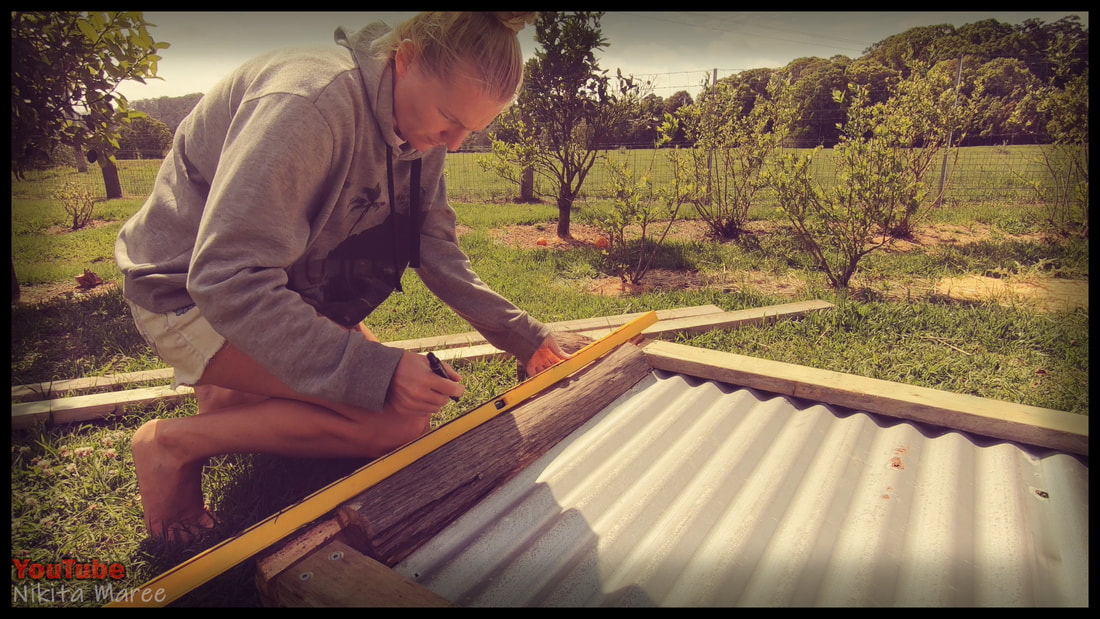
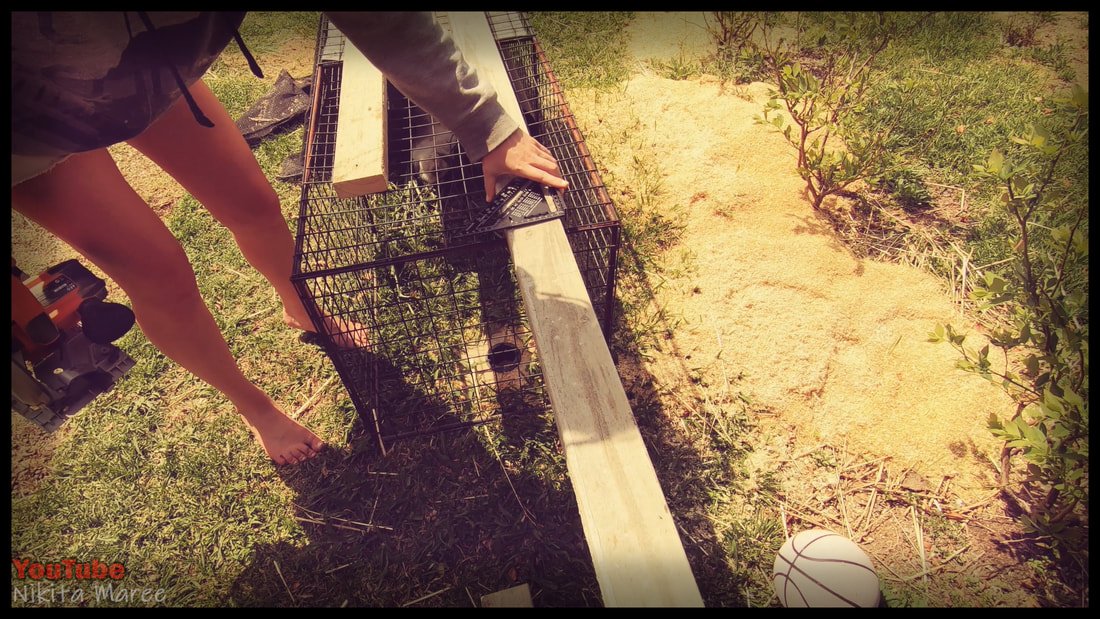
Moving onto the sides of the bar.
|
|
Here I am marking 2 parallel lines.
|
|
|
So I can pre-cut a channel for the
corrugated iron. |
|
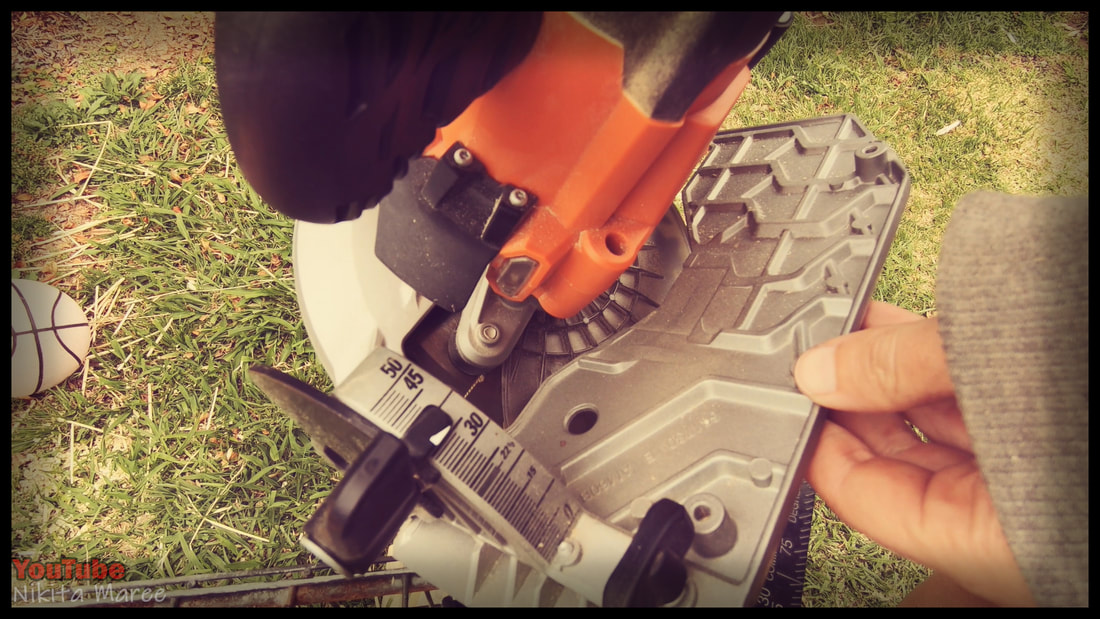
Set the circular saw to the ideal depth.
|
|
|
Cut along both the lines.
|
|
Pull out the scrap material.
|

|
|
Clean it up a little if need be.
|
|
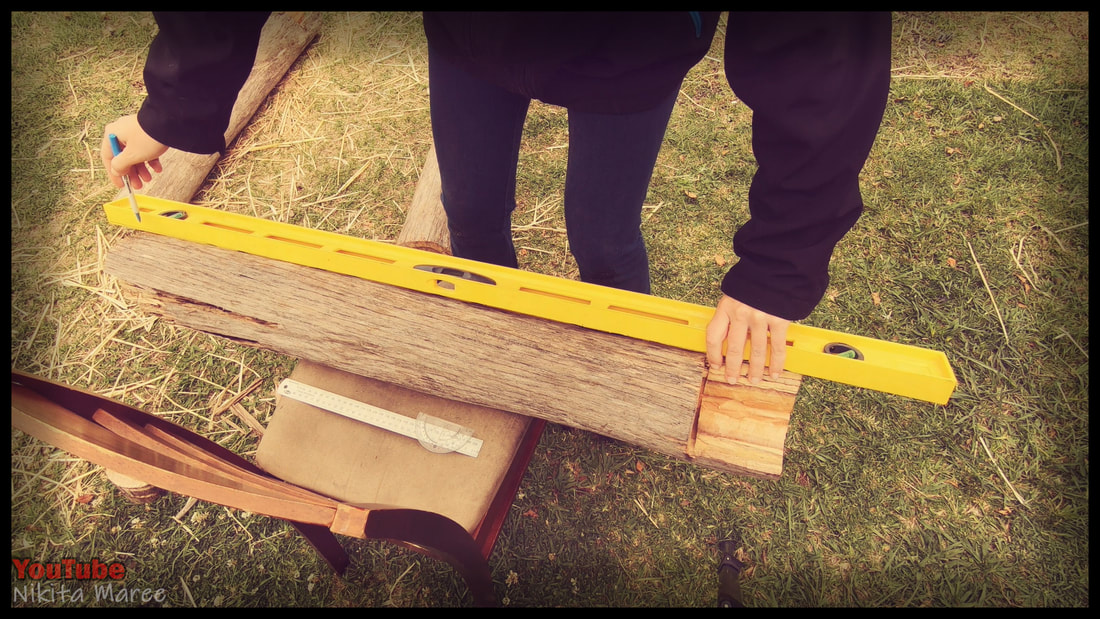
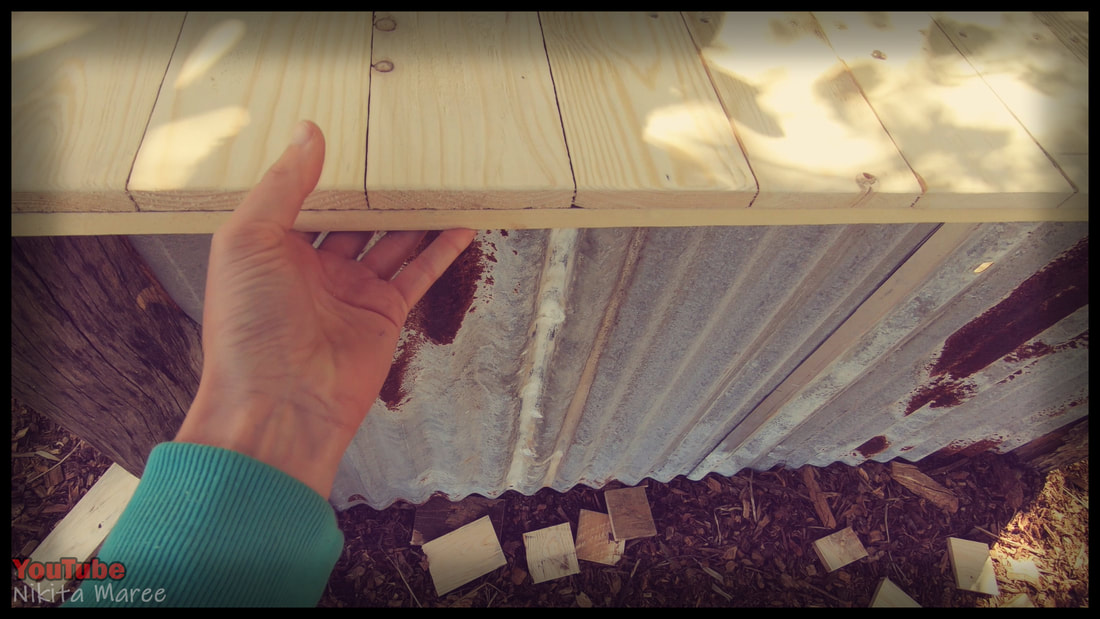
The sides of the bar are half the width of a corrugated iron sheet.
|
|
|
Leaving the sides alone for now.
And moving onto framing up the back of the bar. I cut the 2 lengths of pine to the same length. |
|
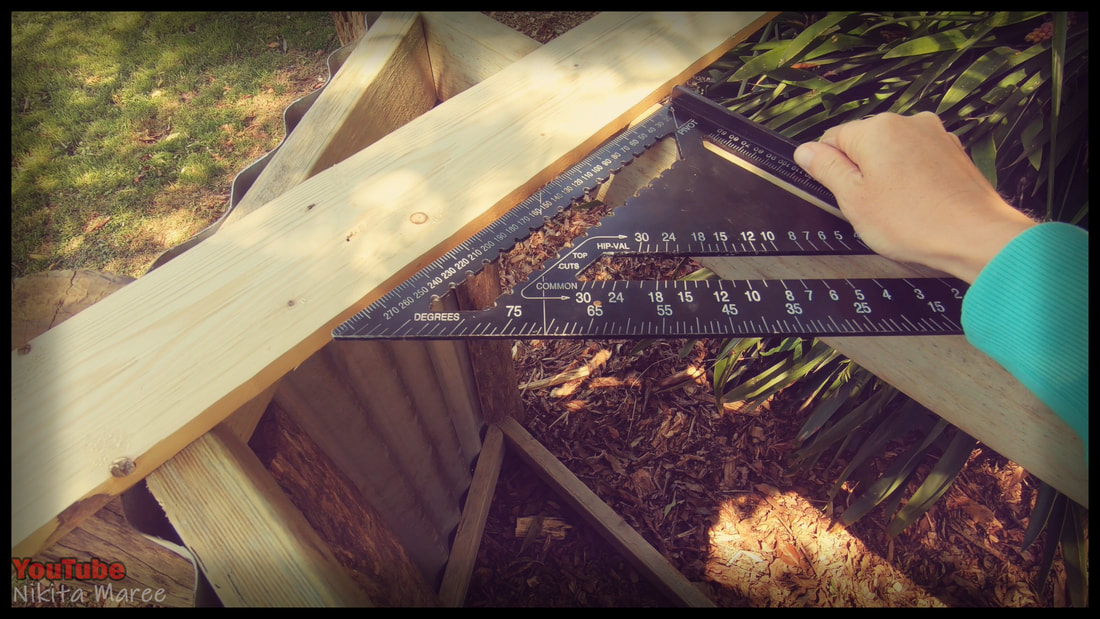
Roughly mark the angle.
|
|
|
Set the circular saw accordingly.
And make your cuts. |
|
Moving on back to the sides.
We have the corrugated iron tucked into the groves that we pre-cut earlier. |
|
|
It's easier to attach the iron first.
|
|
And then attach the frame afterwards.
|
|
|
These angles were cut at 35°
|
|
It's starting to come together.
|
|
|
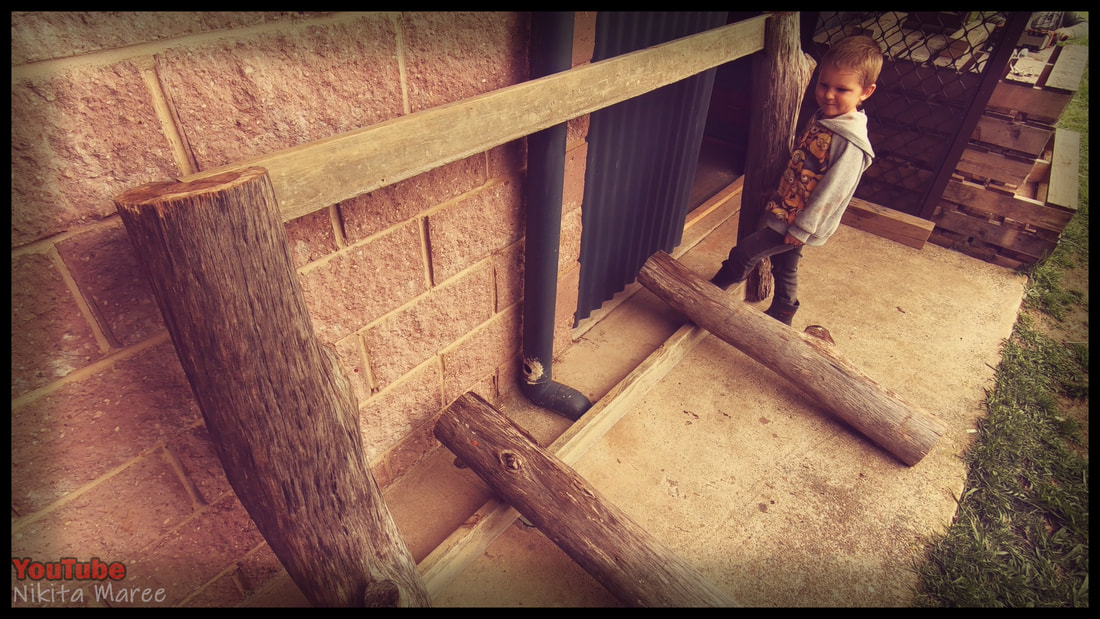
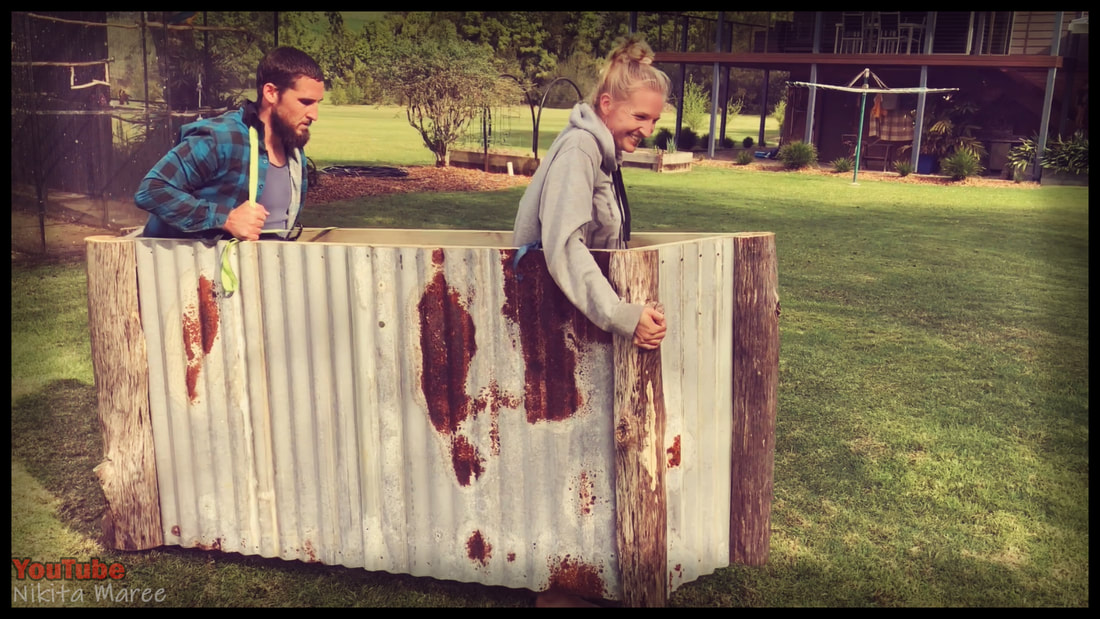
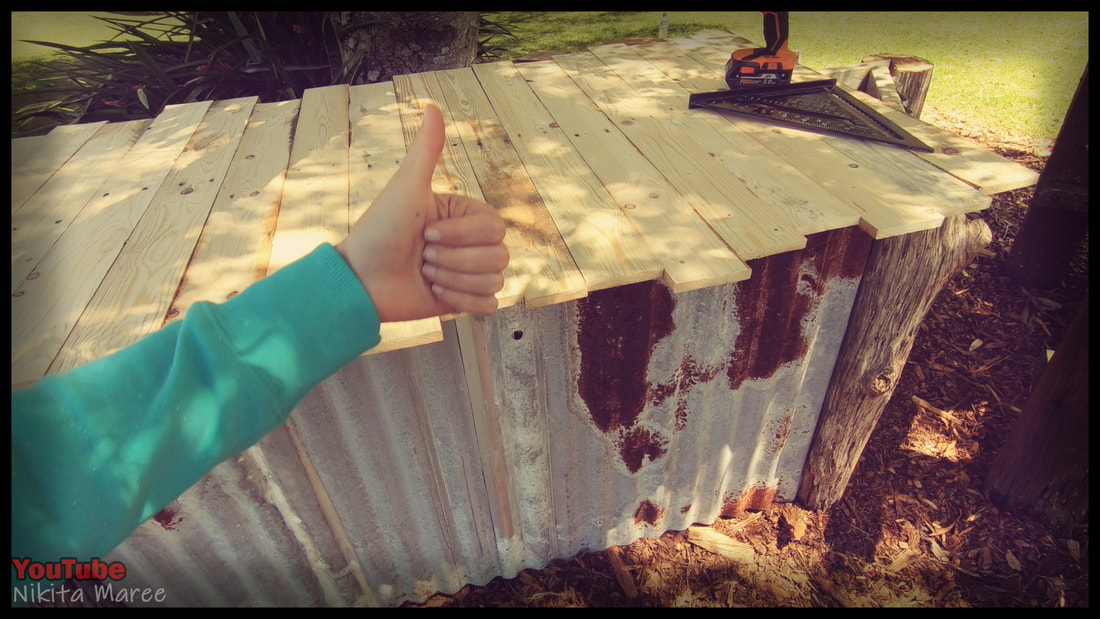
Before we put the top on.
We awkwardly carry it into position. |
|
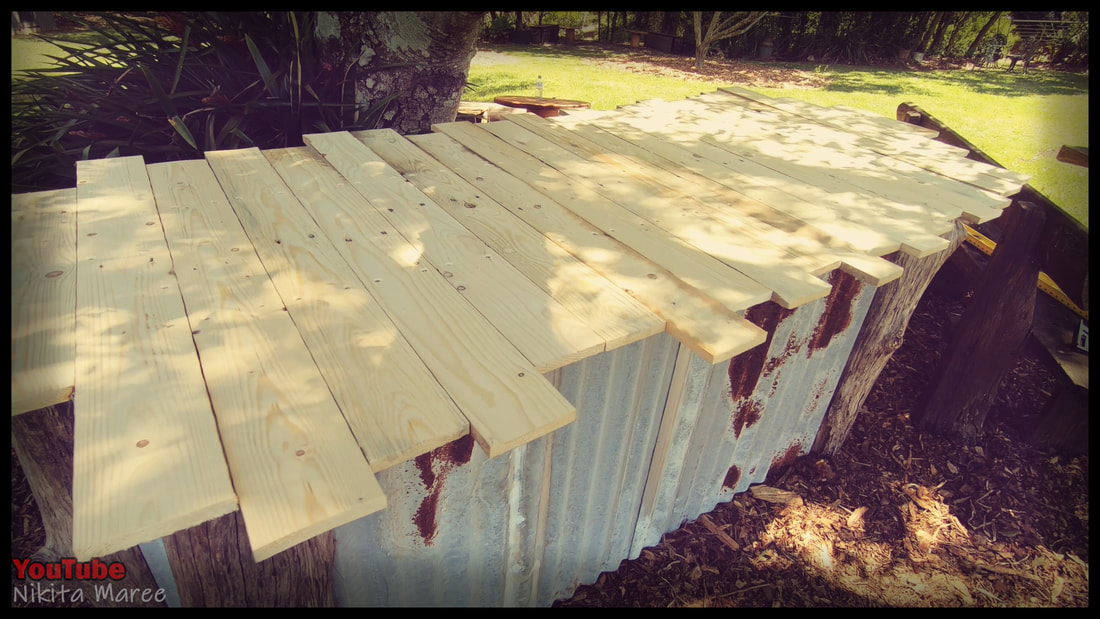
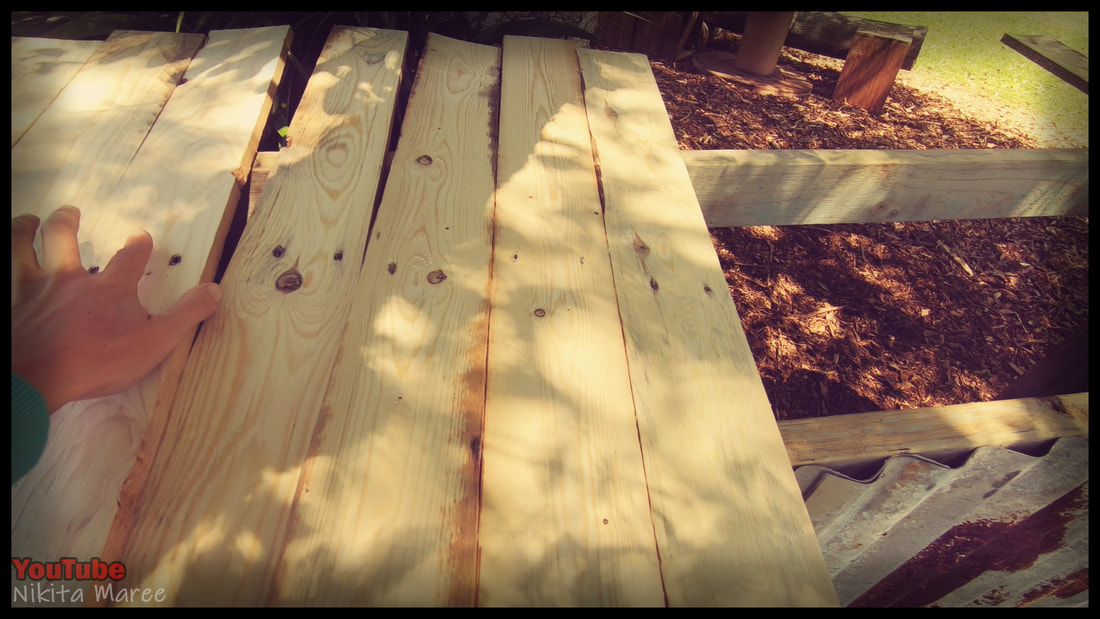
For the bar top. I cut and pulled apart
some pallets. And ran the palings through the thicknesser. |
|
|
Square up the first paling.
|
|
Mark 20mm in, from both sides for
the screw holes. |

|
|
Pre-drill the hole.
|
|
Then chamfer.
|
|
|
Square it up again.
|
|
Attach your first paling.
|
|
|
Do the same thing for the paling
down the other end. |
|
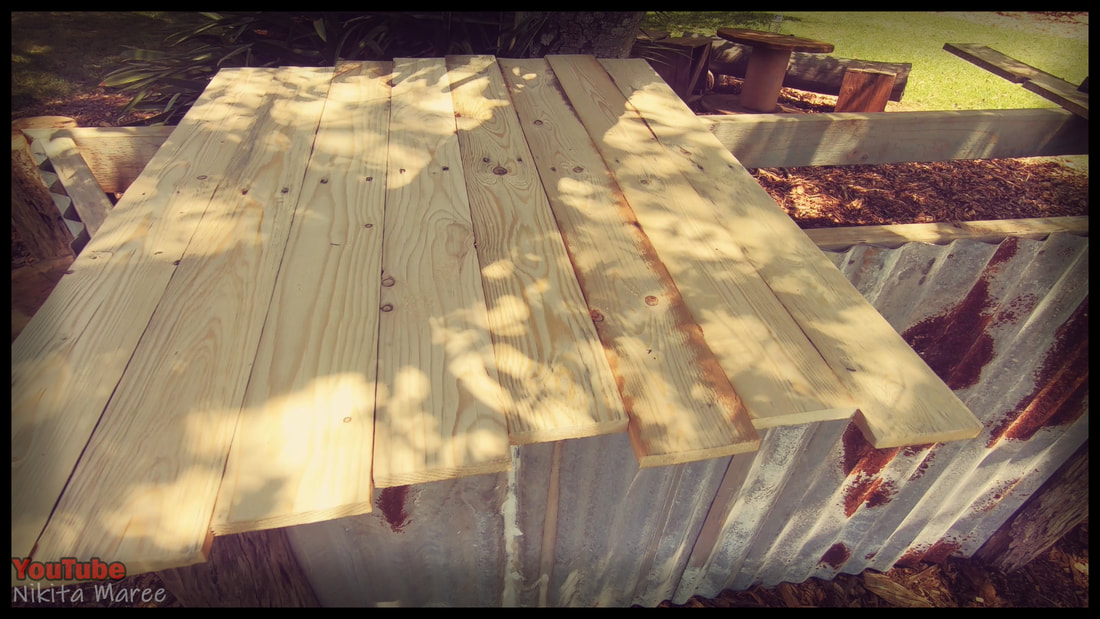
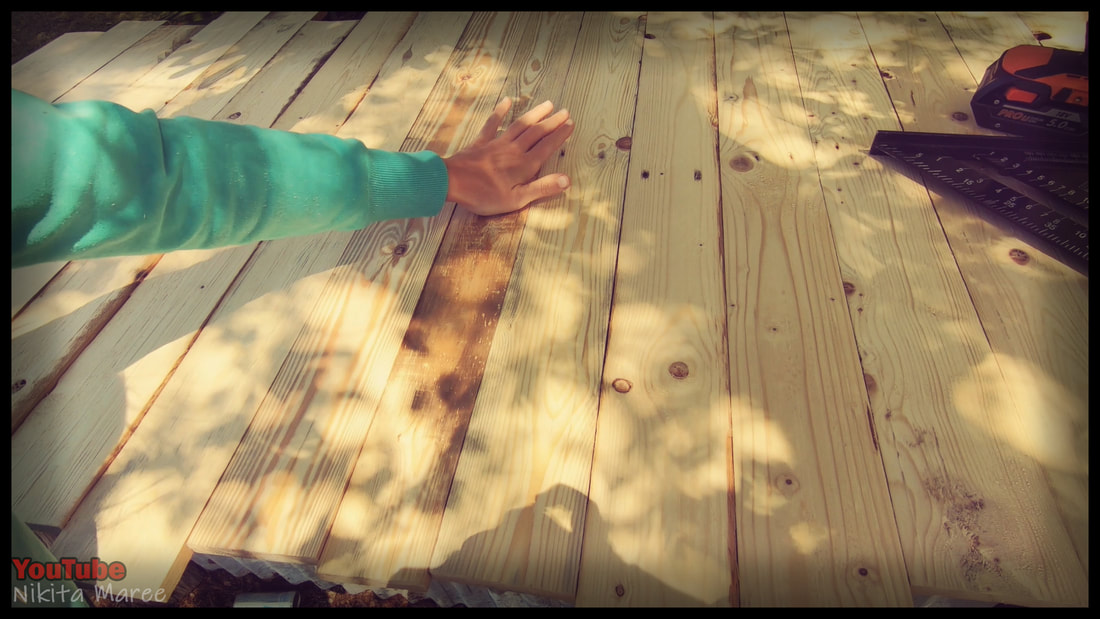
Fill in the center with as many loose palings
as required. |
|
|
These will all be left oversized and we will just cut them all at once to length, at the end.
|
|
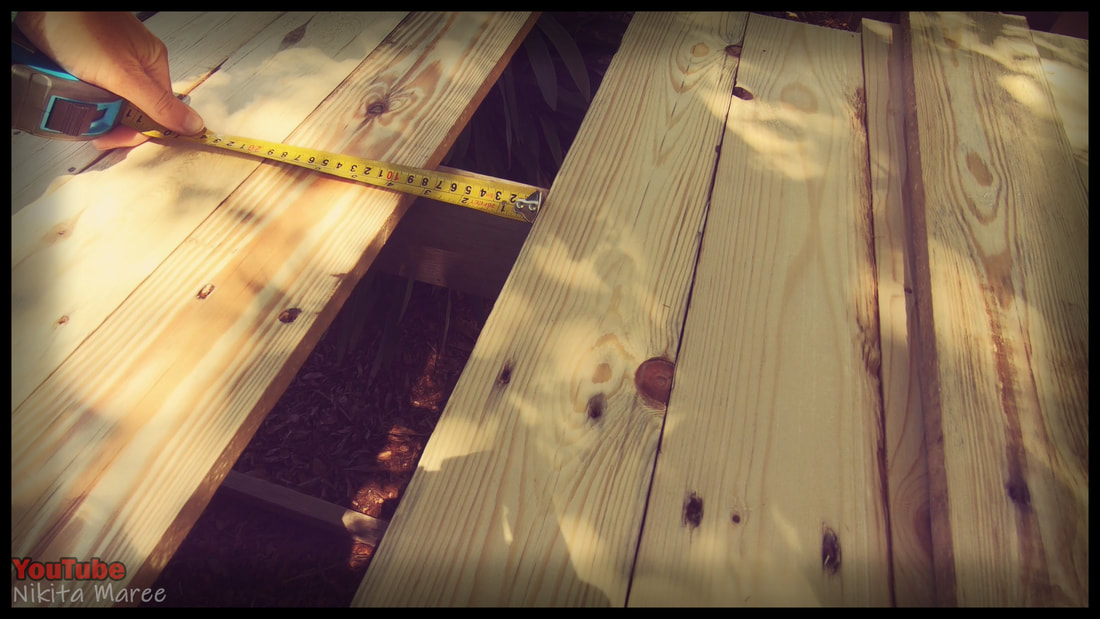
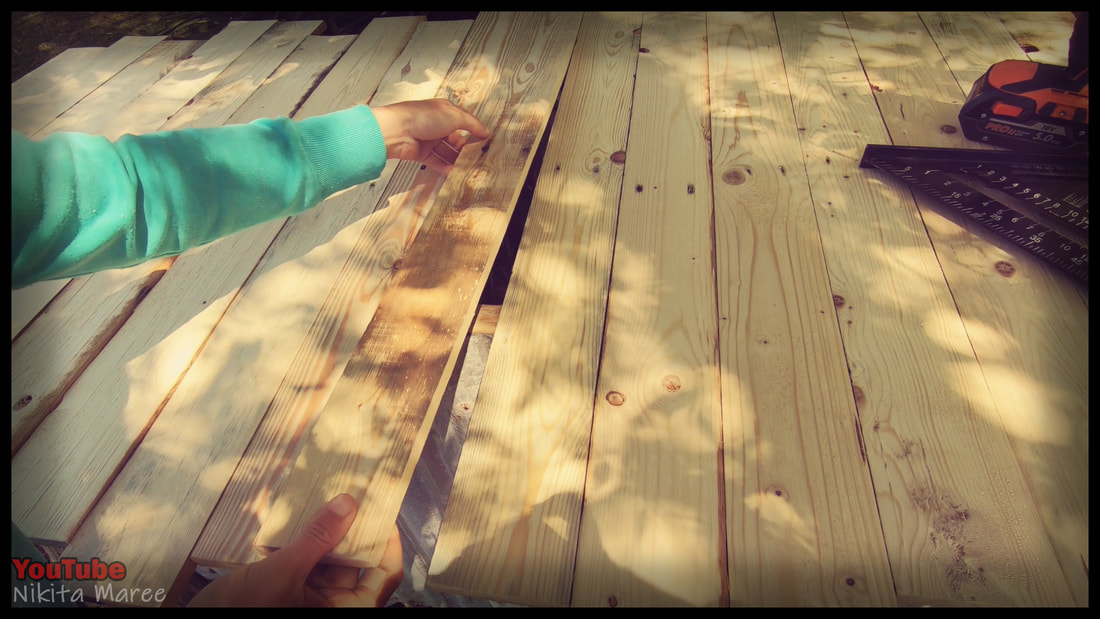
If you are left with a gap that needs filling.
Chances are that one side of the gap is larger than the other. |
|

|
Take a measurement from either side.
|
|
Transfer those measurements to a paling and
draw a straight line between them. |
|
|
Clamp one end to a bench.
|
|
Run the circular saw along your line.
|
|
|
Flip it over and re-clamp it.
|
|
Finish off the cut.
|
|

|
Now that it is cut to size . . .
|
|
Place that paling among the others.
|
|
|
|
|
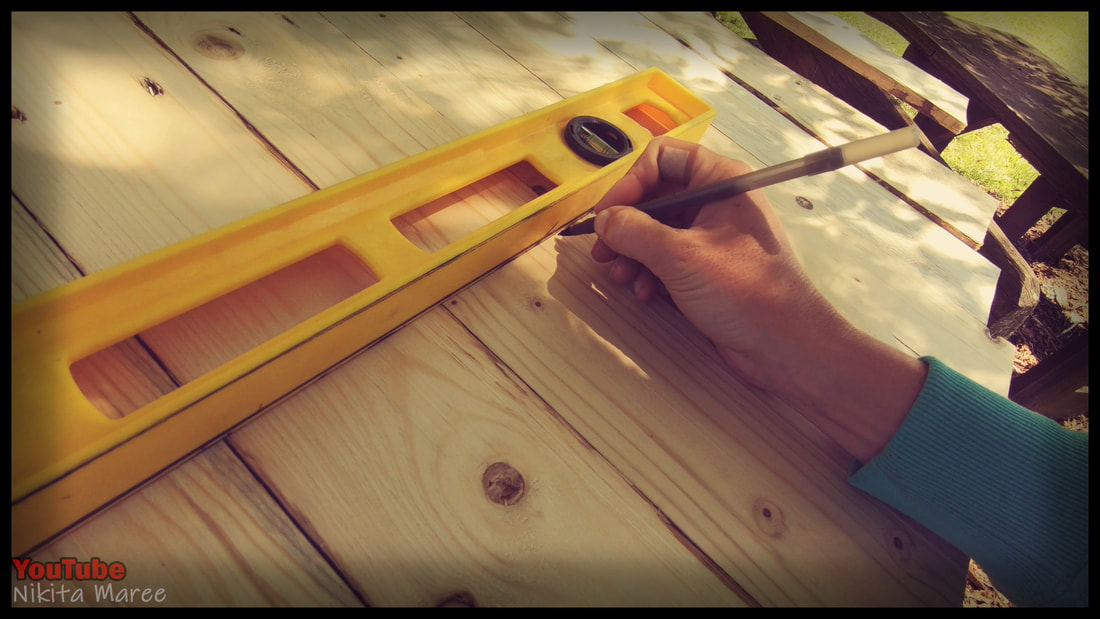
Grab a straight edge and mark were the
screw holes will go. |
|
Use some tape as a depth gauge on
your drill bit. |
|

|
So you can drill the holes right were
the palings are. |
|
Chamfer all the holes.
|
|
|
Attach them all with cheap chipboard screws.
|
|
Now that it is all attached.
It is time to cut the top to size. |
|
|
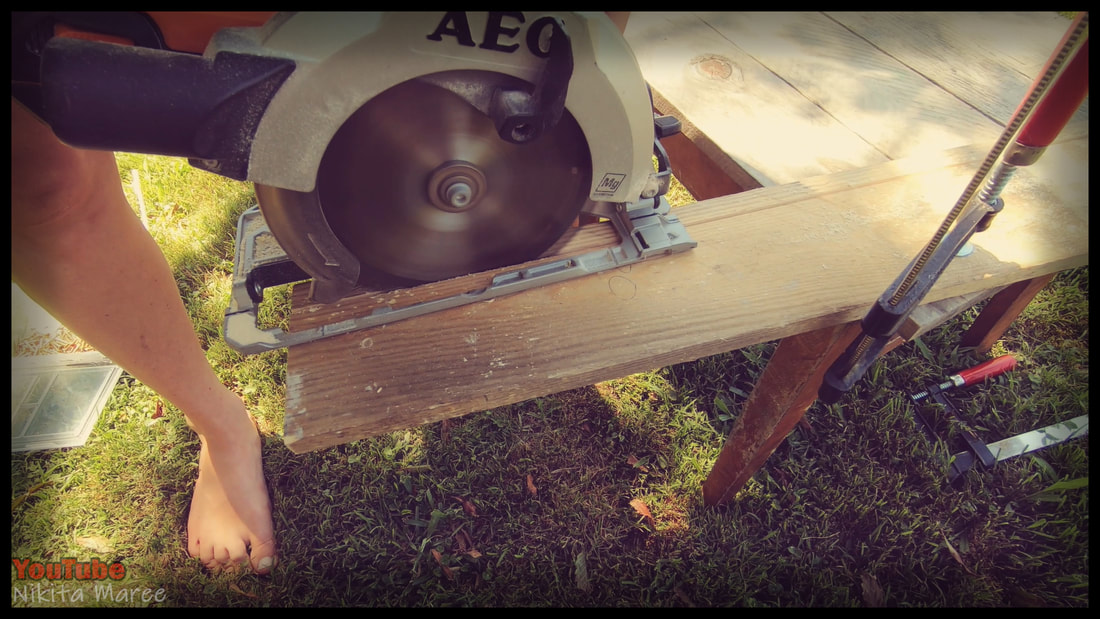
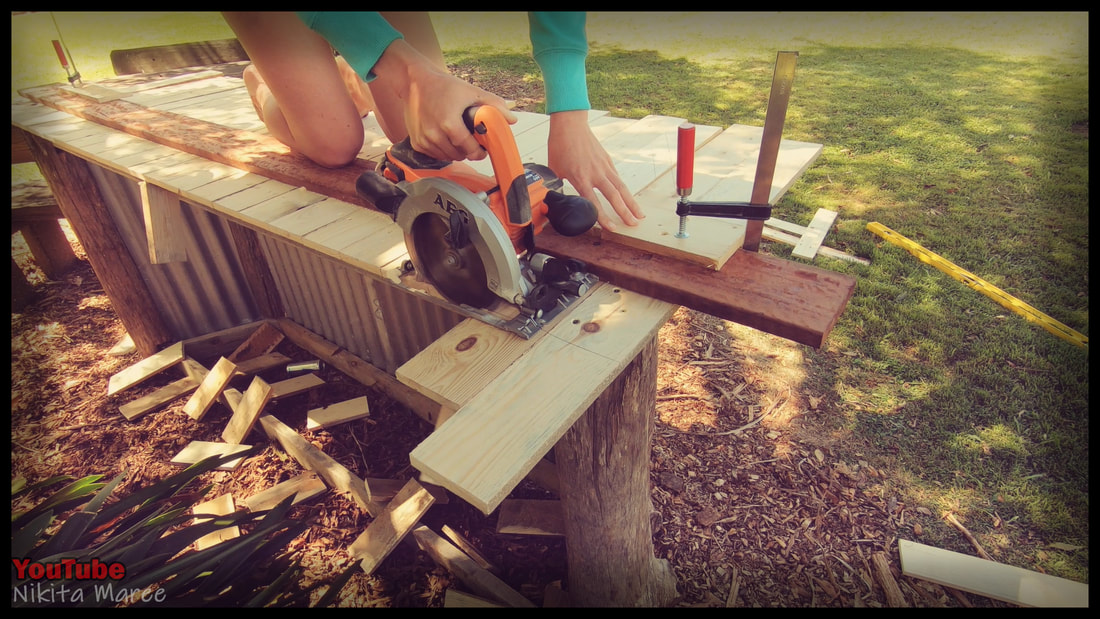
Measure 135mm from the screws.
|
|
Connect the dots, with a straight edge.
|
|
|
Clamp down a straight edge.
|
|
Run the circular saw along it.
|
|
|
I am glad we moved it before attaching the top.
Because I don't think we would of got it out of the gate otherwise. Also, it is heavy. |
|
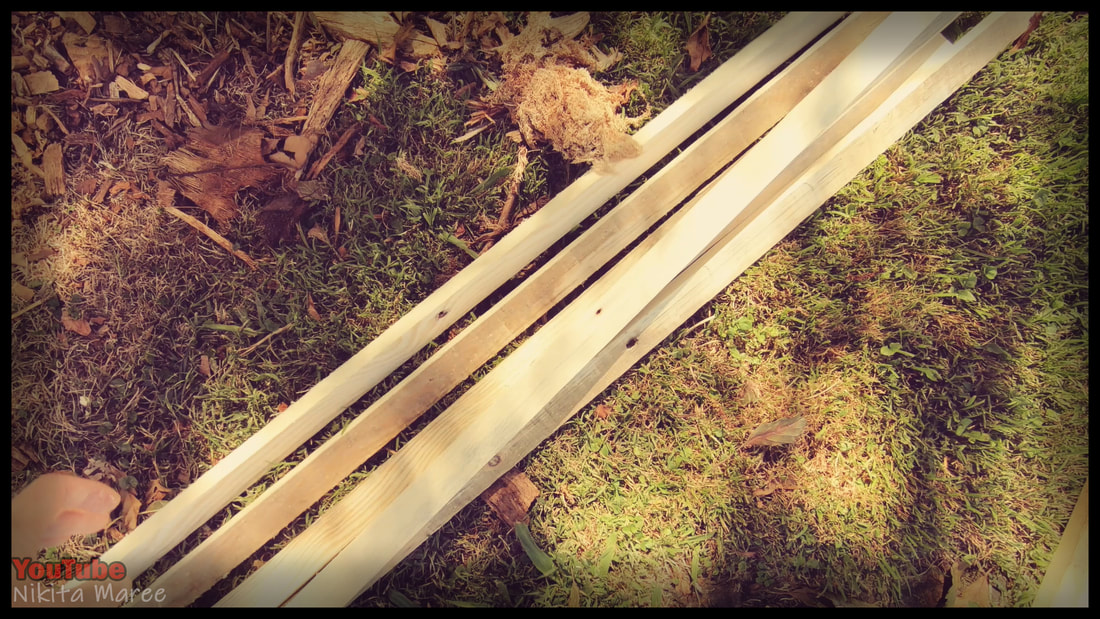
I ran some paling through the table saw,
set at 30mm. |
|

|
Pre-drilled and chamfered the holes.
|
|
These will be attached to the entire
underside of the bar. |
|
|
Because of the amount of over hang there is
at the front of the bar, I didn't won't any twisting and warping in the individual pieces. |
|
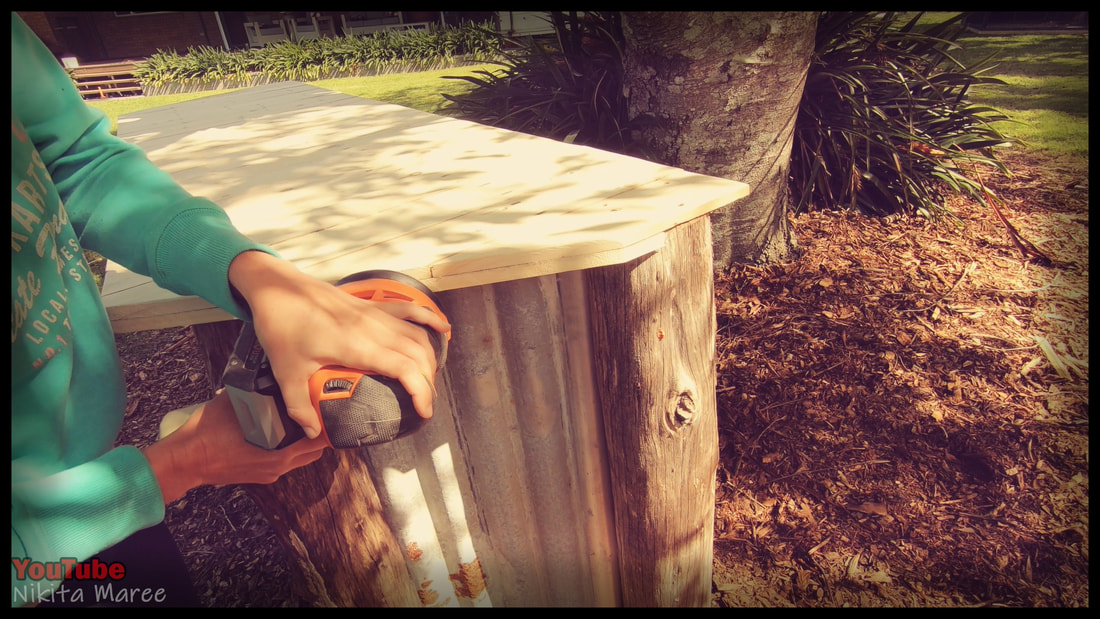
Gave the whole top a good sand.
|
|
|
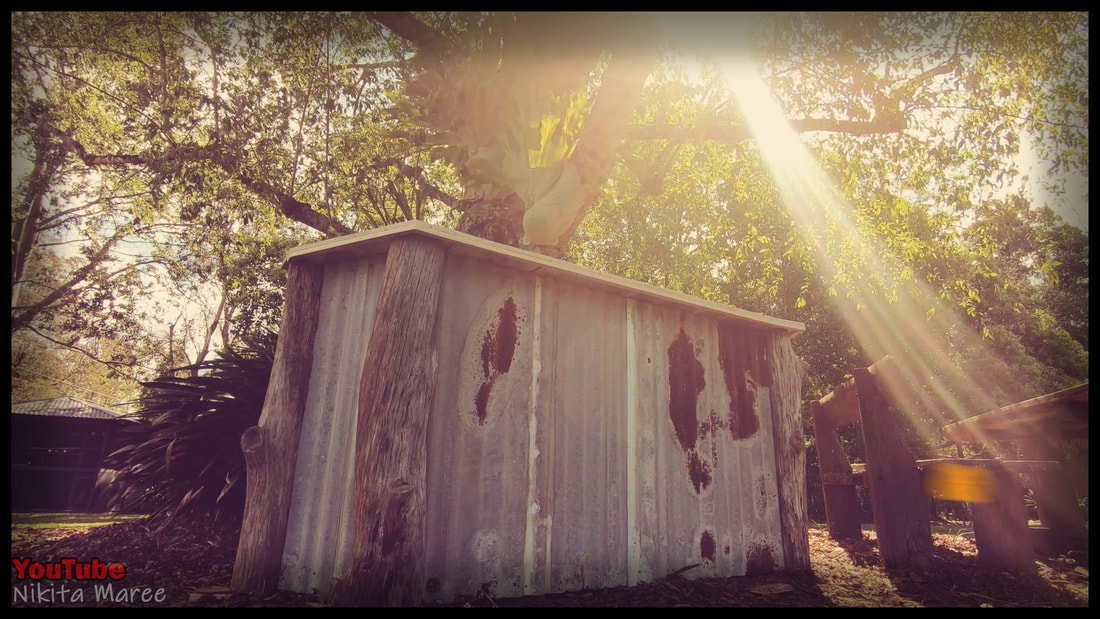
And it's done.
|