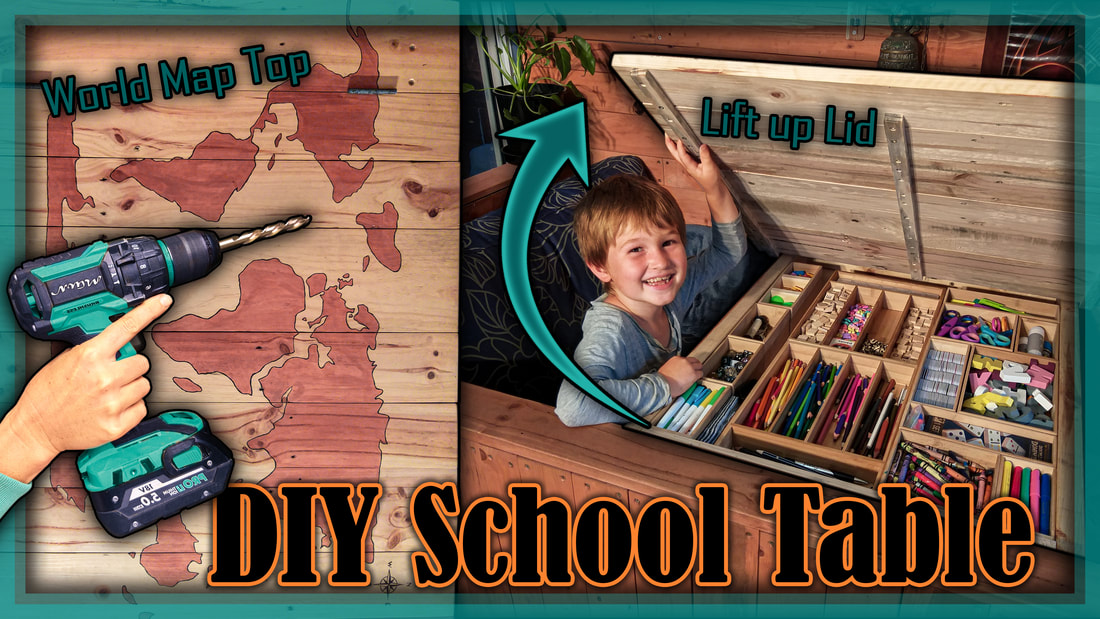
DIY Homeschooling Area
|
In this part, I go over the steps I took in making the school booth seating area.
|
|
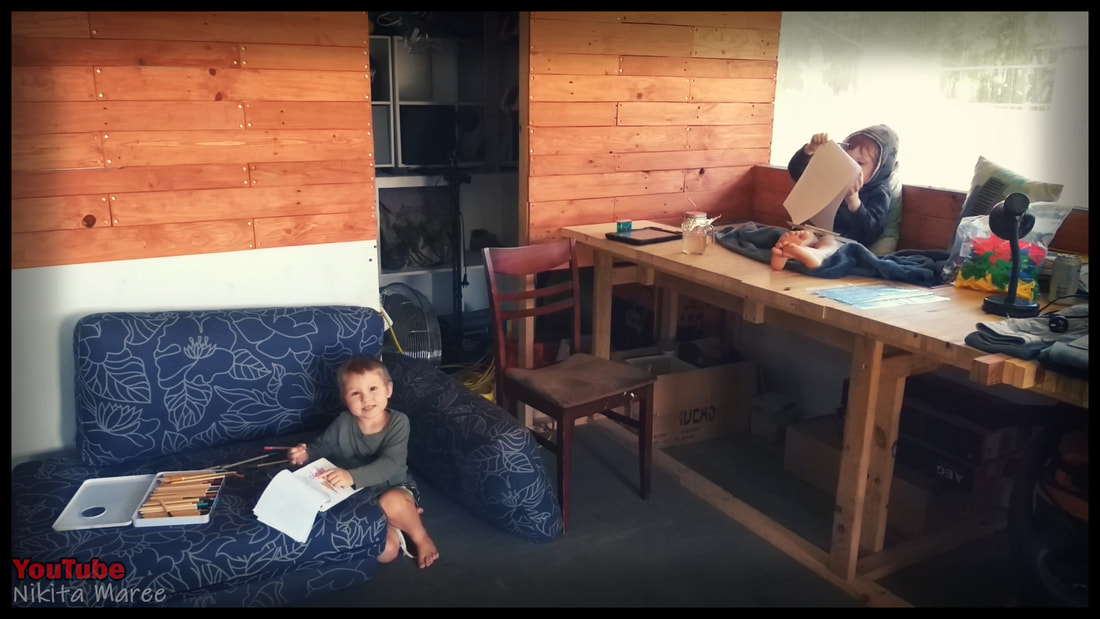
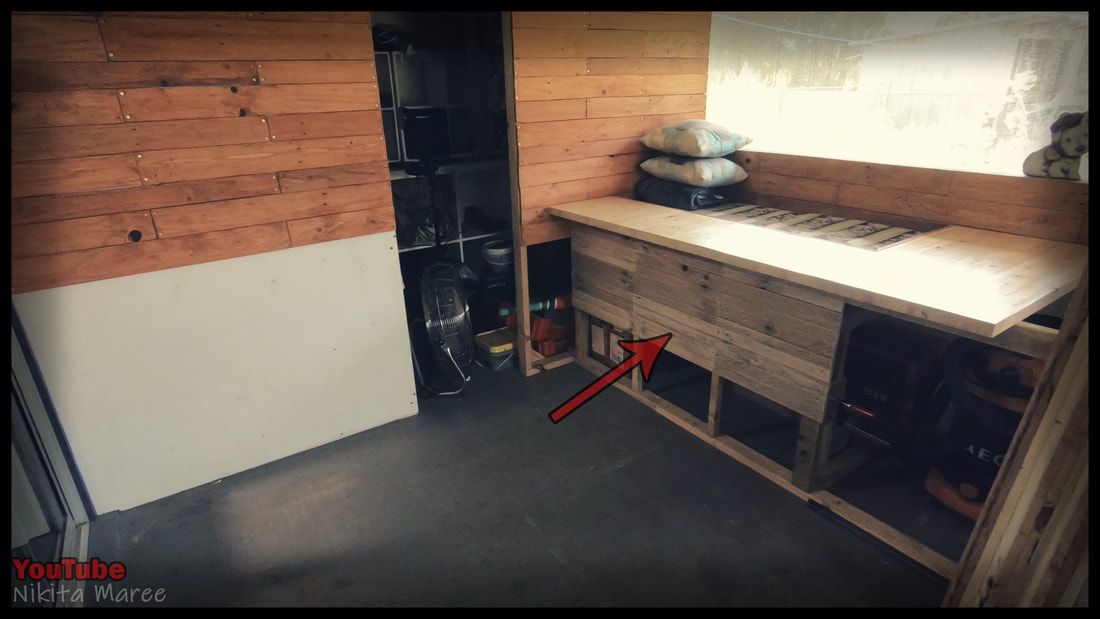
This is how we were previously set up to do our schoolwork, One would sit up on the day bed that is built into the bench and the other one preferred to sit on the cushions on the ground.
|
|
|
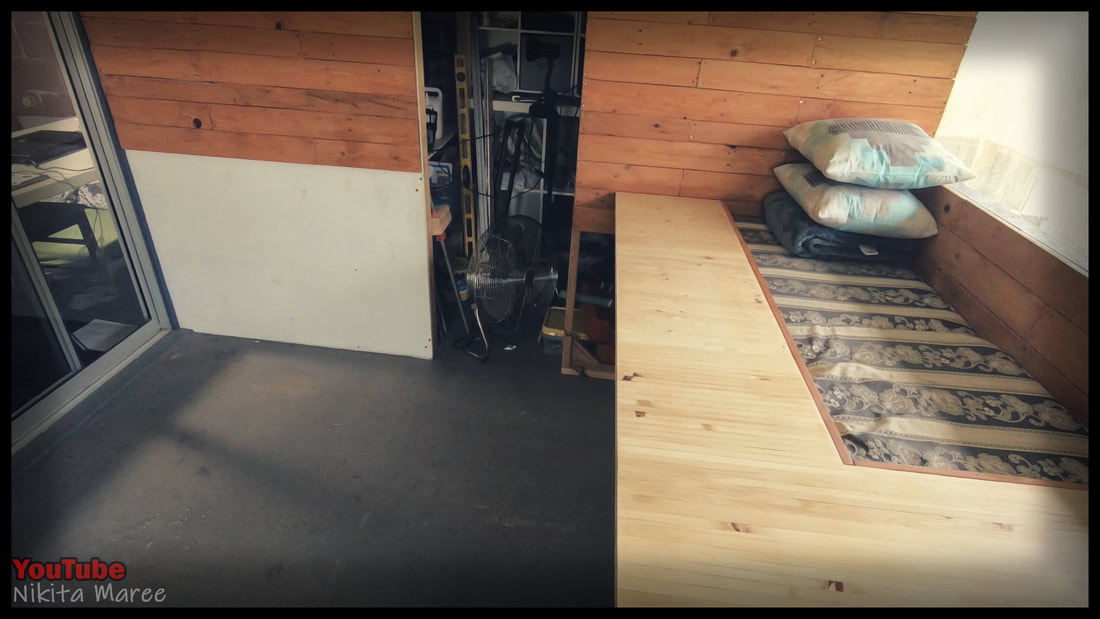
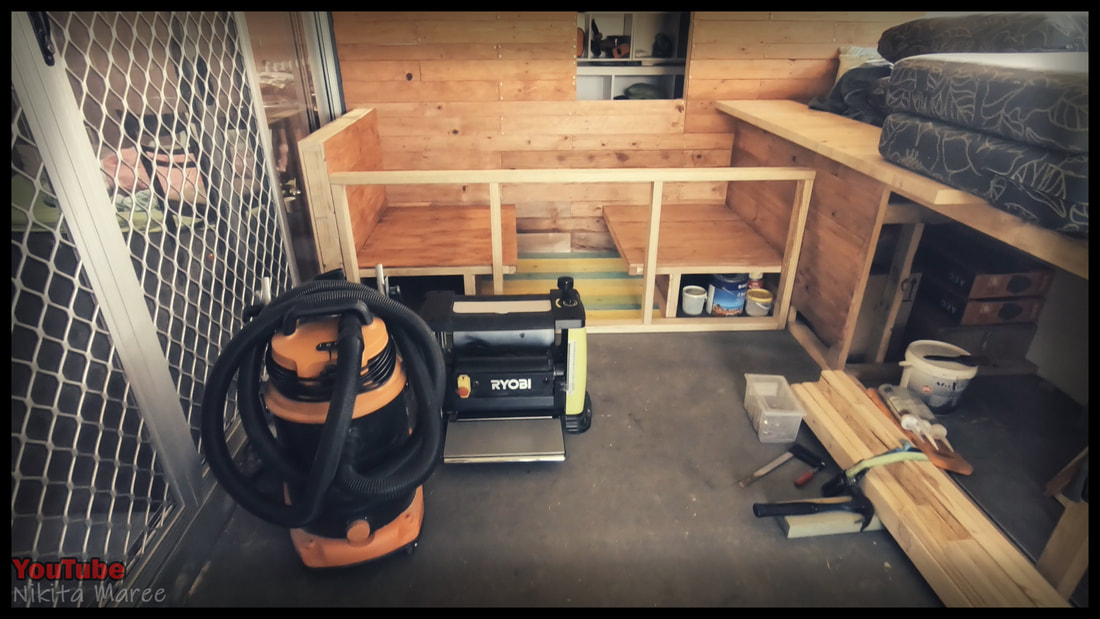
I started by cleaning up the area.
|
|
Them moved on to boxing in the side
of the bench. This will act as a back rest for the seating area on the right hand side. |
|
|
Then I covered in the bottom half of the door.
|
|
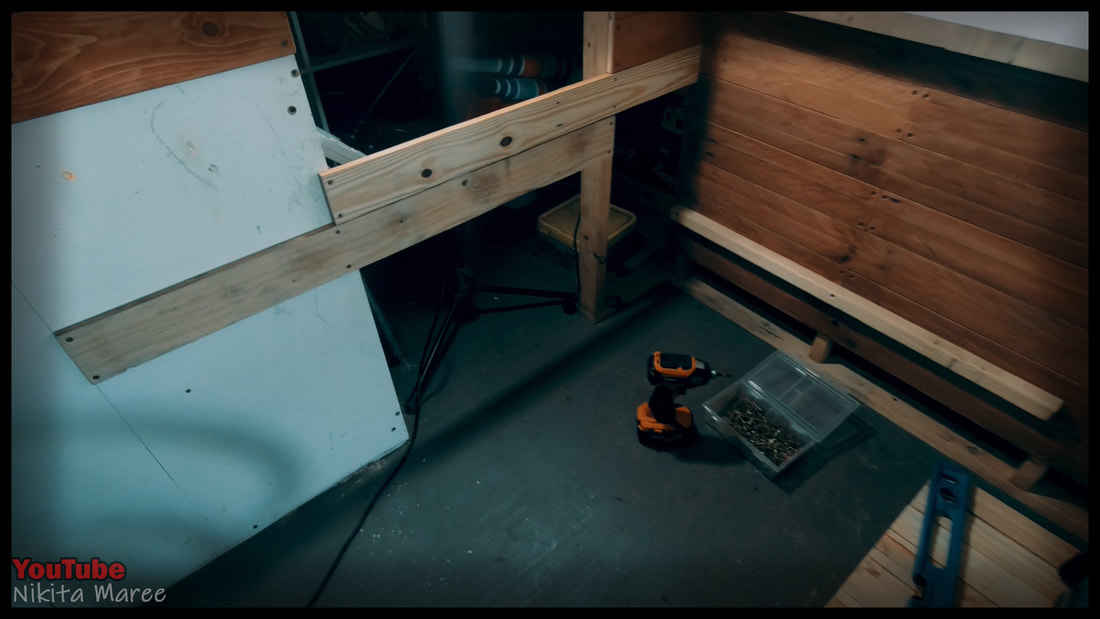
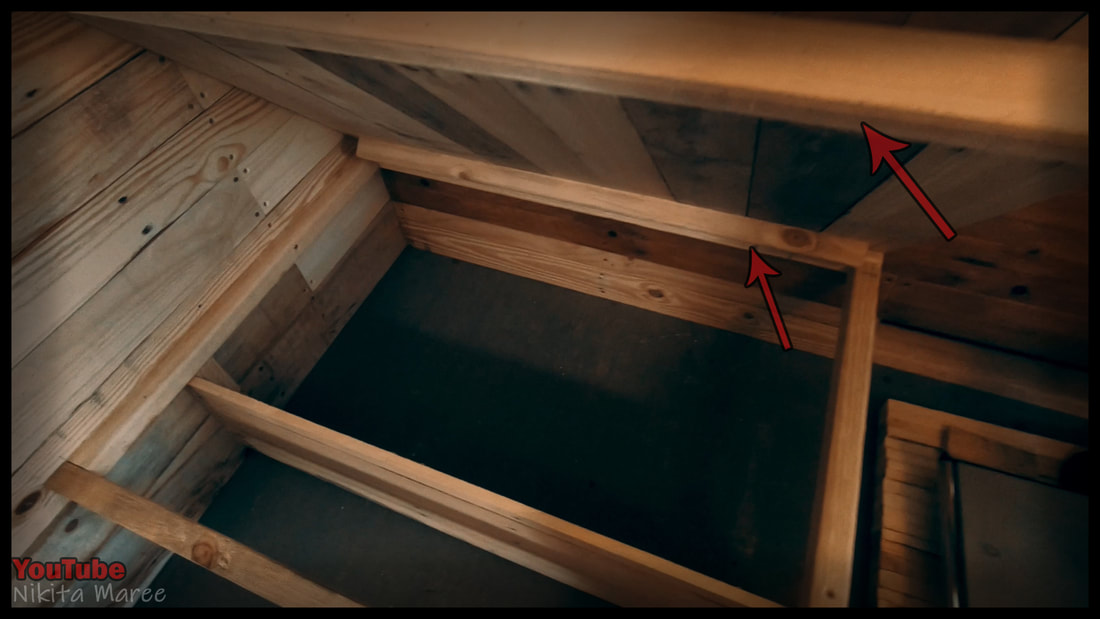
Moving on to the frames for the seats.
|
|
|
I used lengths of 70 x 35 that I ripped
down the centre. I do this to save on space and money. |
|
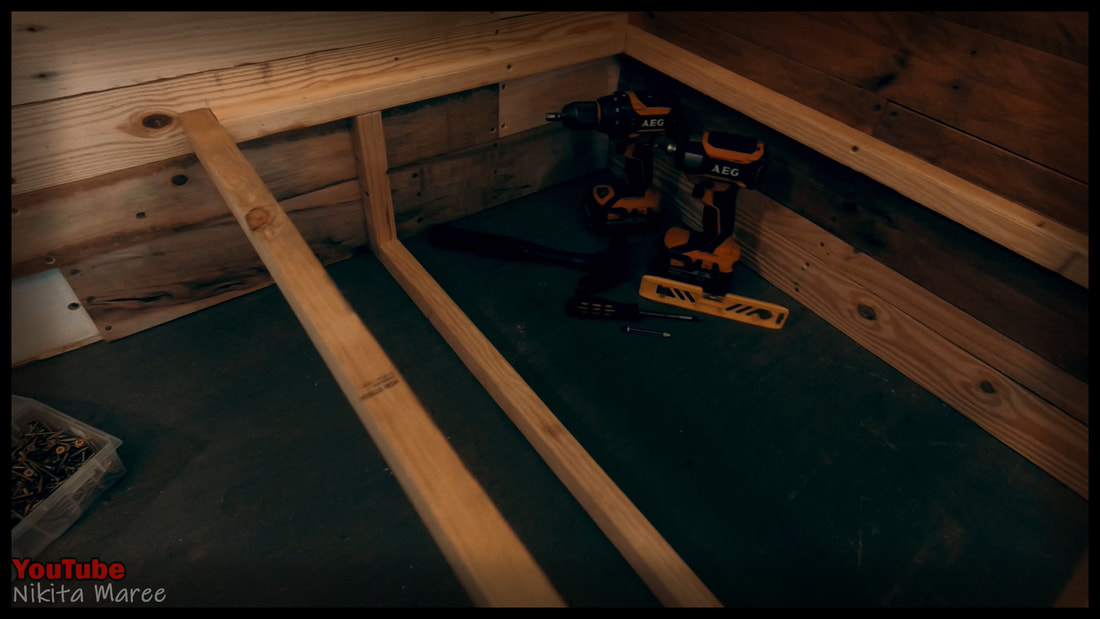
For the lift up seat, I simply ran 2 lengths of timber at the front and back of the seat area.
|
|
|
then attached the palings to only
those two pieces. |
|
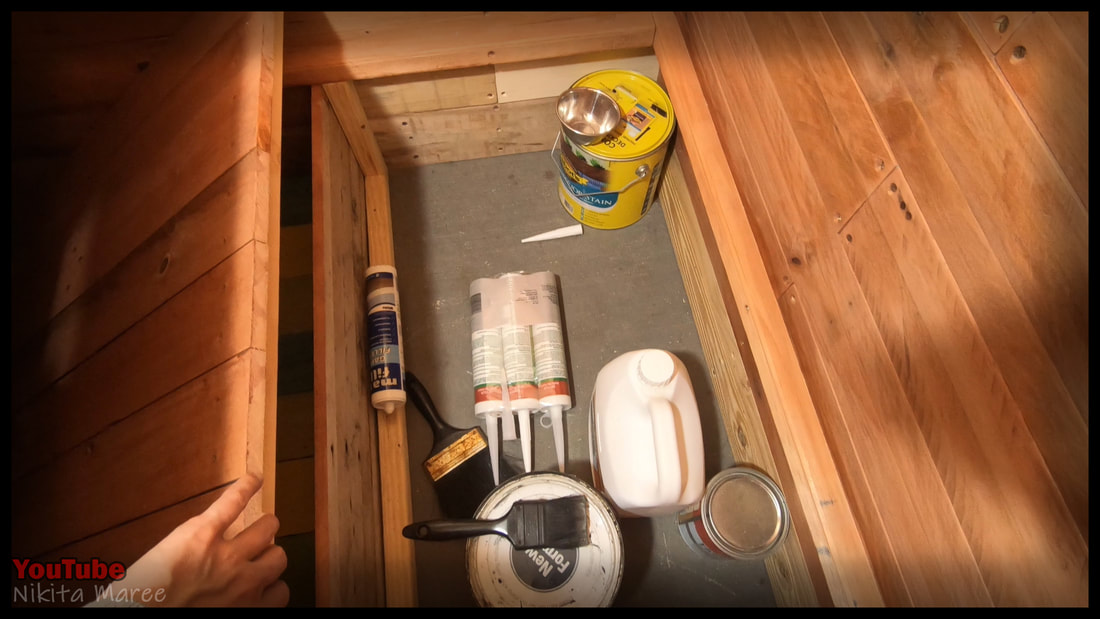
keeping the top of the seat free from the base and thereby utilizing the free space
underneath for storage. |
|
|
Moving on to the back-rest of the seat
on the left hand side. |
|
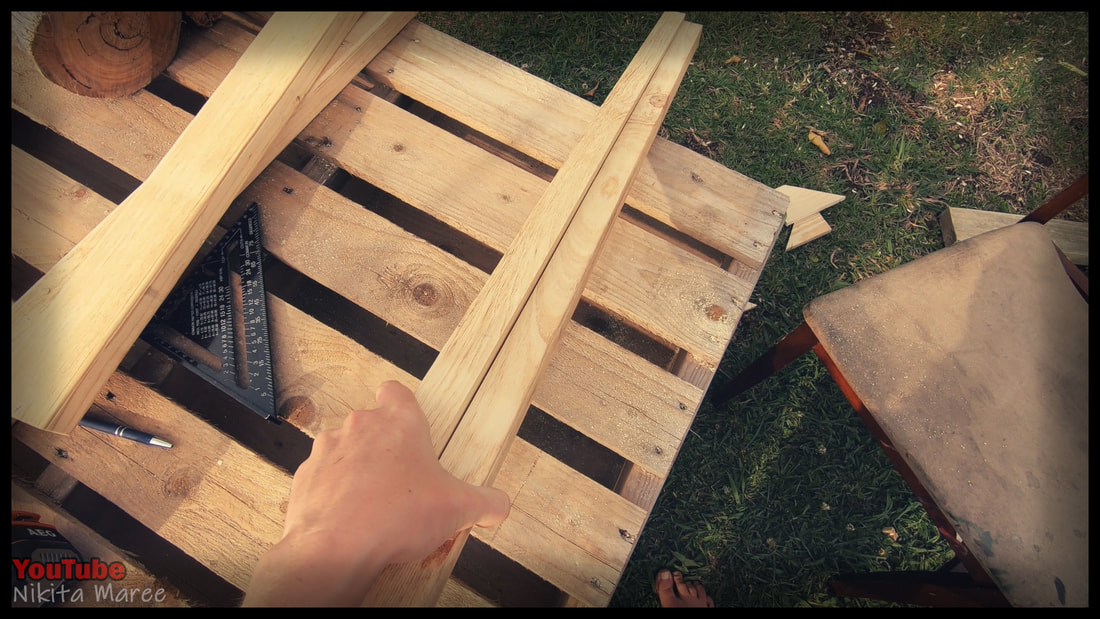
I started by making a simple square frame.
Laid the frame on a flat surface and start attaching your palings. |

|
|
keeping one edge flush.
|
|
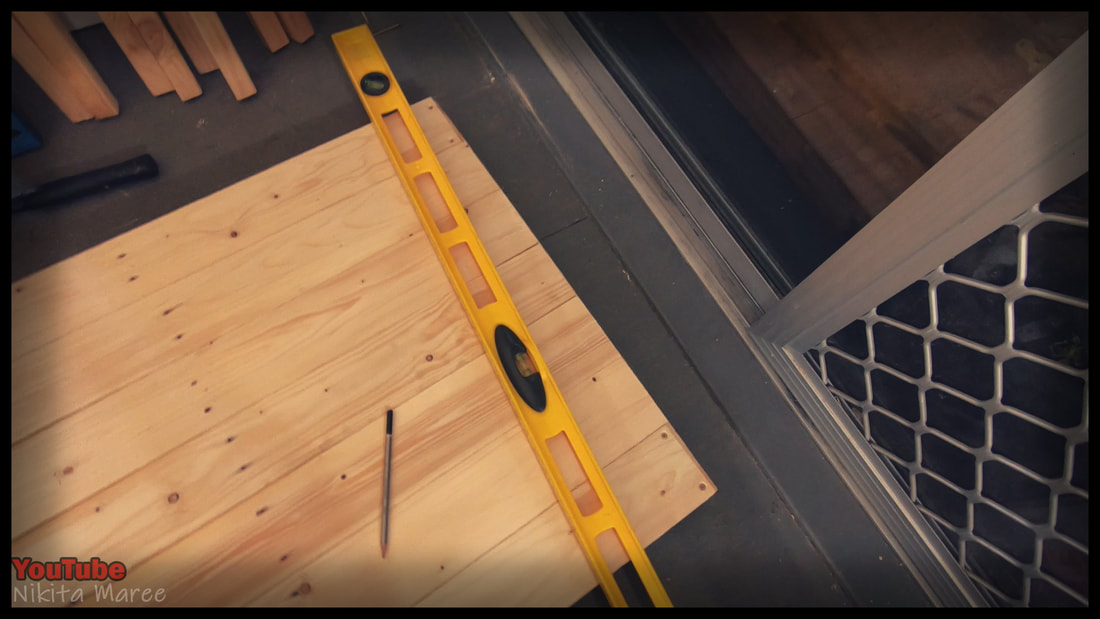
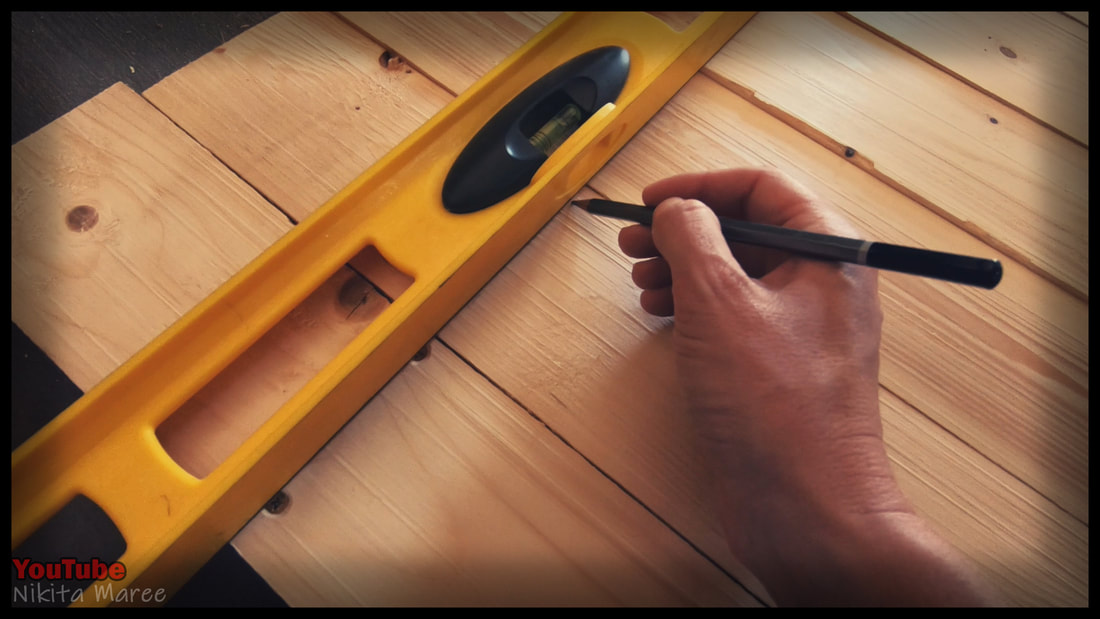
Use a straight edge to precisely mark your holes with the frame below it.
|
|
|
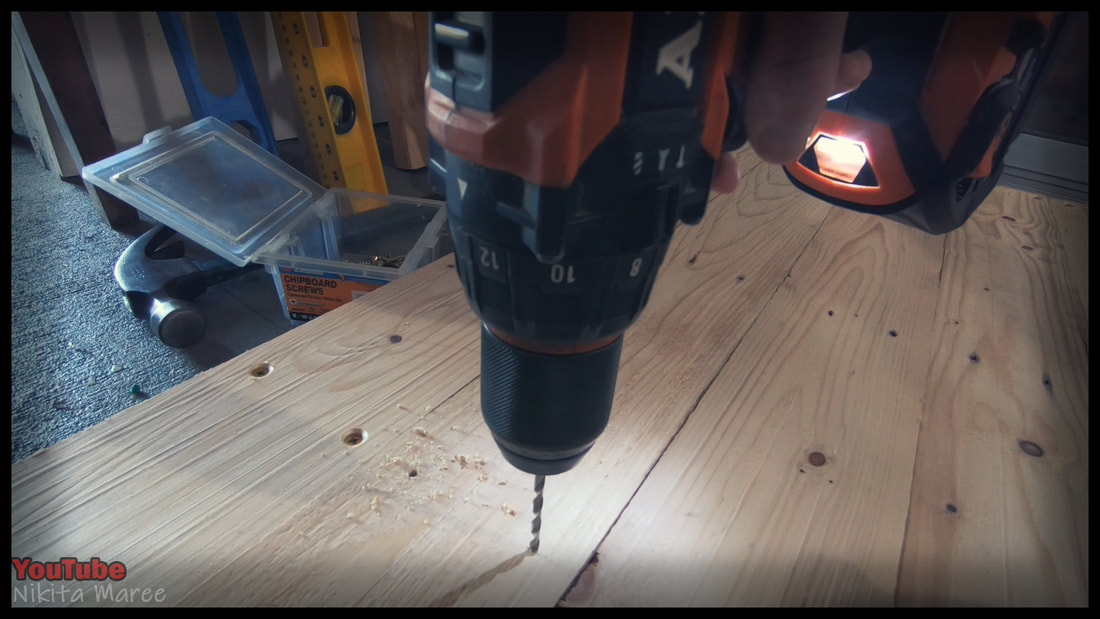
Pre-drill your holes only going through the paling and not through the frame.
|
|
Give the holes a chamfer, then attach them.
|

|

|
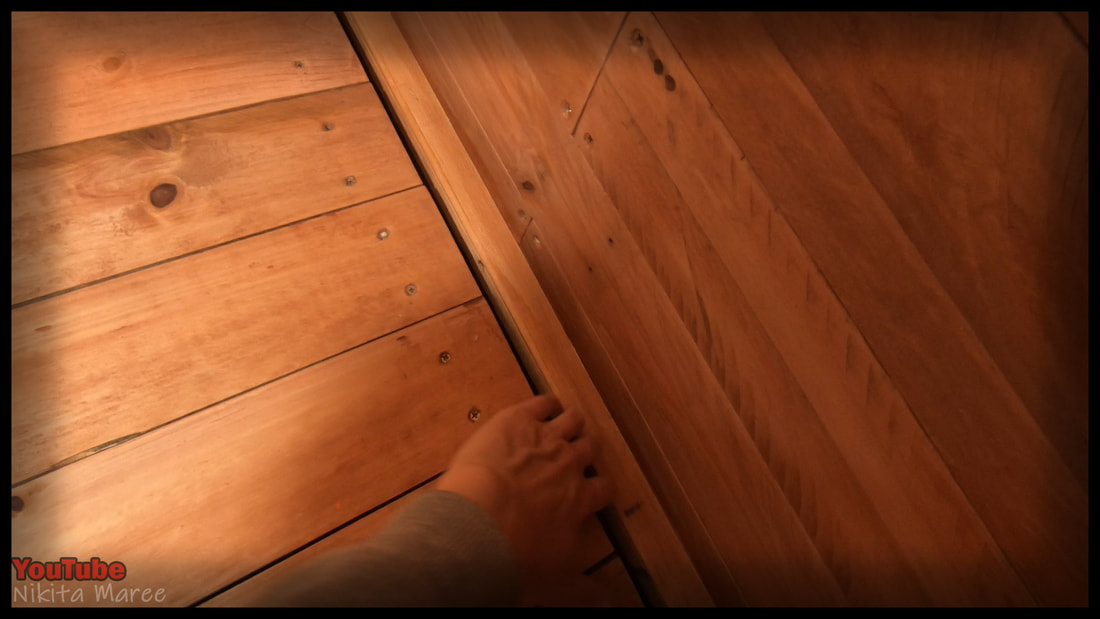
Run the circular saw over the remaining edge
to remove the excess length. |
|
Give it a stain, then attach it to the wall.
|
|
|
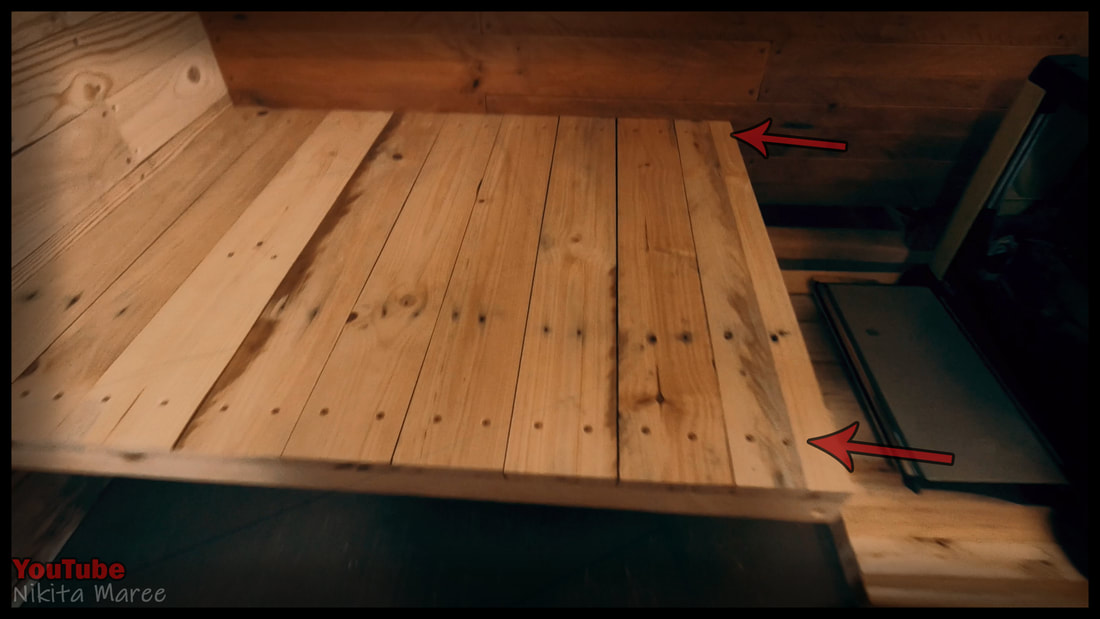
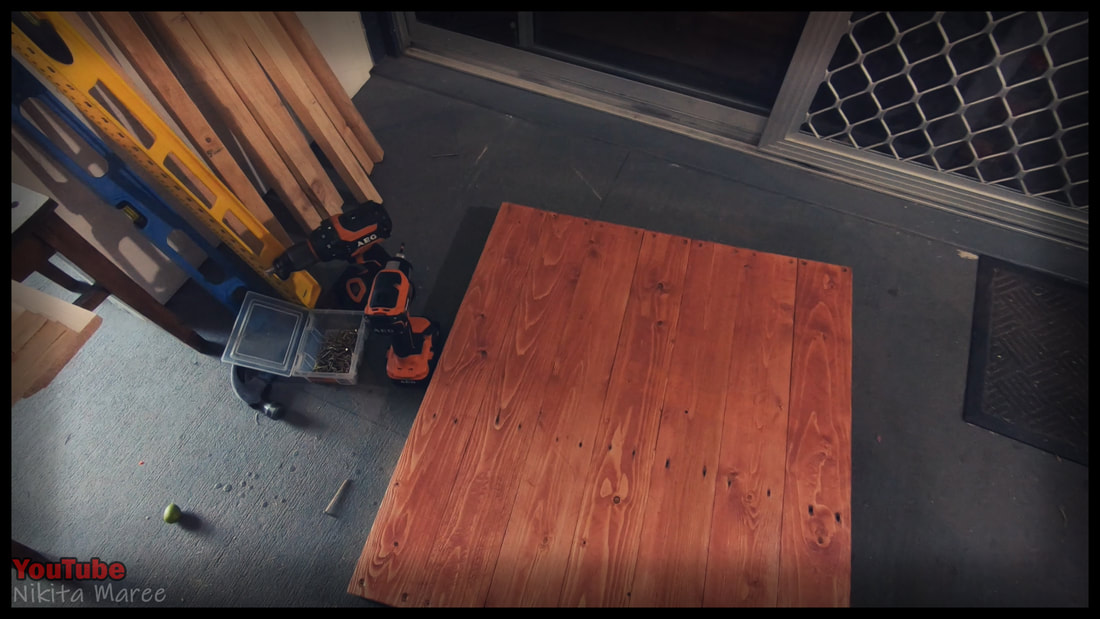
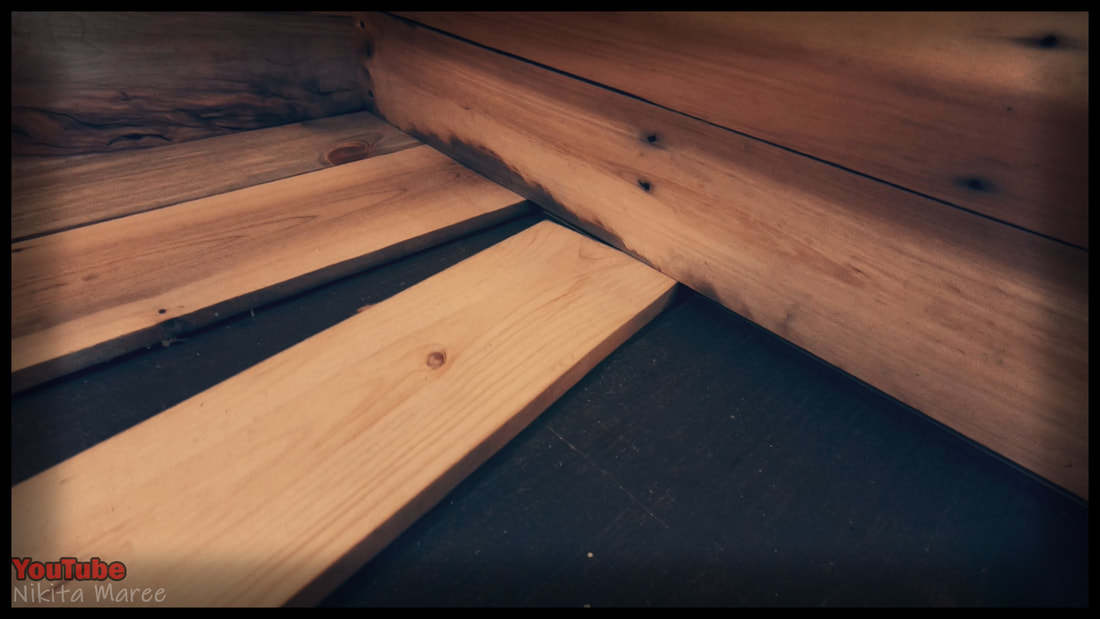
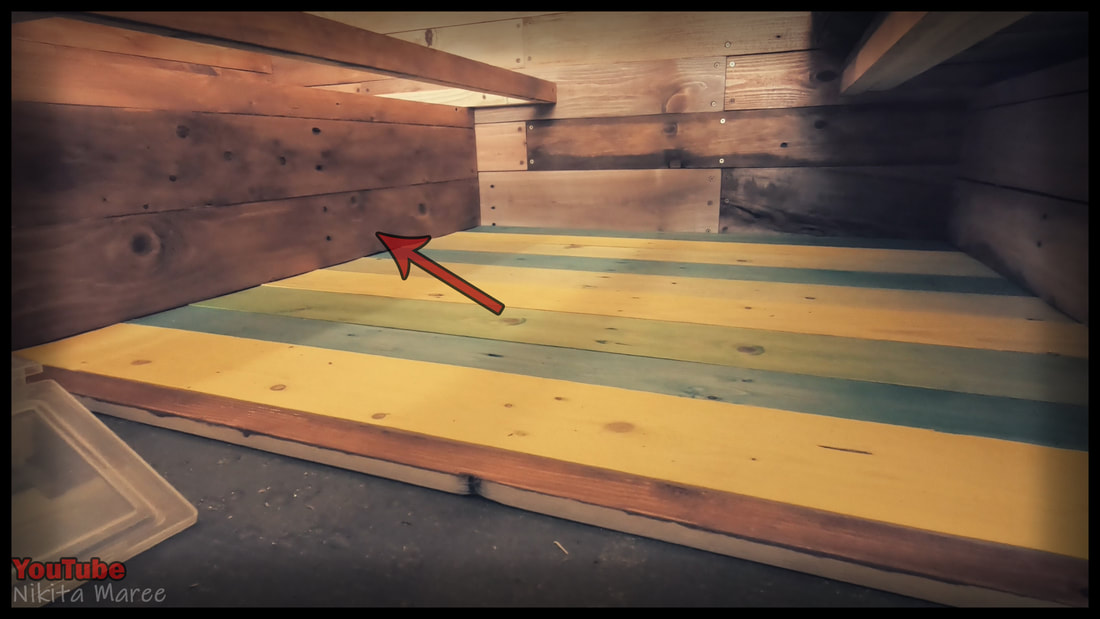
For the floating floor, I push the pre-cut boards up under the kick-board of the first seat.
|
|
Then add the kick-board of the other seat directly on top, holding the floating floor in place.
|
|

|
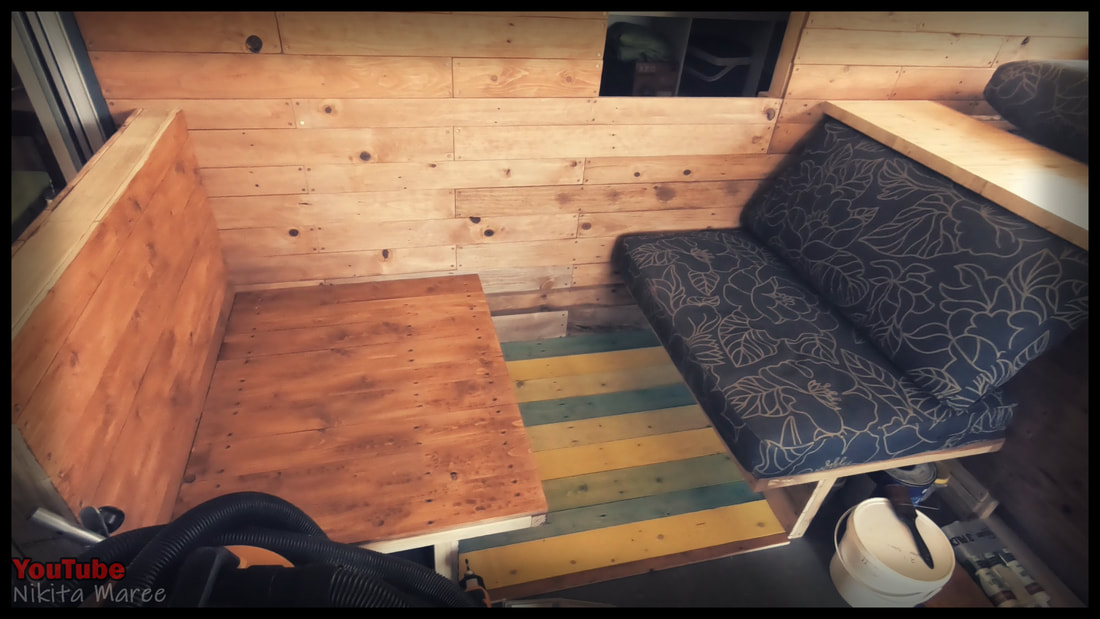
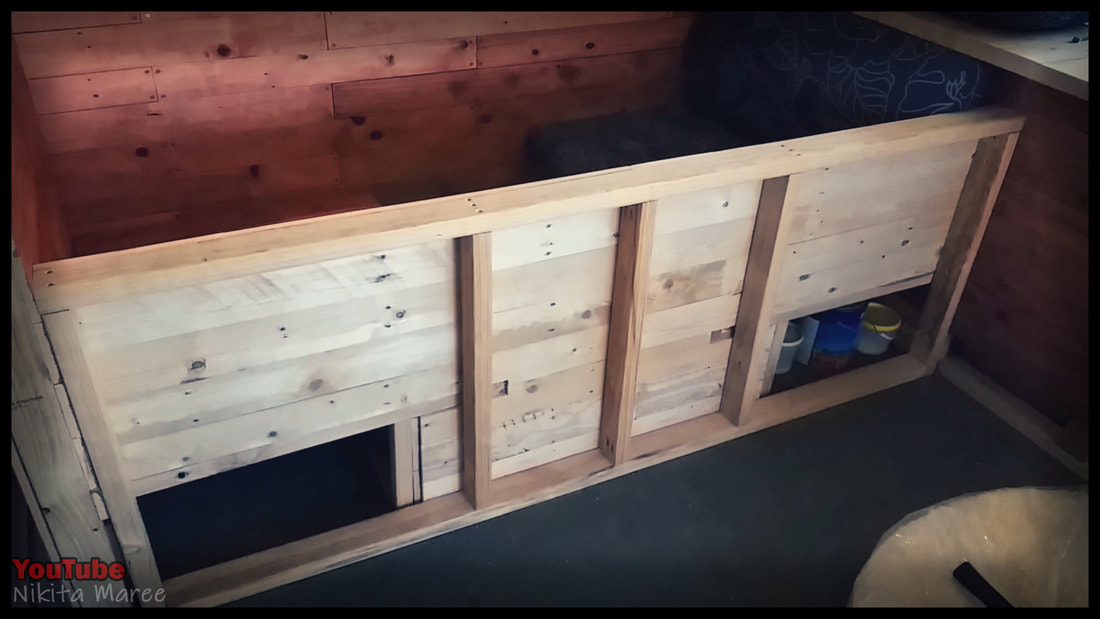
Moving onto the base of the seat on the left hand side, it is simply a mirror image
of the other side. |
|
Build the lift up seat the same way as we did
for the other side. |
|
|
The reason why I gave the seats an overhang is to increase the leg room.
|
|
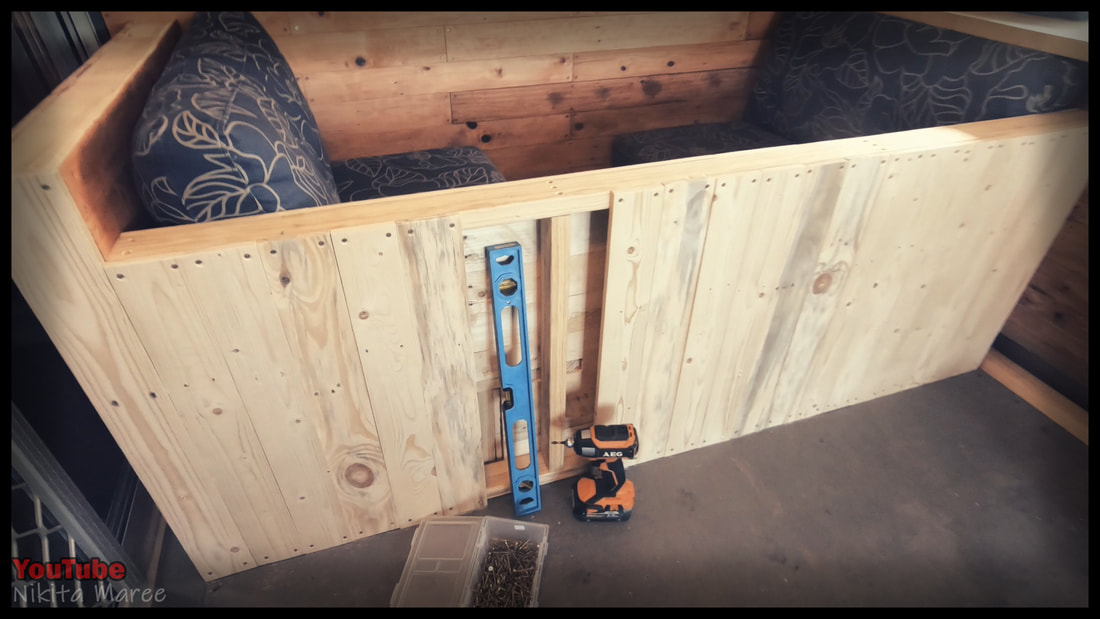
Now to build the wall to contain everything.
|
|

|
I use the full width of the 70 x 35 this time.
I wanted the added strength, since we are constantly climbing up over it, and I prefer the chunky look. |
|
I covered the inside wall in first and got plenty of help from the boys.
|

|
|
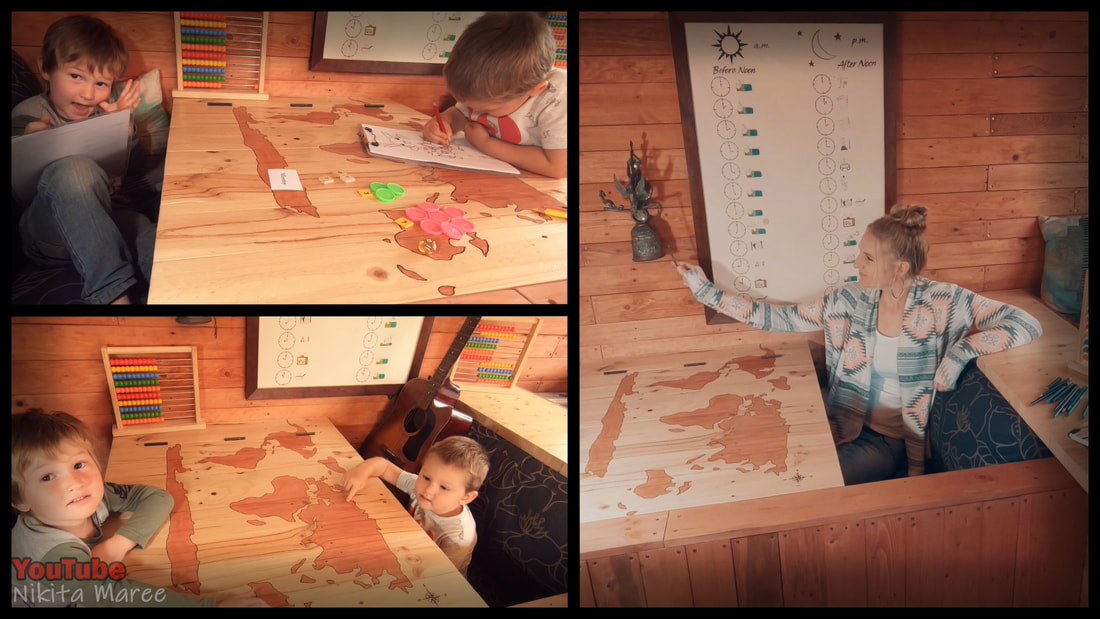
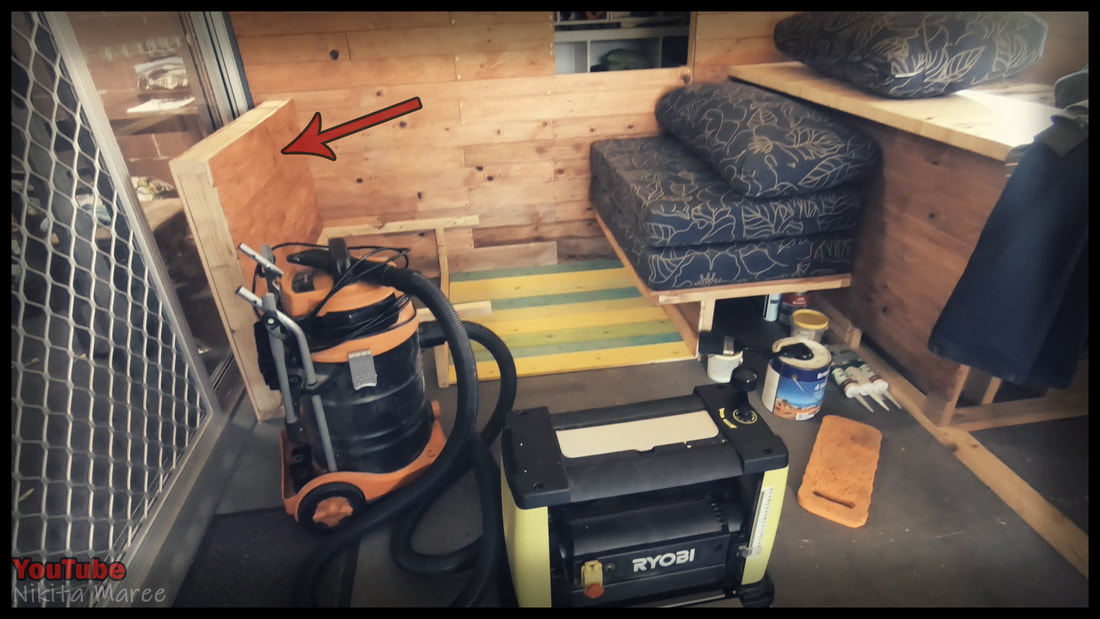
By this stage of the build we had already started using it for our schooling.
|
|
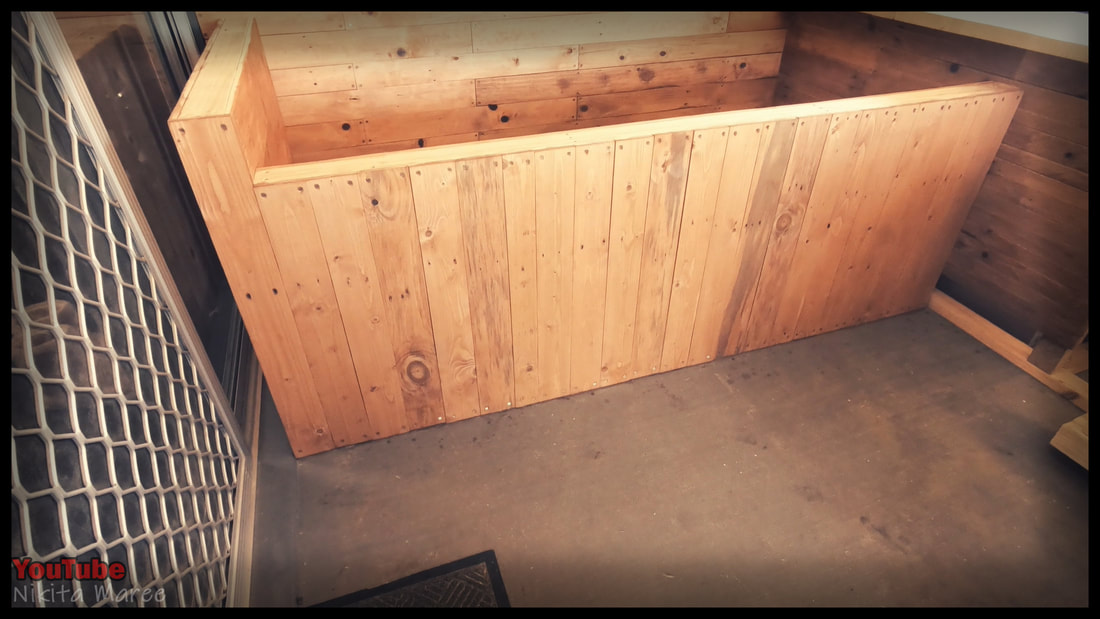
For the outside of the wall,
I ran the palings vertical. It just helps separate it from the back wall and break up all those horizontal lines. |
|
|
And now to stain it.
|