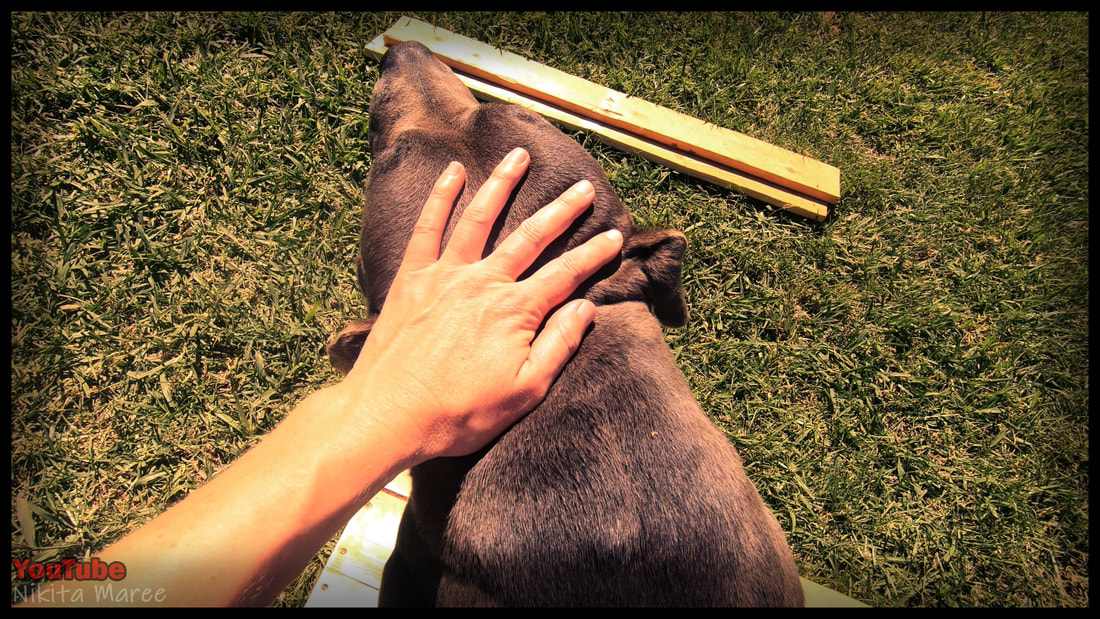
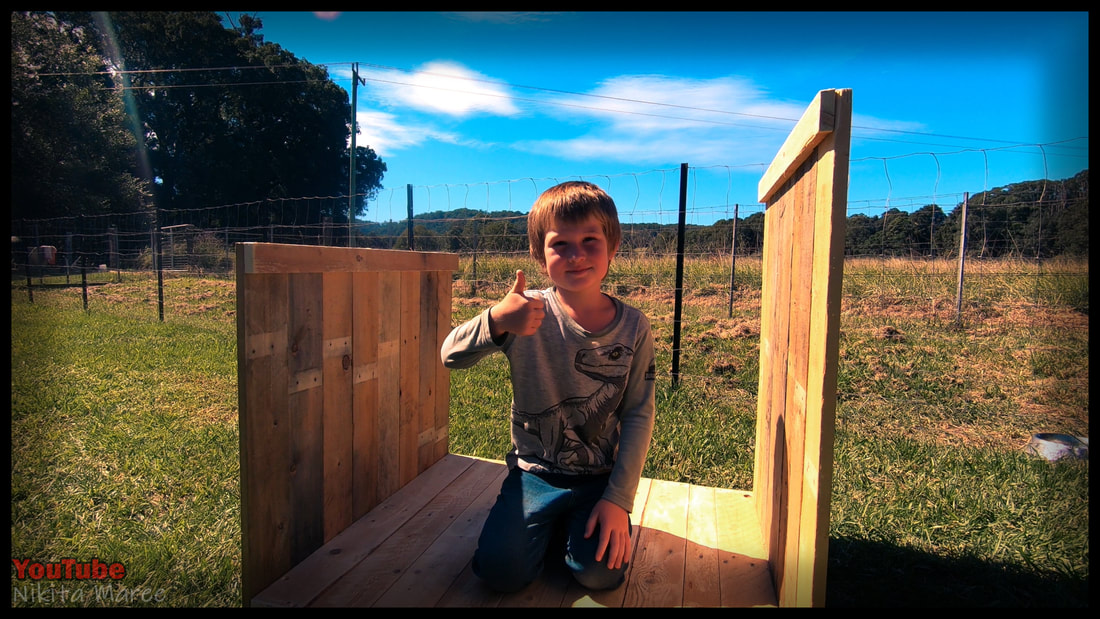
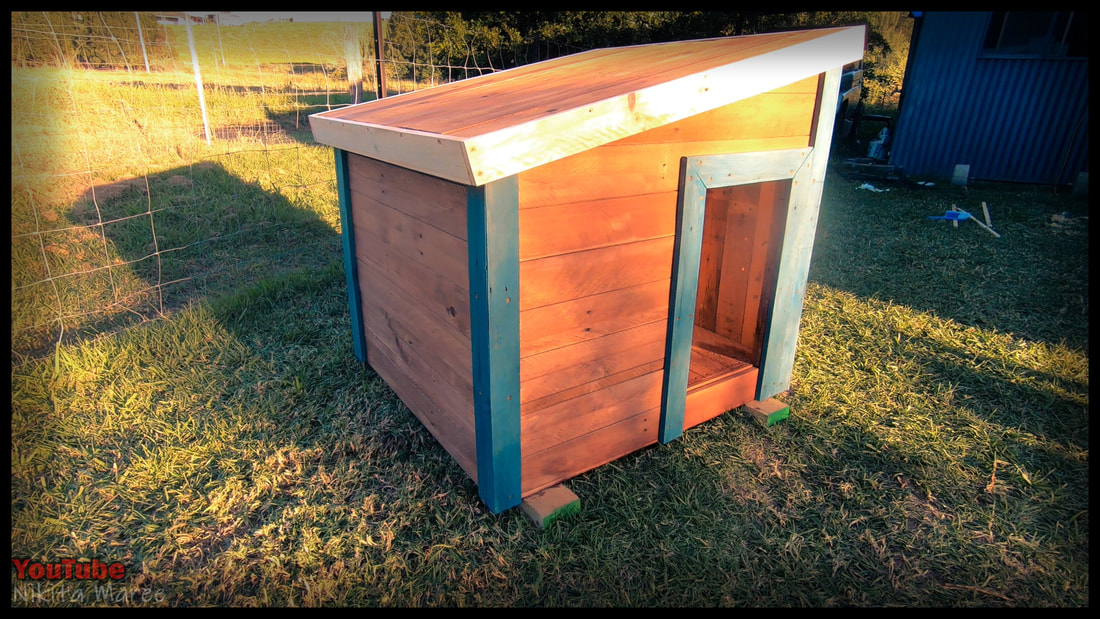
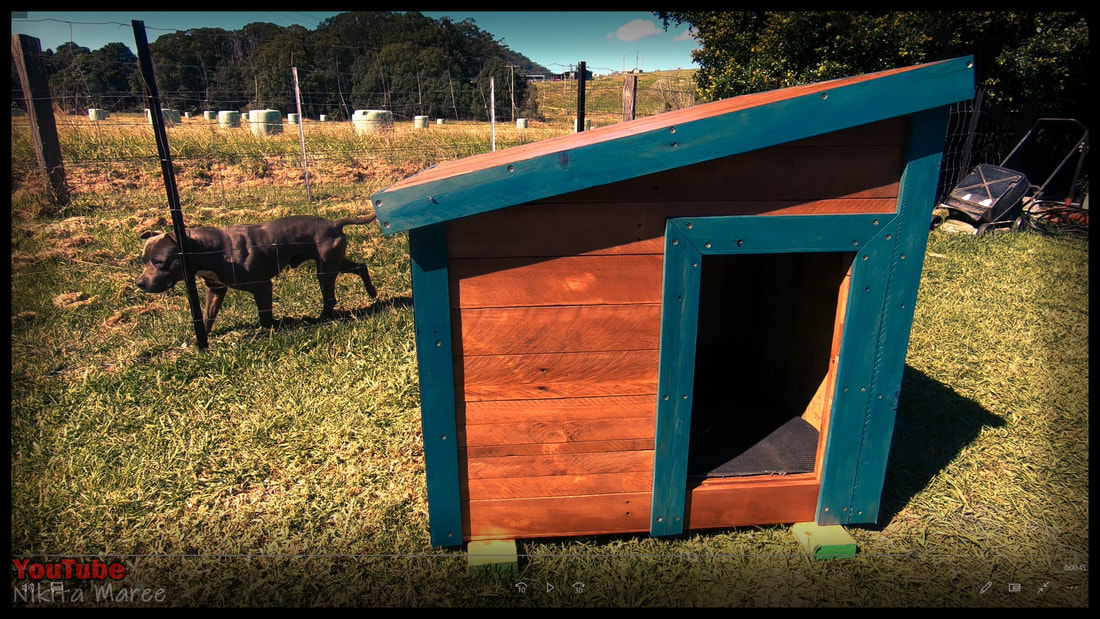
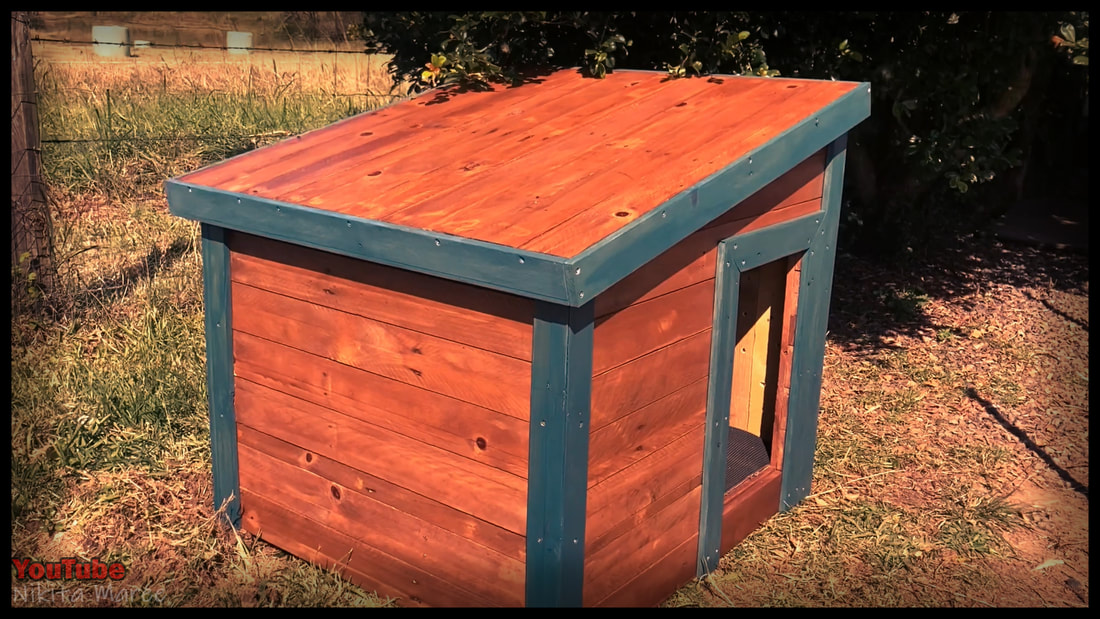
Pallet Wood Dog Kennel
|
|
In this video I go over the steps involved in making a warm double thickness Dog House,
made from pallet palings and stringers. The doorway is offset to one side to allow for curling up around the corner and out of the weather. The skillion roof is perfect for placing up against the side of the house. The pallet palings are double thickness to create a thicker barrier from the elements, as well as closing in any air gaps. |
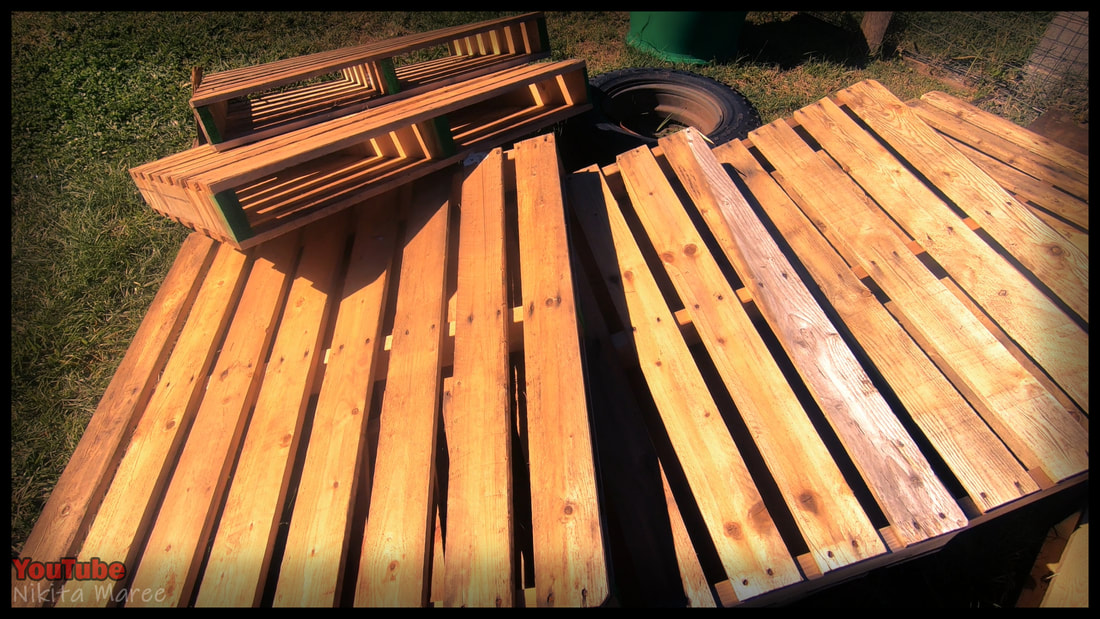
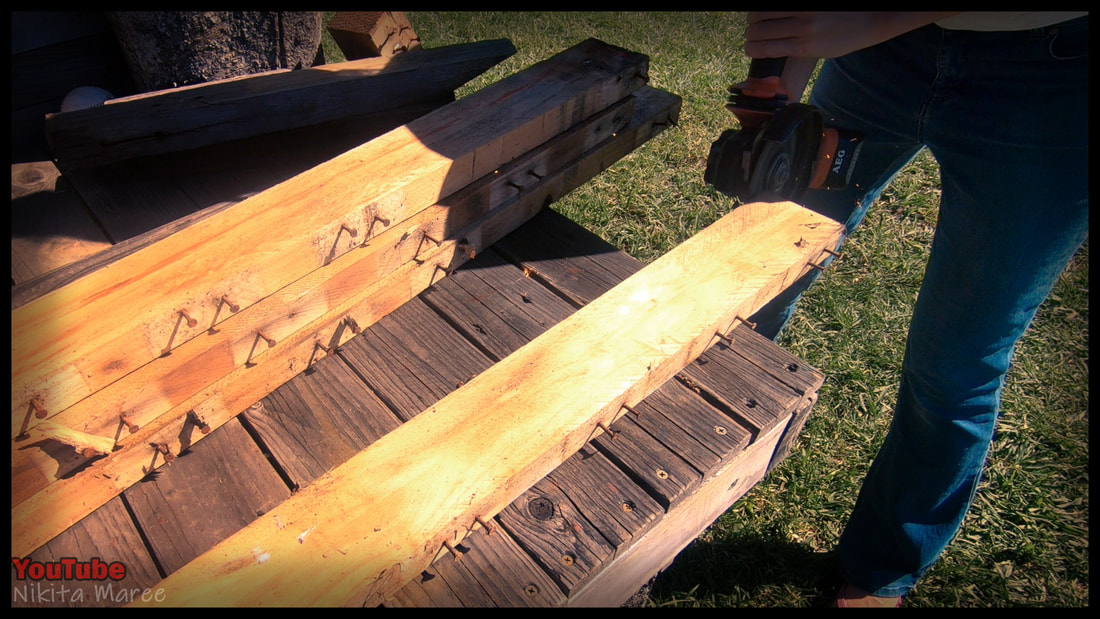
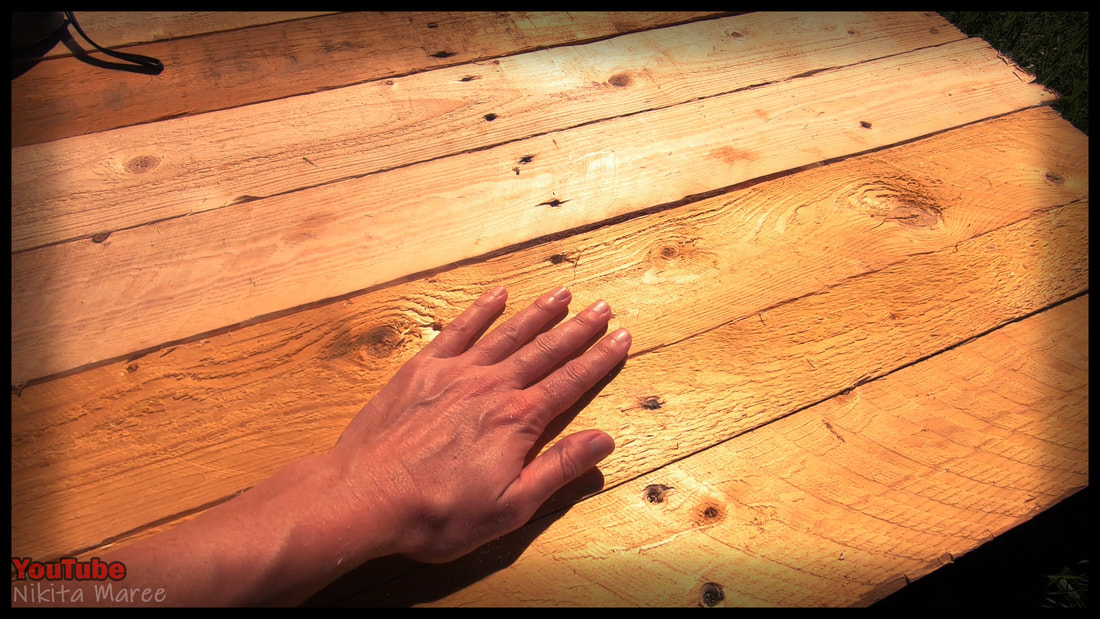
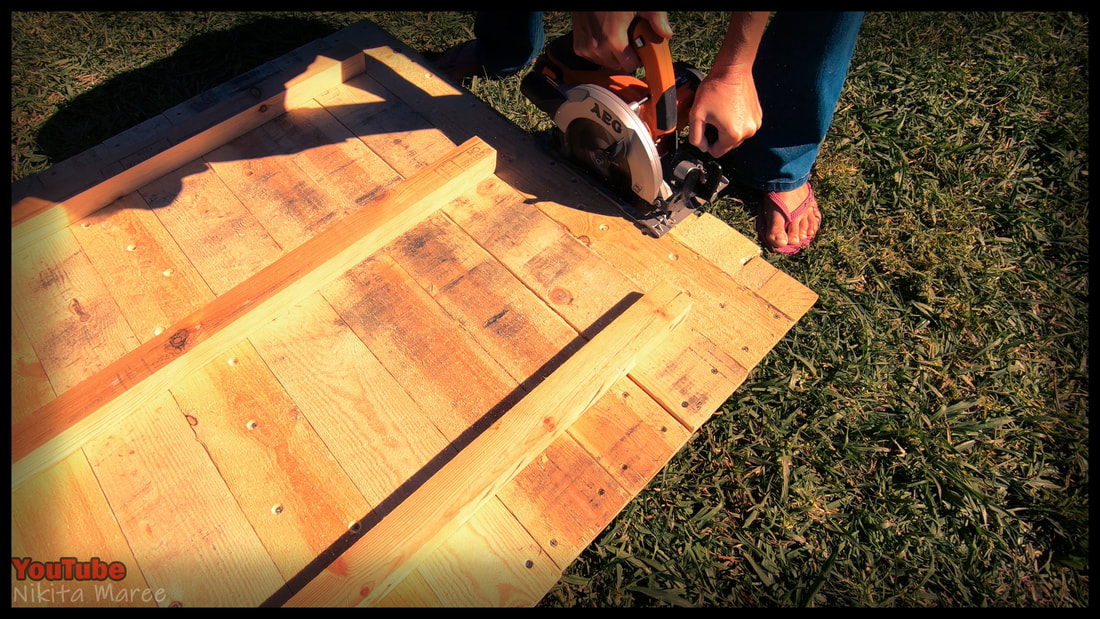
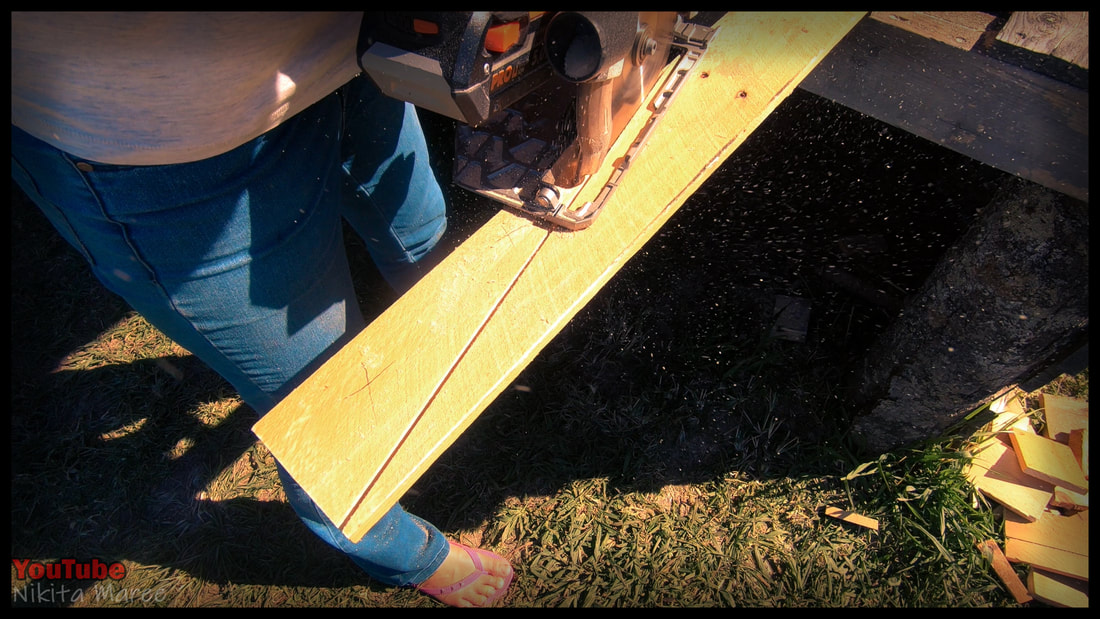
Start by cutting and pulling apart
a few pallets.
a few pallets.
|
|
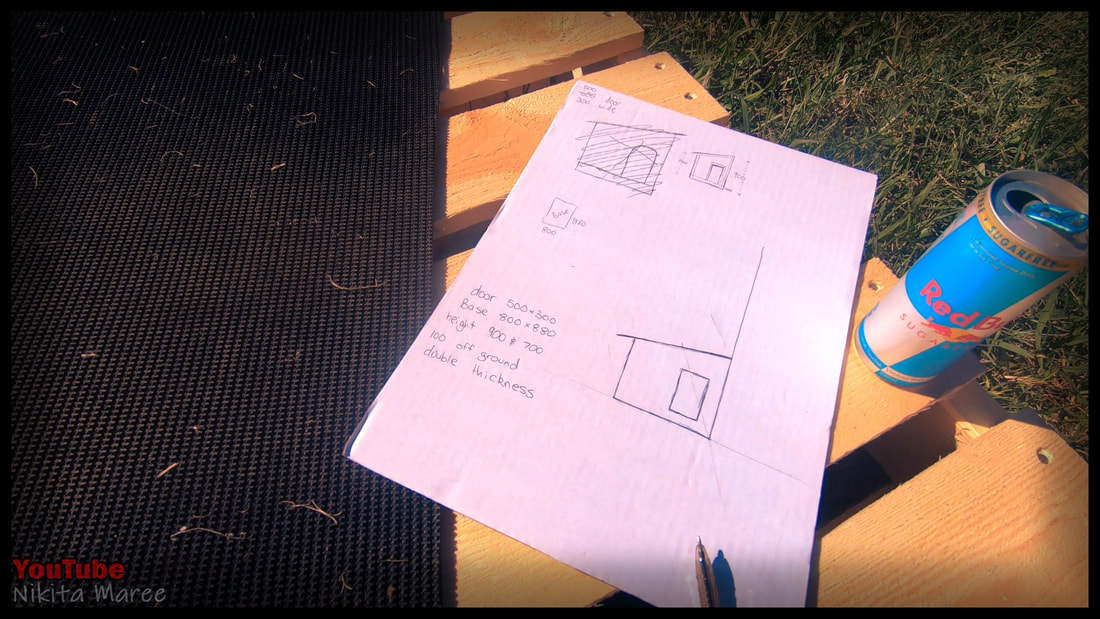
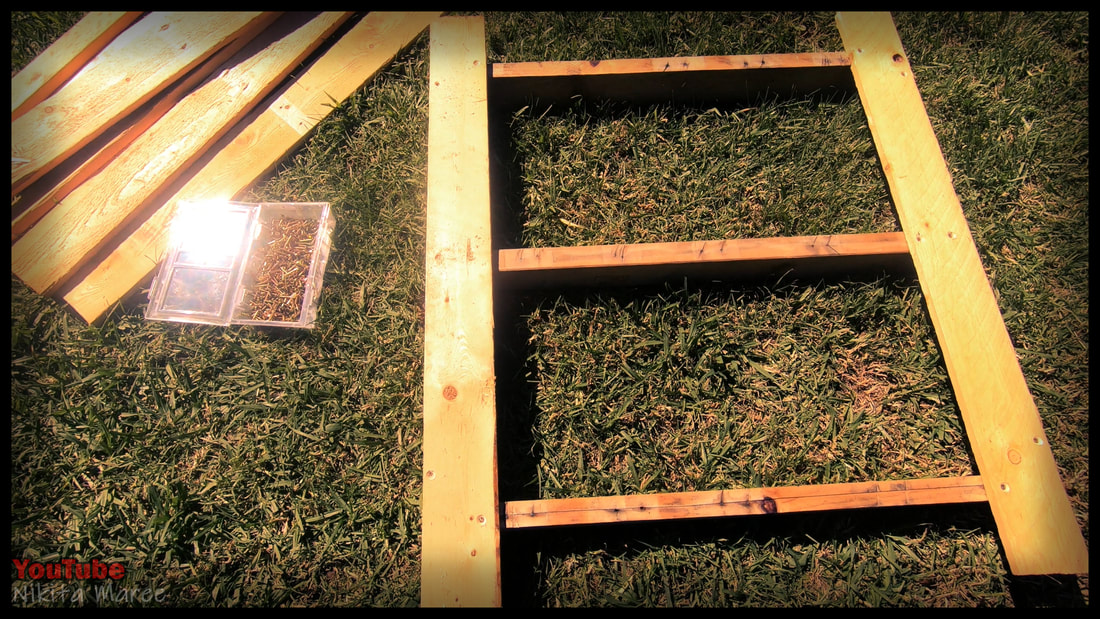
I then created a rough plan for the build.
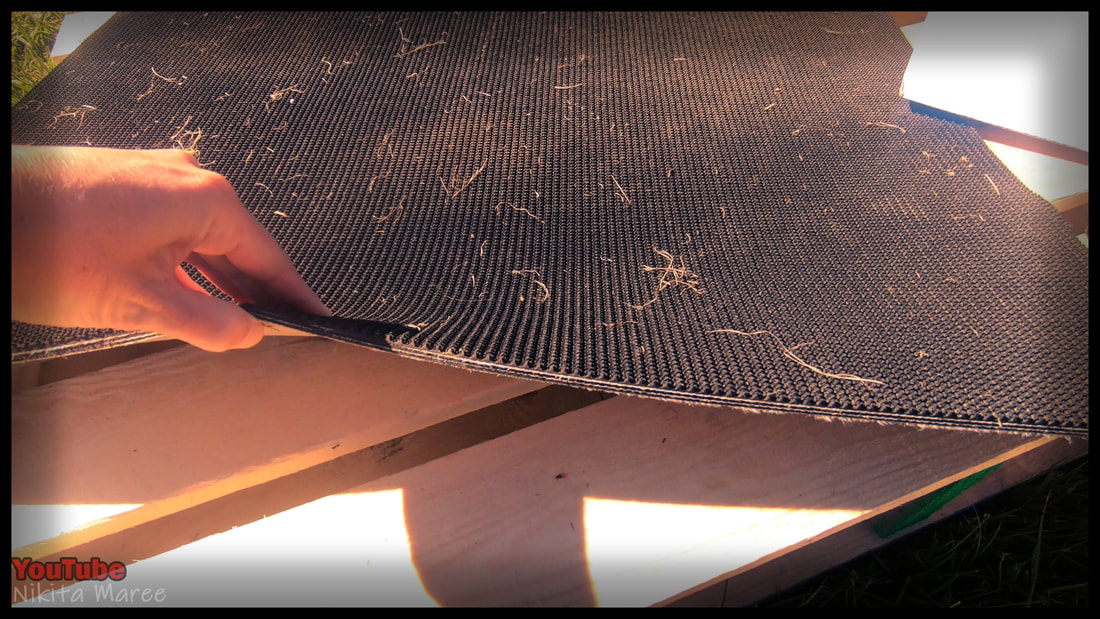
I made the floor dimensions to suit the size of scrap conveyor belt
that I planned to use as the bedding.
I made the floor dimensions to suit the size of scrap conveyor belt
that I planned to use as the bedding.
|
|
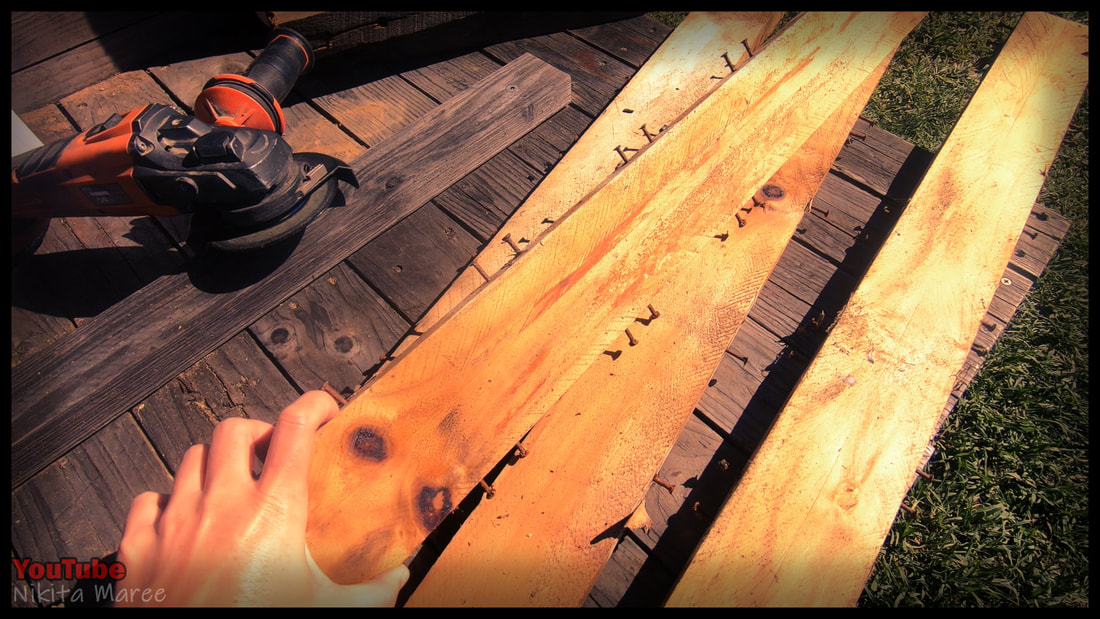
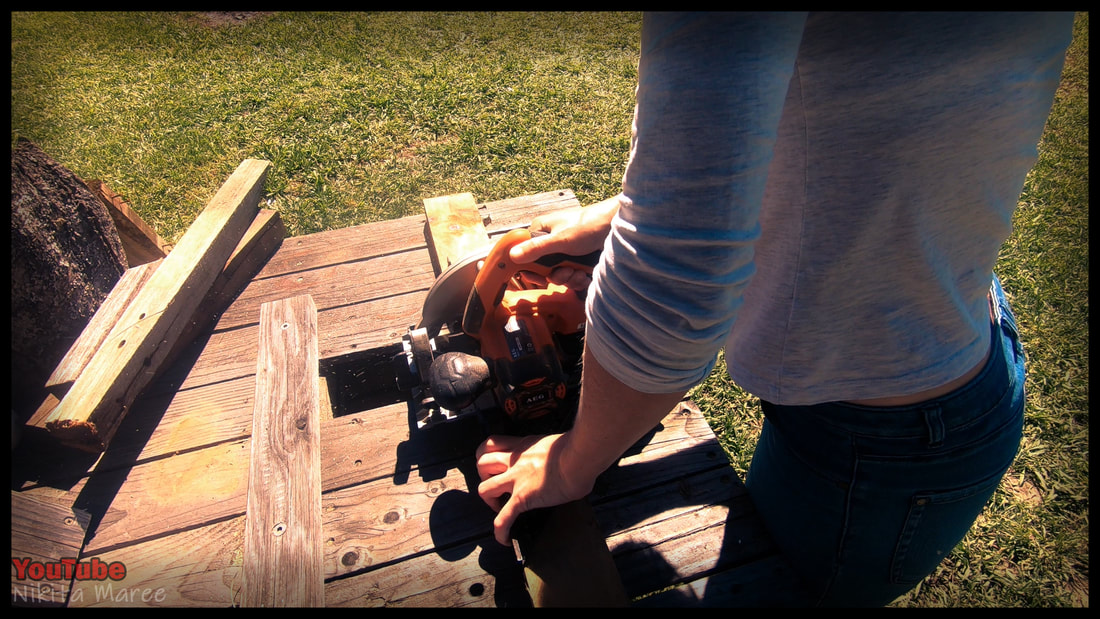
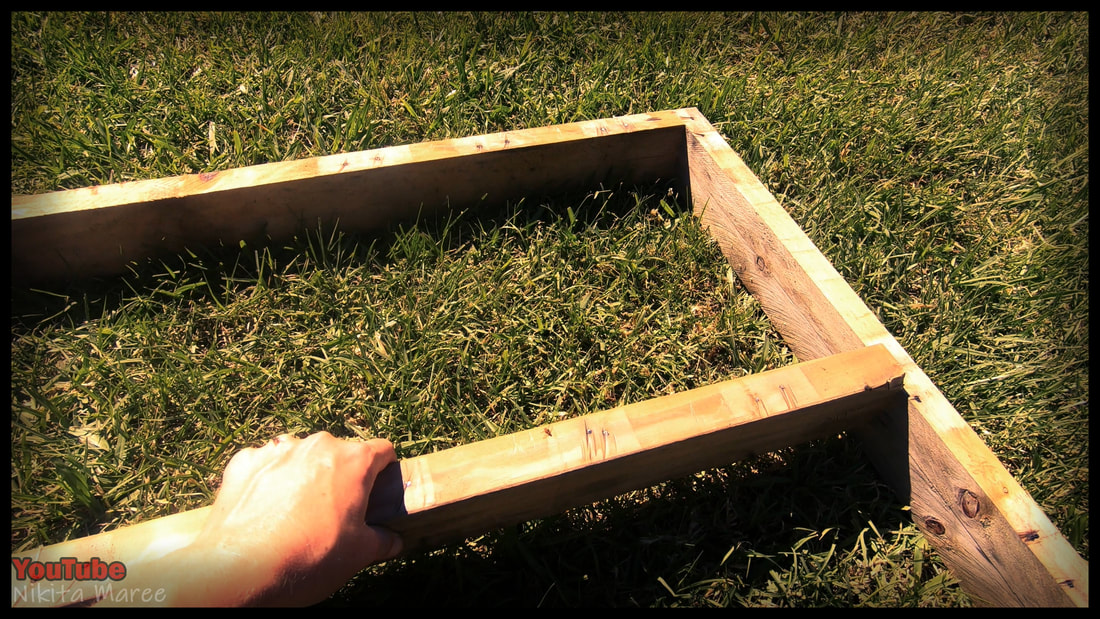
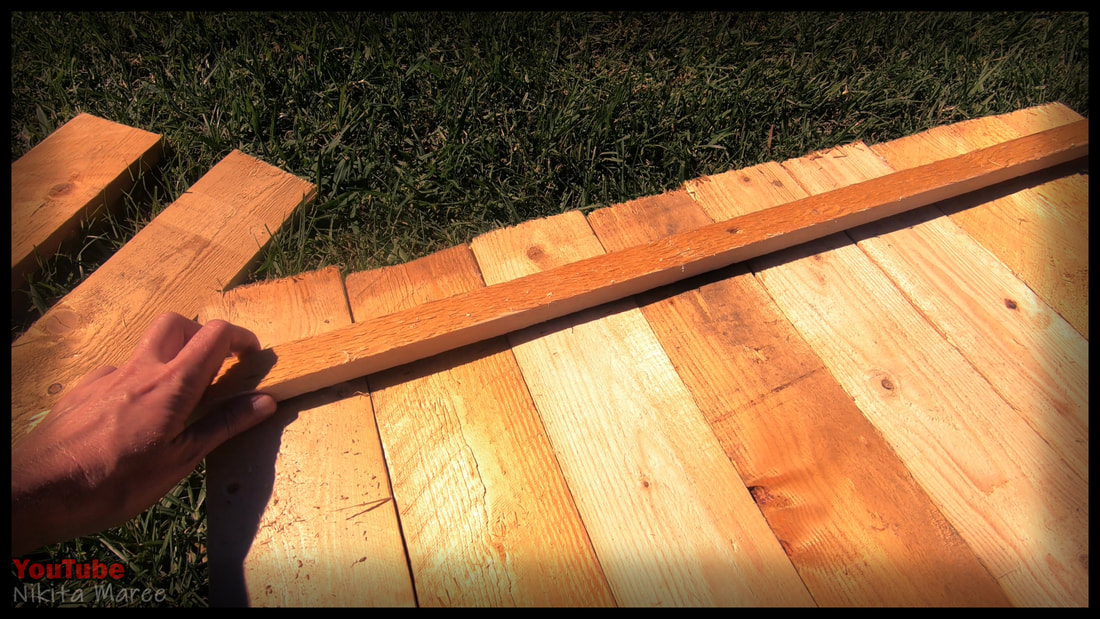
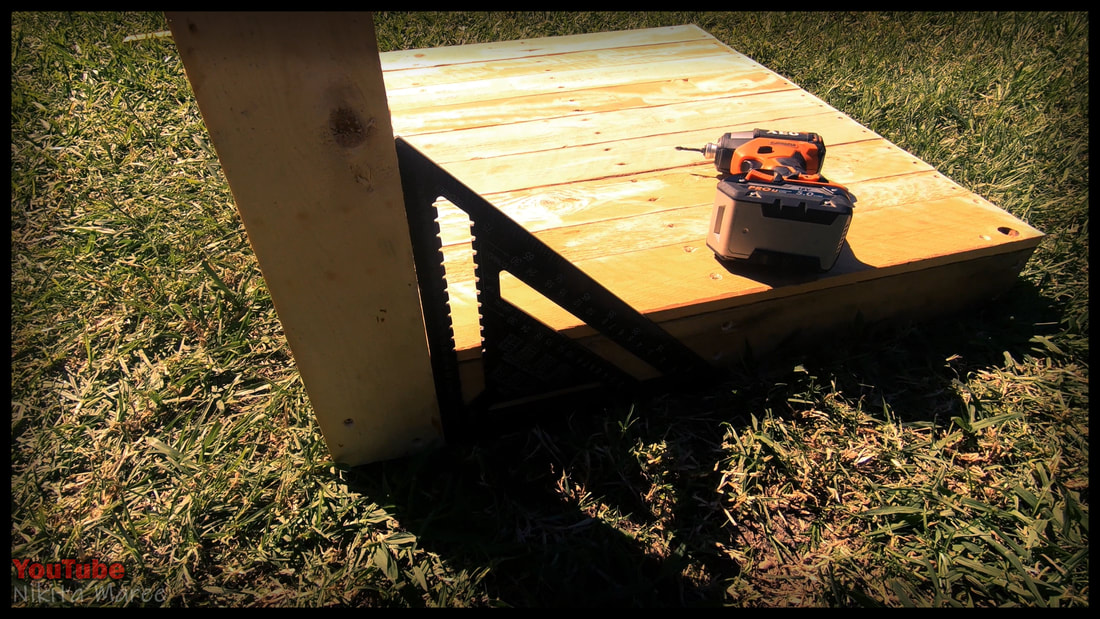
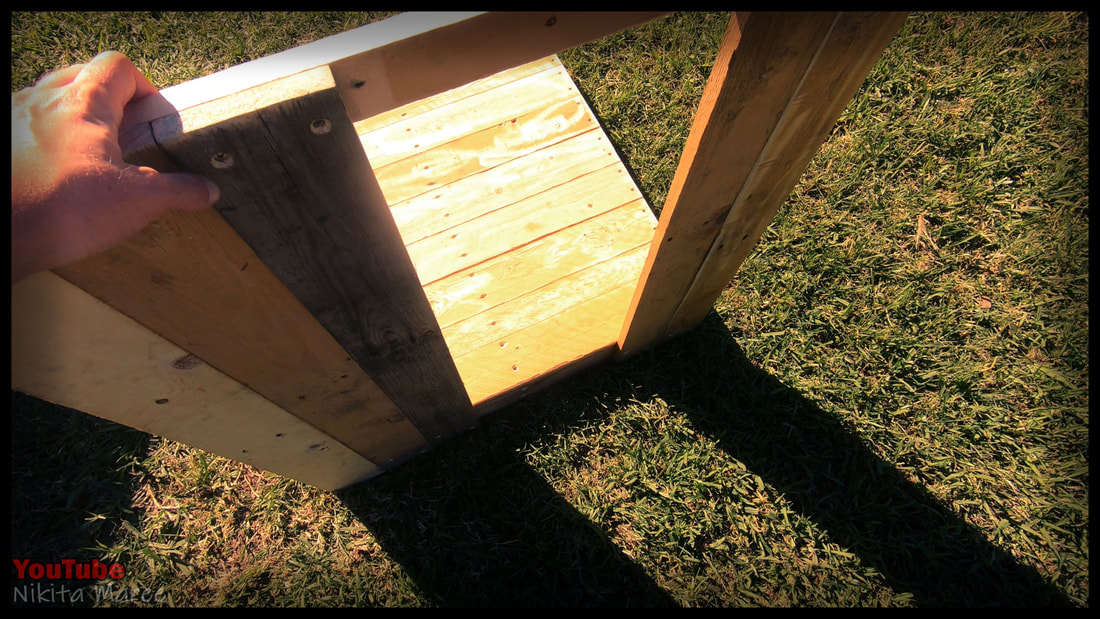
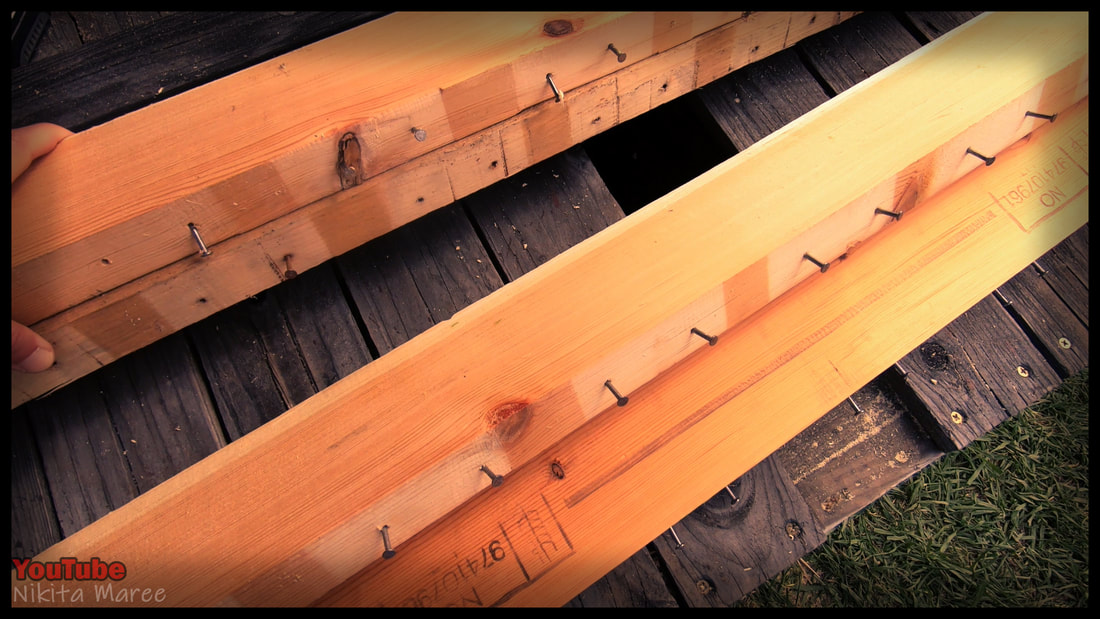
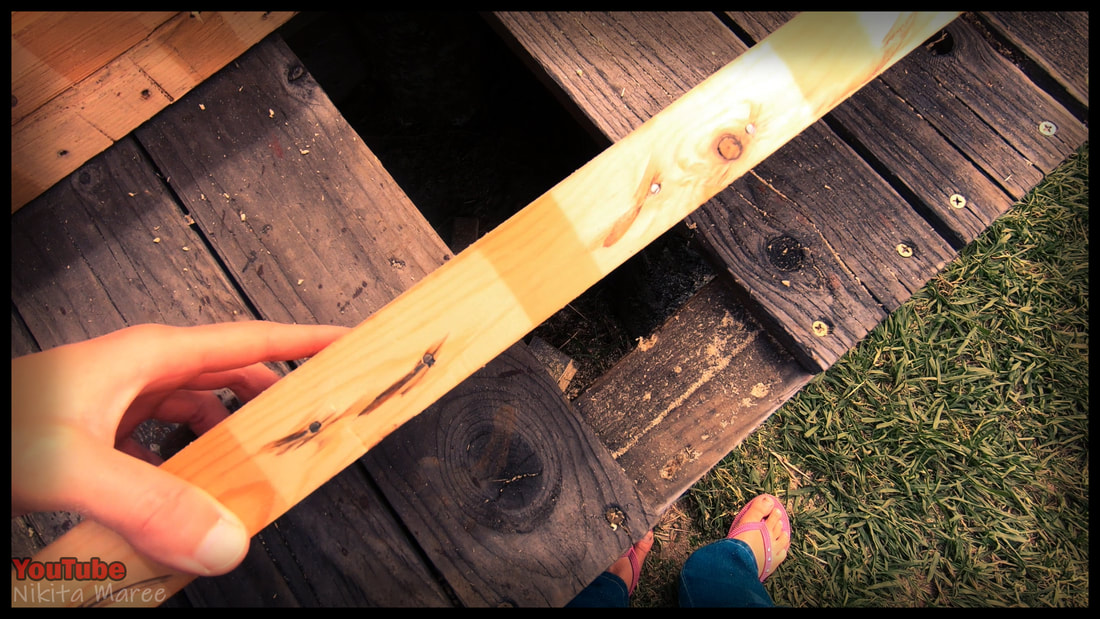
For the base frame, I used the pallet stringers.
I prefer to cut the nails off with the angle grinder,
because it is quicker and easier than removing them.
I prefer to cut the nails off with the angle grinder,
because it is quicker and easier than removing them.

|
|
|
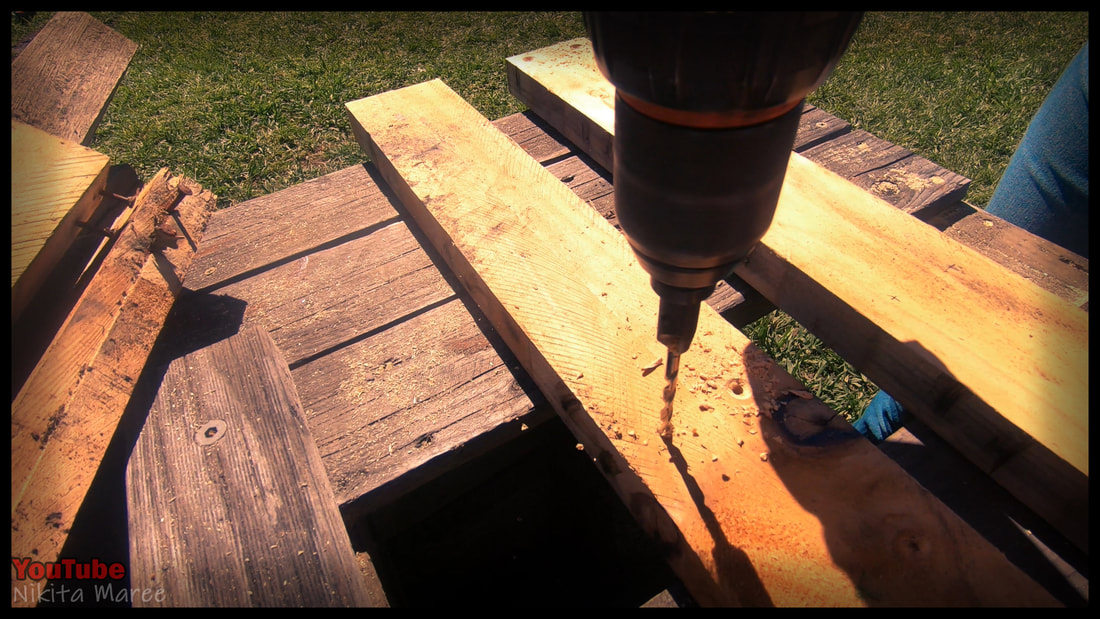
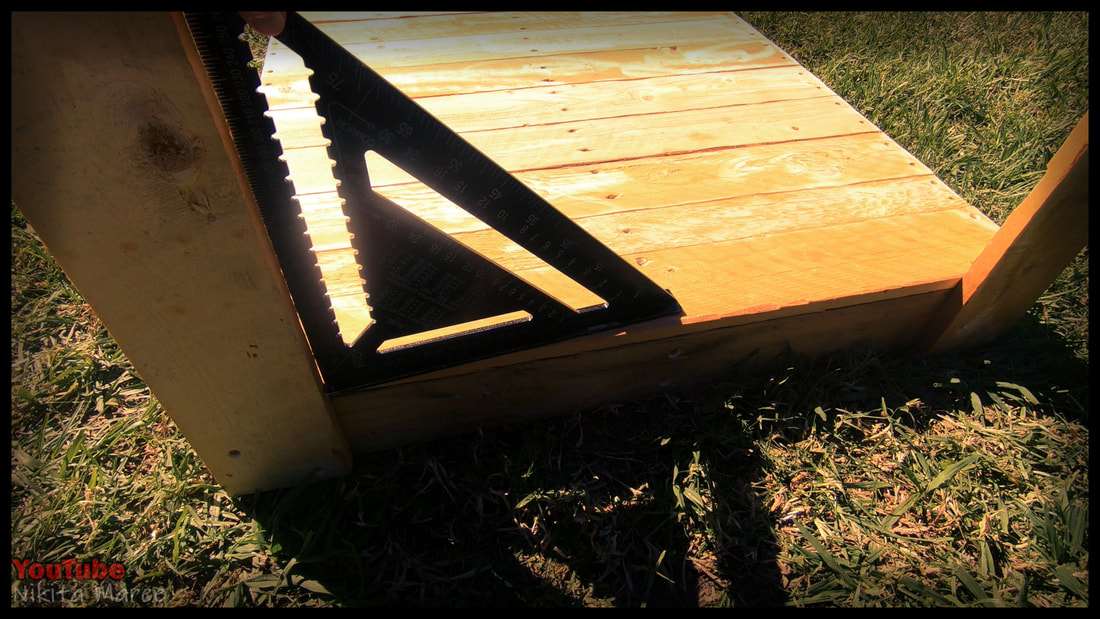
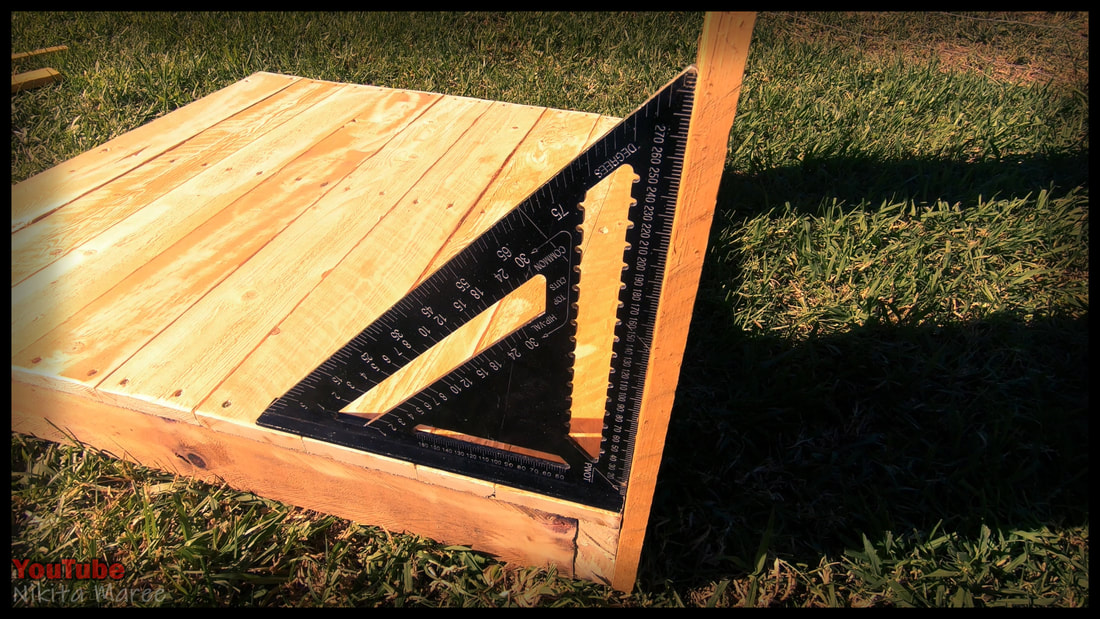
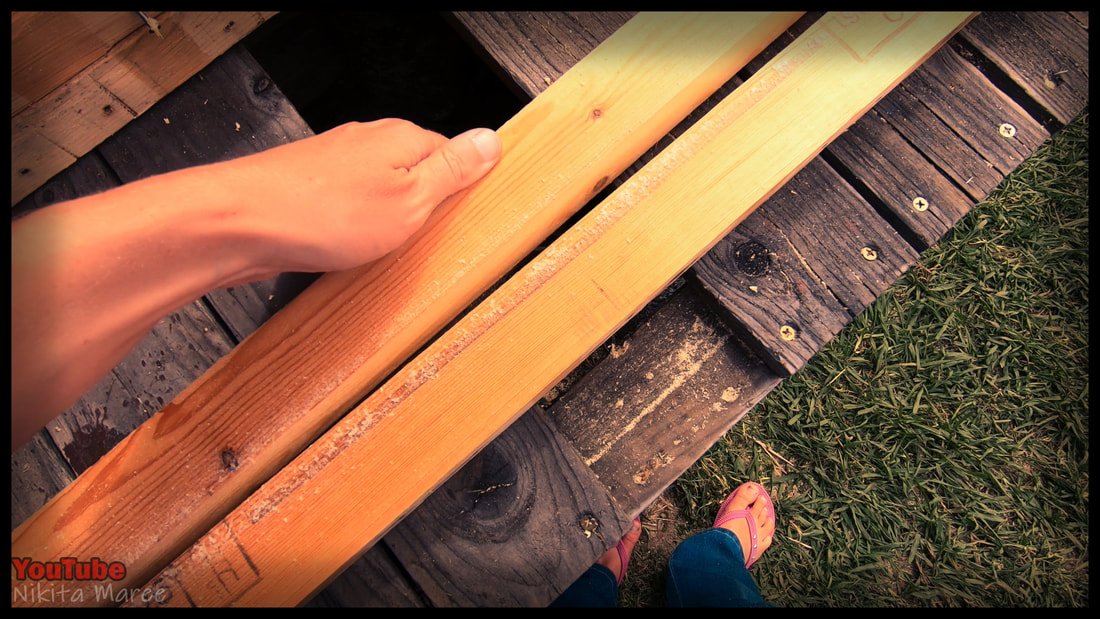
Mark them out. Cut them to length.
Then pre-drill and countersink.
Then pre-drill and countersink.
|
|
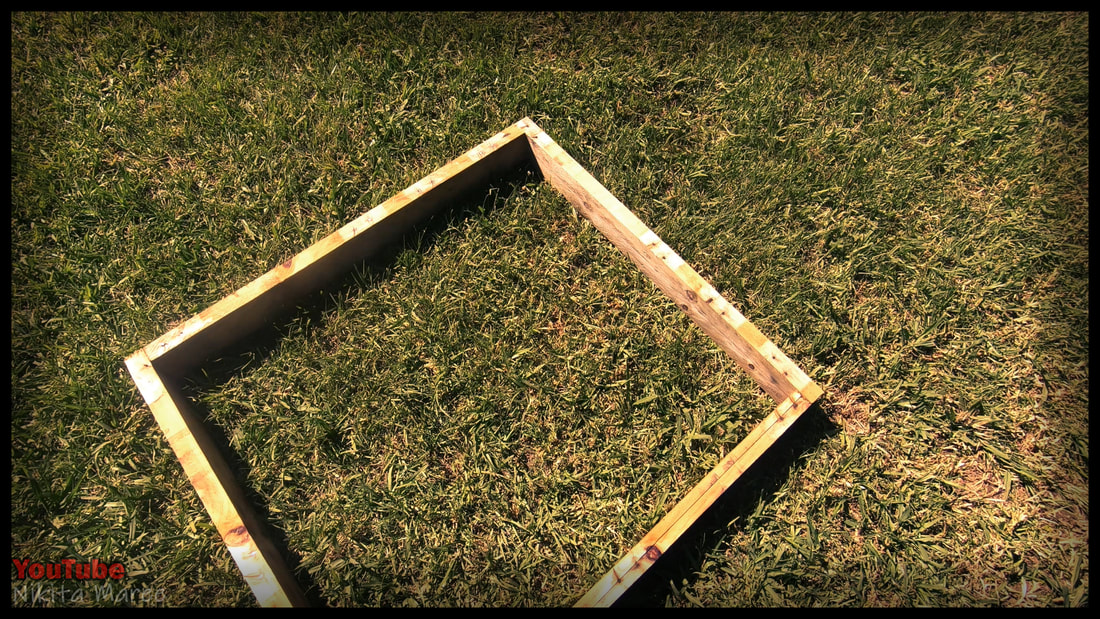
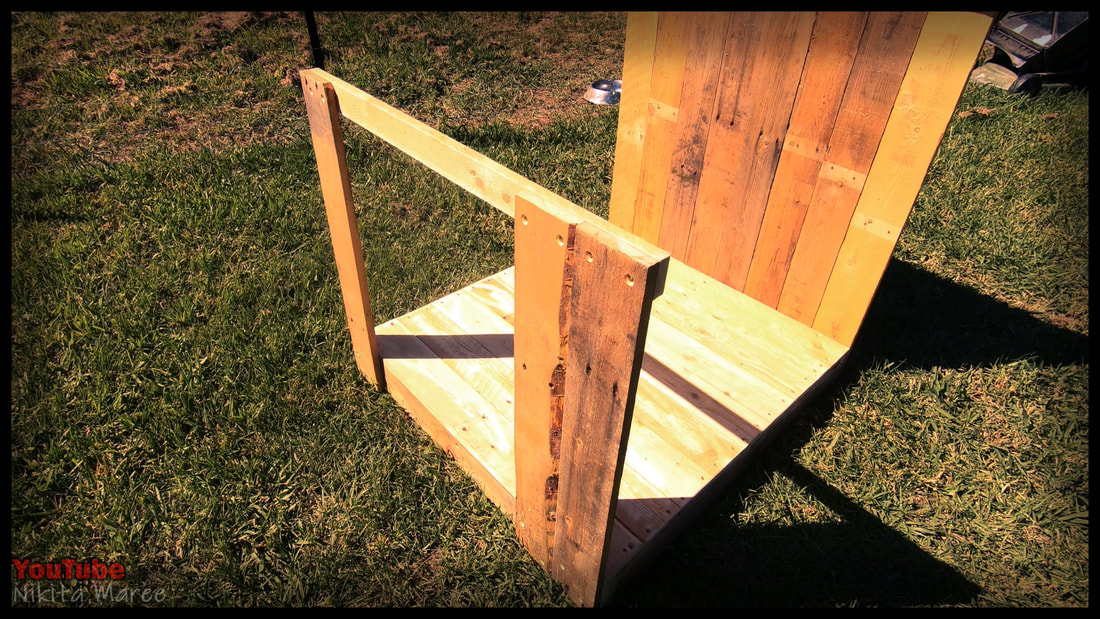
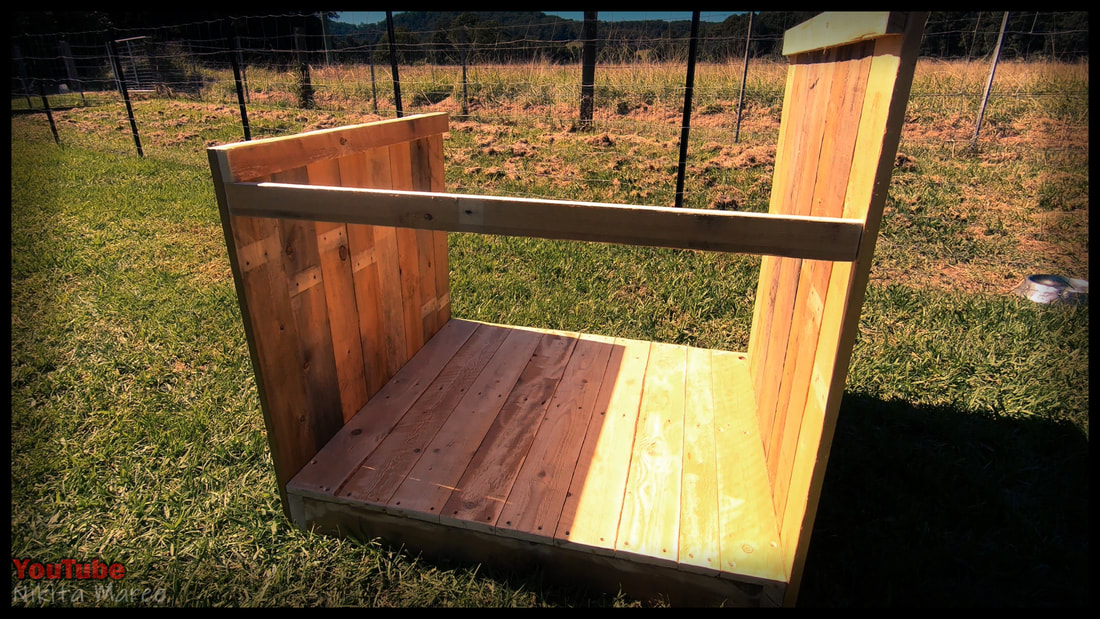
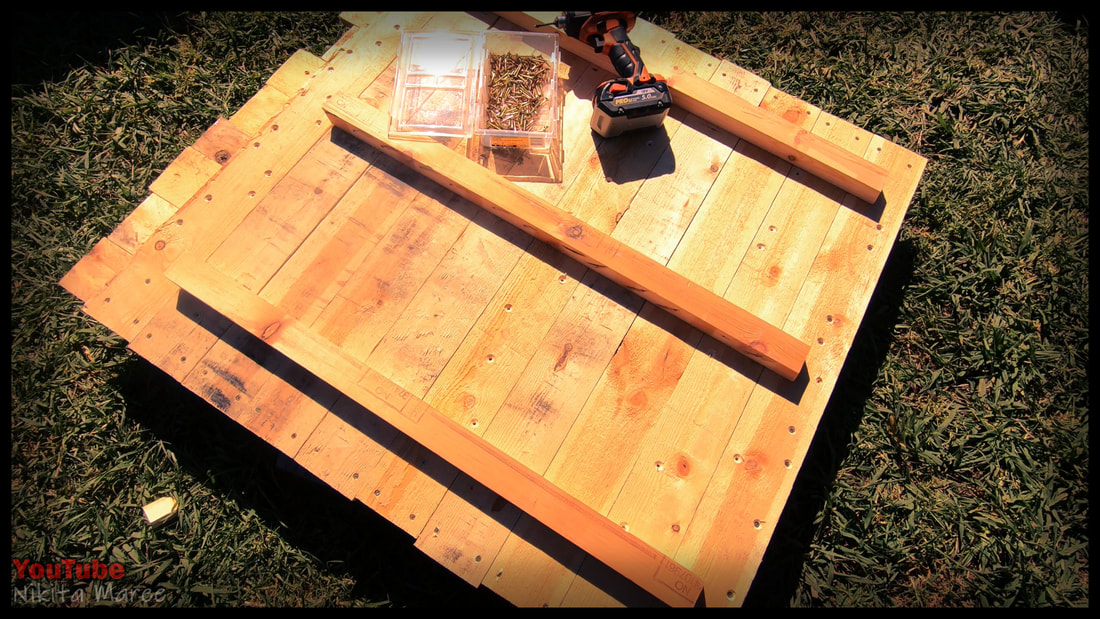
Make a simple frame.
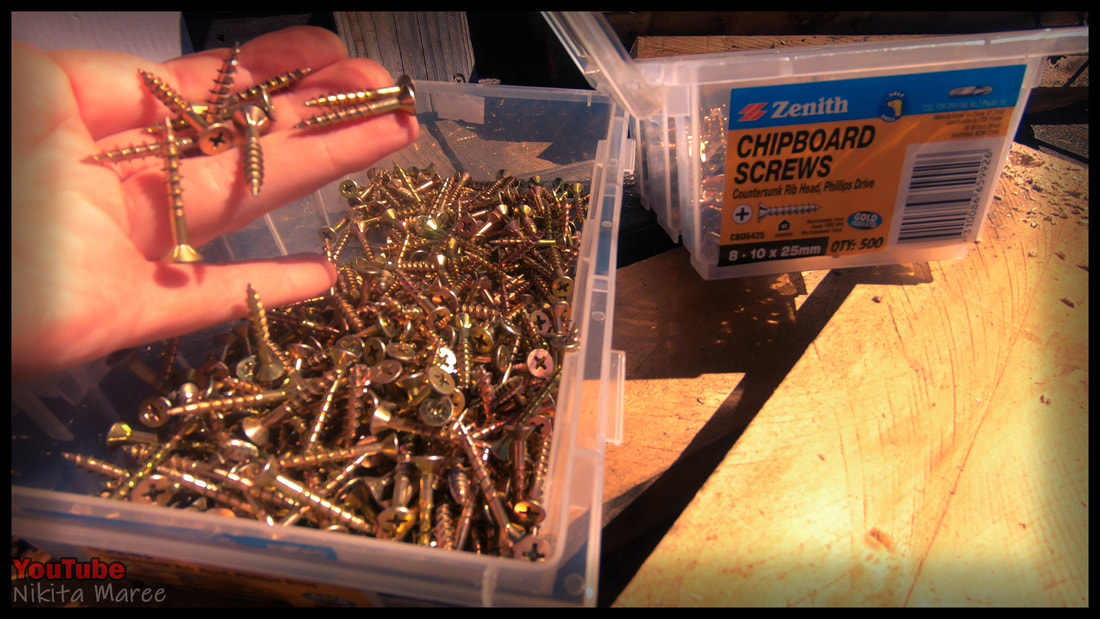
I use chipboard screws for most of my builds,
because they are affordable.
I use chipboard screws for most of my builds,
because they are affordable.
|
|
|
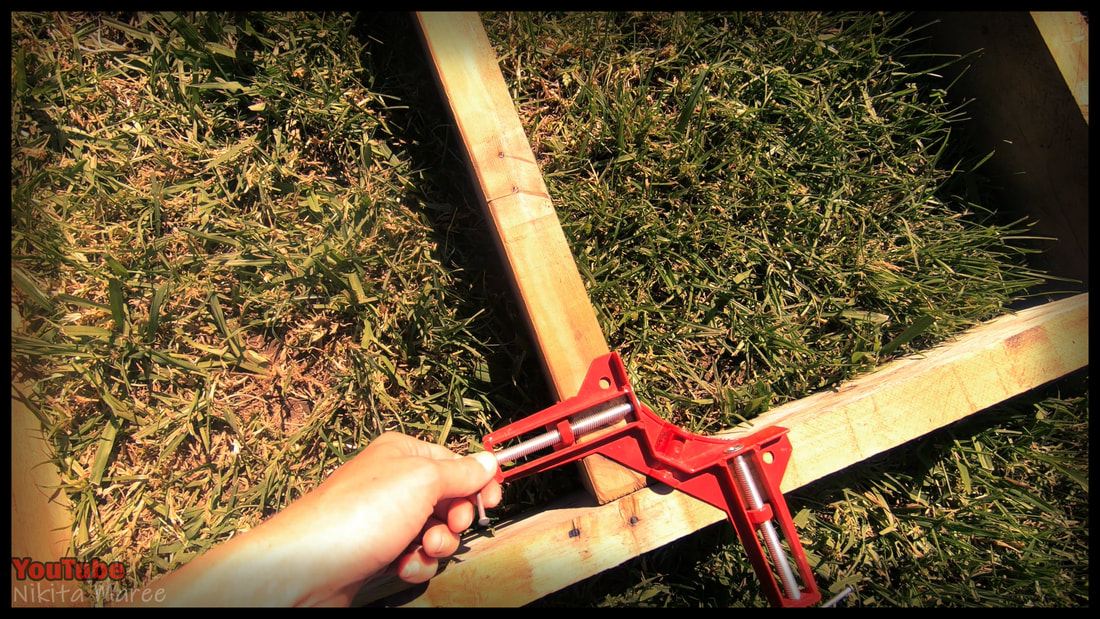
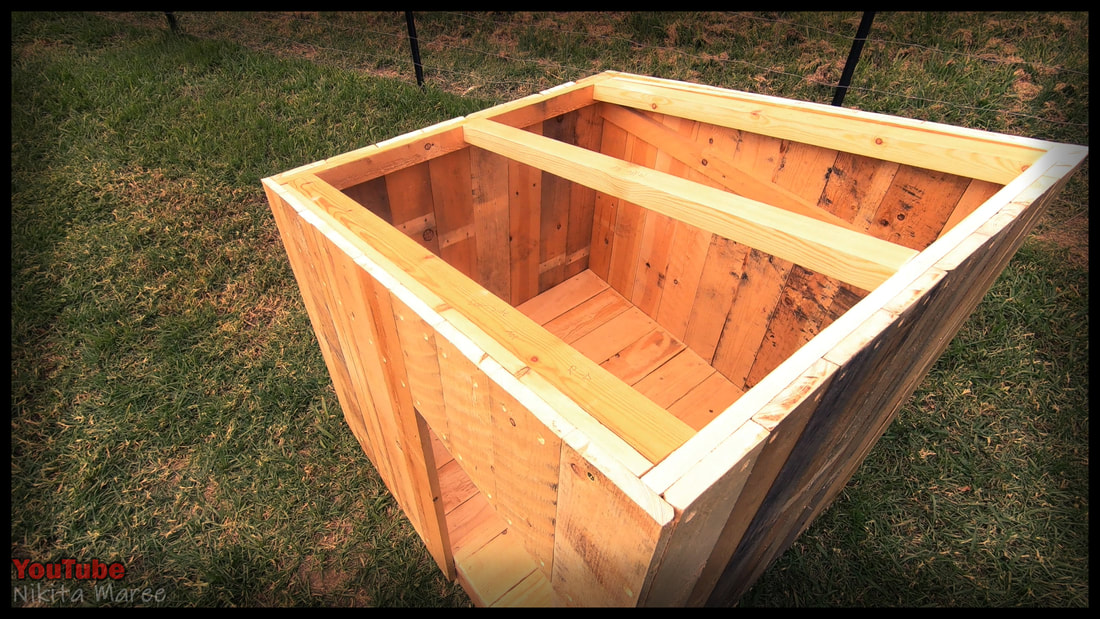
Add a center support.
These angle clamps come in handy for keeping everything square.
These angle clamps come in handy for keeping everything square.
|
|
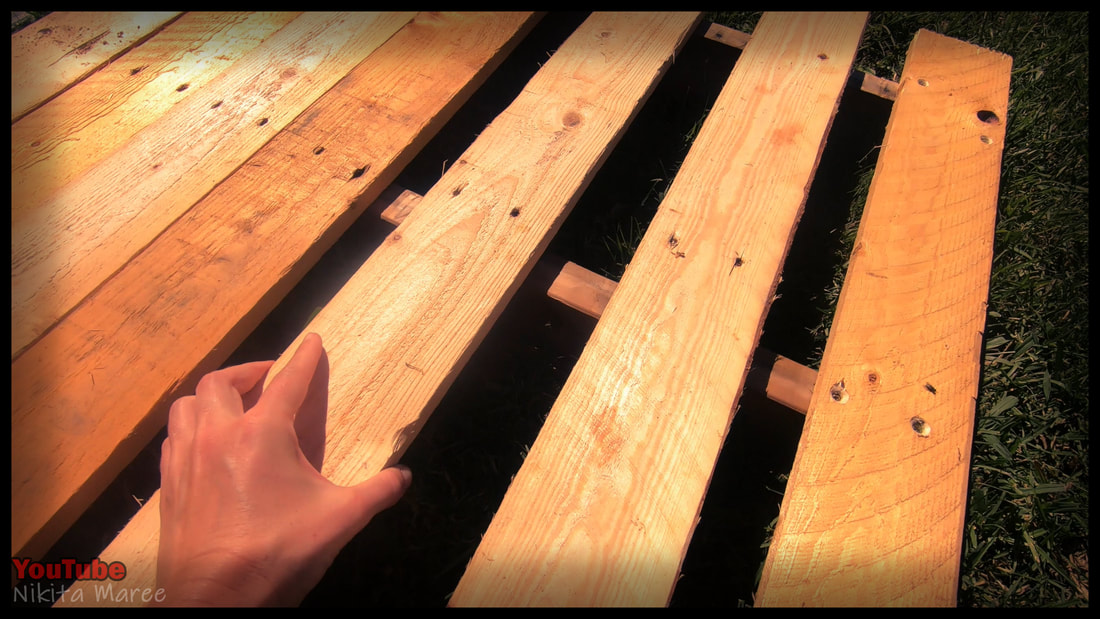
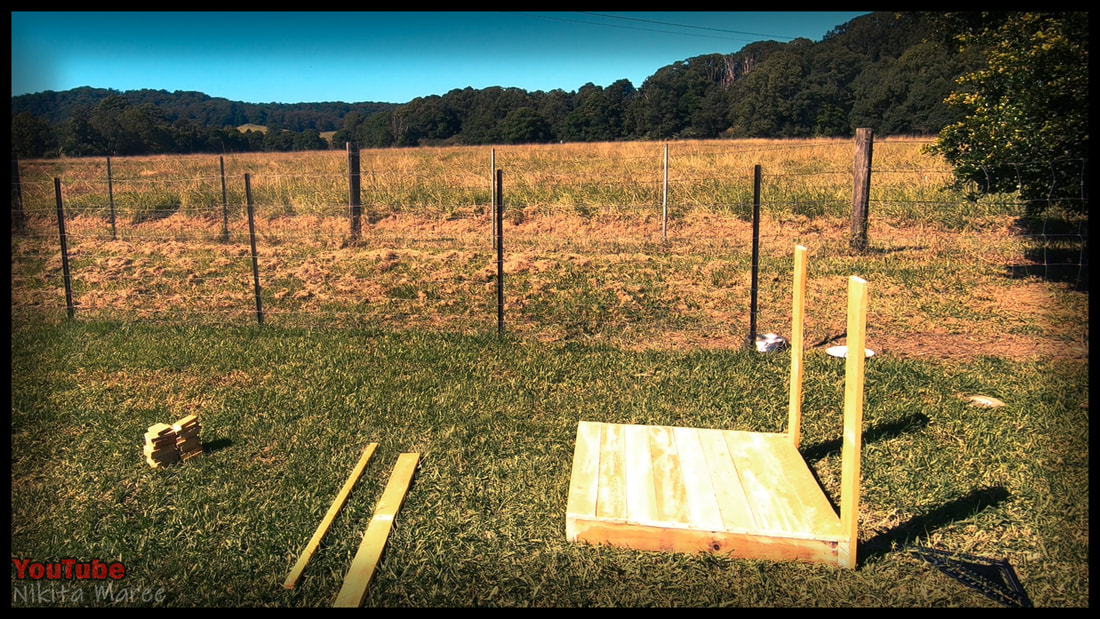
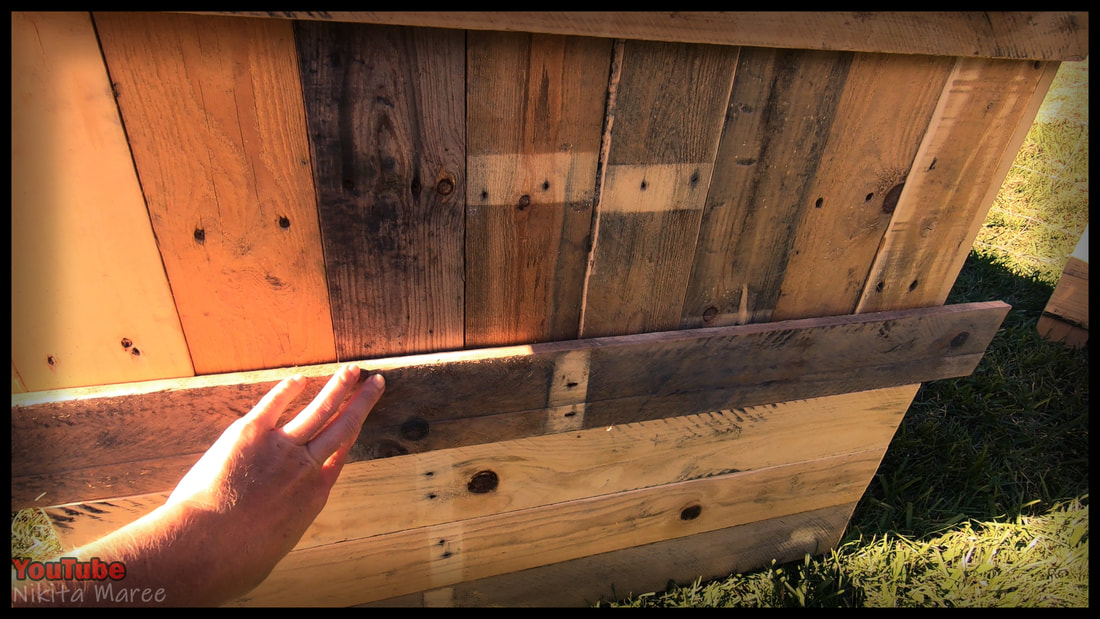
Attach a paling either end of the frame
and then start filling in the center with loose palings.
and then start filling in the center with loose palings.
|
|
|
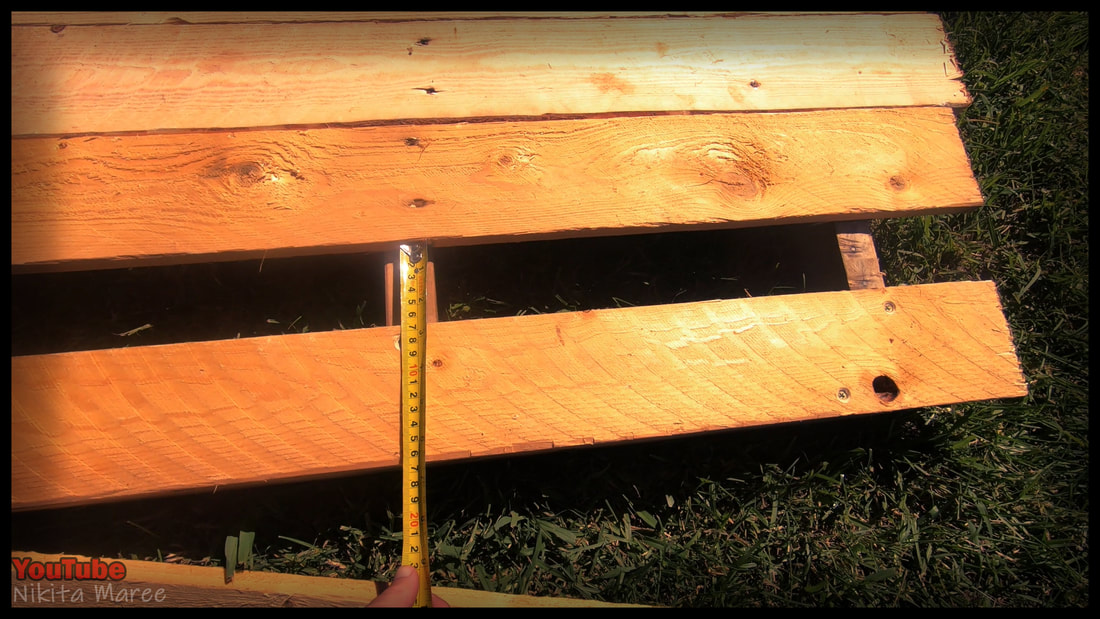
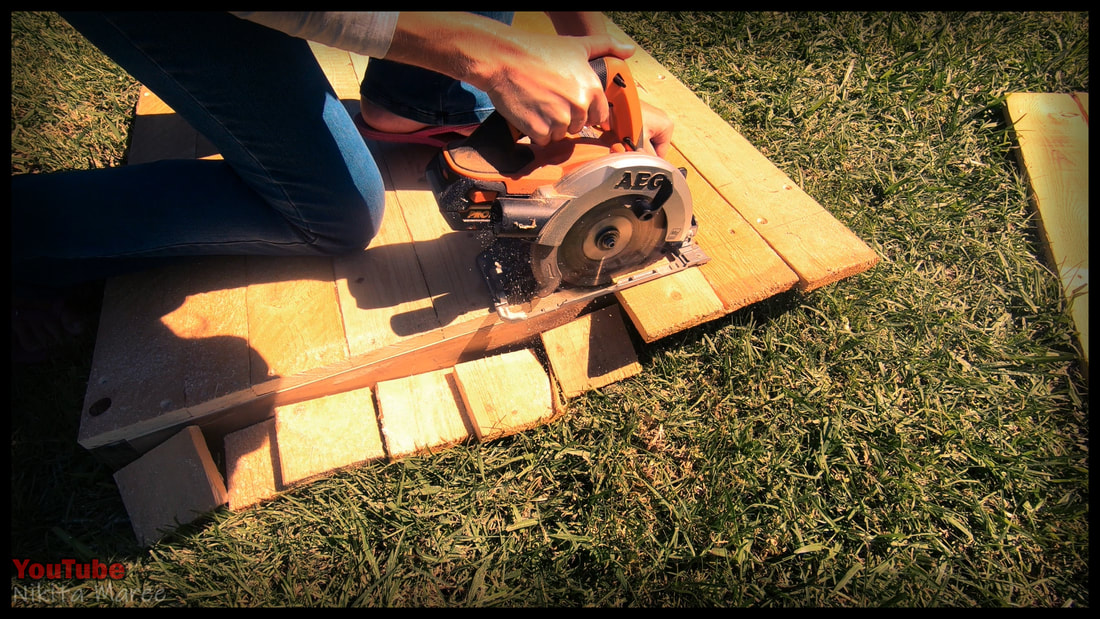
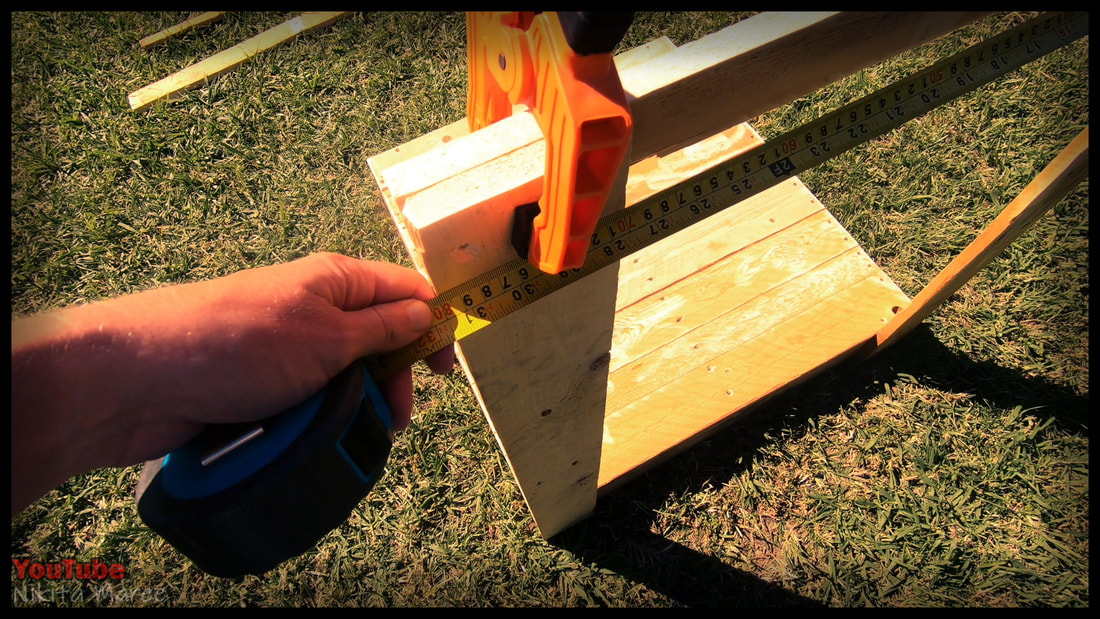
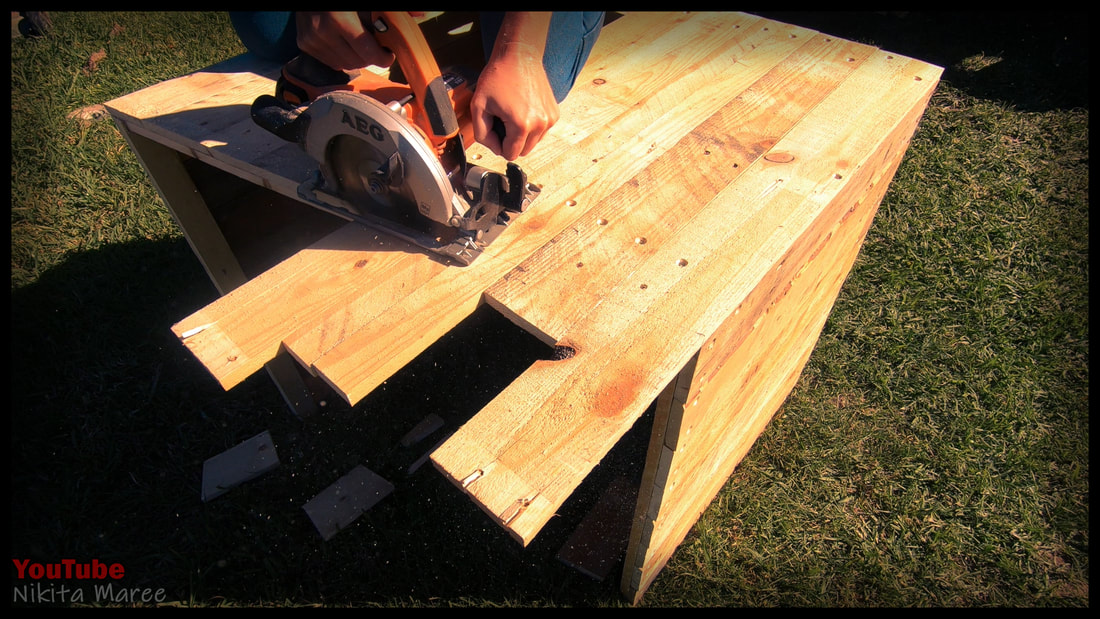
Measure the remaining gap.
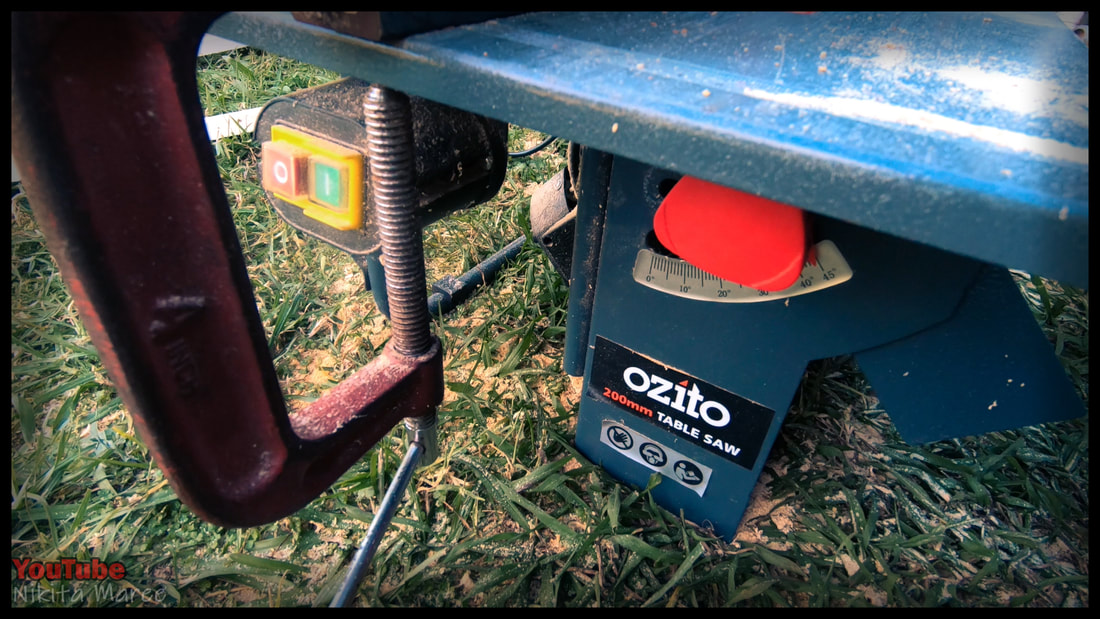
Rip a paling on the table saw to suit.
Then tap that into position.
Rip a paling on the table saw to suit.
Then tap that into position.
|
|
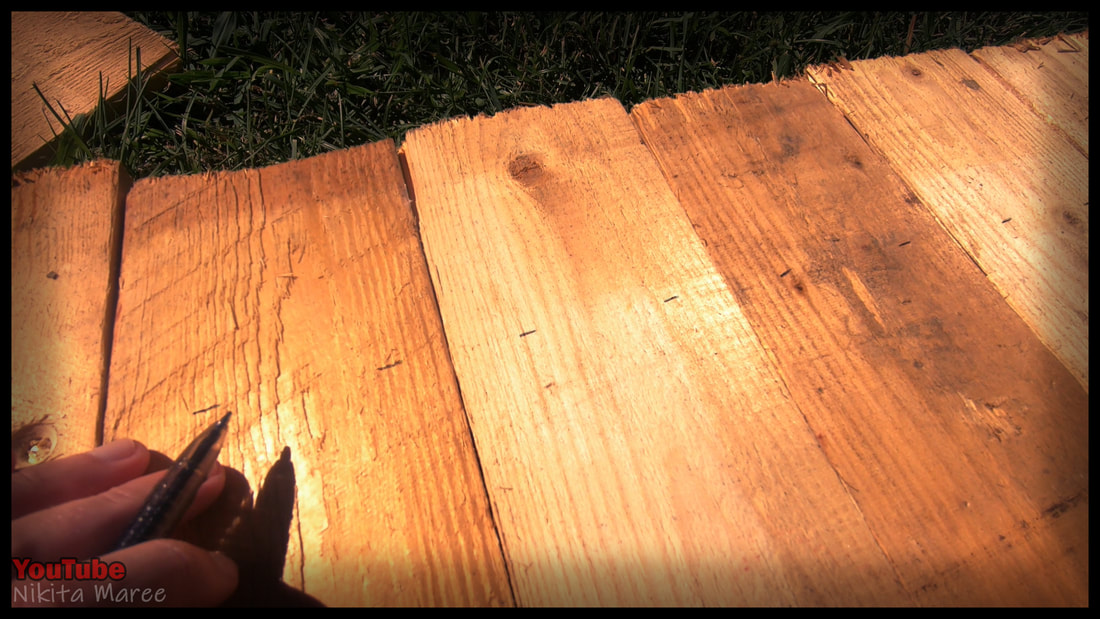
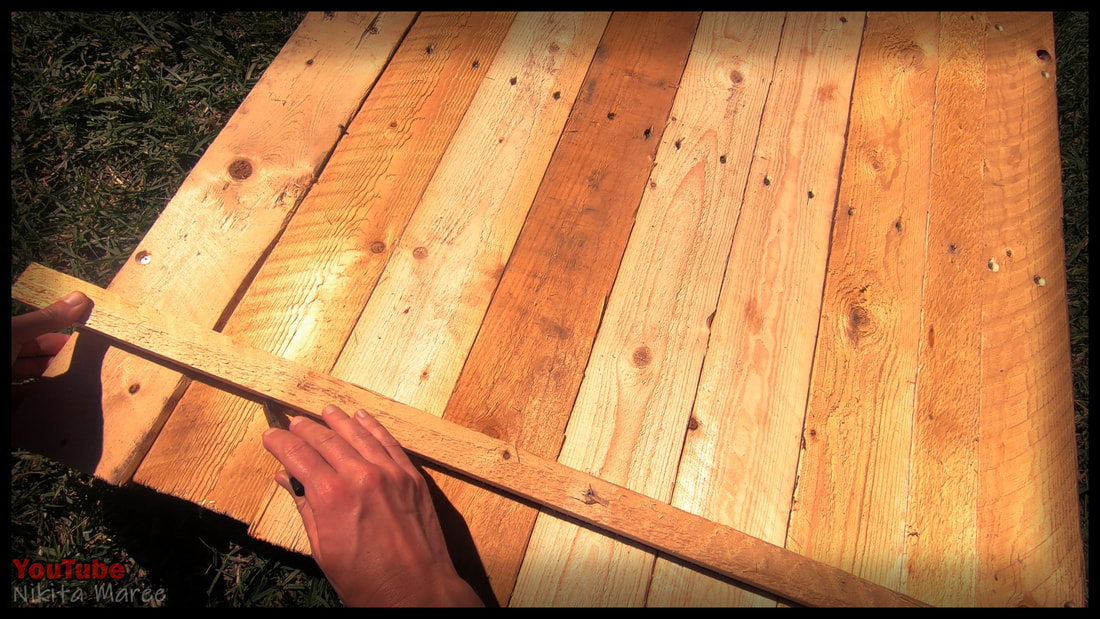
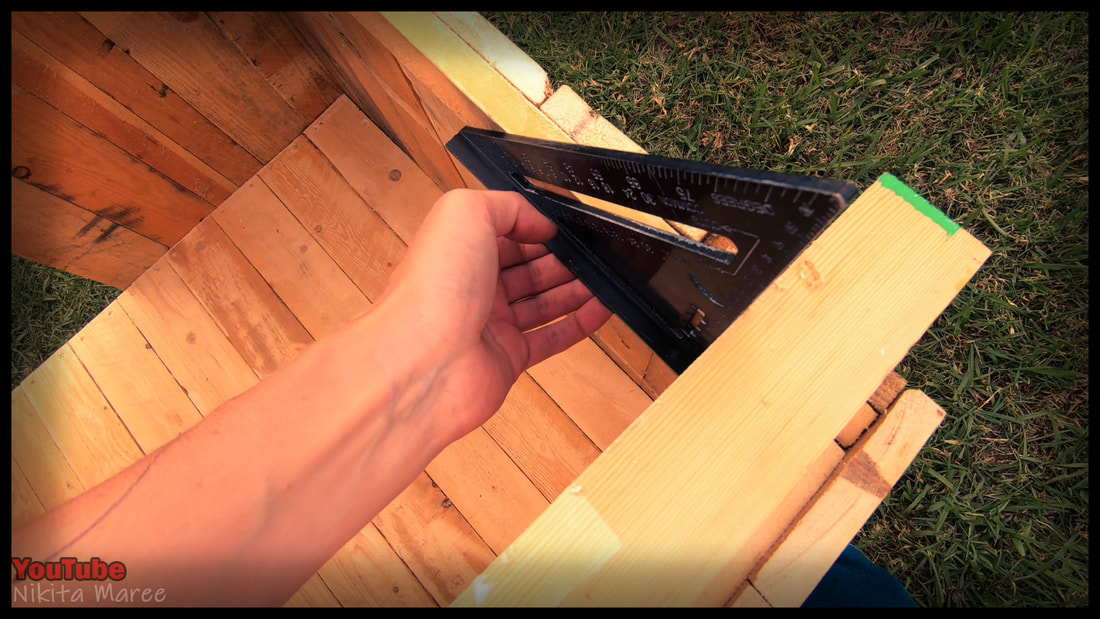
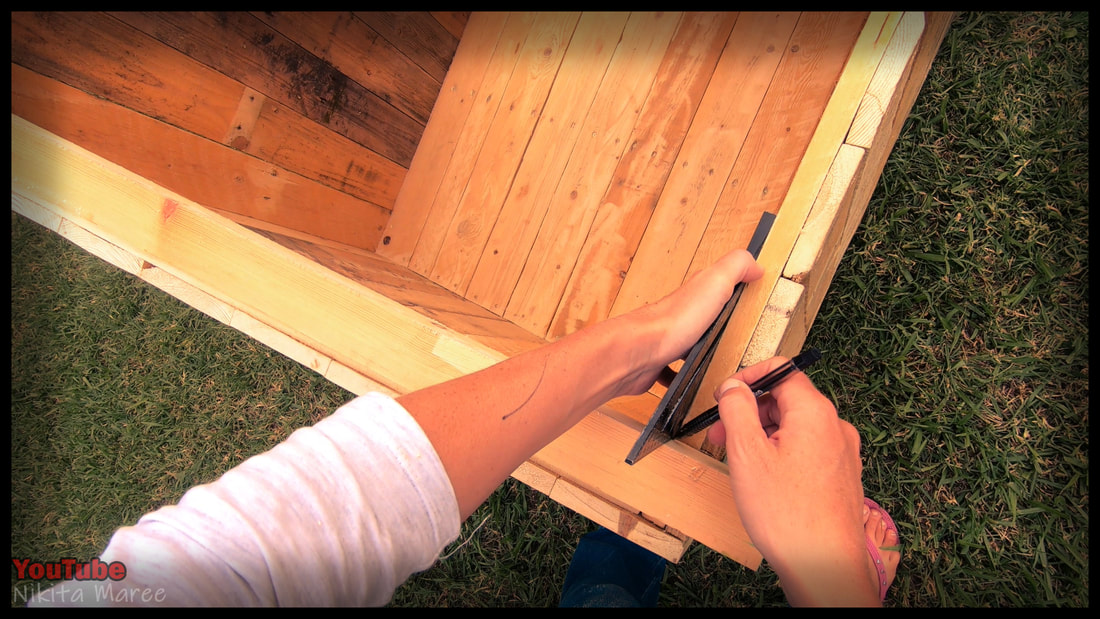
Use a straight edge to mark out the screw holes.
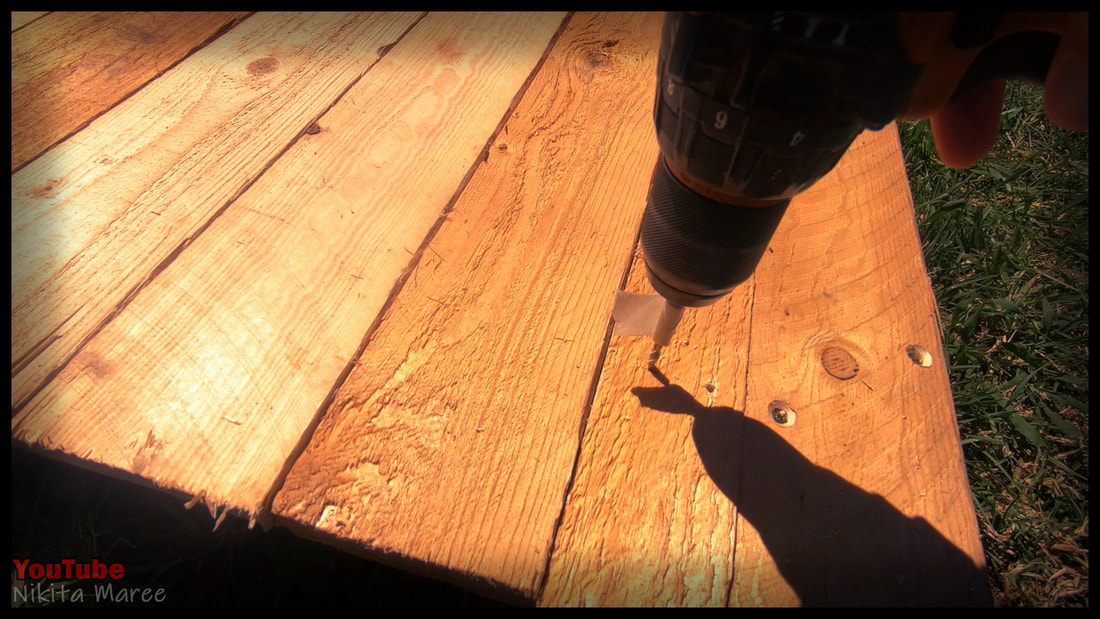
Drill the holes with a depth gauge, set to the depth of the palings.
I am simply using some masking tape.
I am simply using some masking tape.
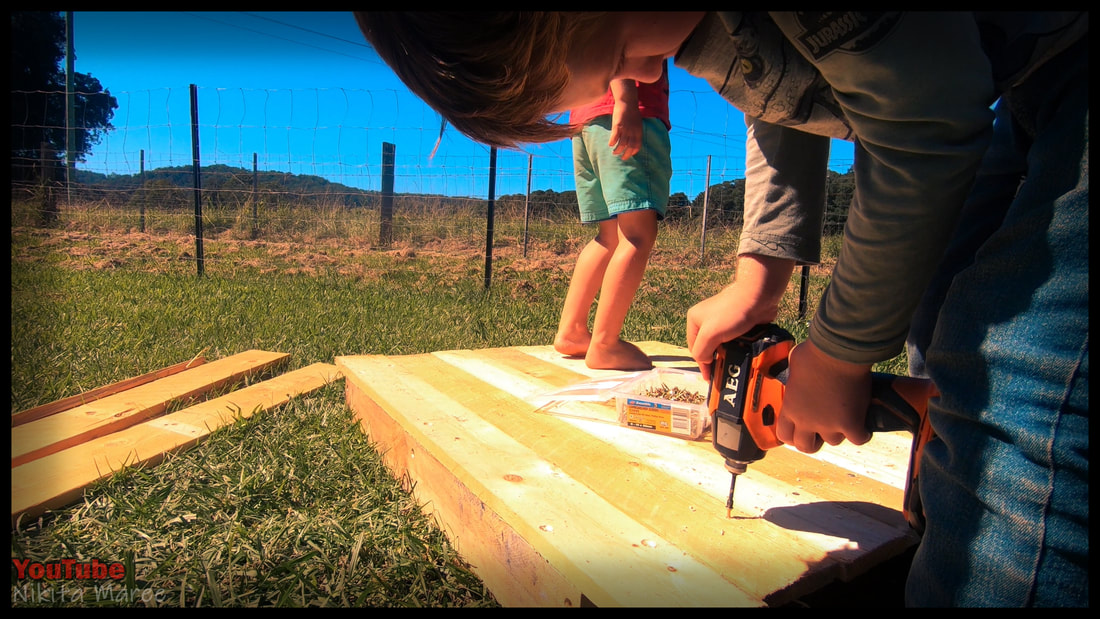
Then attach all the boards.
The kids love helping with this part.
The kids love helping with this part.
|
|
Mark the overhang
and cut all the palings to length.
and cut all the palings to length.
|
|
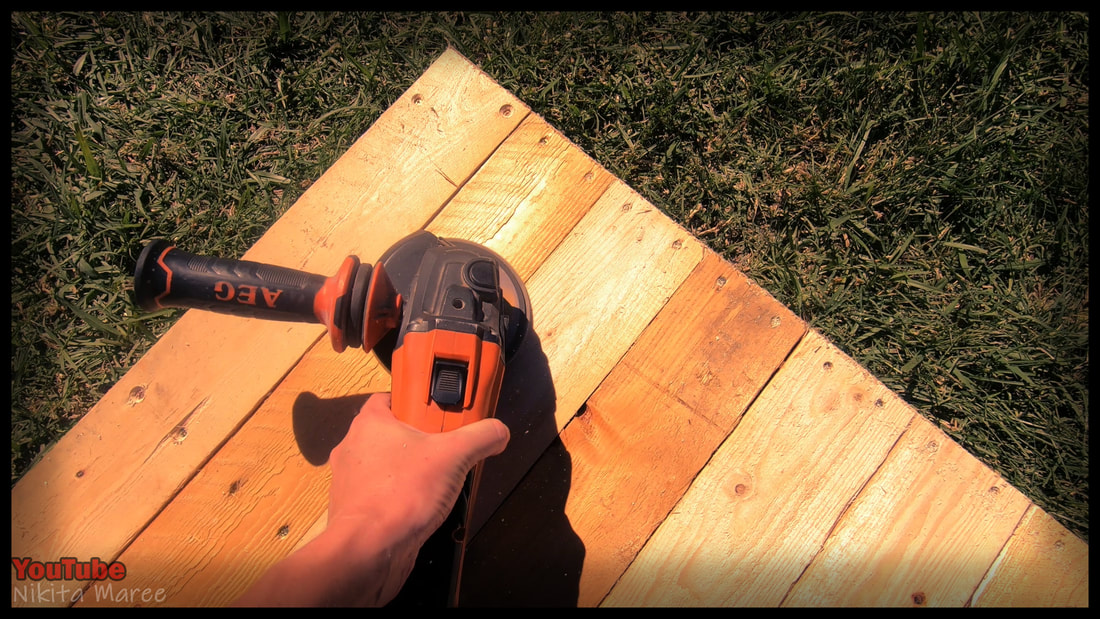
A rough clean up with the 40 grit flap disk on the angle grinder.
And Drax likes it already.
And Drax likes it already.
|
|
Moving onto the first wall.
Attach a paling either side.
Attach a paling either side.
I ripped a paling to 50mm to use as my top attachment point.
Making sure that the top and bottom of the wall are the same width across.
Making sure that the top and bottom of the wall are the same width across.
|
|
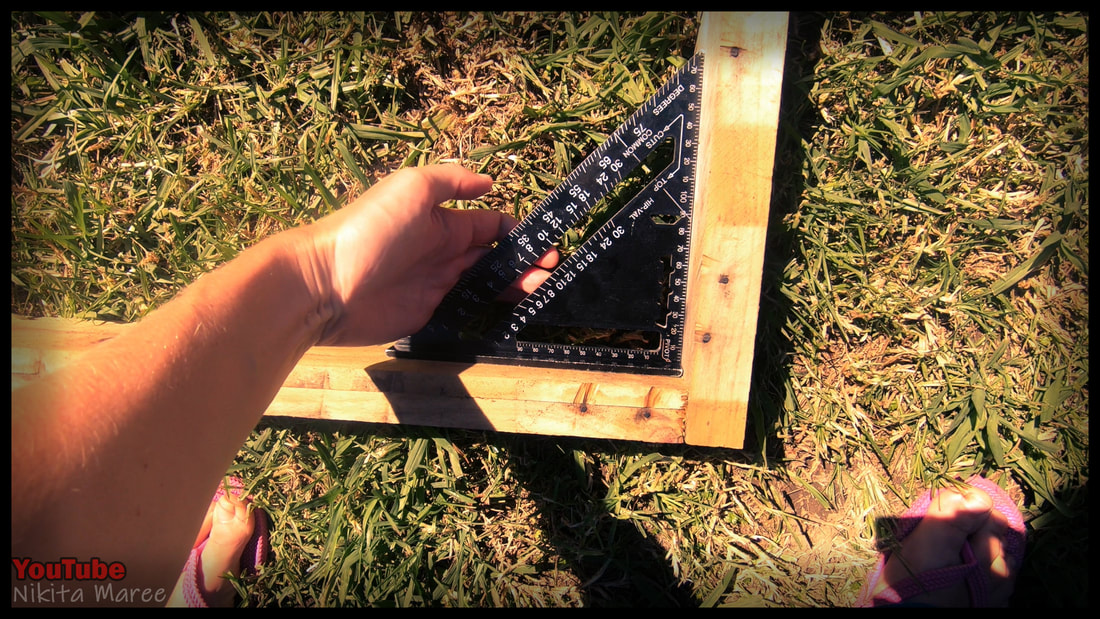
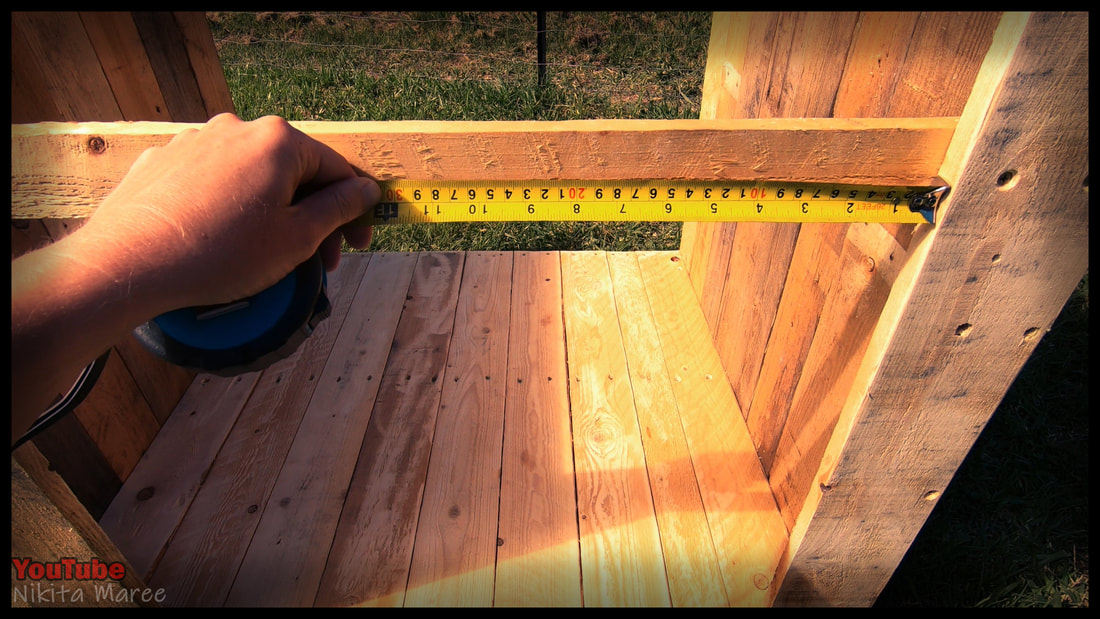
Constantly checking for square in all directions.
Attach the rest of the wall palings between the two ends.
|
|
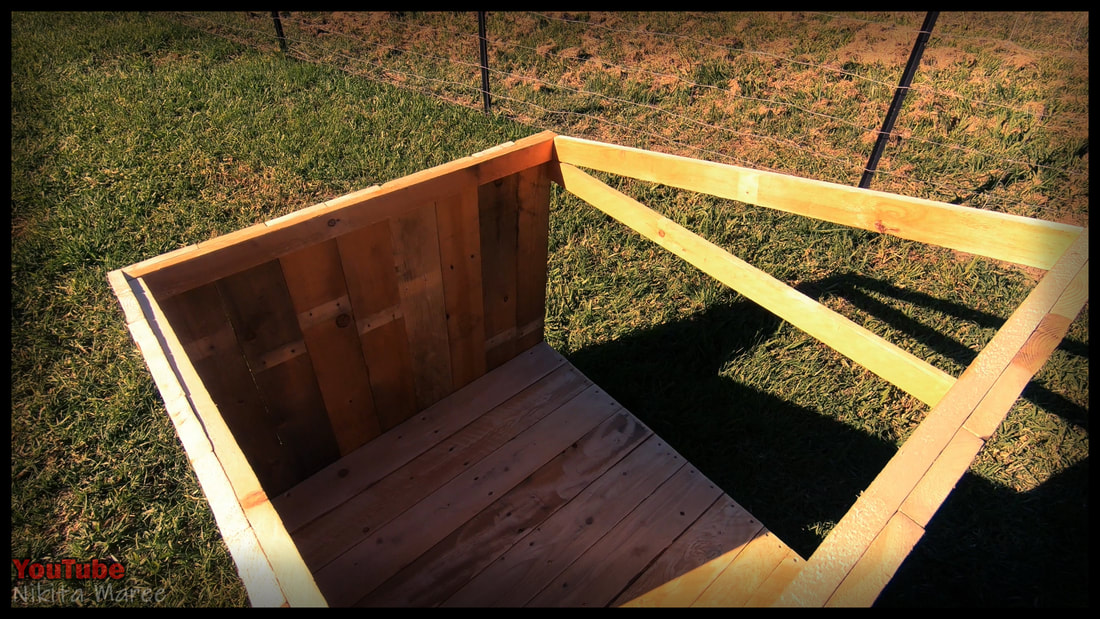
Repeat the same steps for the shorter wall.
Add a horizontal attachment beam for the front face of the kennel.
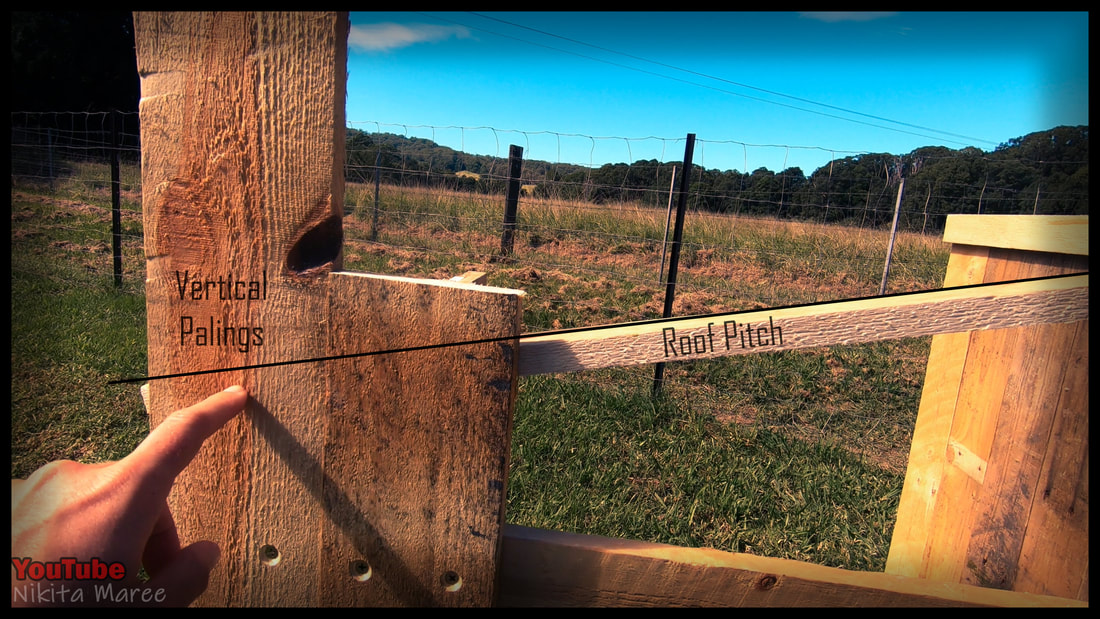
Lay a straight edge on top of the kennel.
And keep all the vertical palings longer than the slant of the roof.
And keep all the vertical palings longer than the slant of the roof.
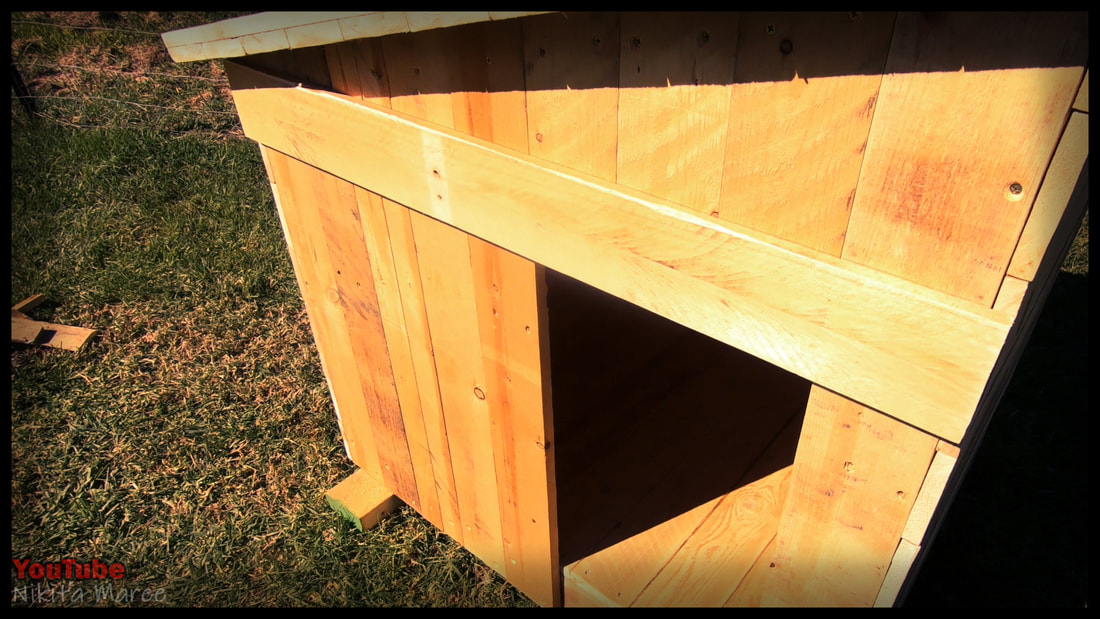
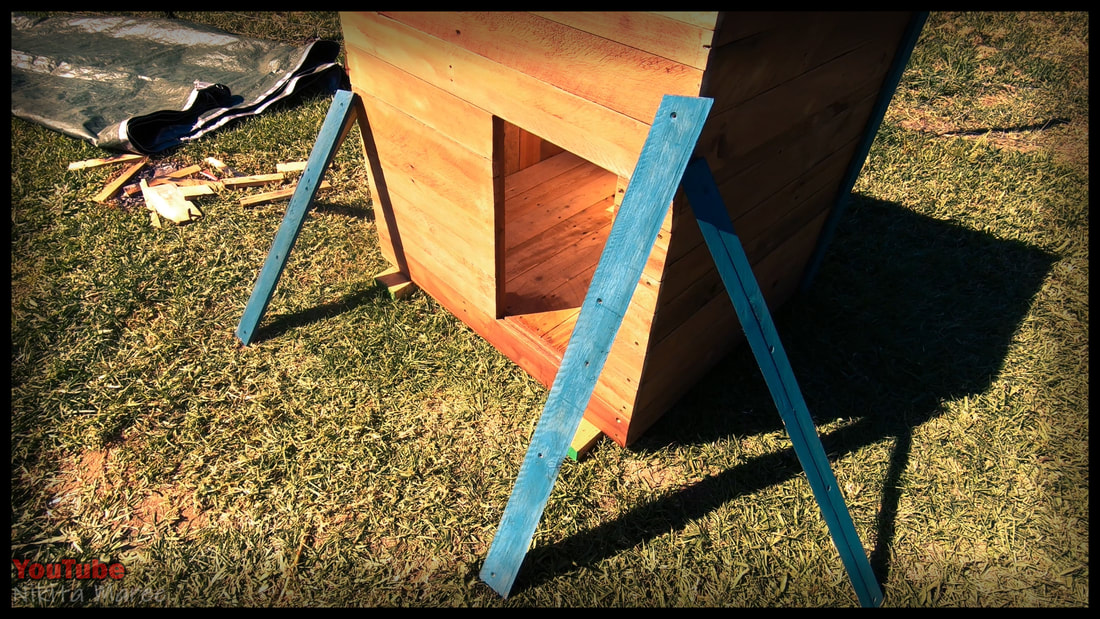
I marked out a 300mm door opening.
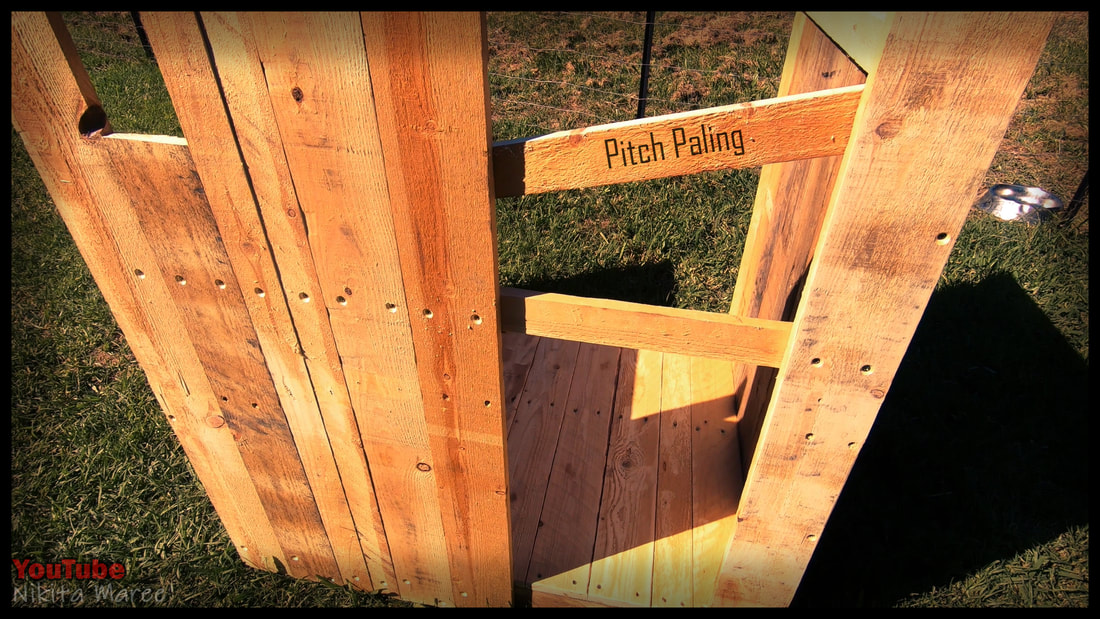
Add a paling for the pitch of the roof.

|
|
Using a straight edge to mark
and then cut off the overhang.
and then cut off the overhang.
|
|
Repeat for the back wall,
minus the door.
minus the door.
|
|
|
More pallet stringers for the frame of the removable roof.
Cut off the nails and rip them down the center.
Cut off the nails and rip them down the center.
|
|
|
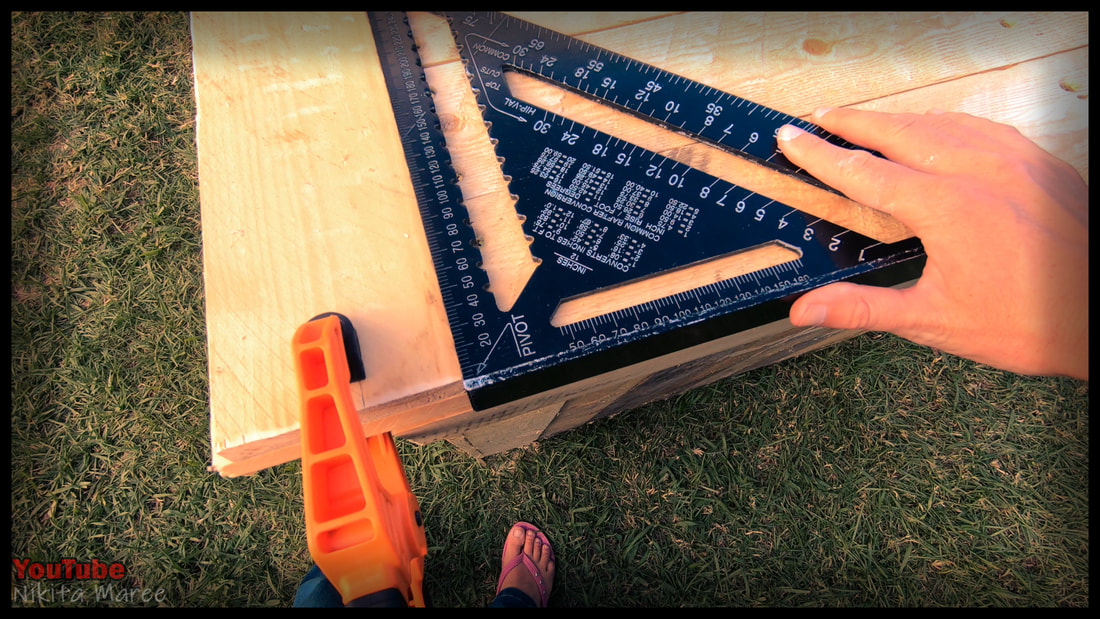
Lay one ripped stringer on top, and butt the speed square up against it.
Mark your cut, then do the same for the other end.
Mark your cut, then do the same for the other end.
Cut 3 of these and keep them snug enough so they wont fall.
|
|
I then attached a temporary paling to the top of the tallest wall.
So I can see were to start the roof.
This side of the kennel will not have an overhang
because I want it to sit flush up against the side of our house.
So I can see were to start the roof.
This side of the kennel will not have an overhang
because I want it to sit flush up against the side of our house.
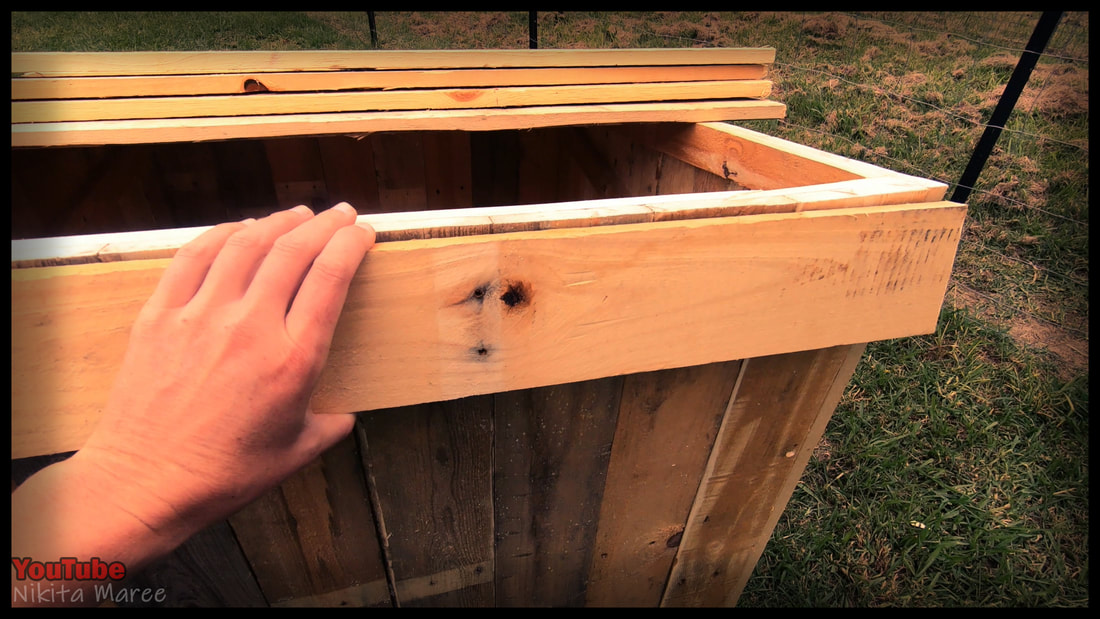
Attach all the roof palings.
Note: The overhang paling on the bottom edge, doesn't have anything to attach to 'YET'.
But once the double thickness top is on, you can attach the loose paling from the underside.
Note: The overhang paling on the bottom edge, doesn't have anything to attach to 'YET'.
But once the double thickness top is on, you can attach the loose paling from the underside.

|
|
|
Remove the temporary paling.
Correct the angle to match the roof.
Then re attach it.
Correct the angle to match the roof.
Then re attach it.
|

|
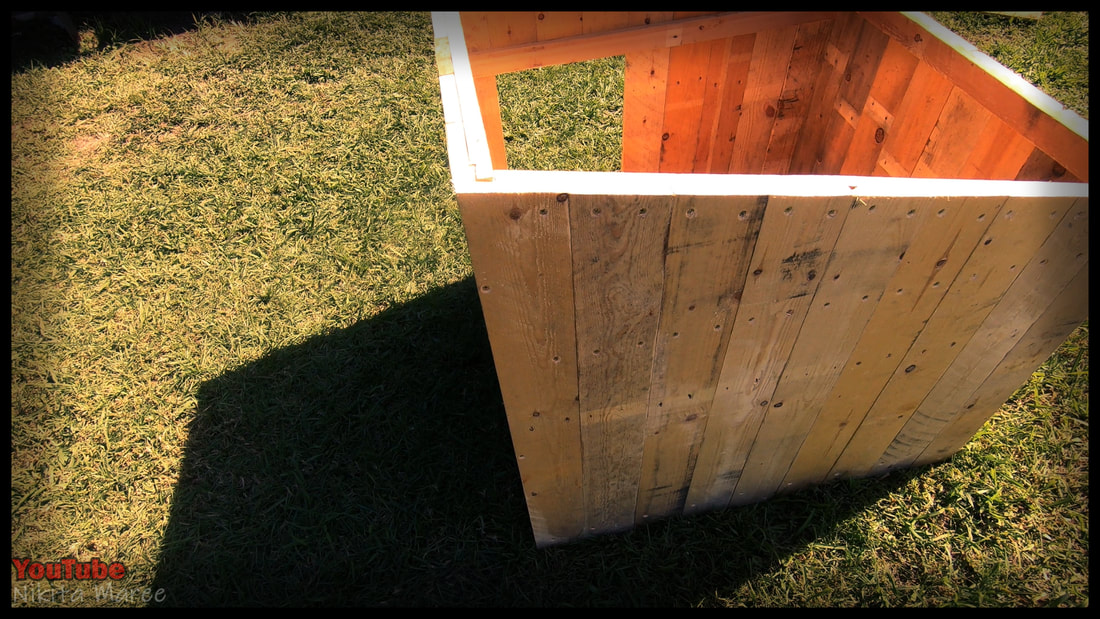
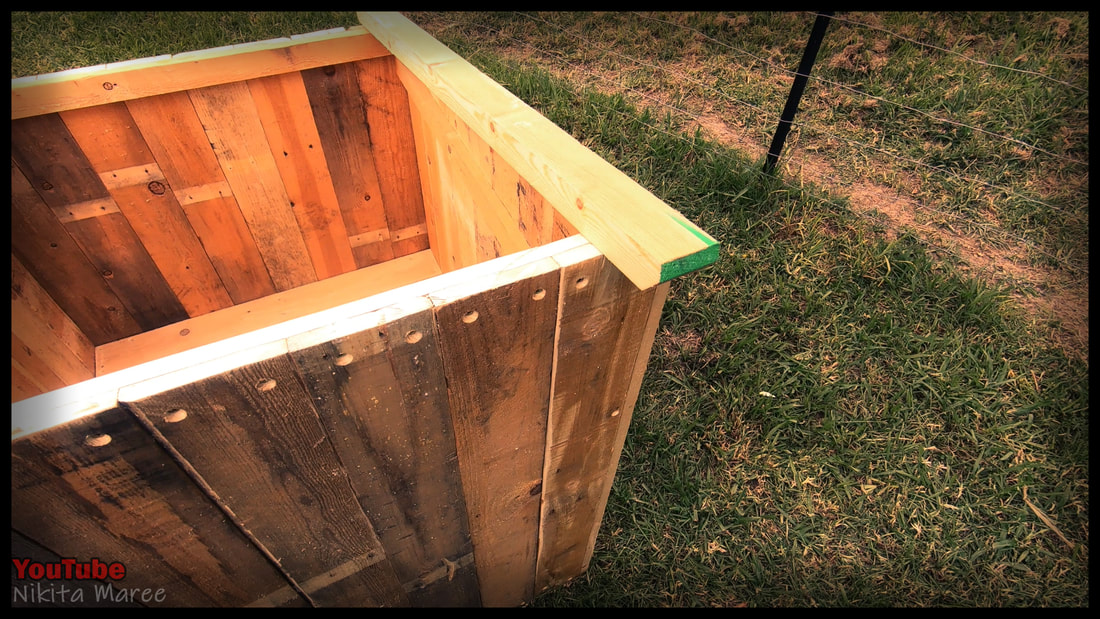
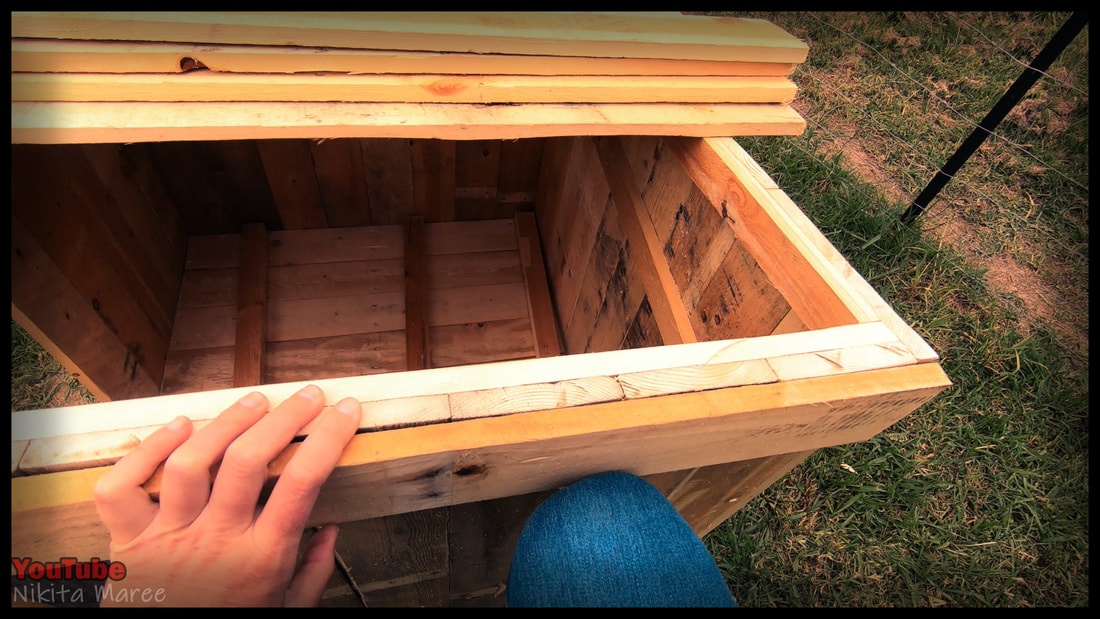
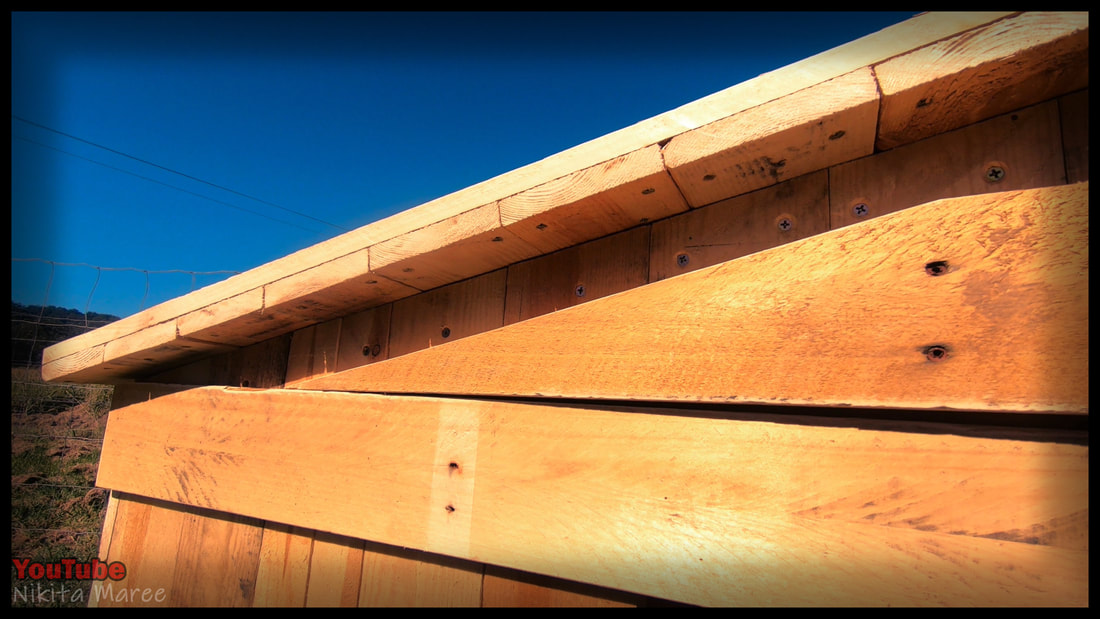
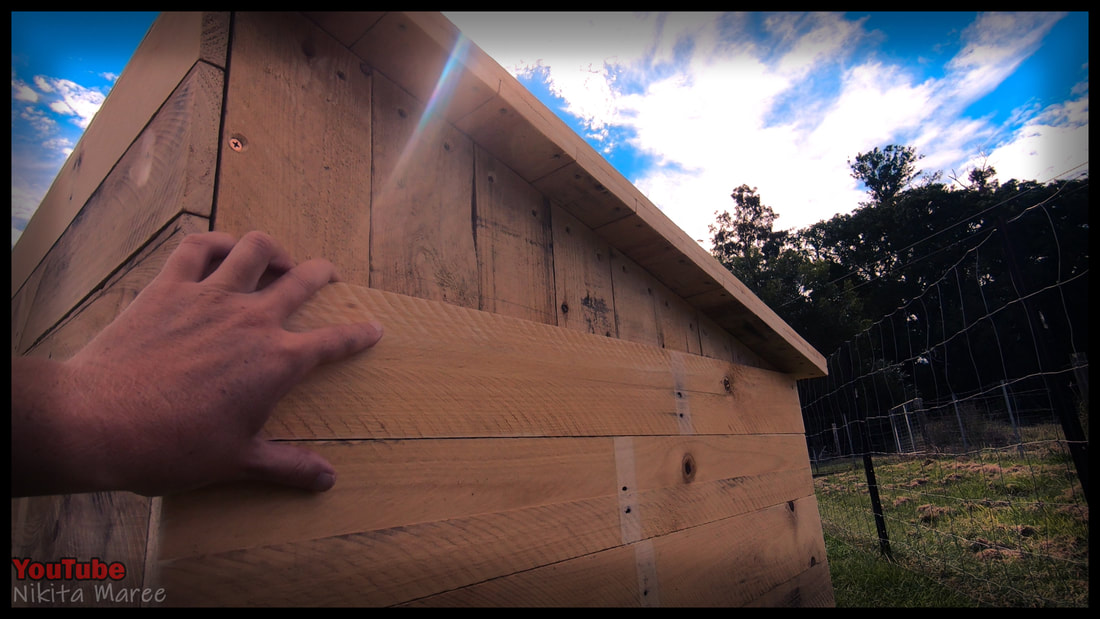
Completely cover in the side, to make it double thickness.
This time running the palings horizontally and attaching them from the inside
to hide the screw heads.
This time running the palings horizontally and attaching them from the inside
to hide the screw heads.
|
|
|
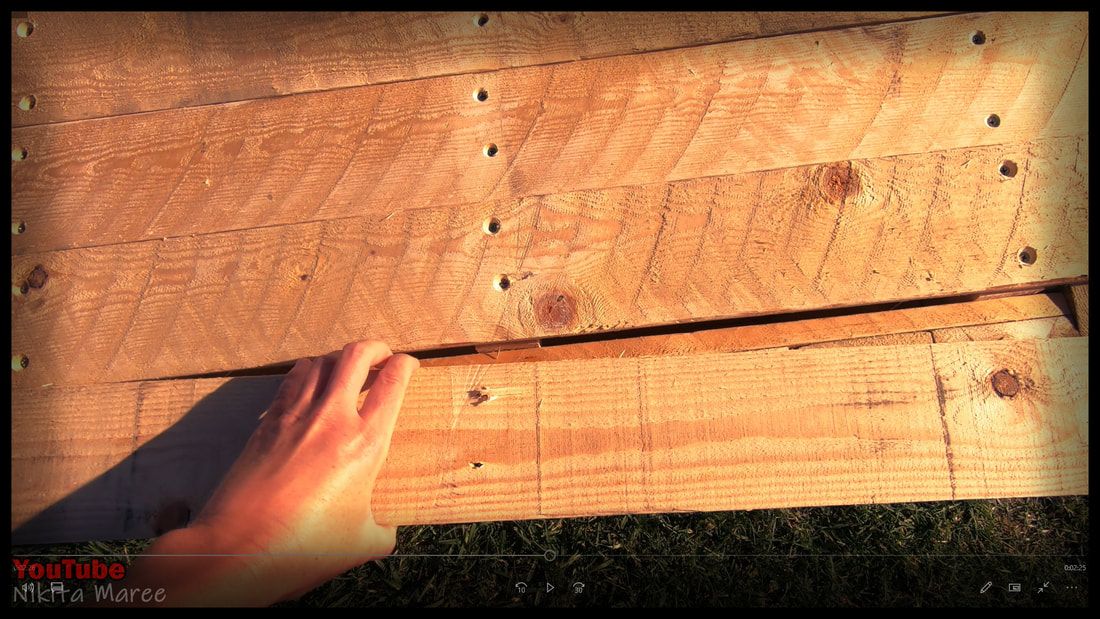
Clamp and square up the first double thickness roof paling.
Then lay the rest on top.
Flip it over and attach from the underside.
Then lay the rest on top.
Flip it over and attach from the underside.
|
|
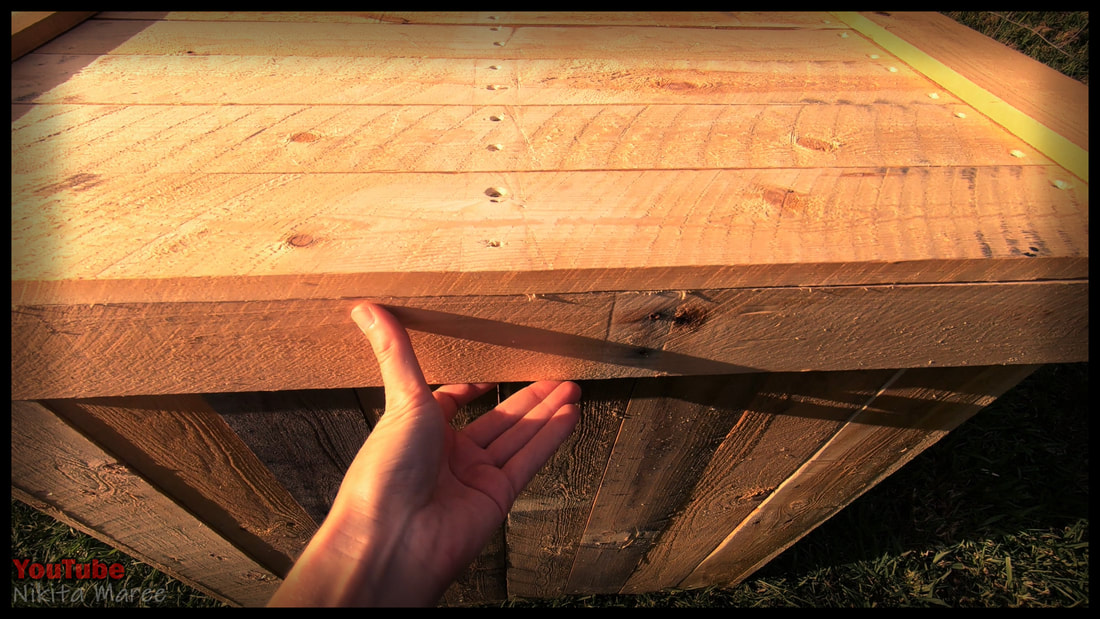
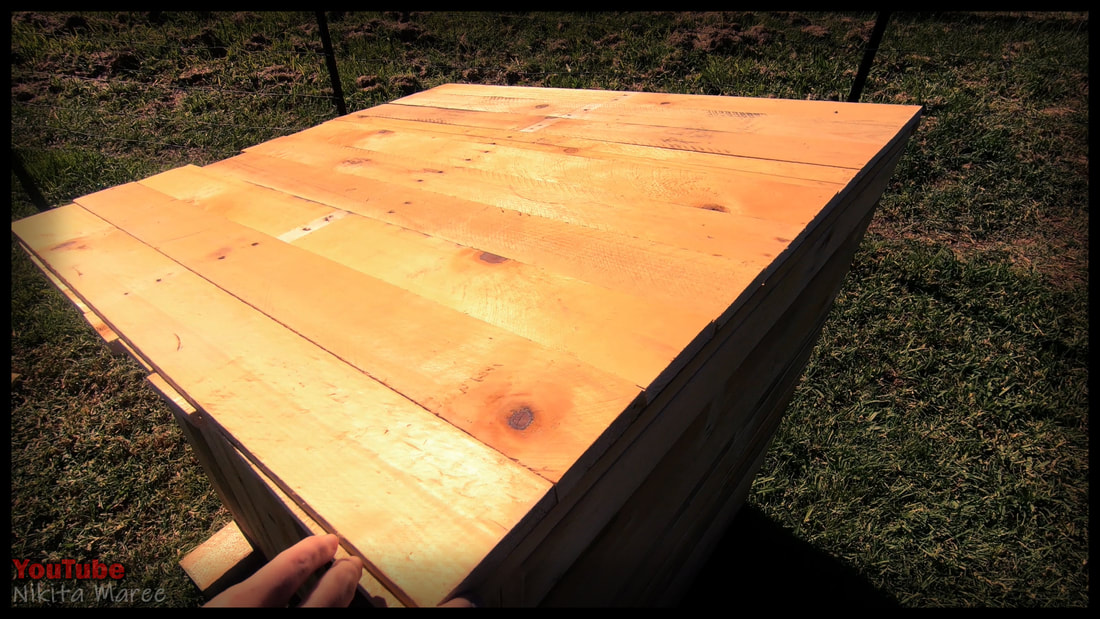
Cut off all the overhangs
and give the roof a rough sand.
and give the roof a rough sand.
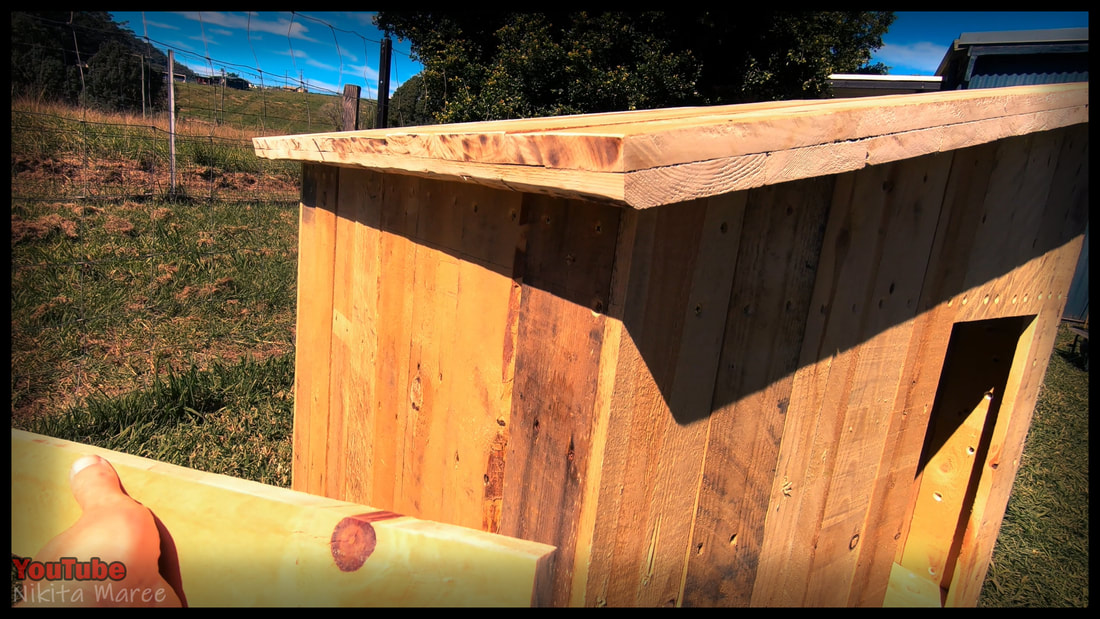
Double thickness palings for the other wall.
|
|
|
Mark and cut the roof angles for the double thickness front face.
And attaching them from the inside.
And attaching them from the inside.
Repeating the same thing for the back wall.
|
|
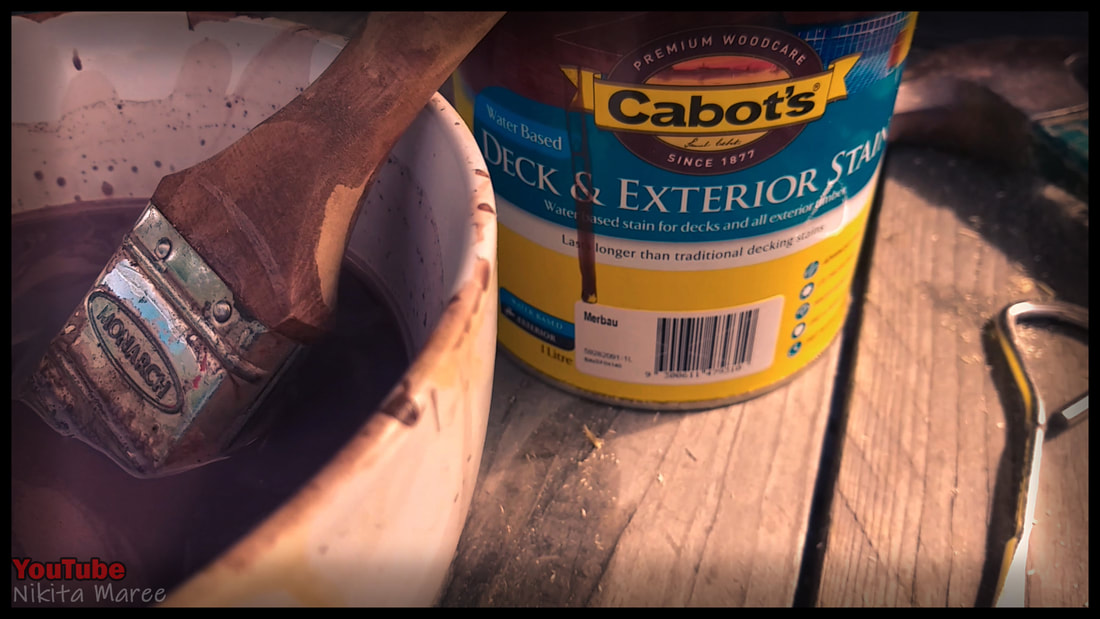
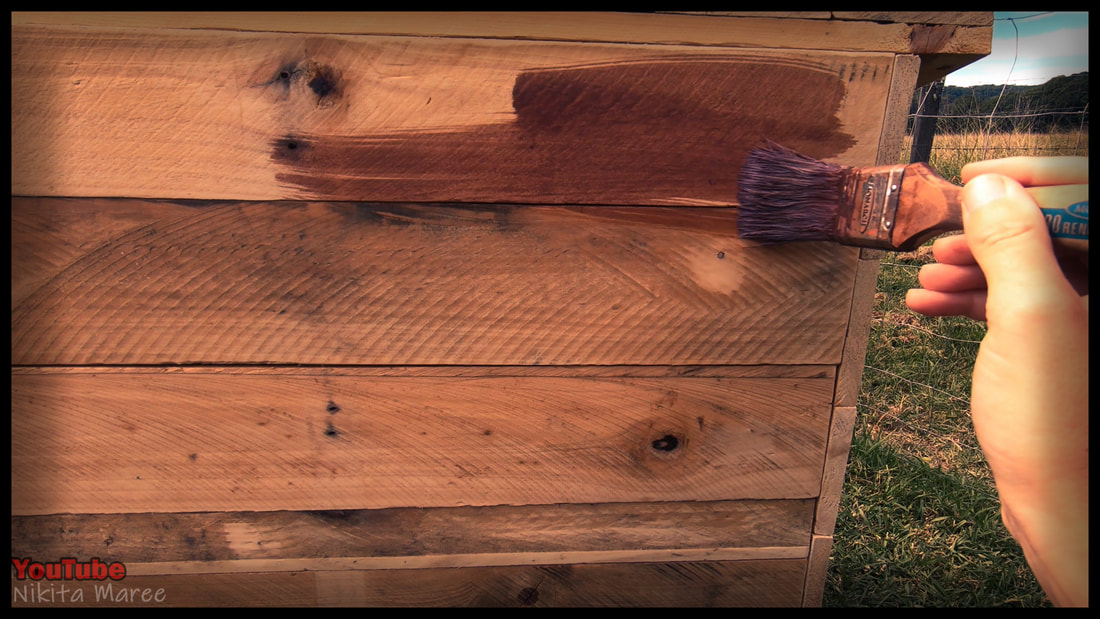
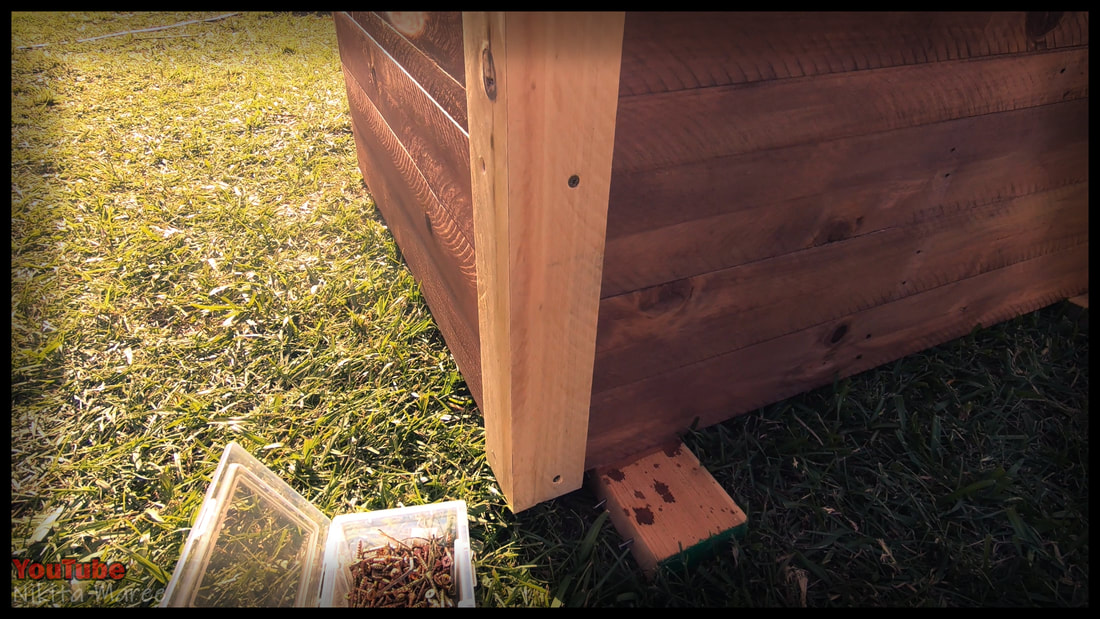
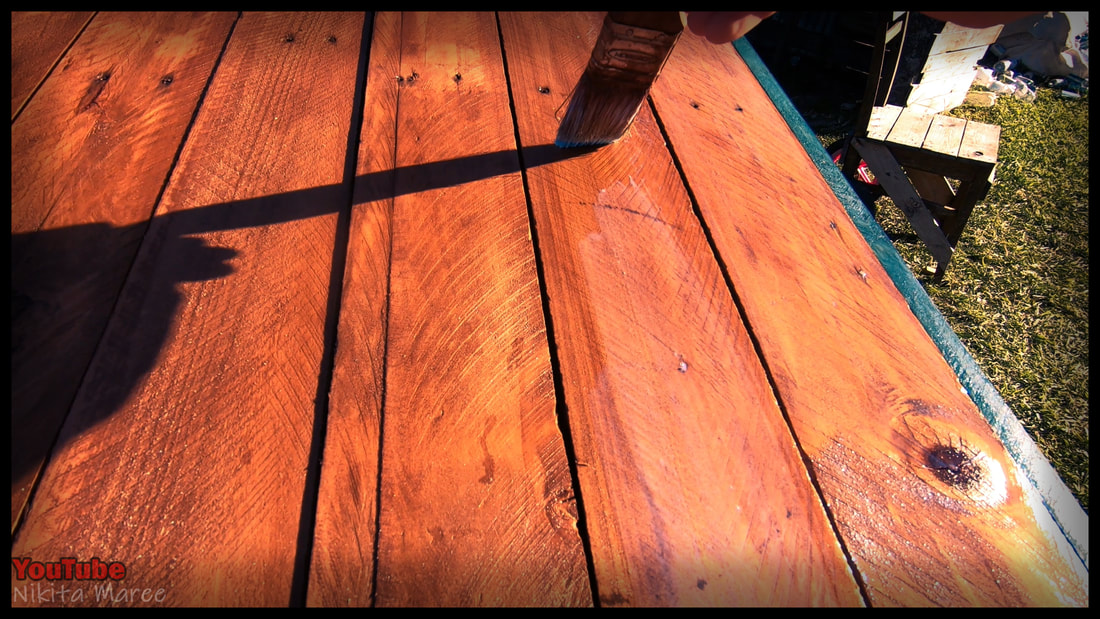
I used a water base exterior stain in the colour Merbau.
Watered down to a 1:1 ratio.
Watered down to a 1:1 ratio.
|
|
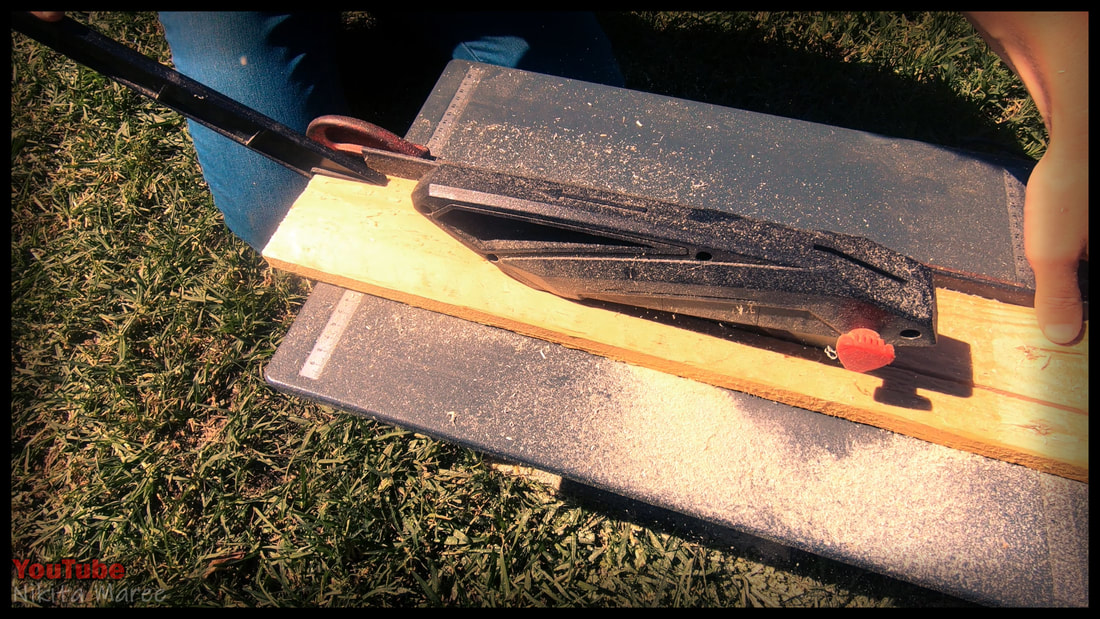
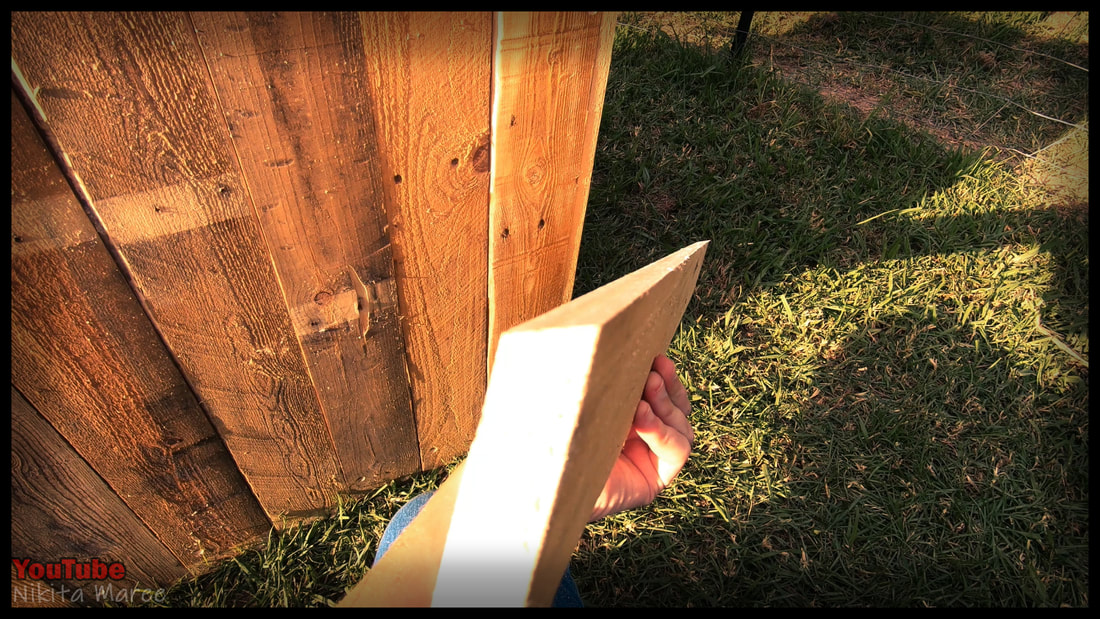
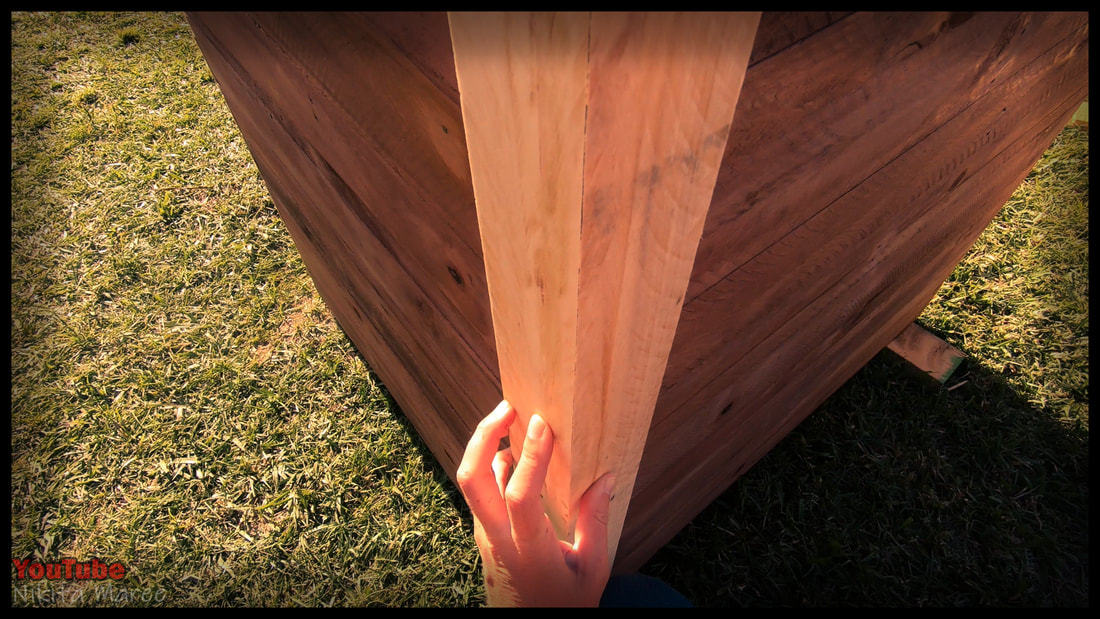
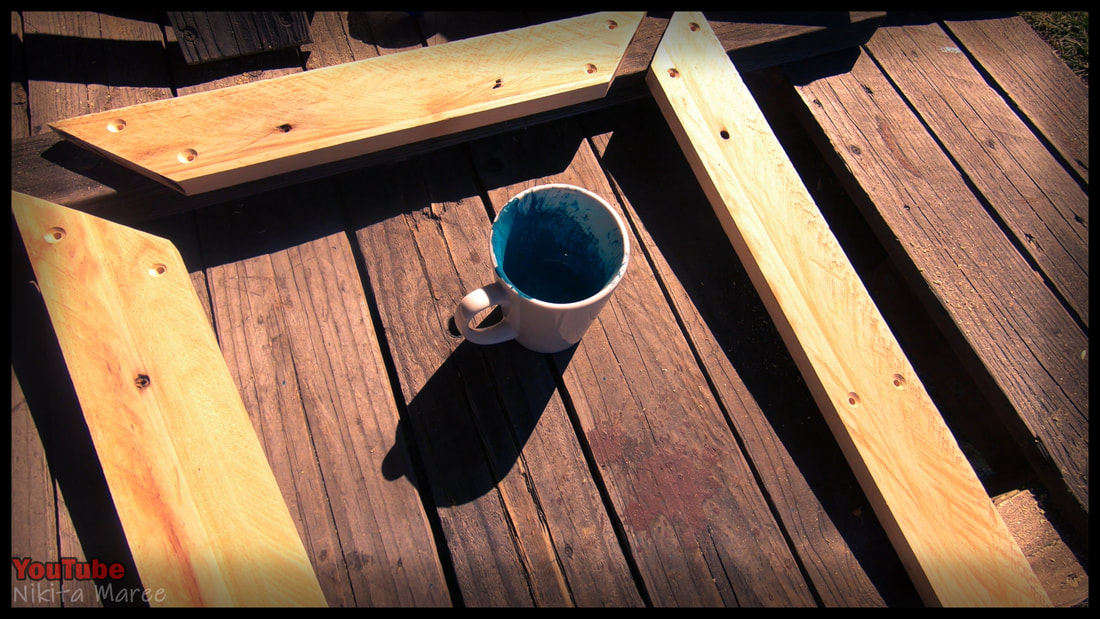
For the edge details I ripped some palings at 45°
|
|
Cut them to length. Then attached them.
|
|
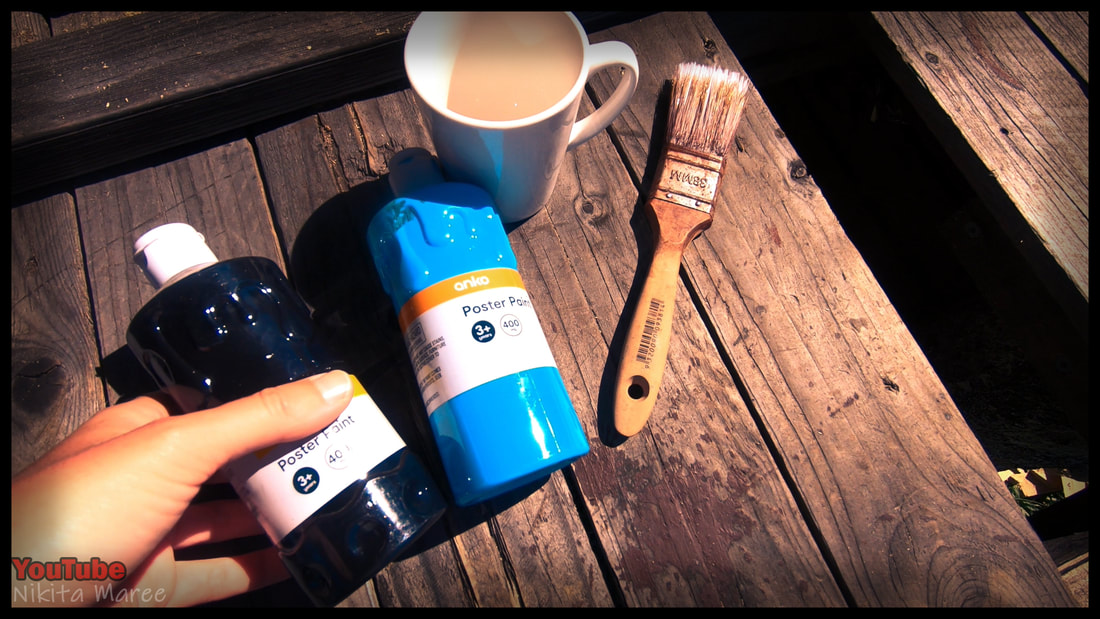
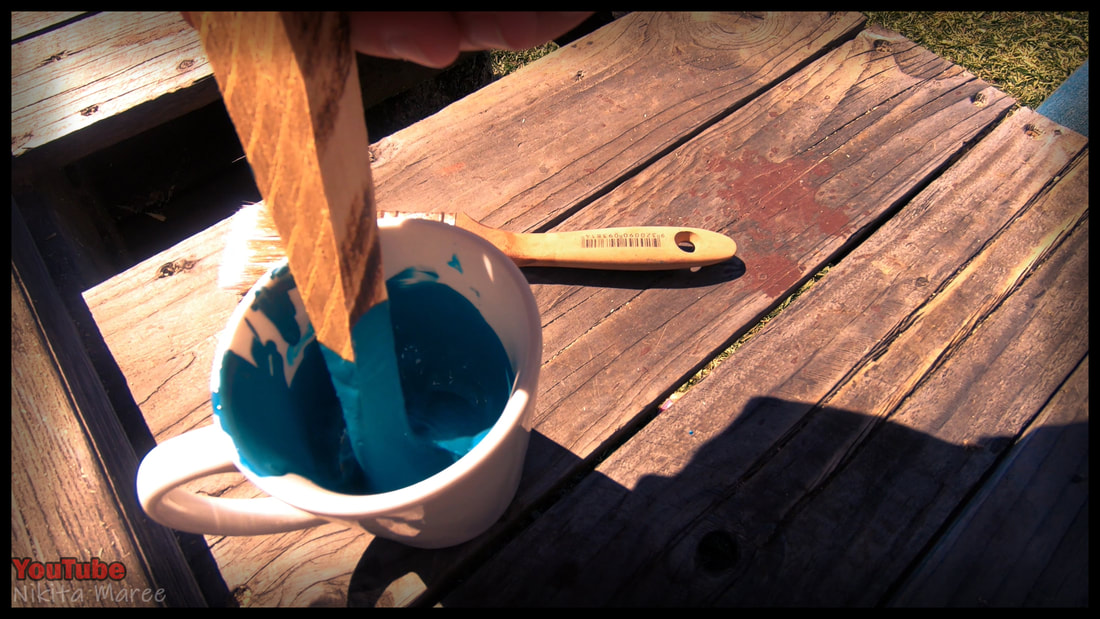
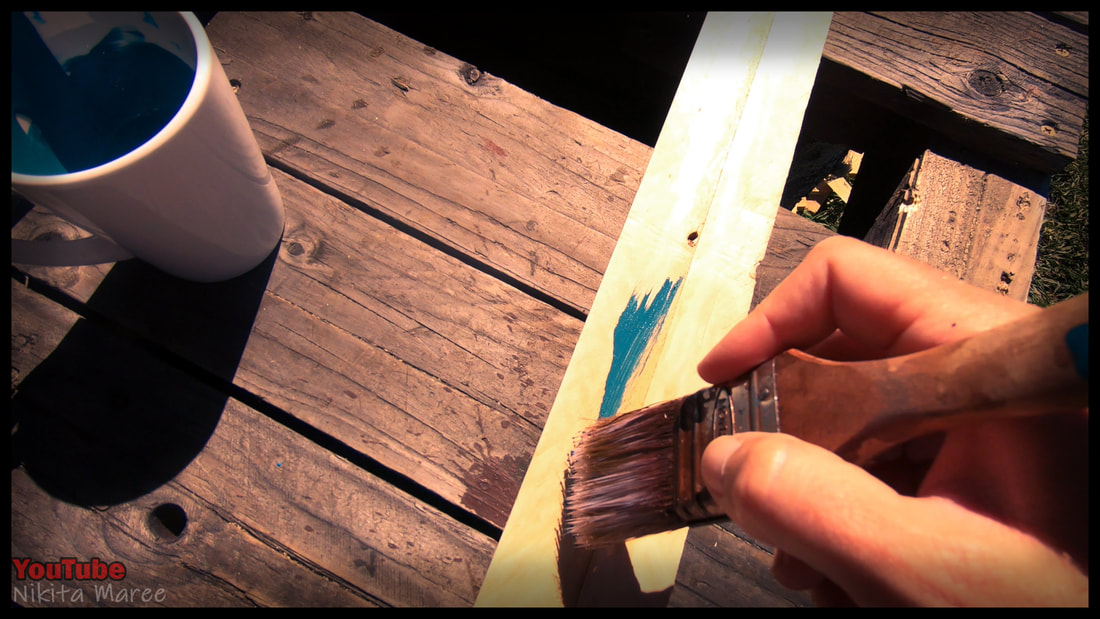
I mixed a dark blue with cheap poster paint.
|
|
Removed the edging to paint them.
|
|
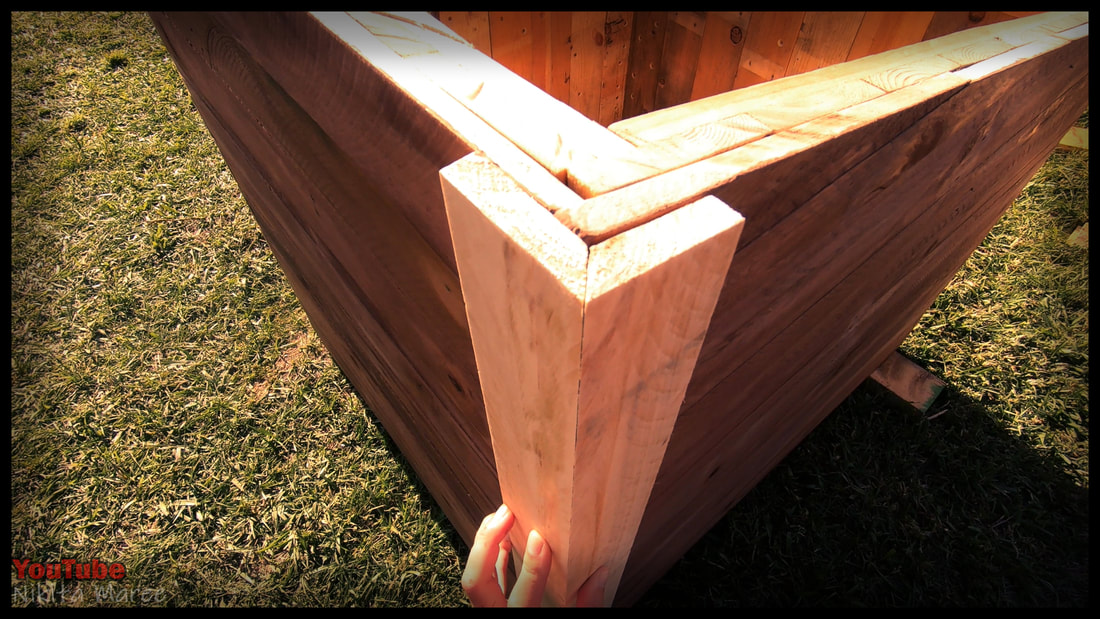
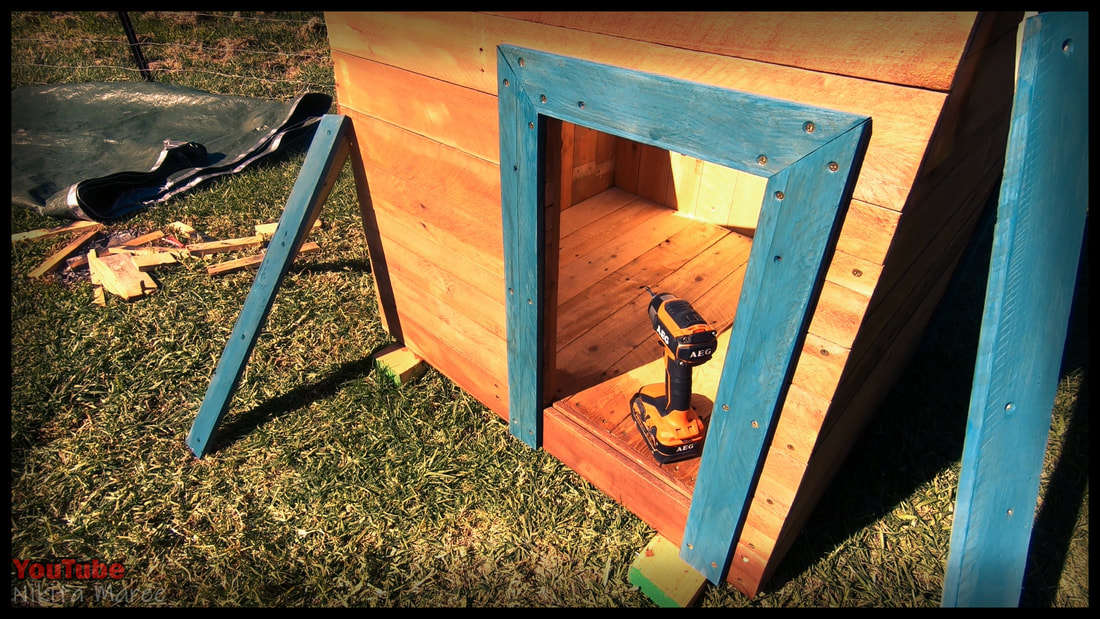
A simple 45° angle frame for around the door.
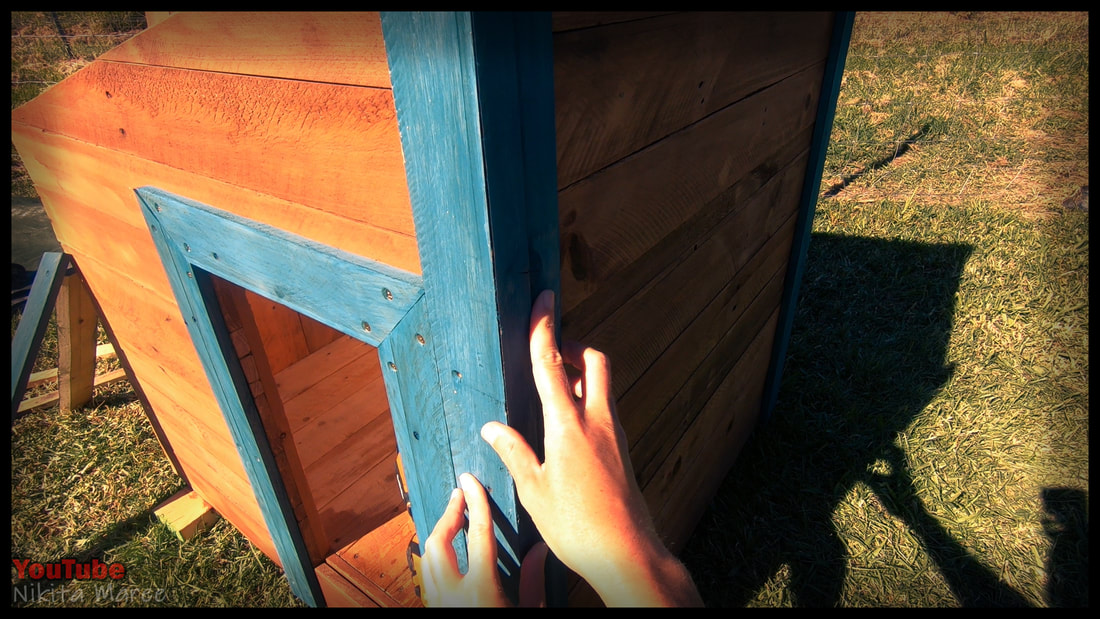
After the paint has dried. Re-attach the edge details.
Add a simple frame around the lid.
Clear coat to protect.
|
|
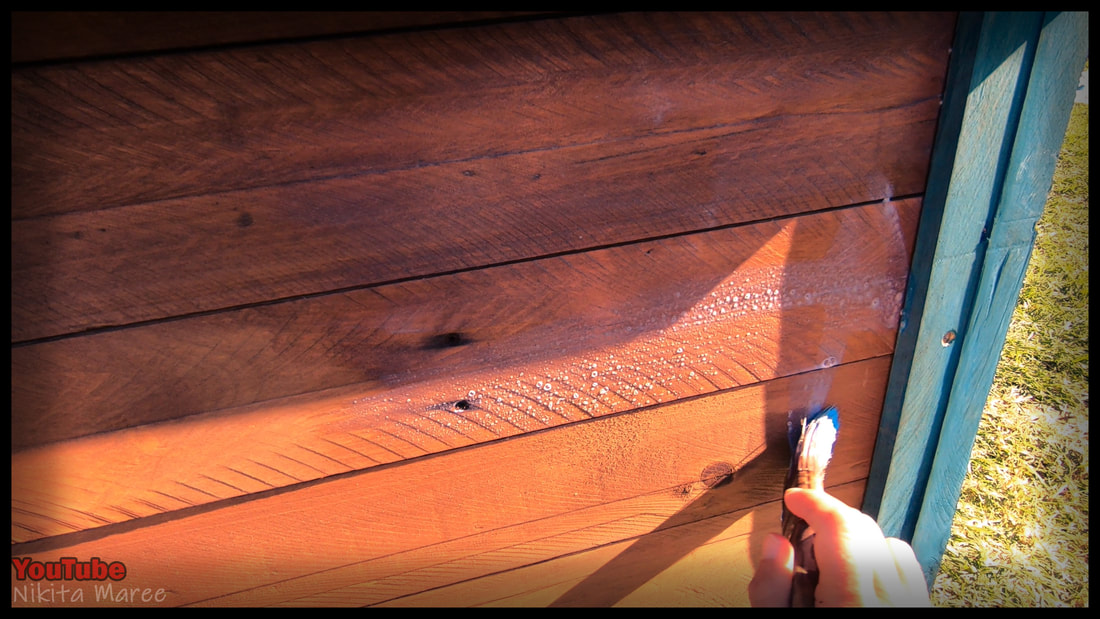
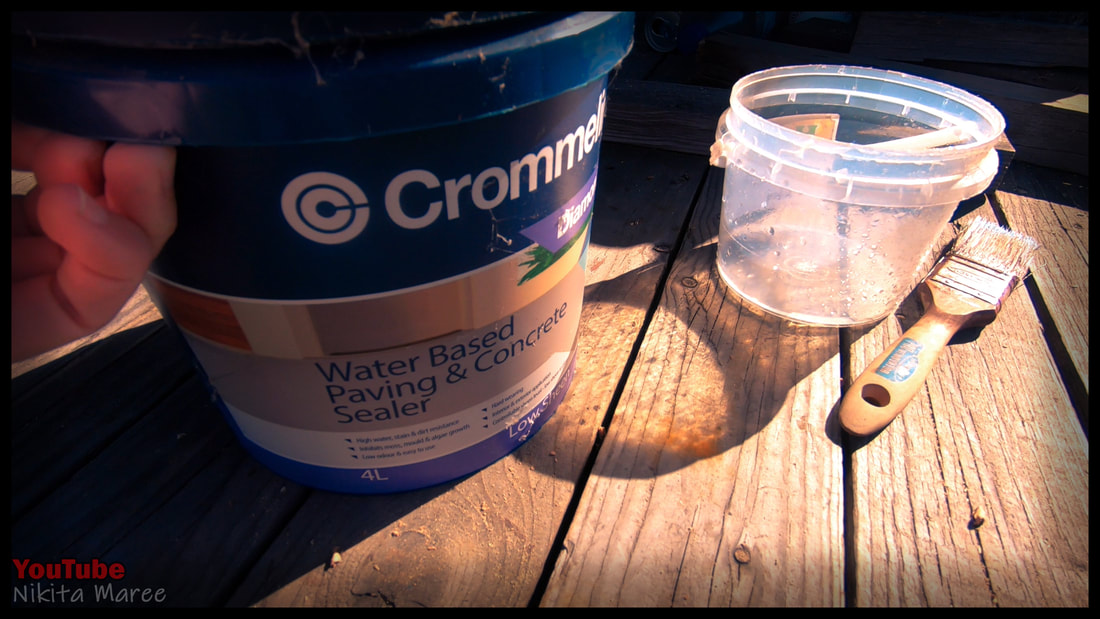
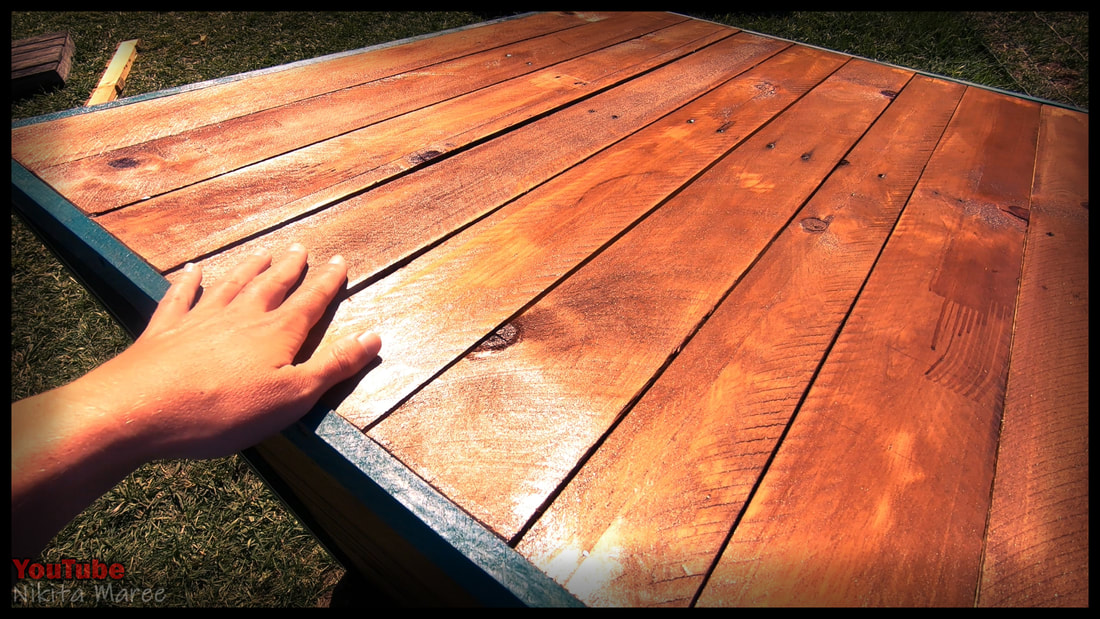
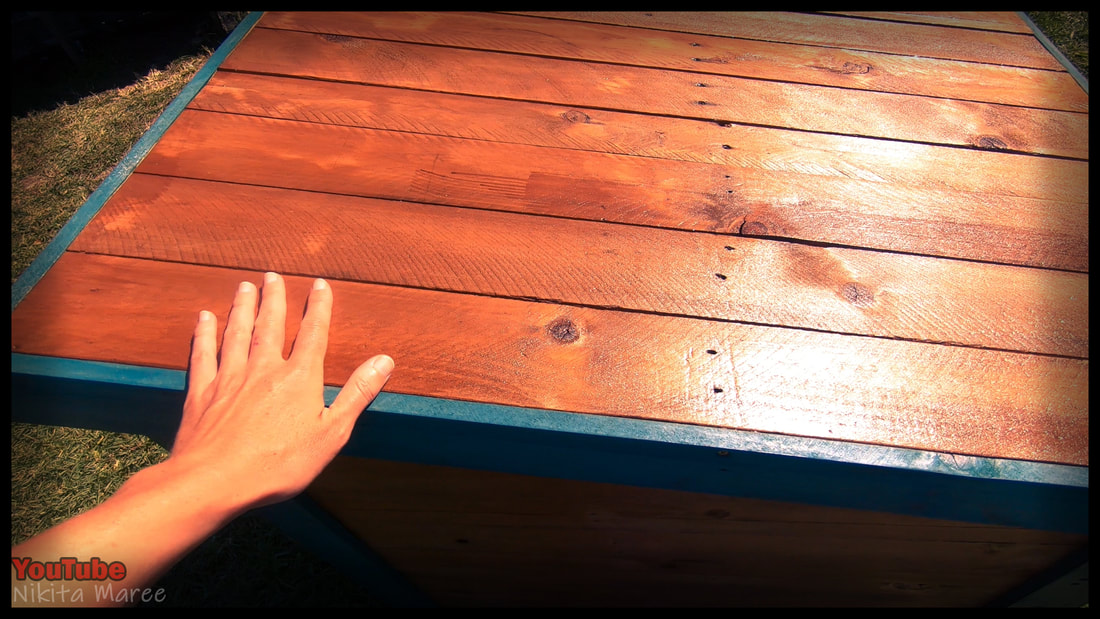
I use pavement sealer for my builds,
because it is a hell of a lot cheaper than the clear coats for timber.
And I really like the low sheen finish.
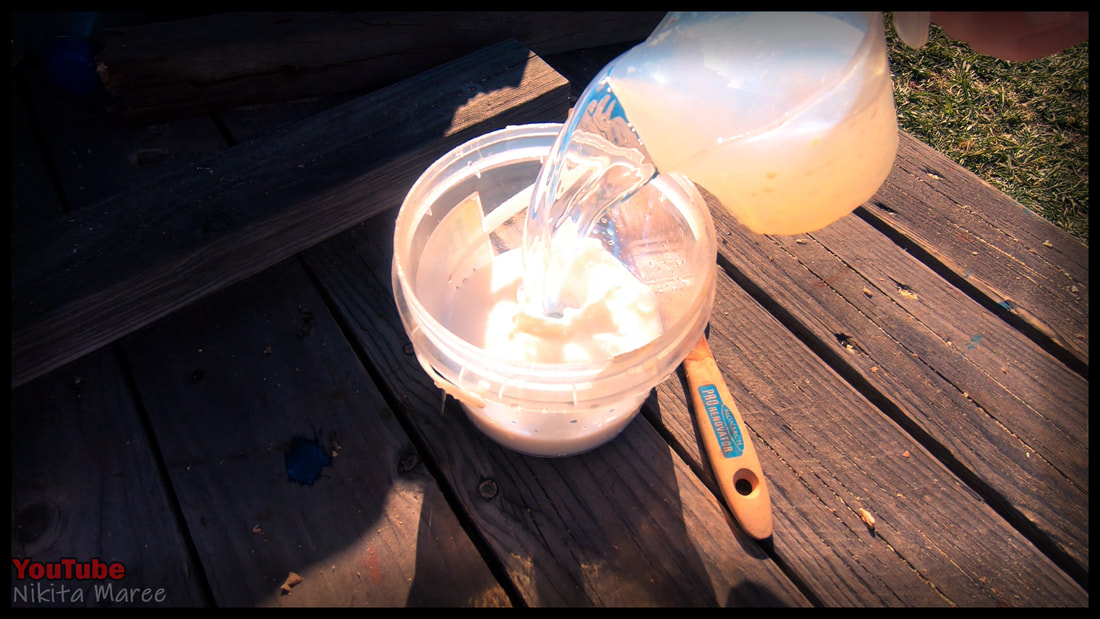
I also water that down to a 1:1 ratio to make it even cheaper.
because it is a hell of a lot cheaper than the clear coats for timber.
And I really like the low sheen finish.
I also water that down to a 1:1 ratio to make it even cheaper.
The first coat soaks in nicely,
the second coat sits perfectly on top.
the second coat sits perfectly on top.
|
|
|
|
This project came in under $38 Australian.
- Pallet Wood - Free
- Half a box 25mm screws - $8
- One third of a box of 40mm screws - $9
- Small pack of 100mm screws - $3.50
- 250ml stain - $13
- Poster paint - $1
- 200ml Clear Coat - $3.50
