How to Sculpt a Jack O'lantern
Pumpkin (Polymer Clay Tutorial).

|
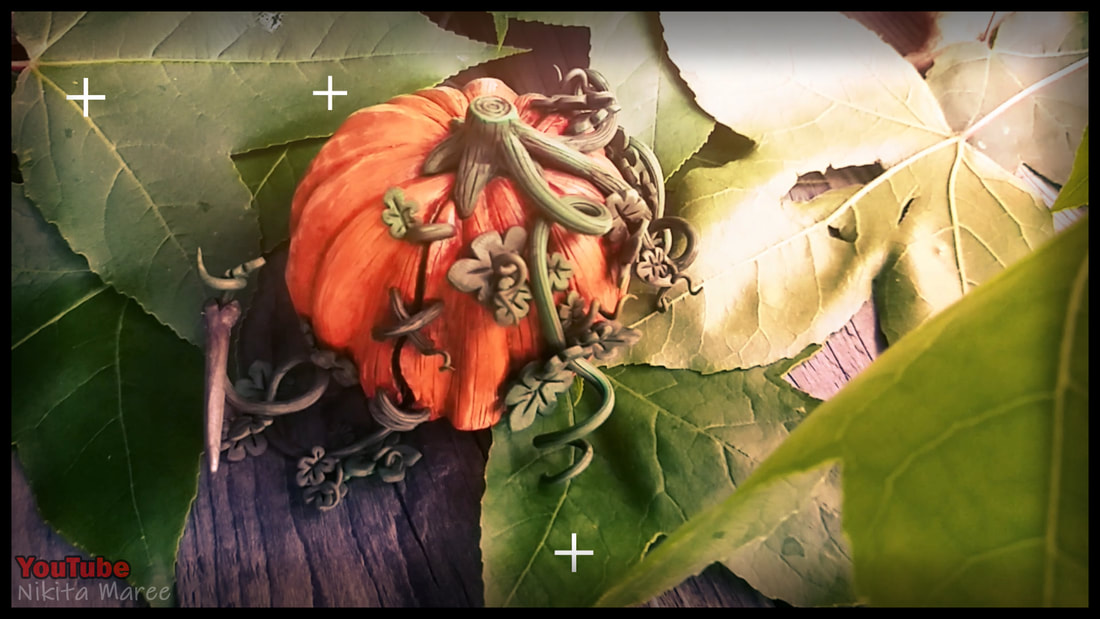
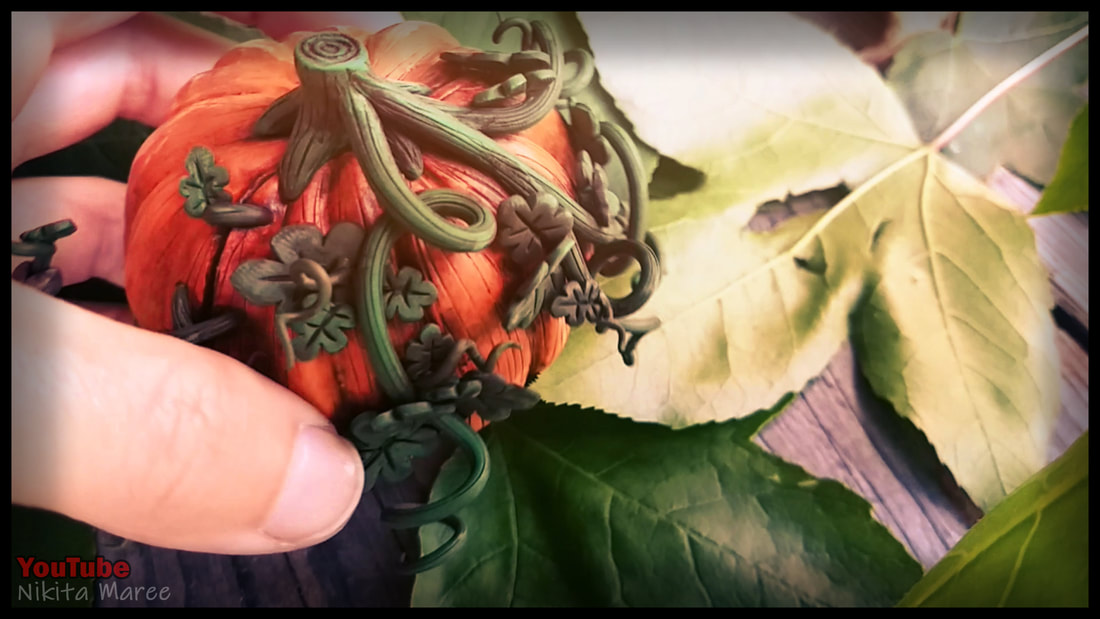
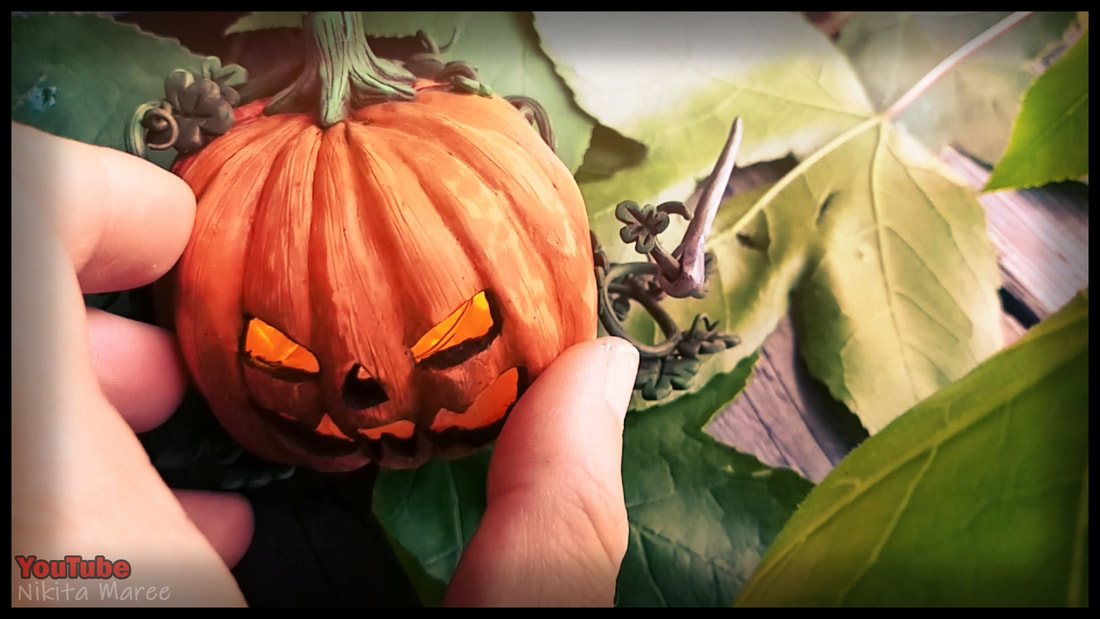
In this video I will show you the steps I took to create this hollow, light up Jack o' lantern
Made out of polymer clay. |
|
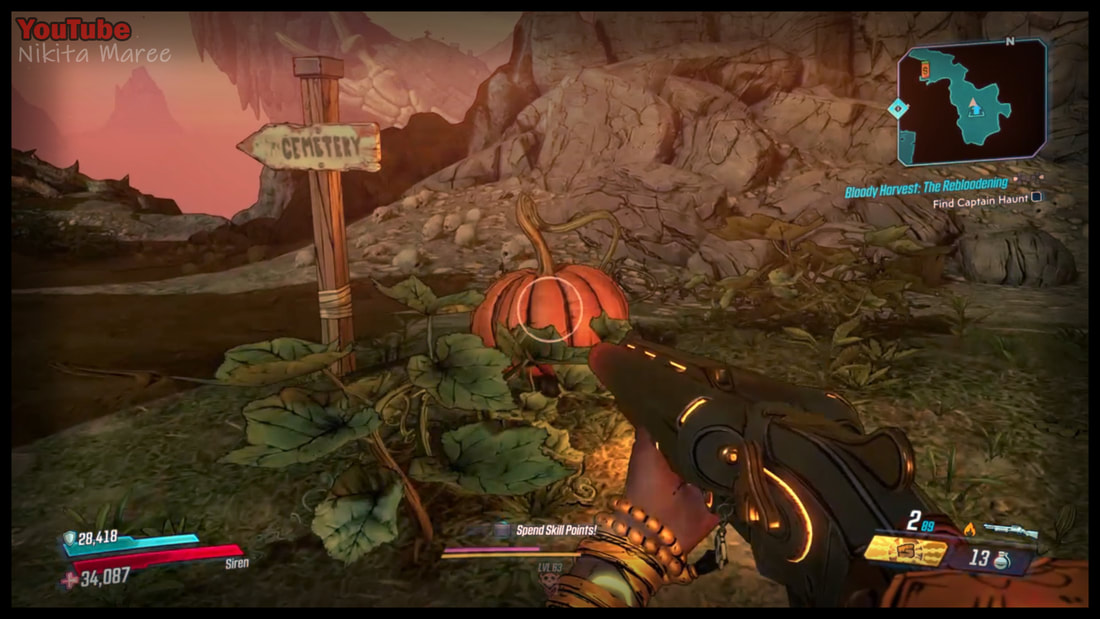
This little fellas name is Clive.
He was minding his own business during the Bloody harvest. When he was unprovokingly attacked by my Borderlands character. |
|
|
Not to worry though, Clive is a pretty decent surgeon and stitched himself up
with one of his own vines. |
|
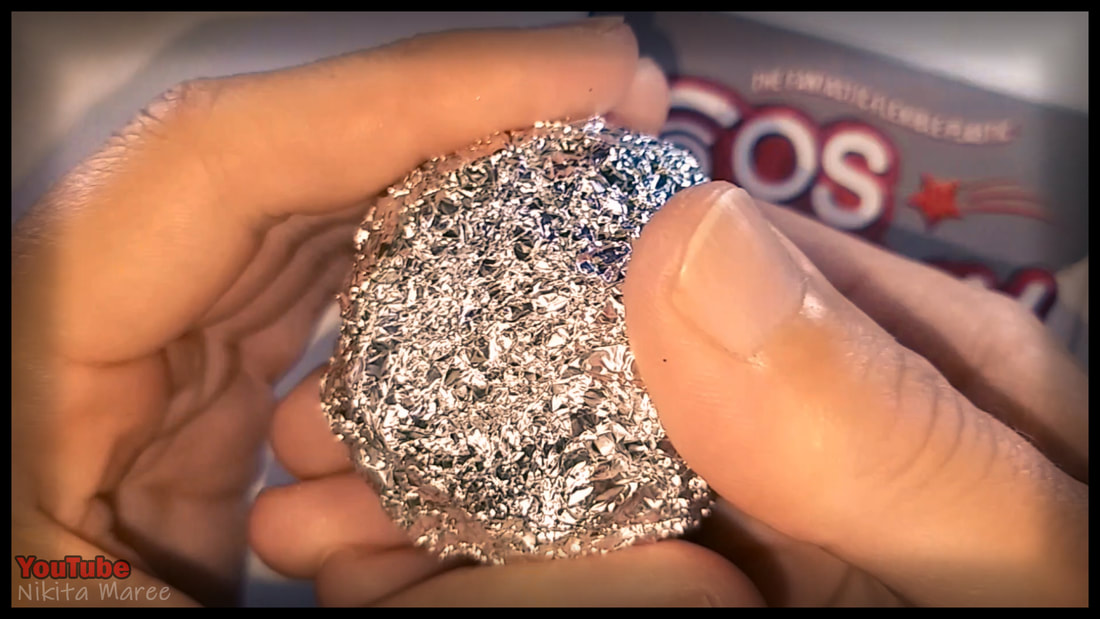
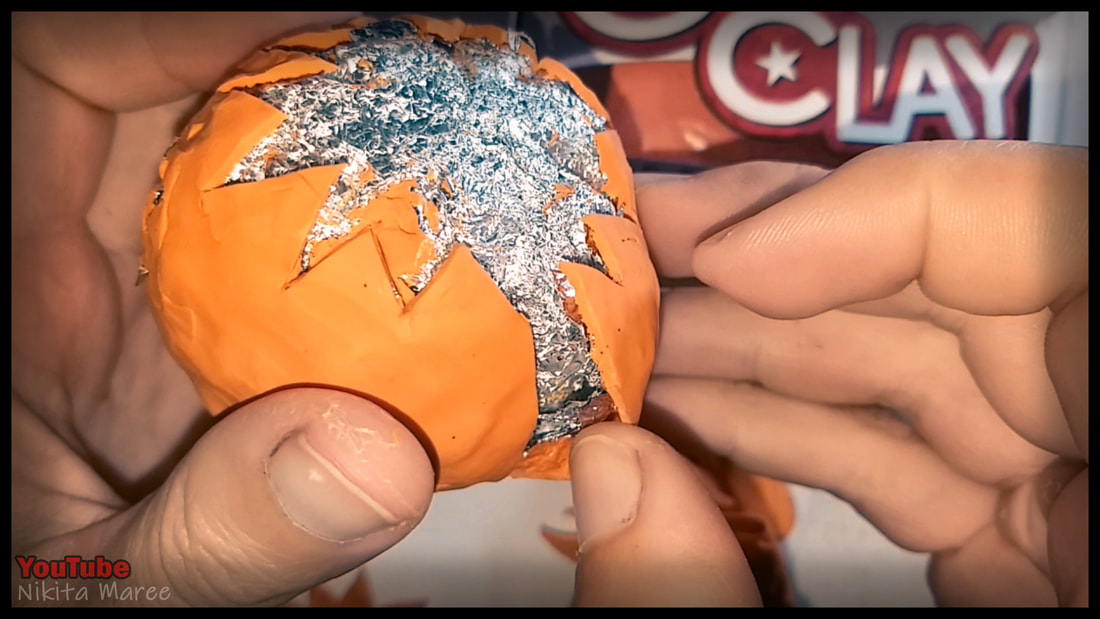
Starting with an aluminum foil ball.
|
|
|
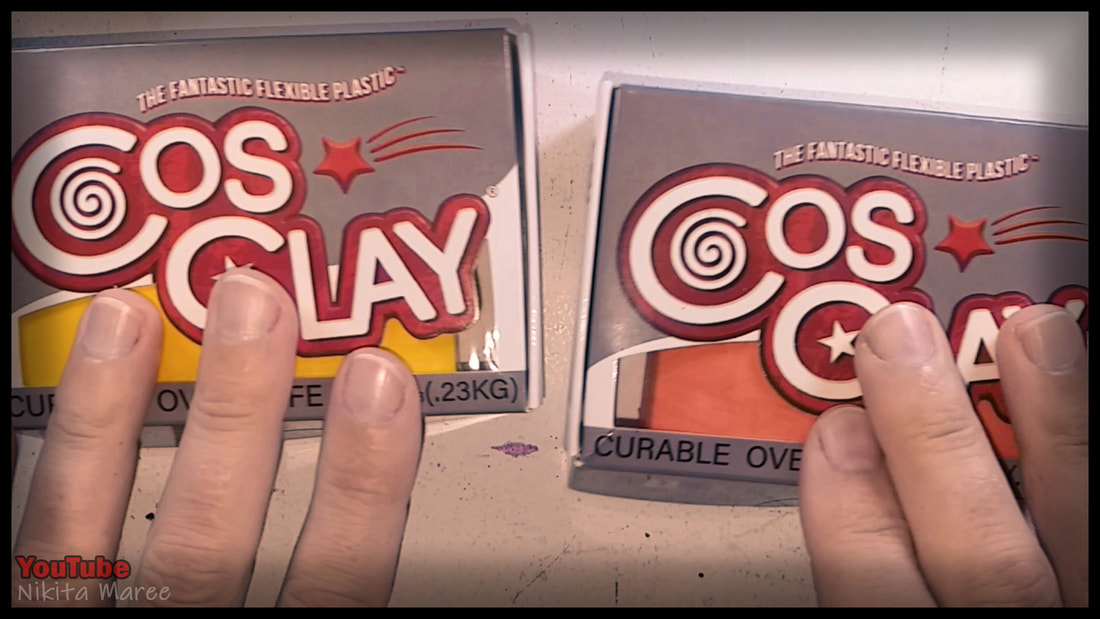
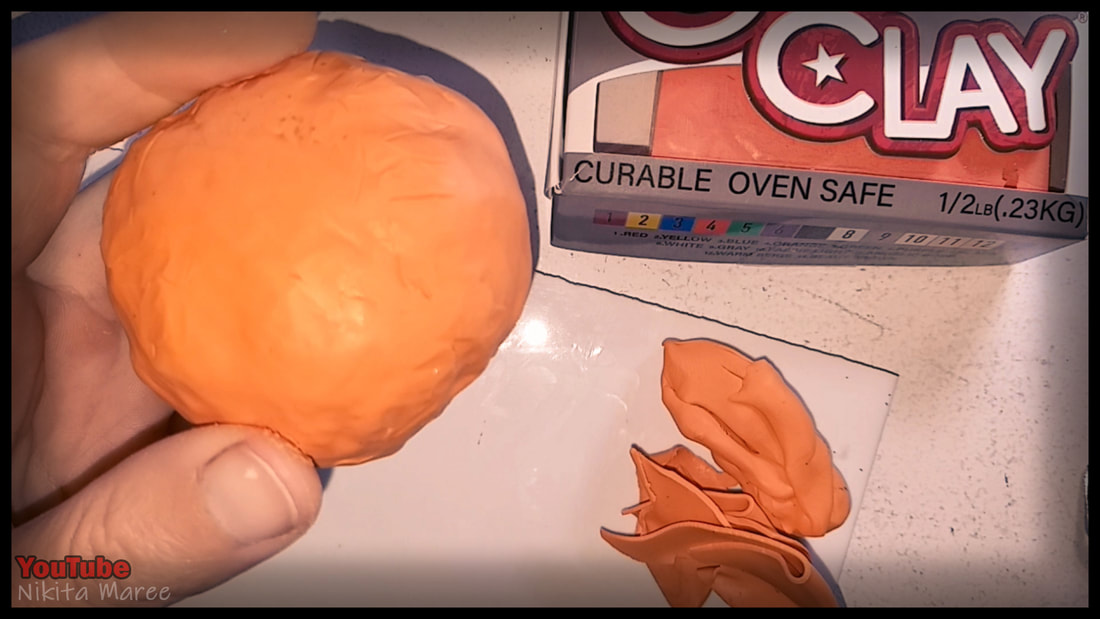
I am using CosClay, Mixing a l:l ratio of
the Yellow and orange. |
|
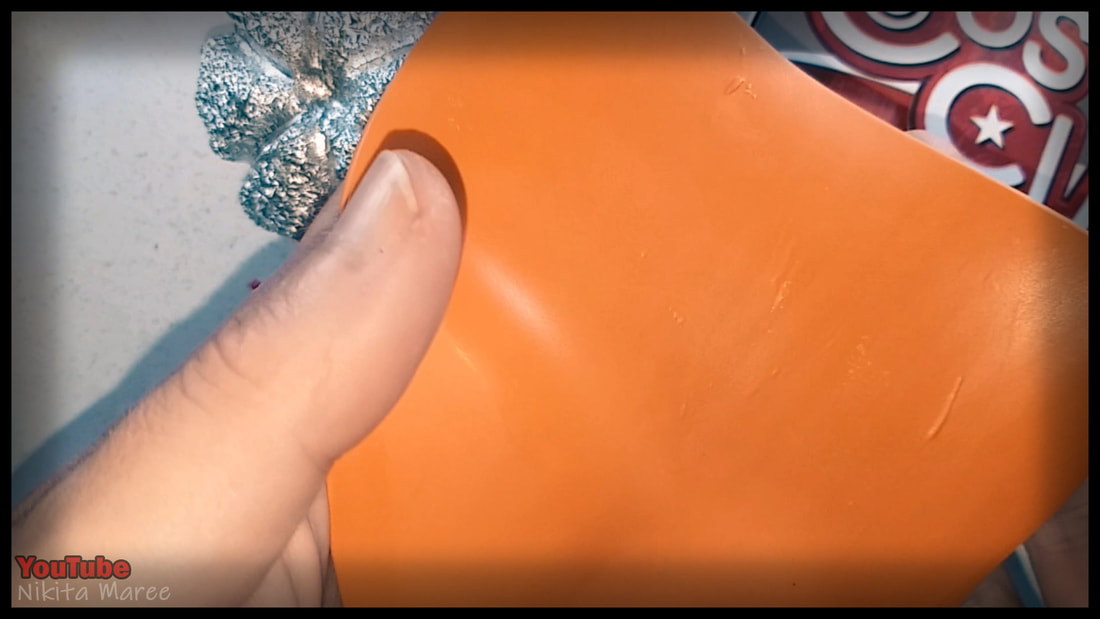
Roll it out into a flat sheet.
Then cover the foil ball. |
|
|
It doesn't have to look pretty,
we will be covering all this up later. |
|
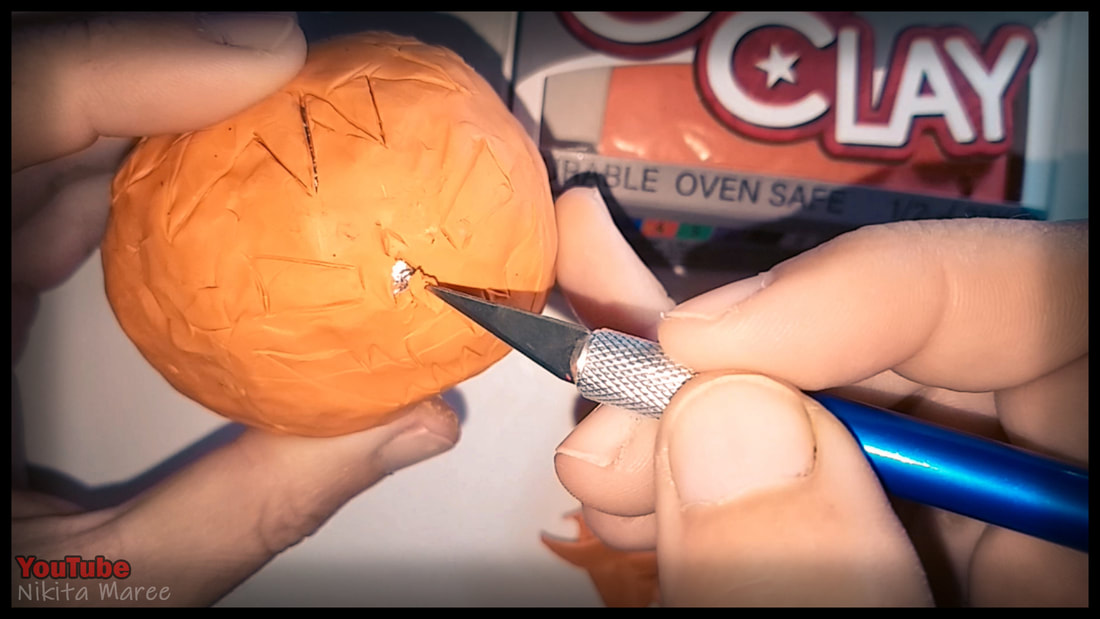
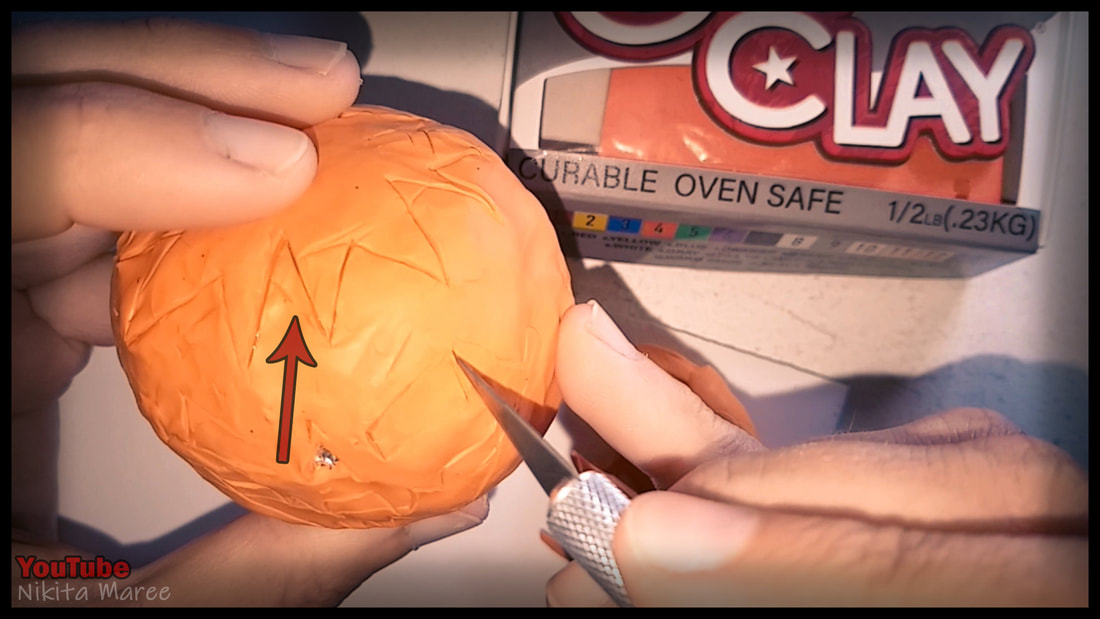
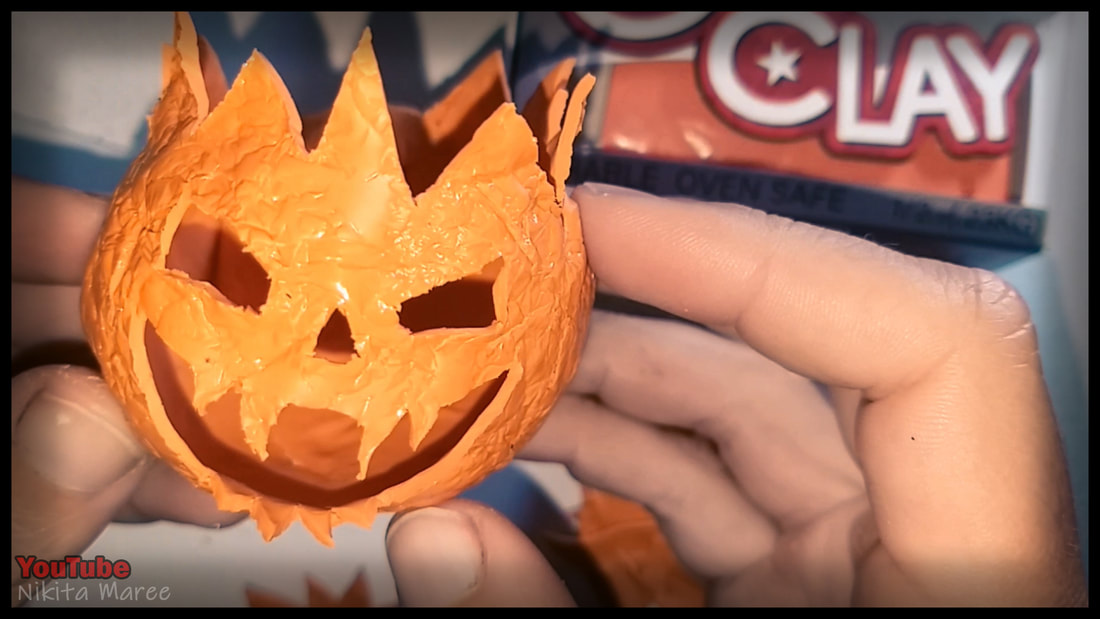
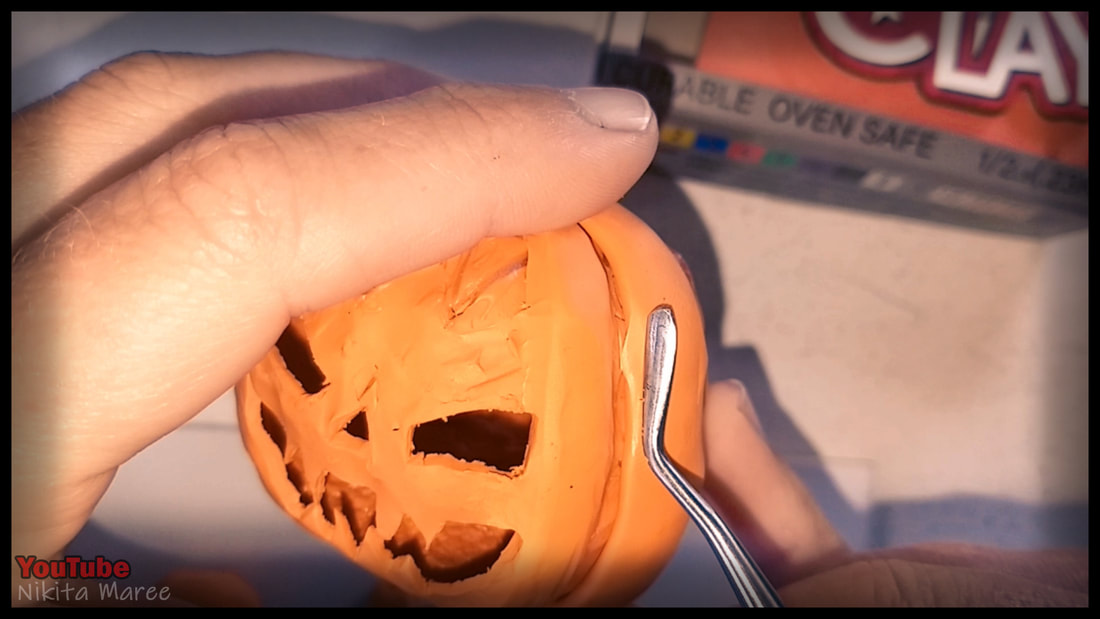
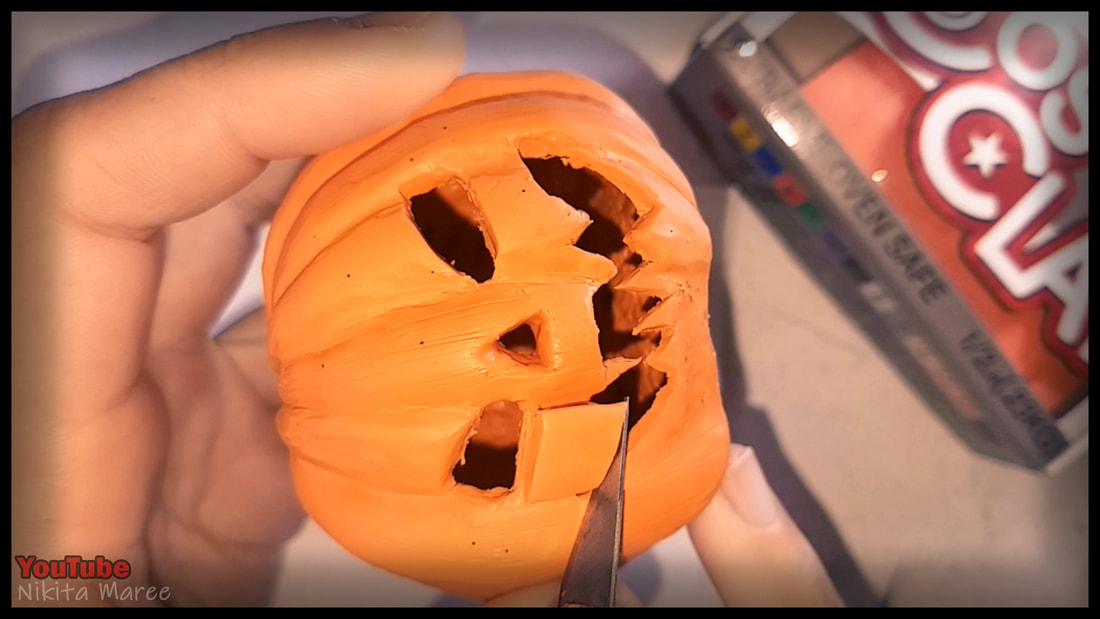
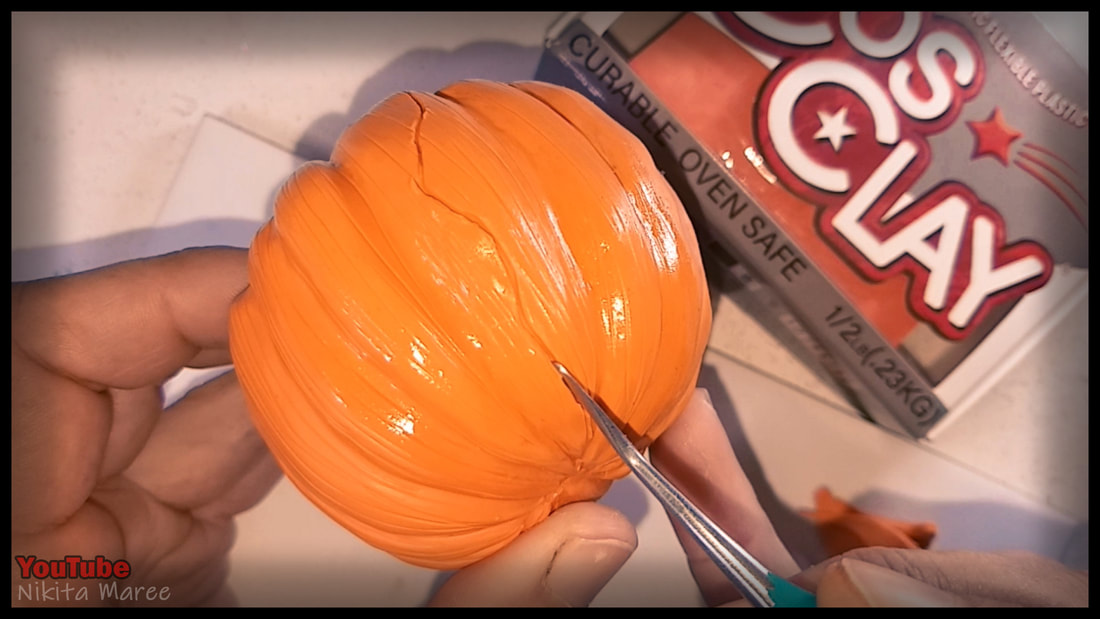
Using a scalpel to sketch and
cut out the eyes, nose and mouth. |
|
|
I was originally going to have the top lift up,
but later decided against that. |
|
I gave him a full bake then
cut him open down the back and underside, so that I could remove the foil ball. |
|
|
I could not have done this technique
with regular polymer day. |
|
He kind of reminds me of Wilson.
From the movie Cast Away. |

|
|
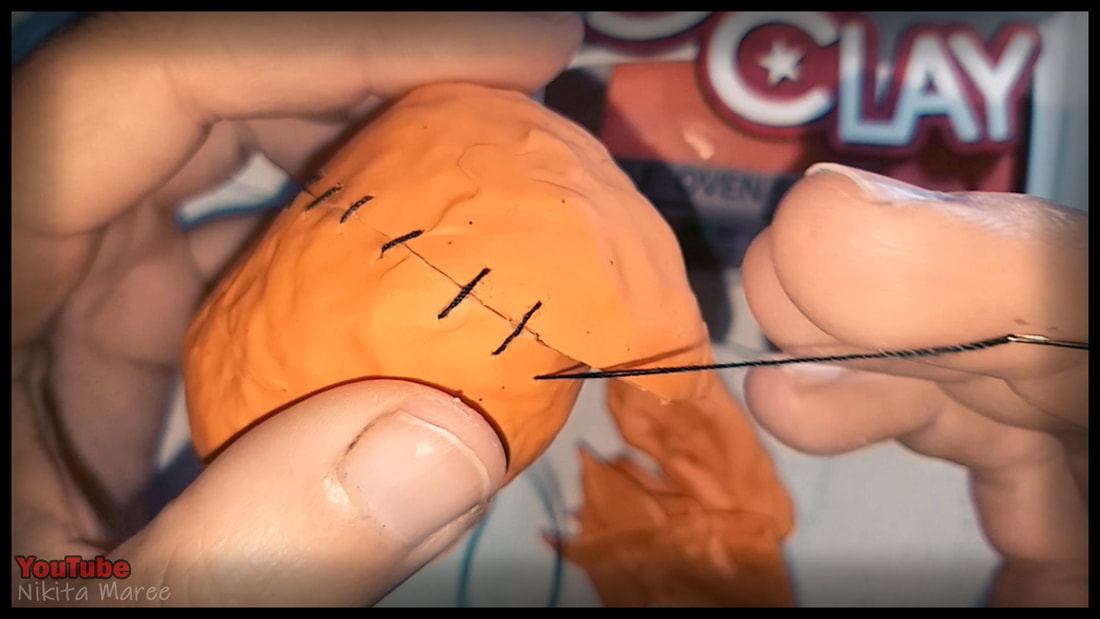
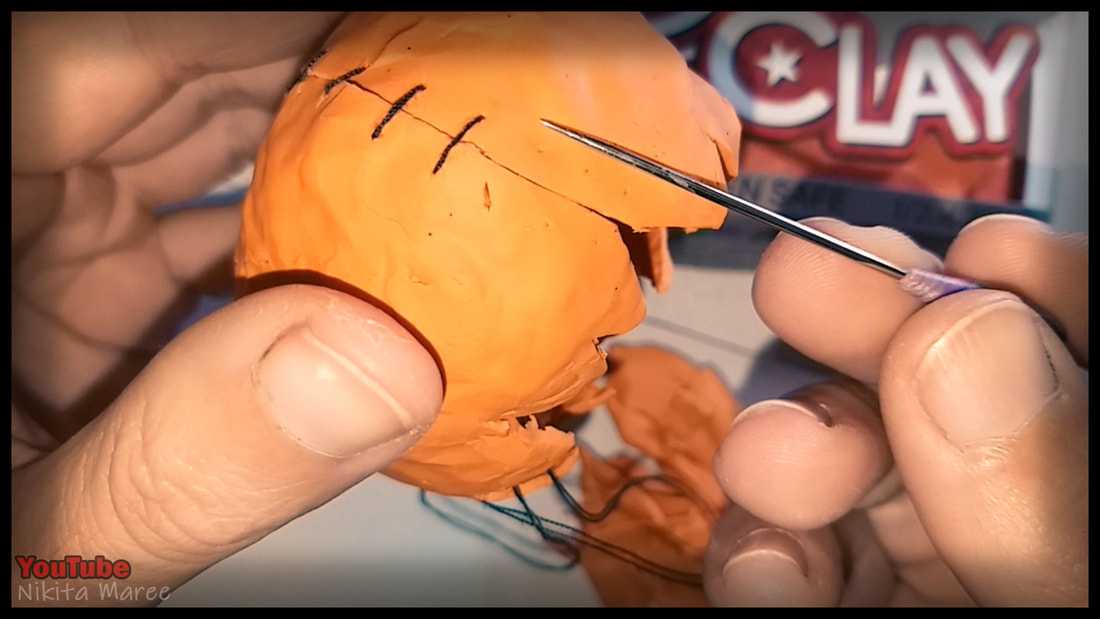
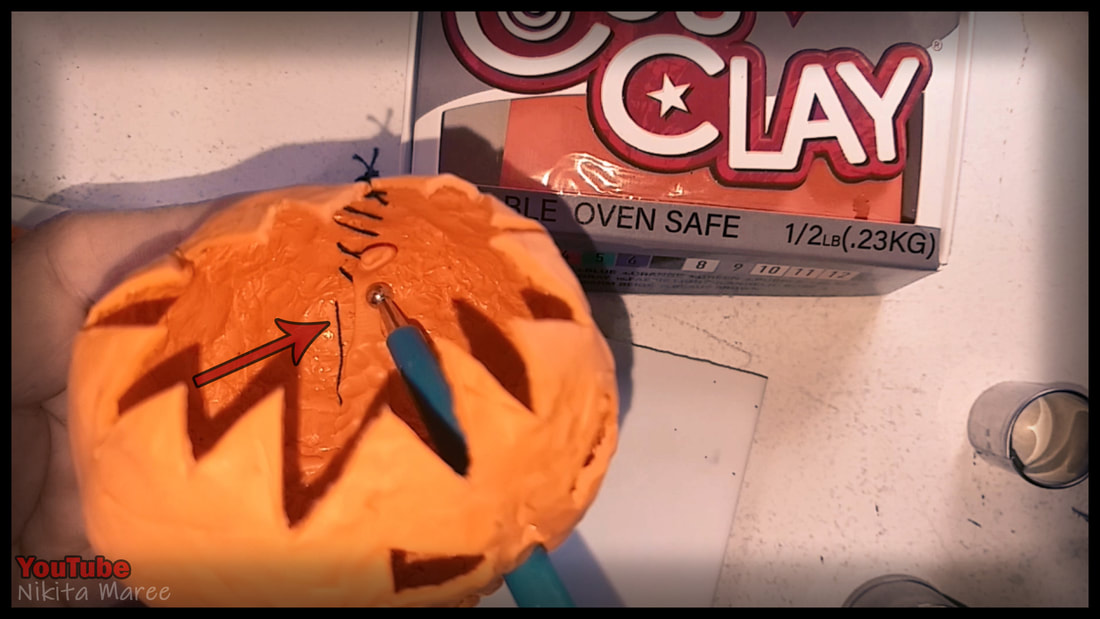
I used a needle and thread
to hold the cut closed. |
|
I would first push a hole
either side with a needle tool. Then thread it together. |
|

|
This looks really cool, so I see myself using this technique for something in the future.
|
|
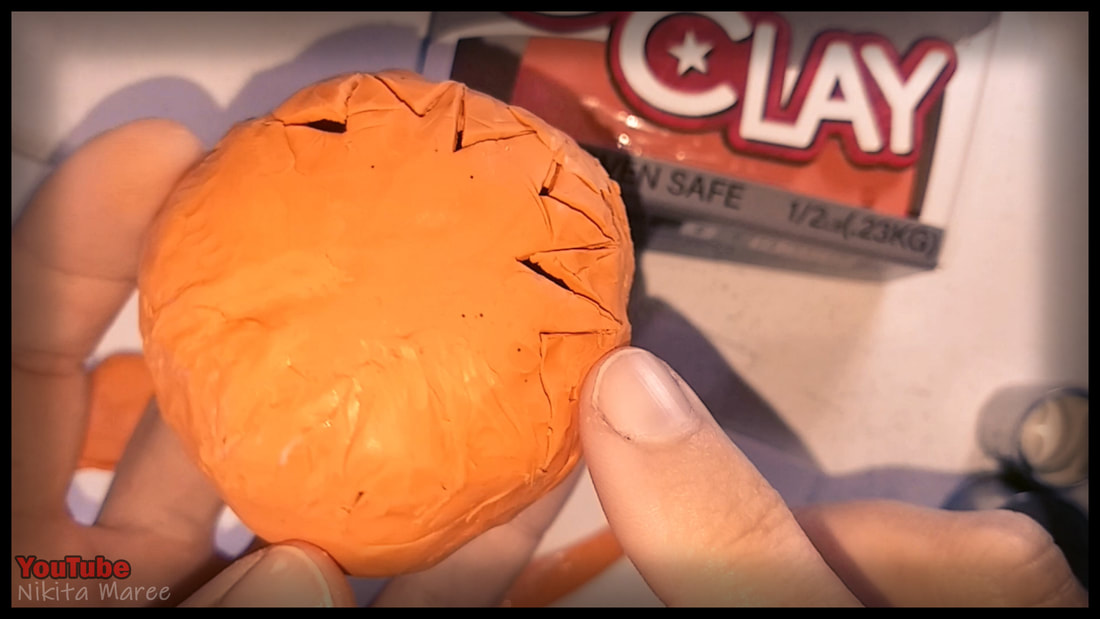
I am now covering over
the cut and thread with some more clay. |
|
|
The lid piece was bothering me,
so I permanently attached it with clay. |
|
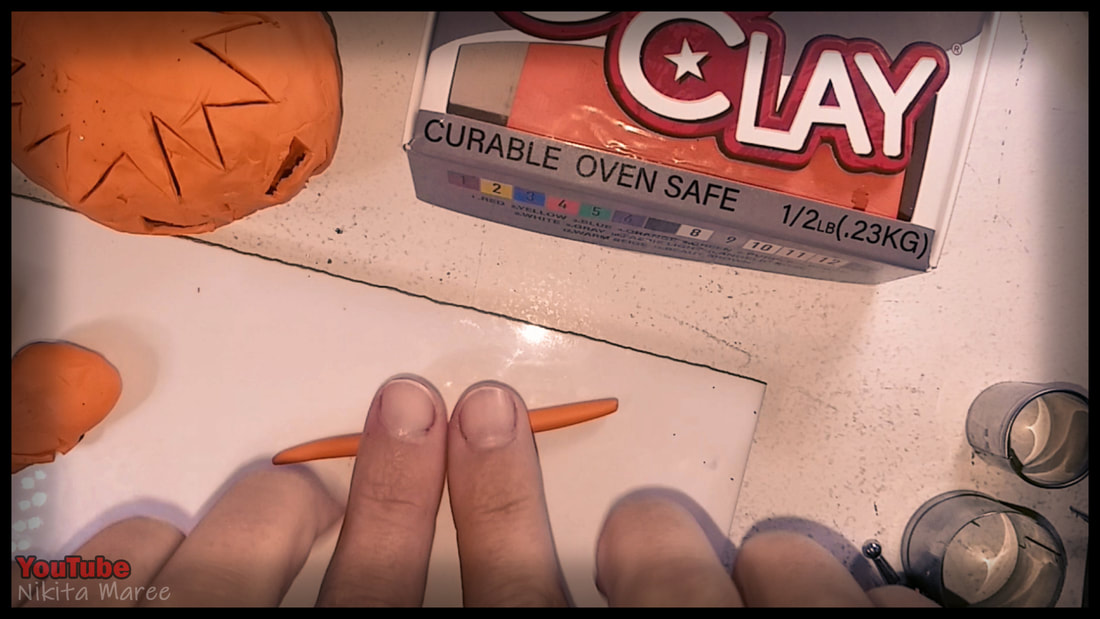
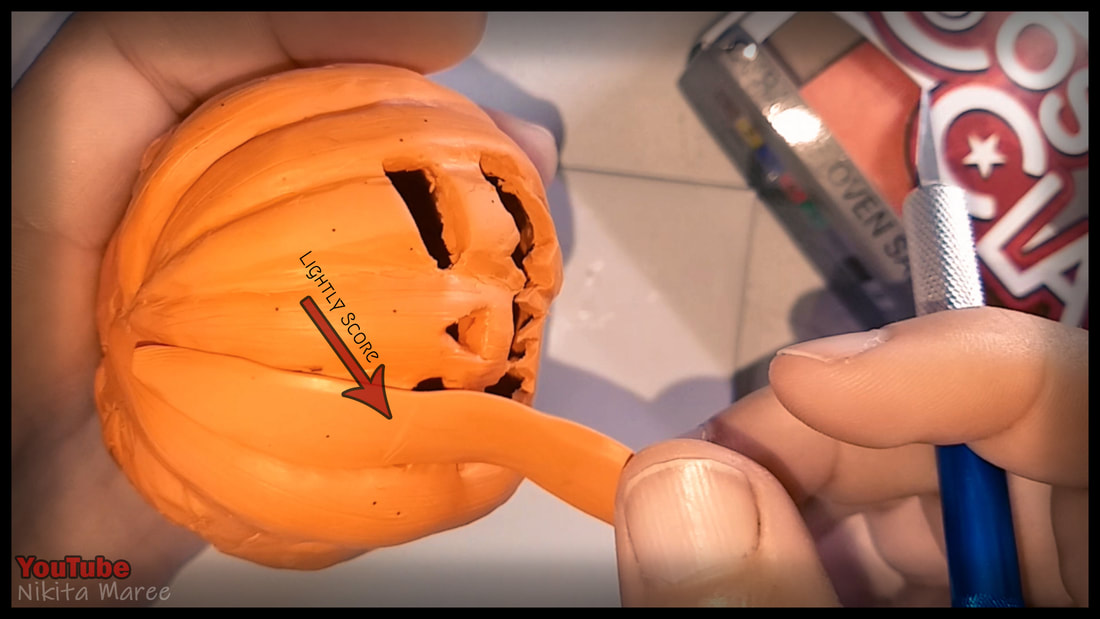
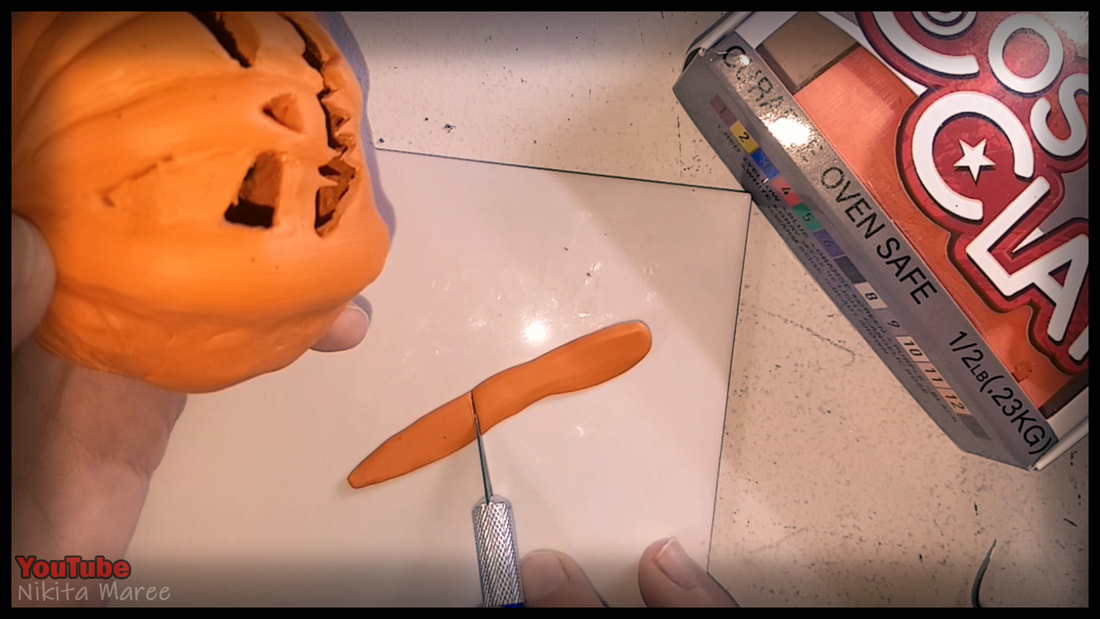
I roll out a length that is tapered
on either side and that will reach from top of the pumpkin to the Base. |
|
|
Once I am happy with the length.
I press it down with my fingers to flatten it a bit. |
|
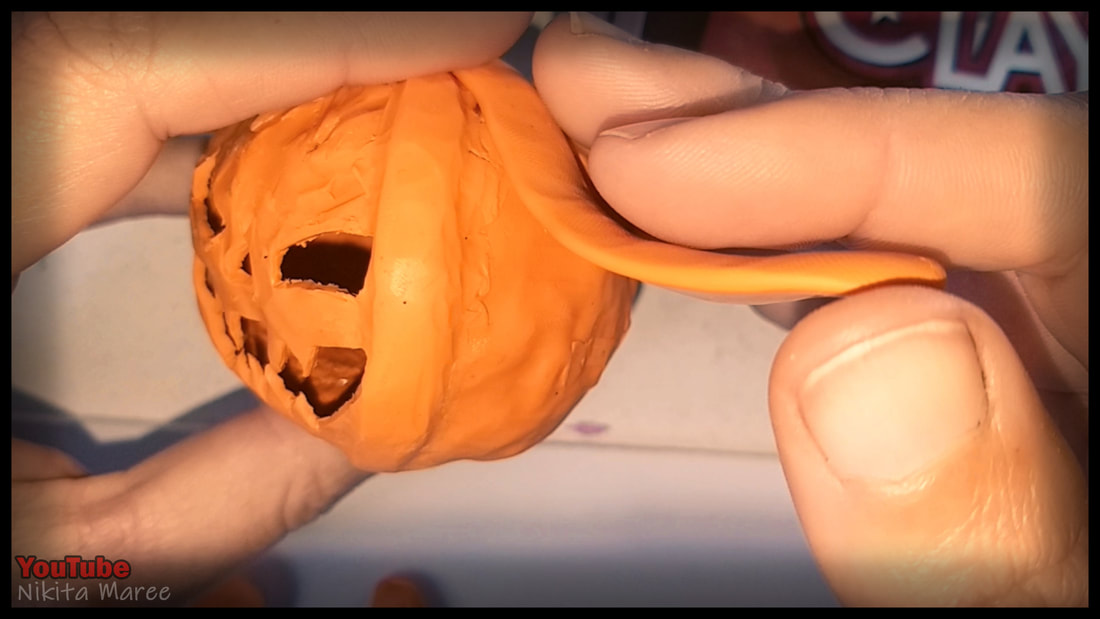
Position it onto the pumpkin and blend in the sides.
|
|
|
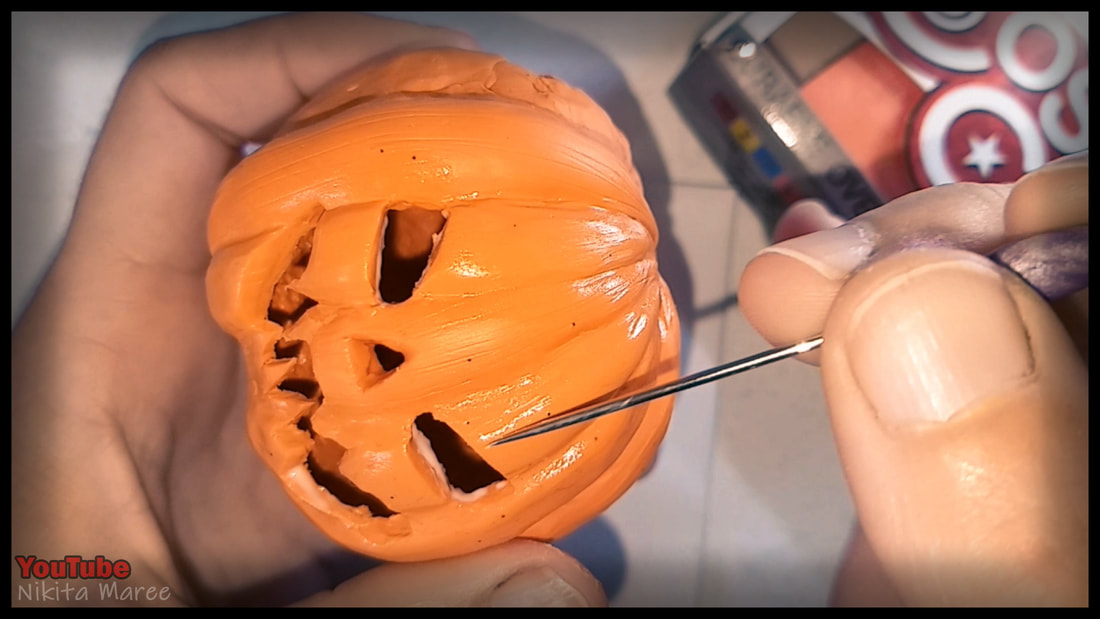
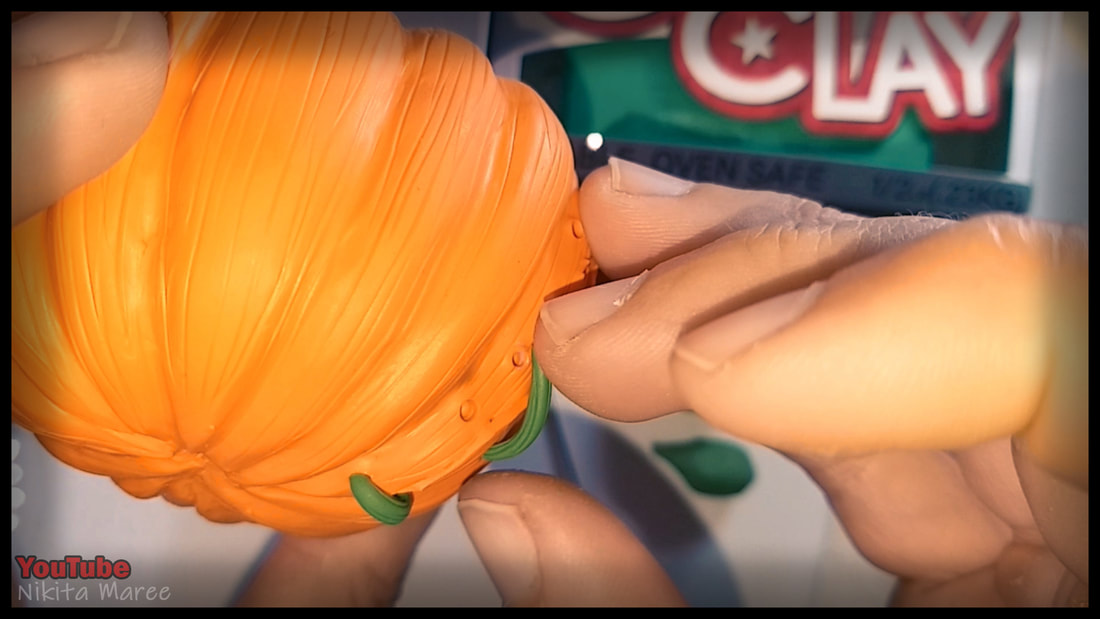
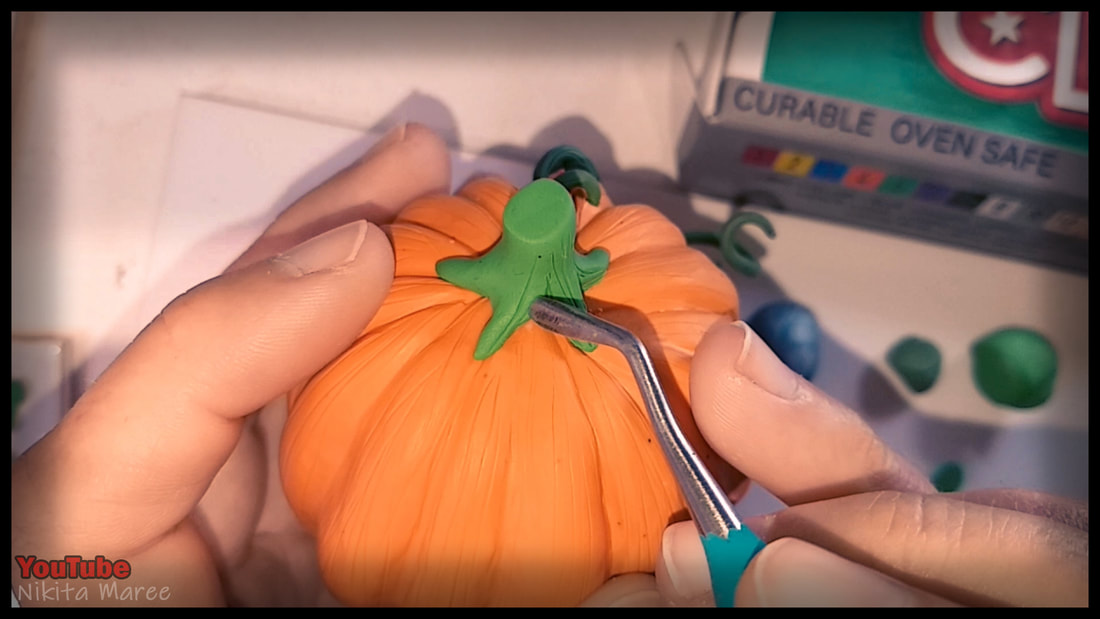
For the face details I would hold it into position and lightly score the surface.
|
|
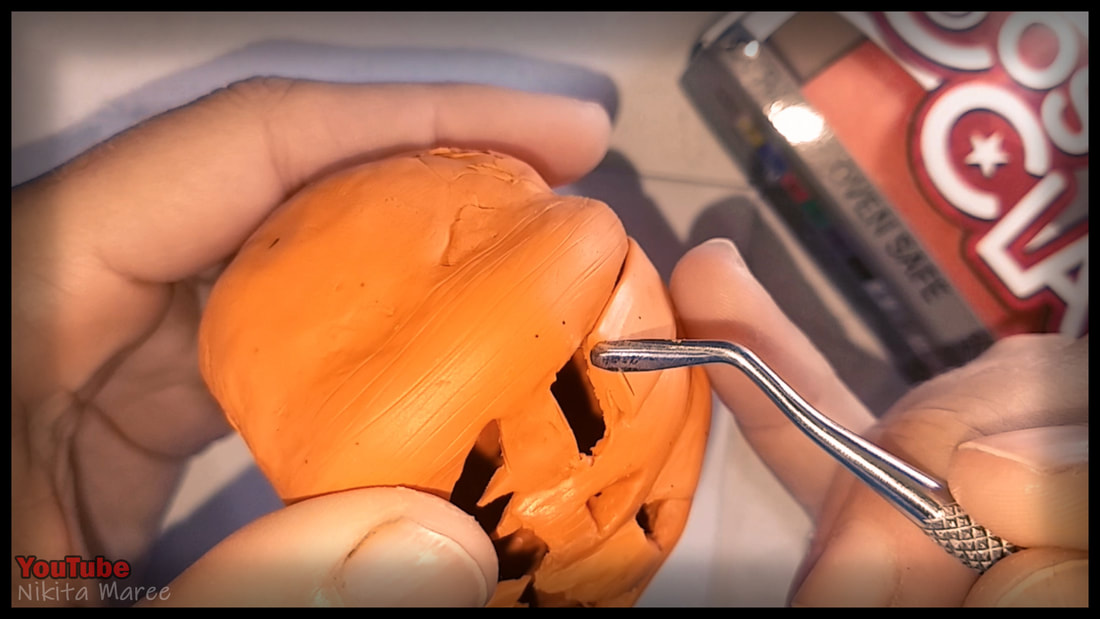
Cut along the scored line.
|
|
|
Place it back into position
and blend it in. |
|
Repeat for around all the facial features.
I will be giving this another bake really soon. Because I tend to squish every thing. |
|
|
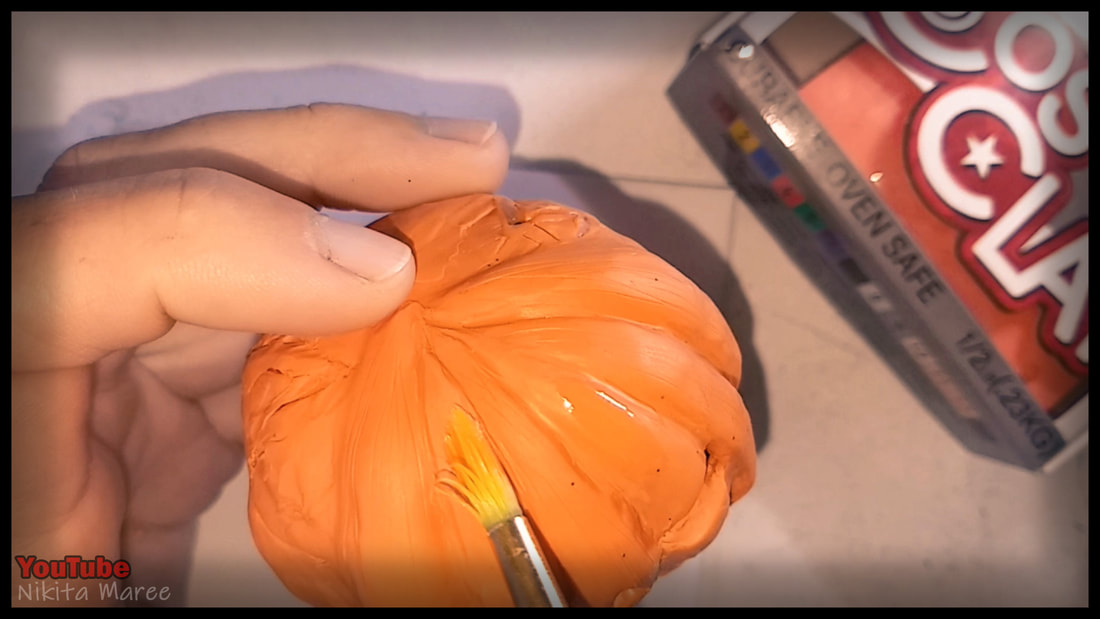
But before I do, I am brushing the surface
with some baby oil on a paint brush, to smooth it all down. |
|
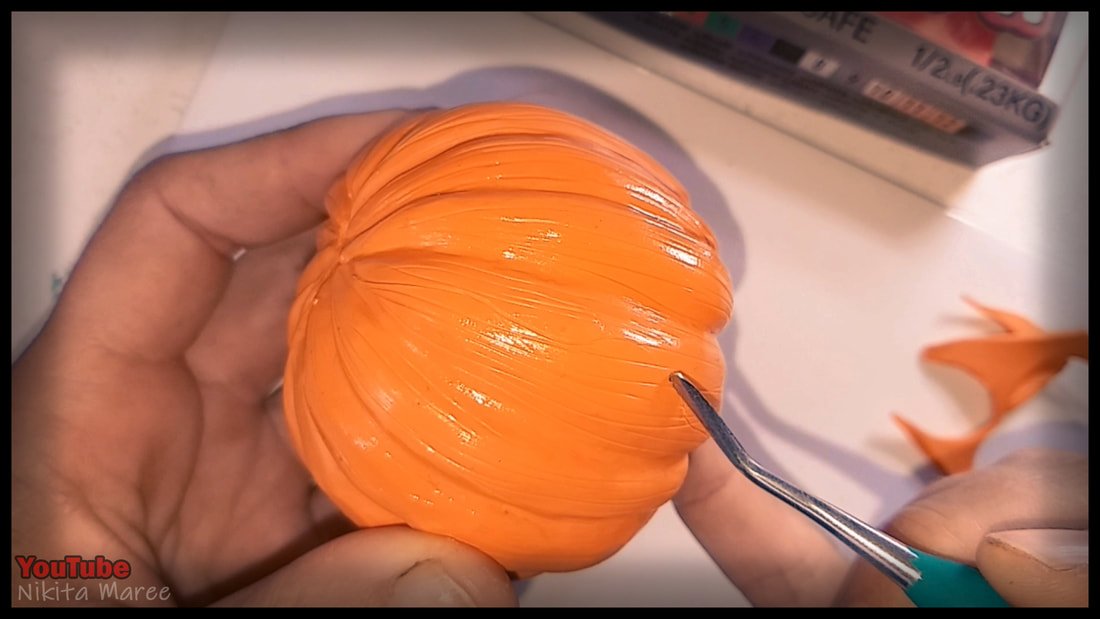
I then texture the surface with a needle tool.
|
|
|
After it's been baked, I continue the same presses for around the back of the pumpkin.
|
|
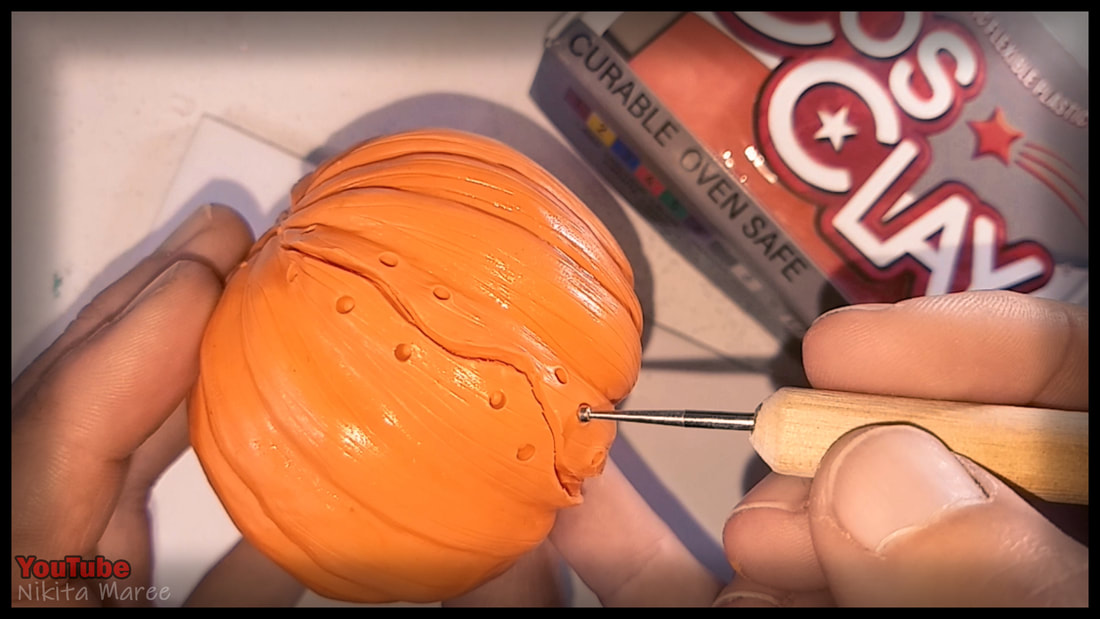
Time for poor Clive to be split open.
I lightly score in a sort of zig-zag jagged line and then deepened and widened it. |
|
|
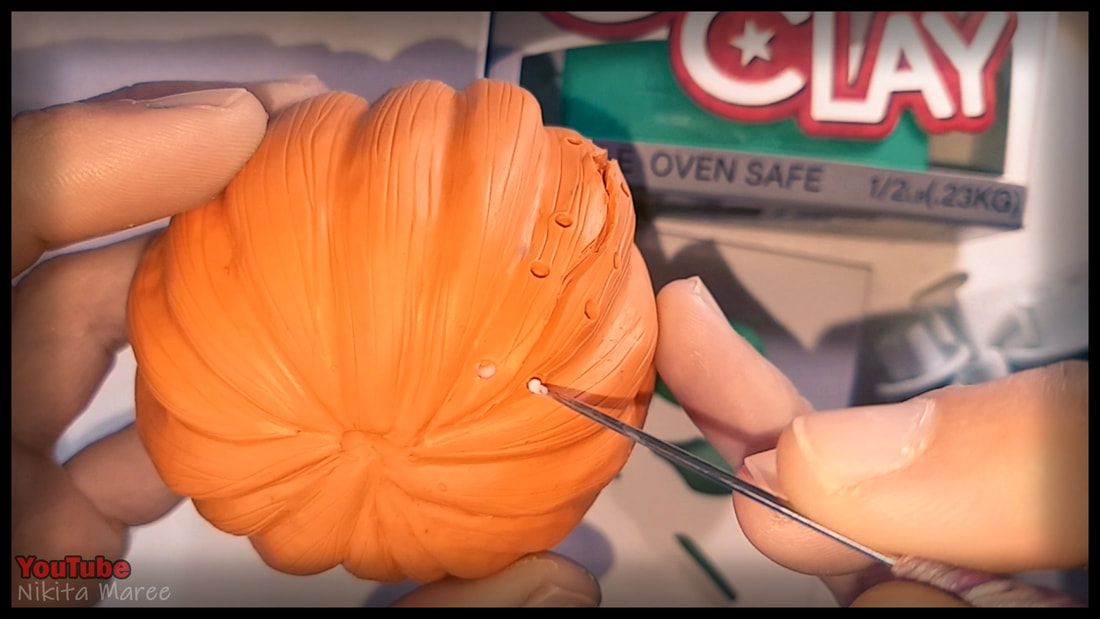
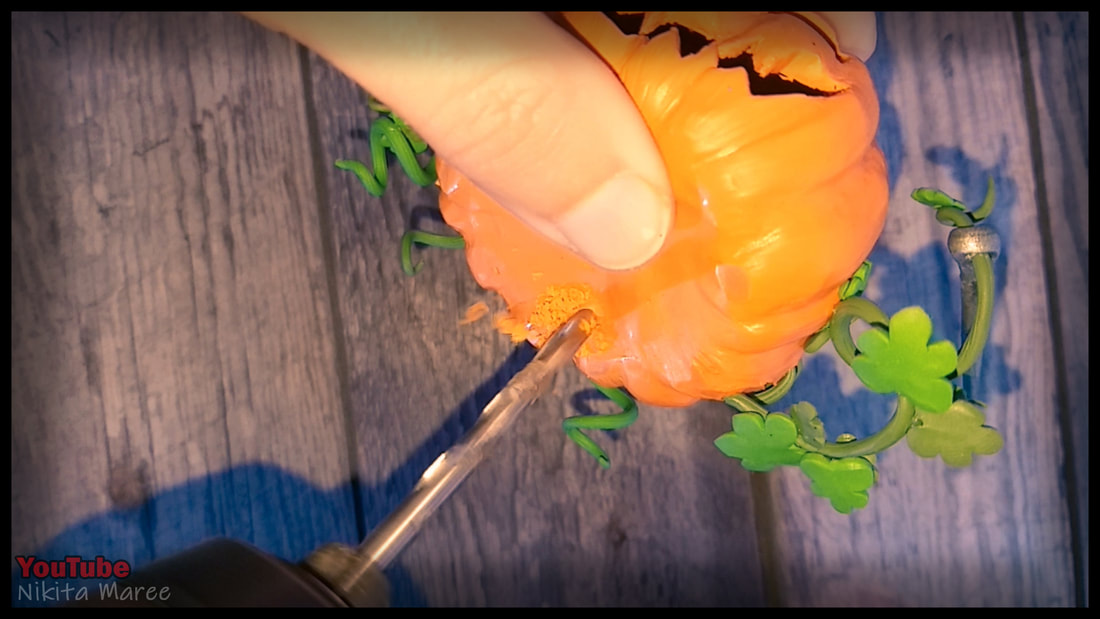
Using a small ball tool to mark out the holes and then a larger ball tool to make those holes bigger. I then bake it again.
|
|
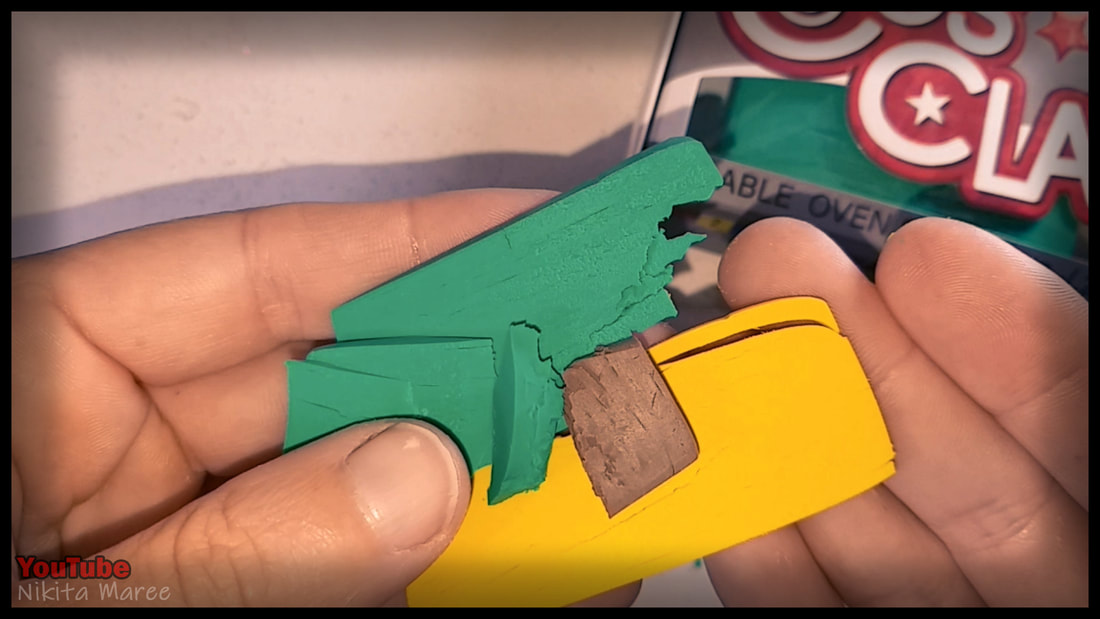
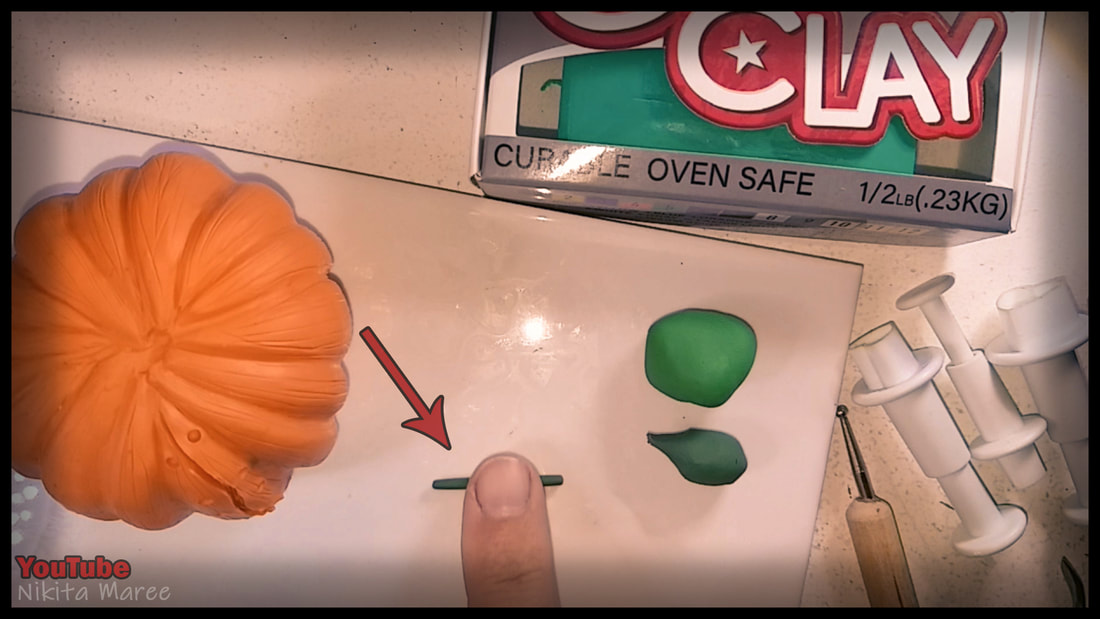
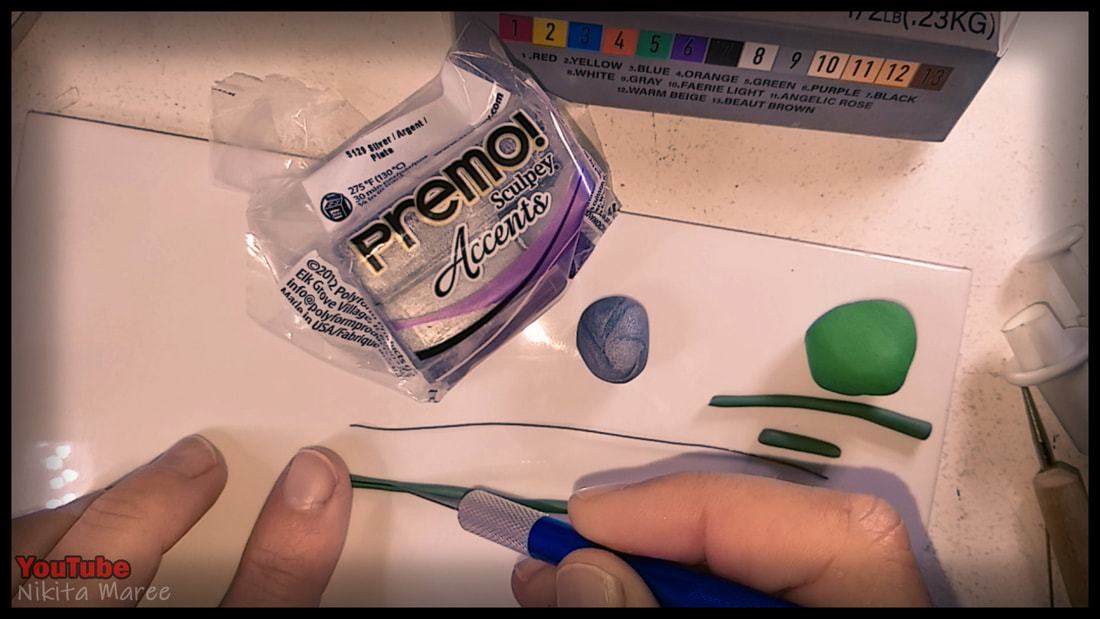
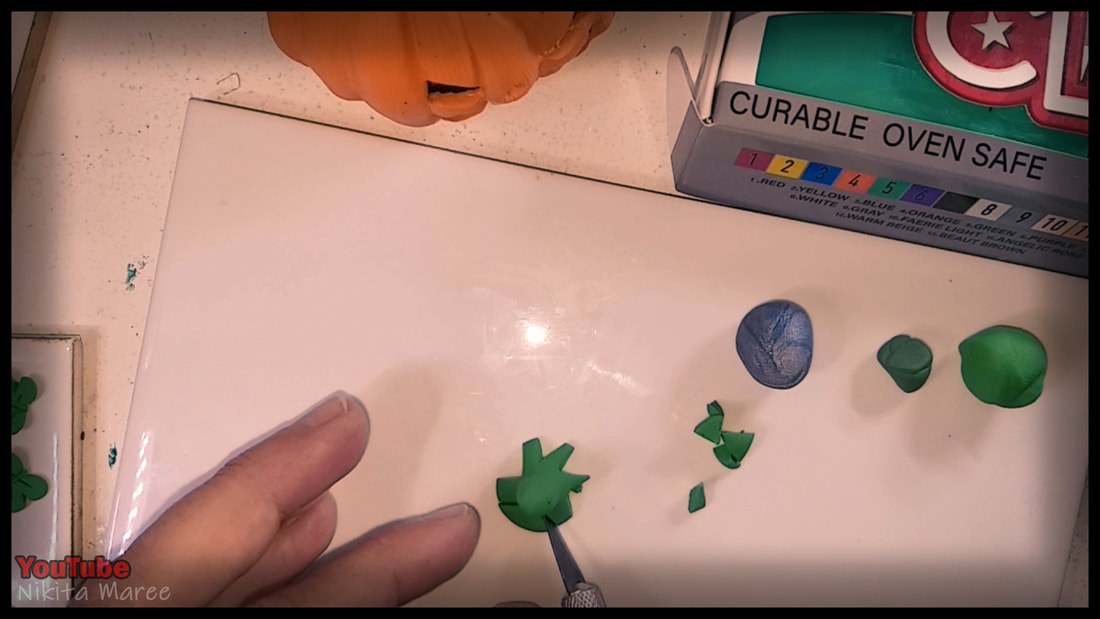
For the green of the stem and leaves,
I am mixing in a 1:1 ratio of green and yellow and a small amount of brown. |
|

|
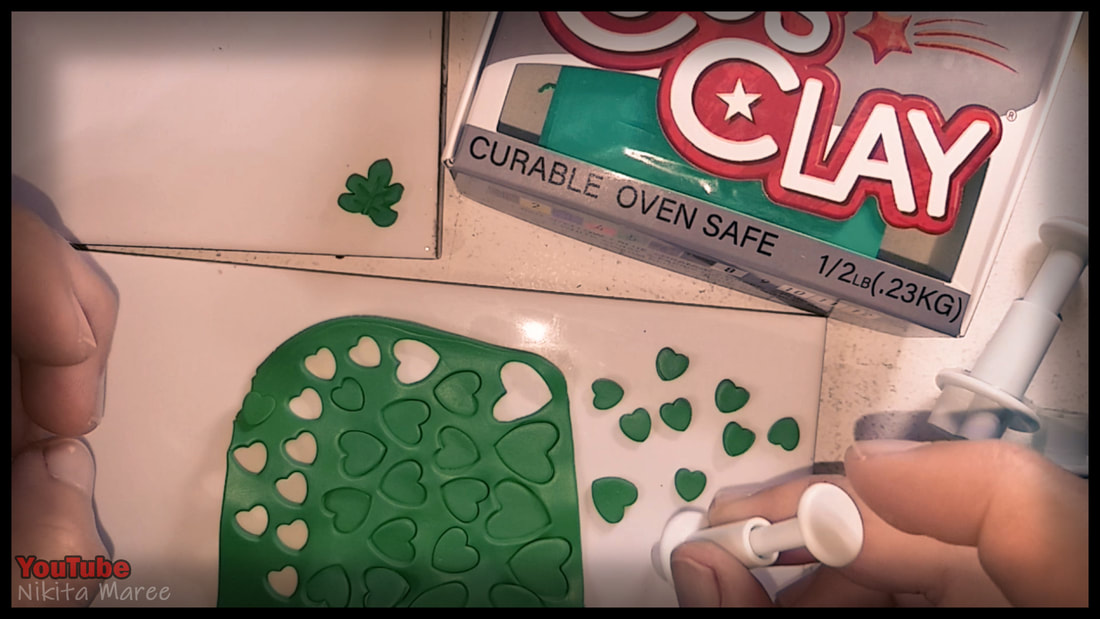
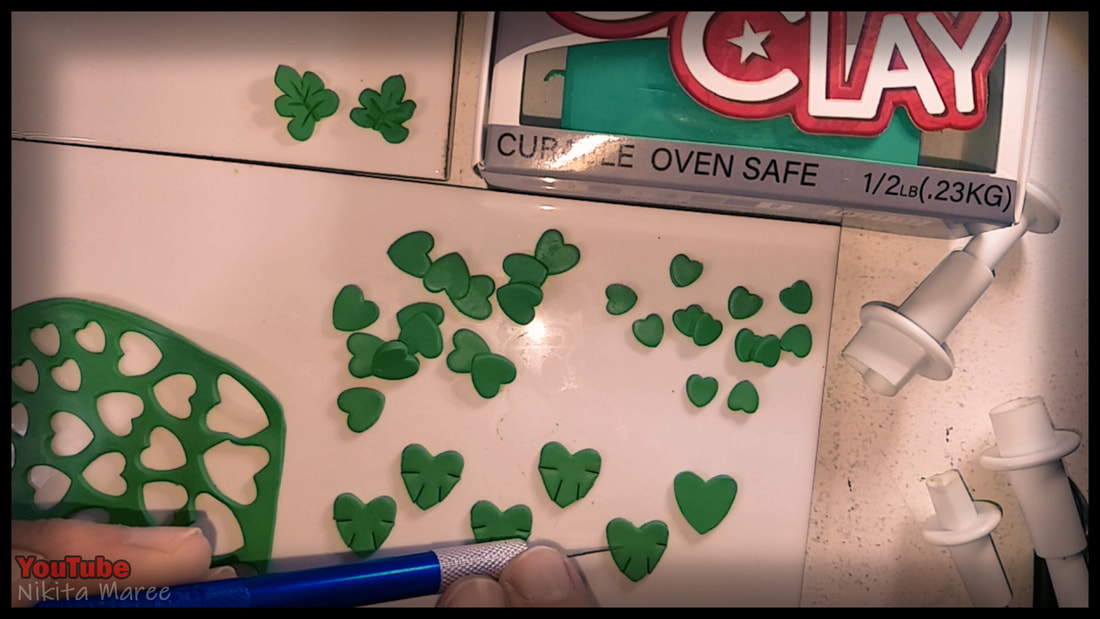
Roll it out into a thin sheet.
|
|
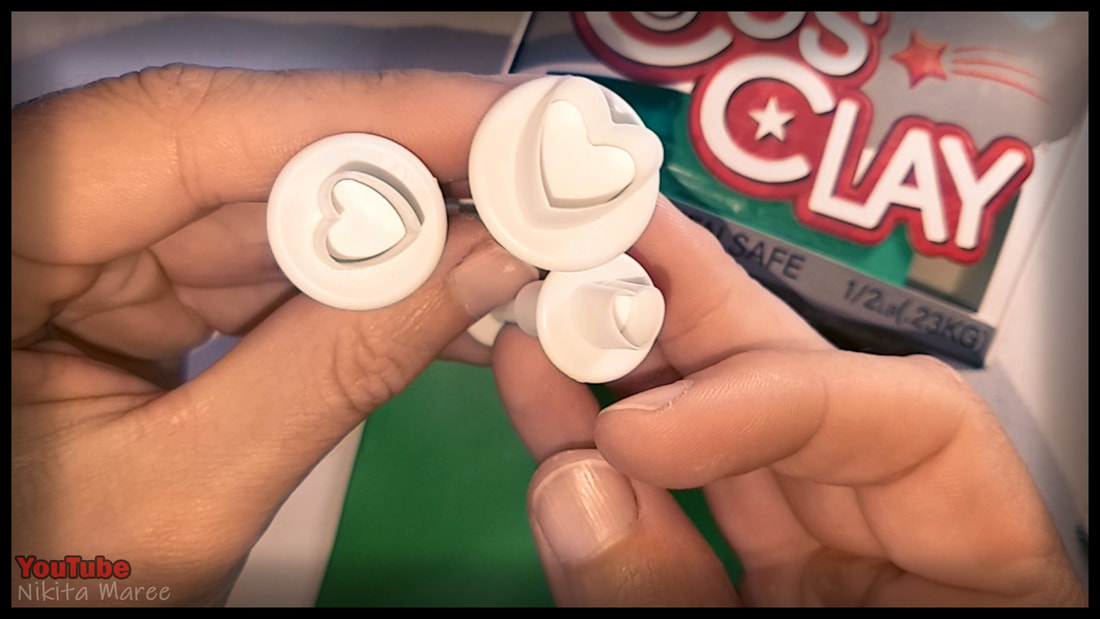
I got these heart shaped cutters from ebay
for $1 with free postage. |
|
|
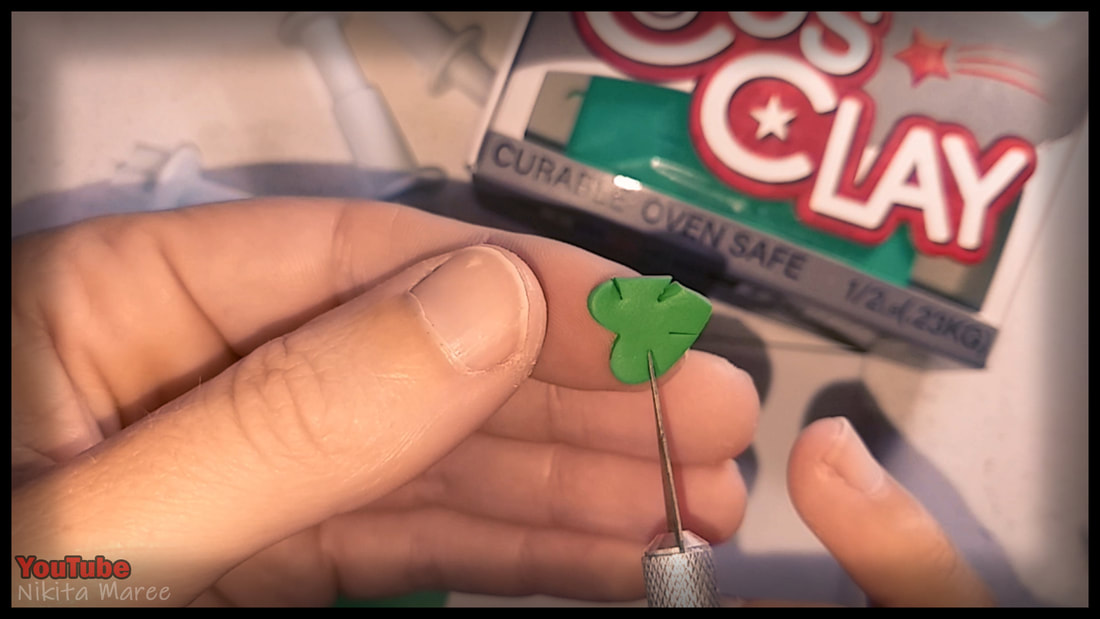
With a heart shape pressed out
I make 4 small cuts with the scalpel. |
|
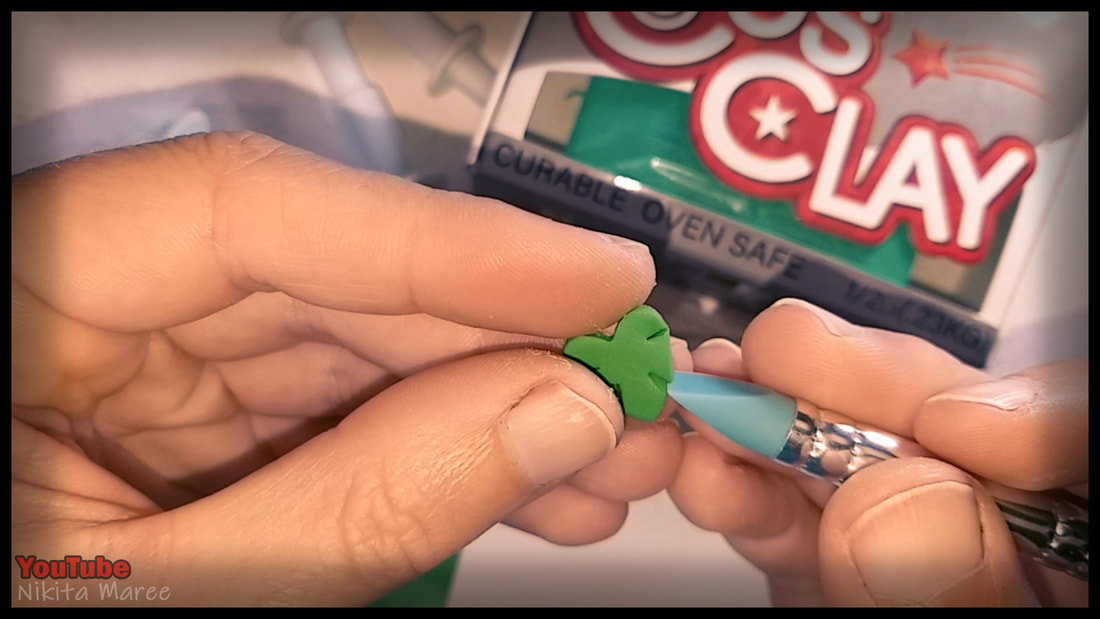
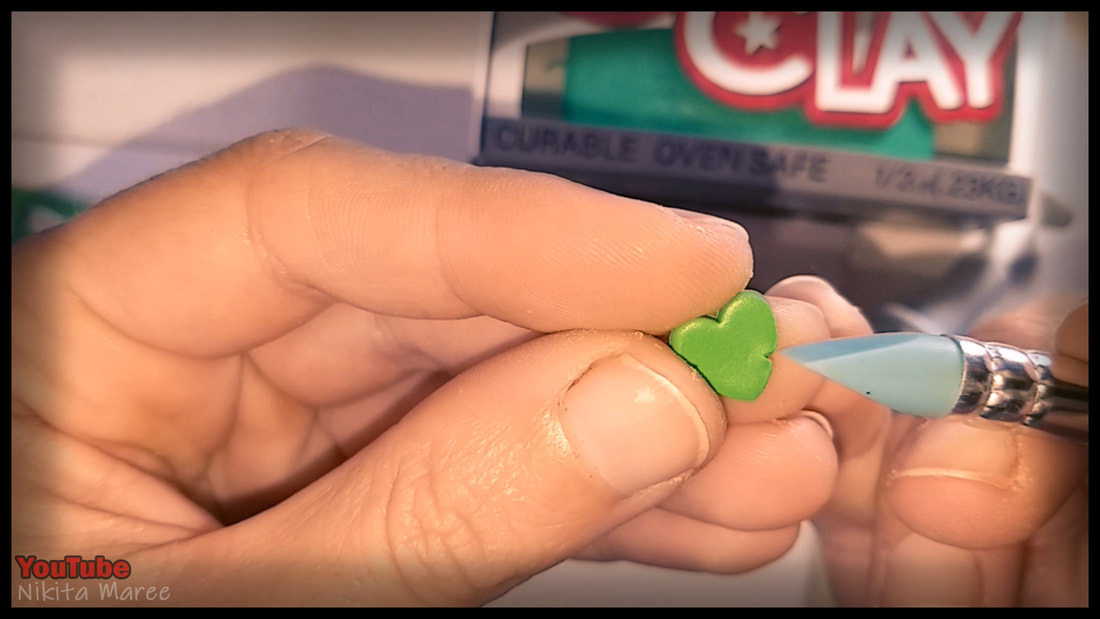
I then use this silicone sculpting tool to wedge into the cuts and sculpt a leaf shape.
|
|
|
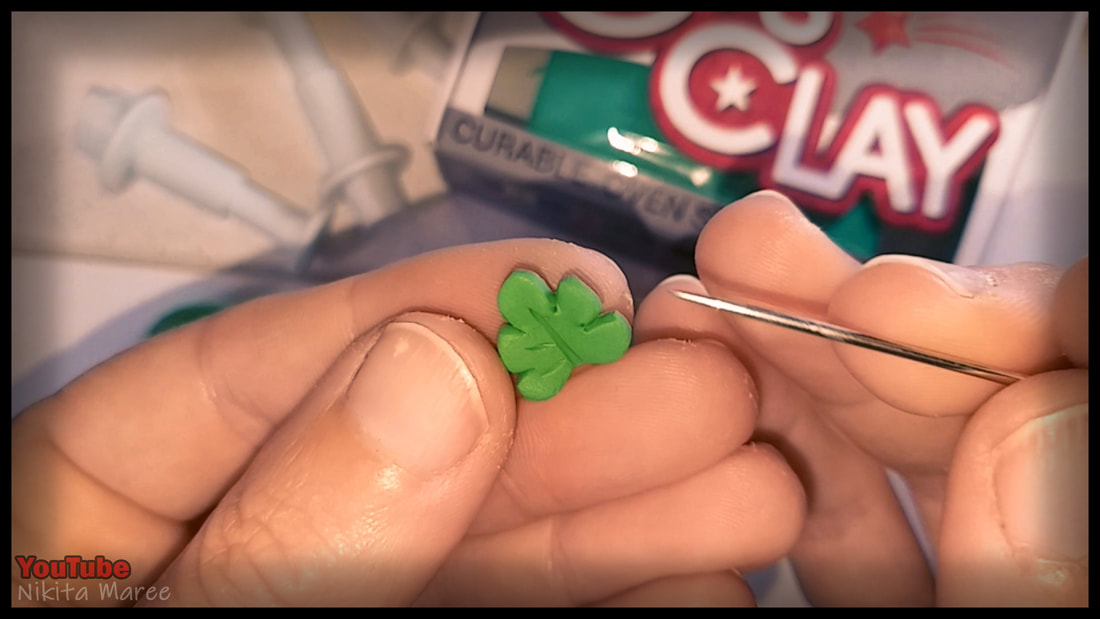
With a needle tool, I create the
veins of the leaves. |
|
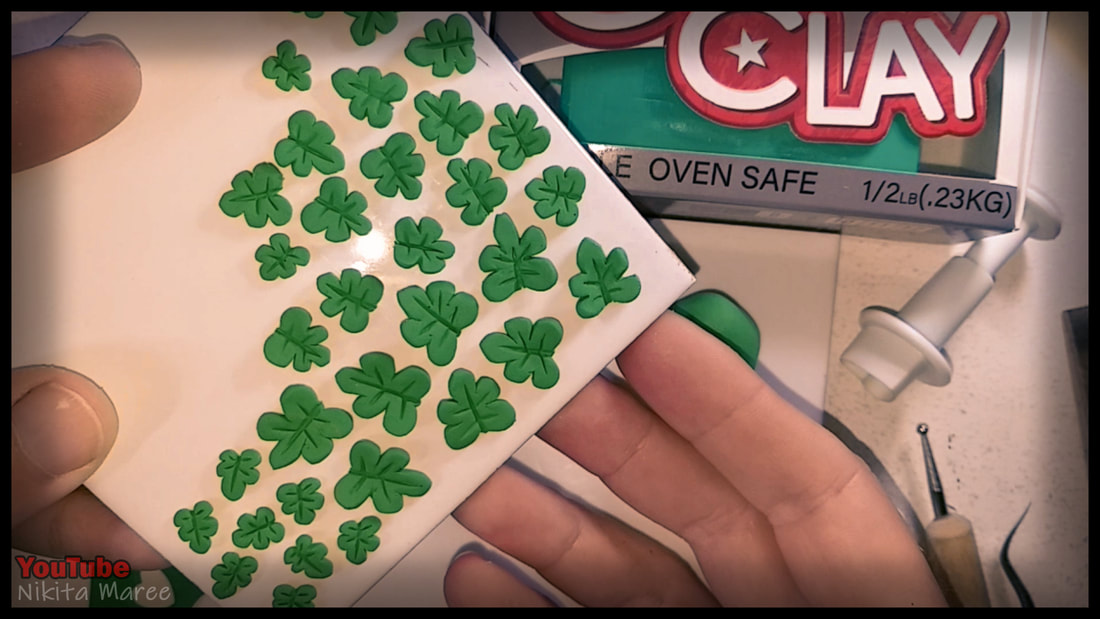
I then make many more in 3 different sizes.
|
|
|
After I figured out what I was doing I made the rest with more of a production line kind of an approach. I got quicker, but it was still
a tedious task. |
|
Towards the end, I omitted the scalpel cuts and went straight in with the silicone shaper.
My hands were hotter and the clay was softer, so this technique worked quite well. |
|
|
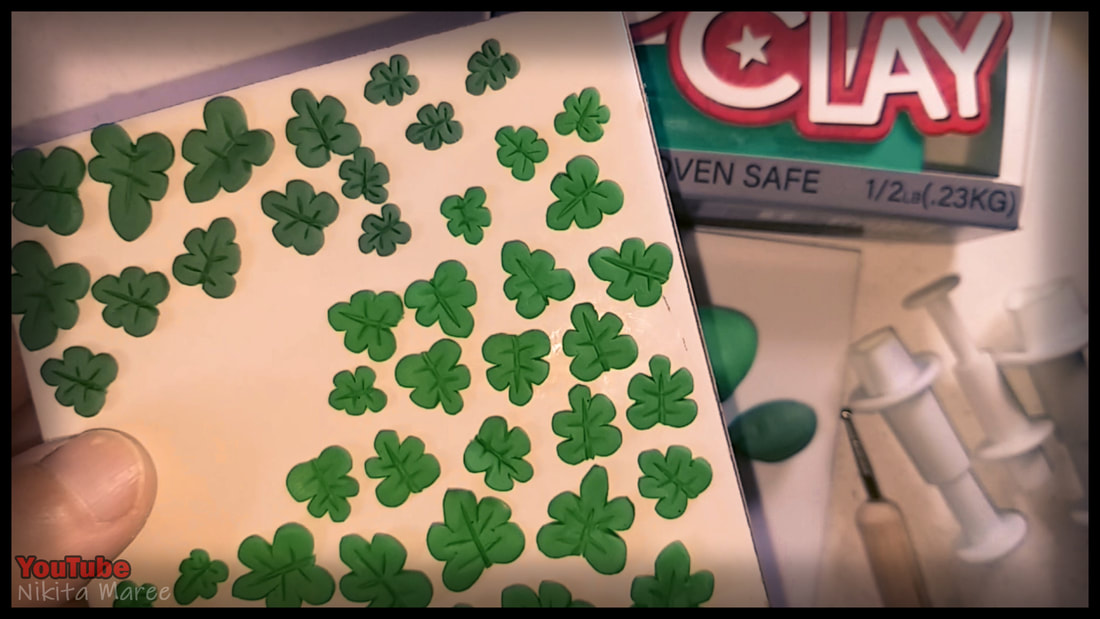
After I made 34 leaves in that green.
I made a darker green by mixing in more of the brown. |
|
l made 14 leaves with the darker green.
And then gave the leaves a bake. |
|
|
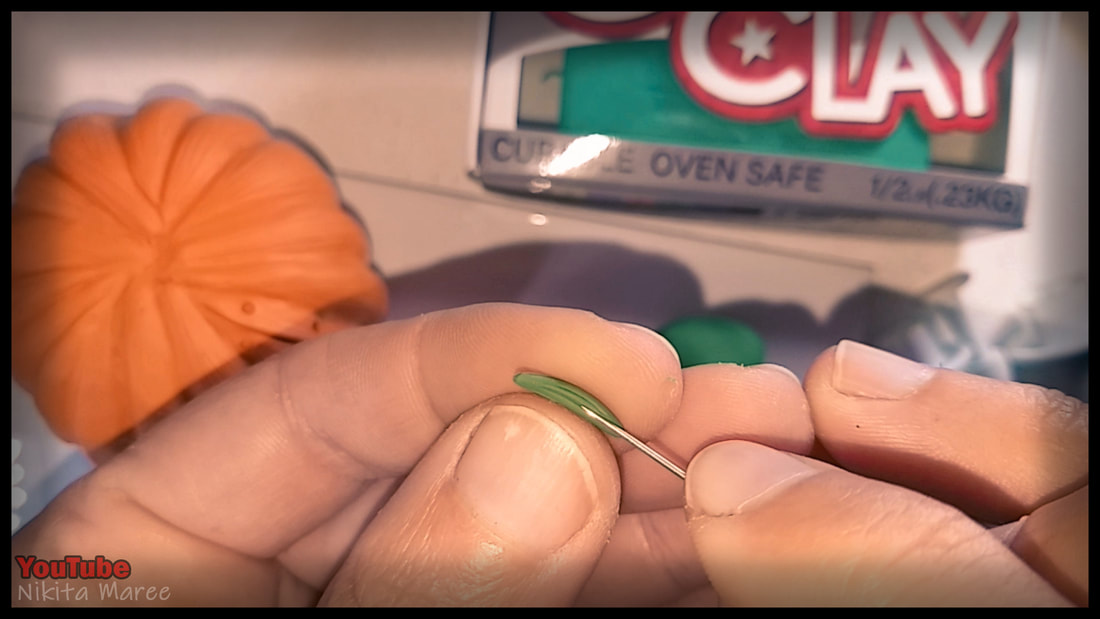
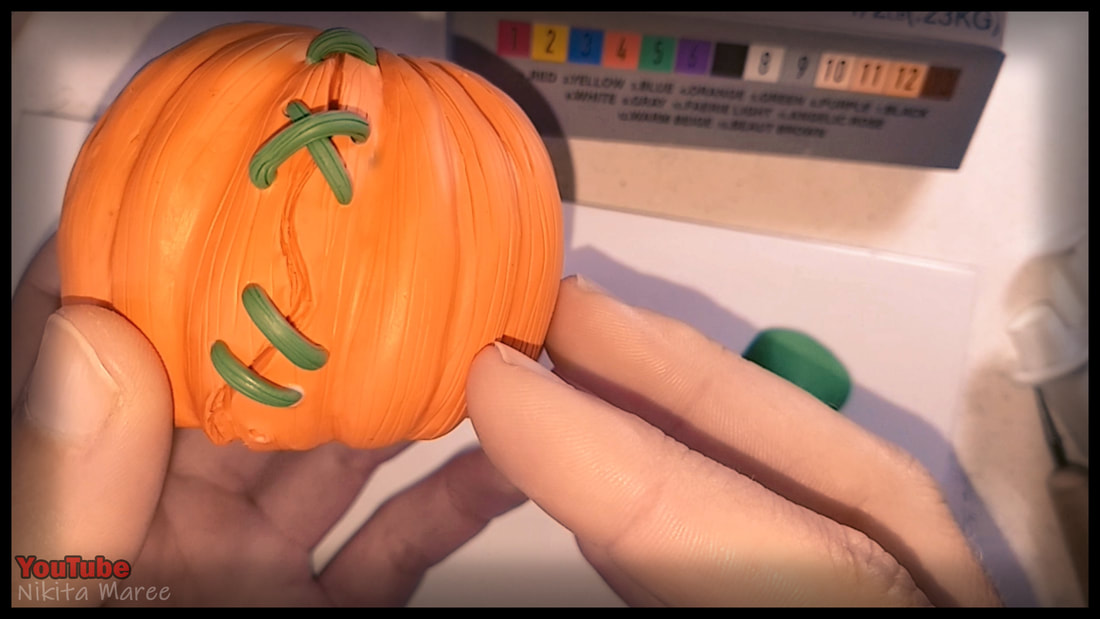
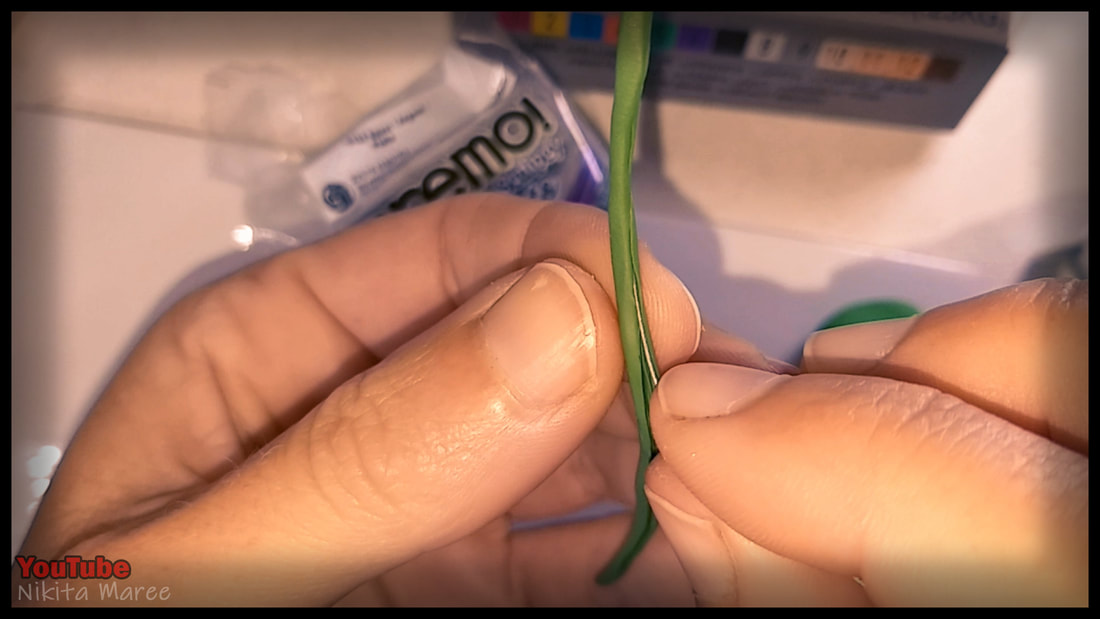
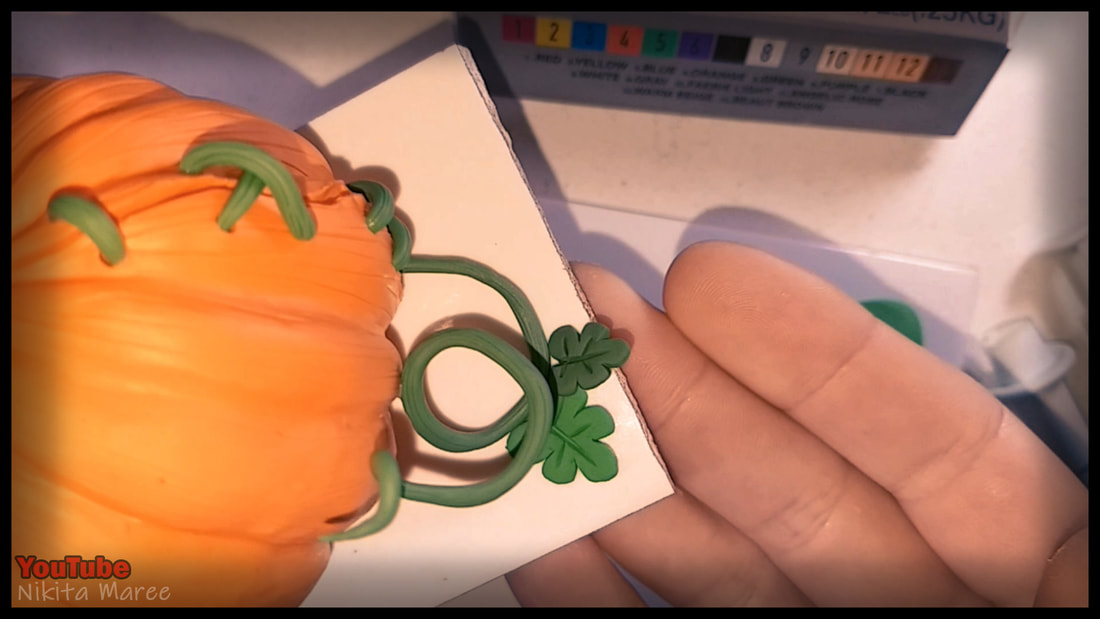
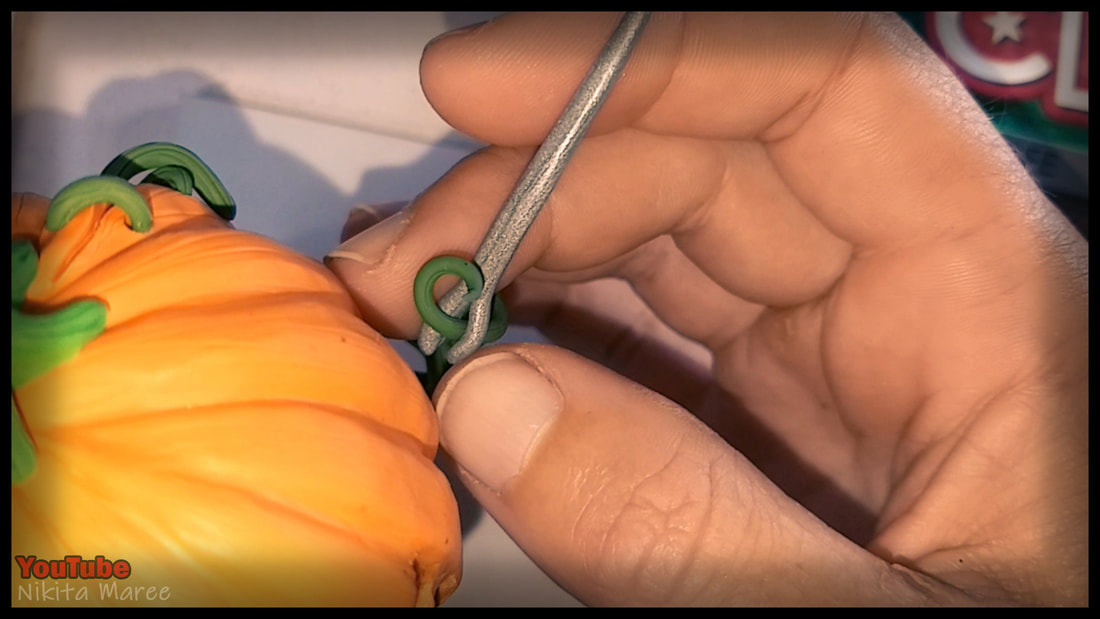
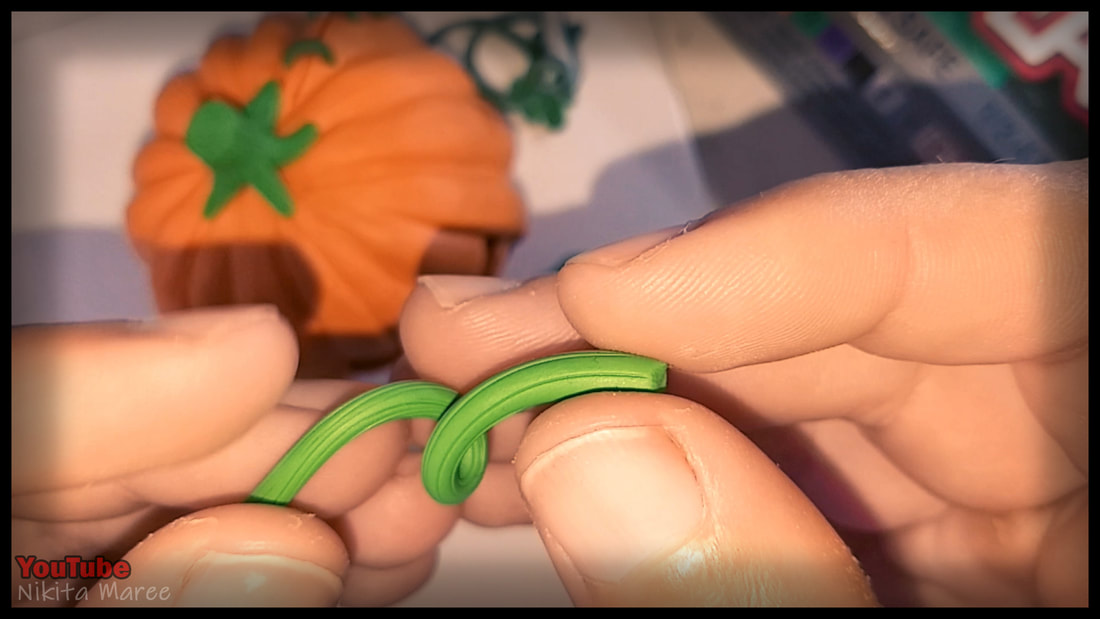
Moving onto the vine stitches.
I roll out a short length with tapered ends. |
|
Check that it fits,
then texture it with a needle tool. |
|
|
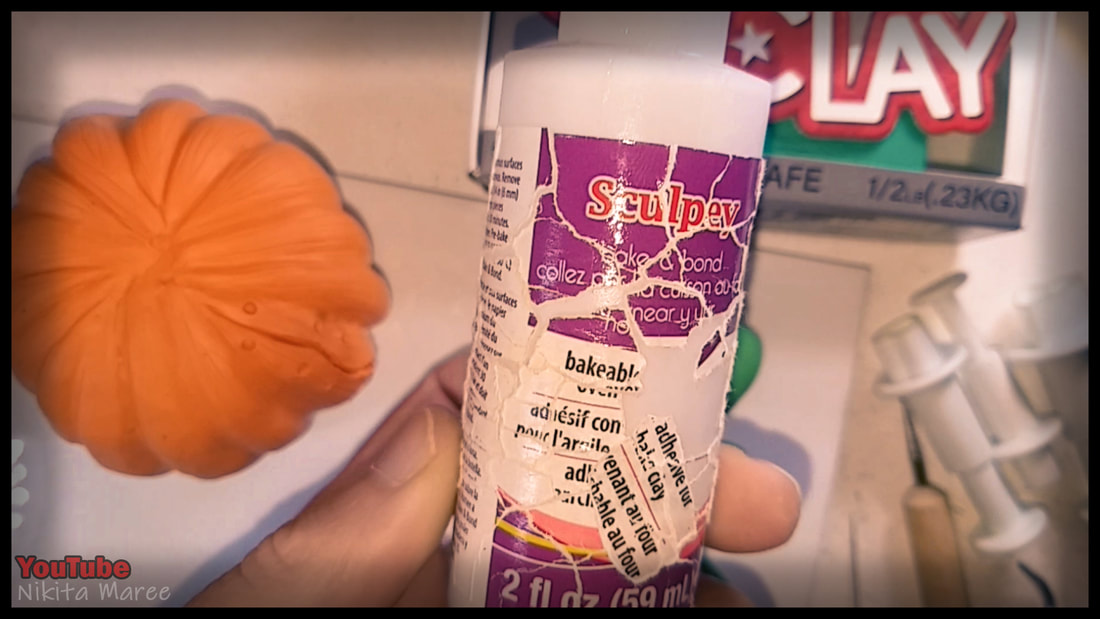
I add a little bit of Bake and Bond . . .
|
|
into the holes before adding the vine in.
|
|
|
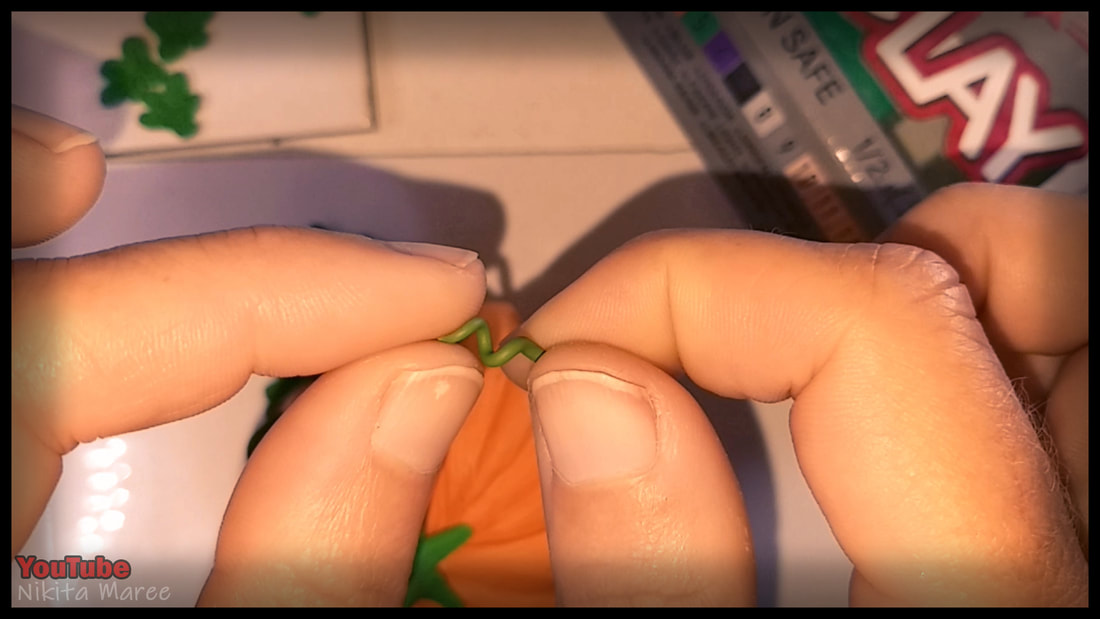
I repeat this process for
the rest of the stitches. |
|
Placing some at an angle to create a cross.
|
|
|
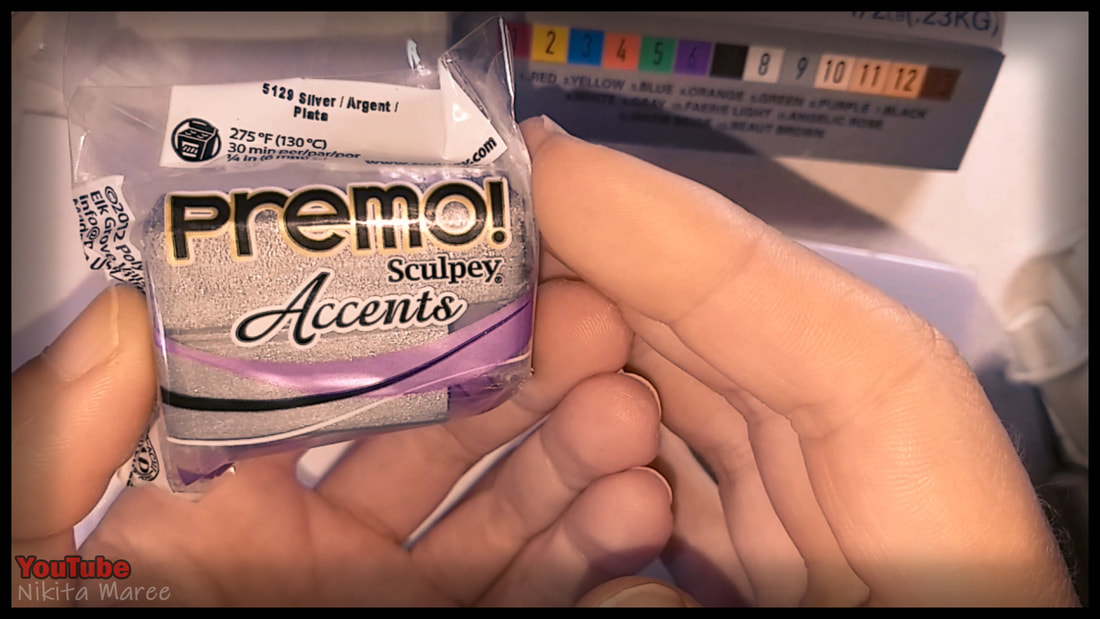
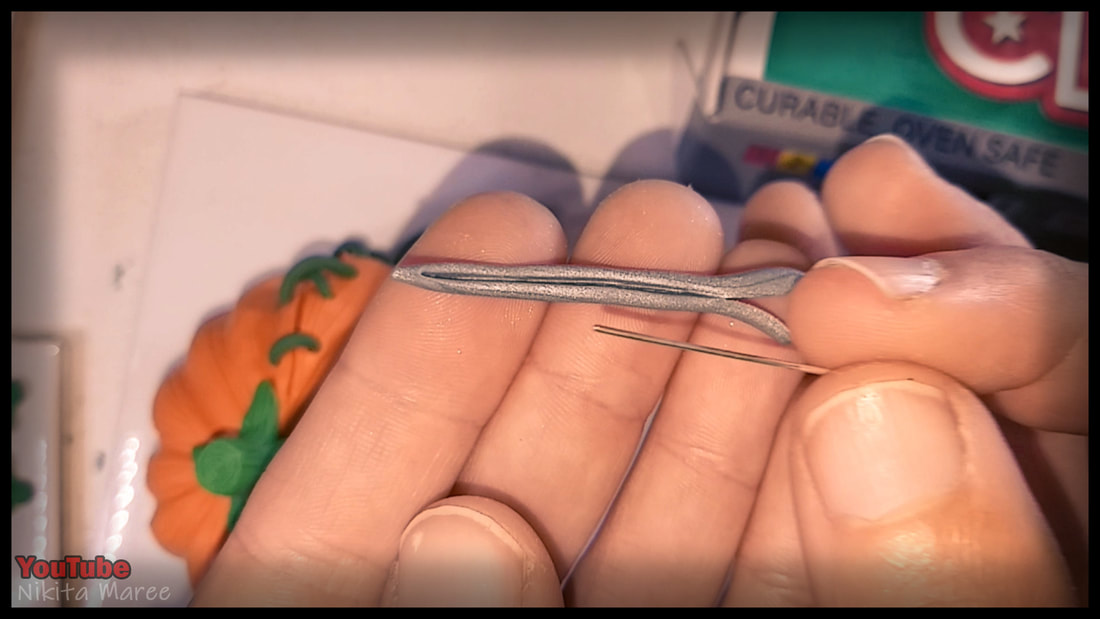
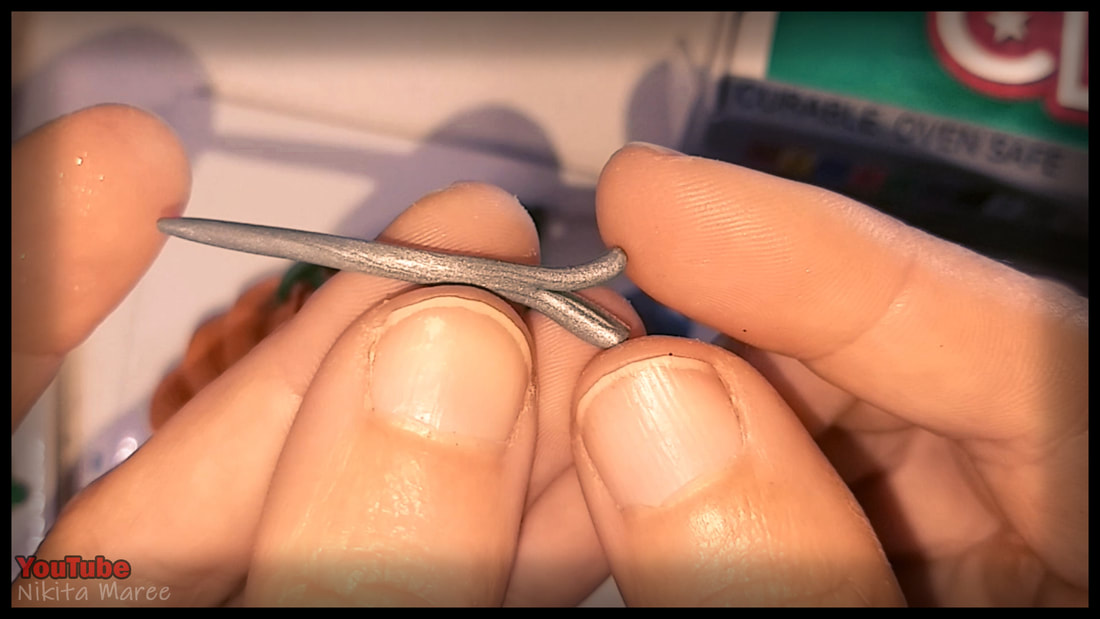
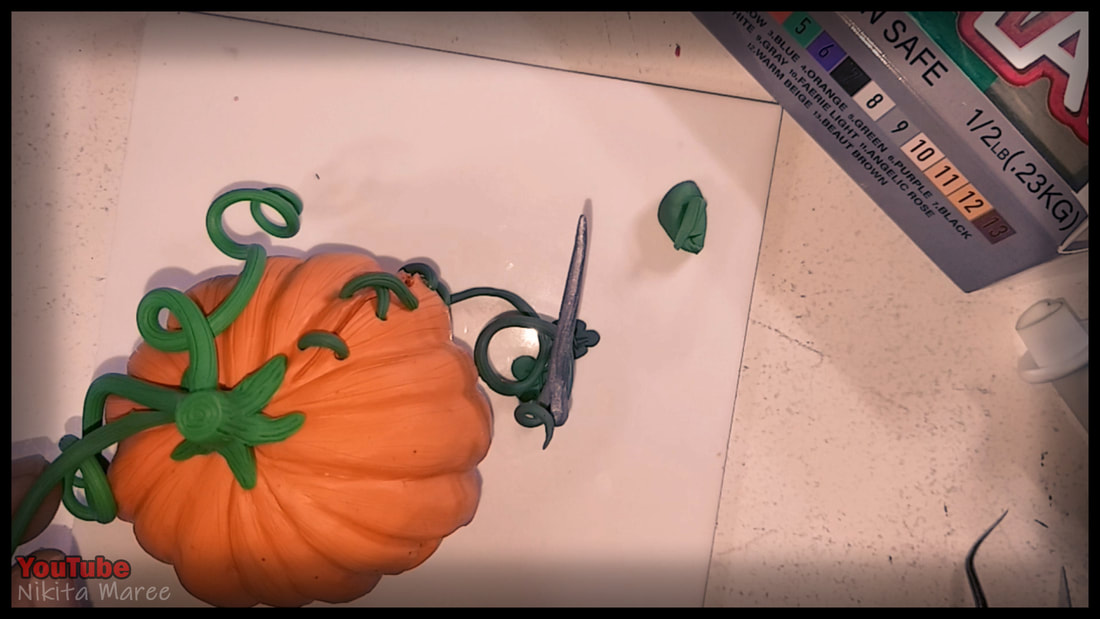
For the needle that Clive will be holding
I am using Premo Accents in silver. |
|
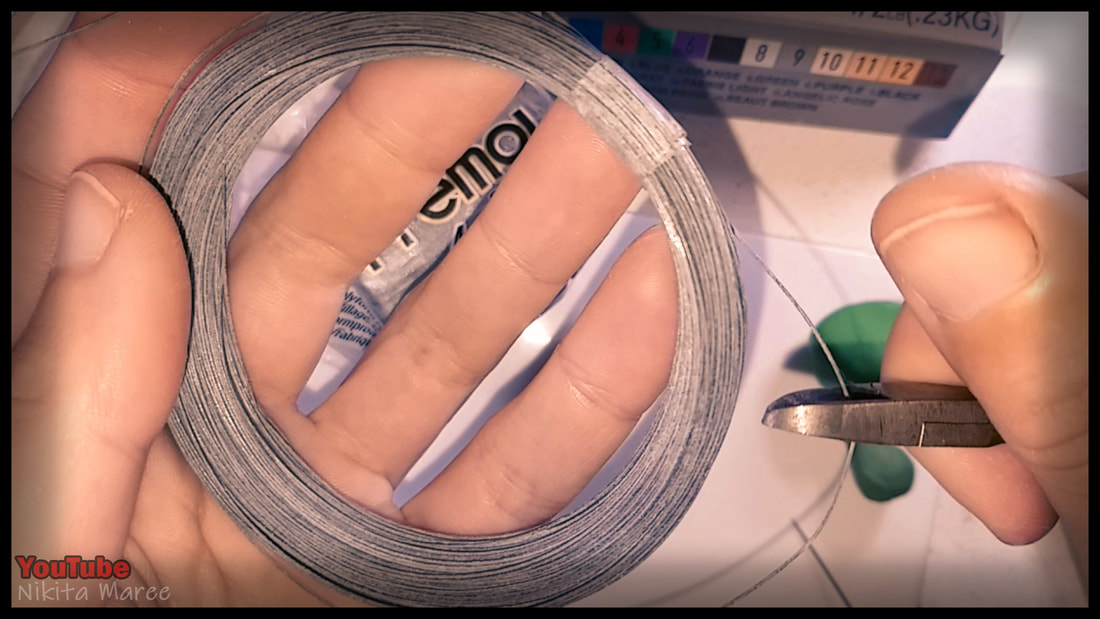
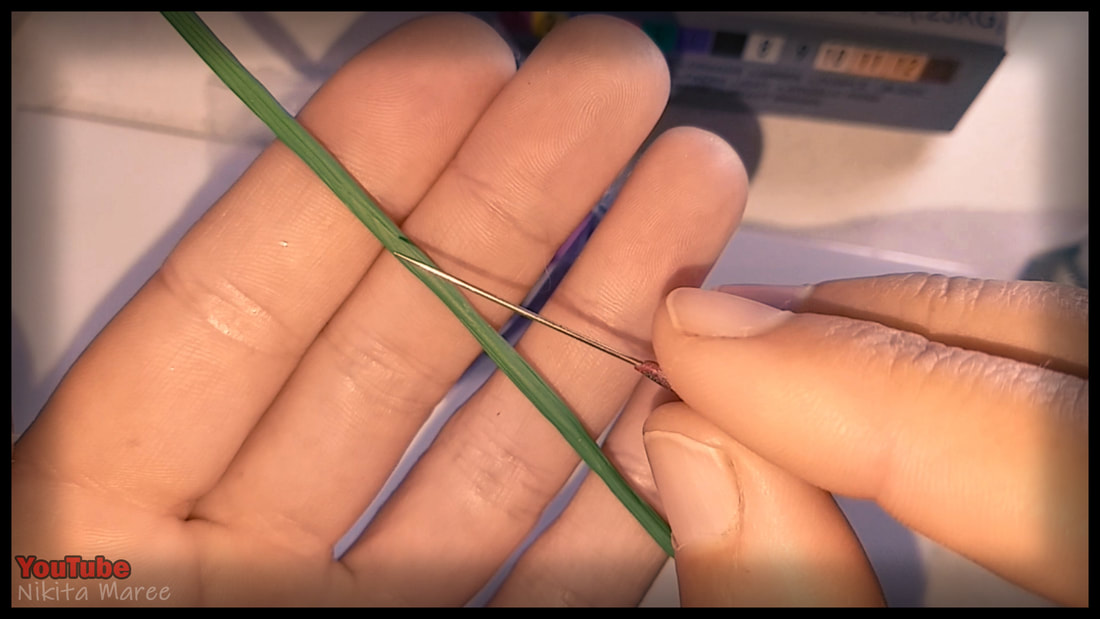
I am also using some thin wire for support inside the vine that will be holding up the needle.
|
|
|
Roll out the clay to the length of the wire.
Cut a slit down the center with a scalpel. |
|
Push the wire down into the scalpel cut,
sealing it into the center. |
|
|
Again, texture with a needle tool.
|
|
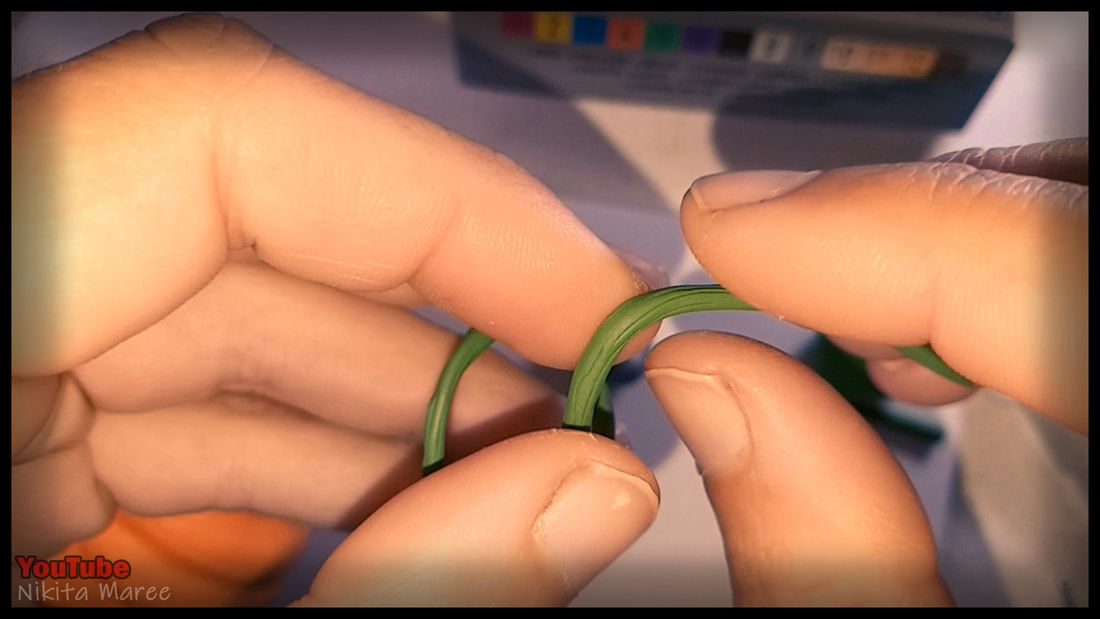
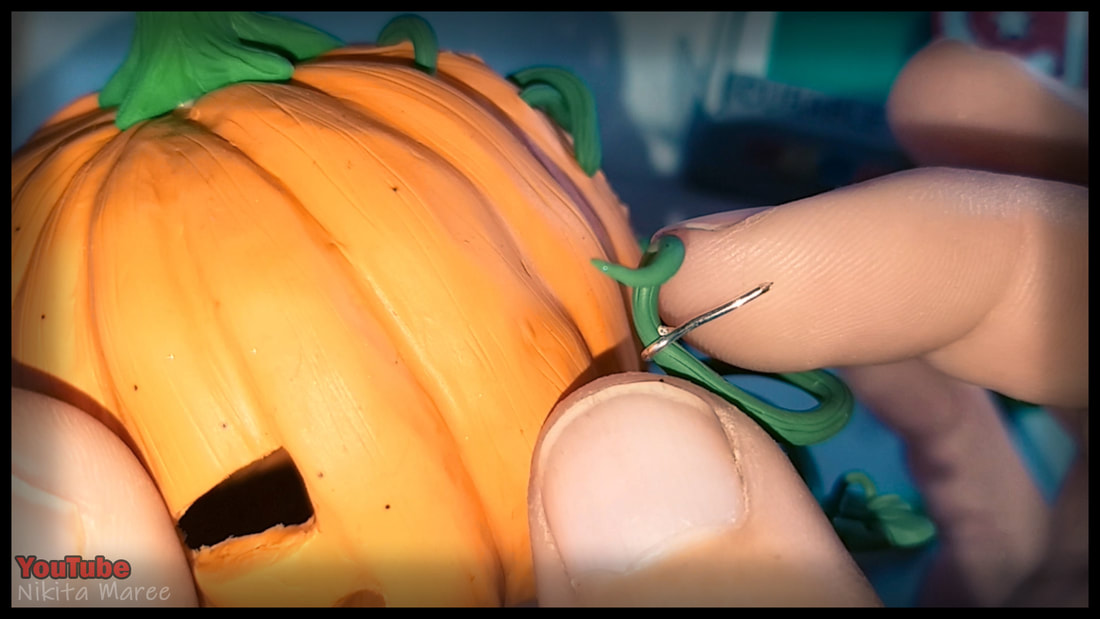
Press the vine into the bottom hole.
|

|
|
Start shaping it into position.
|
|
I added a couple of leaves to the base of the vine. Then baked it again.
|
|
|
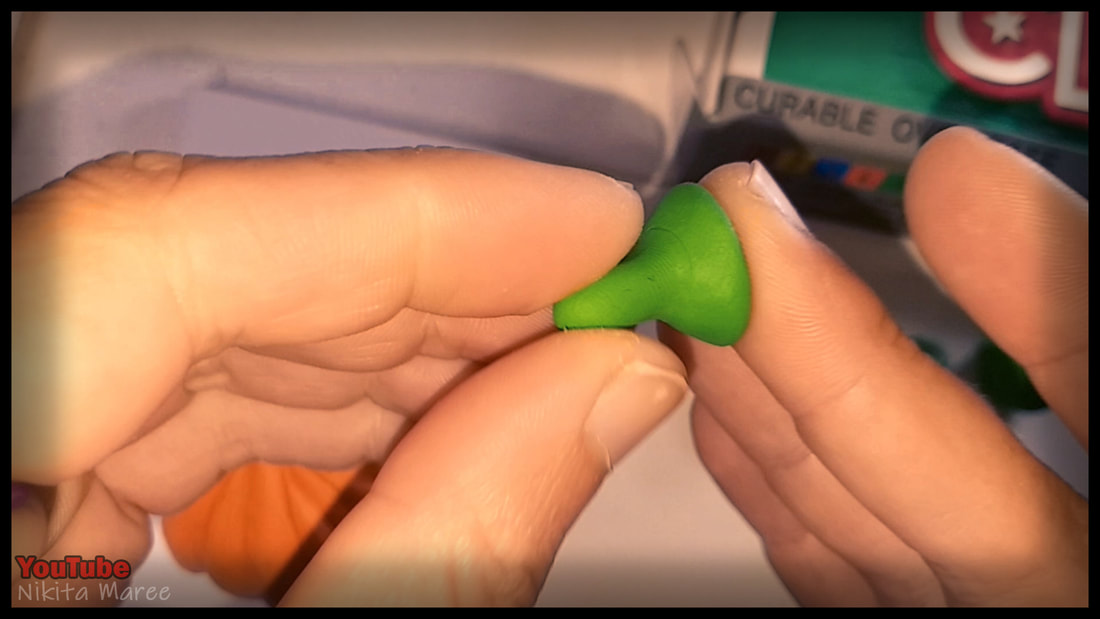
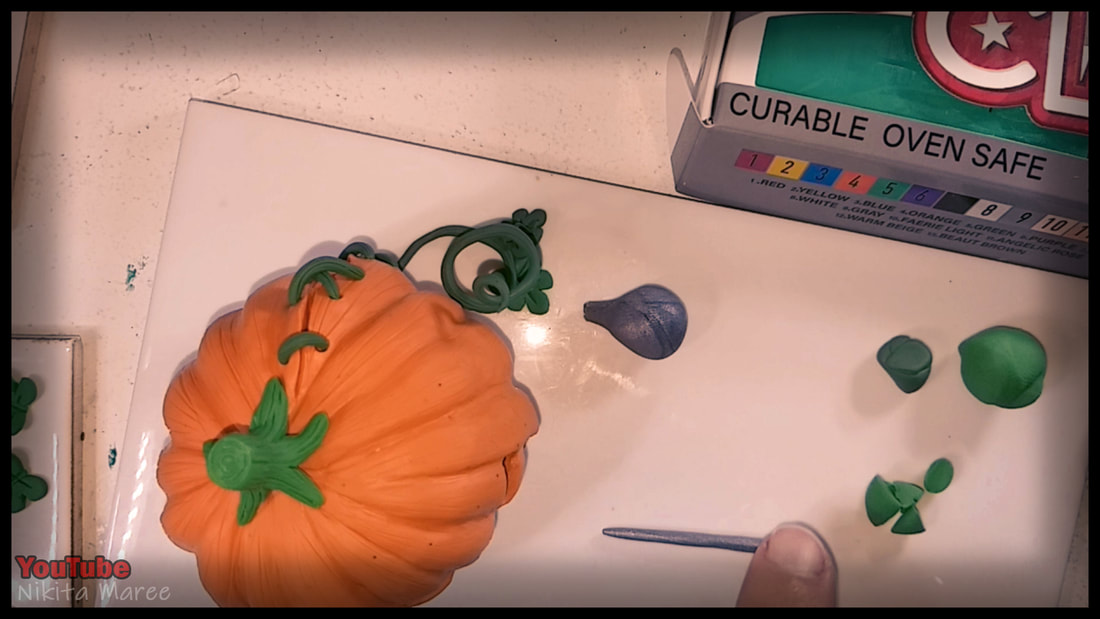
For the chopped stalk, I created a cone shape. Rolling, pinching and pressing until it looks right.
|
|
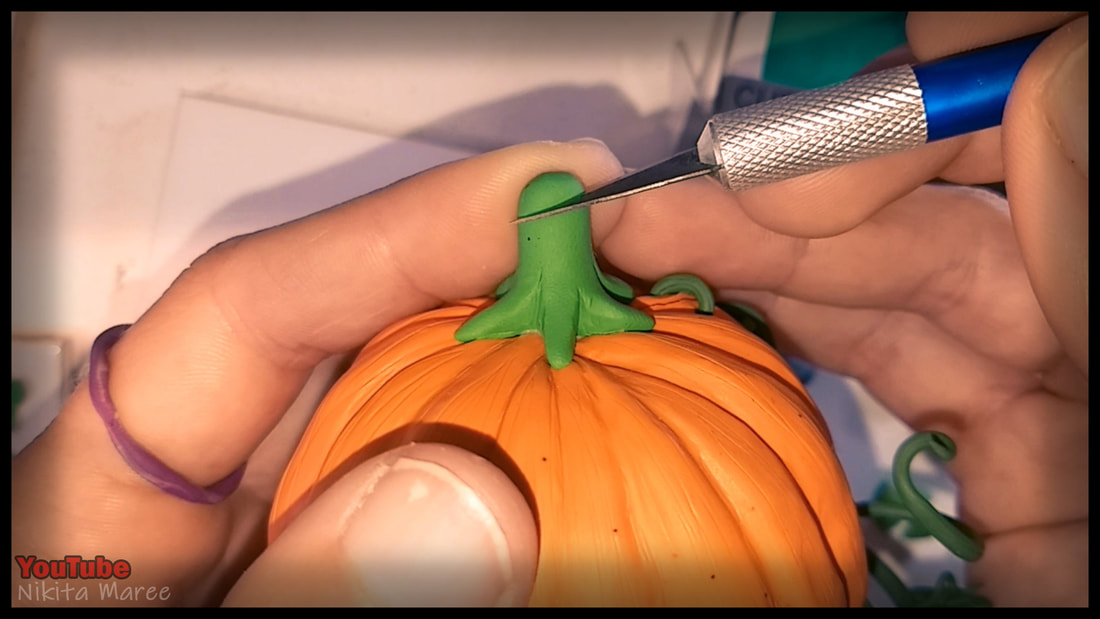
I then cut out small triangles from around the base. Creating a 5 pointed star shape.
|
|
|
Picked my favorite orientation.
Add some bake and bond. Cut the top of the stalk off at a slight angle. |
|
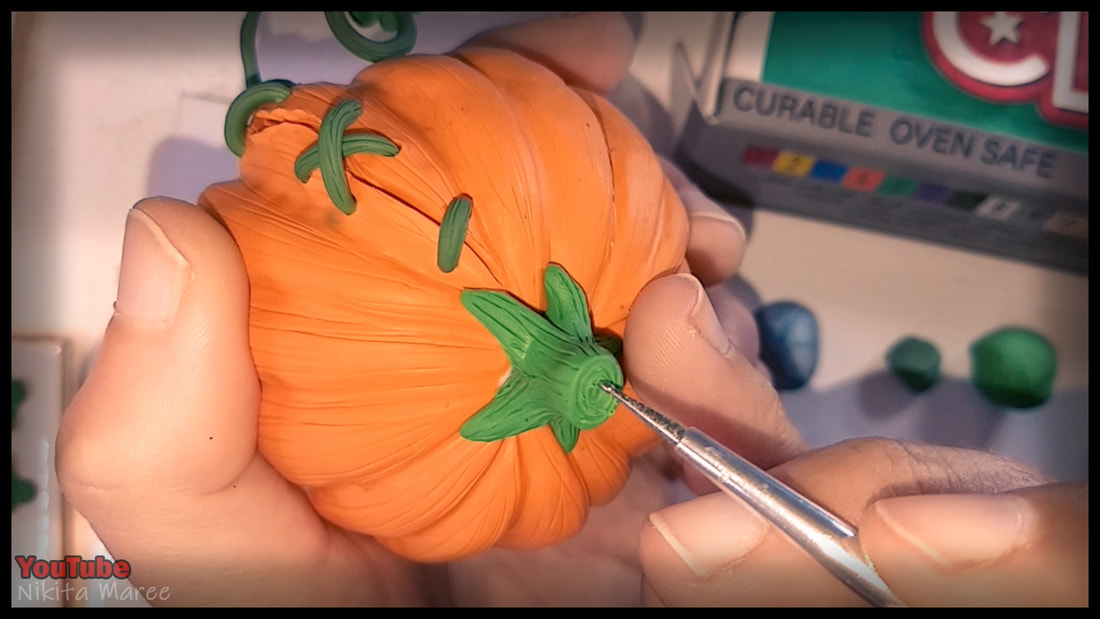
Add lines all around the stalk.
|
|
|
With a small ball tool I draw in 3 rings
on the top of the stalk. Brush it down with some baby oil. |
|
Back to the needle.
I am adding some wire into the center, just like I did for the vine. |
|
|
Roll it out with a taper on one end.
|
|
Cut a slit into the other end.
|
|
|
I will be wrapping this slit around the vine.
|
|
For extra support,
I wrapped a small piece of wire around the stem. To push the needle down onto. |
|
|
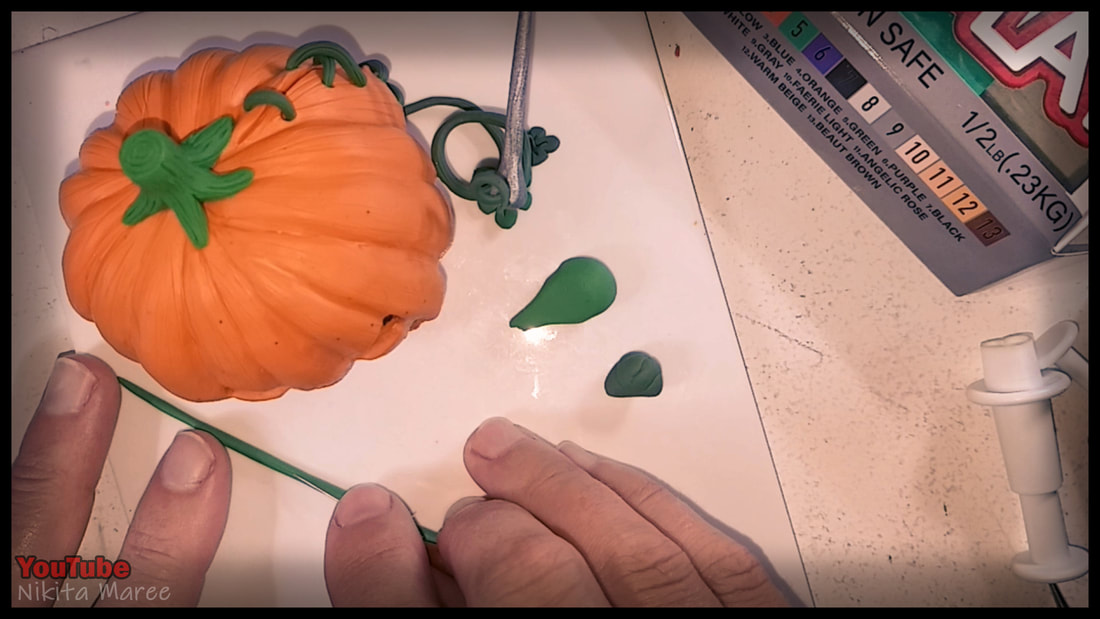
I am rolling out some more vines.
These ones don't need any wire in the centers. Needle tool to texture. |
|
Twirling the vine into a nice shape.
Blend it to the stalk. |
|
|
I gave him 4 vines and baked him again.
|
|
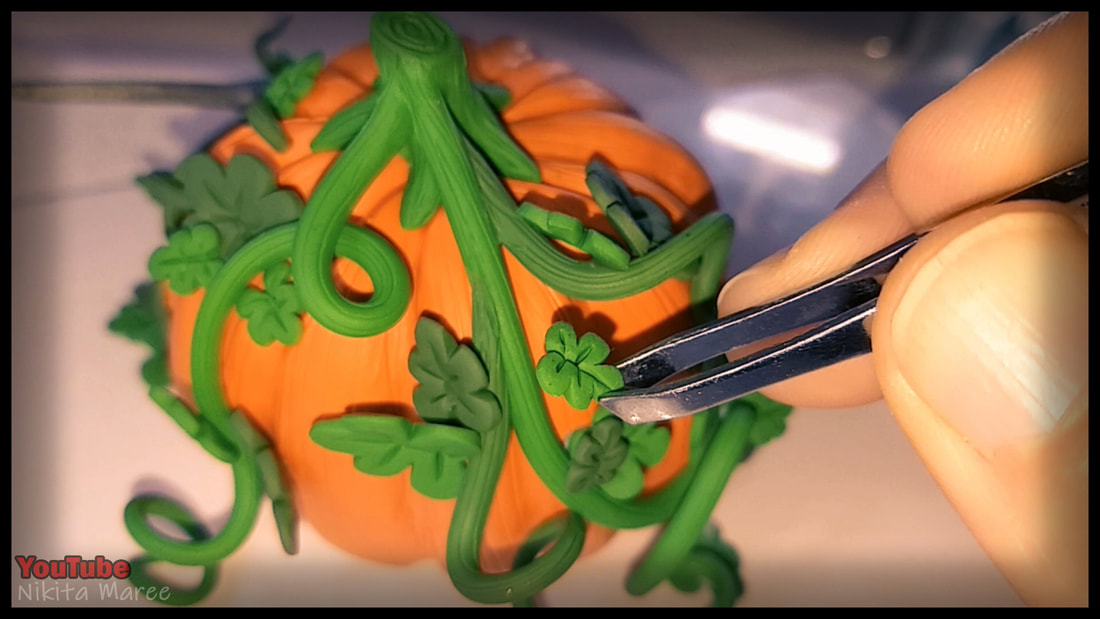
I add the leaves with some Bake and Bond.
A pair of tweezers works really well for this. |
|
|
I also rolled out some baby vines to add
amongst the leaves. |
|
Drilled a hole in the underside.
|
|
|
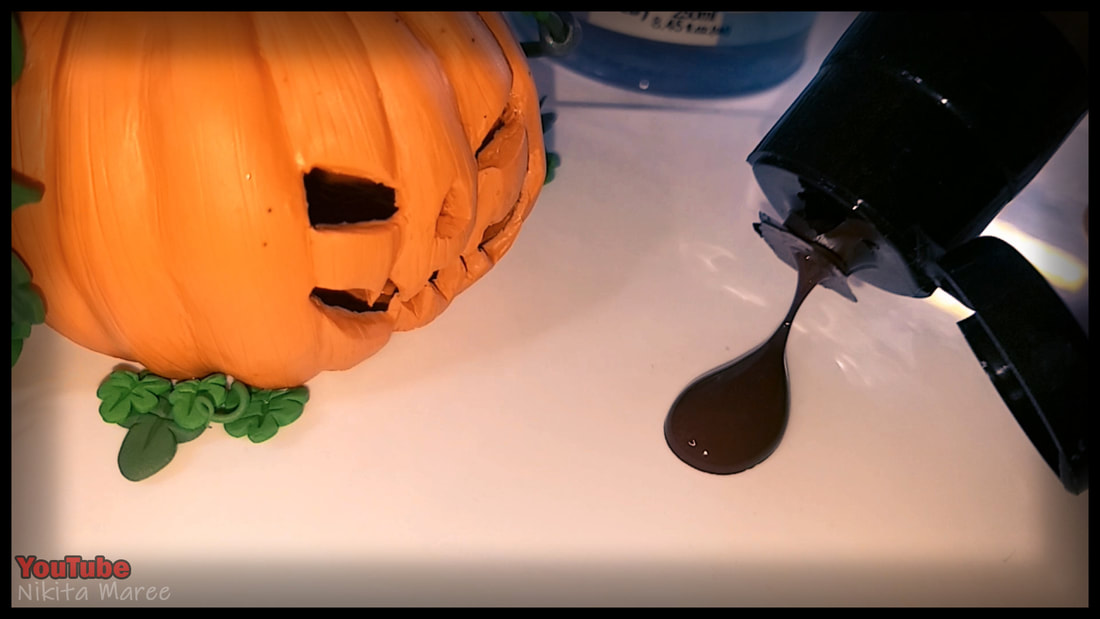
Now time to add some paint.
I mix the brown paint in with some drying retardant. |
|
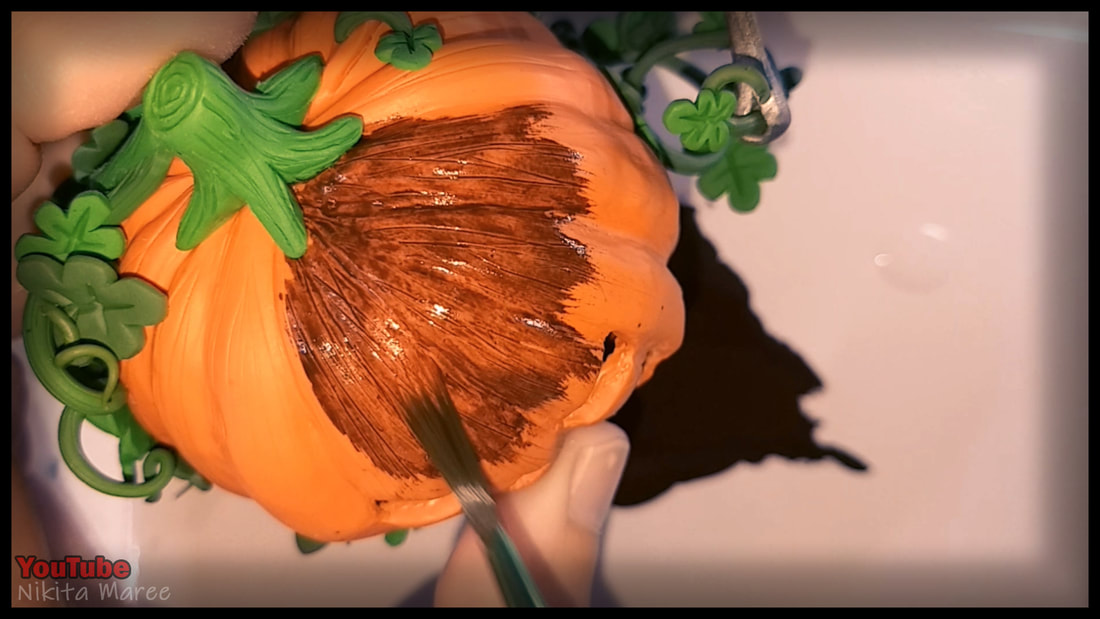
Brush it on everywhere
|
|

|
Then lightly remove the excess from the surface. Leaving the brown paint in
all the lower areas. (I used a sheet of paper towel) |
|
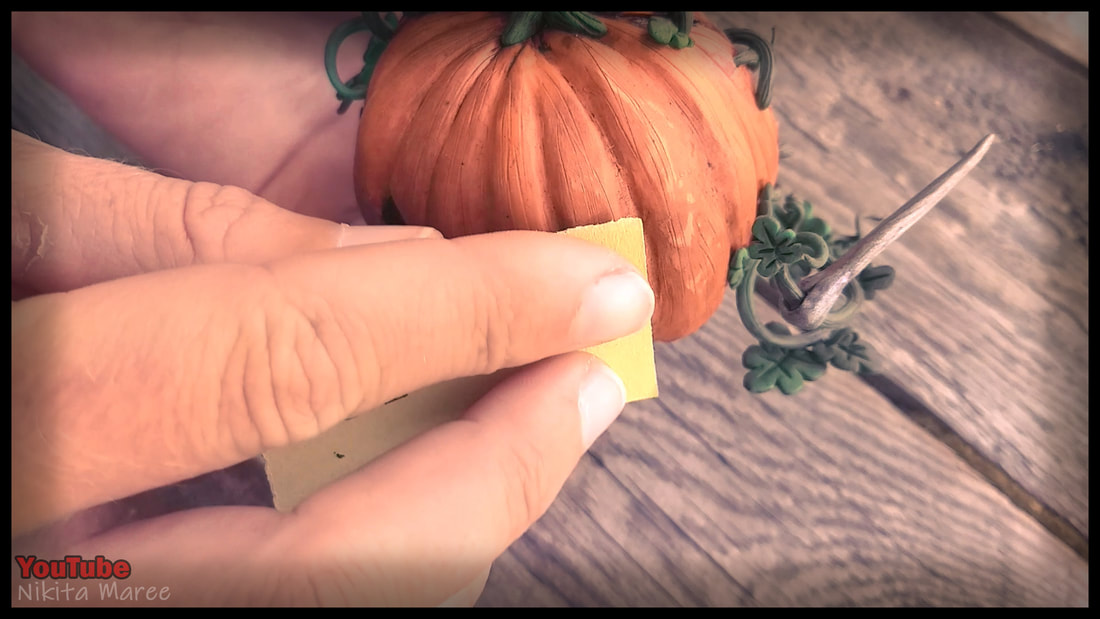
After the paint had fully dried
I used a 400 grit sand paper to expose some of the original colour on the surface. |
|
|
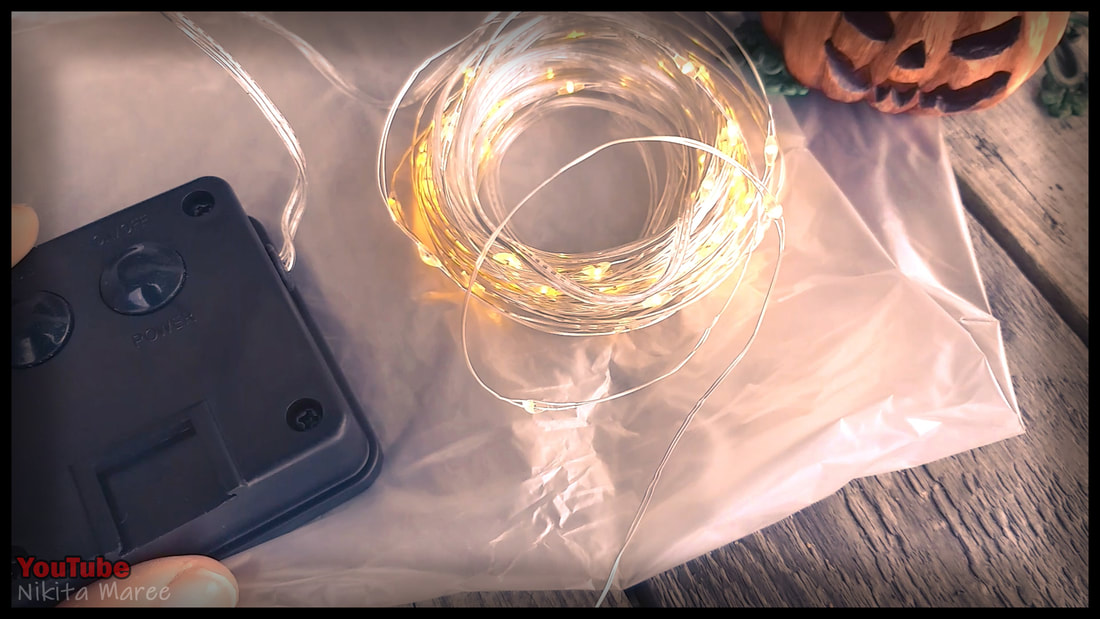
The light I wanted to use for this didn't
arrive in time. so I will use these for the time being. |
|
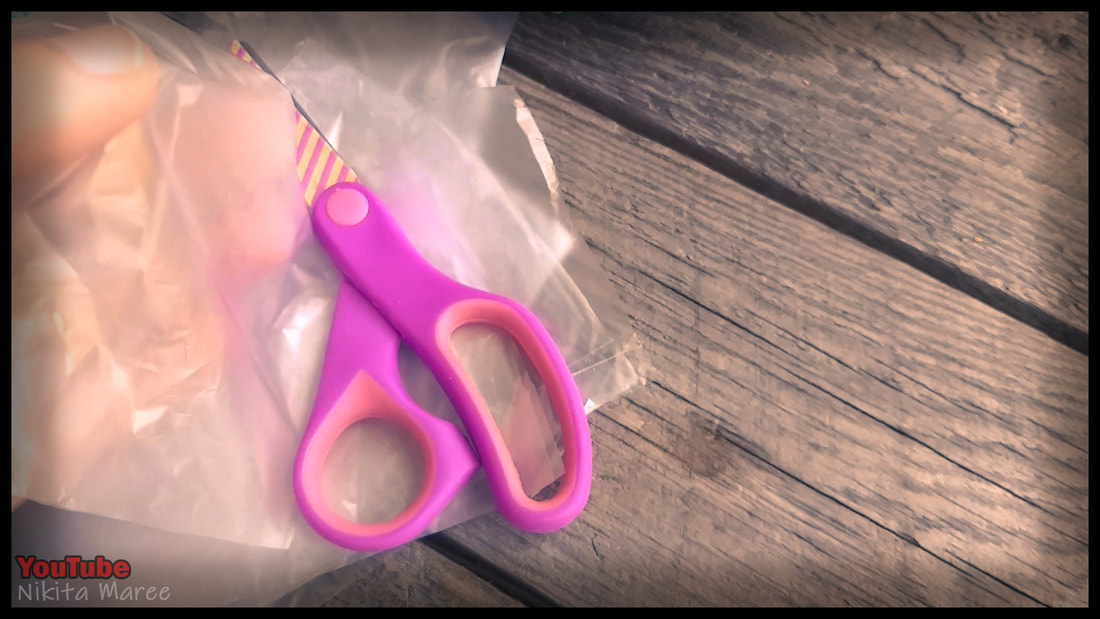
To defuse the light I used a cut up freezer bag.
|
|
|
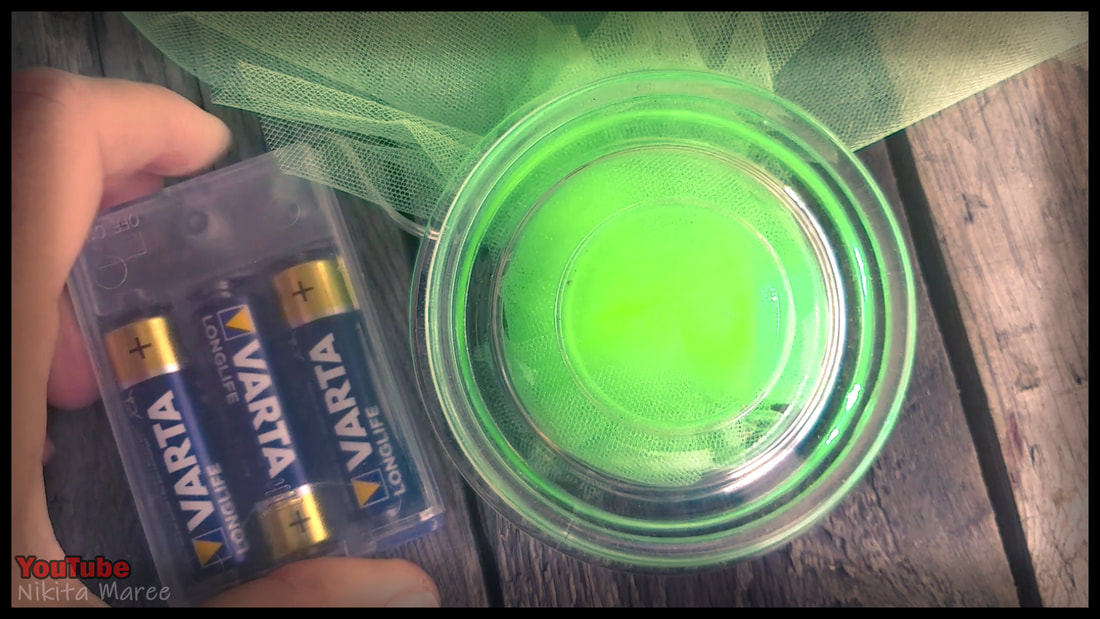
But I would have loved to use some
orange tulle, like I using for a different project. |
|
And now it is done.
Let me know in the comment section what your favorite Halloween memory is. |
|
|
Growing up we didn't go trick or treating.
So we would come up with elaborate designs to soak all our friends who rang the doorbell with water. And we still gave them lollies. |
|
If you are into these kinds of video's
I would love to have you subscribe to my YouTube channel. So you don't miss out on my future projects. |
|
