DIY Decorative Planter Box
I entered this small build in the 'Hand tools only challenge'.
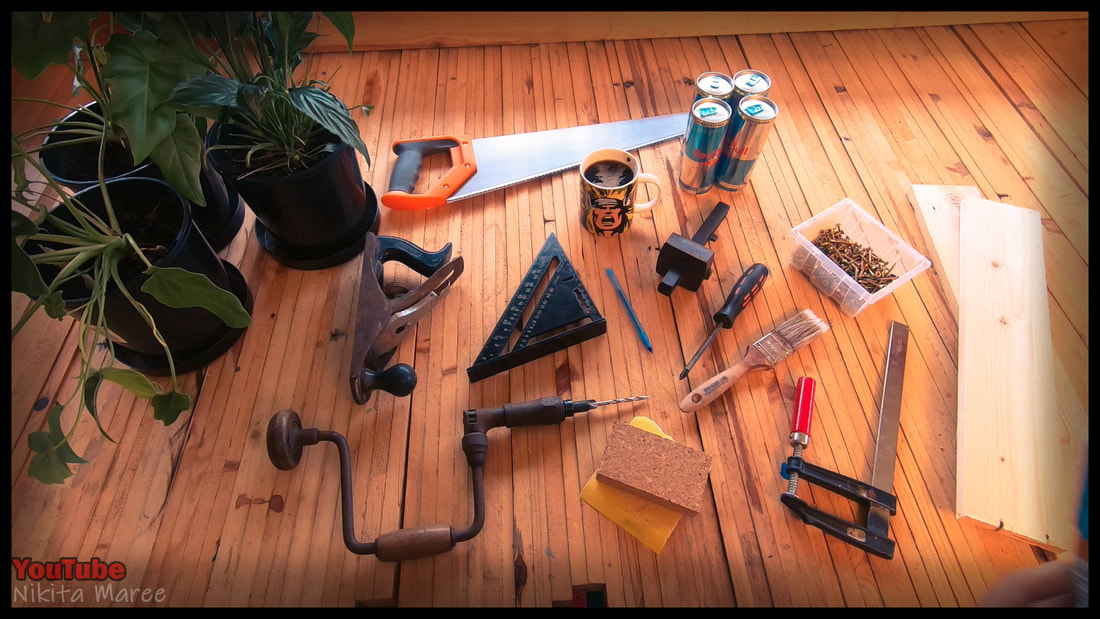
I made this planter box out of pallet wood and built only using hand tools.
The Materials, tools and consumables, are as follows.
I made this planter box out of pallet wood and built only using hand tools.
The Materials, tools and consumables, are as follows.
|
|
Disclaimer: Each individual should take their own health and safety into consideration.
You should NOT exceed the daily maximum amount of caffeine.
You SHOULD wear all required safety gear (Boots included).
The amount I choose to drink and the lack of footwear is my own foolish endeavor.
You should NOT exceed the daily maximum amount of caffeine.
You SHOULD wear all required safety gear (Boots included).
The amount I choose to drink and the lack of footwear is my own foolish endeavor.
|
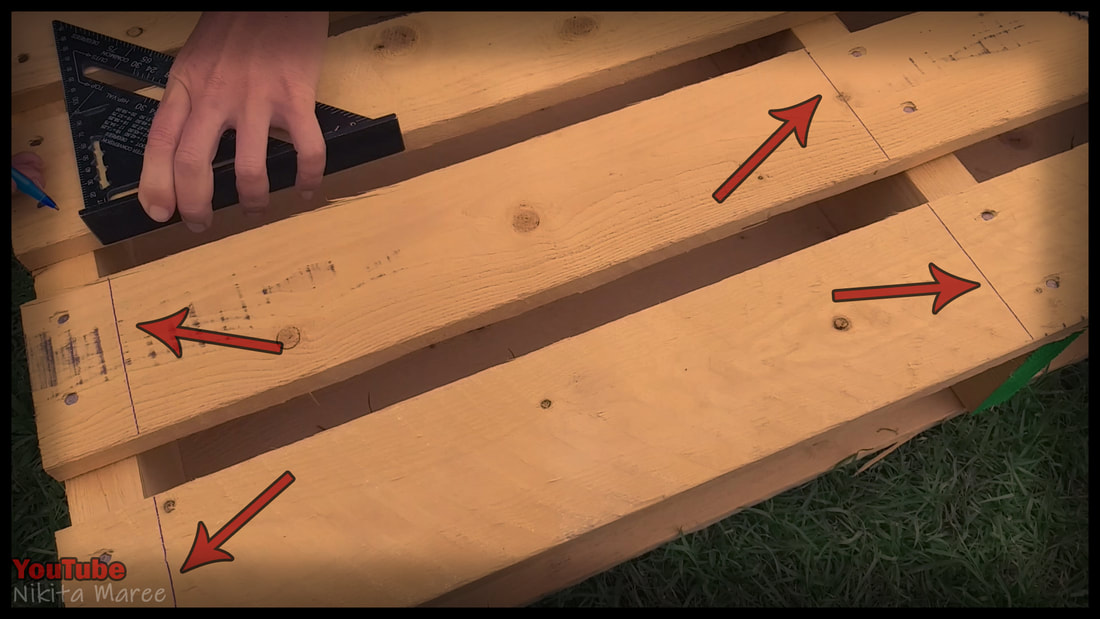
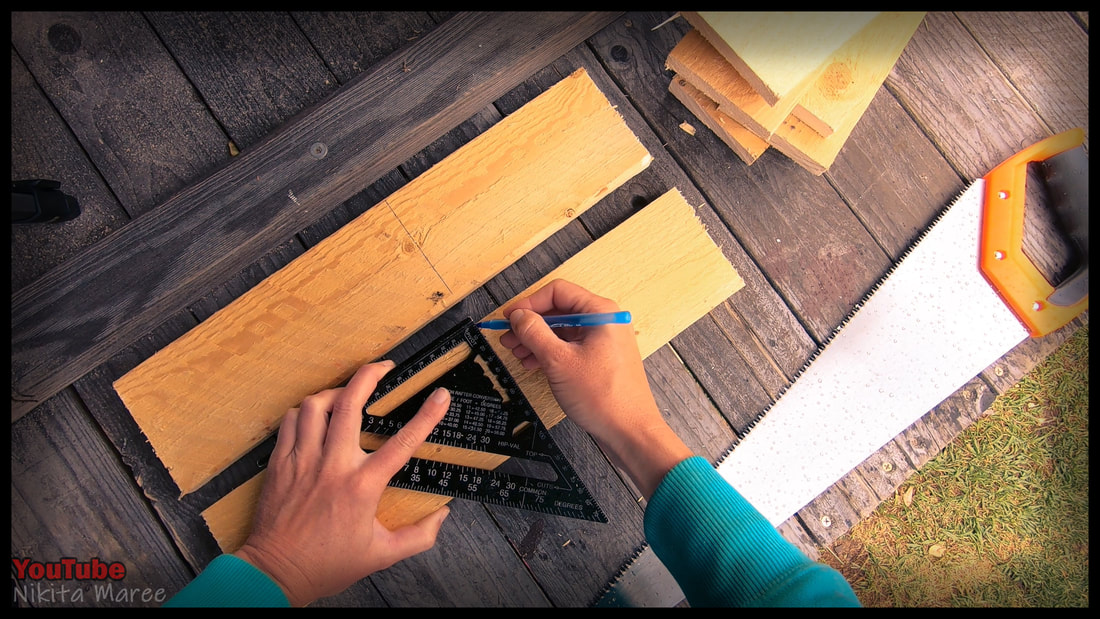
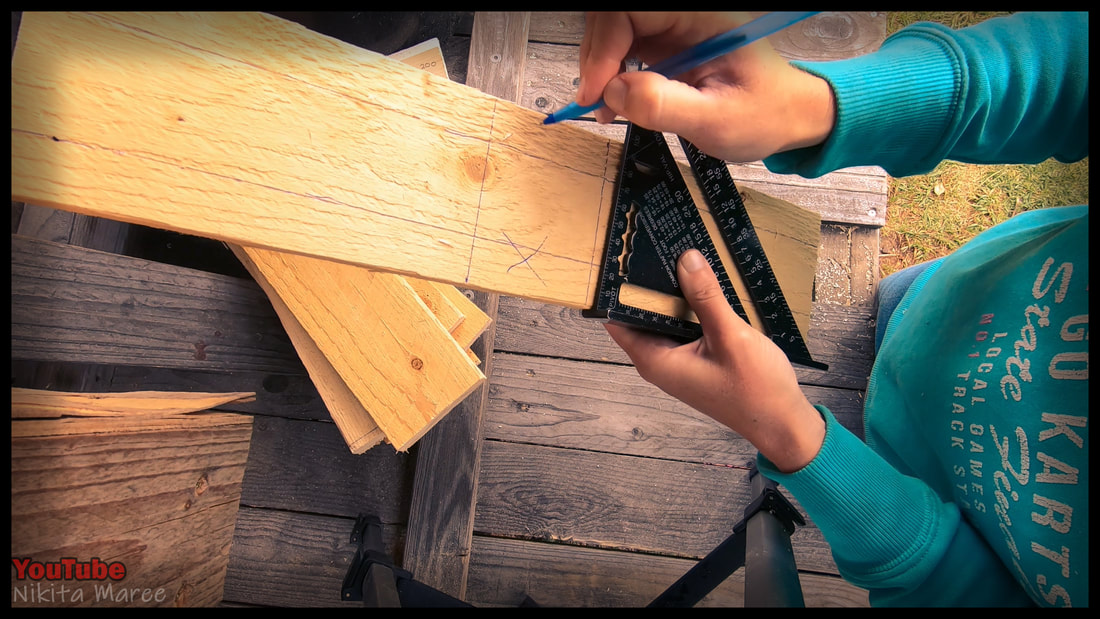
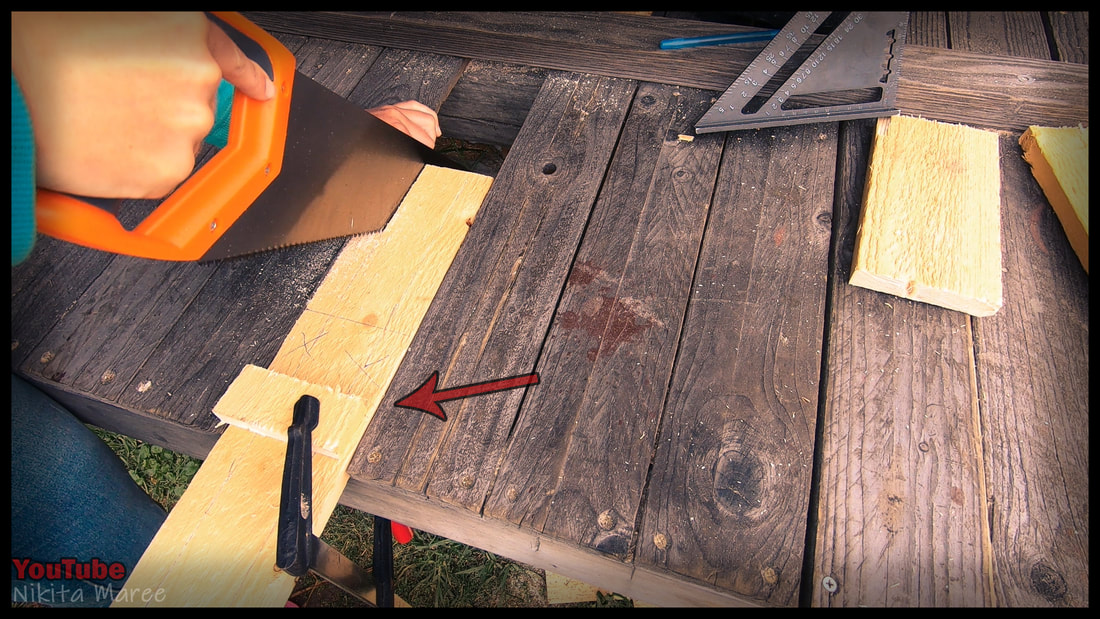
Start by marking a straight line
on either end of all your palings. |

|
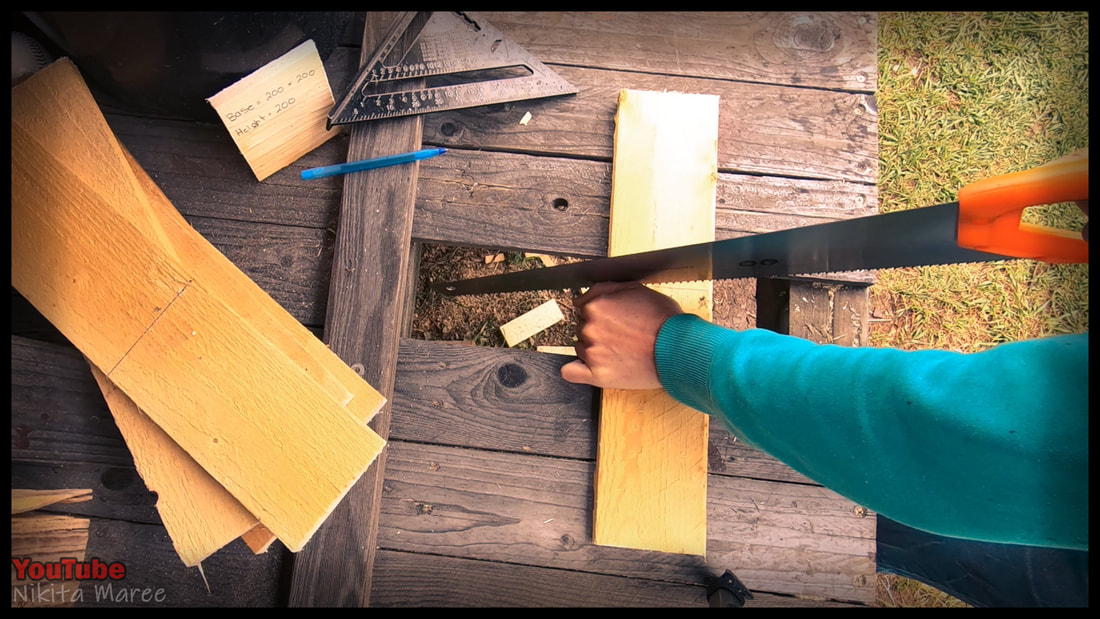
I cut of eight lengths.
But only ended up using six, for this planter box. |
|
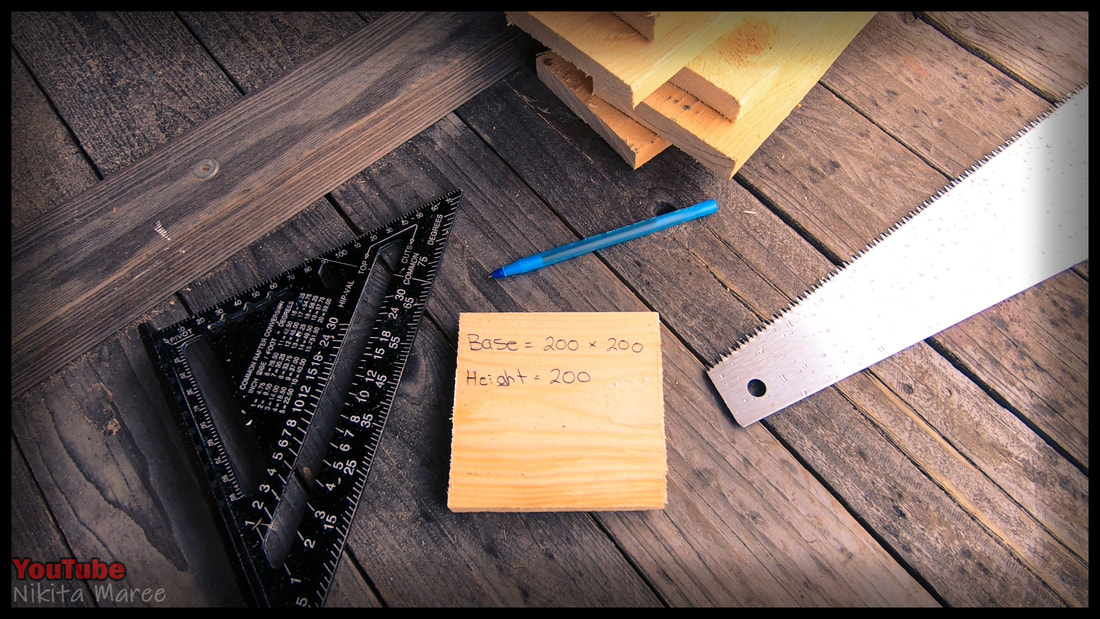
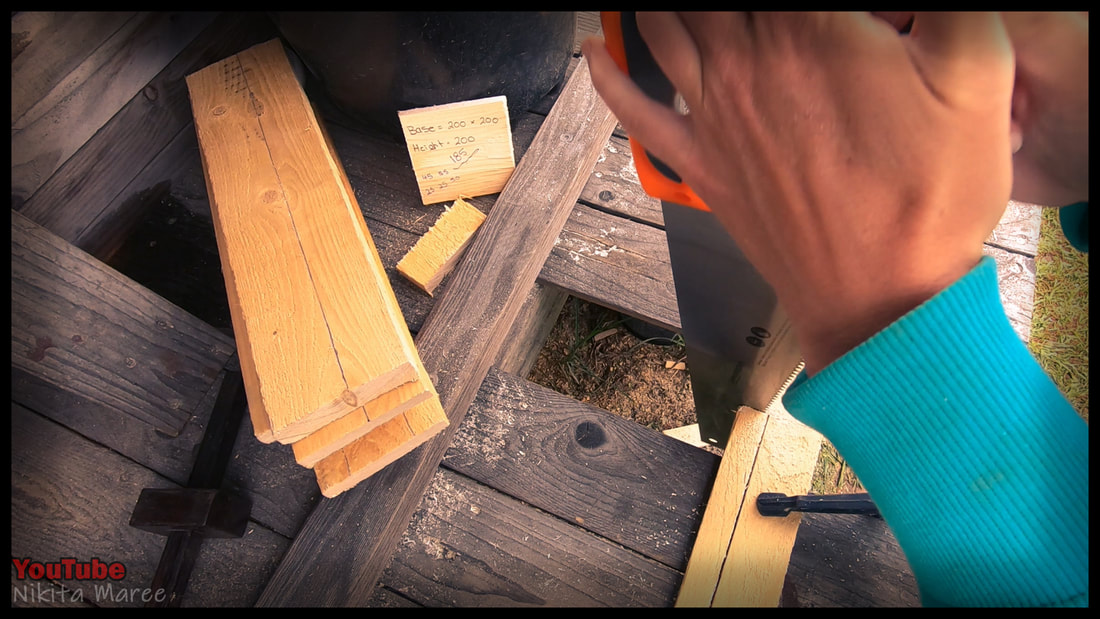
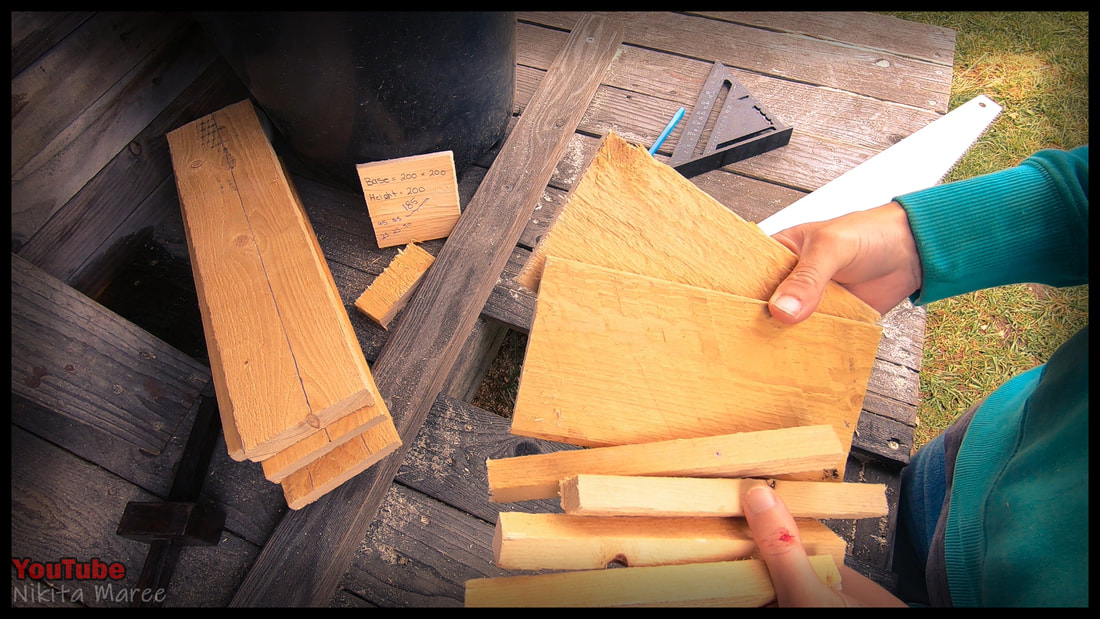
Worked out a size that would fit
nicely around the potted plant. |

|
Two paling widths are close enough
to 200 mm for me. |
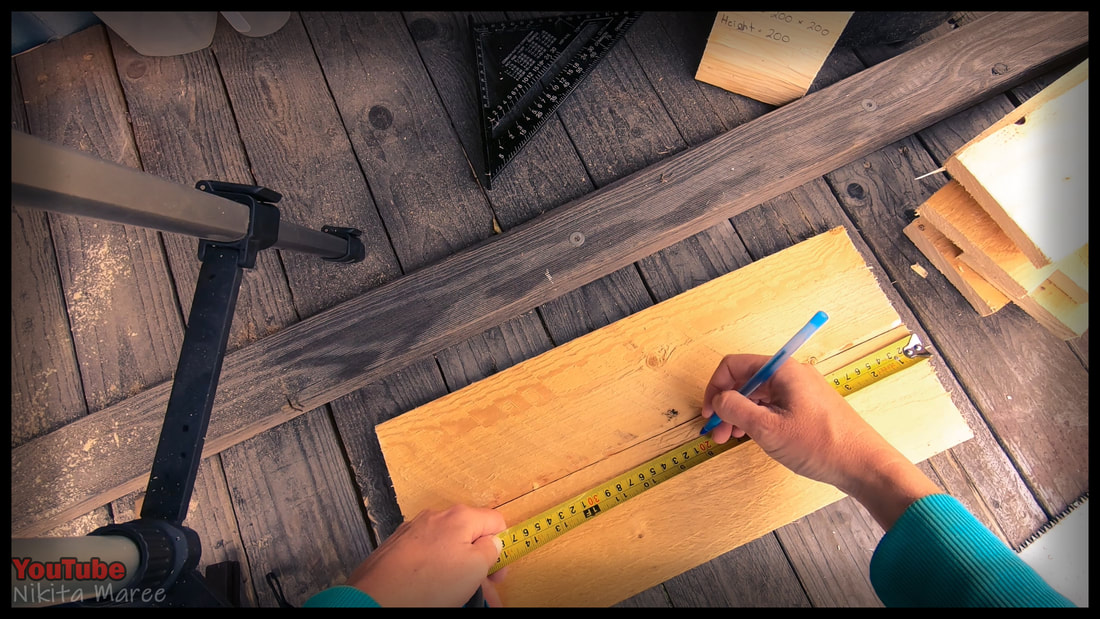  |
Mark out 200 mm
for the length. |
|
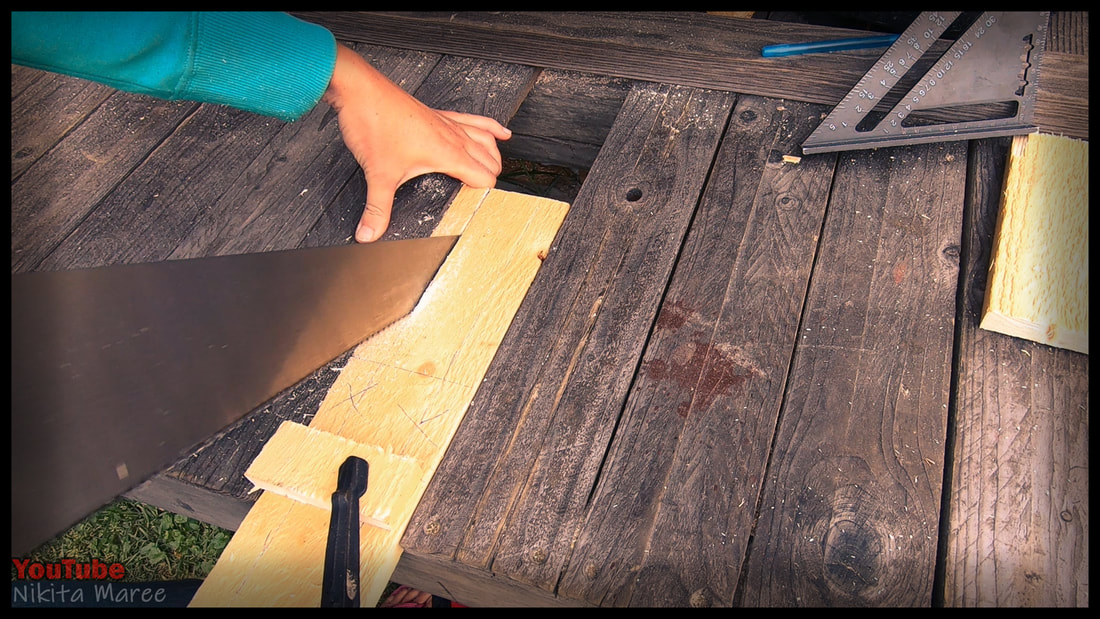
Then cut along your lines.
|
  |
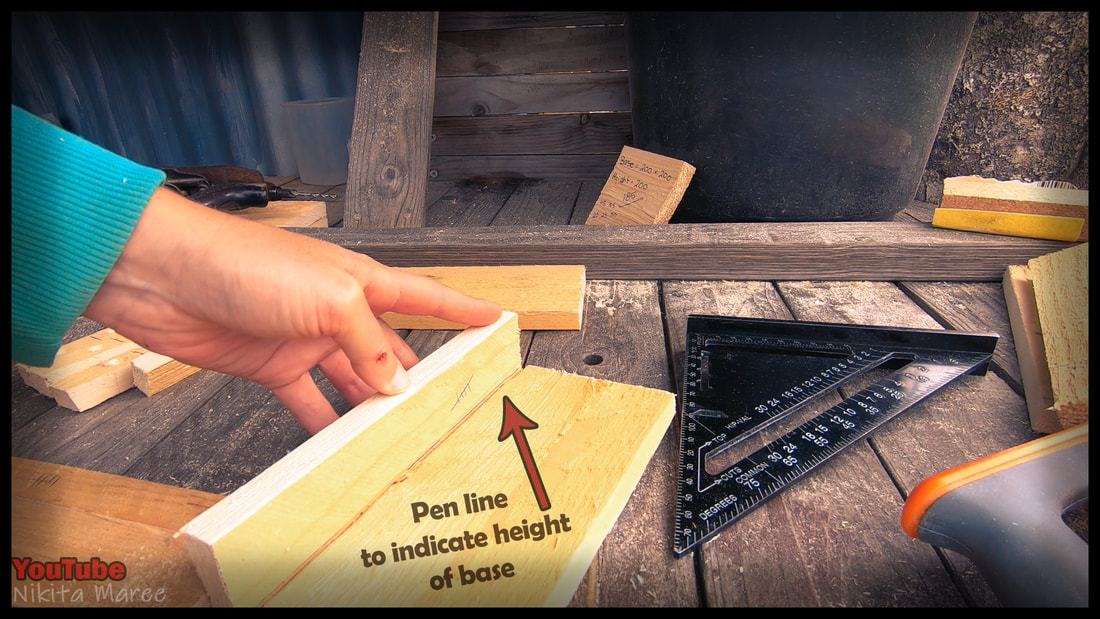
For the uprights,
I subtract the depth of the base from my ideal finishing height. |
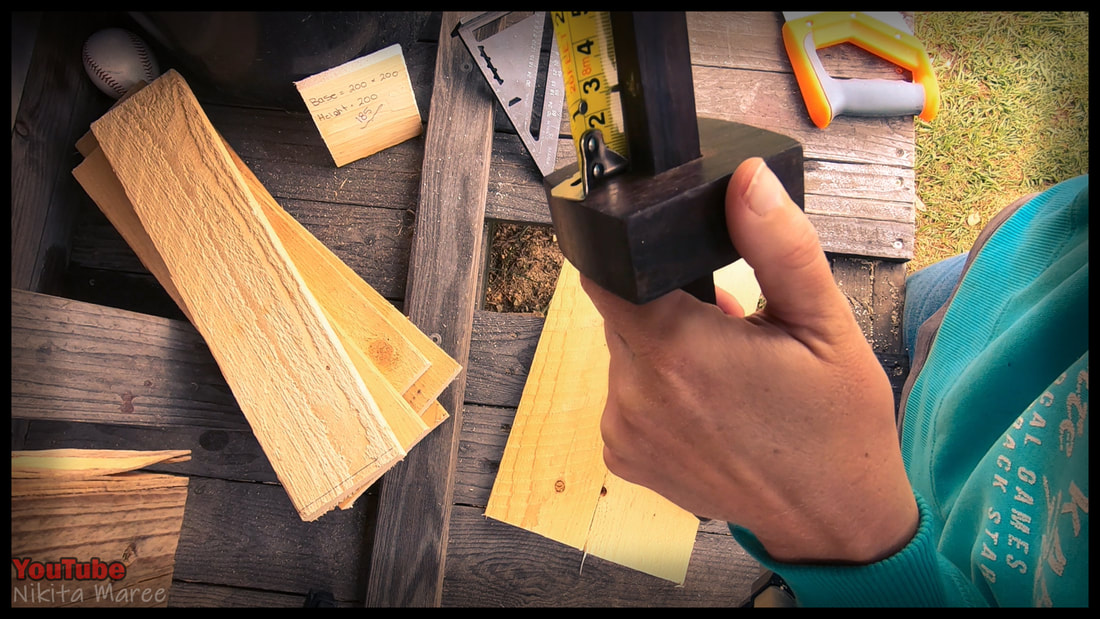 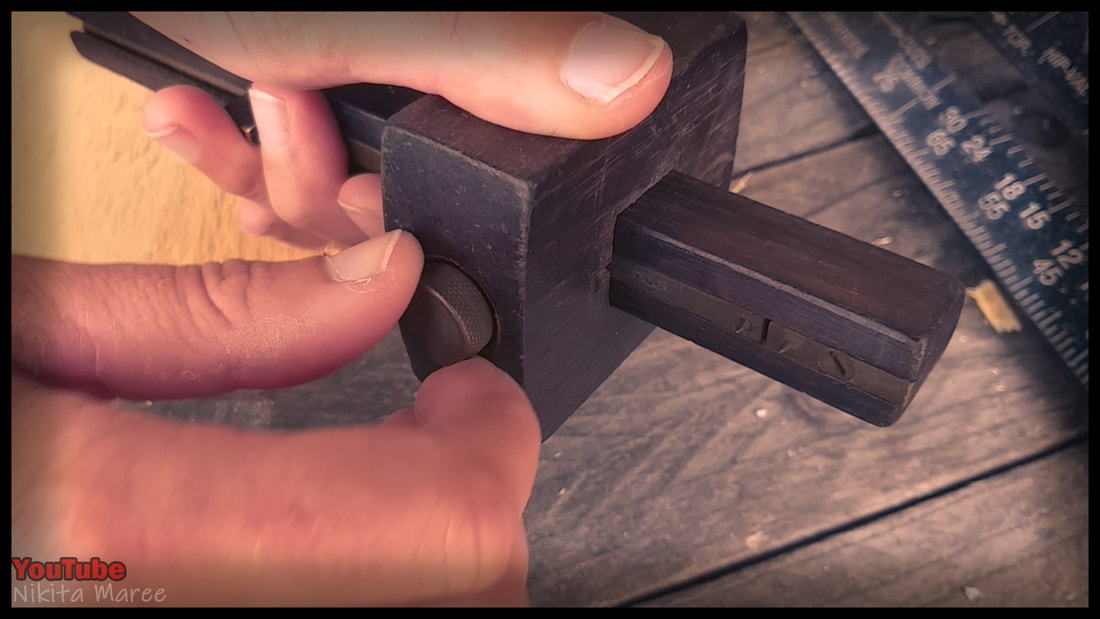 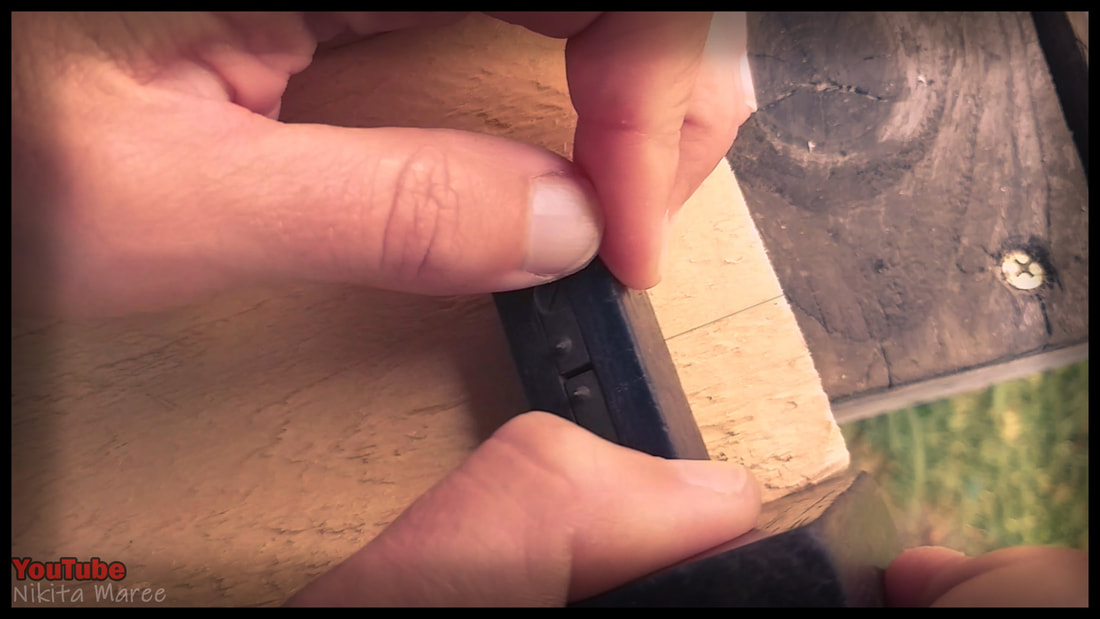  |
Set the scribe
at 25mm and score a line down either side. I could hardly see it, so I darkened it with a pen. |
|
Mark out the height of the four uprights.
|
  |
Clamp it to the bench,
with an off-cut to protect the wood. |
|
Then cut along the length, of all the lines.
|


I ended up cutting vertically with the saw, because the middle beam of the bench was interfering.
But if I had a tenon saw, this would have worked great.
But if I had a tenon saw, this would have worked great.
|
Once they are all cut length ways.
Rotate and clamp to the bench again. Then cut the 4 uprights off. |
|
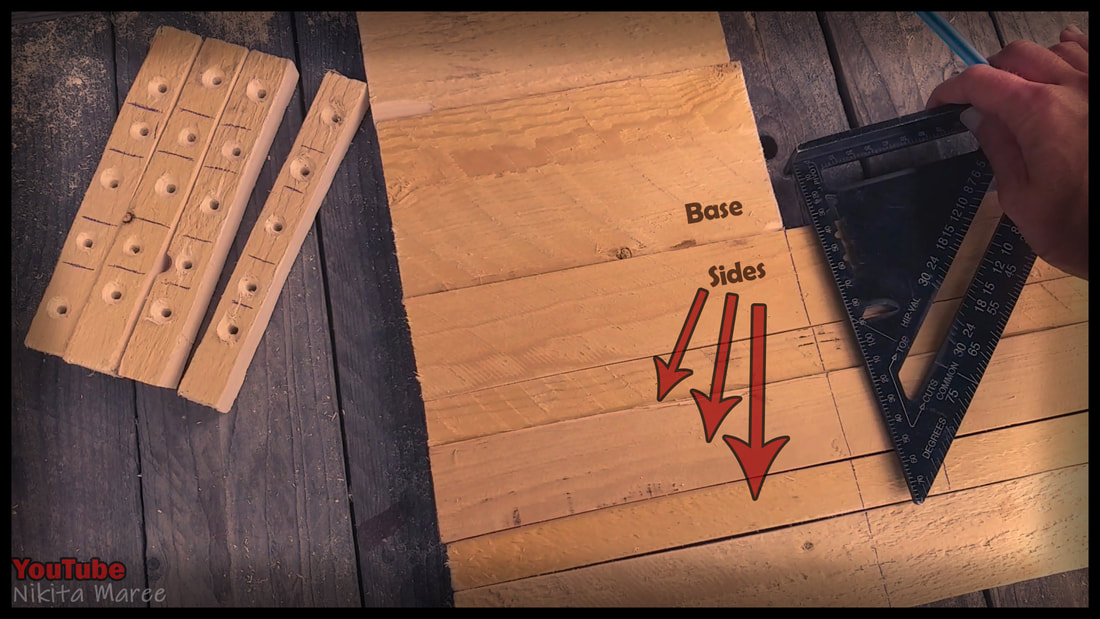
We now have our 2 base pieces
and 4 uprights. |

|
It was raining all day
and I had to stand right on the edge of the awning under all the drips. One day I will have a proper workshop. |
|
|
The sides of the planter box are 200mm overall divided by 5 random widths.
I went with a 4S and a 55 as well as two 25's and a 50. These 4 paling are enough to cover the sides of the entire box. |
|
|
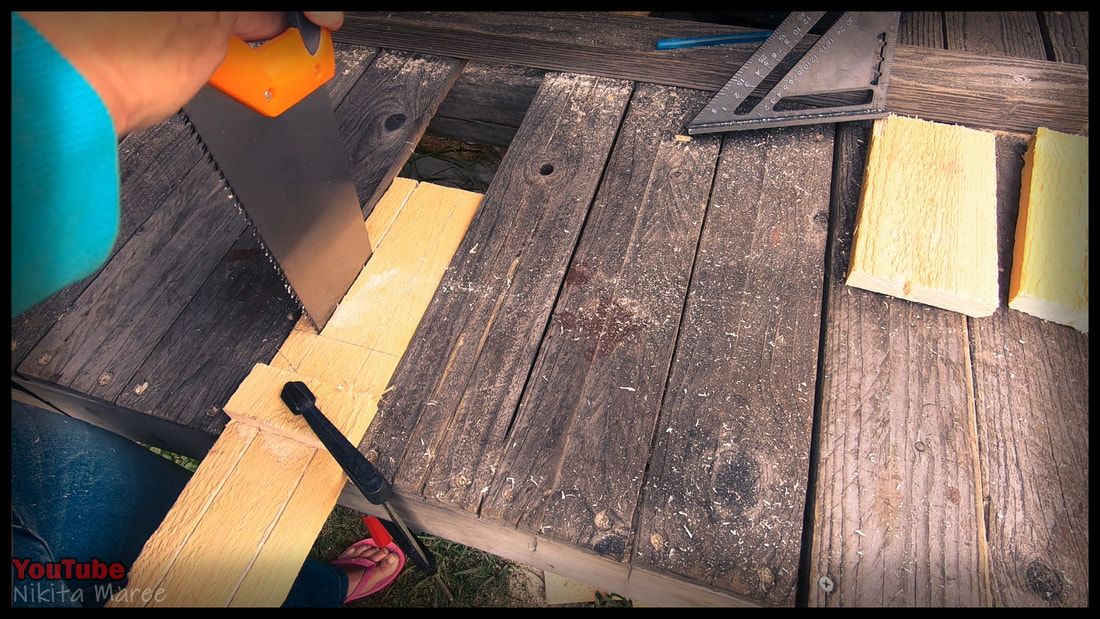
Time to cut them all out.
Clamp to the bench, cut half way along the line and then flip it around and repeat for the other side. |
|
|
Moving to the other end of the work bench.
I clamp my length side on. So I can clean up the rough sides with a plane. Then with the 60 grit, I clean up all the ends and edges. |
|
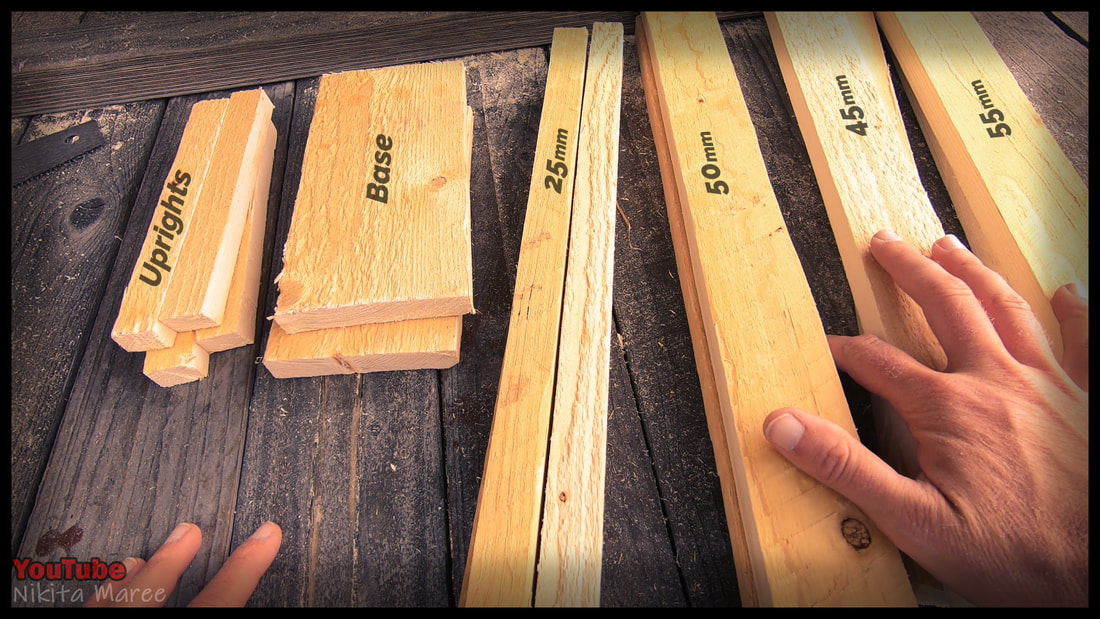
We now have our uprights, base, 25mm siding, 50mm siding, 45 and 55mm siding pieces.
|
|
Time to work on the uprights.
|
|
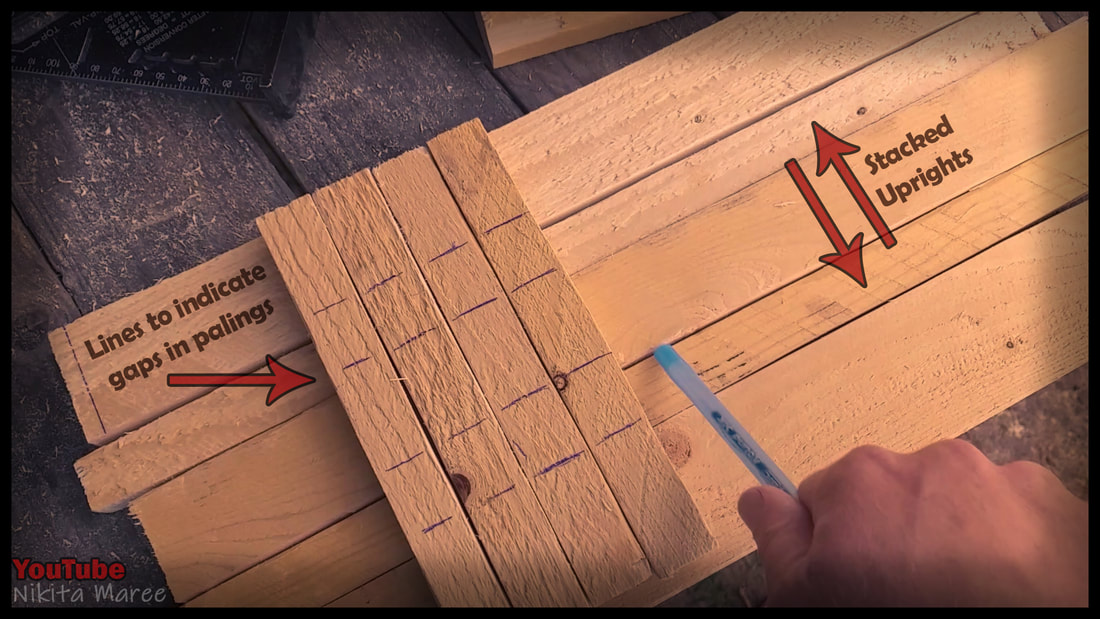
I have the siding pieces stacked and laying flat.
Mark the paling gaps onto the uprights. |
|
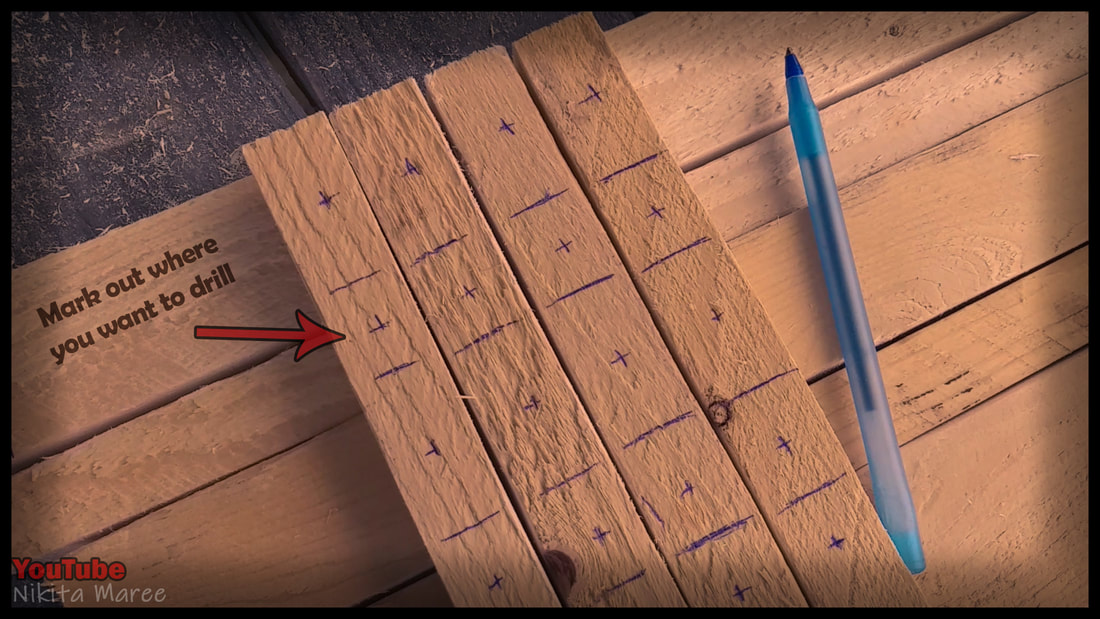
Then mark were I want the holes.
|
 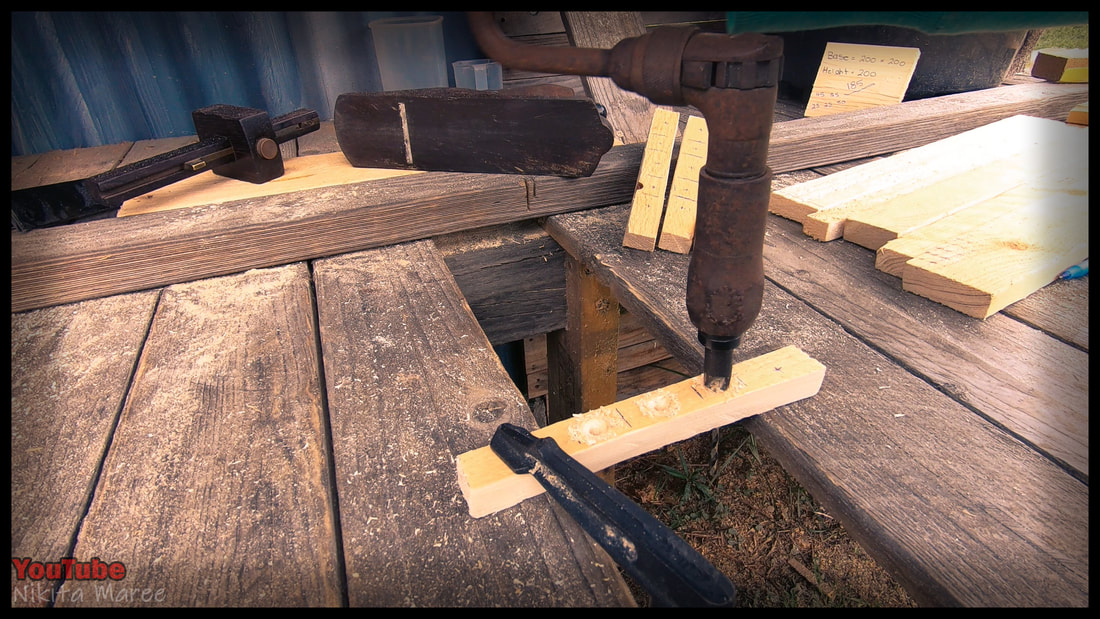 |
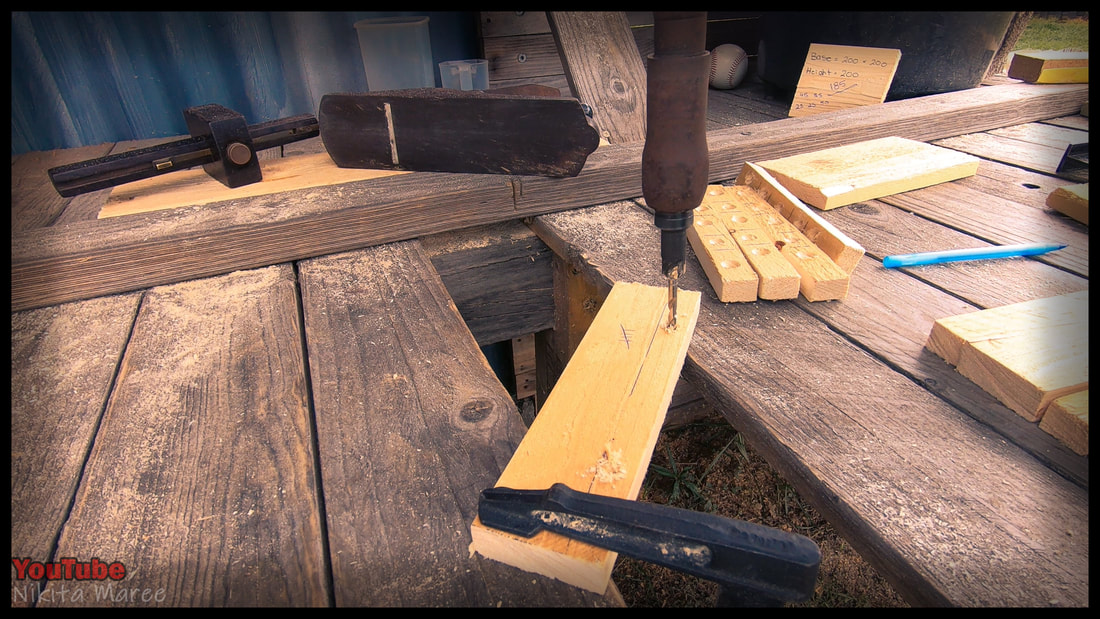
I am using a 5mm
counter sunk drill bit in a hand drill. Clamp the piece to the bench. Then drill all the holes. |
 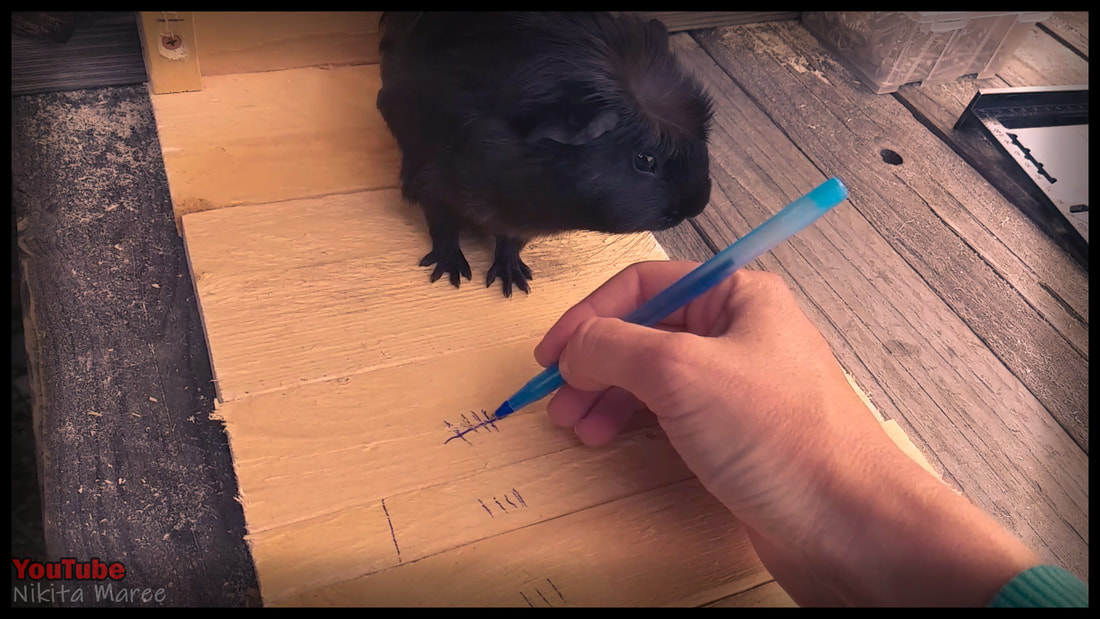 |
Mark the length
of the side pieces and number them, with the help of Reserizer. |

|
Cut them all to length.
|
  |
For the bottom side piece, I mark the depth of the base. and drill
two holes. |
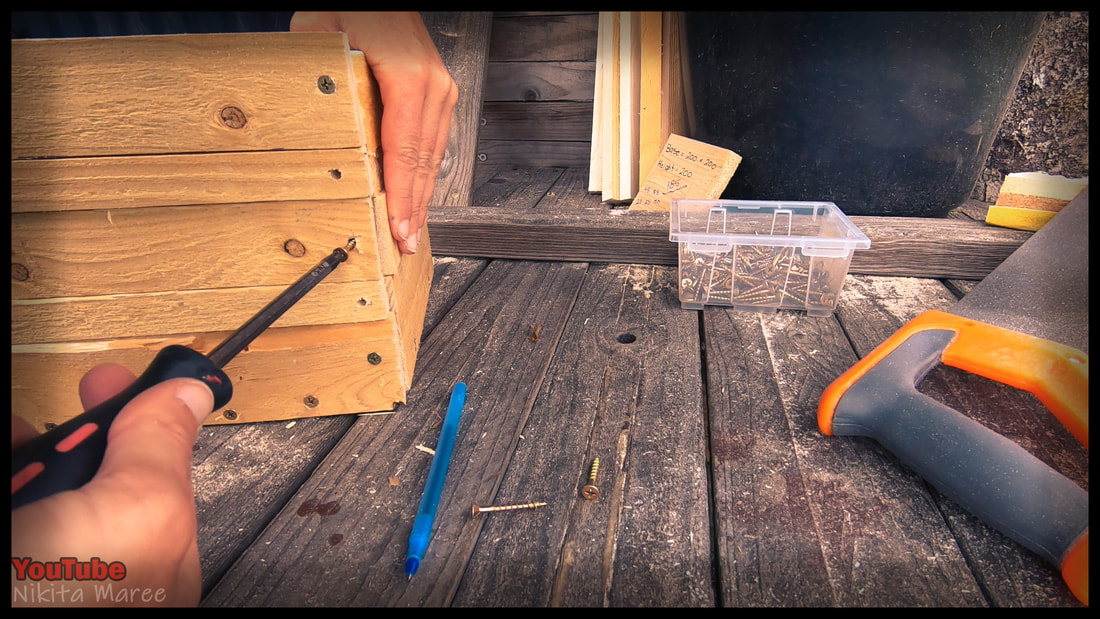
|
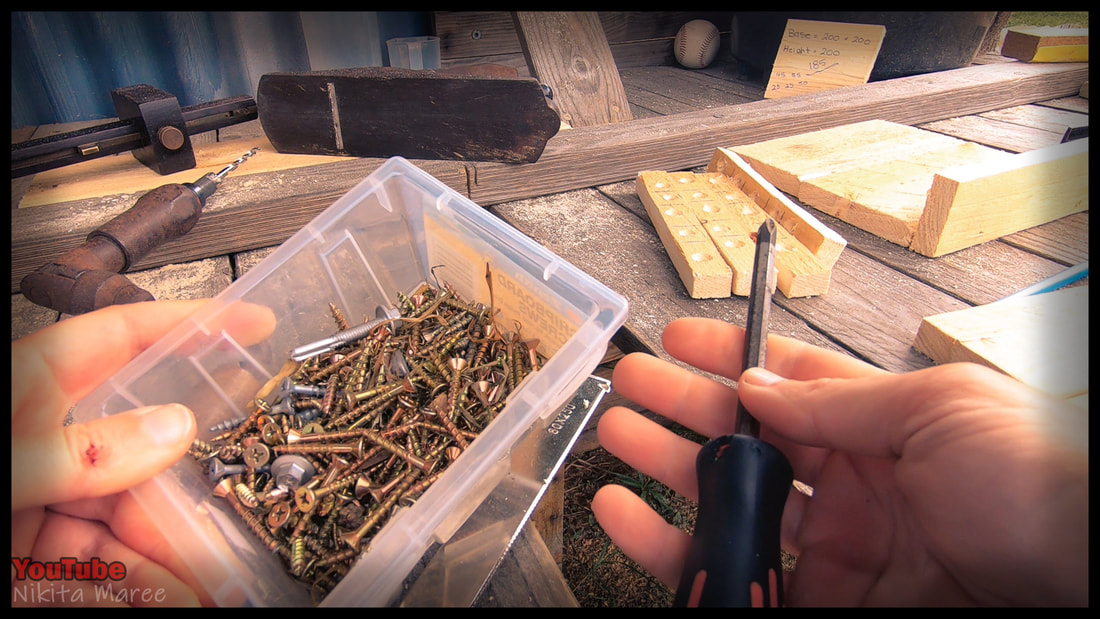
I am attaching this with a philips head screwdriver and chipboard screws.
because they are affordable |

|
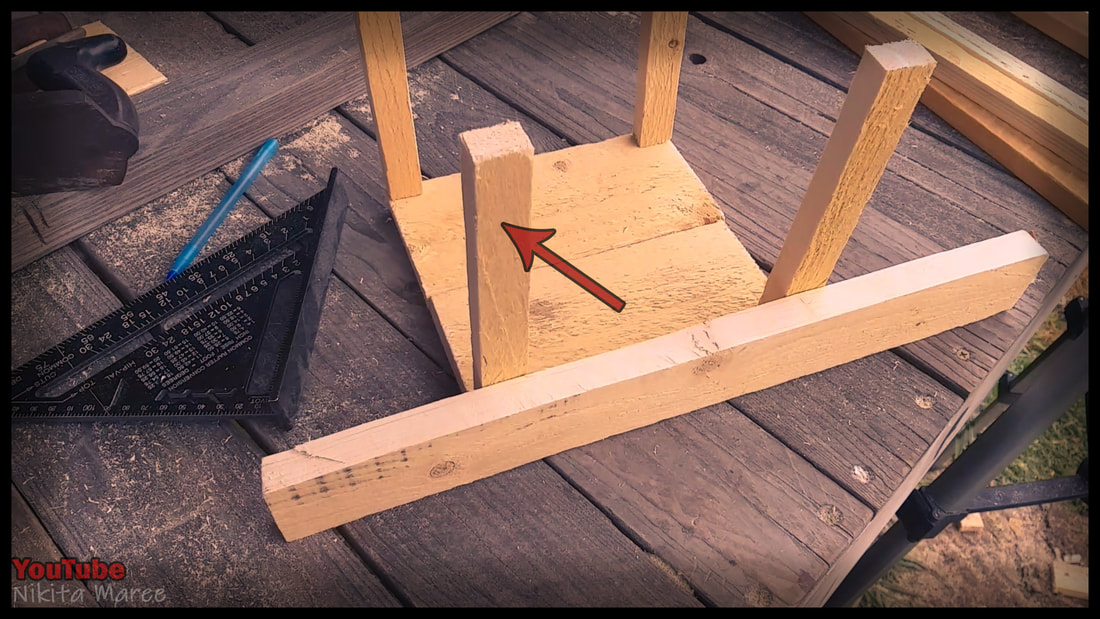
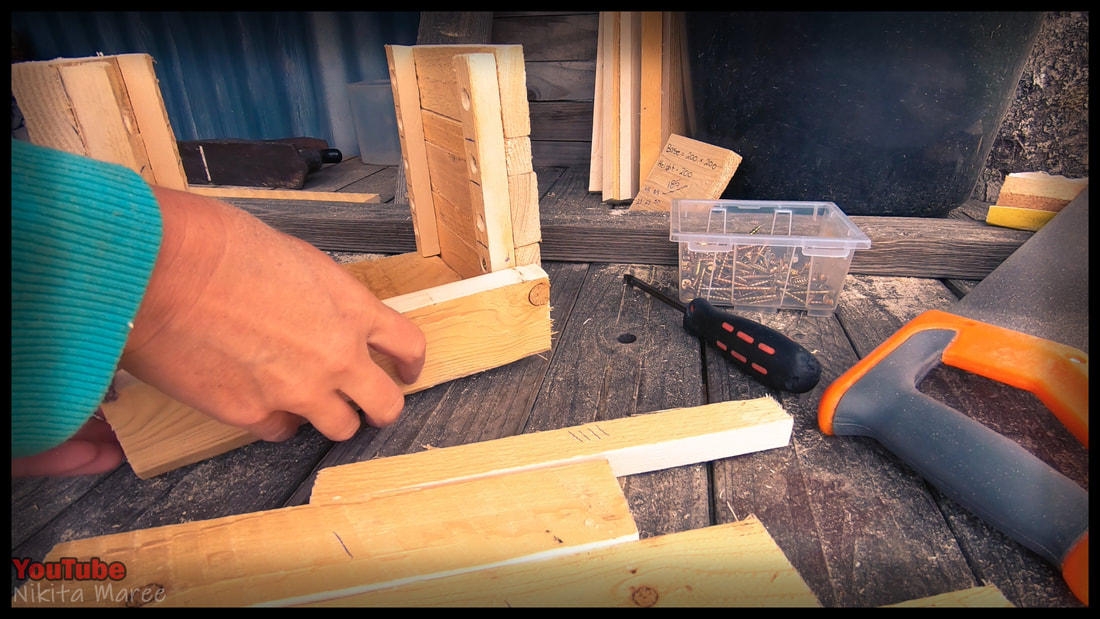
I can then attach 2 of the uprights
directly to that. And then add on the remaining side pieces. |
  |
I do the same thing
for the opposite side. Attaching the bottom one first. |
|
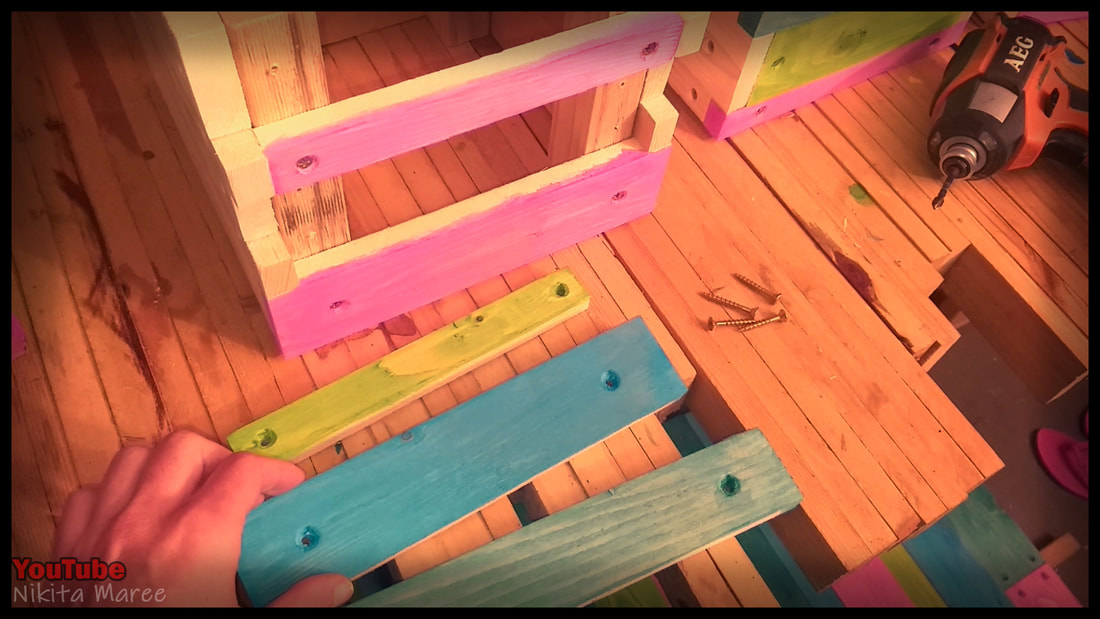
The 2 remaining sides are measured
and cut longer, so they cover up the end grain of the other sides. |
|
The holes are marked so that
the screws can go into the ends of the other palings, without interfering with the screws in the uprights. |
|
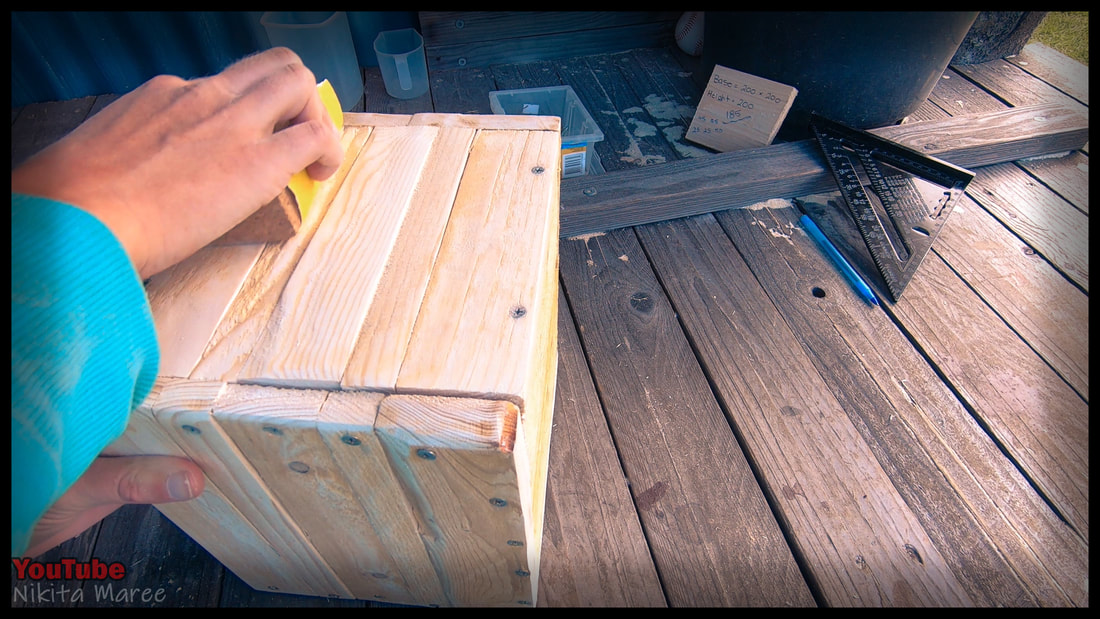
I then give the entire thing
a really good sand. And keep sanding. This was the most tedious task of the entire build. |
|
And now the building part is done.
|
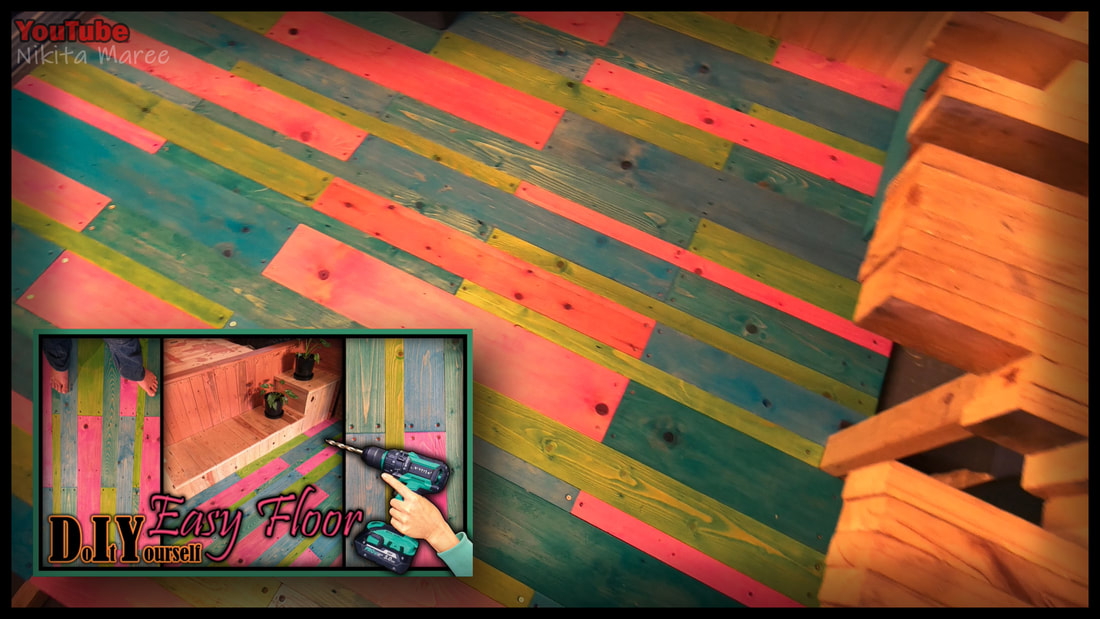 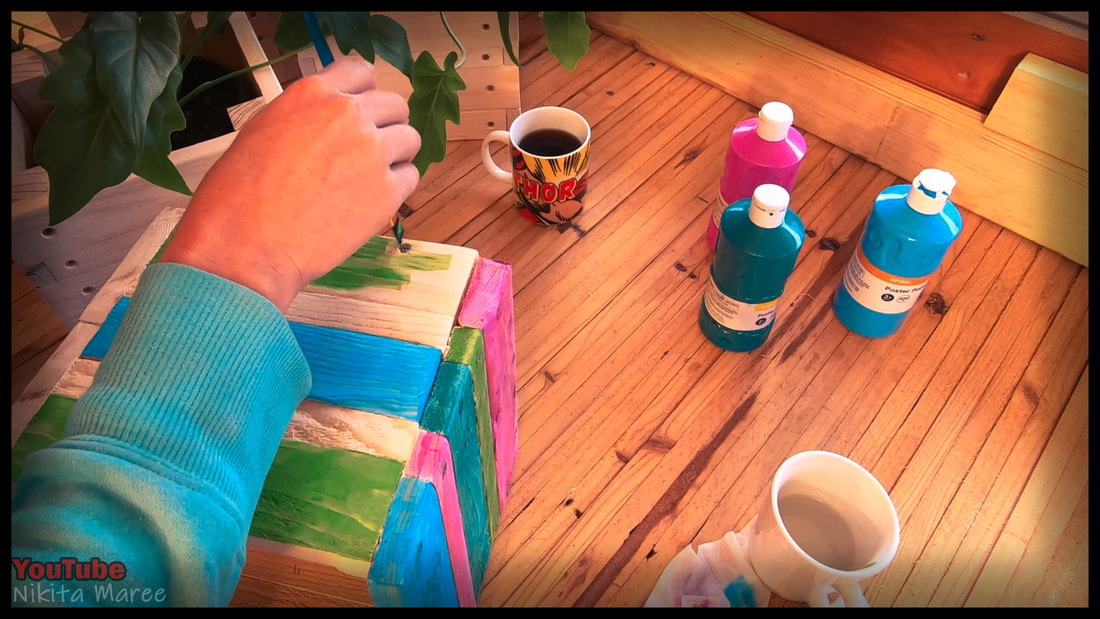 |
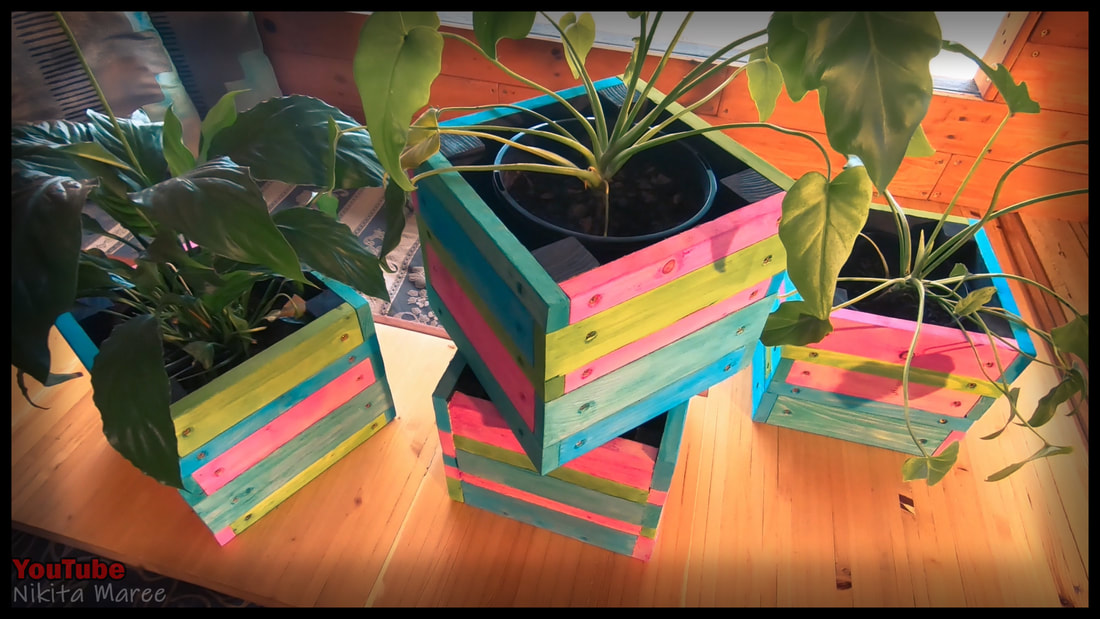
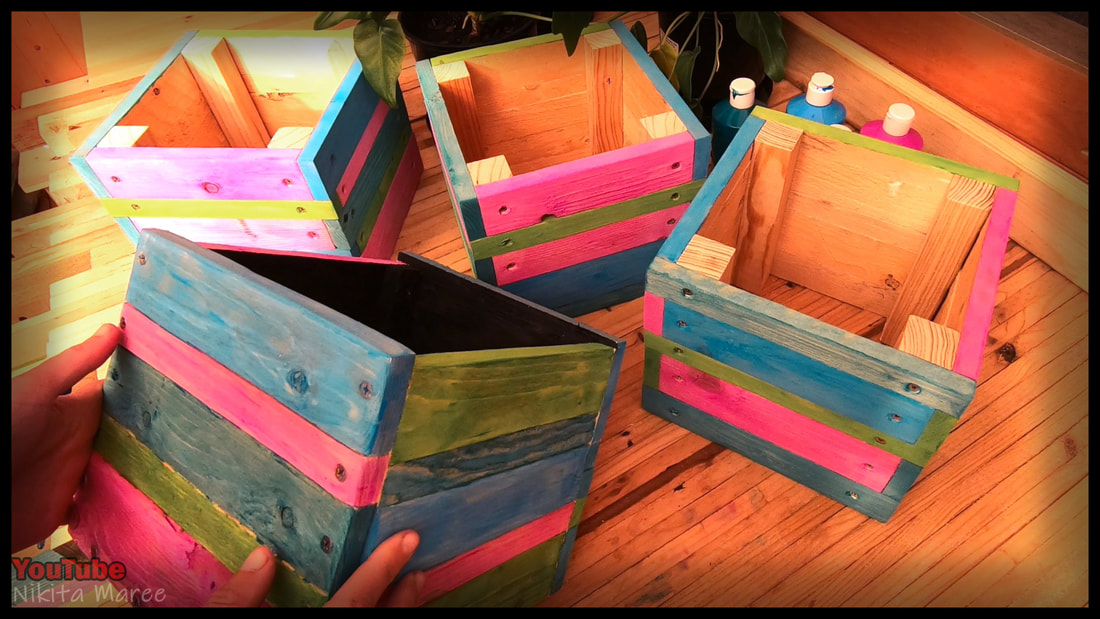
Time to paint.
I am using the same colors that I used on the flooring, to help bring some more continuity to the room. |
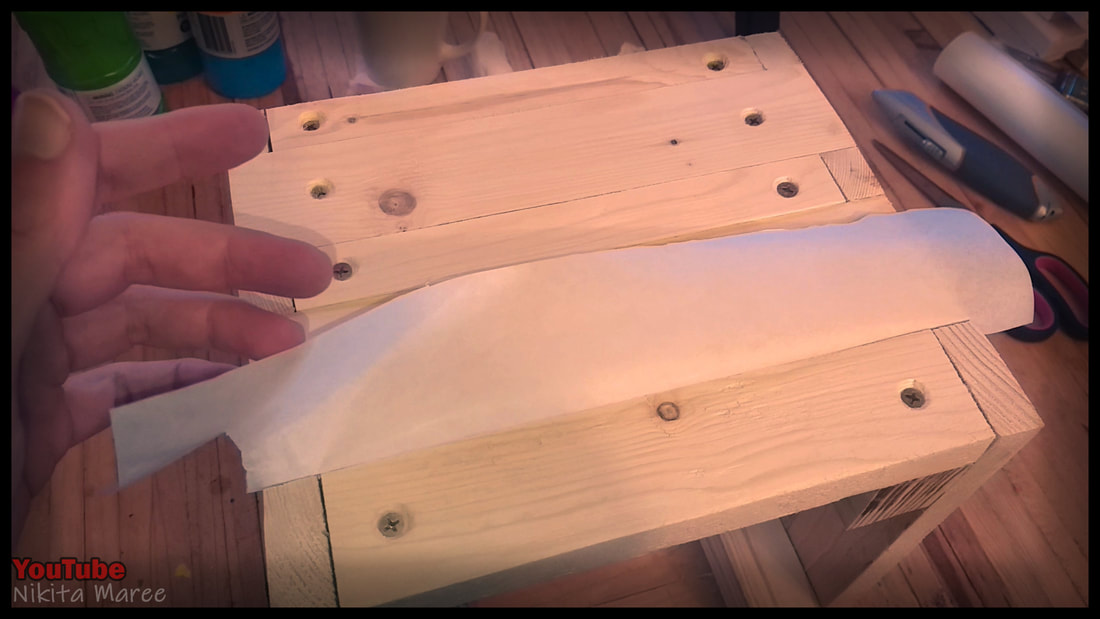  |
If you want to do a neater job of painting. you could slide baking paper between the joins. or take each piece off and paint them individually.
|
|
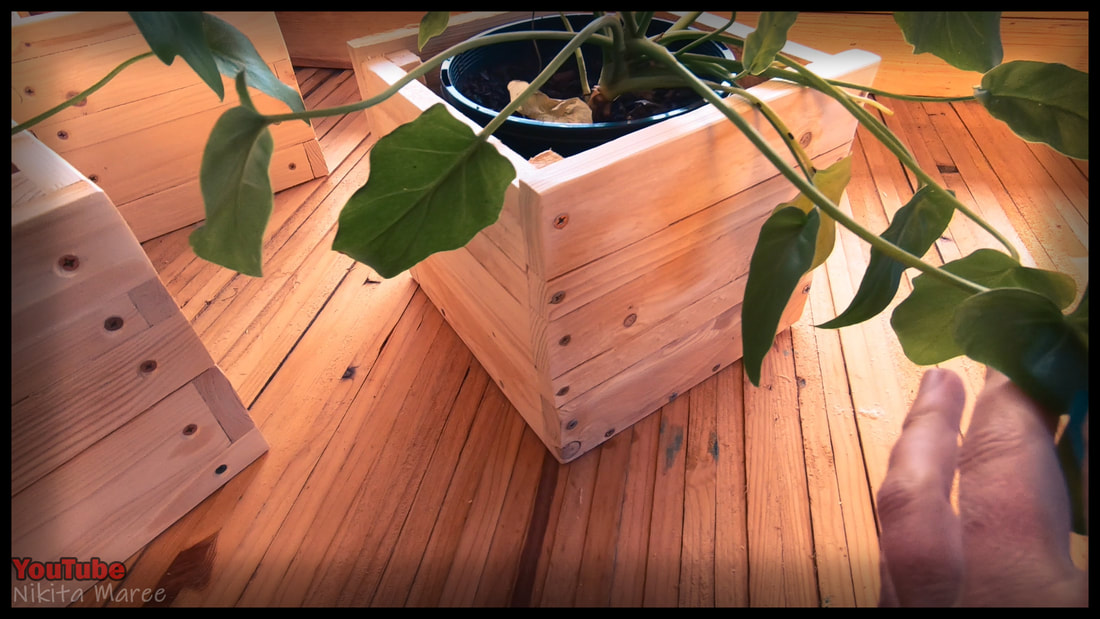
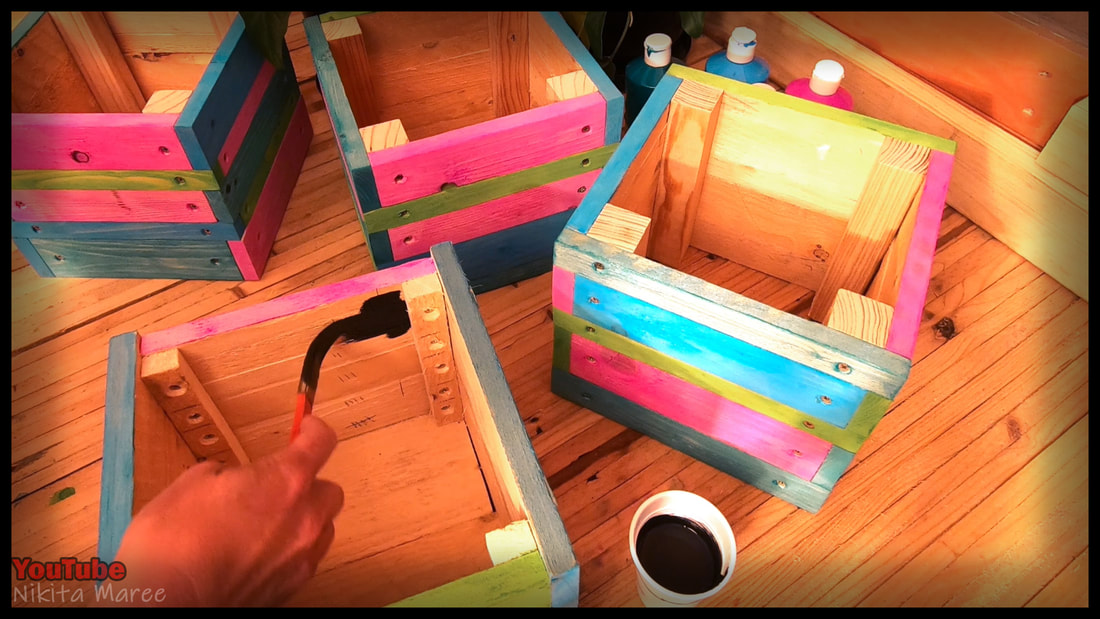
To finish it off, I paint the inside of the
planter box with watered down black paint. |
|
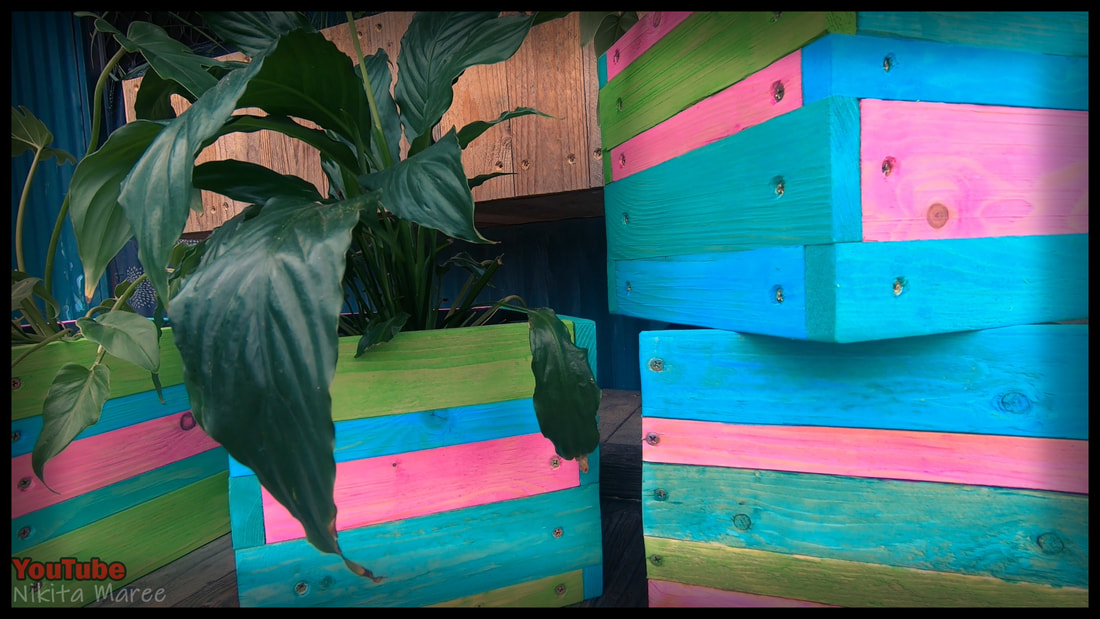
Instead of the eyes being drawn to the light color of the wood.
You can now focus on the beautiful colors of the box. |
|
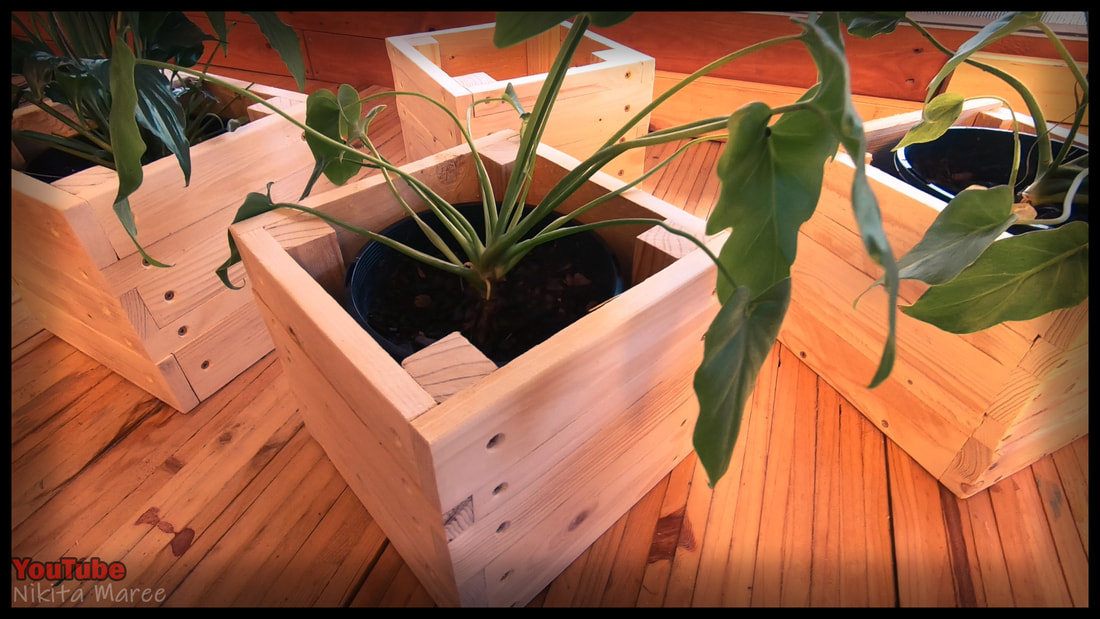
I also made myself 3 planter box's
using power tools and staging the corner joins. |
|
|
If all you have at the moment is a handsaw and
a cheap drill, then this hand tools verse power tools project is a nice example of what you could aspire to with more tools in the future. |
My interpretation of this challenge is to demonstrate that you can still build and create things
with cheap or minimal tooling.
I have not always had to tools that I have now, but instead of buying a $100 dinning table.
We decided to buy a drill. And instead of buying a $300 lounge, we bought a circular saw and an impact driver. Tools are an investment and can be used to create just about anything.
A common misconception that I hear, is that it is expensive to do DIY.
The reason I build our own furniture and make whatever I can out of pallets,
Is because we don't have the money to spend on furniture.
|
|
|
|
