How to Build a Tool Shelf
|
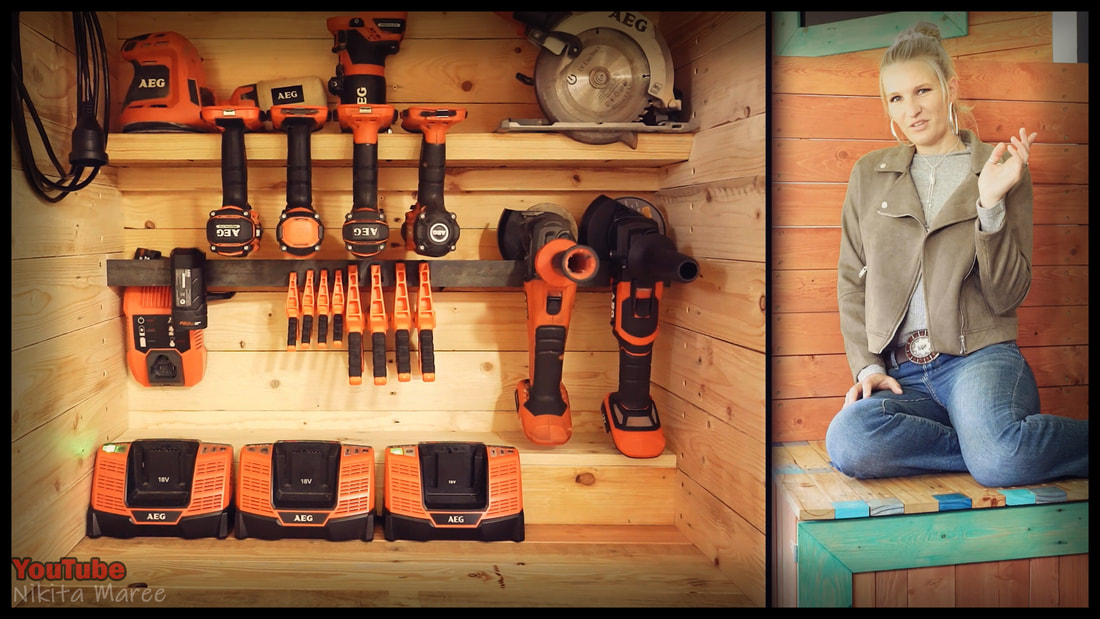
This tool storage shelf is compact
and functional. I am using both pallet palings and pallet stringers for this build. I am also using some scrap non-structural pine. |
|
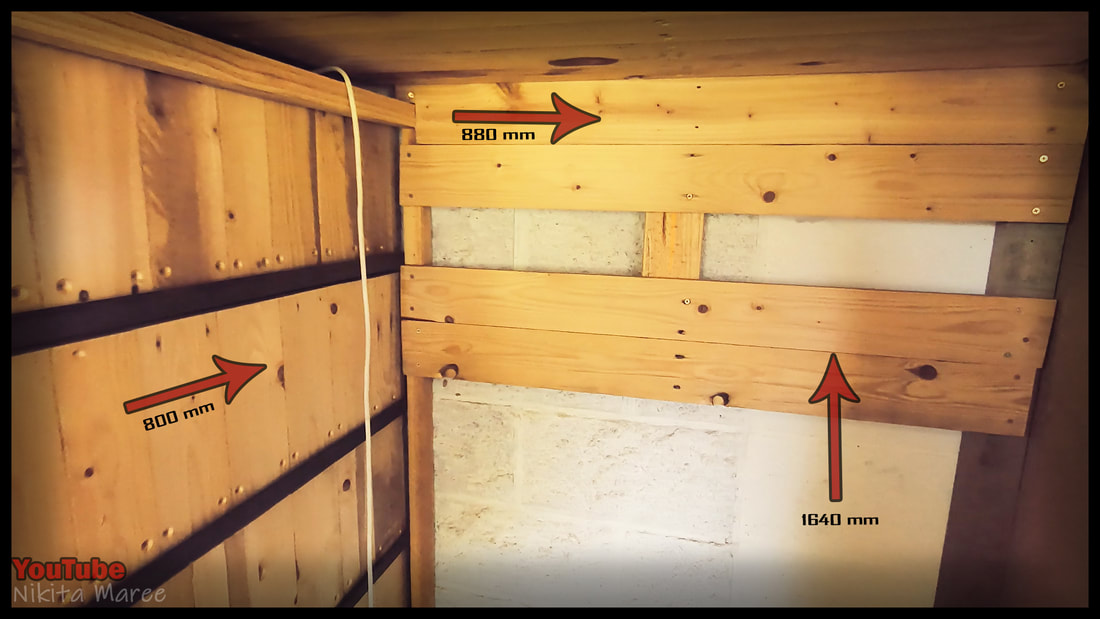
The area I am working with is 880mm wide,
800mm deep and 1640mm high. Note: We all have different shaped tools and different sized areas to work with. But this build can easily be adapted to fit any sized area that you may have. |
|
|
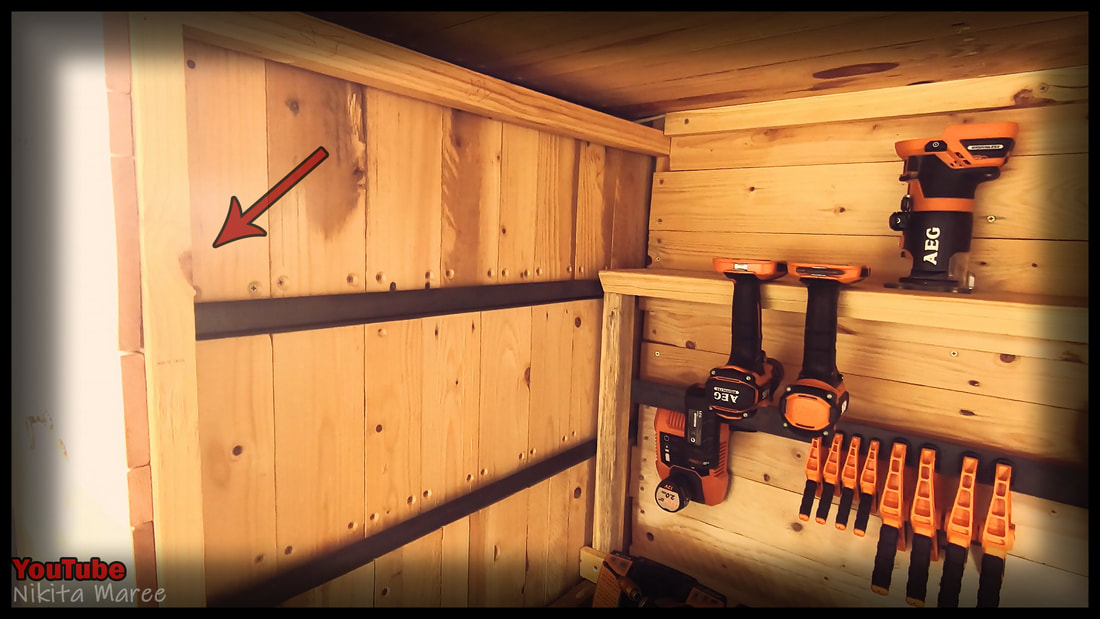
To get a bit of an idea of the space I am working in . . .
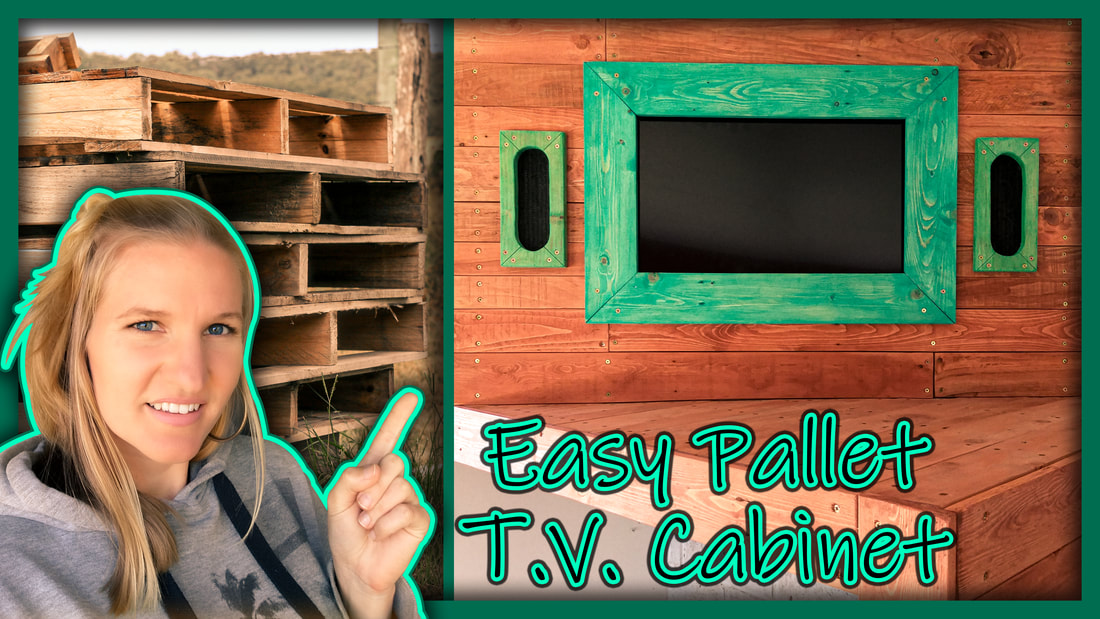
To the left of this area is the vertical drawers
and above this area is the built in television cabinet.
To the left of this area is the vertical drawers
and above this area is the built in television cabinet.
|
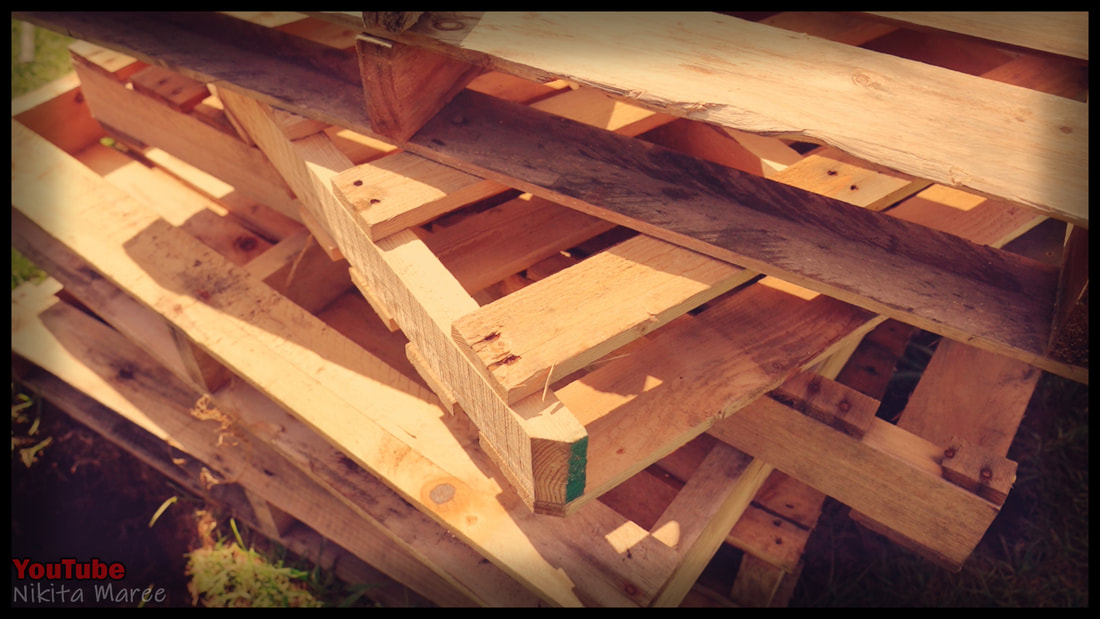
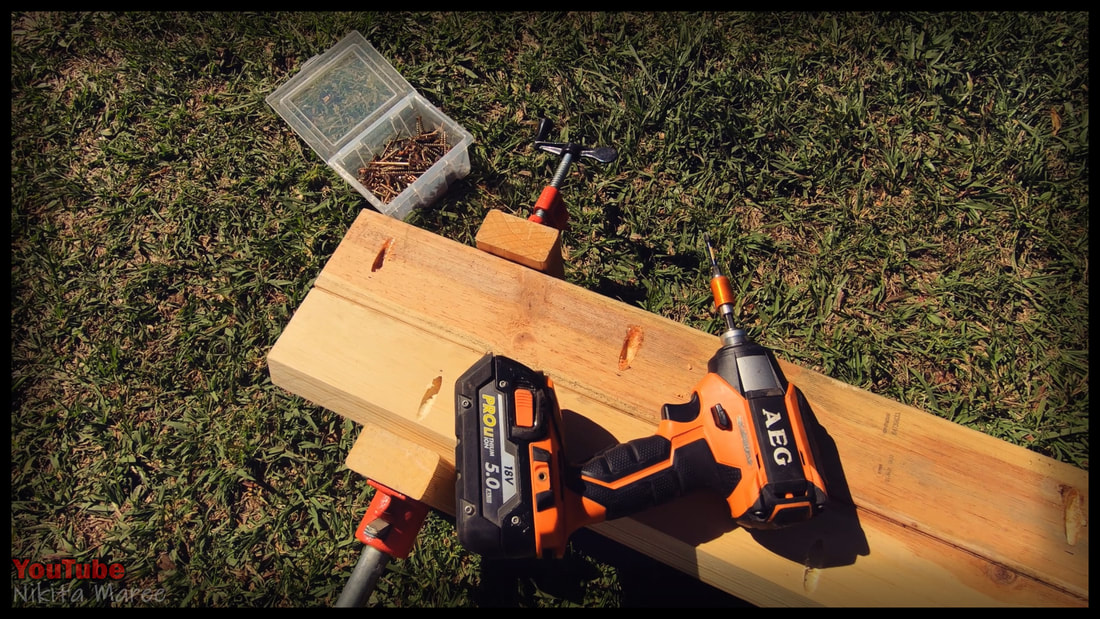
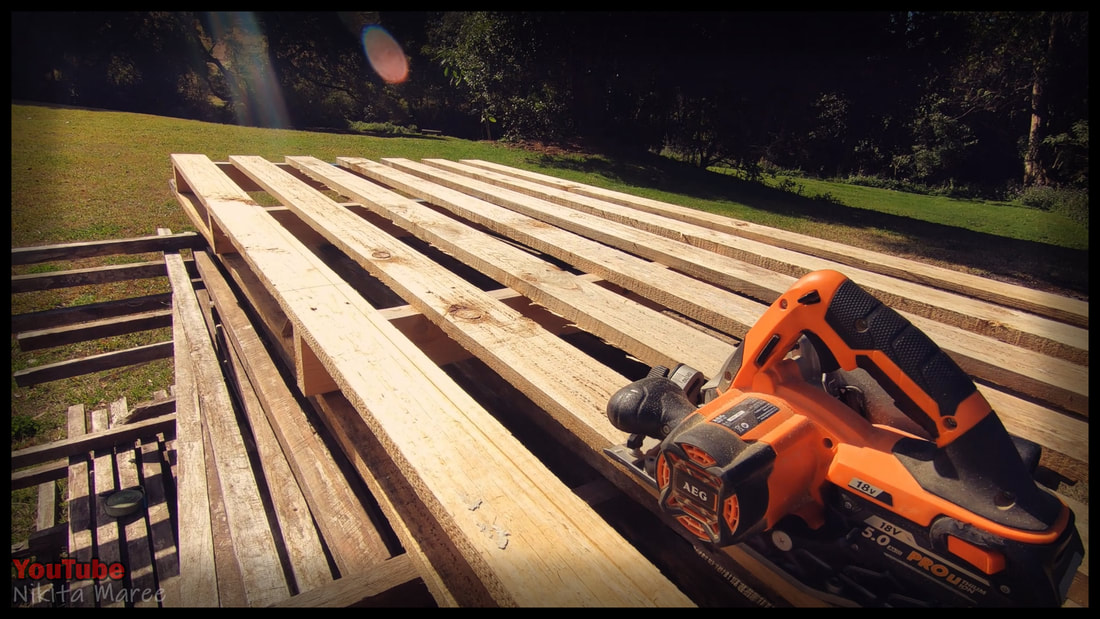
As always I start by cutting
and pulling apart some pallets. |

|
|
|
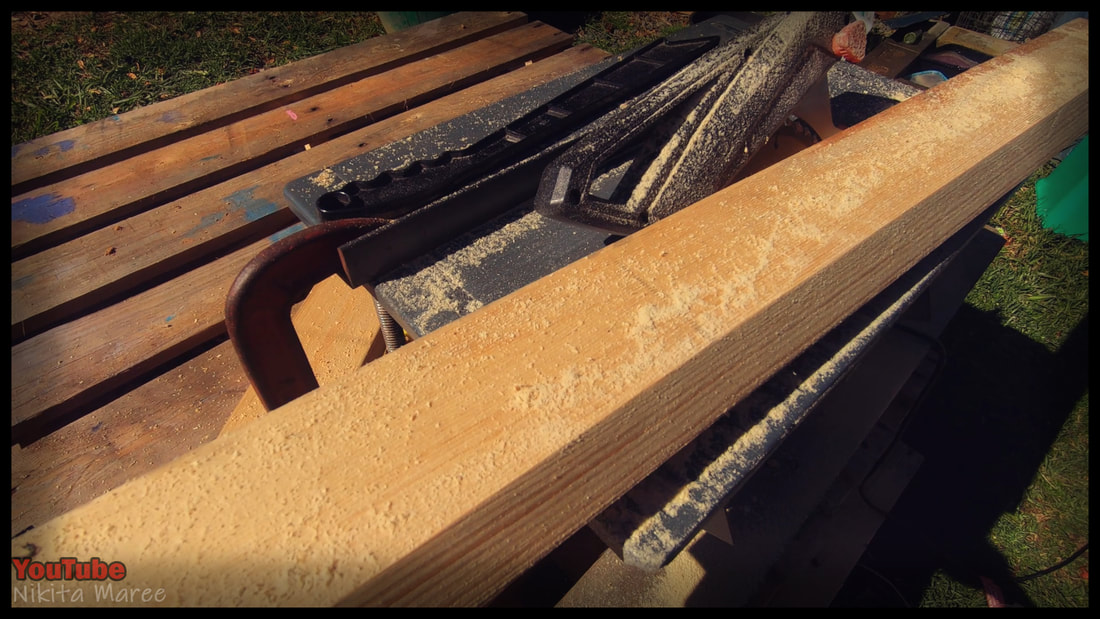
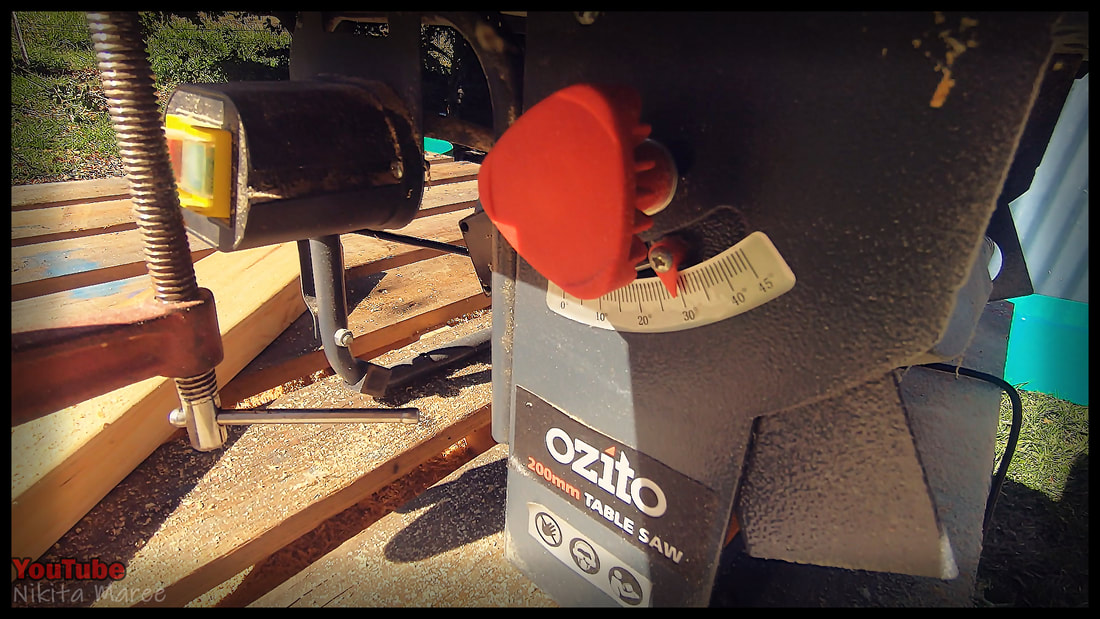
For the front edge of the shelf,
I ripped a length of 35x90 down the table saw at 30 degrees.
This angle holds my drills and impact drivers in a sturdy and easy to grab position.
I ripped a length of 35x90 down the table saw at 30 degrees.
This angle holds my drills and impact drivers in a sturdy and easy to grab position.
|
|
I attached this angle to another piece of 35x90 via pocket holes.
PVA glue between them, pipe clamped together and attached with screws.
PVA glue between them, pipe clamped together and attached with screws.
|
|
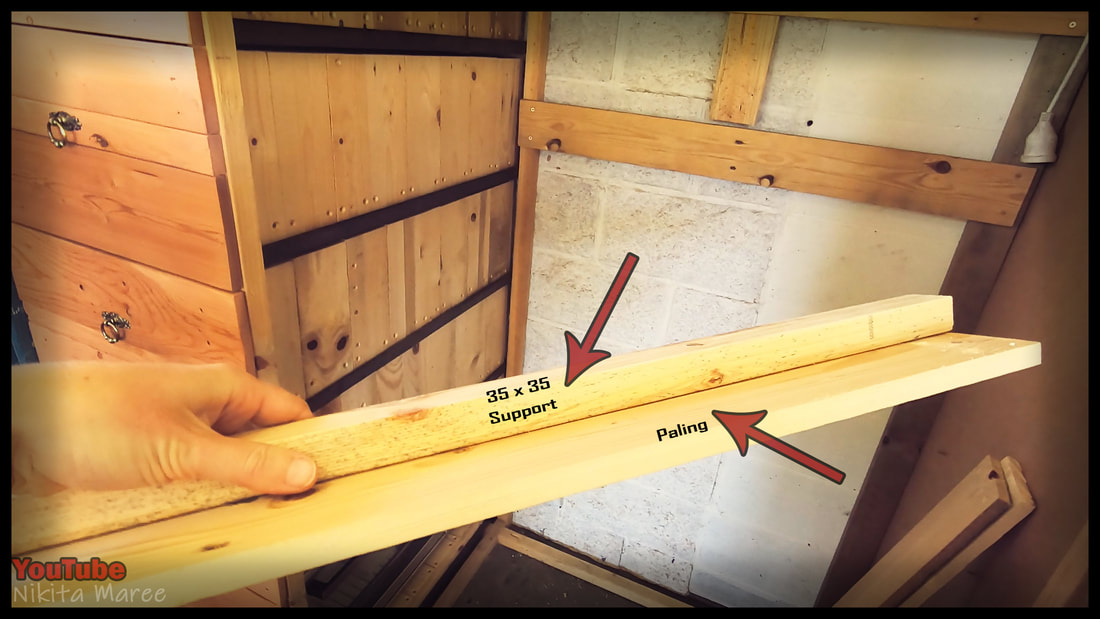
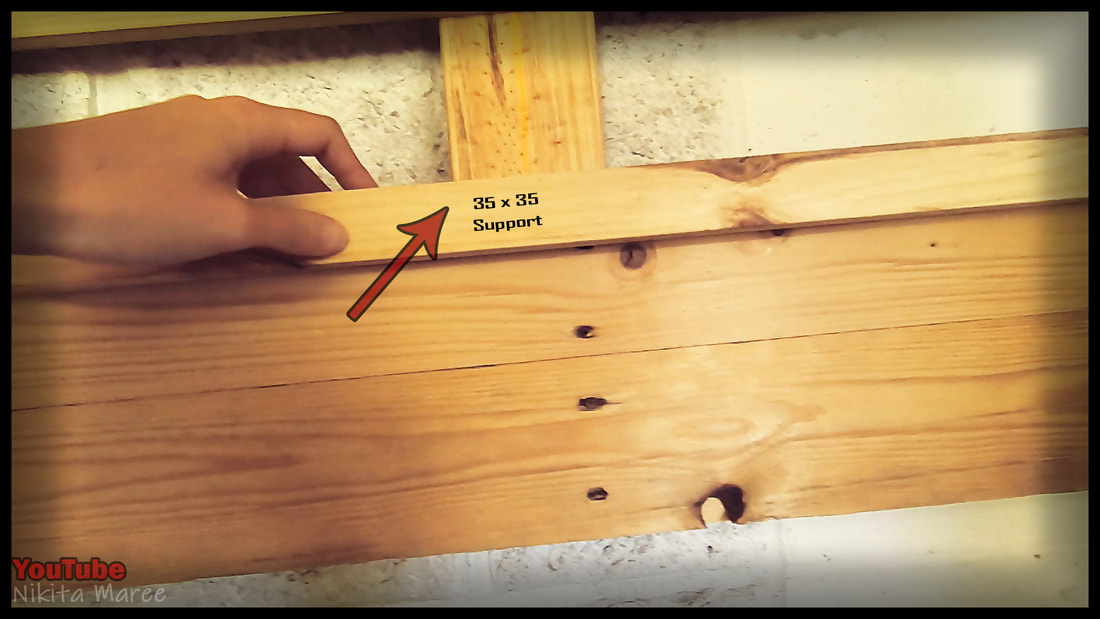
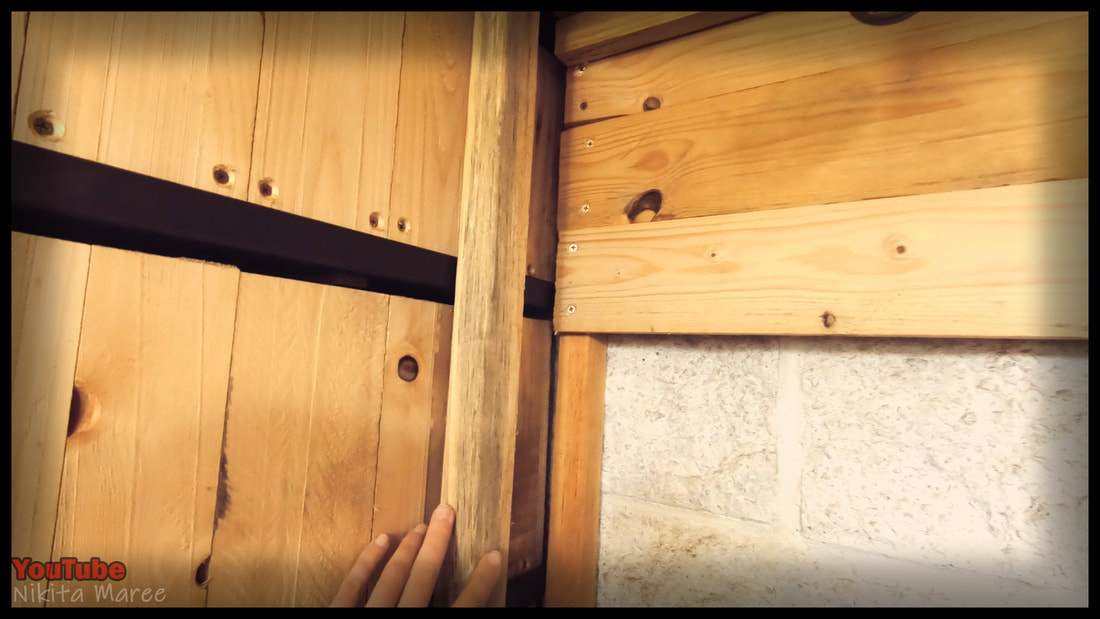
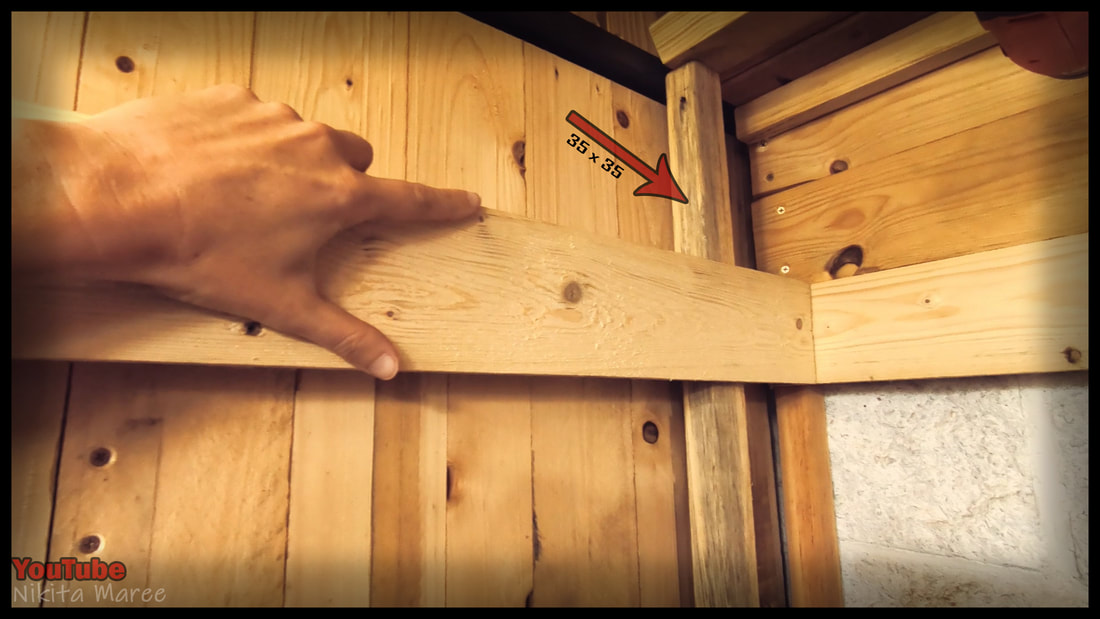
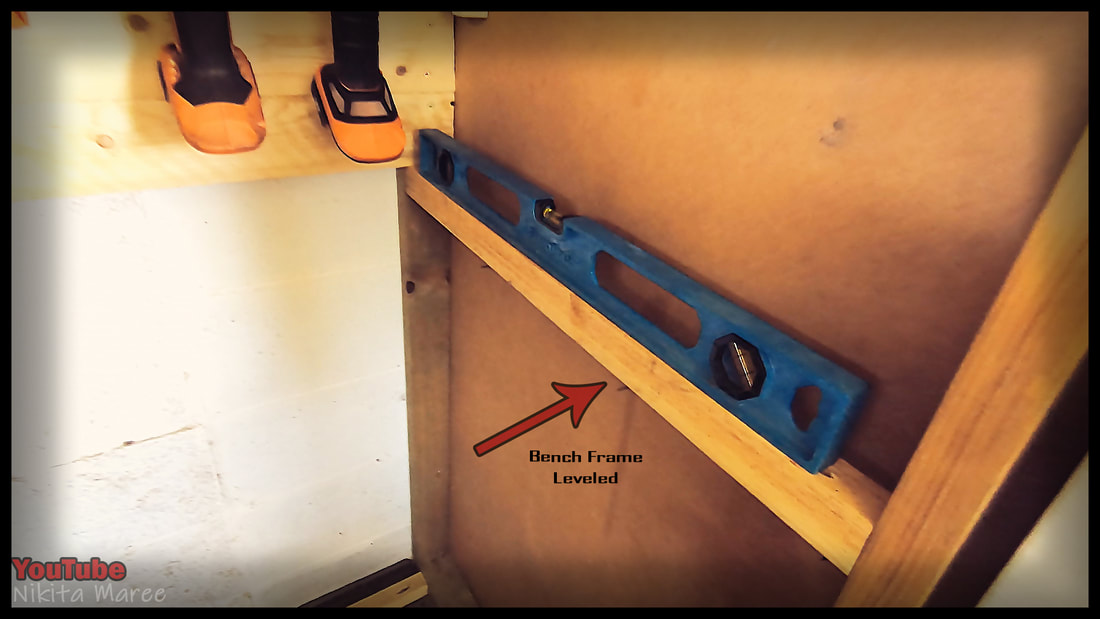
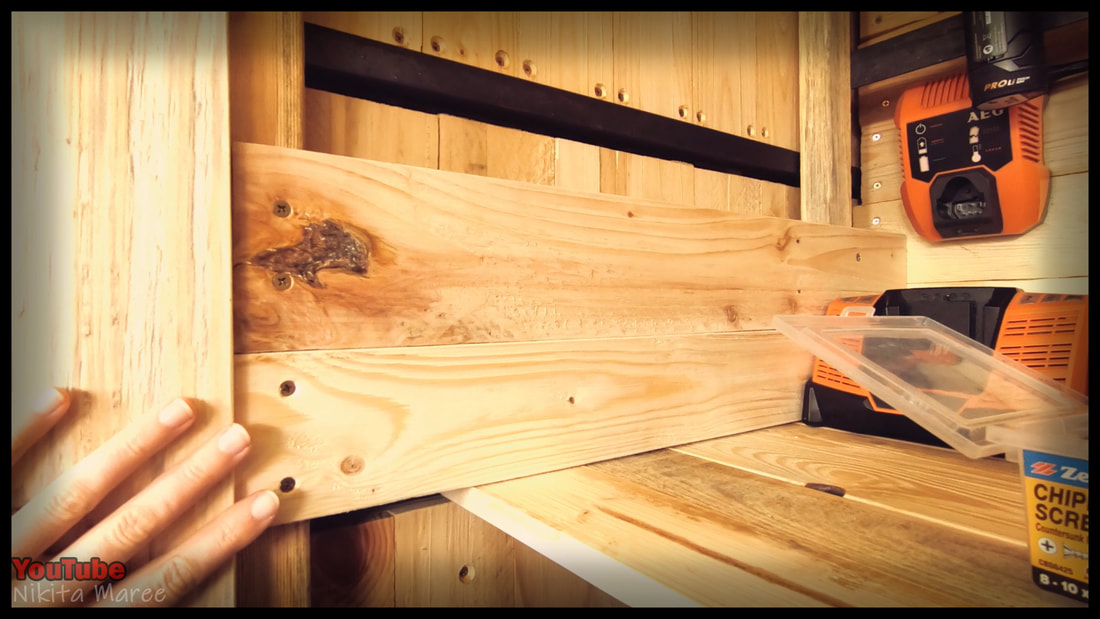
For additional shelf support.
I attached a length of 35x35 to the front of a wall paling.
Note: The shelf will rest on top and attach into this.
As well as getting attached into the existing wall frame.
I attached a length of 35x35 to the front of a wall paling.
Note: The shelf will rest on top and attach into this.
As well as getting attached into the existing wall frame.
|
|
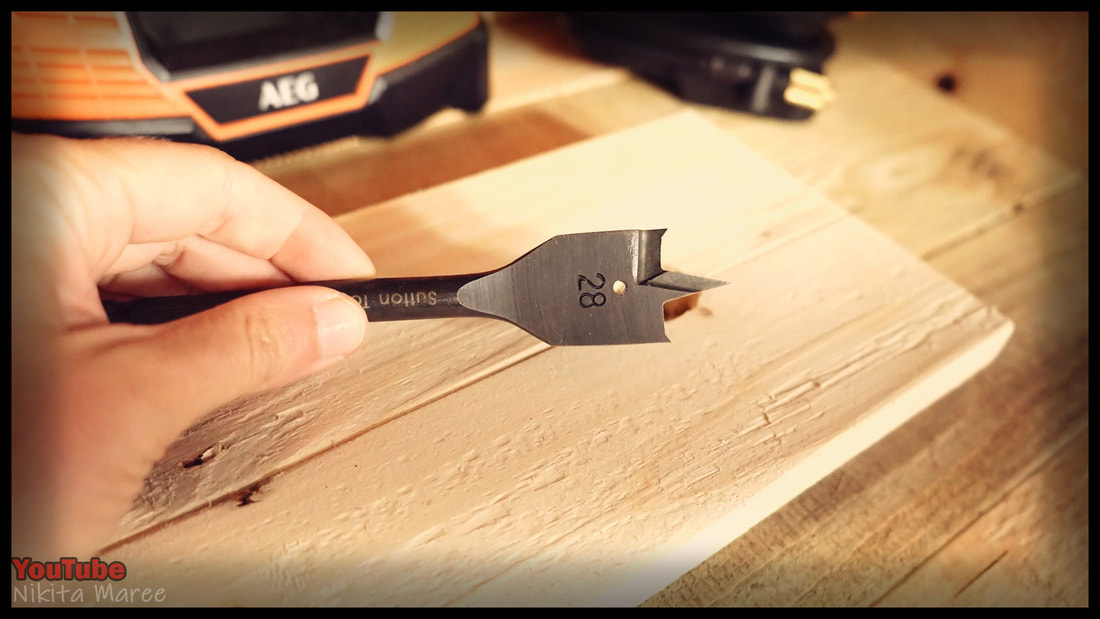
For my Trim Router to sit neatly on the shelf,
I used a spade bit larger than my biggest router bit,
and drilled a hole for the router to sit over.
I used a spade bit larger than my biggest router bit,
and drilled a hole for the router to sit over.
|
|
|
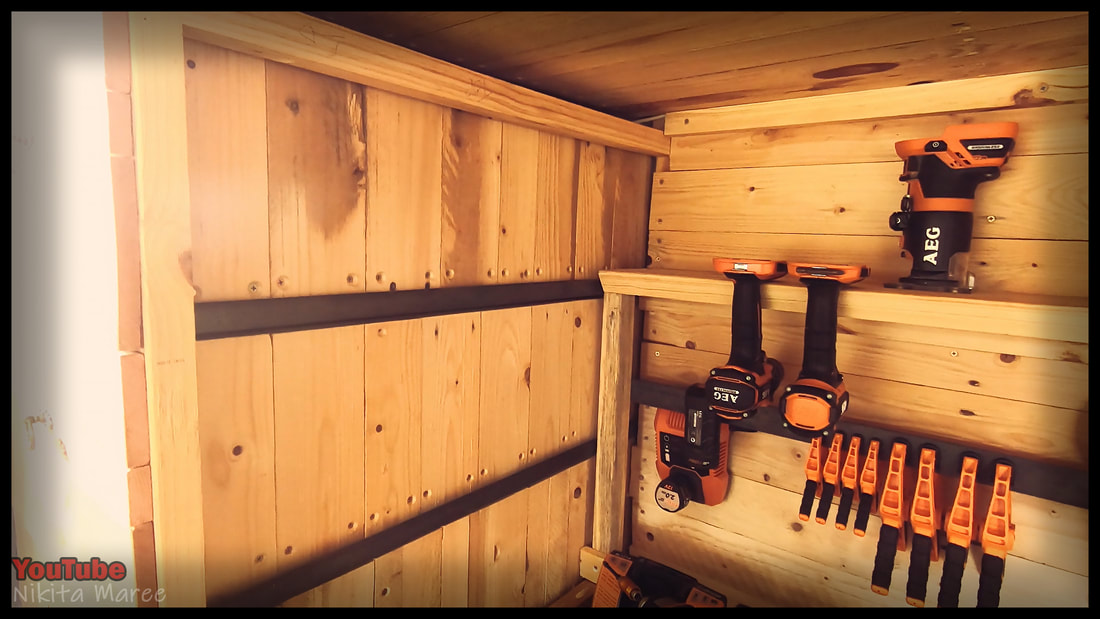
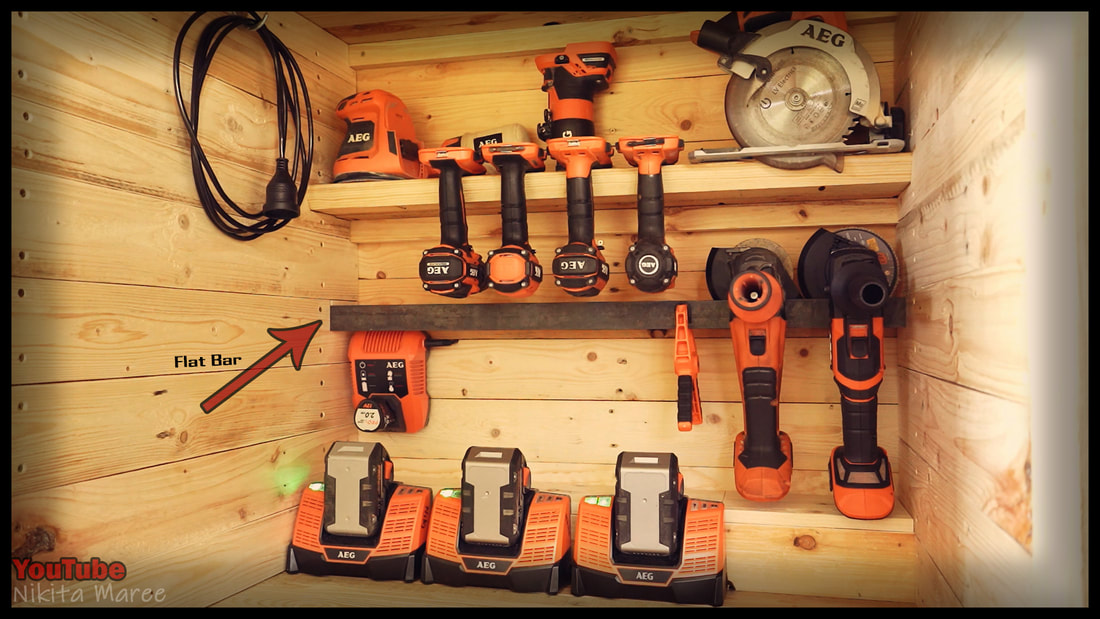
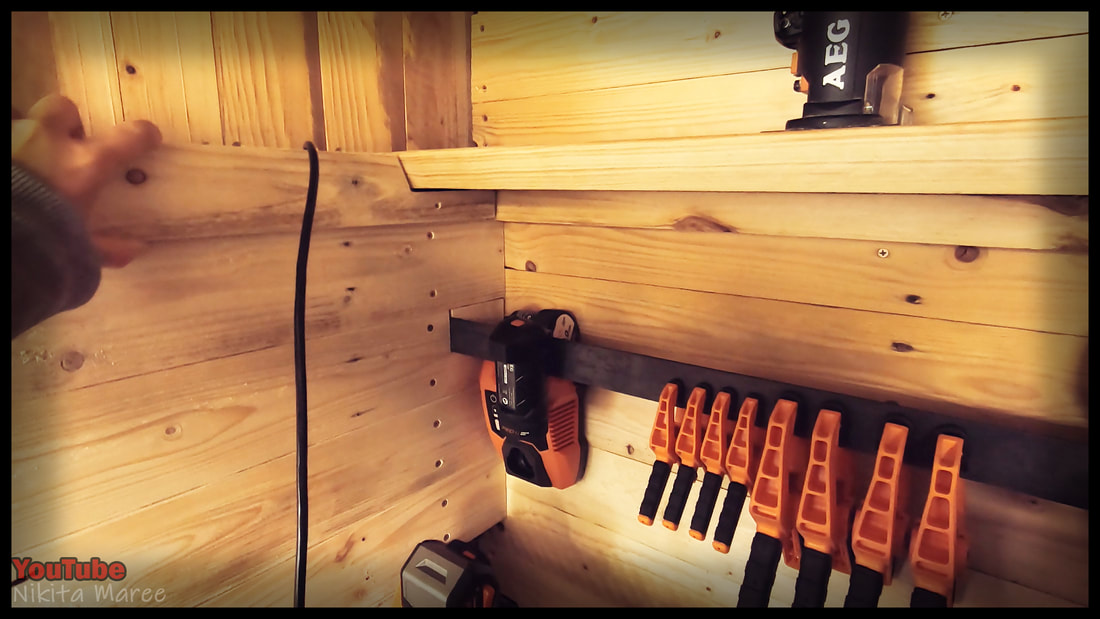
Added a length of 35x35 to attach the side wall palings to.
As well as to attach the flat bar to.
As well as to attach the flat bar to.
|
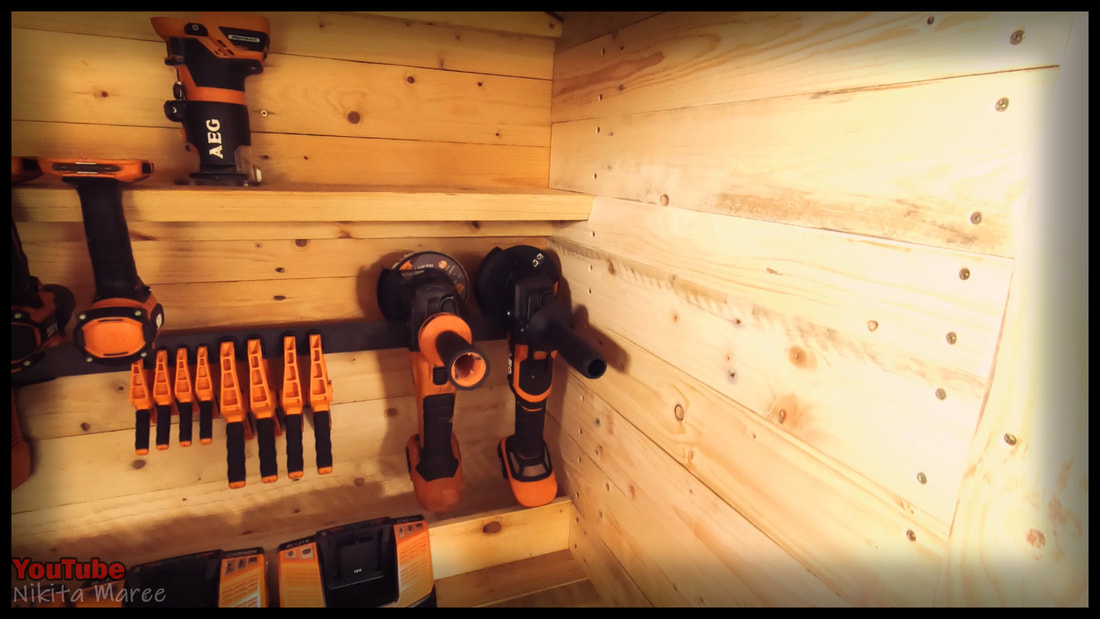
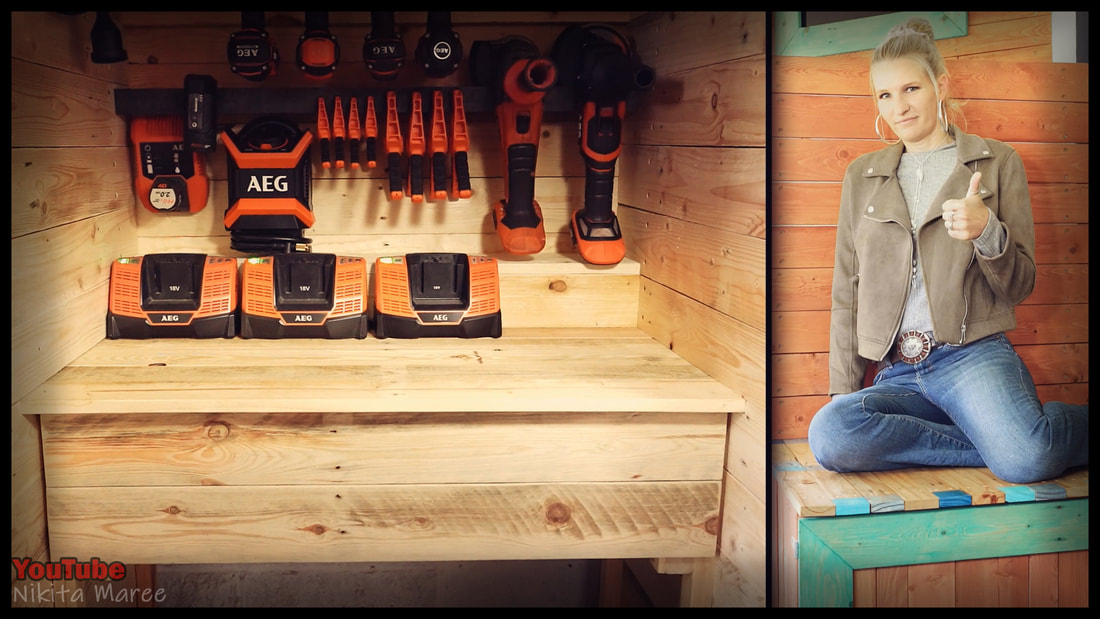
The flat bar holds my angle grinders
and my small clamps. |
|
|
Framed up a small bench and attached a paling bench top.
Note: I attached the bench top underneath the frame,
only because I liked that height a bit better.
Note: I attached the bench top underneath the frame,
only because I liked that height a bit better.
|

|
|
|
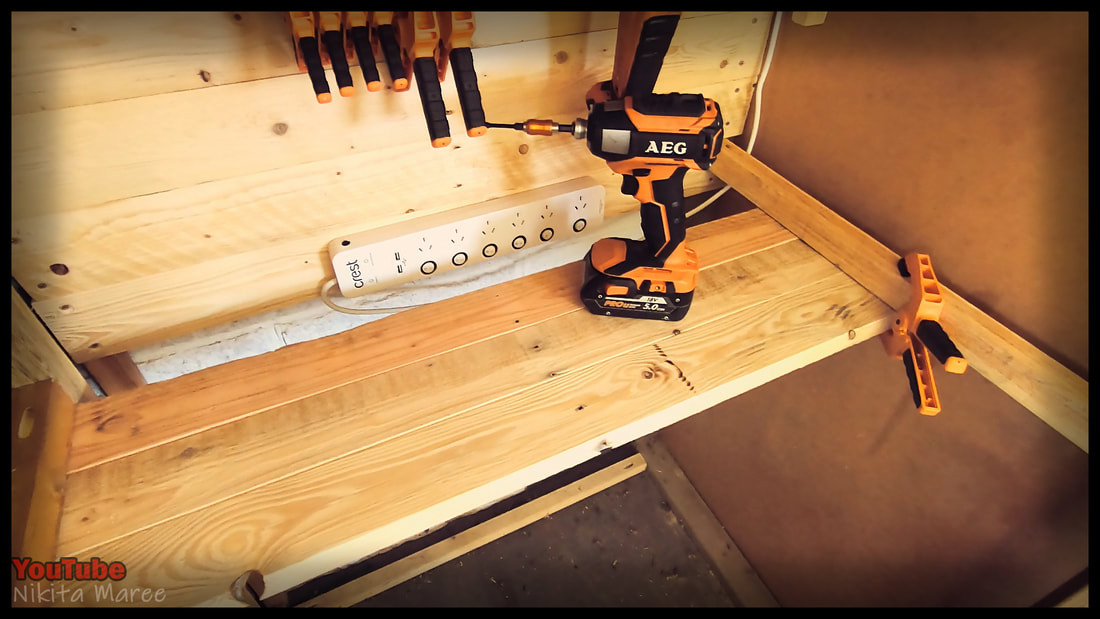
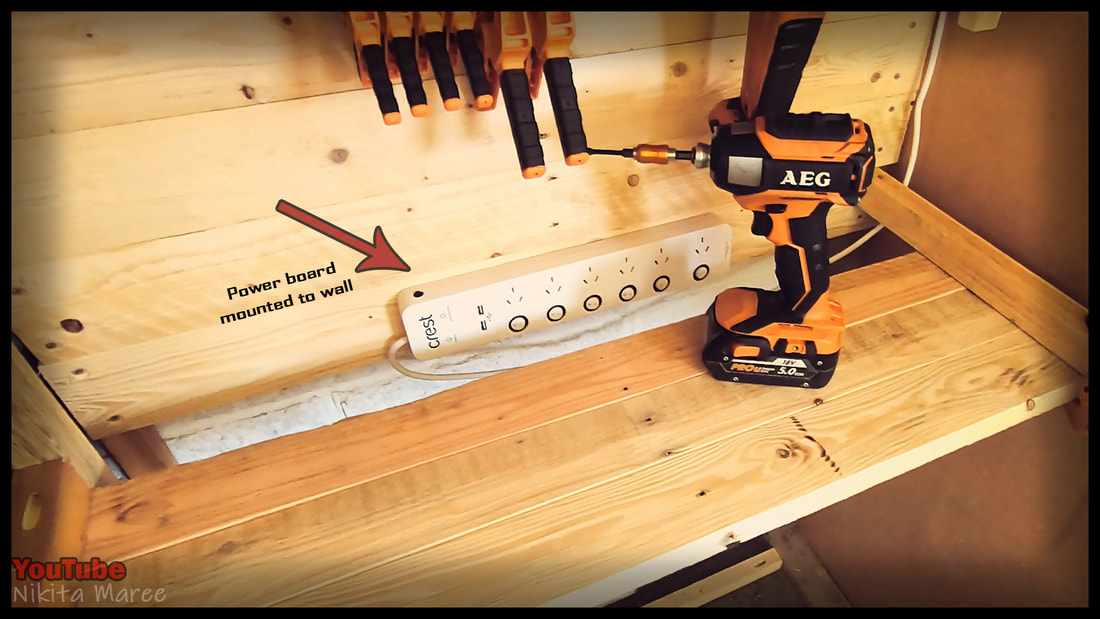
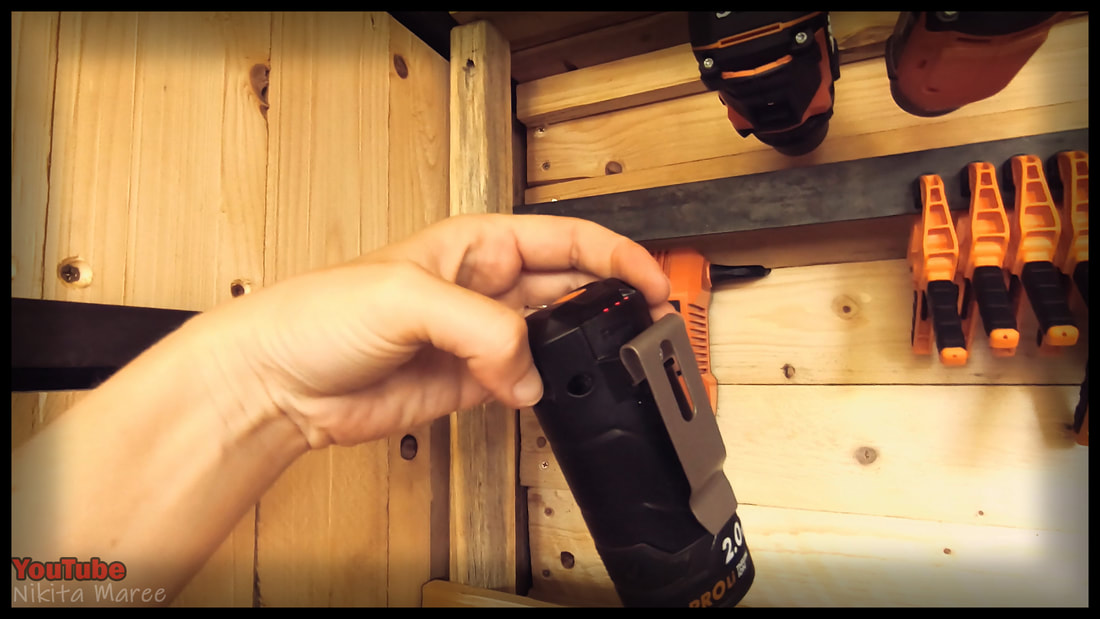
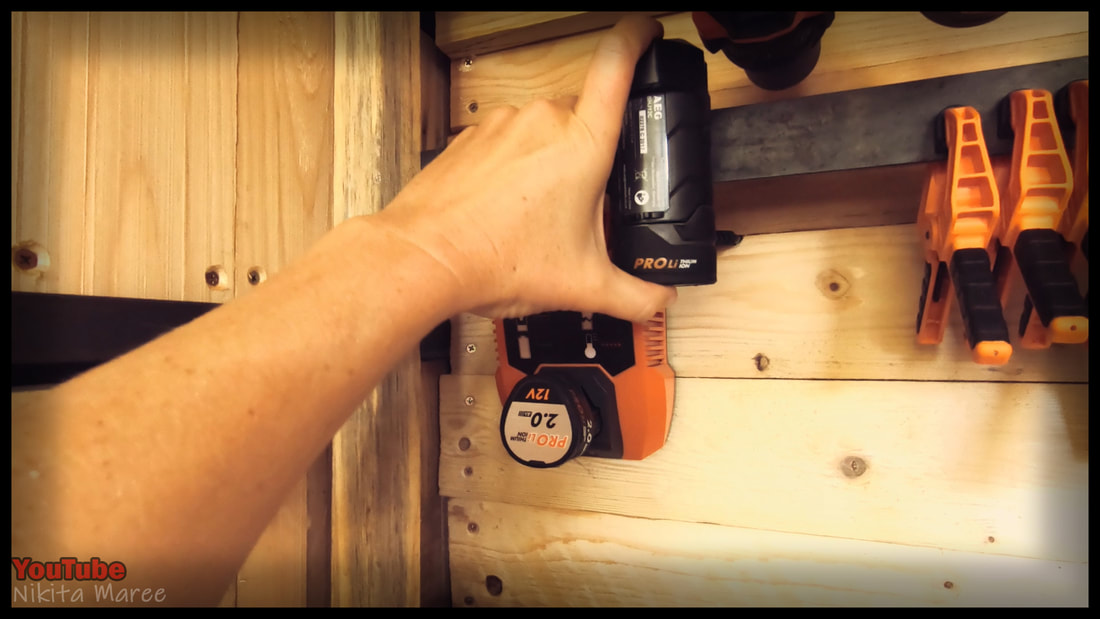
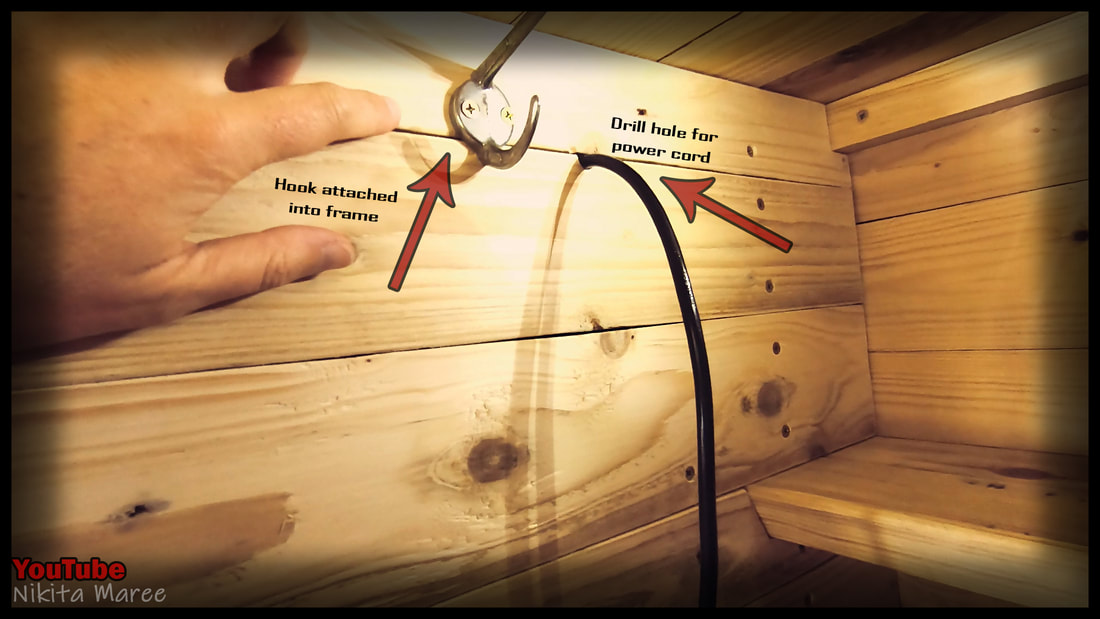
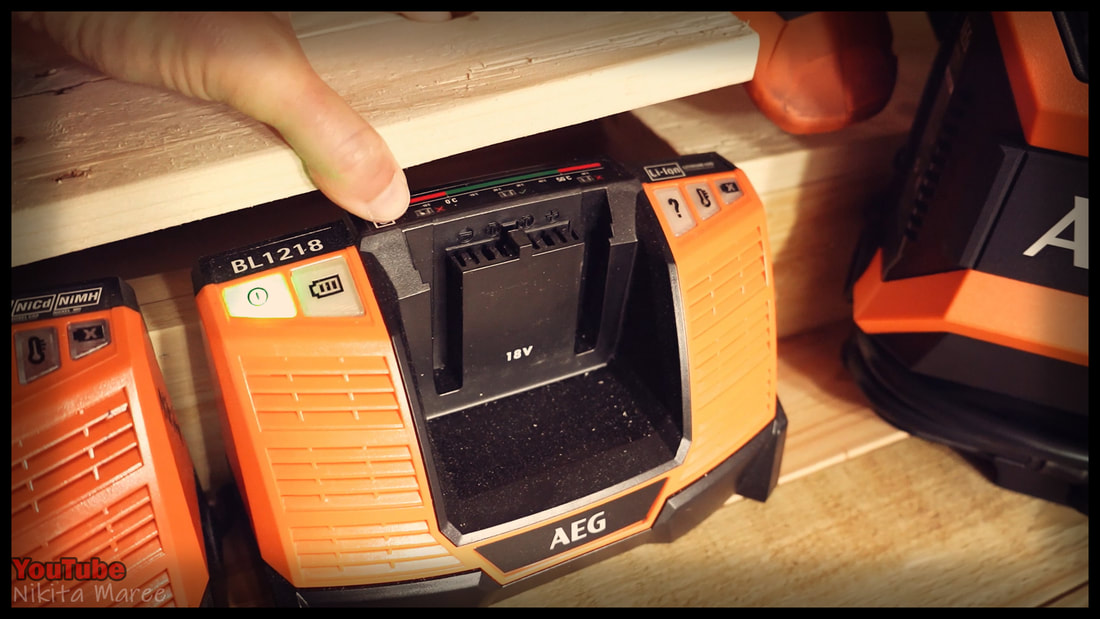
I mounted the power board to the back wall
and also mounted my small battery charger to the wall as well.
Drilling a hole so I can run the cord down the back.
My spare battery also clips onto the flat bar.
and also mounted my small battery charger to the wall as well.
Drilling a hole so I can run the cord down the back.
My spare battery also clips onto the flat bar.
|
|
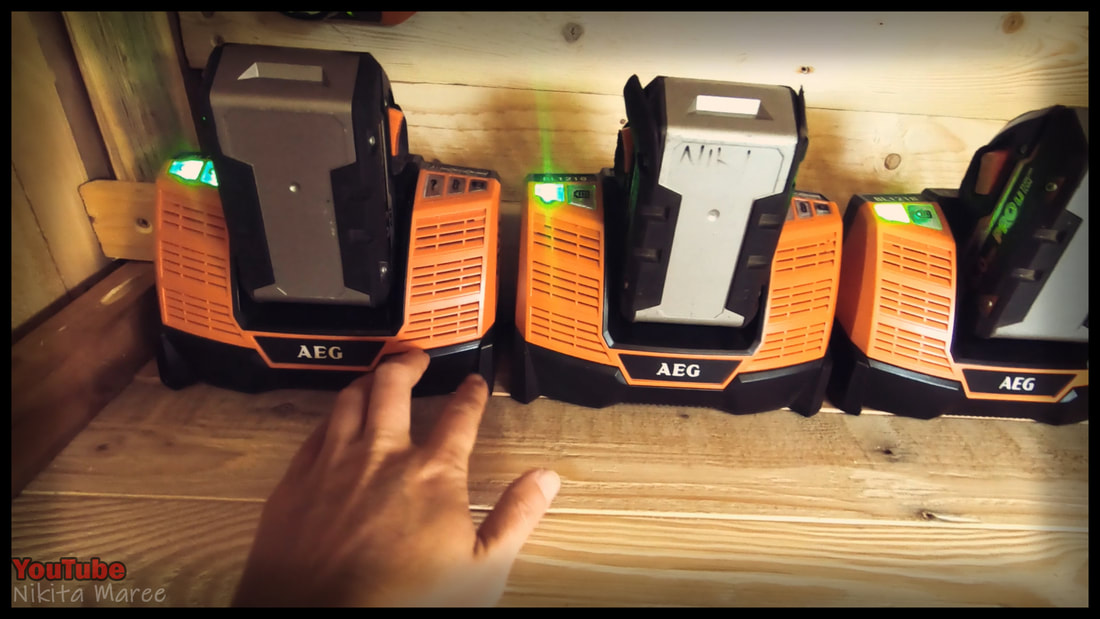
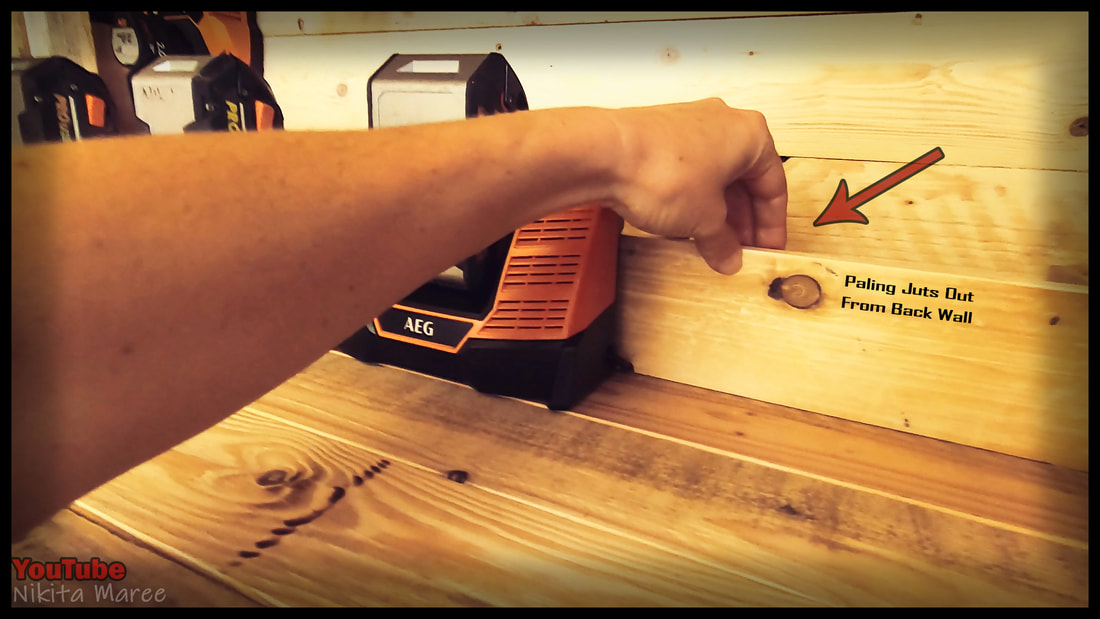
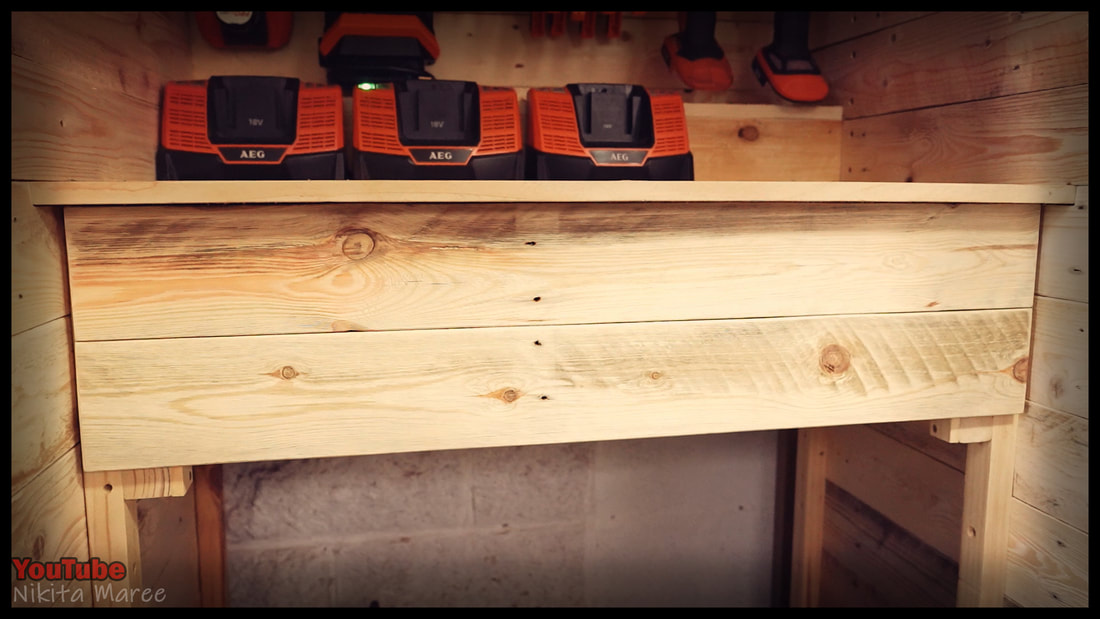
I sat my 3 larger chargers on the bench and ran
those cords through a paling that juts out from the back wall.
those cords through a paling that juts out from the back wall.
|
|
For the vertical side pieces, I needed some long palings.
Luckily for me, my parents saved this extra long pallet for me.
Luckily for me, my parents saved this extra long pallet for me.
|
|
|
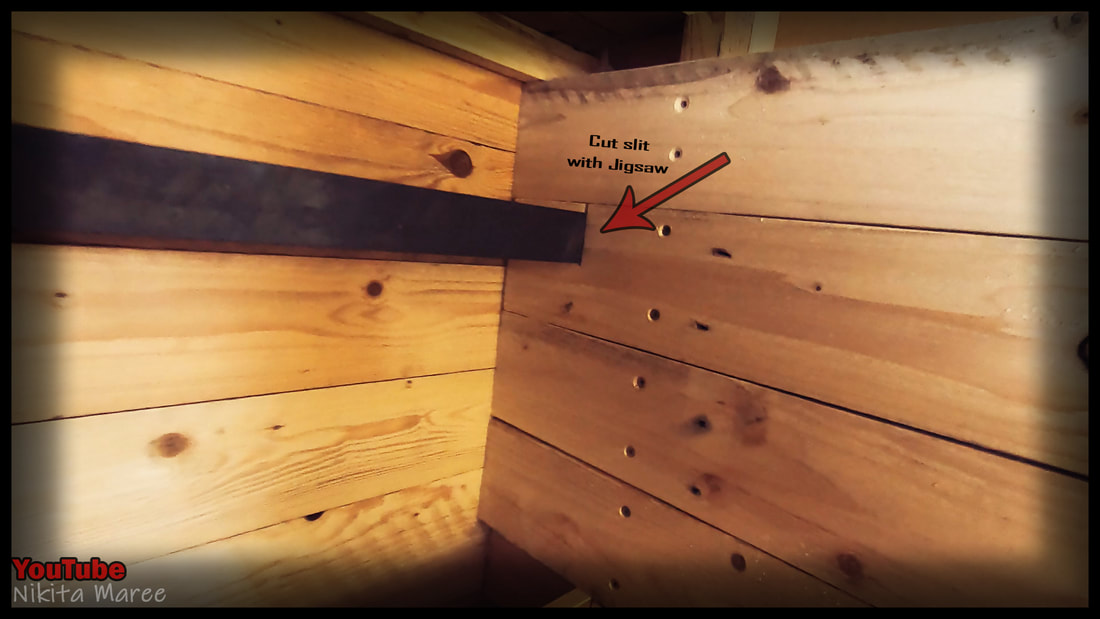
I filled in the right hand side wall with palings.
And used a Jigsaw to cut a slit for the flat bar.
And used a Jigsaw to cut a slit for the flat bar.
|
|
I then started to fill in the left hand side wall.
|
|
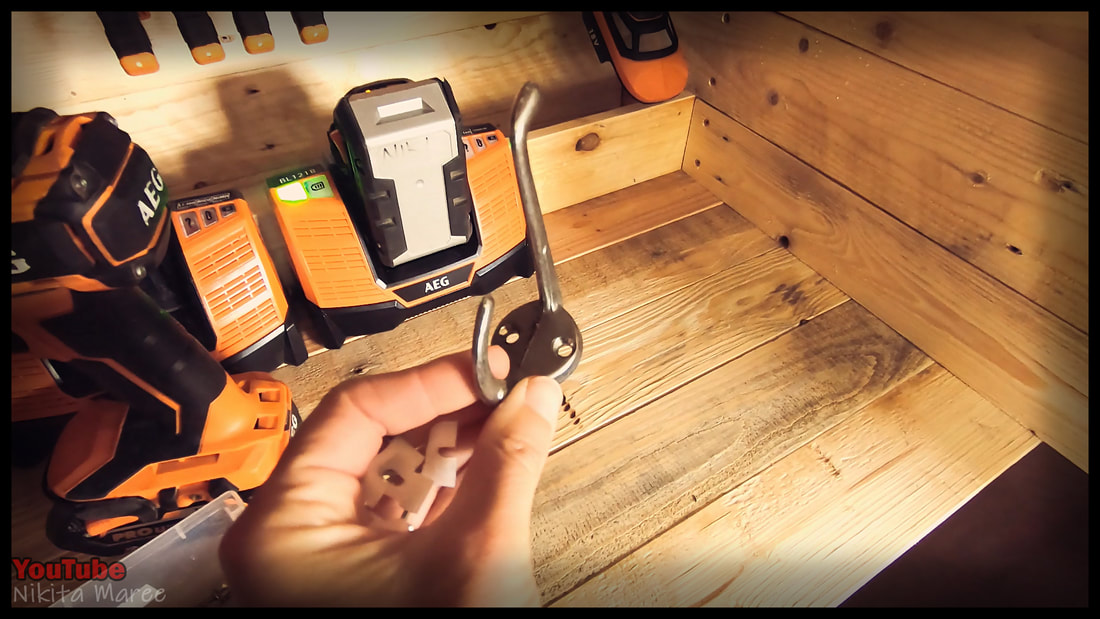
I raided my dad's shed for a hook, to hold the extension cord.
For extra strength I attached the hook into the frame, not just the palings.
For extra strength I attached the hook into the frame, not just the palings.
|
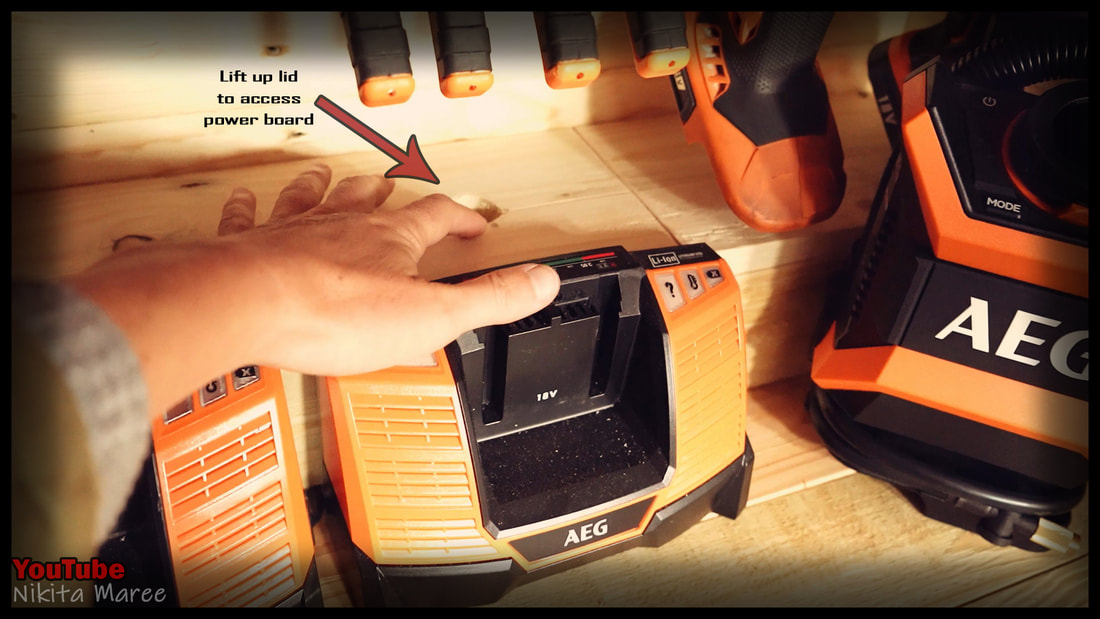
Finally, I made an access lid
to hide the power board. |
|
|

|
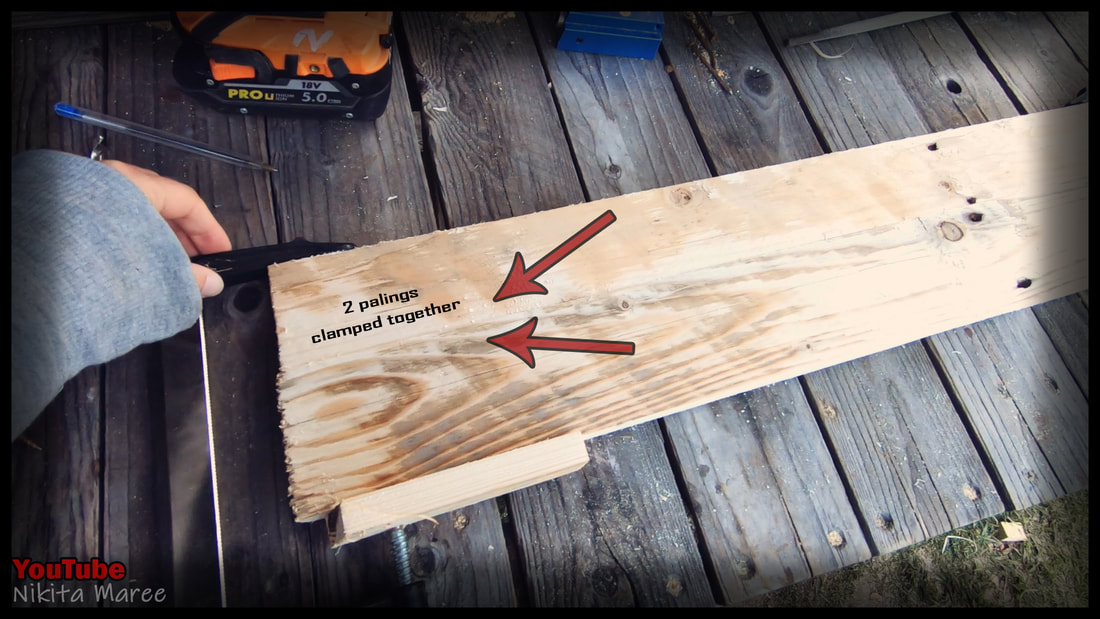
I clamped 2 palings side by side.
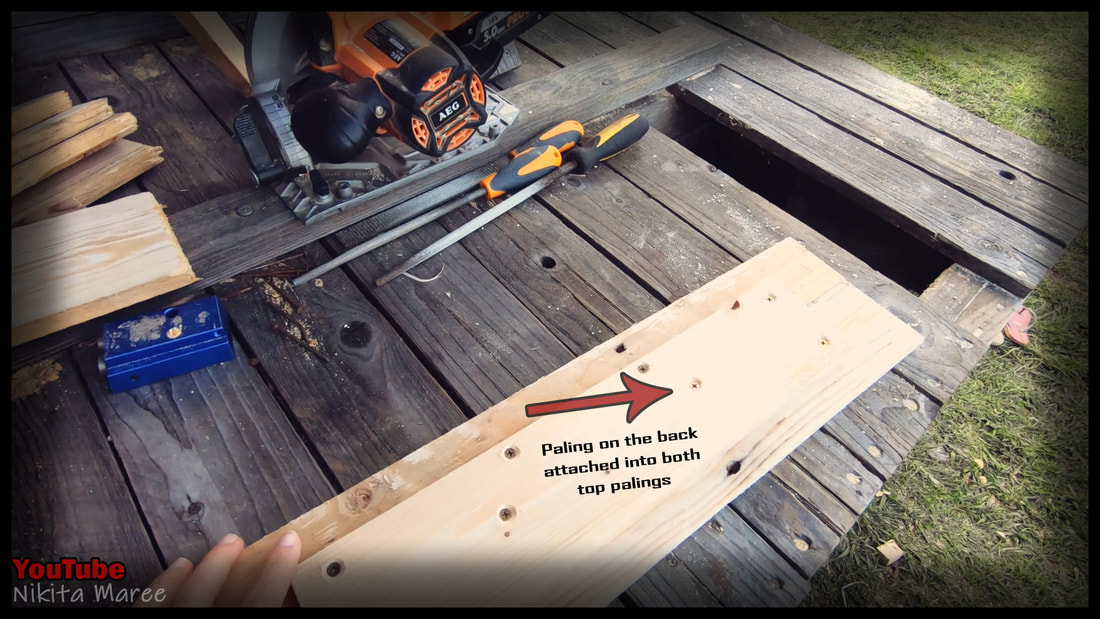
Flipped that over and attached a single paling that gets attached to both top pieces.
square up and cut the ends to fit.
Flipped that over and attached a single paling that gets attached to both top pieces.
square up and cut the ends to fit.
|
|
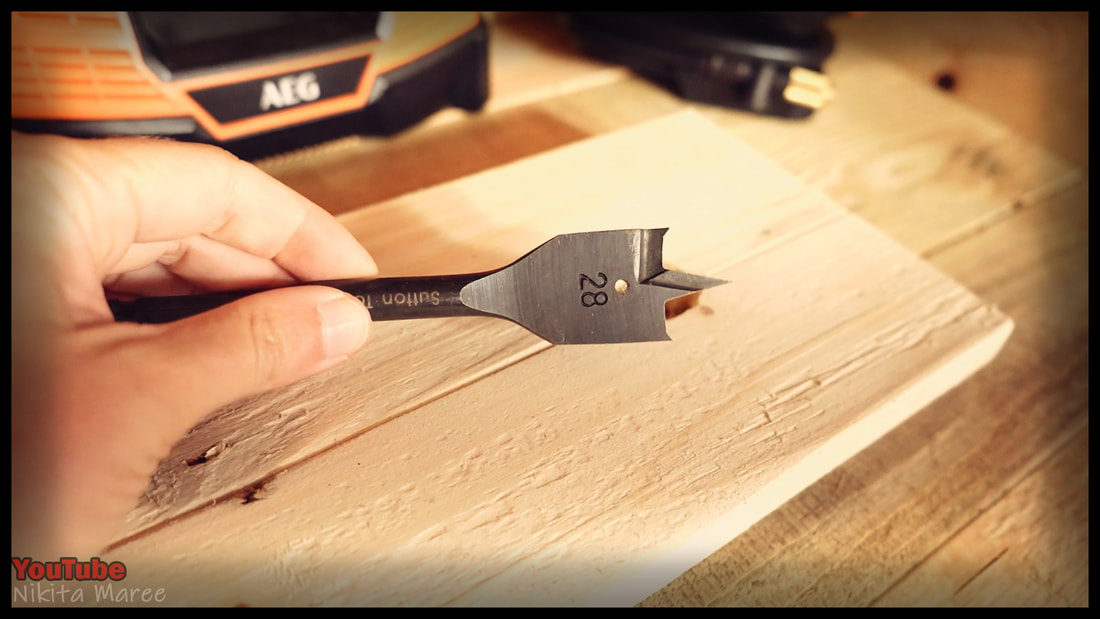
28mm spade bit to drill a hole,
to help pick up the access lid.
to help pick up the access lid.
|
|
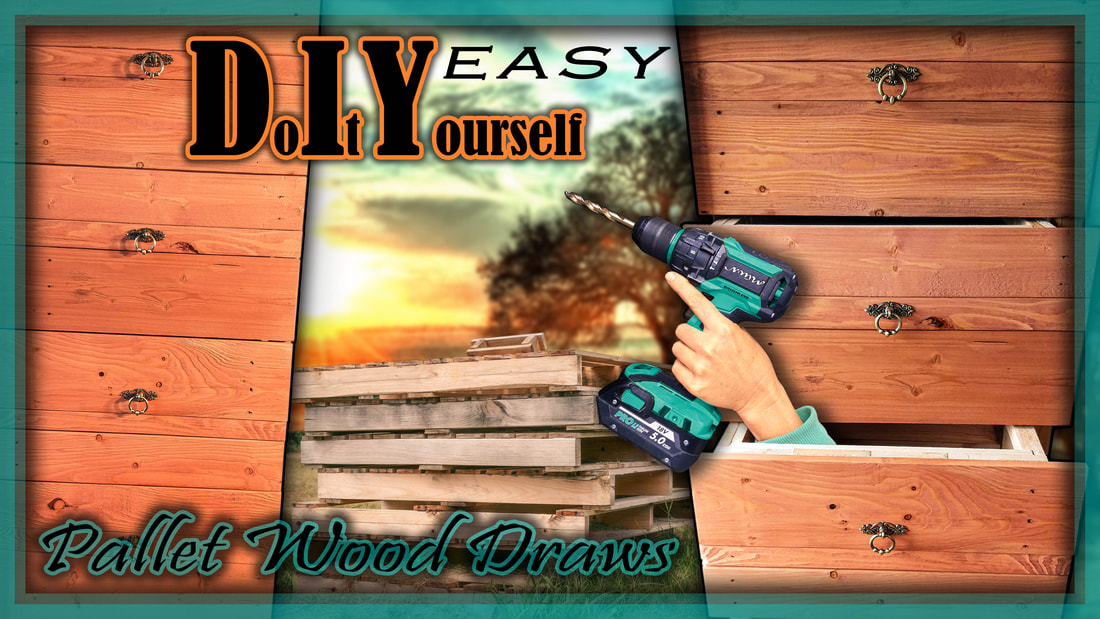
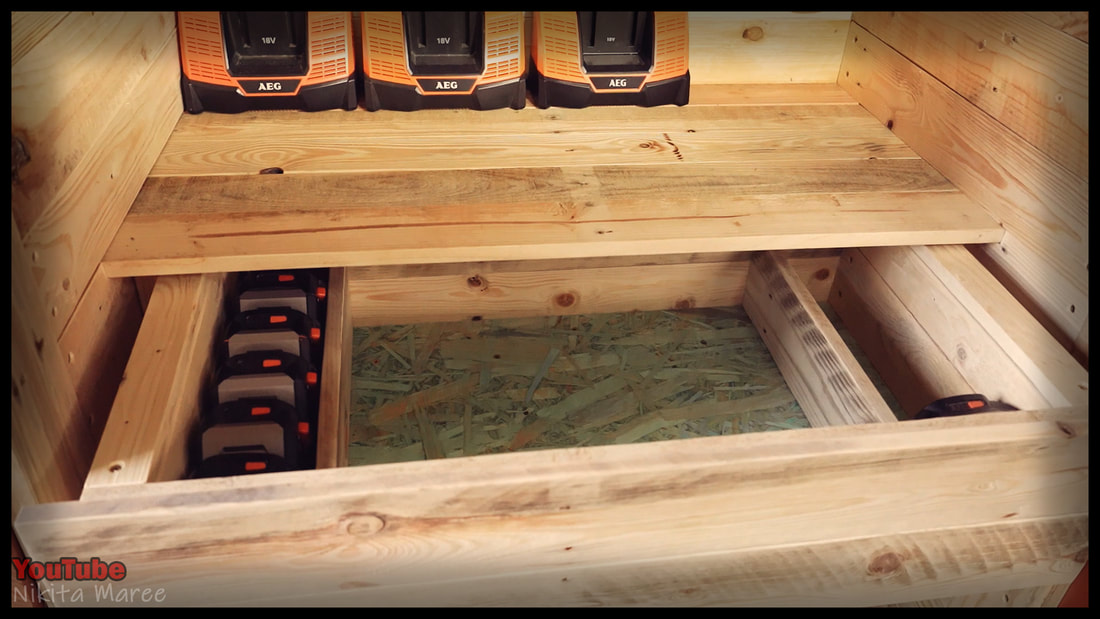
I am currently building 4 pallet wood drawers underneath this storage area.
The top drawer holds my batteries and a few other things.
The top drawer holds my batteries and a few other things.
|
Thanks for checking out my build
and I will see you next time. |
