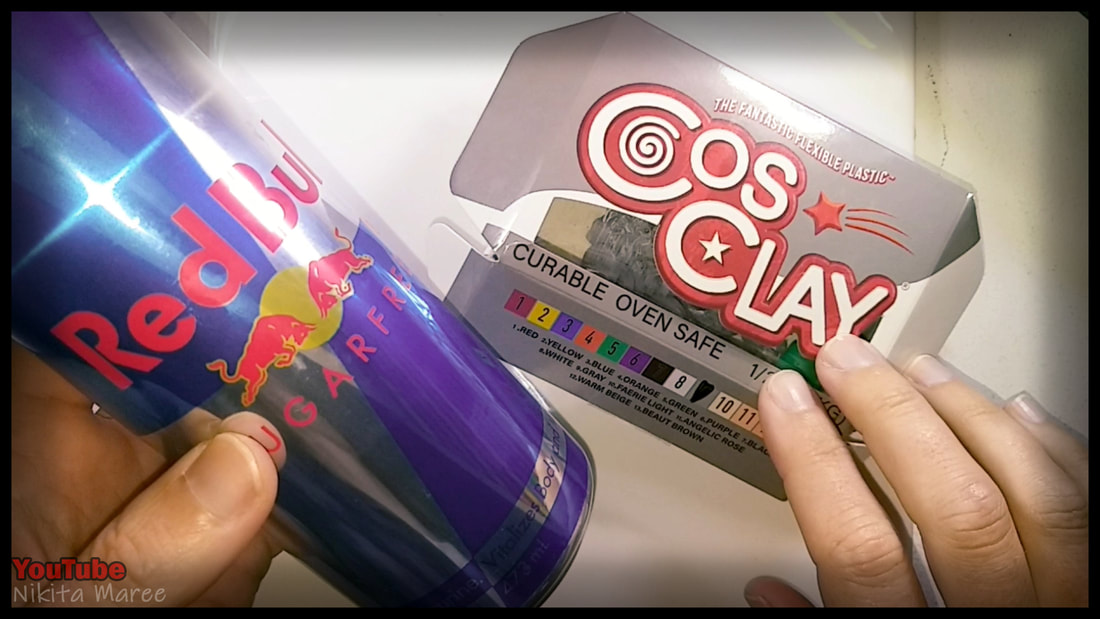
How to sculpt a Serpent bangle
|
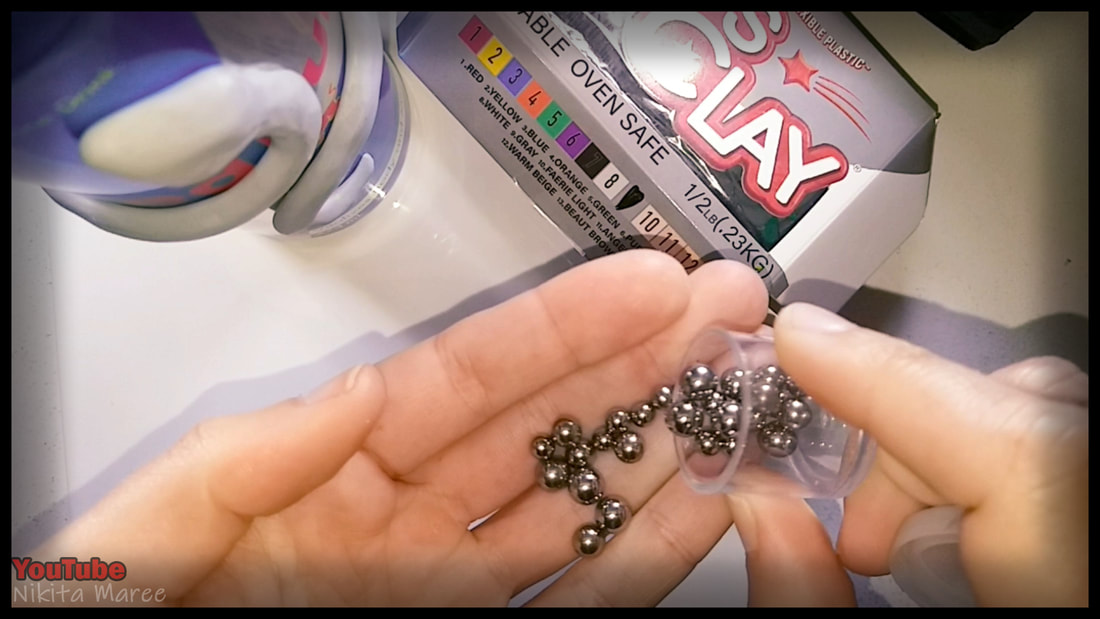
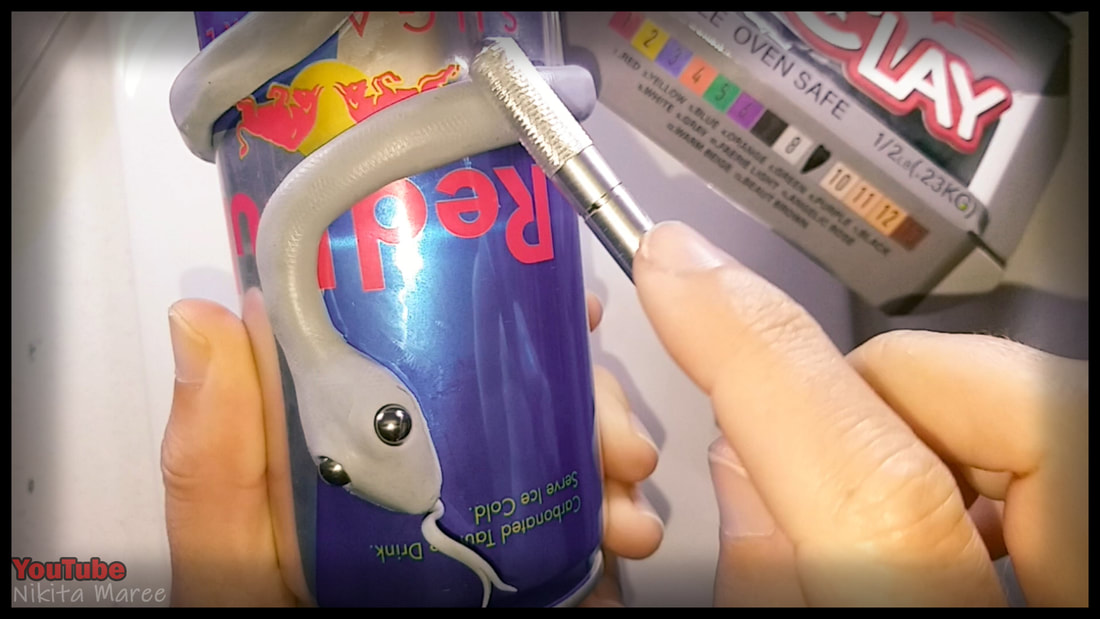
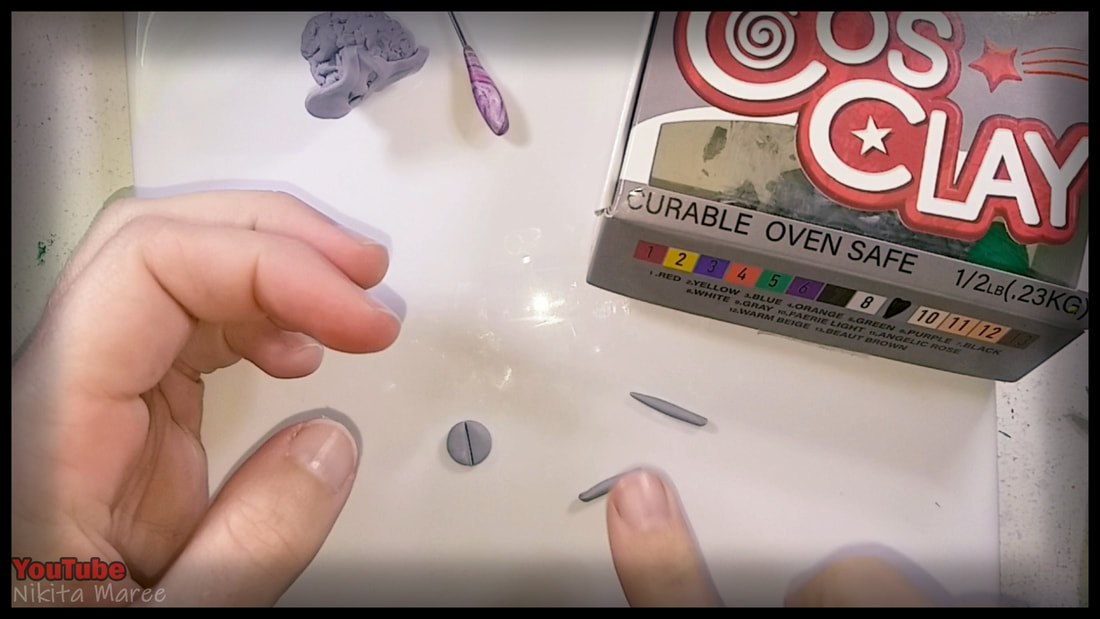
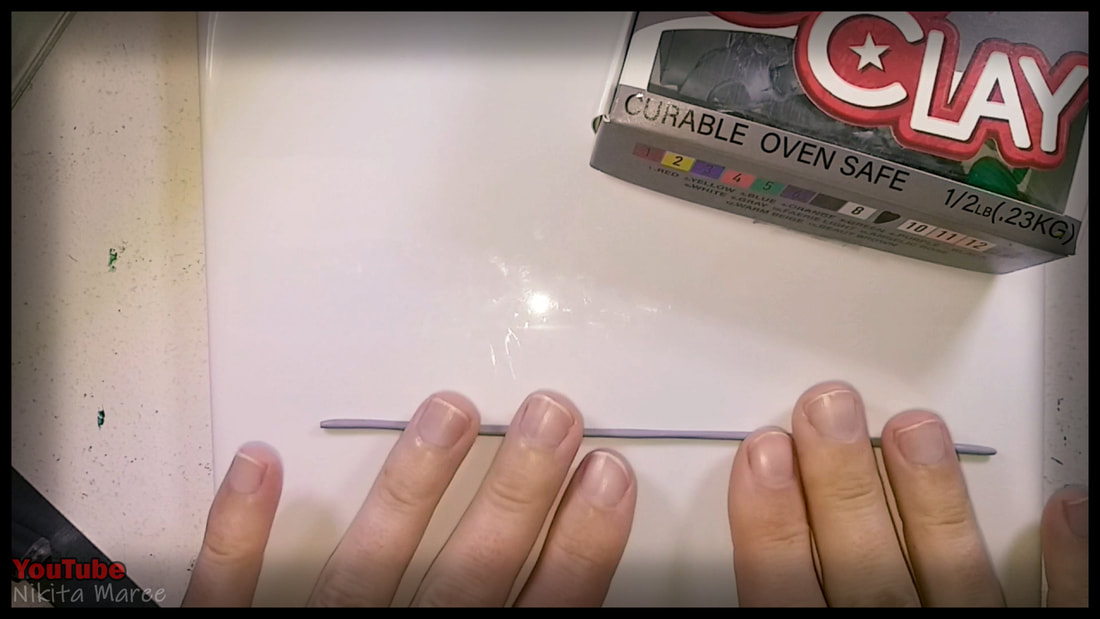
I am using Cosclay and sculpting onto
a 500ml Red Bull can. |
|
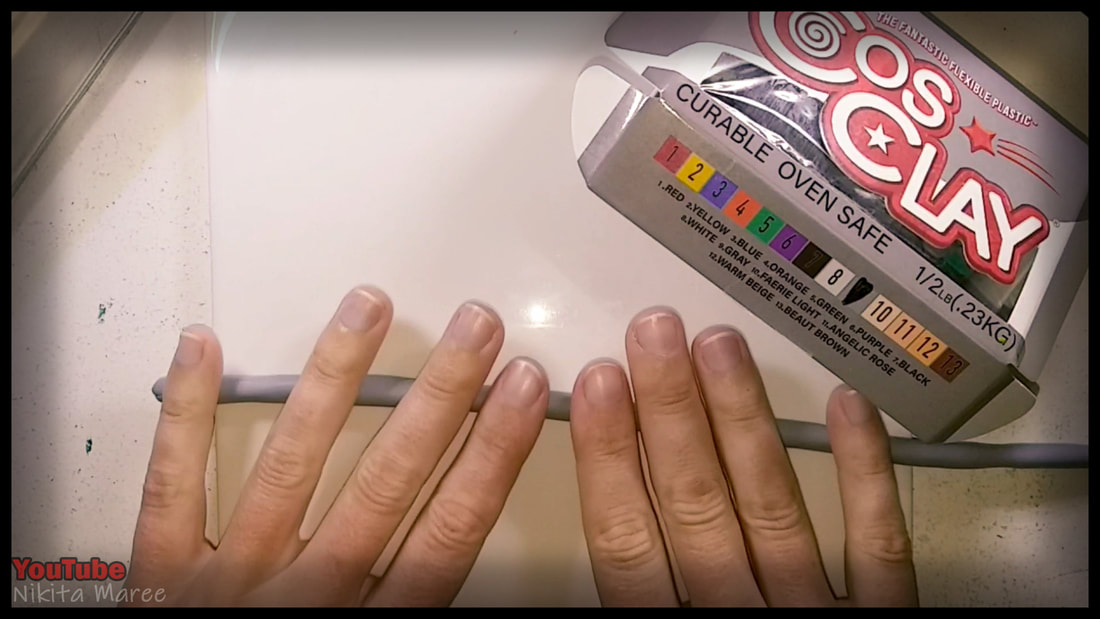
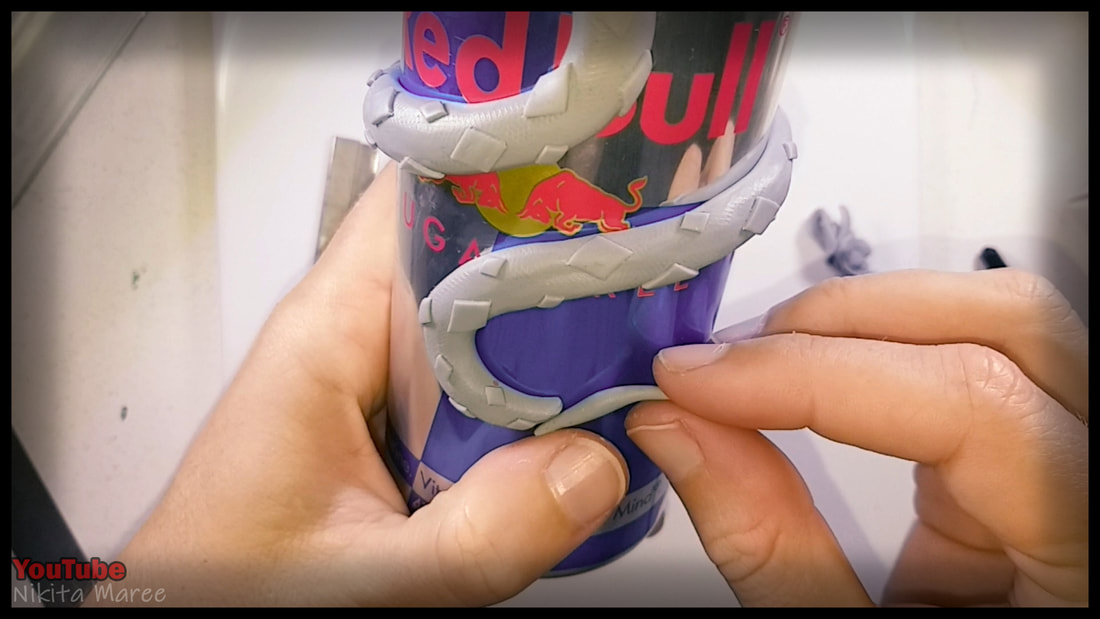
Rolling out a long piece for the body.
|
|
|
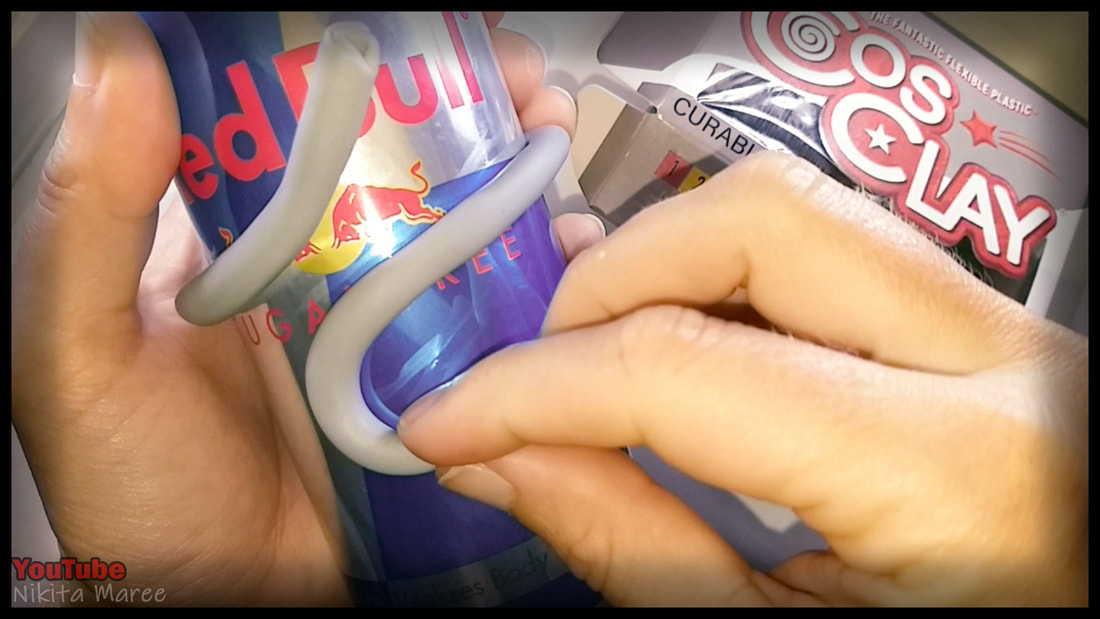
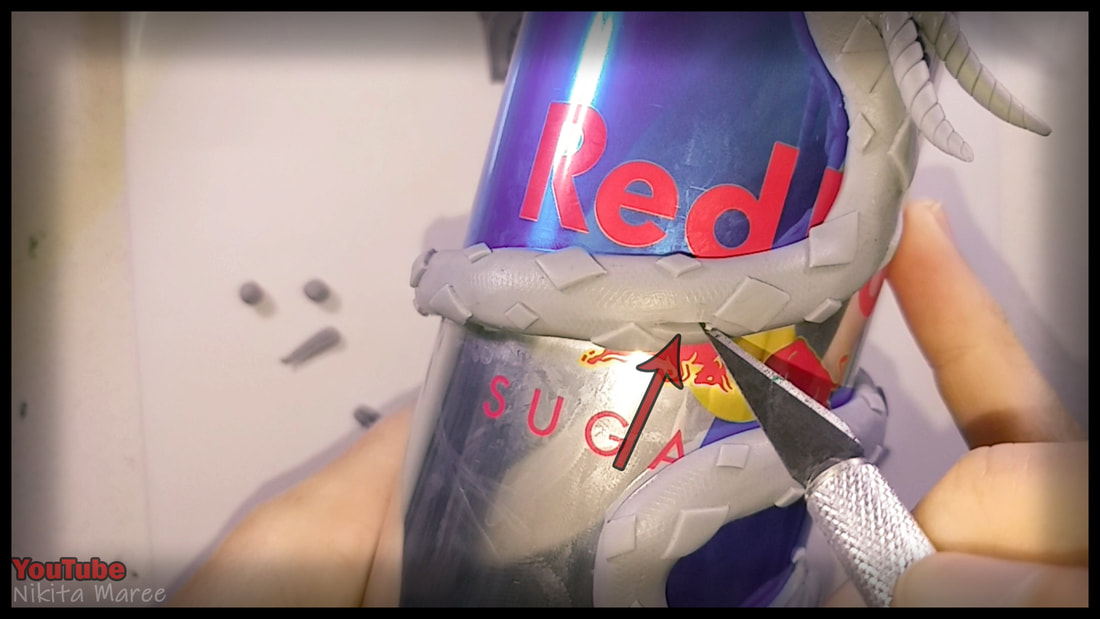
Wrapping it around the can.
Shaping it and pressing it down as I go. |
|
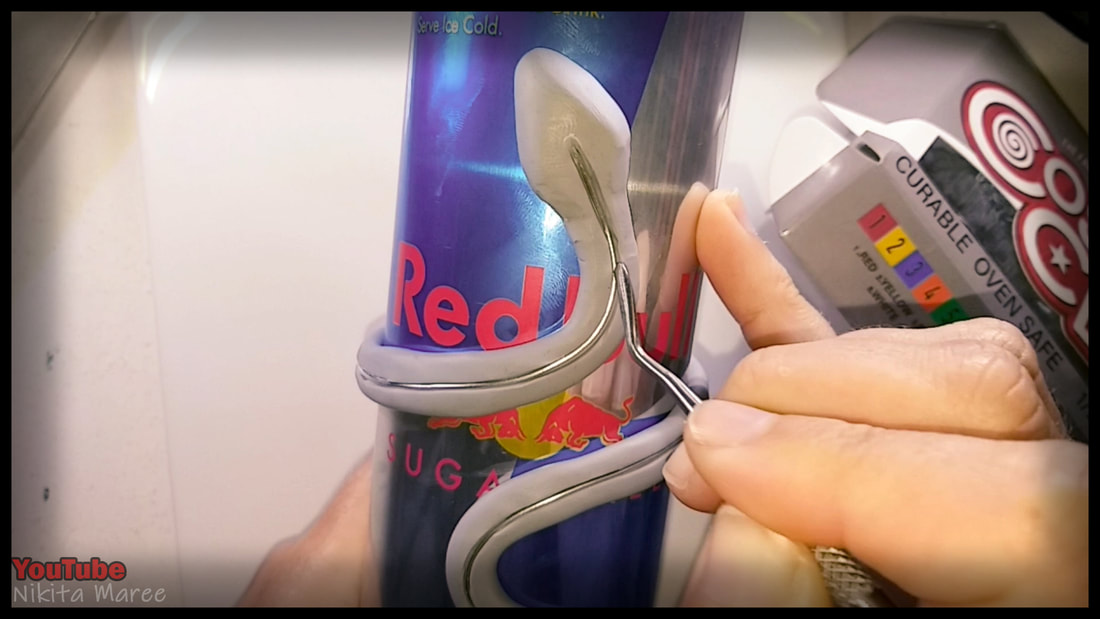
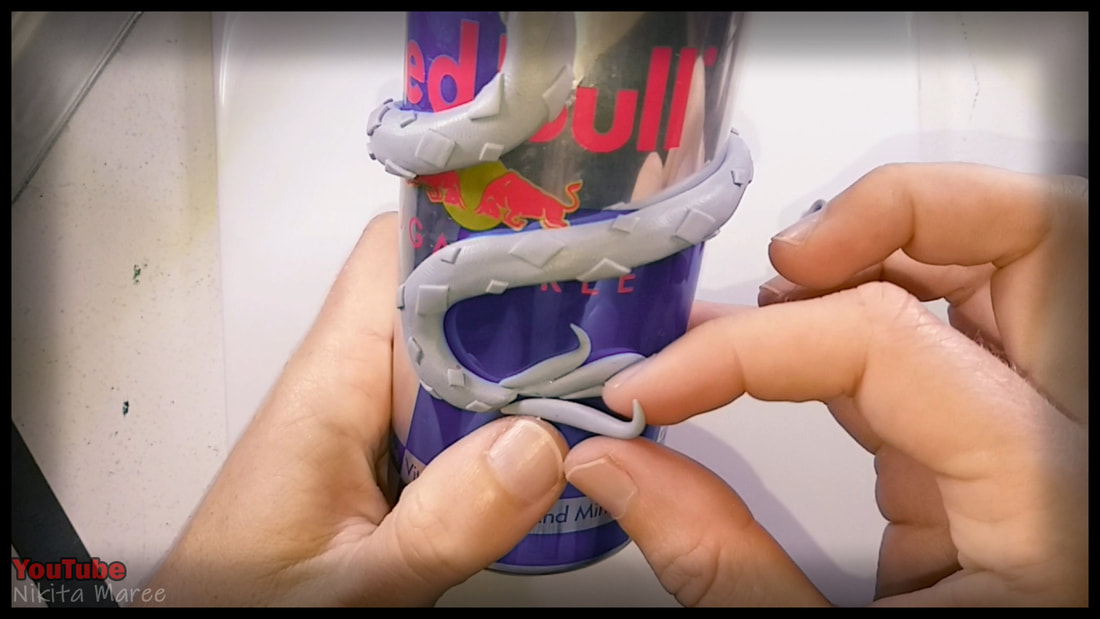
Cutting a groove a long the center
of the entire body. |

|
|
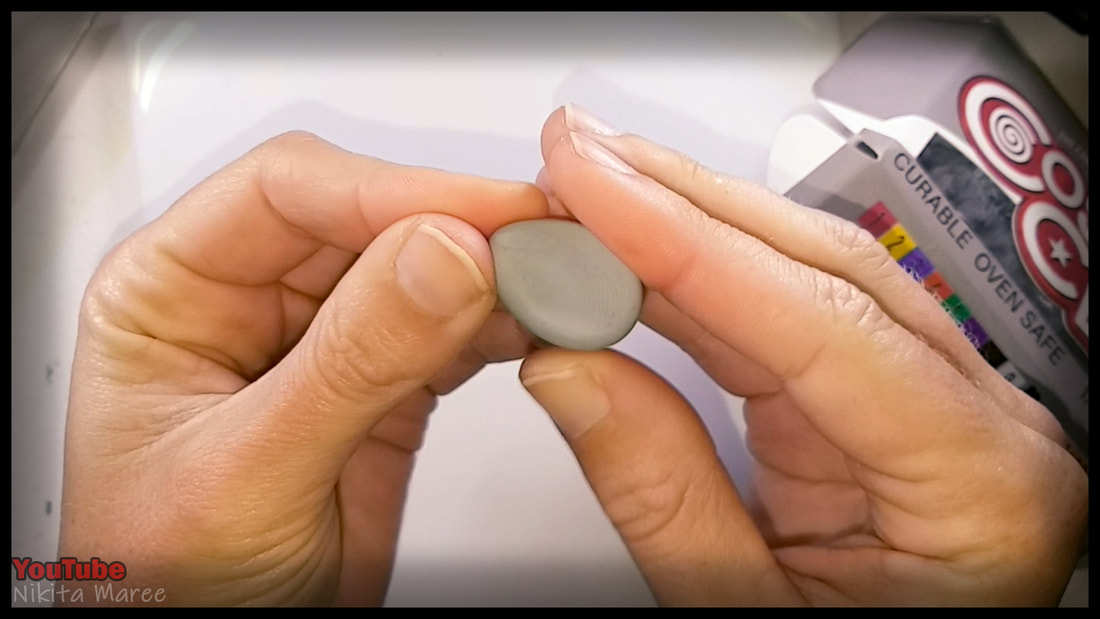
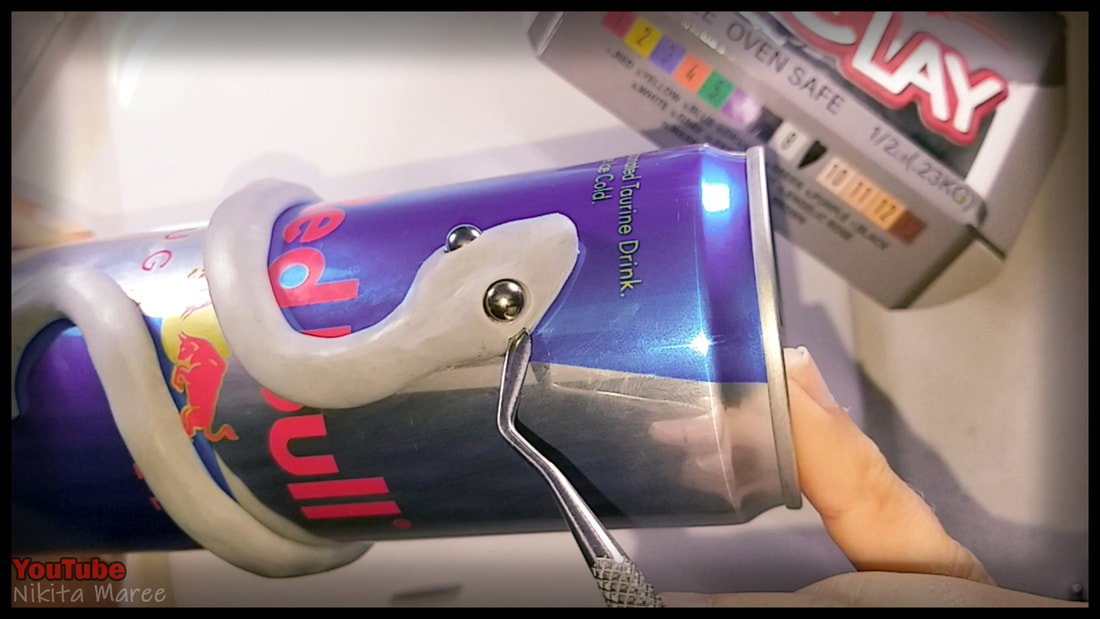
A teardrop shape for the head.
|
|
Blending it onto the body.
|

|
|
Pushing some aluminum armature wire
into the groove. |
|
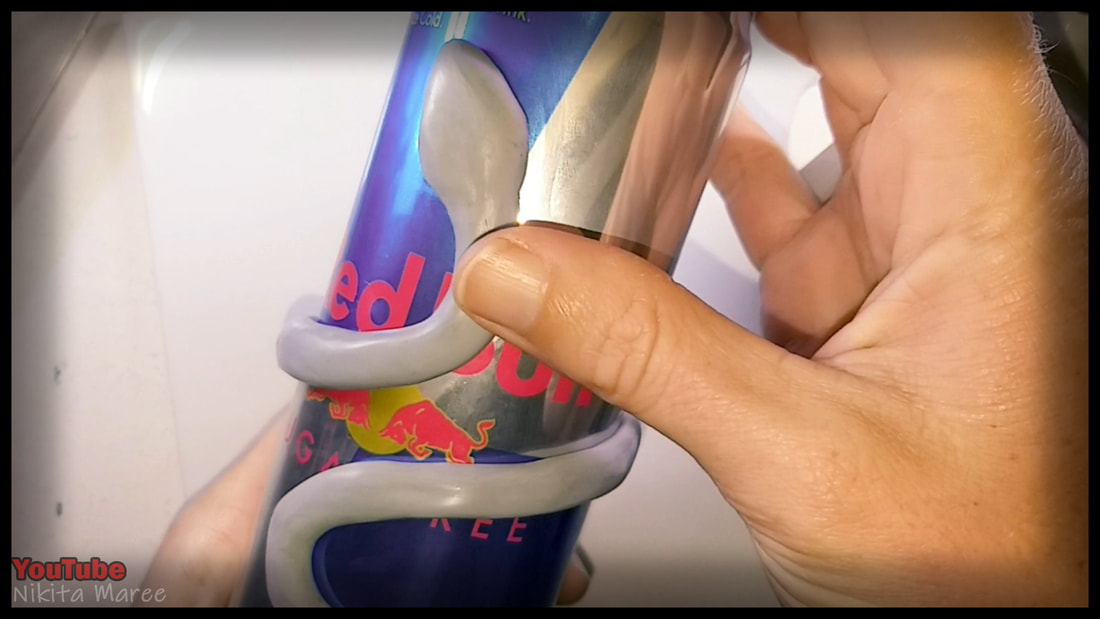
Closing up the gap over the wire and
smoothing it out with my fingers. |
|
|
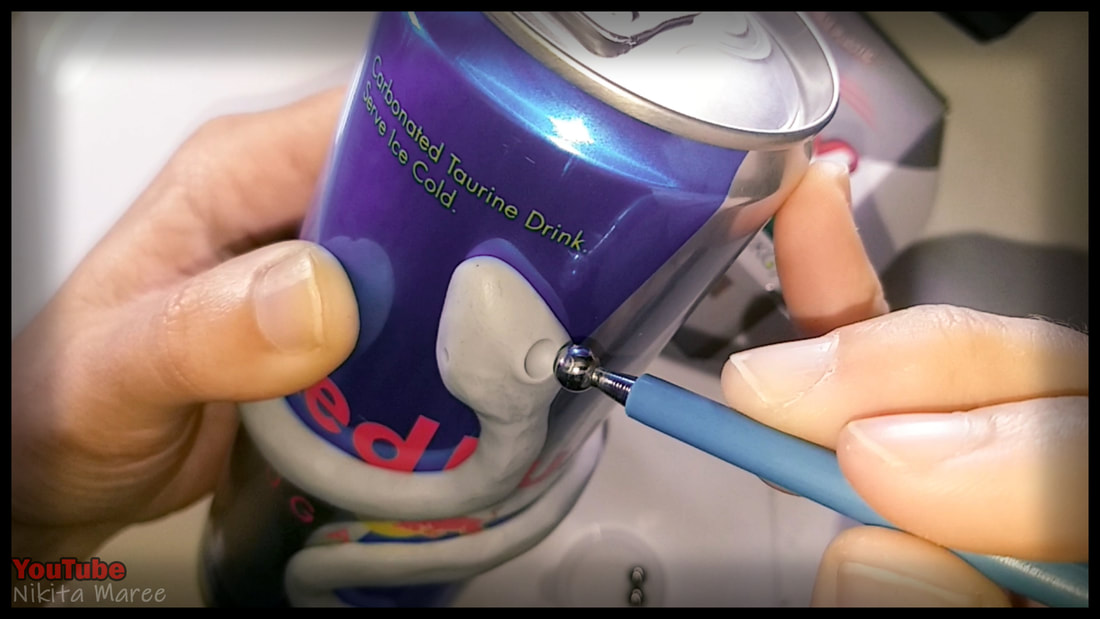
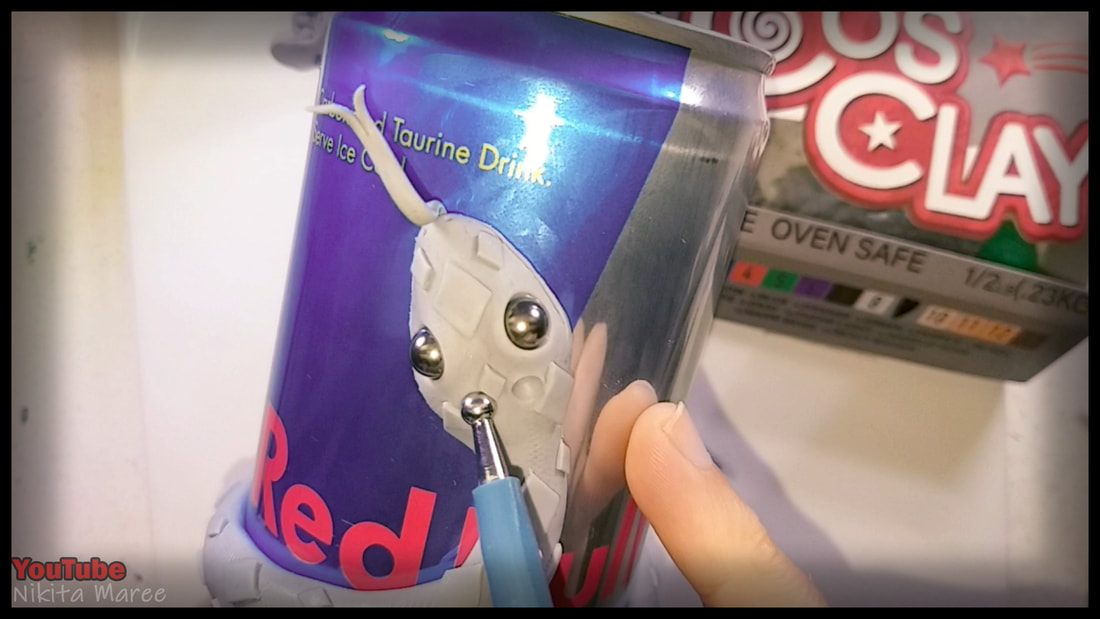
For the eyes I am using
steel ball bearings. |
|
|
Using a ball tool to create the eye sockets.
|
|
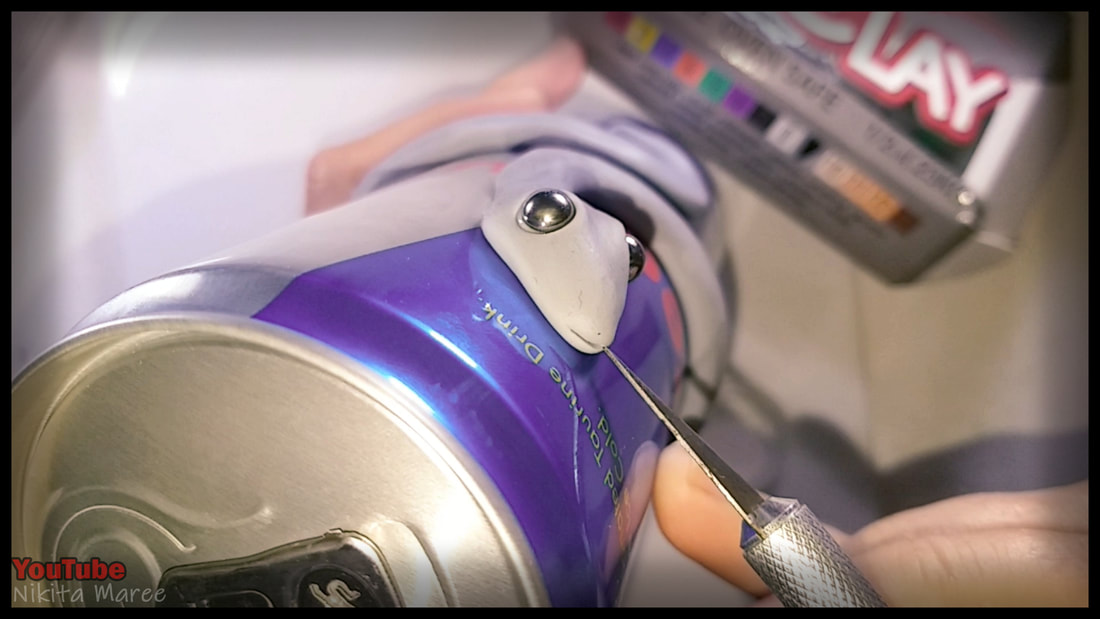
Cutting in the mouth with a scalpel.
|
|
|
Shaping it along the sides.
|
|
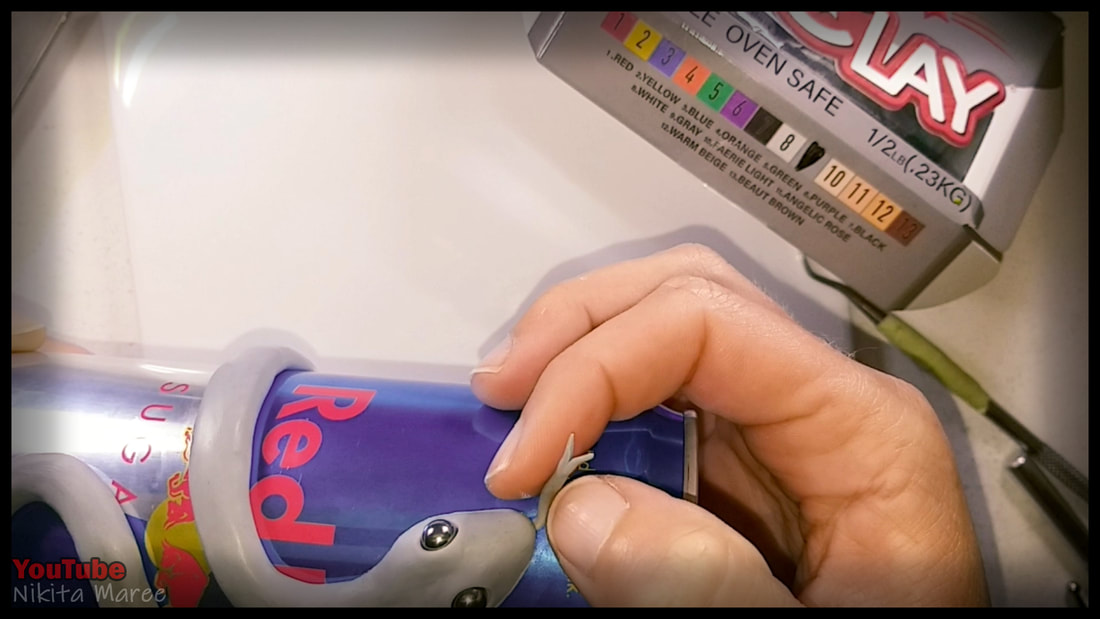
Roll out and lightly flatten a
piece for the tongue. Cut a slit, for the fork and place it into the mouth. |
|
|
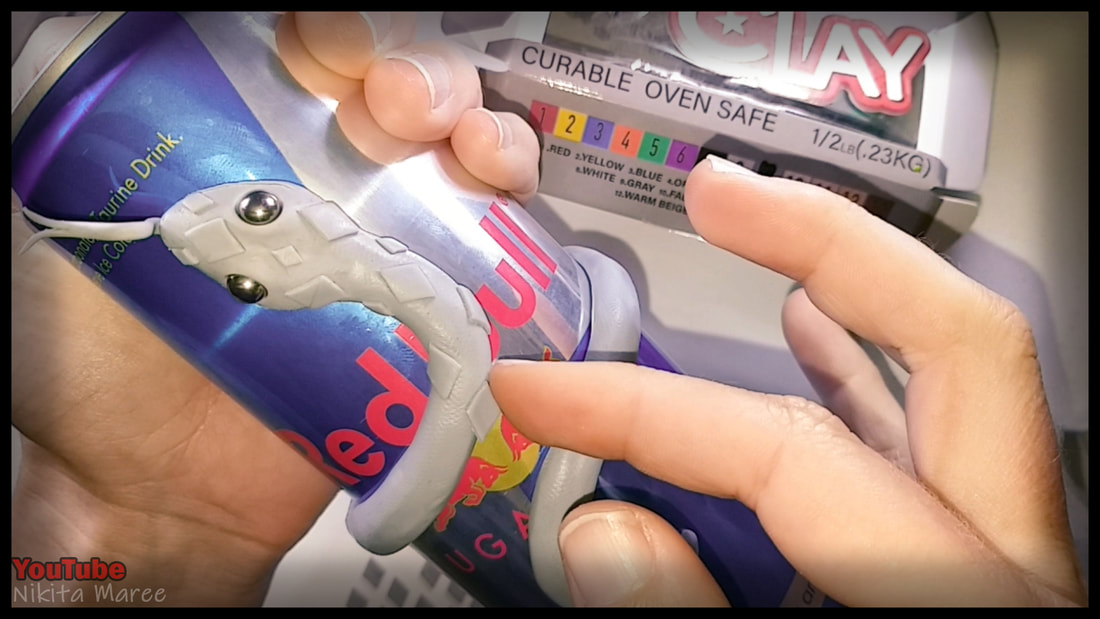
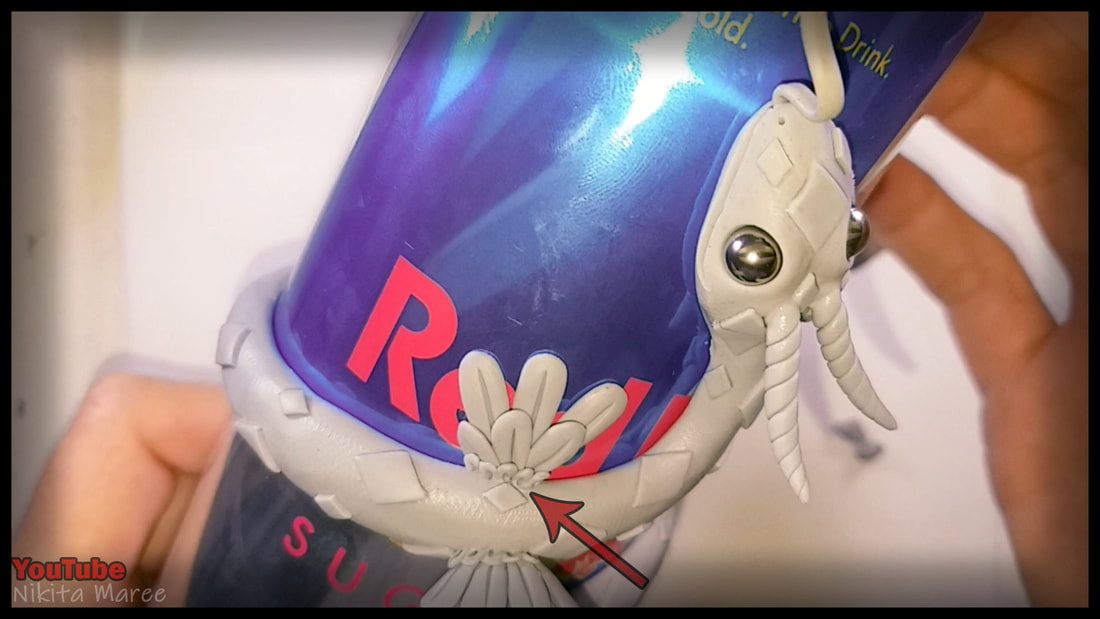
To add some texture to the body I am using the handle of my scalpel and
rolling that over the snakes body. |
|
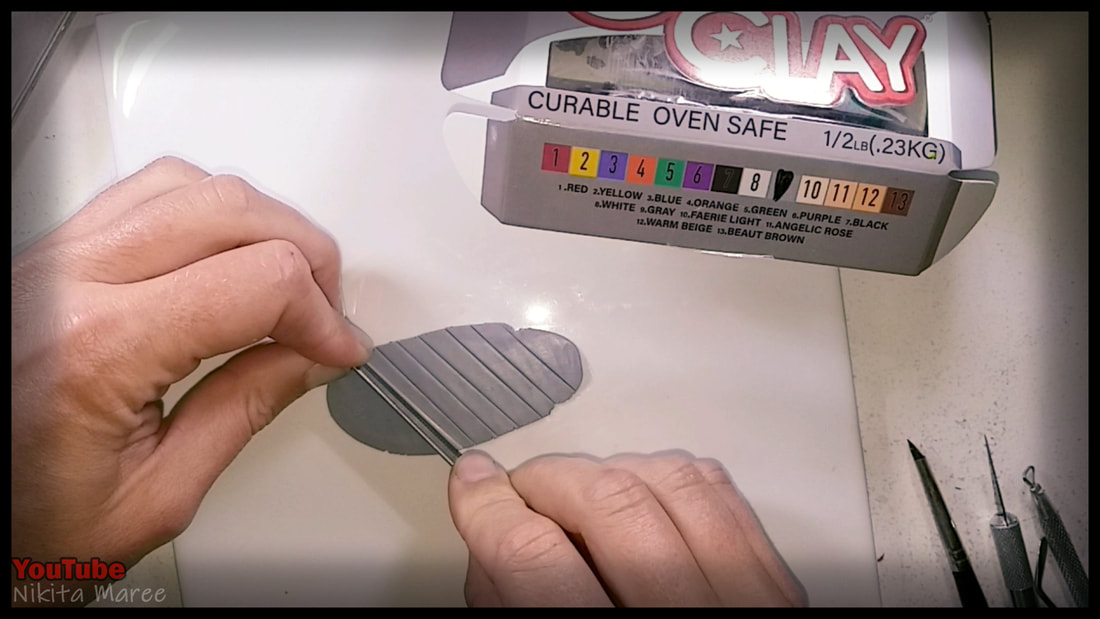
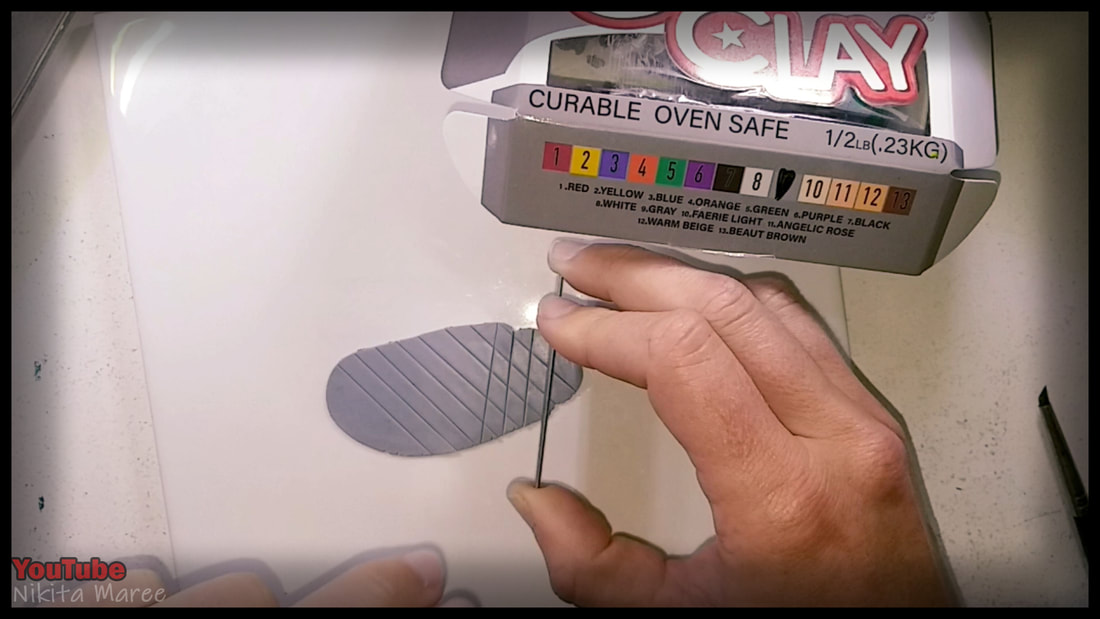
For the diamonds on the body, I have
rolled out a thin sheet of clay and cut diagonals with a flat blade. |
|
|
Then again in the other direction.
|
|
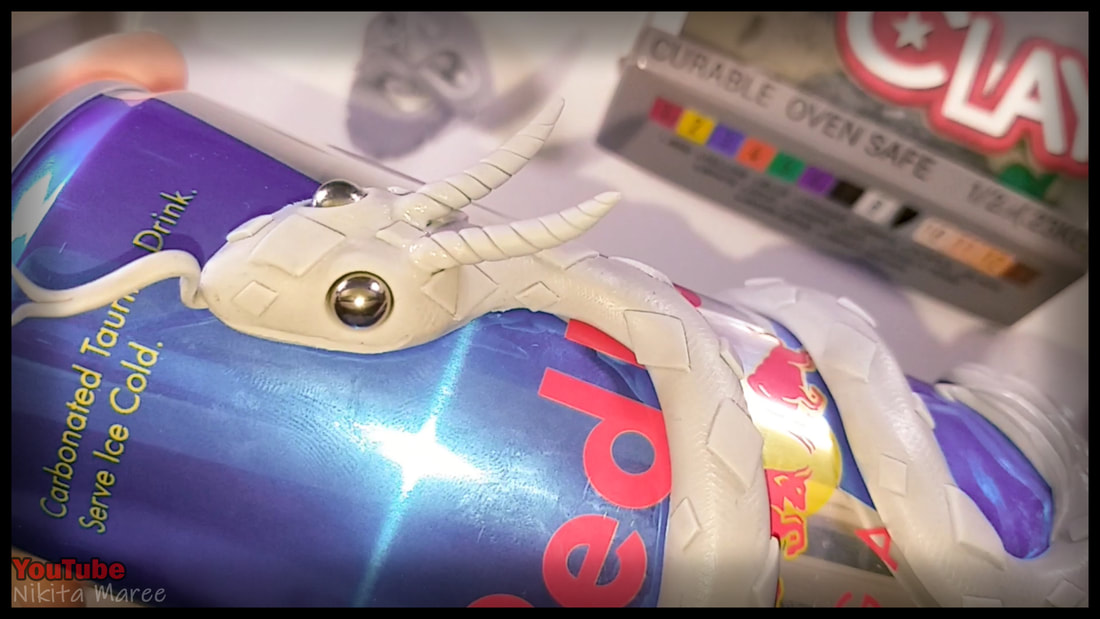
I started placing them onto the
head, using a combination of small and large diamonds. |
|
|
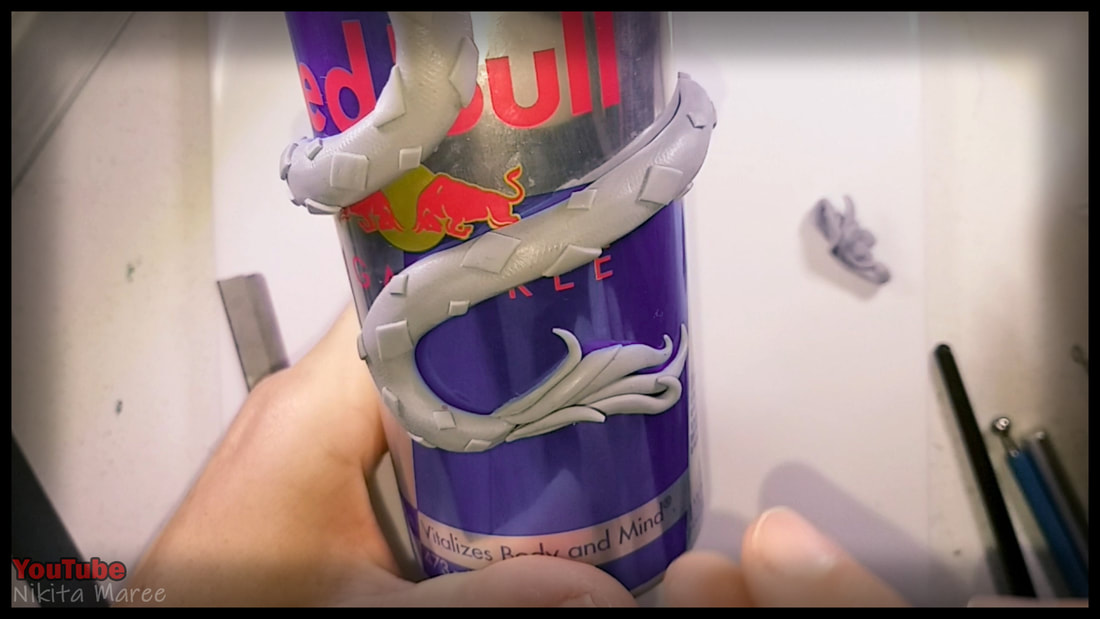
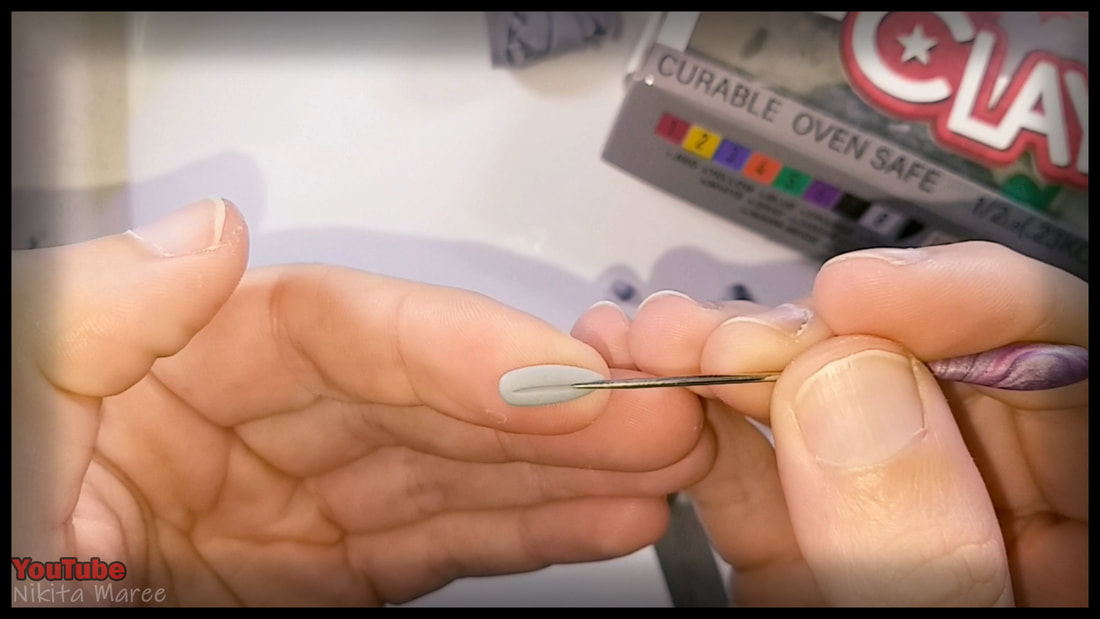
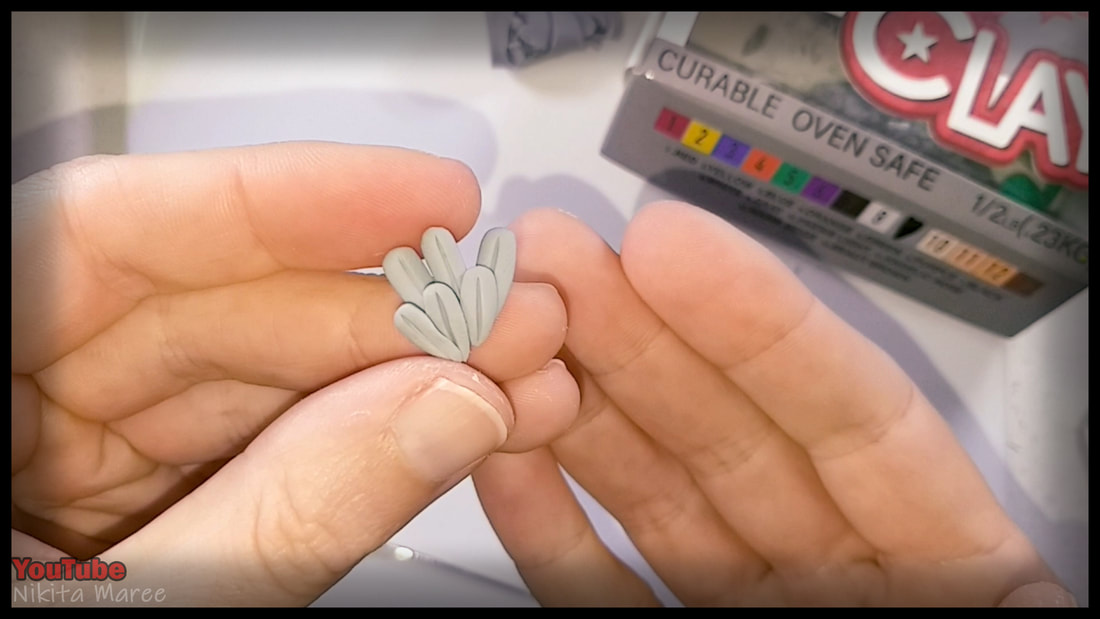
For the tail I am rolling
out short tapered pieces. |
|
Giving them a slight curl to one end.
|
|
|
keep adding them until it looks right.
|
|
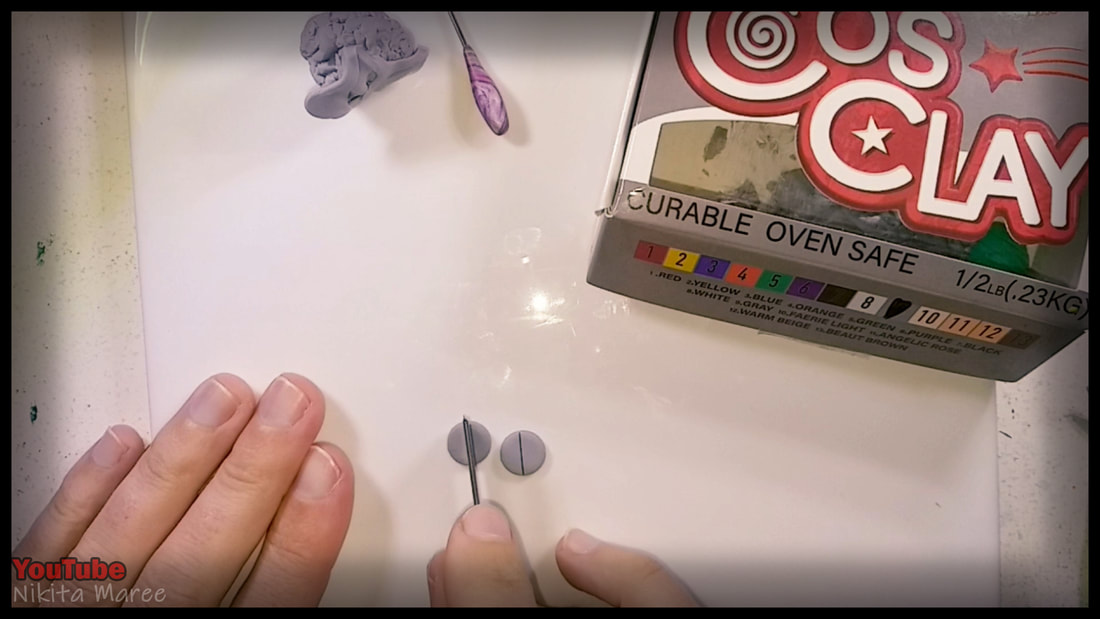
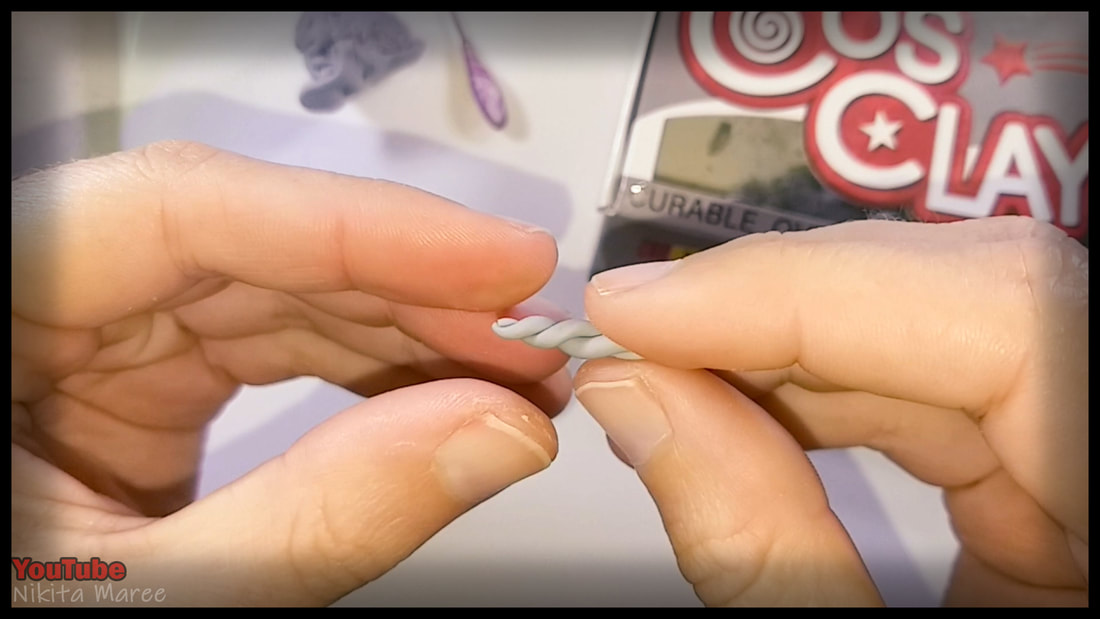
Moving onto the horns.
To keep them consistent in size I press out 2 circles and cut them in half. |
|
|
Roll each half out, with a point on one end.
|
|
Bring them together
and twist them in to a spiral. |
|
|
Figuring out the placement
and using a ball tool to indent. |
|
Place in the horns
with a bit of bake n bond. |
|
|
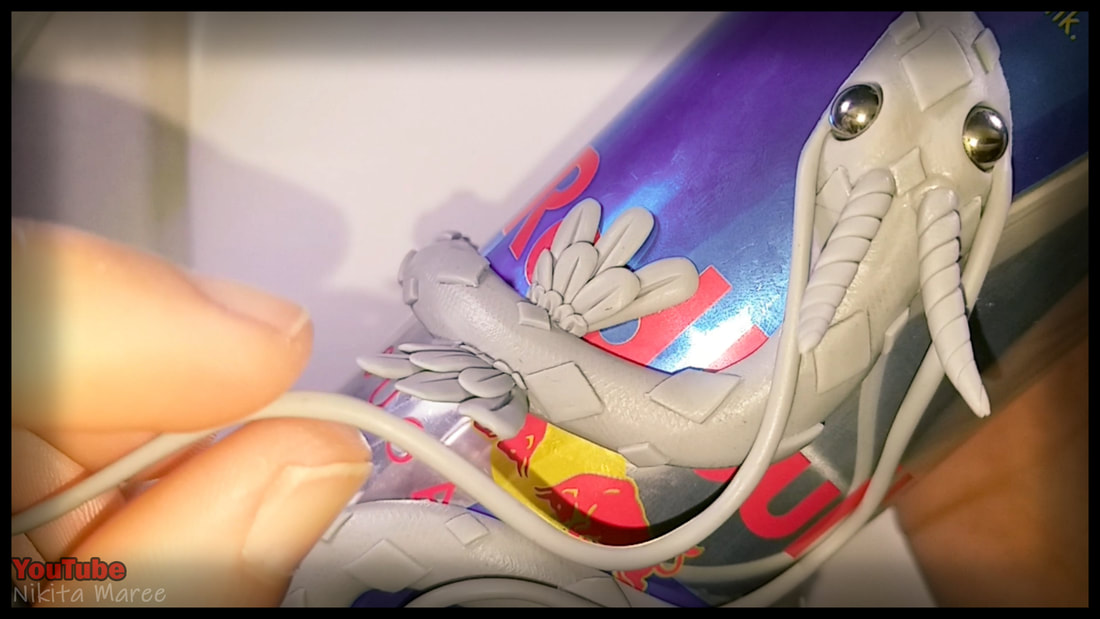
For the wings I am rolling out 3 large teardrop
shapes and using a needle tool to create a line. |
|
Then doing the same
with 3 smaller teardrops. |
|
|
Cutting a slot into the body, for the wings to sit.
|
|
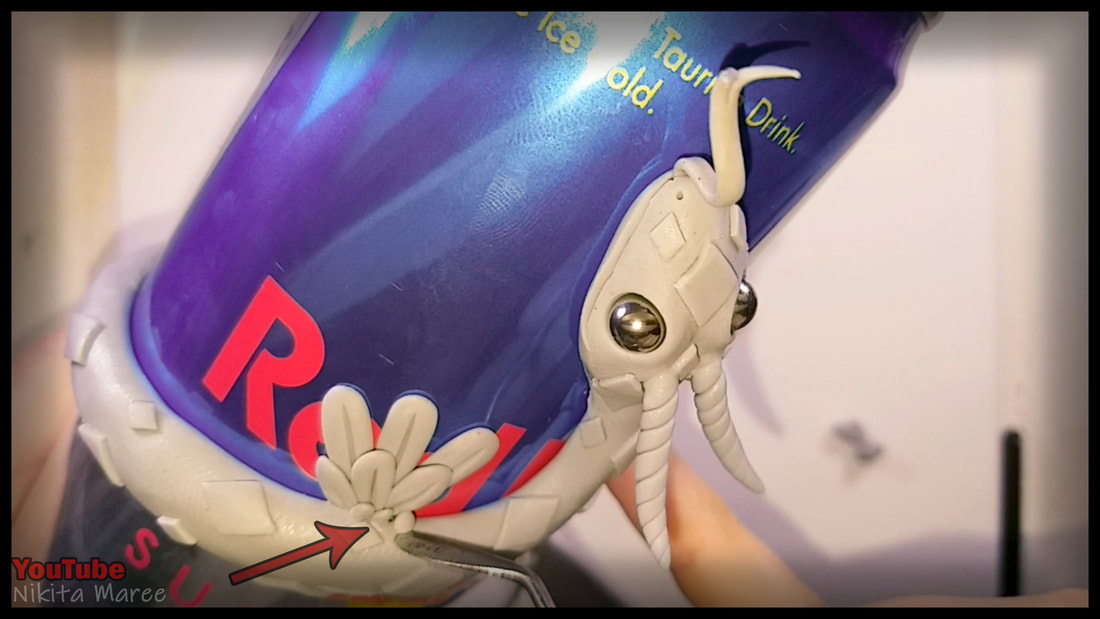
I added 4 small flattened balls to hide the
sharp join of the wings and body. |
|
|
I then pressed them down with a ball tool.
|
|
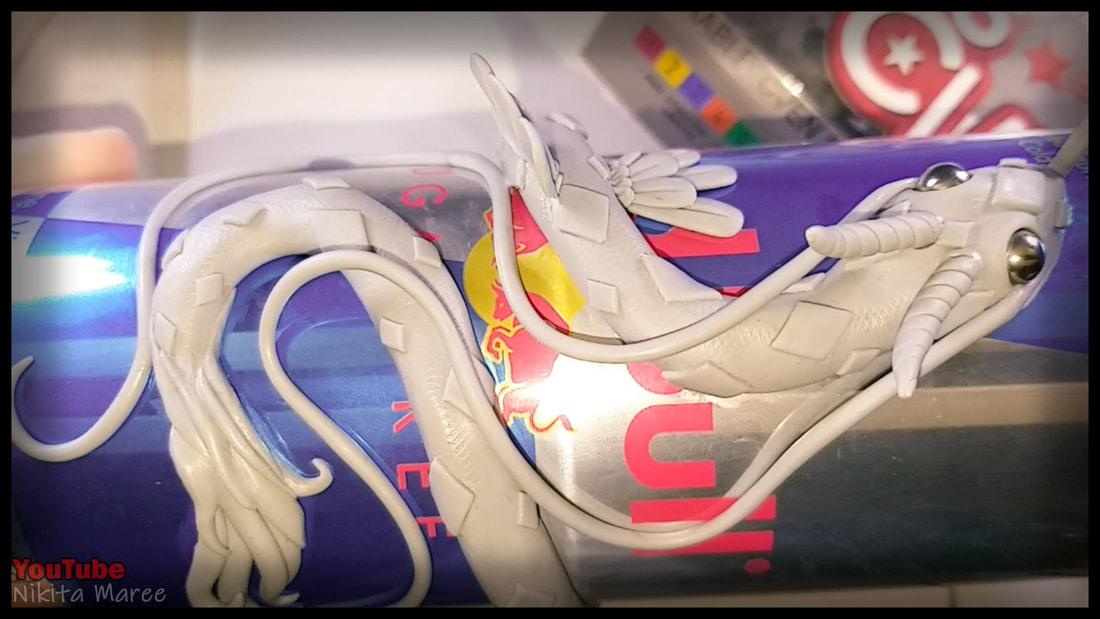
Now for the long whiskers.
I roll out my length, taper one end. And steeply cut the other end. |
|
|
This end will be laying against the
side of the face. |
|
Find a nice, natural flowing
position for the wishers to lay. |
|
|
One last step before baking.
And that is to empty out the can of Red Bull. |
|
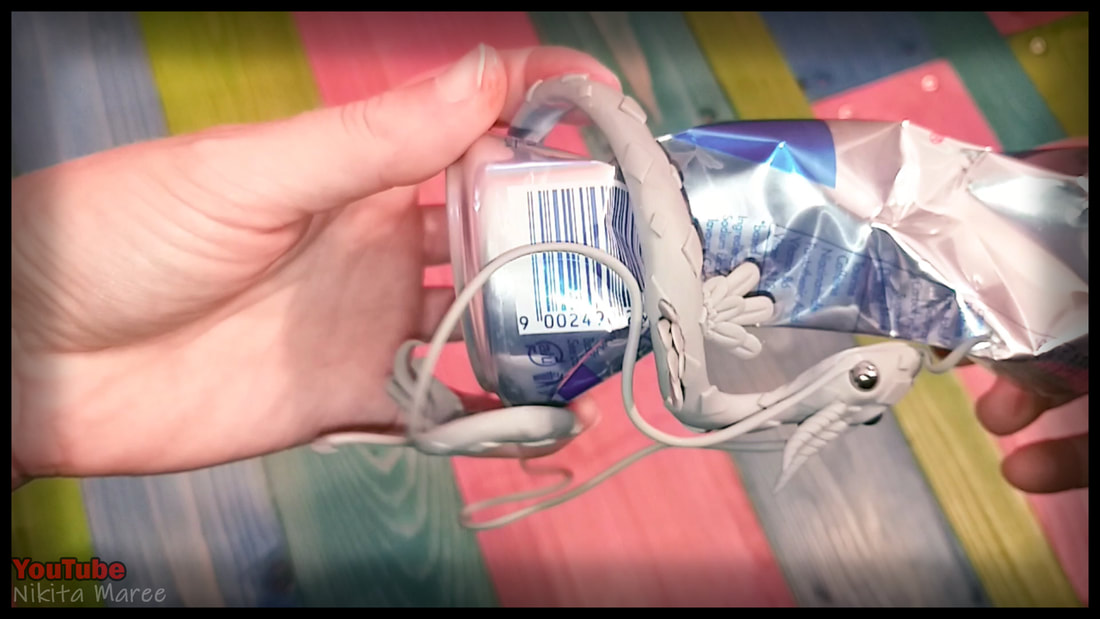
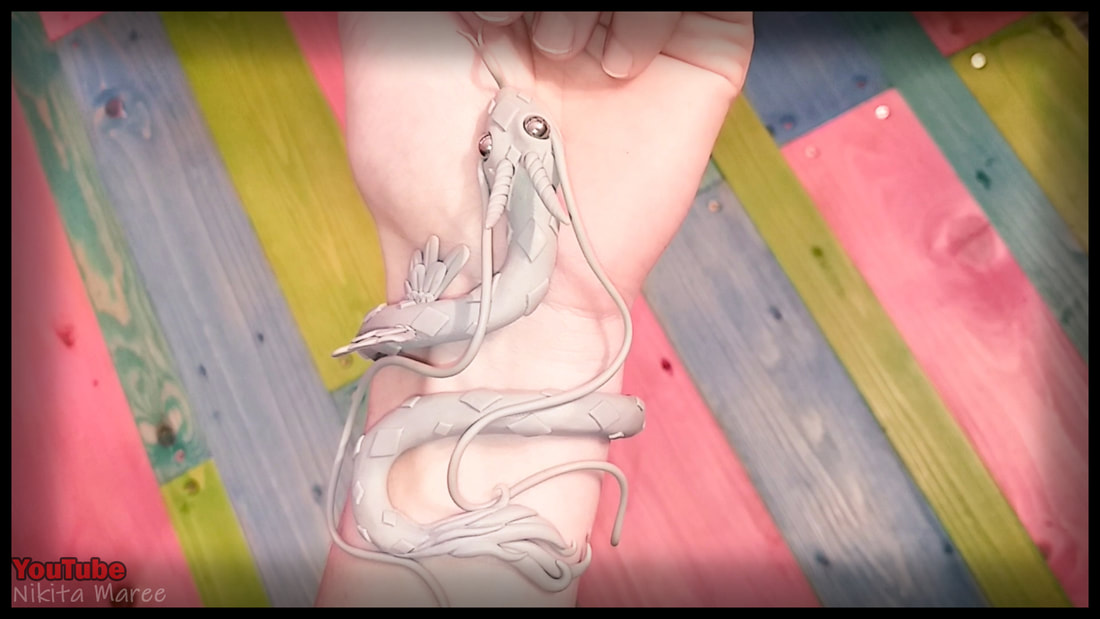
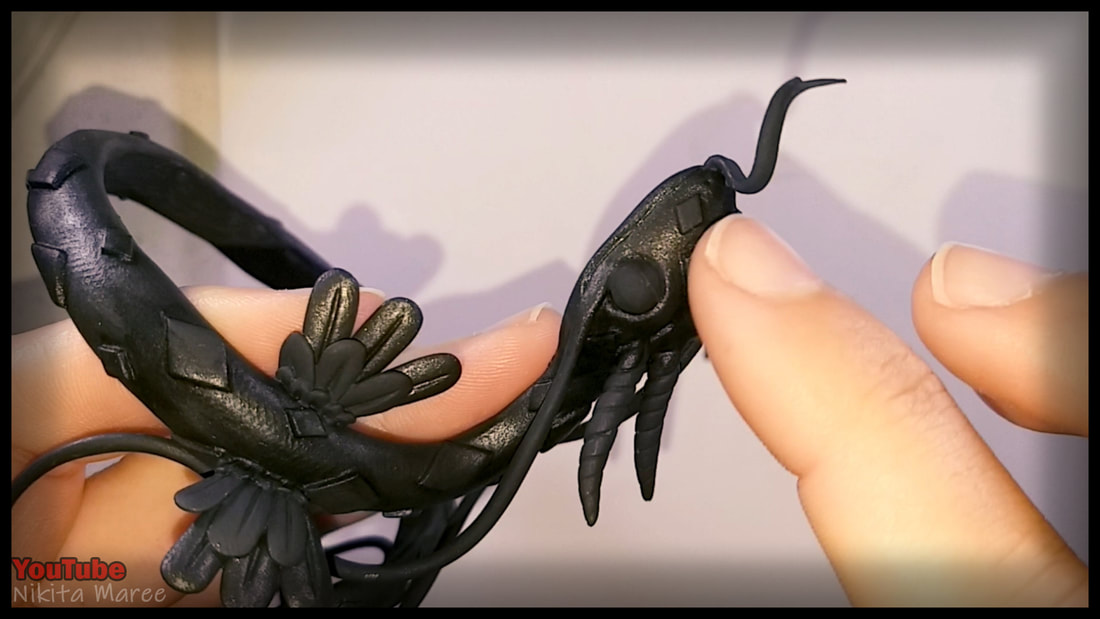
Now that it has been baked, I am carefully removing the sculpt from the can.
|
|
|
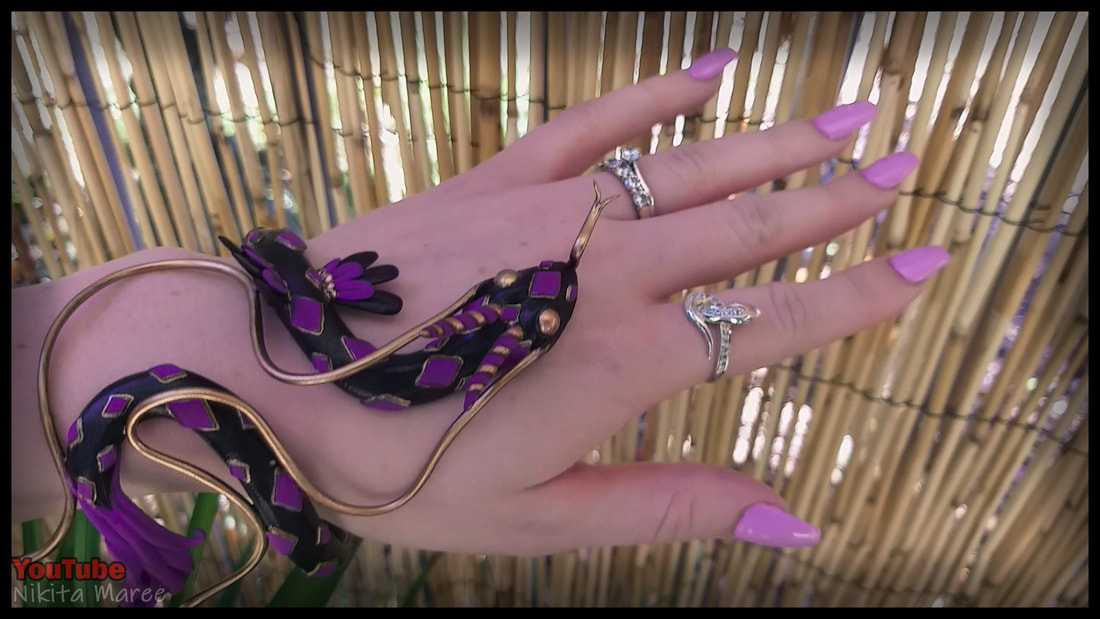
Note: I should have used a thicker gauge wire.
As it doesn't stay tightly clamped around my arm. |
|
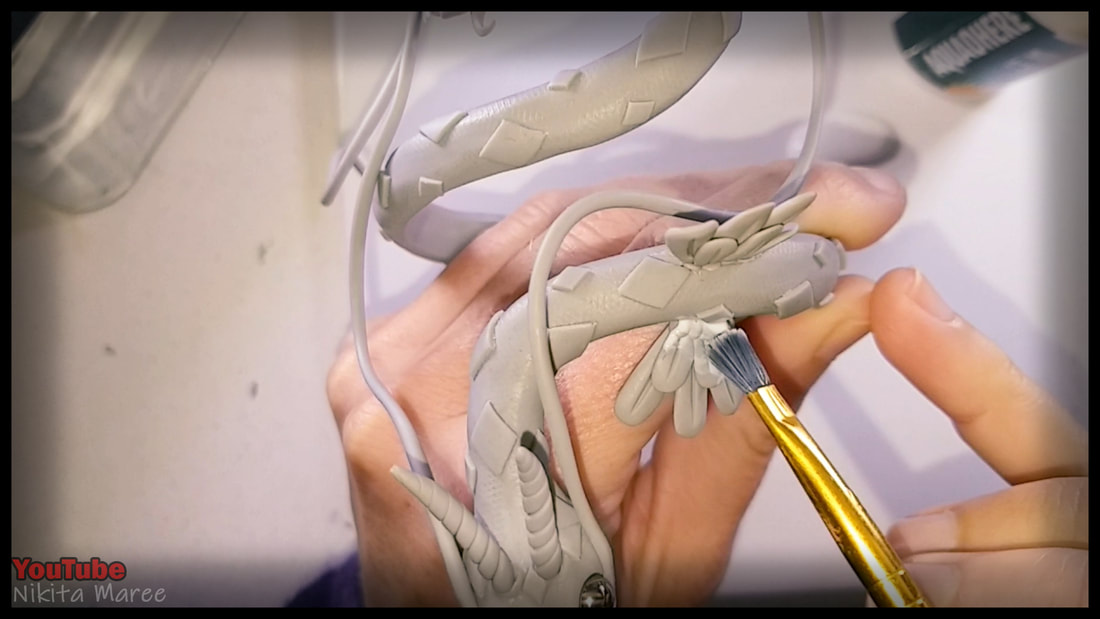
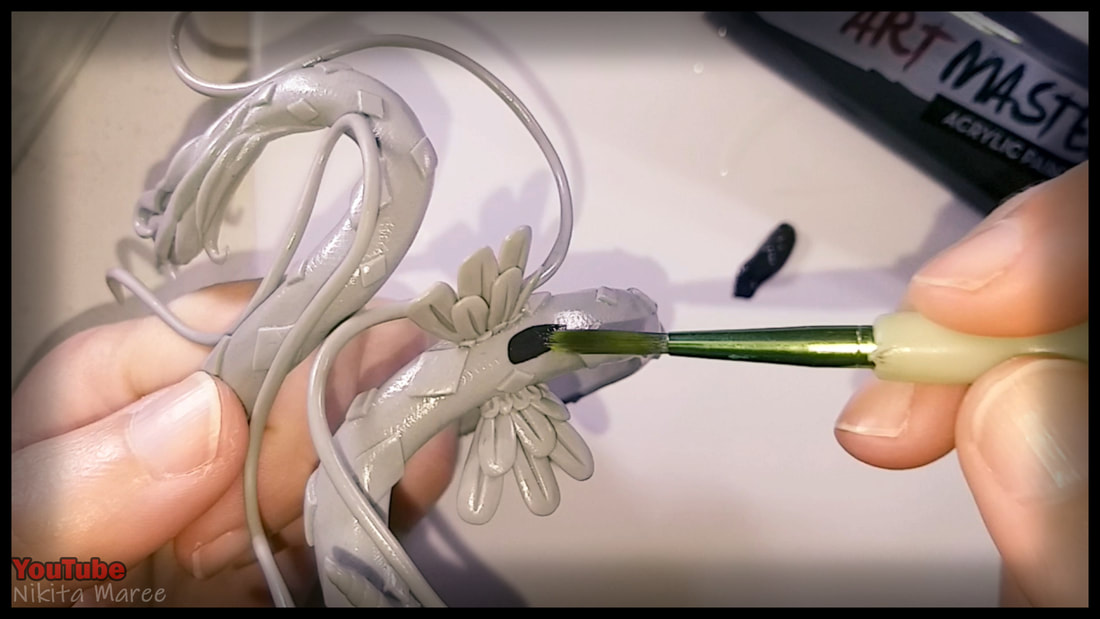
I am using a couple of coats of PVA glue
as a base. |
|
|
Then I am going in with
a black acrylic paint. |
|
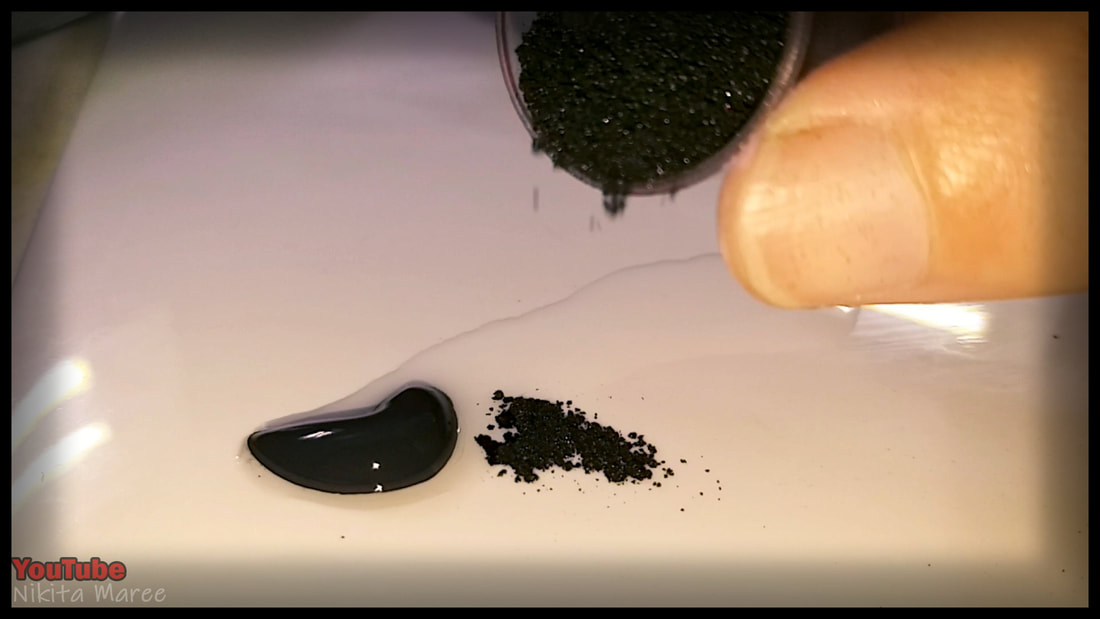
Once the coat of black had dried,
I mixed in some drying retardant and black Shimmer pigments. |
|
|
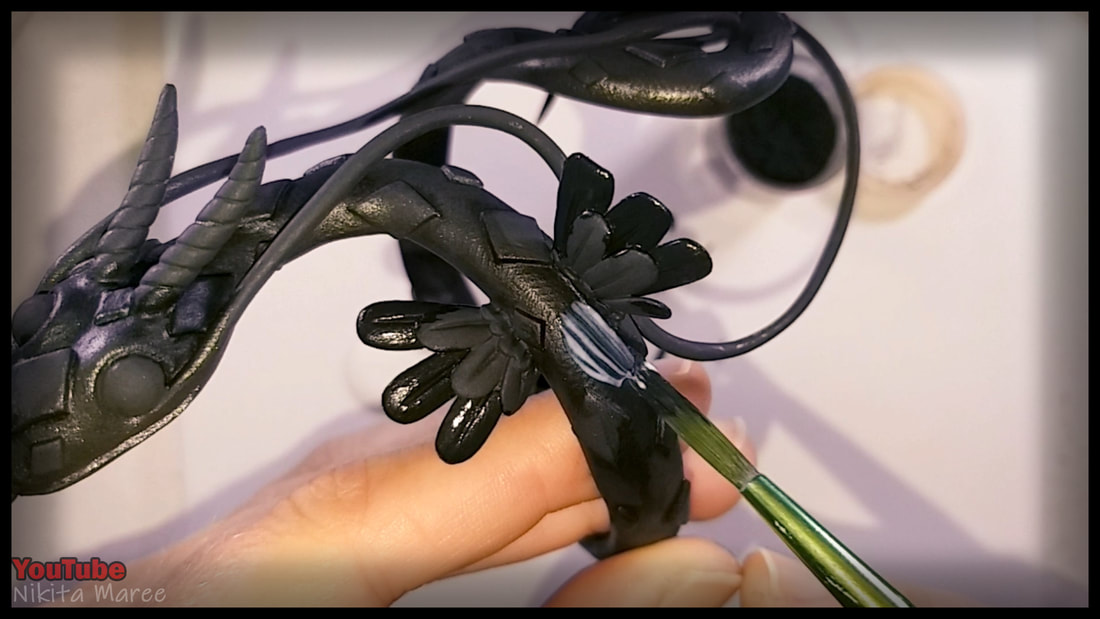
The Shimmer wasn't staying on as well
as I would have liked so . . . |
|
I sealed it in with some more PVA glue.
|
|
|
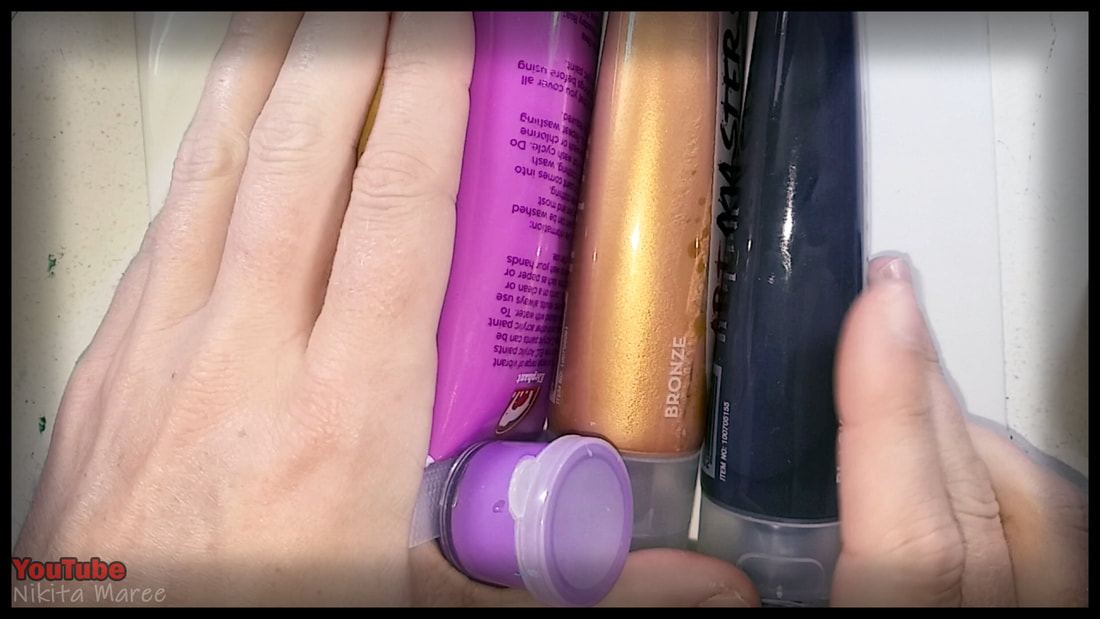
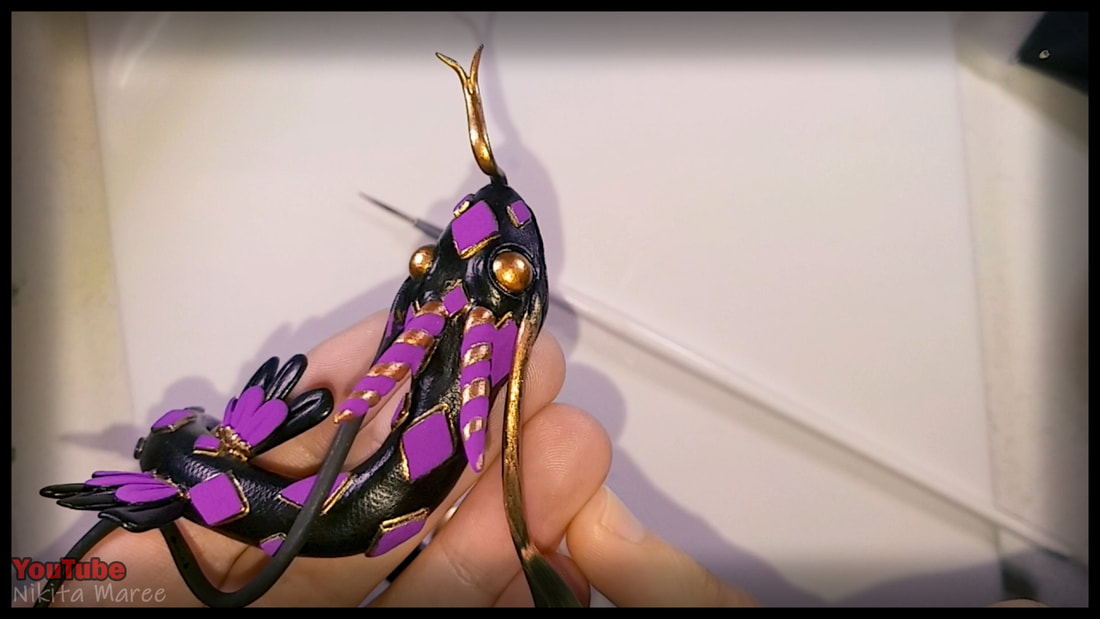
The colours I choose are
black, purple and bronze. 'acrylic paint' |
|
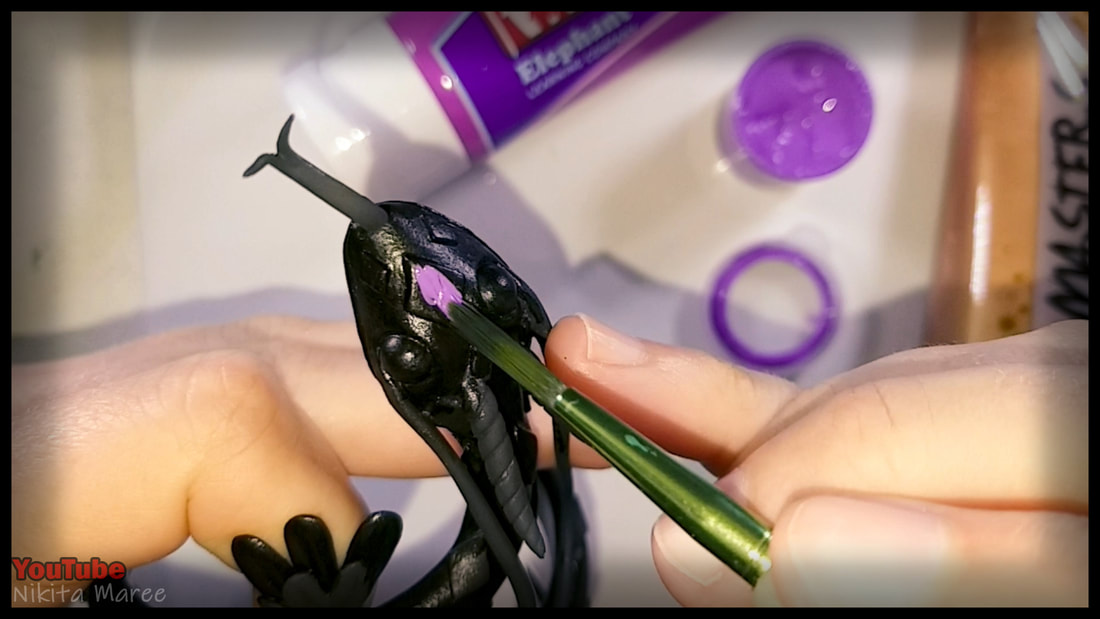
Painted the purple details first.
|
|
|
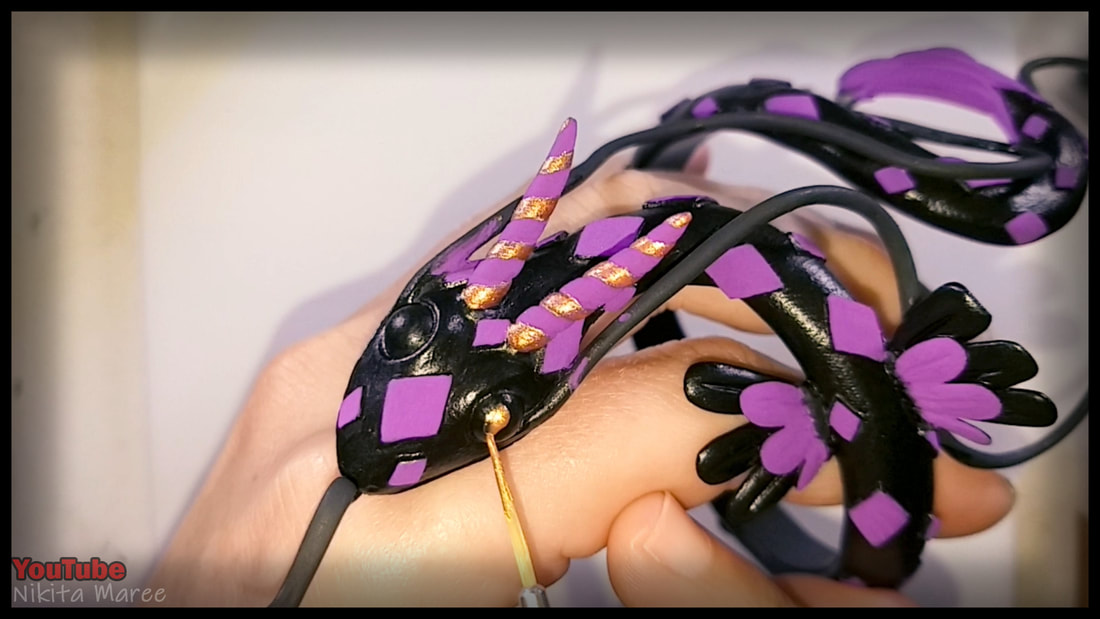
I am used a small detail brush
to do all of the bronze areas. |
|
I also painted around all the diamonds with bronze and the little details on the wings.
|
|
|
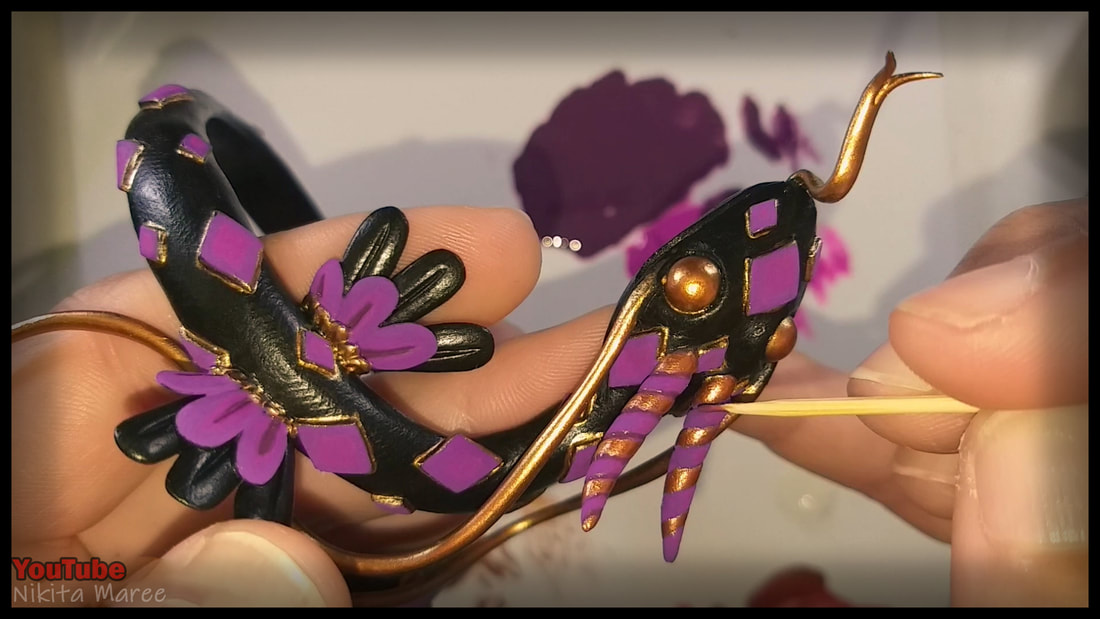
The wishers were very time consuming
and took a few coats until they finished. |
|
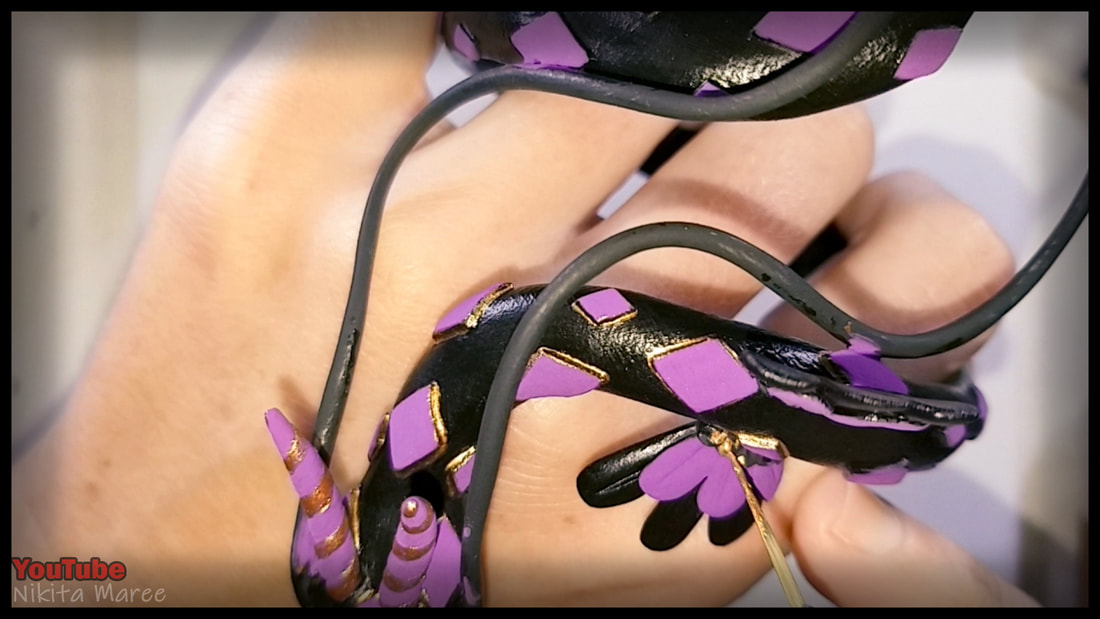
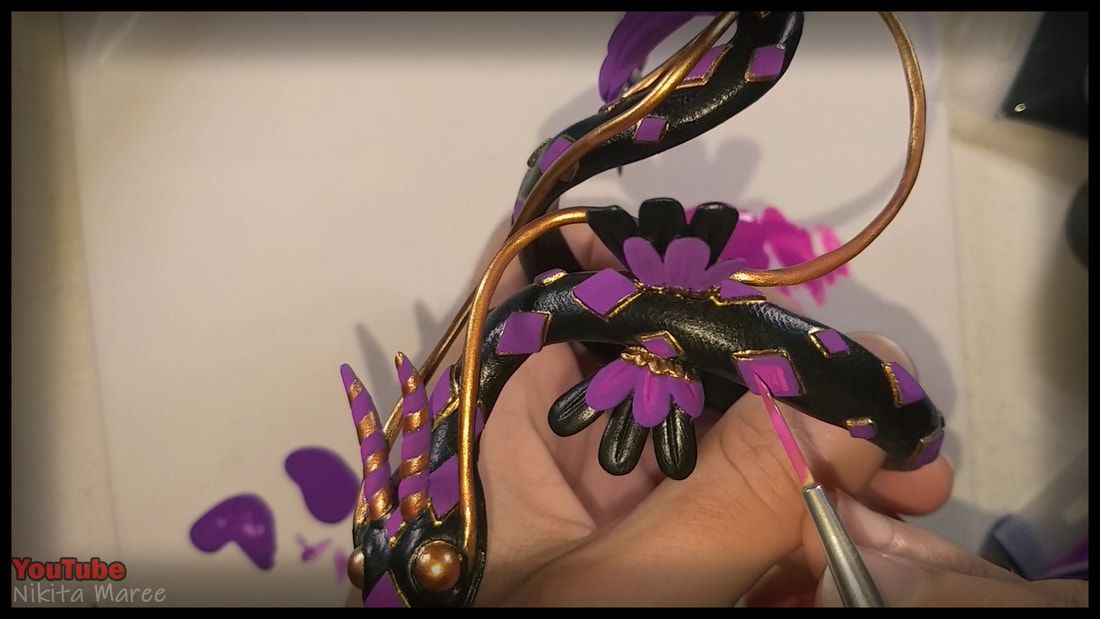
I mixed some pinks in with the purple and I used
this to add some depth to the piece. |
|
|
I then added some black to darken the purple
and used this to create the shadows. Note: a toothpick works great for this. I painted it around the creases of the horns, around the eyes and the deeper parts of the tail. |
|
I used polyurethane gloss on the eyes
and it is finished. |
|
|
If you are into sculpting tutorials,
then you might want to check out some of my other videos. |
