How to Build a Television Cabinet
|
This is how I went about making the TV cabinet from some cheap non-structural pine
and some pallet wood. |
|
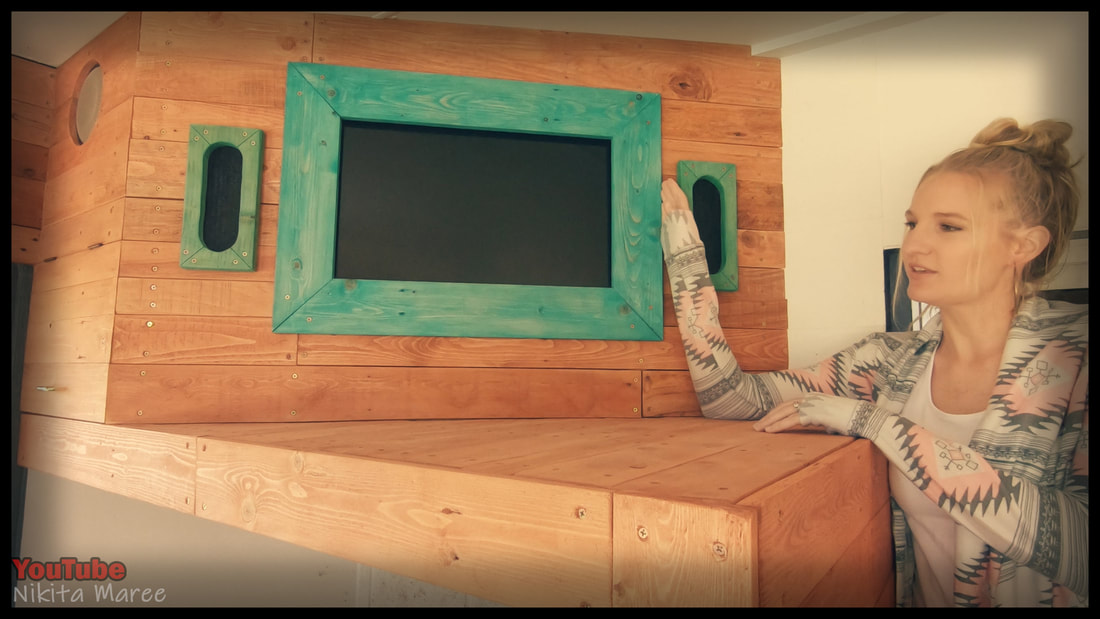
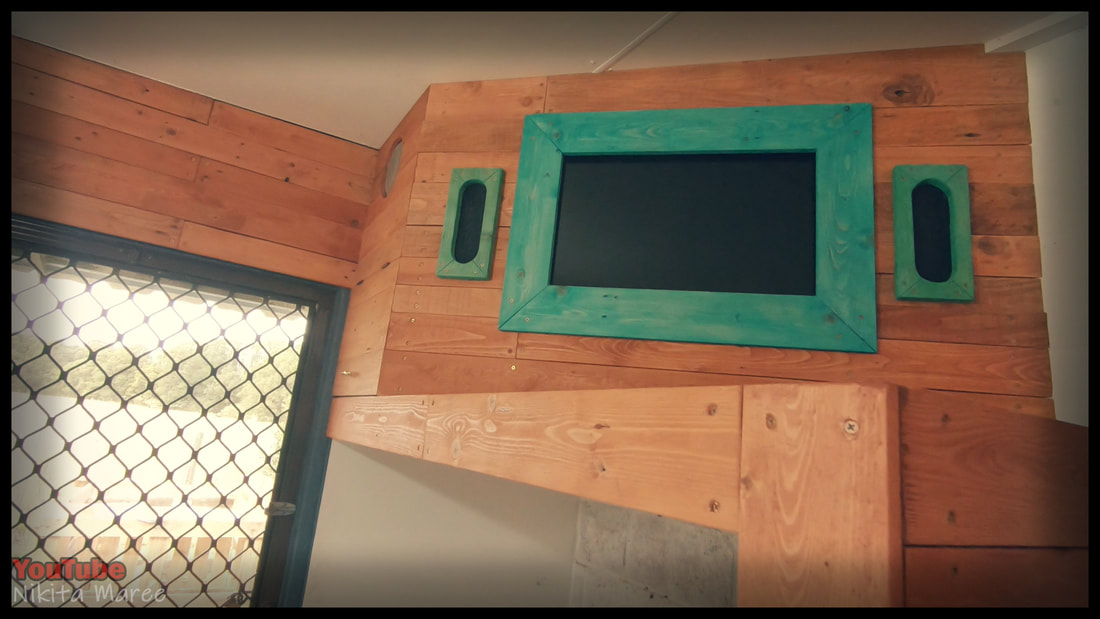
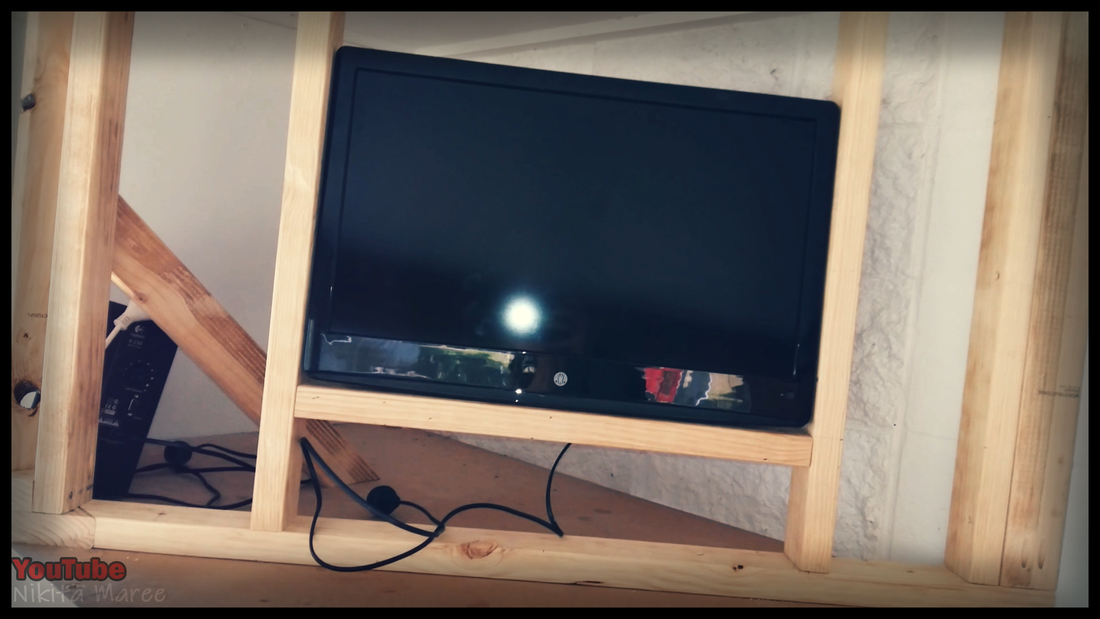
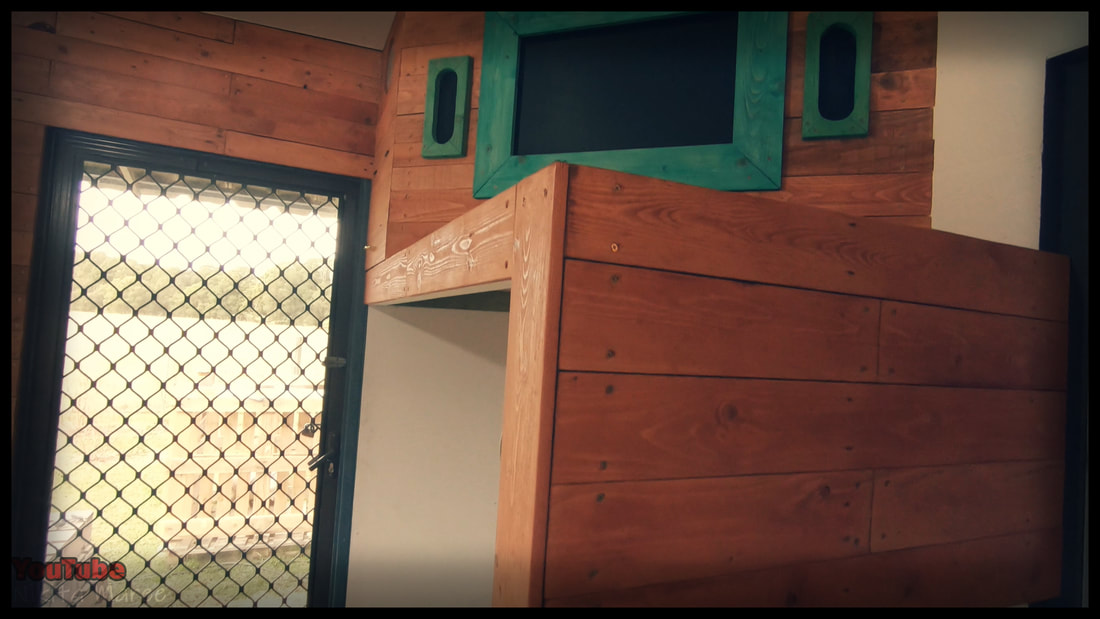
This is what the mounted TV cabinet
looks like finished. |
|
|
Side access door to get to all the wires
for the TV and the speakers, and it also holds the DVD player. |
|
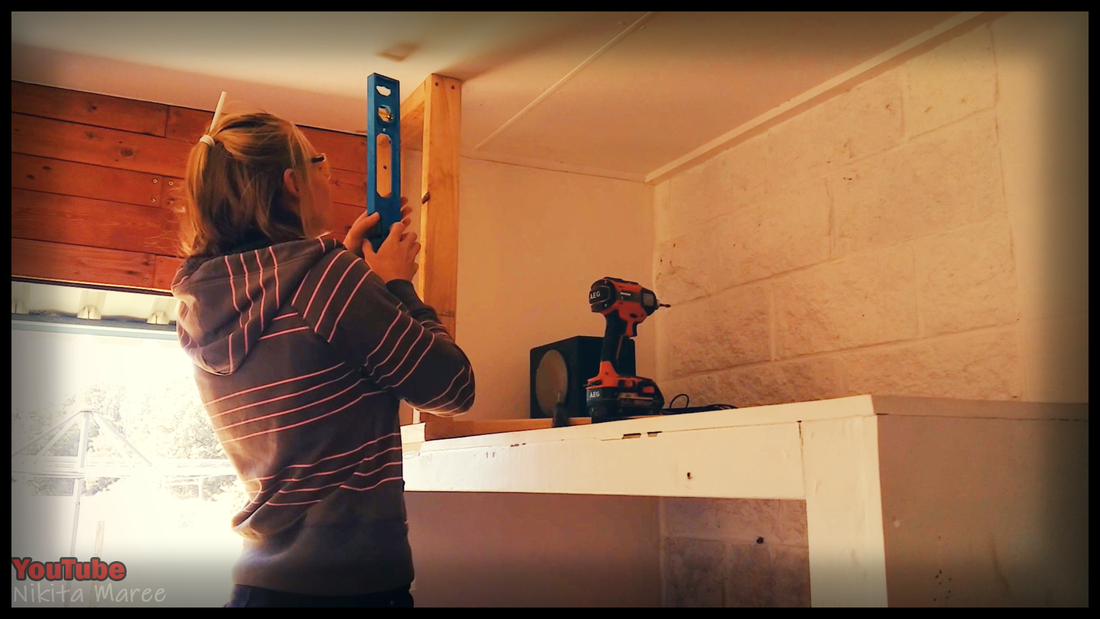
I started by running a length of
timber at 45º |
|
|
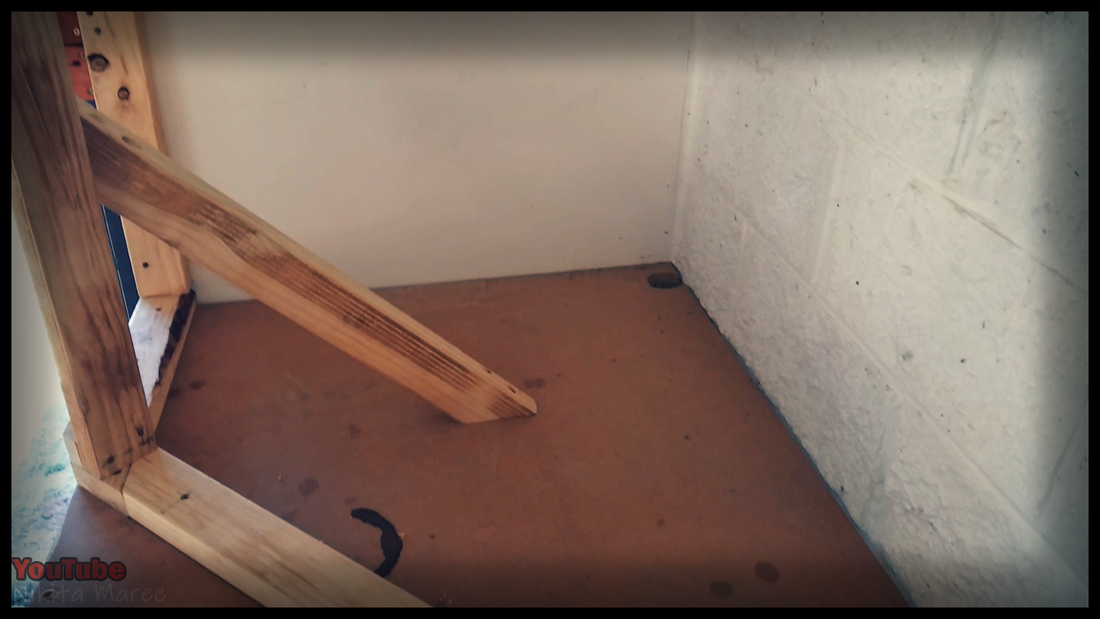
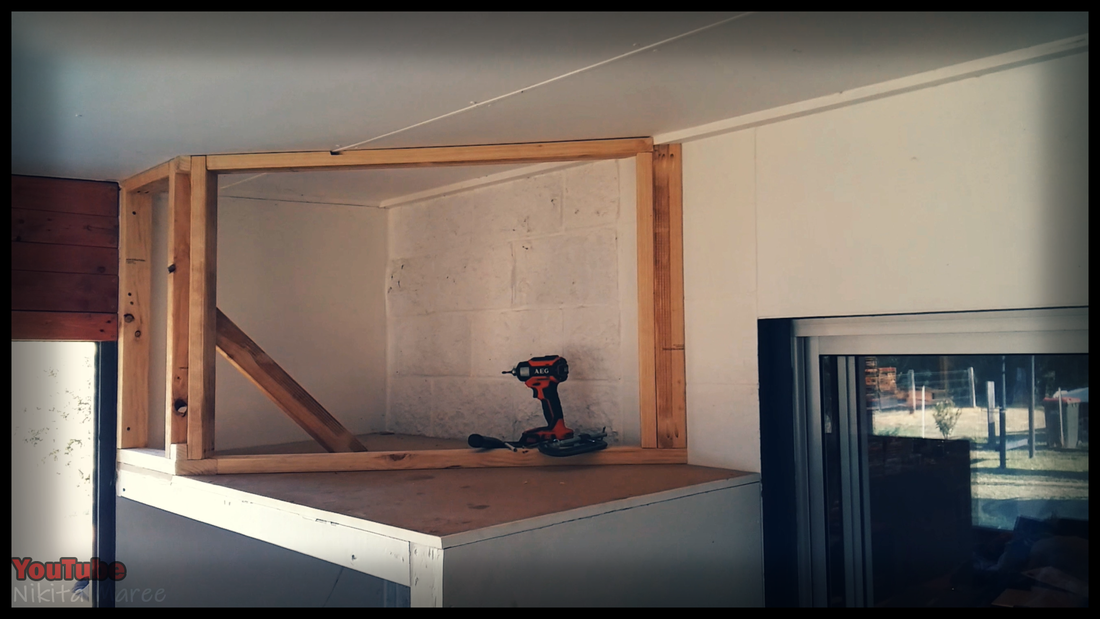
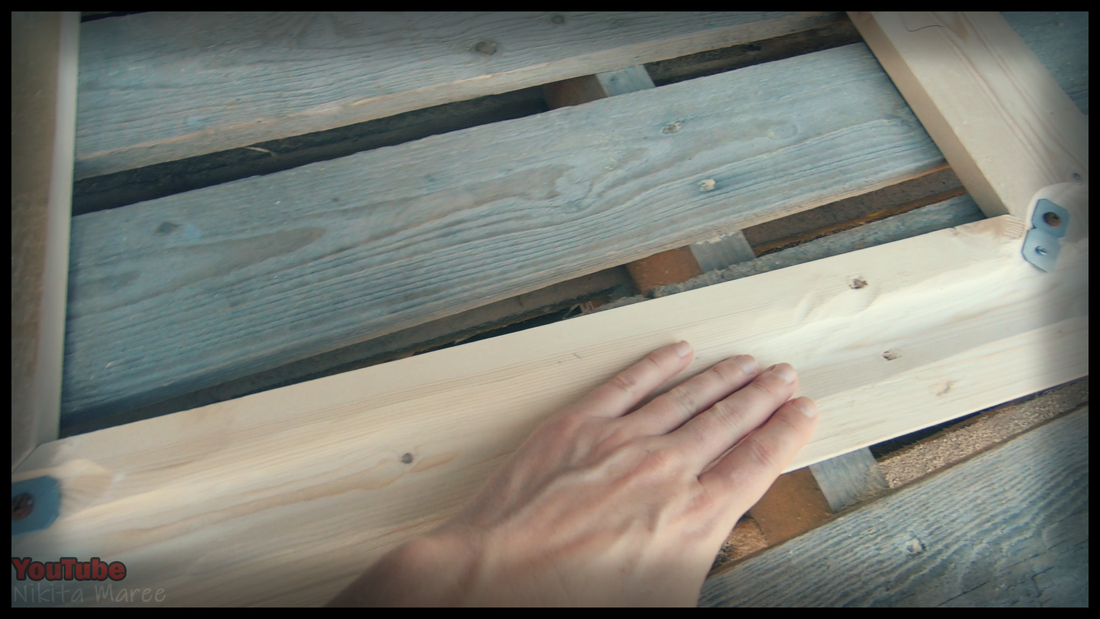
and then I moved on to a simple frame,
keeping everything level as I go. |
|
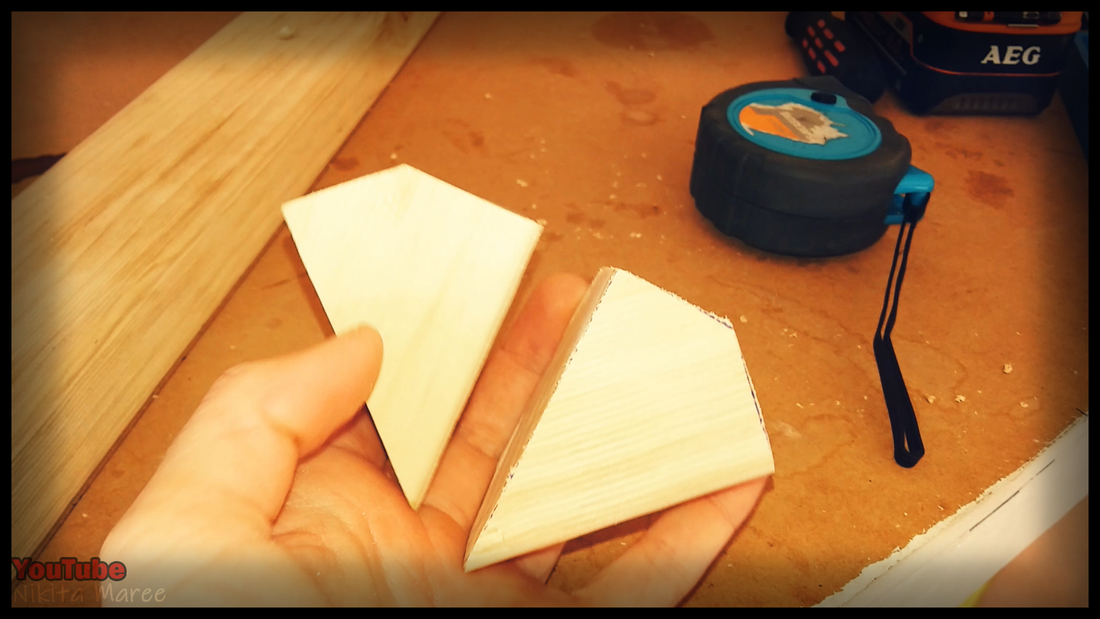
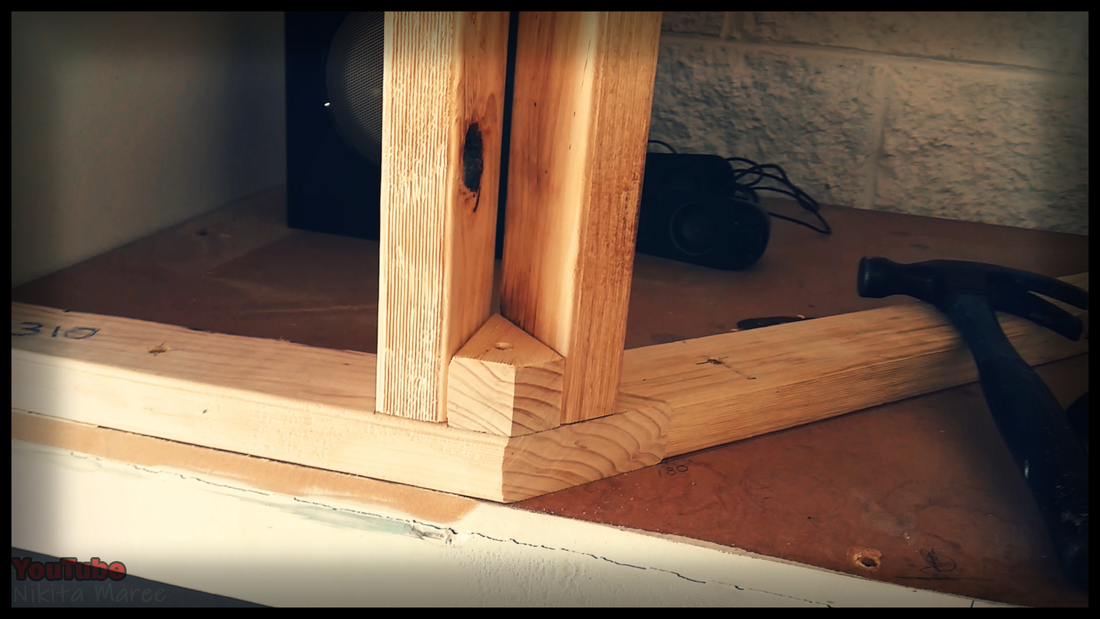
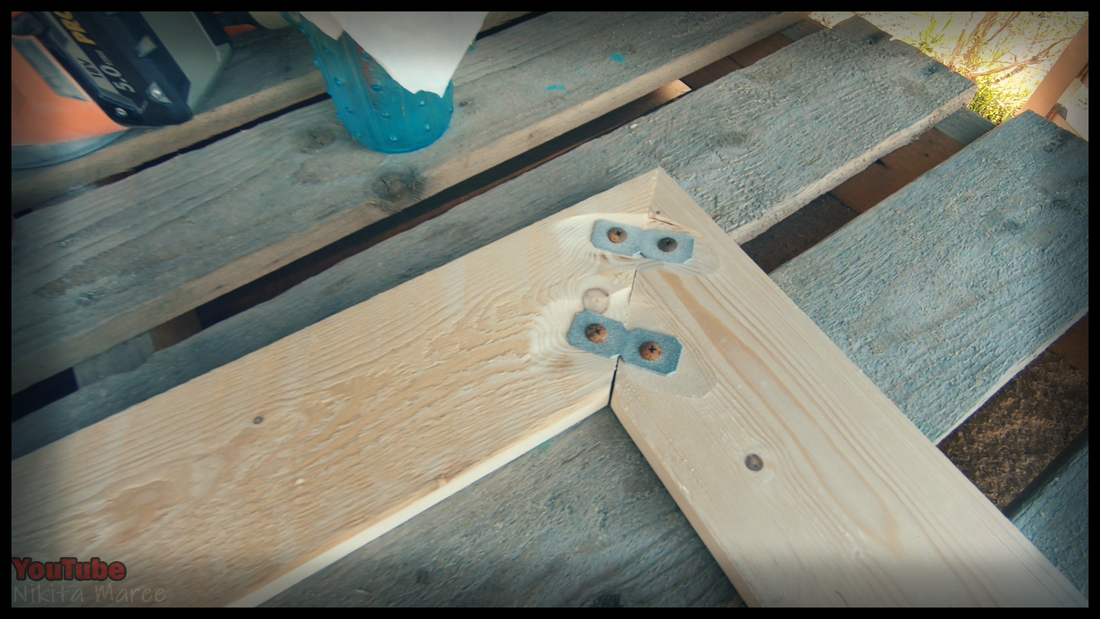
These two chocks get attached at the
top and the bottom |
|
|
to keep both of my vertical pieces
evenly spaced. |
|
For this piece that sits up against the wall,
|
|
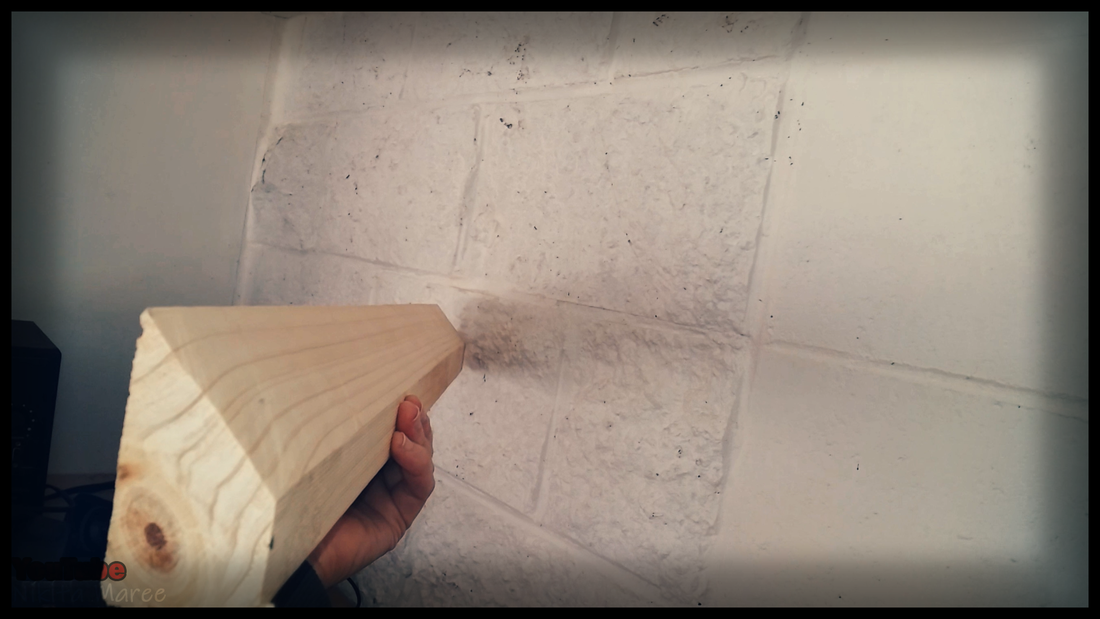
|
I set my circular saw at 45º and run it down the length of the piece of timber.
|
|
I attached a support piece to
keep everything square and solid. |
|
|
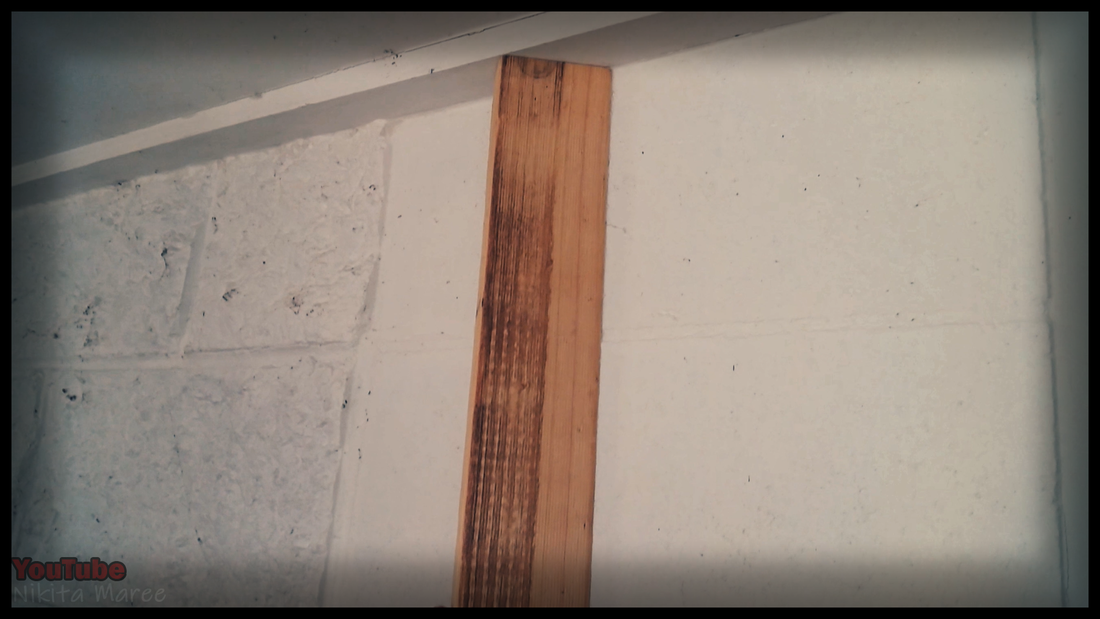
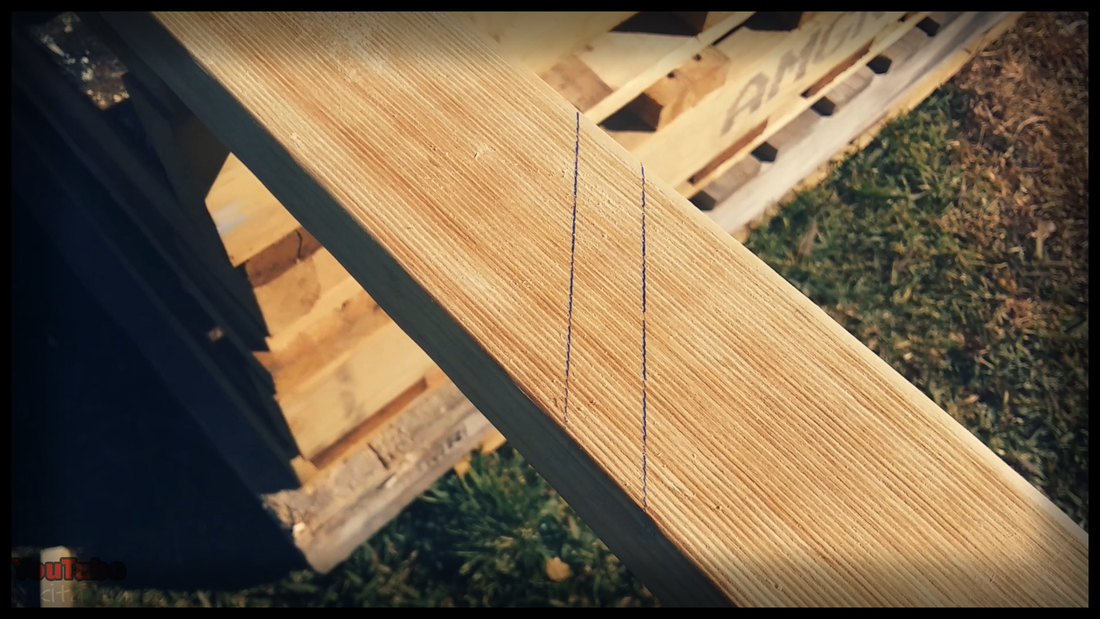
I marked and cut out a channel for where the plastic strip in the ceiling sits.
|
|
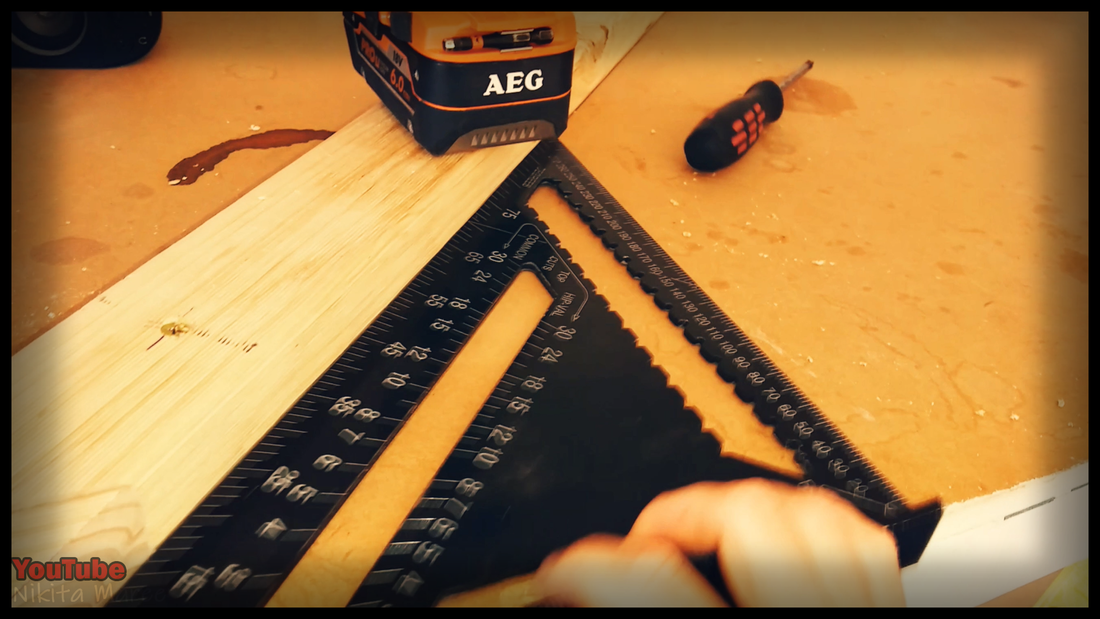
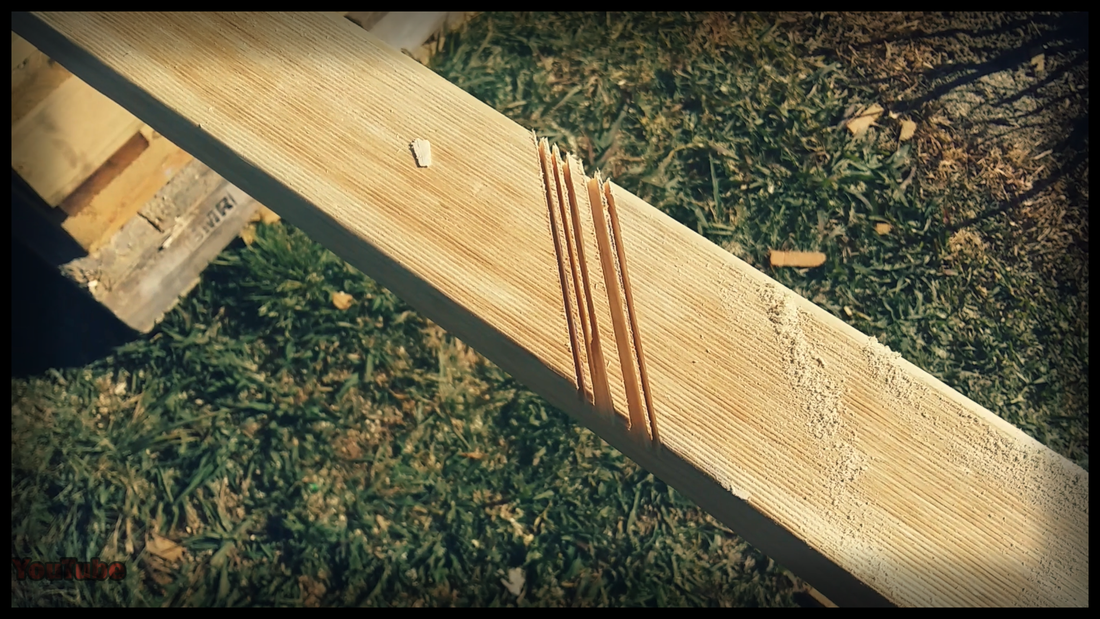
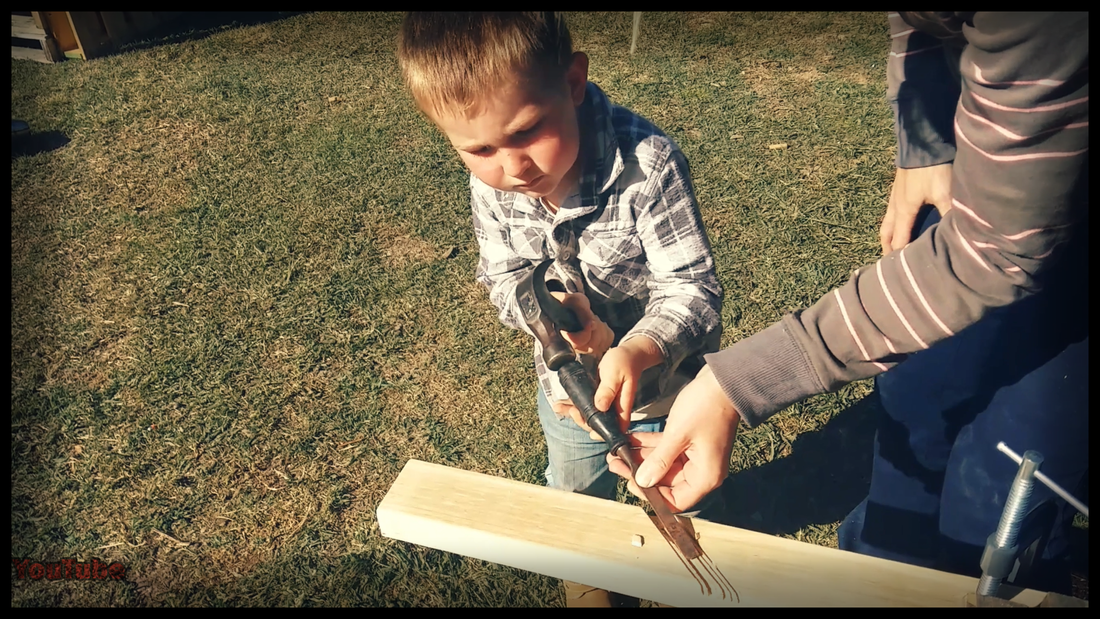
I make several cuts,
just moving the speed square up a little bit each time. |
|
|
And then I got some help chiselling it out.
|
|
Just a bit of a look to see how the frame is coming together.
|
|
|
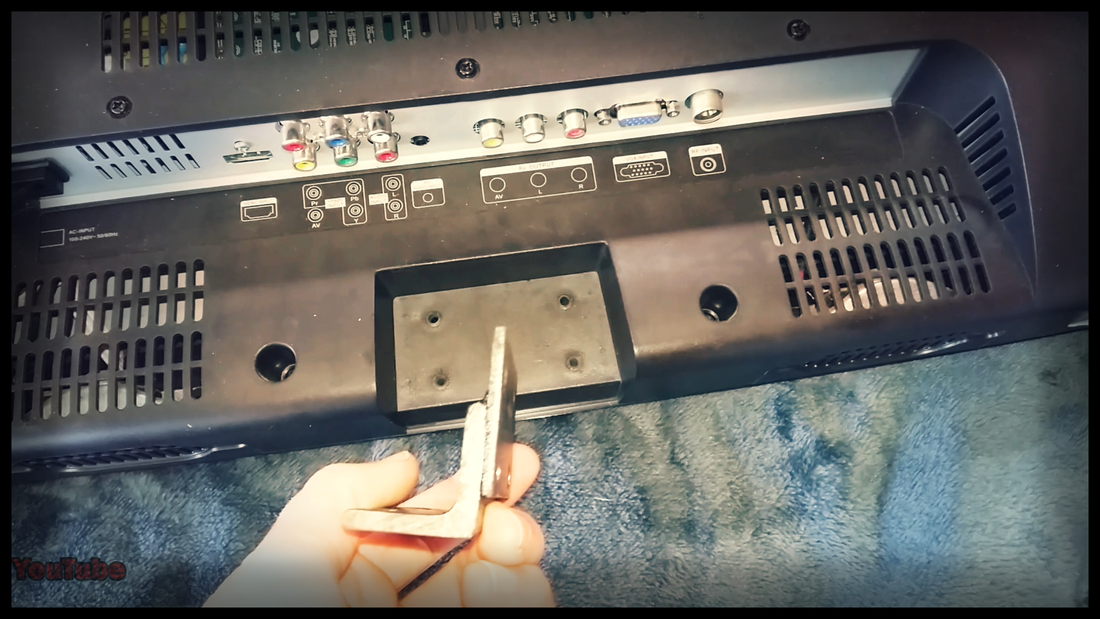
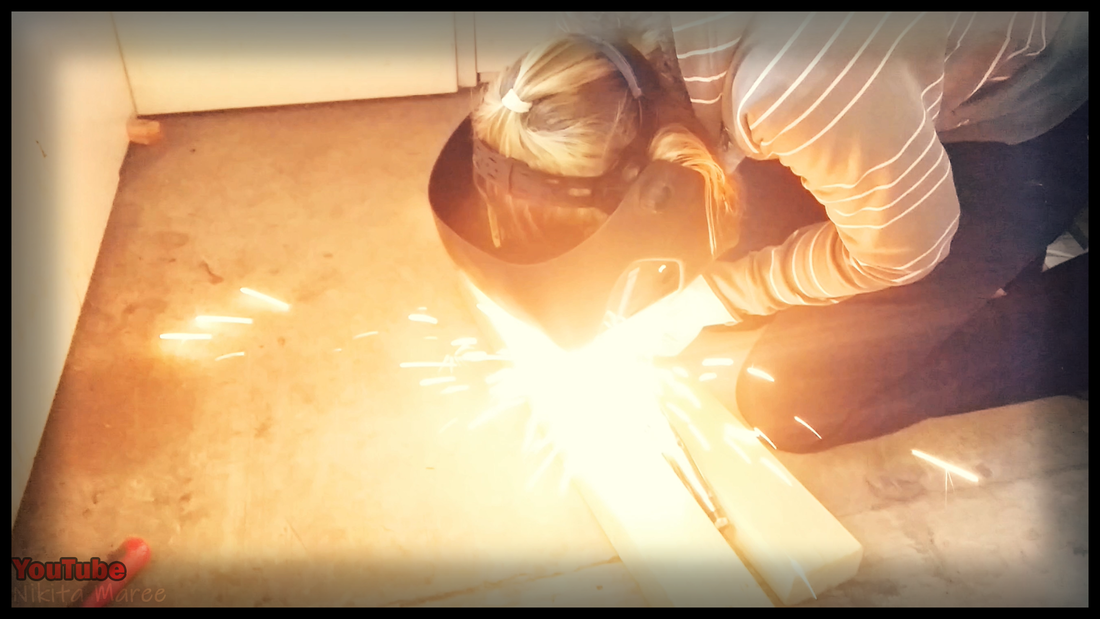
Then I moved on to making
the bracket for the TV. |
|
I used a piece of angle iron
and flat bar, |
|

|
drilled some holes,
|
|
and then welded it together.
|
|
|
Center the television into the frame.
|
|
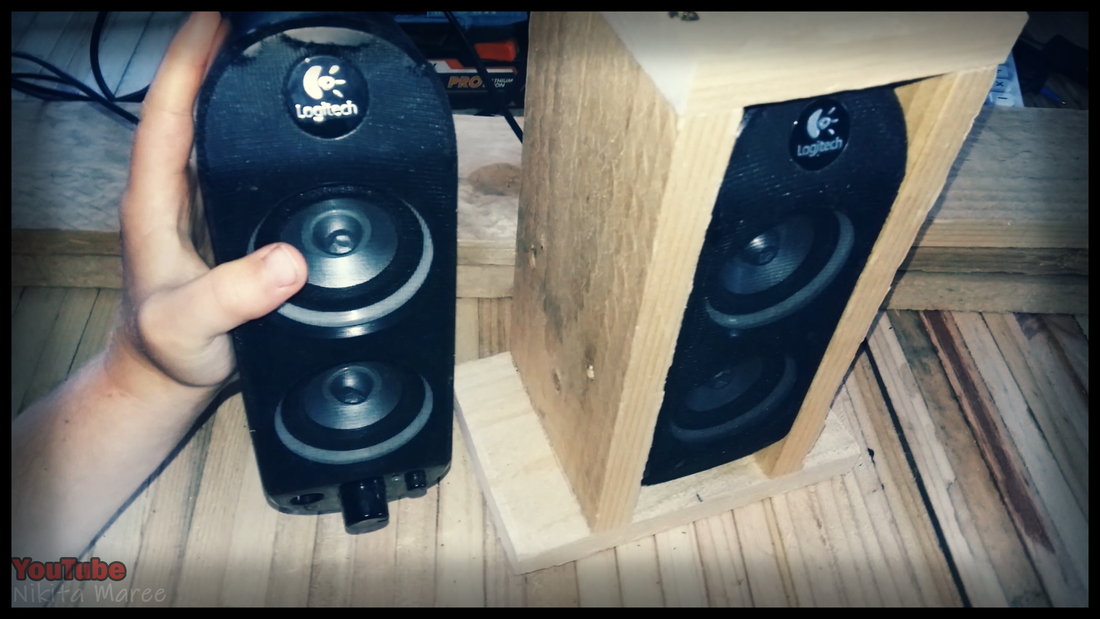
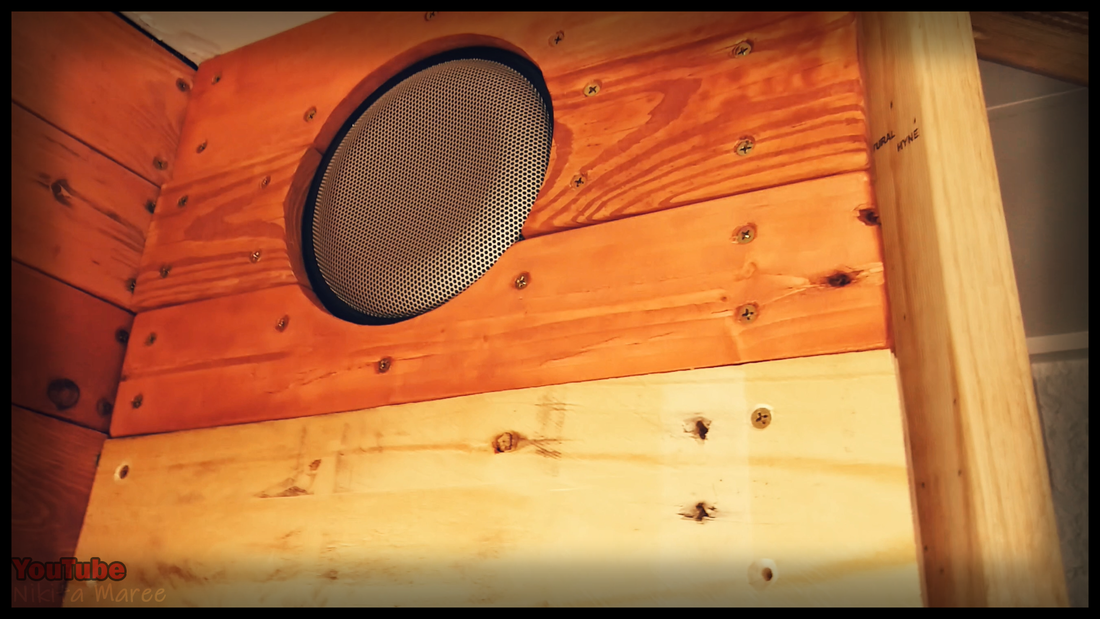
Moving onto the speakers.
I just built a simple box for them out of pallet palings. |
|
|
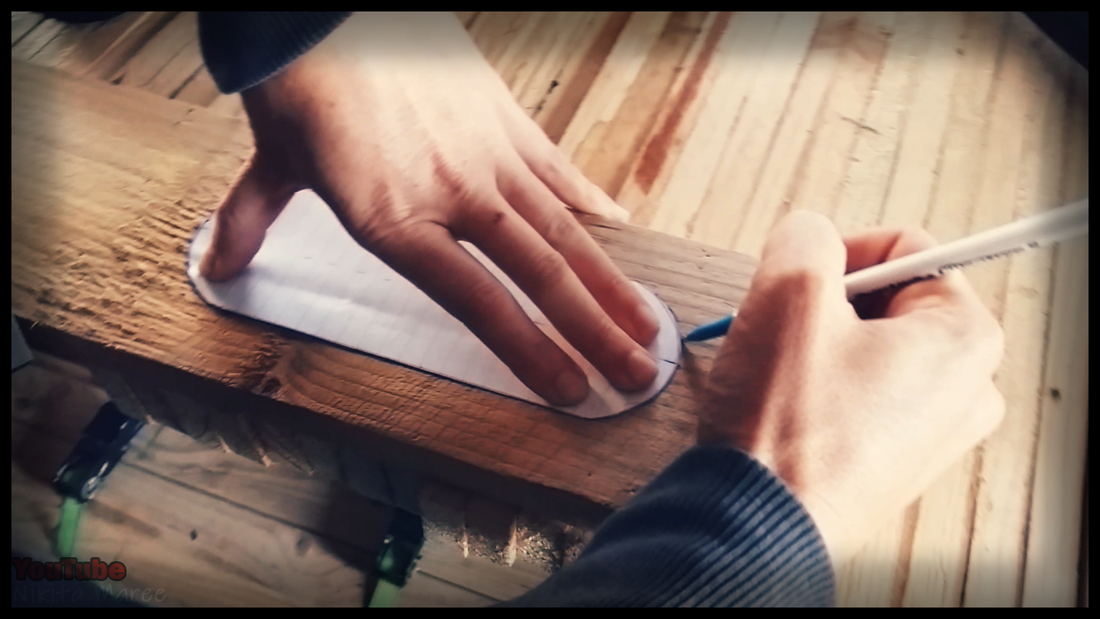
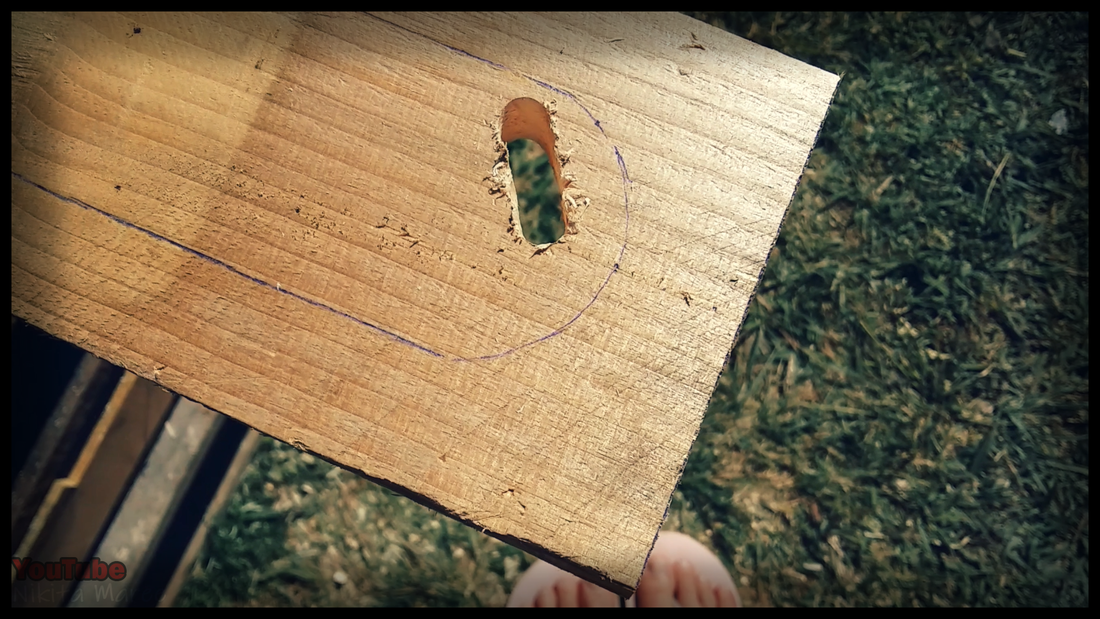
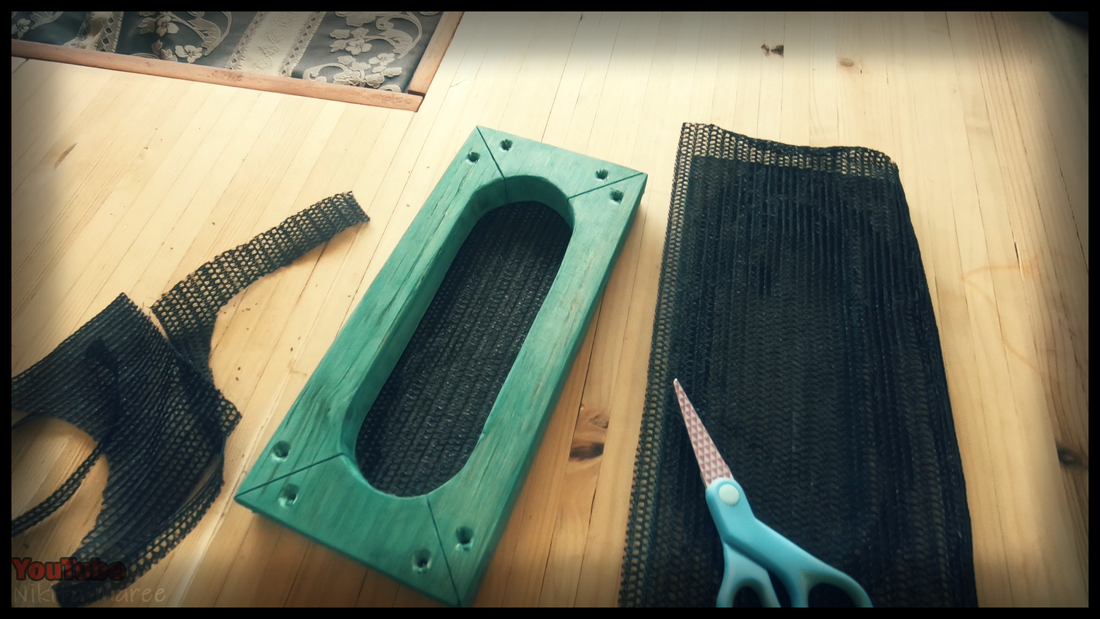
For the frames around the speaker,
I made a paper template and then traced that on |
|
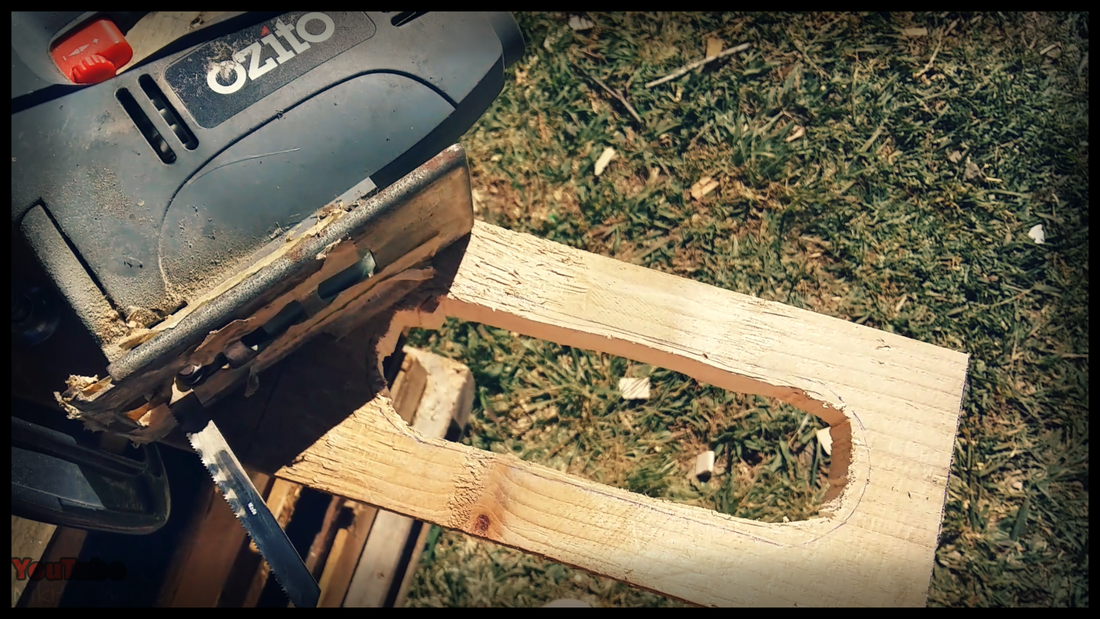
Drilled a few holes to fit
the jigsaw blade down |
|
|
and then roughly cut out the center.
|
|
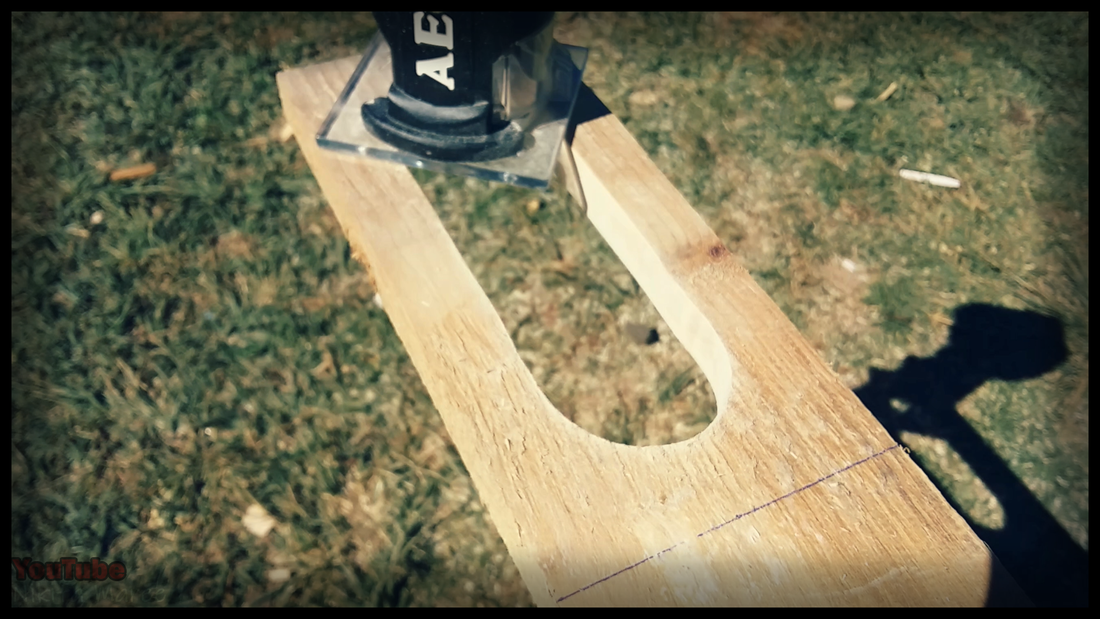
I cleaned everything up
with the trim router |
|
|
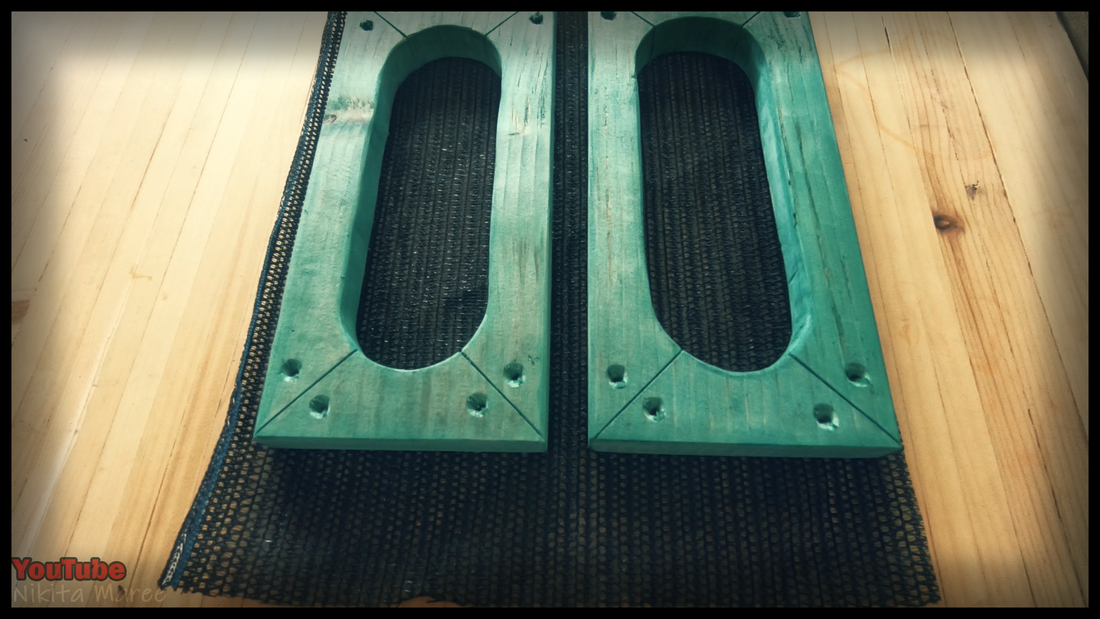
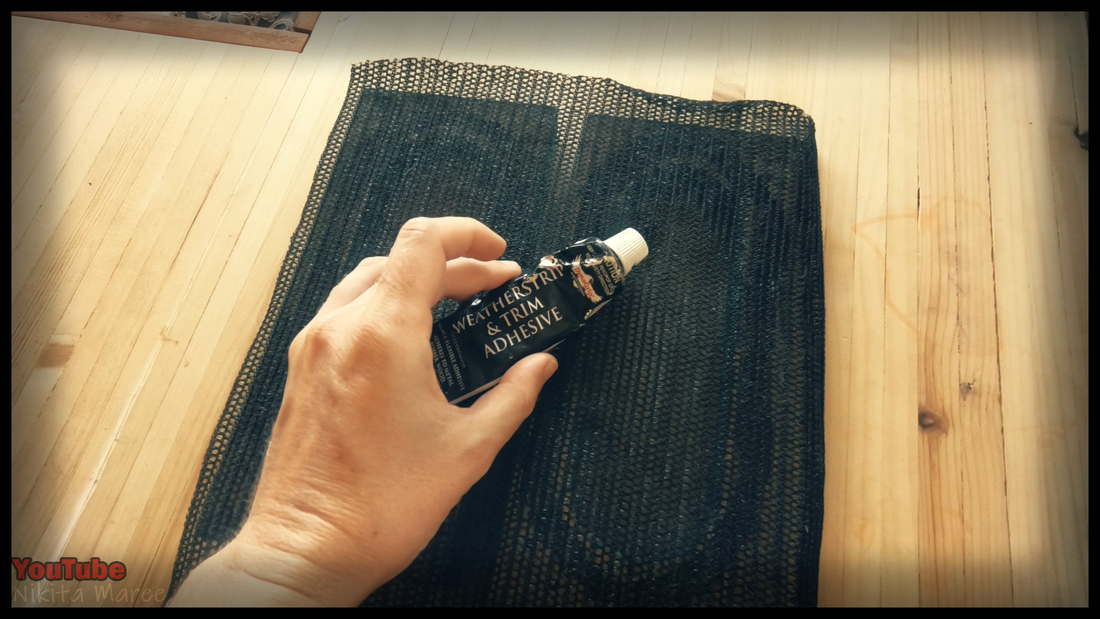
I used some off cut black shade-cloth
for behind the frame |
|
and attached it with contact adhesive.
|
|
|
After it dried I then cut off the excess.
|
|
The base speaker has a 22mm thick MDF, so I attached the palings straight in to that.
|
|
|
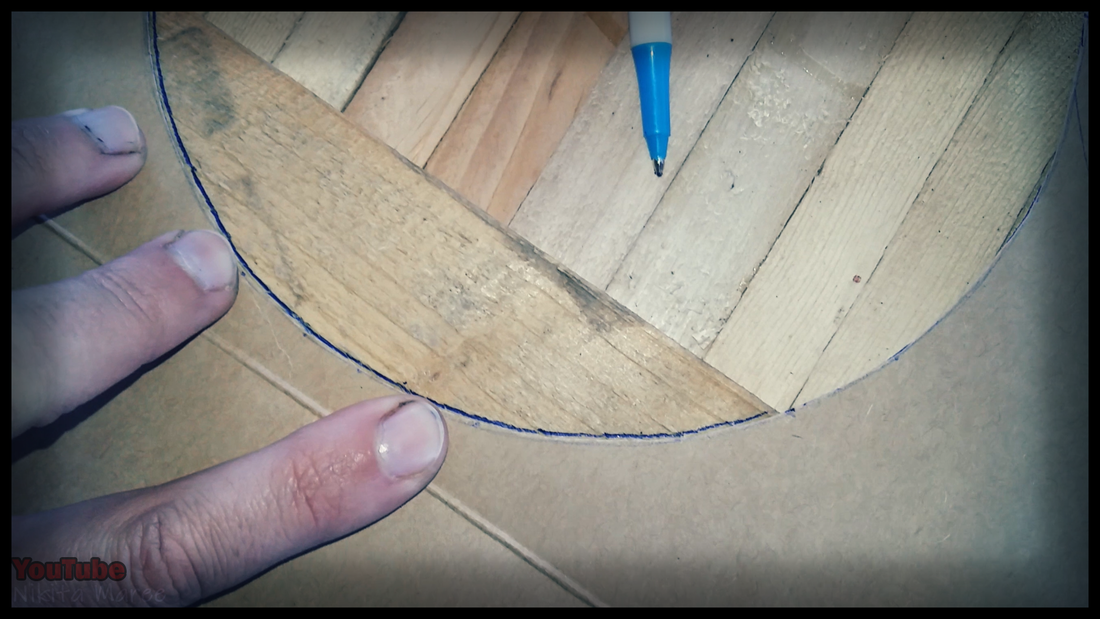
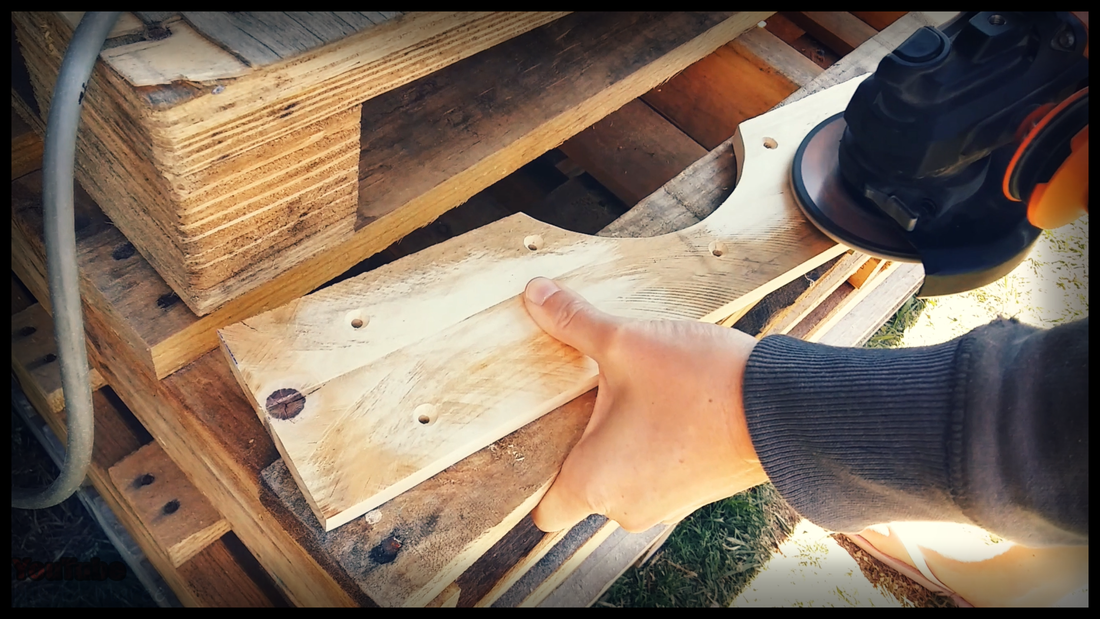
I made a cardboard template and transferred those lines on to the palings.
|
|
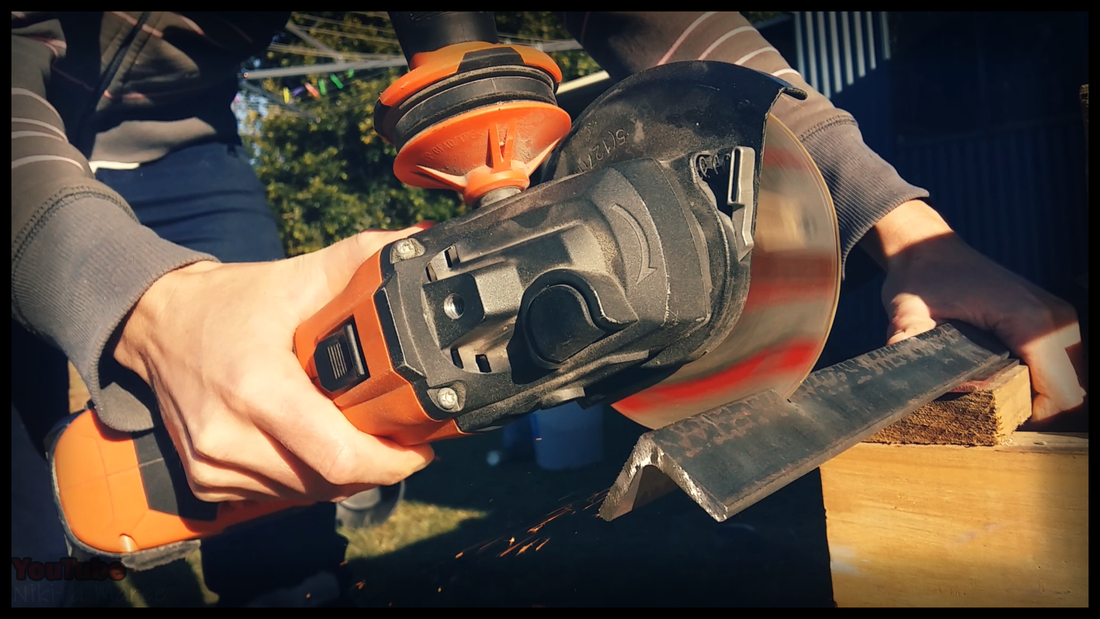
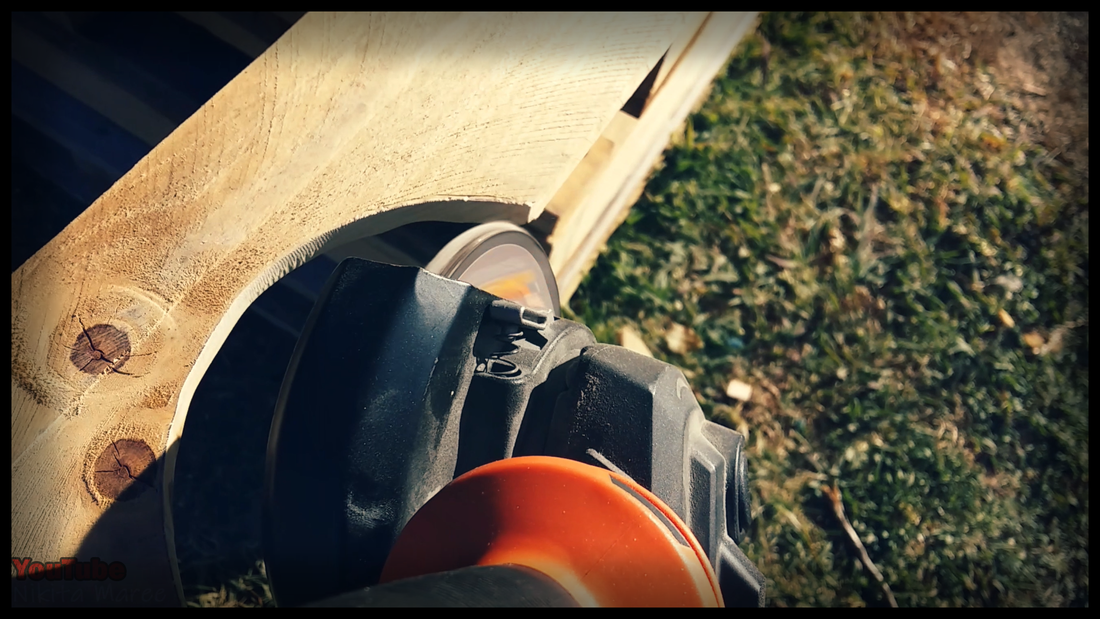
cut it out with the jigsaw and then smoothed it up with the 80 grit flappy disc on the angle grinder.
|
|
|
I used the flappy disc to smooth out the larger rough spots on the palings.
|
|
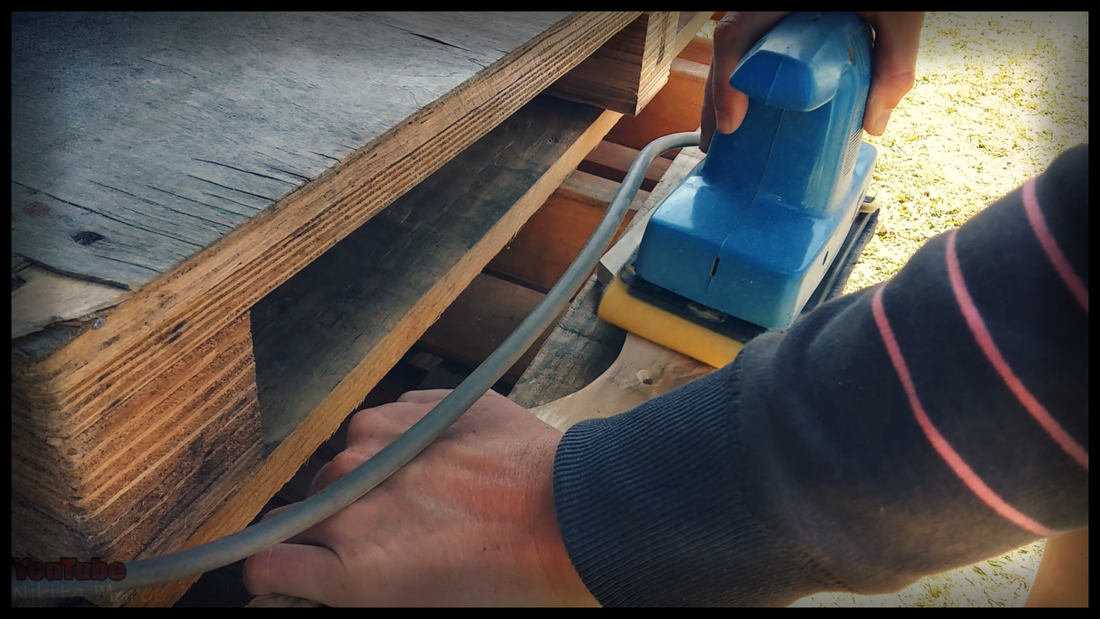
and then moved to the 120 grit on the sander.
|
|
|
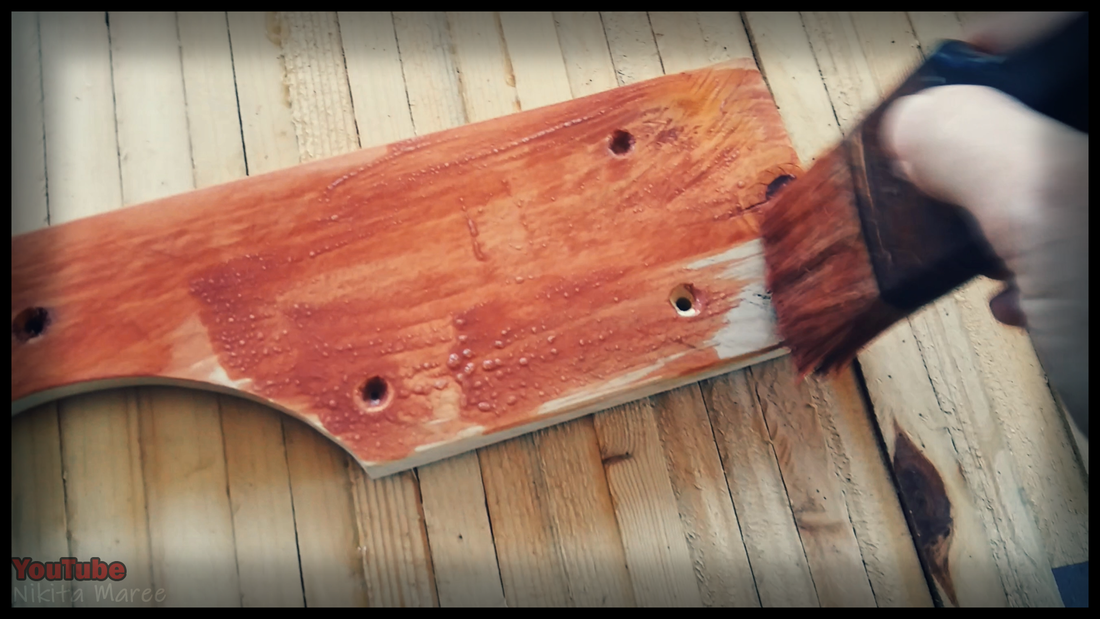
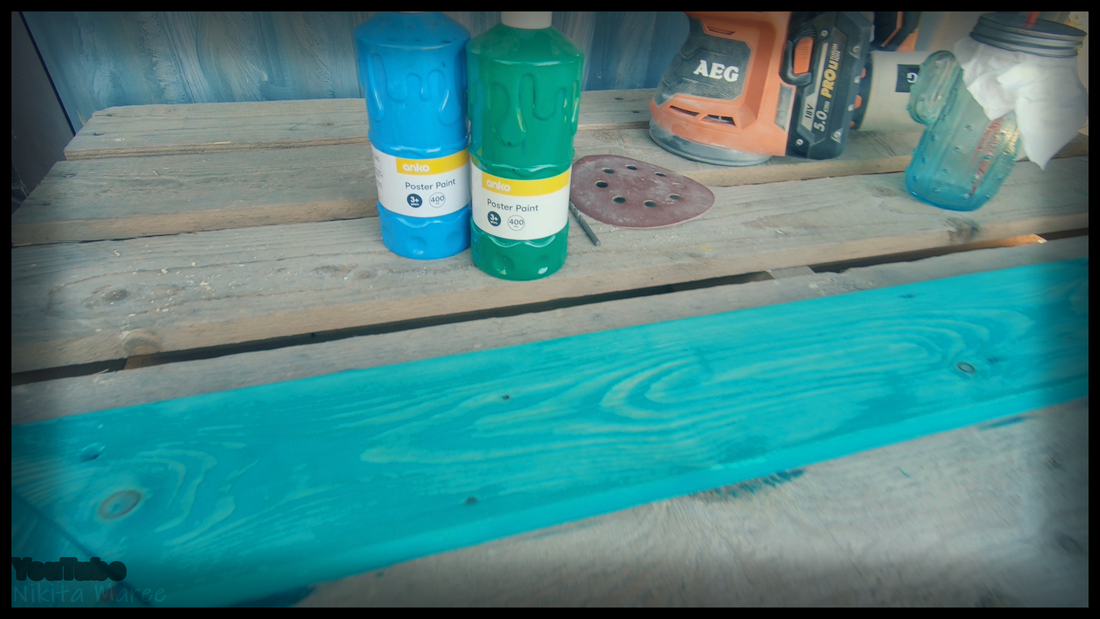
Gave it a quick coat of stain
|
|
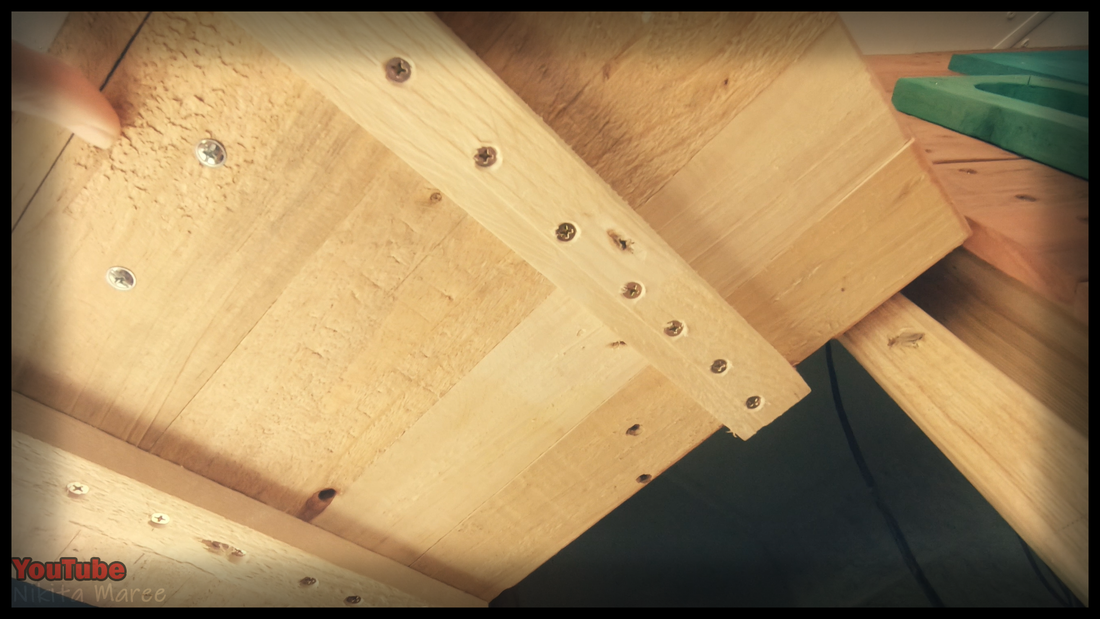
then attached all the palings.
|
|
|
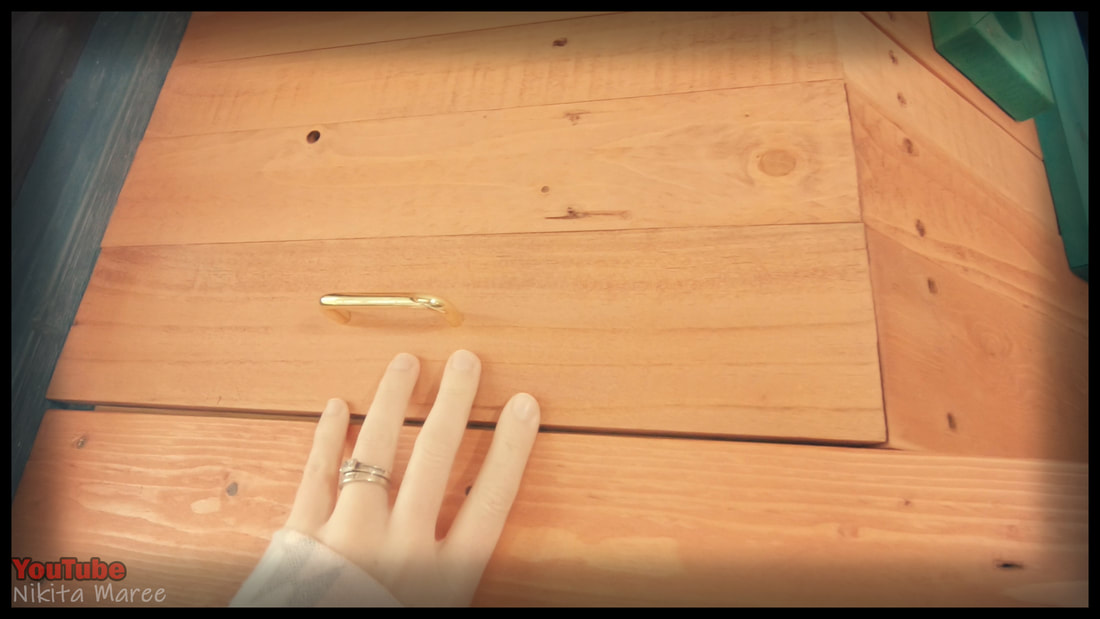
For the hinge up door,
I attached some backing strips which are just some trimmed down pallet palings. |
|
I then put on two little latches
and added a handle. |
|
|
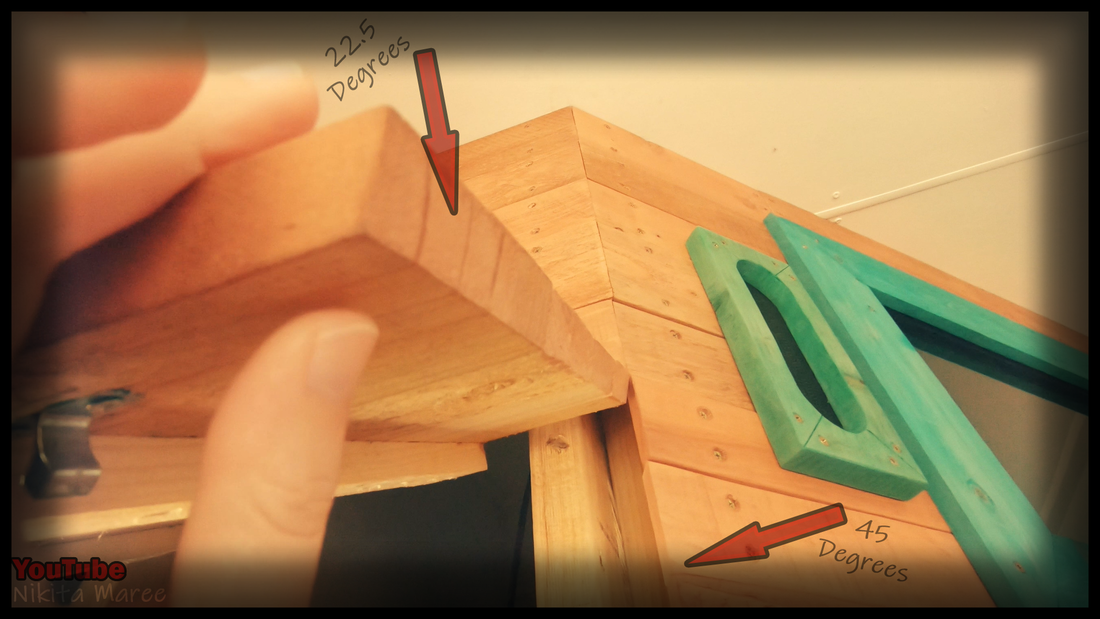
For the bass speaker side,
I cut my angles at 22.5º and for the TV side I cut those angles at 45º. |
|
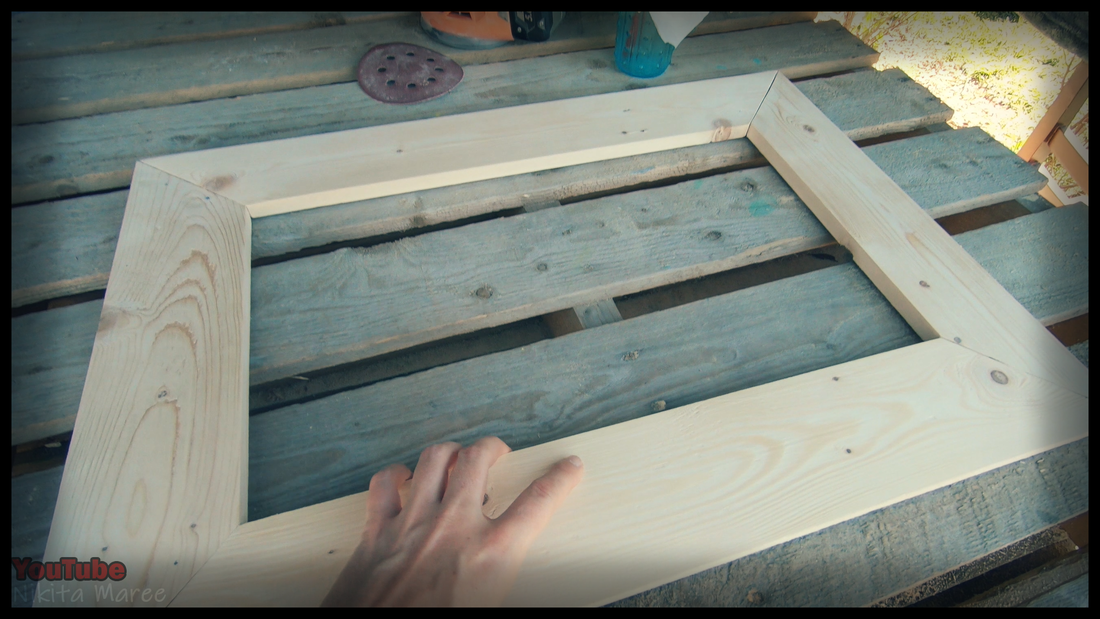
Now to cover in the front face.
|

|
|
The frame corners are cut at 45º angles.
|
|
The back of the frame is dodgy looking,
but strong. ( I was so over this build ). |
|
|
I grinded out this channel because the TV protrudes a bit along the front edge.
|
|
And then I gave it a coat of paint.
|
|
|
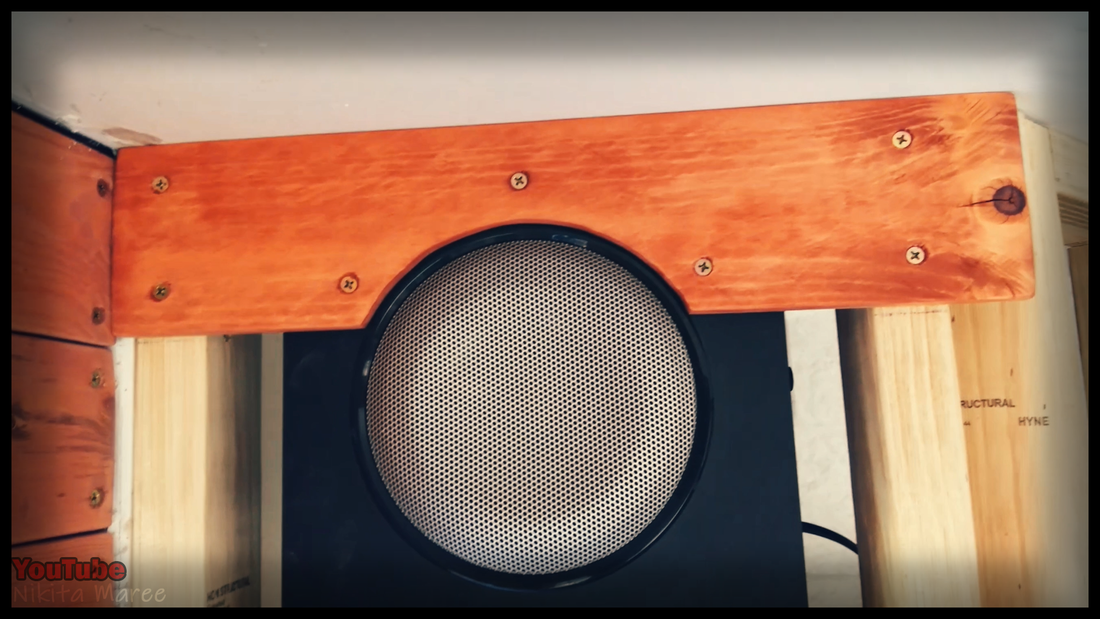
I attached the frame around the TV.
And then I also covered the sides of the cabinet. |
|
And it is done.
|
|

