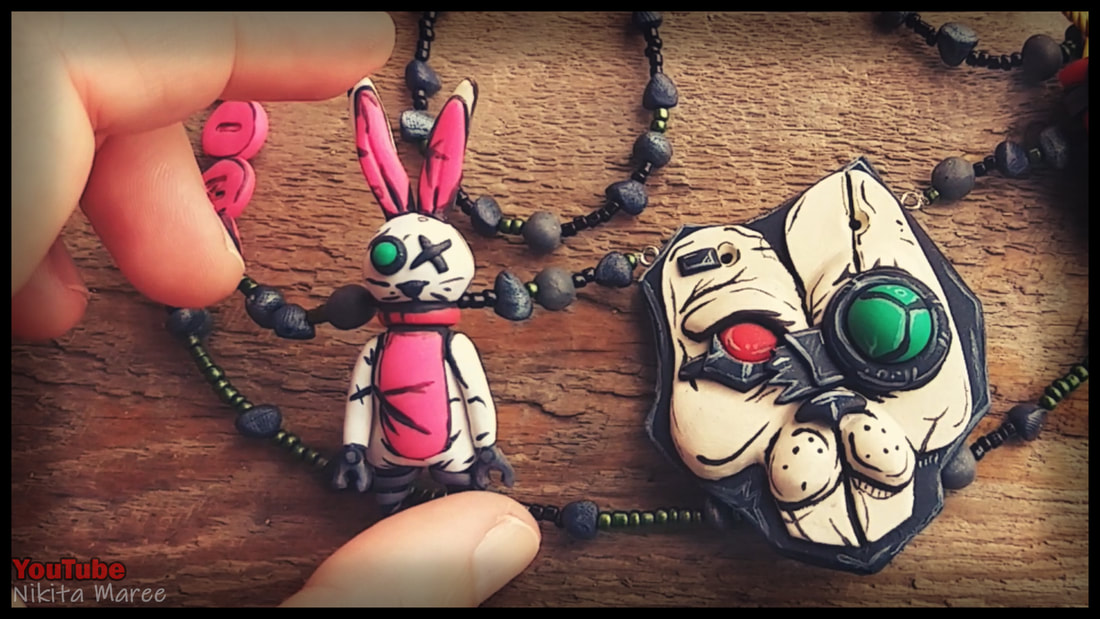
How to Make
Tiny Tina Charms
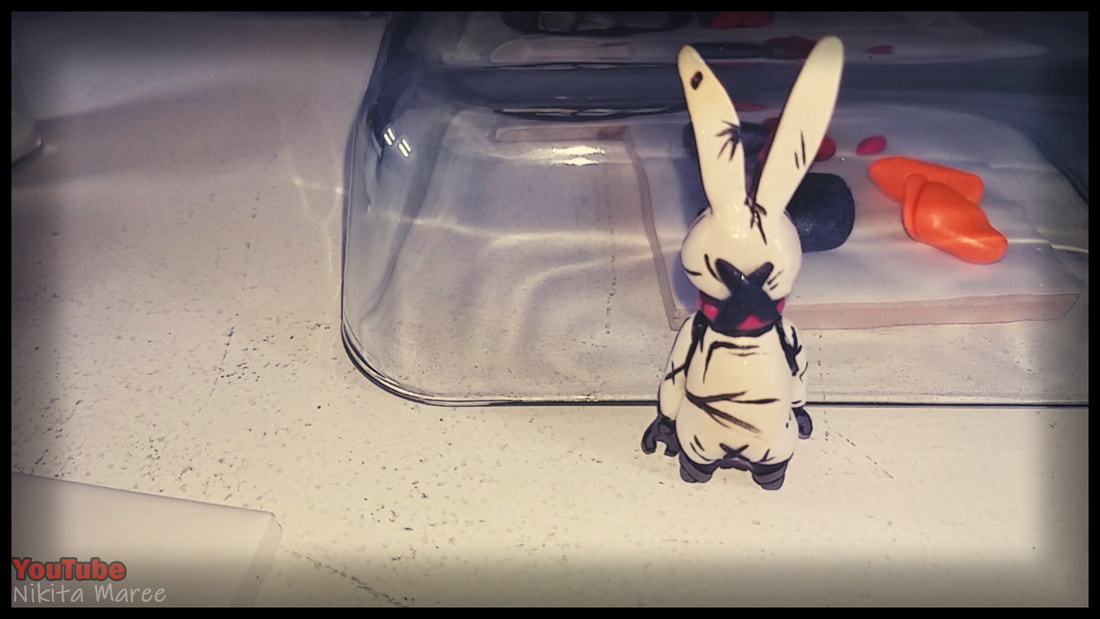
In this tutorial I will show you how to make
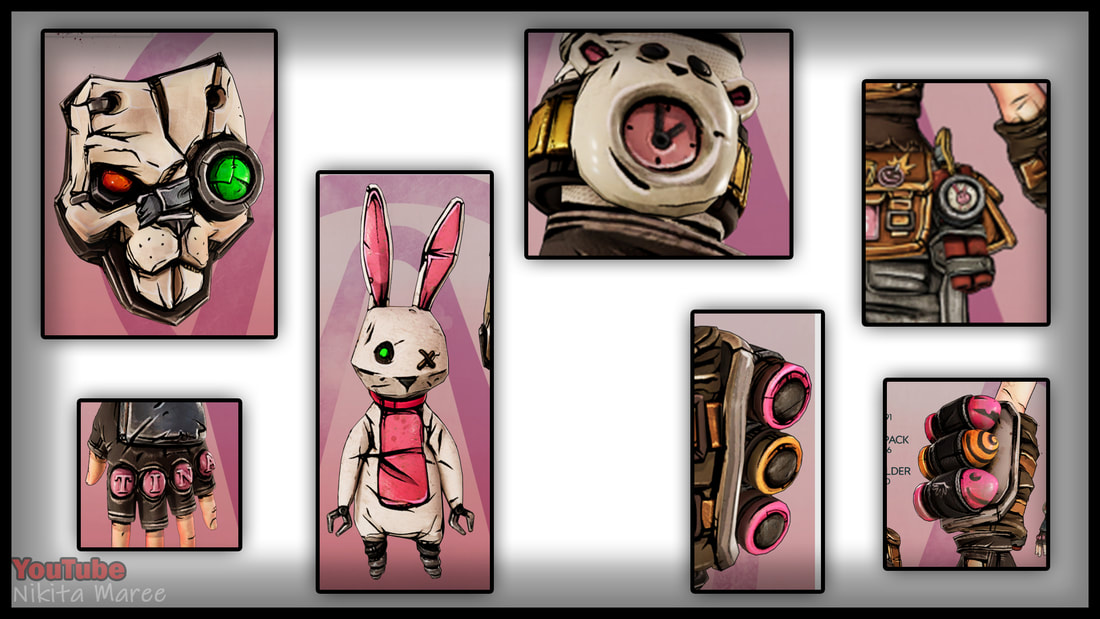
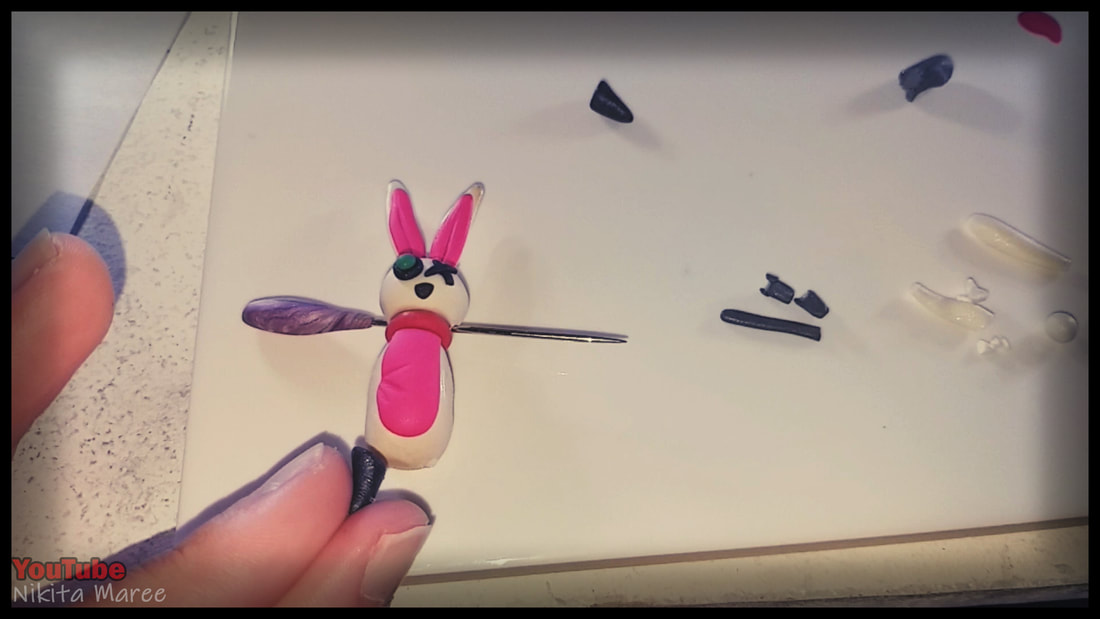
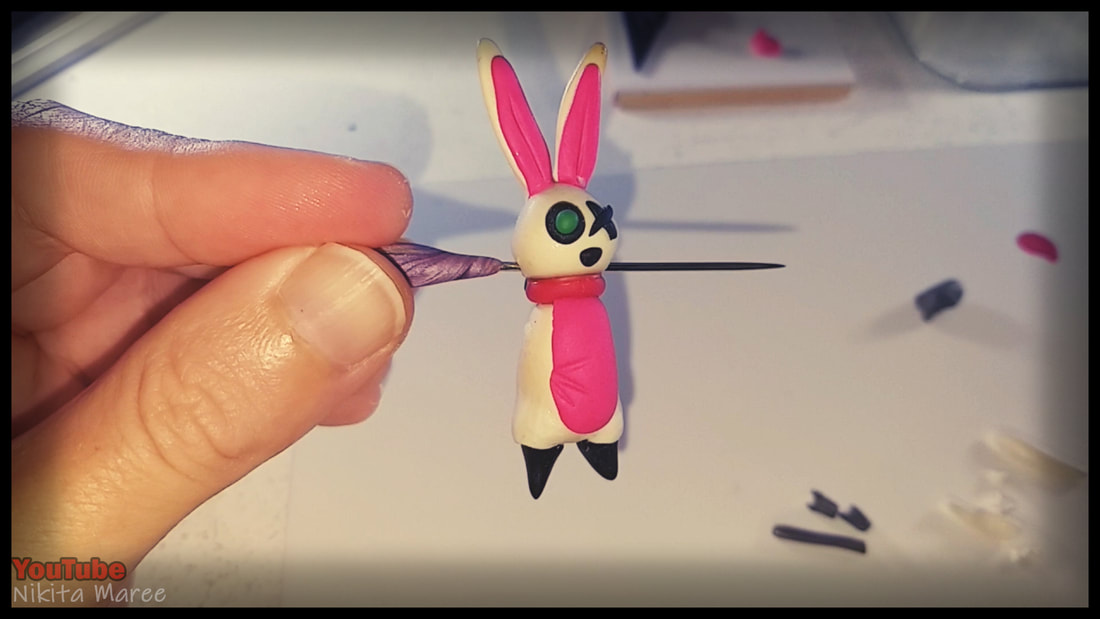
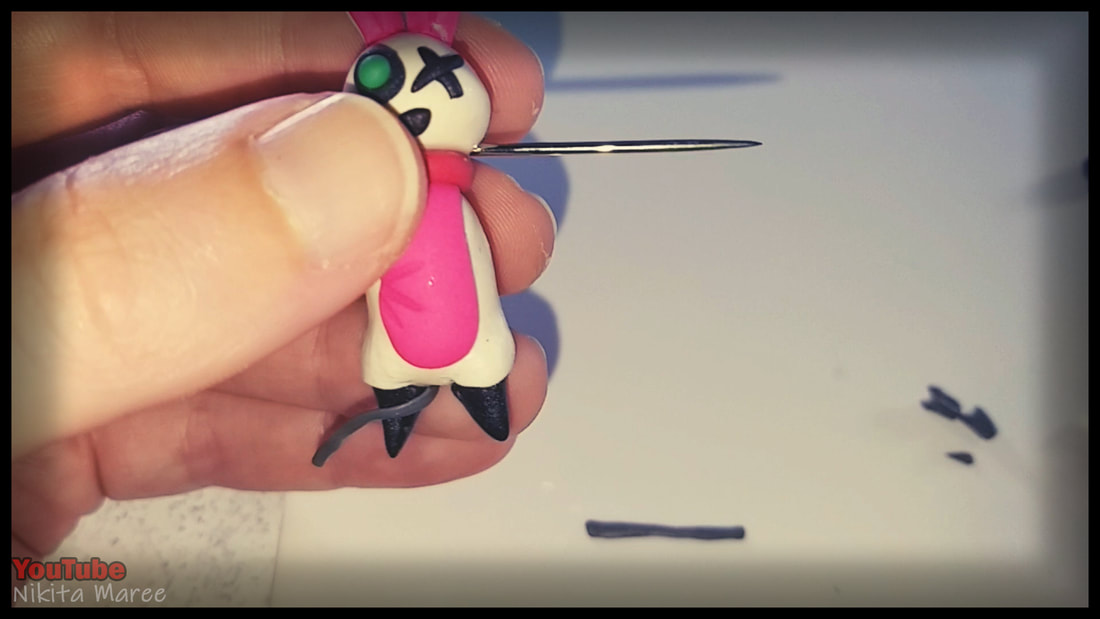
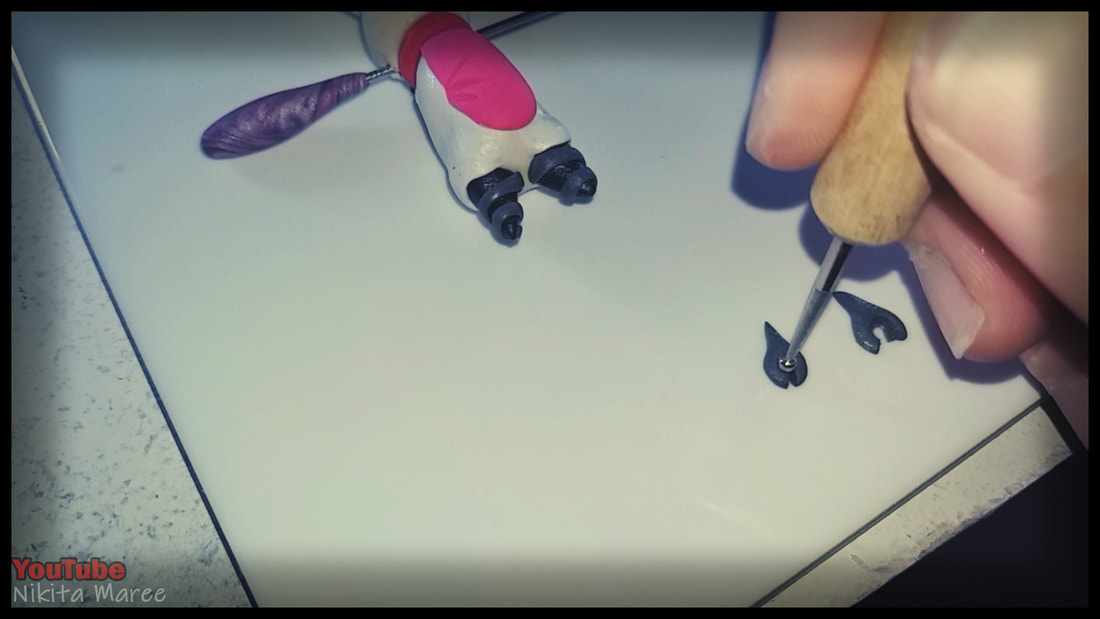
Tiny Tina's mask, her little rabbit teddy, her TNT and Tina's grenade rounds
found on her wrist. As well as some other little bits and pieces
to bring it all together. And some cell shading to make all the details pop.
Tiny Tina's mask, her little rabbit teddy, her TNT and Tina's grenade rounds
found on her wrist. As well as some other little bits and pieces
to bring it all together. And some cell shading to make all the details pop.
|
Starting with Tina's mask.
|

|
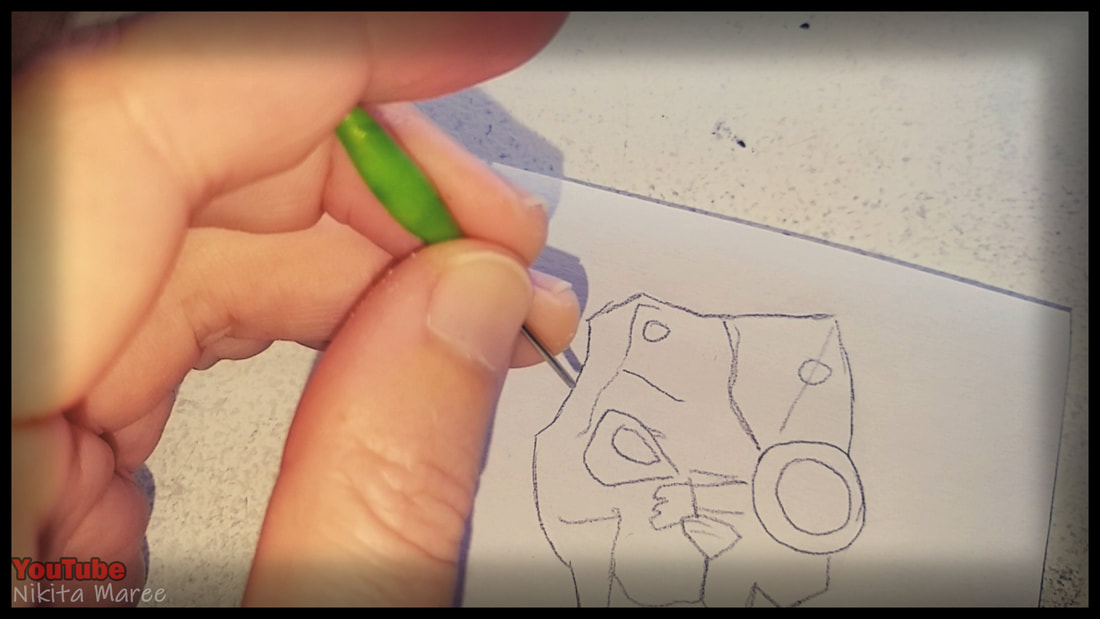
Took some screen shots,
and made a reference board in Photoshop. |
|
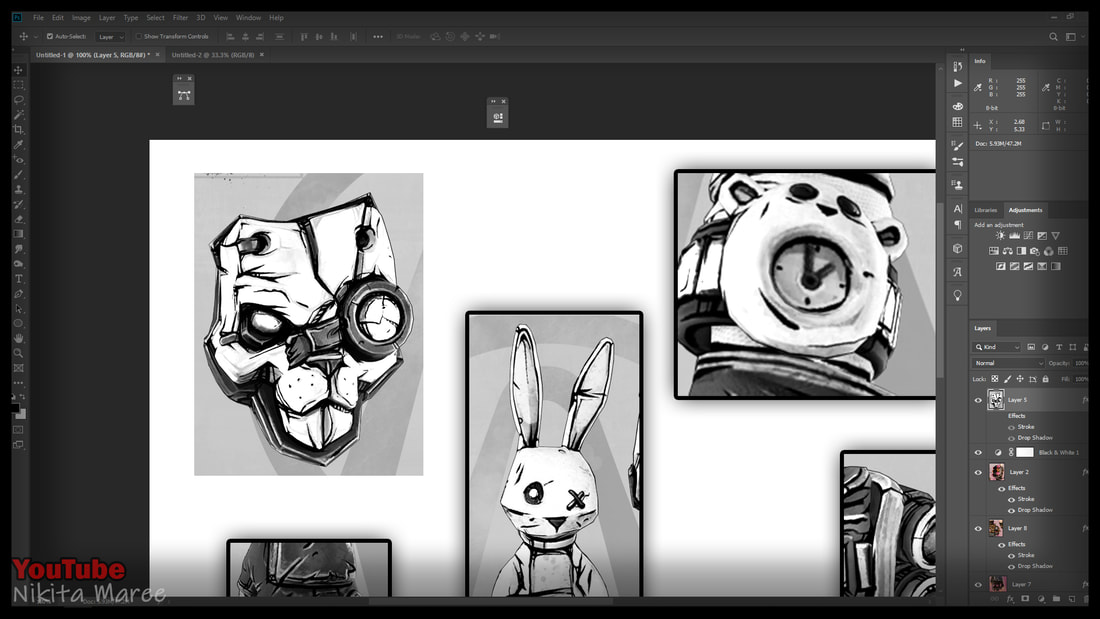
Turned everything to black and white.
To minimize distractions. |
|
|
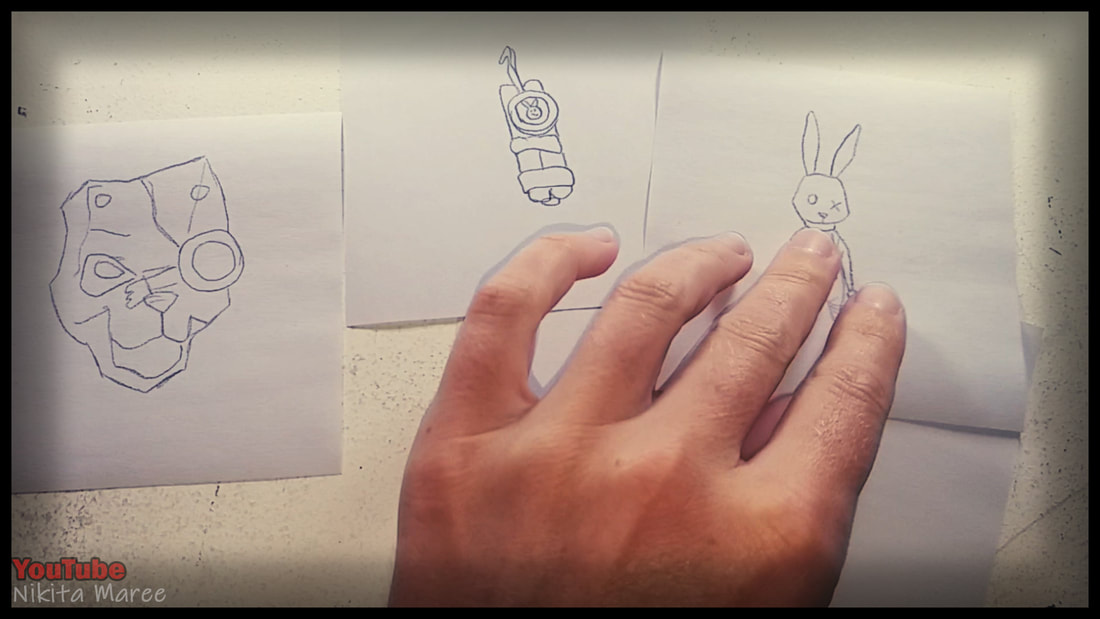
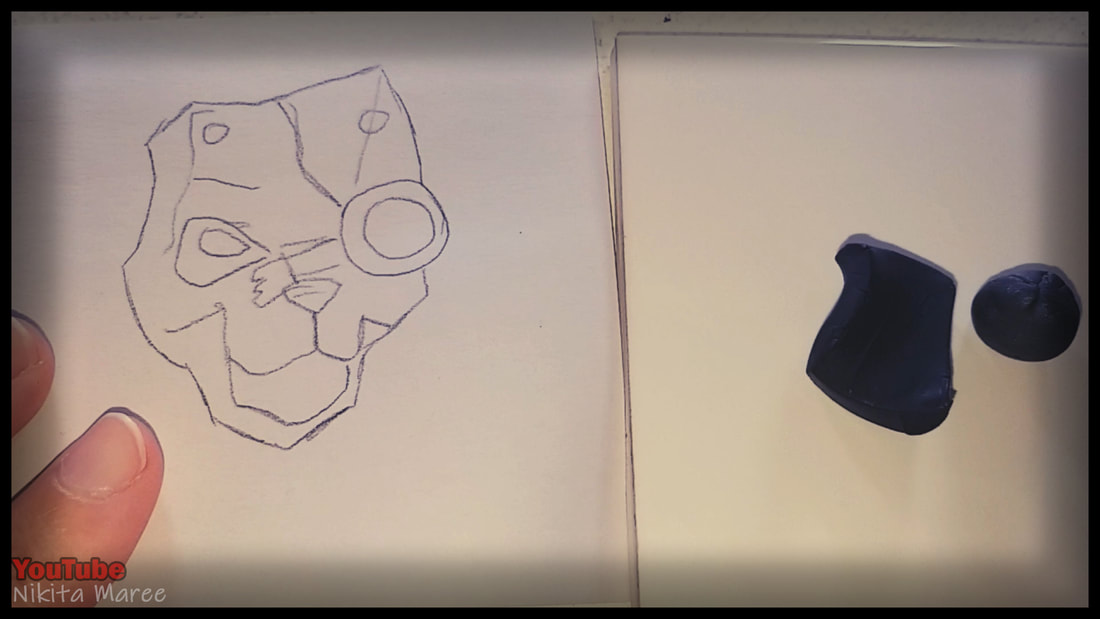
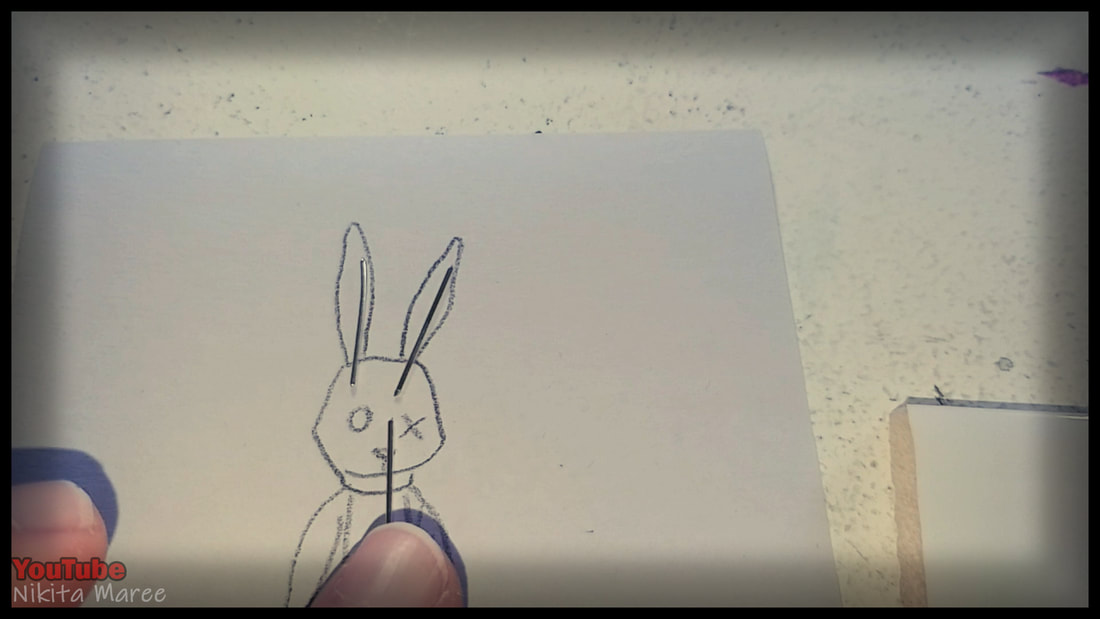
Made some rough sketches,
to the size I wanted each piece. |
|
Starting with the base of the mask.
I mixed in some black and graphite pearl. |
|
|
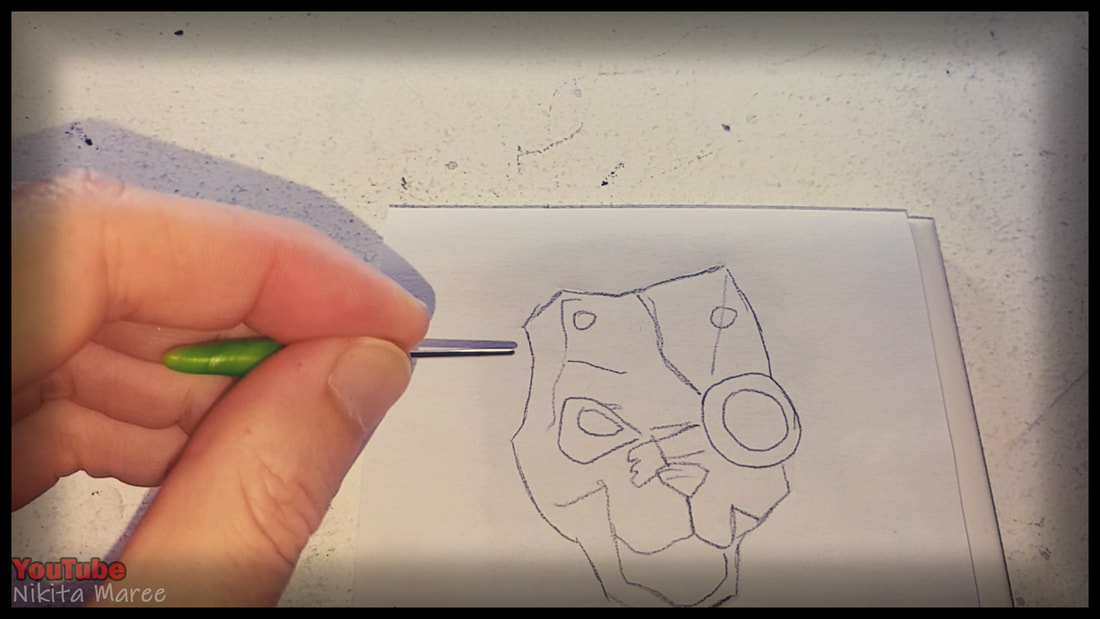
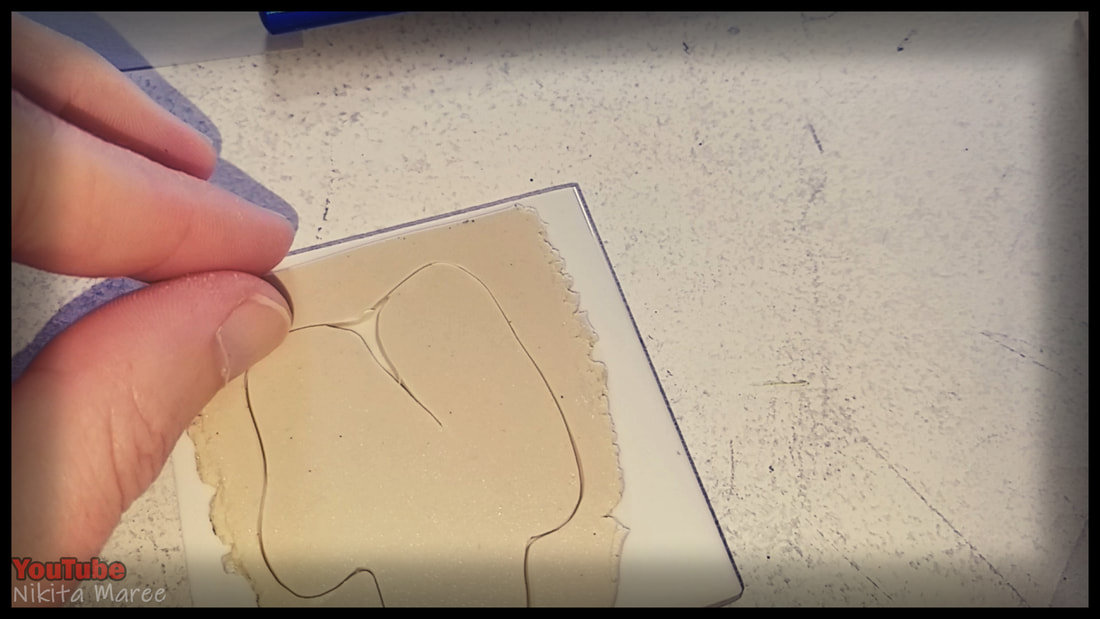
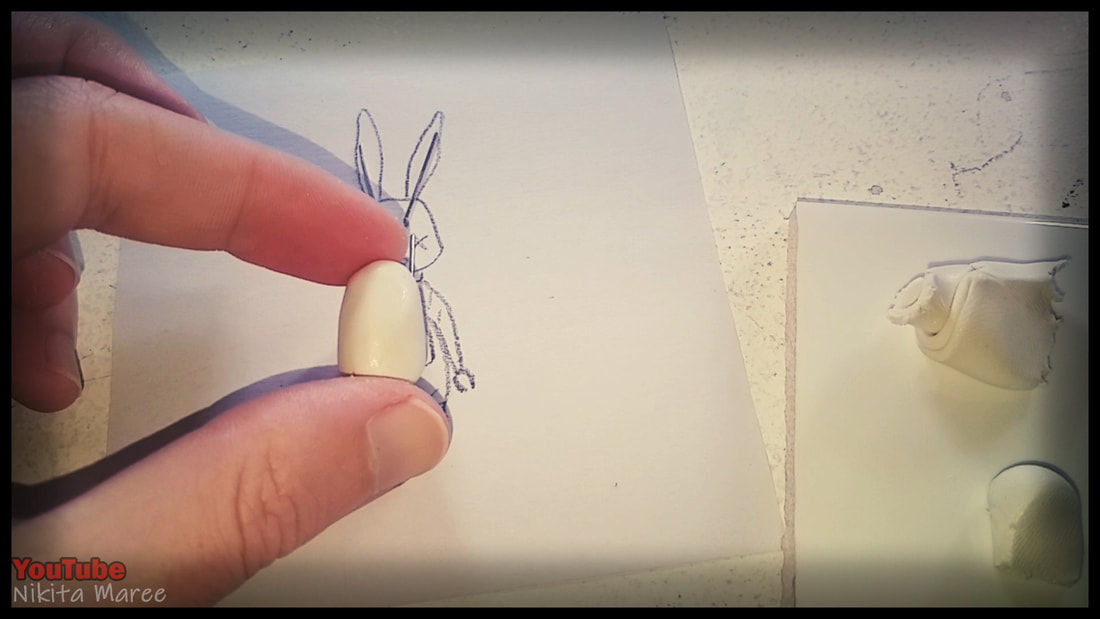
Lay the paper over the sheet of clay
and trace around it with a blunt needle tool. Leaving a light impression. |
|
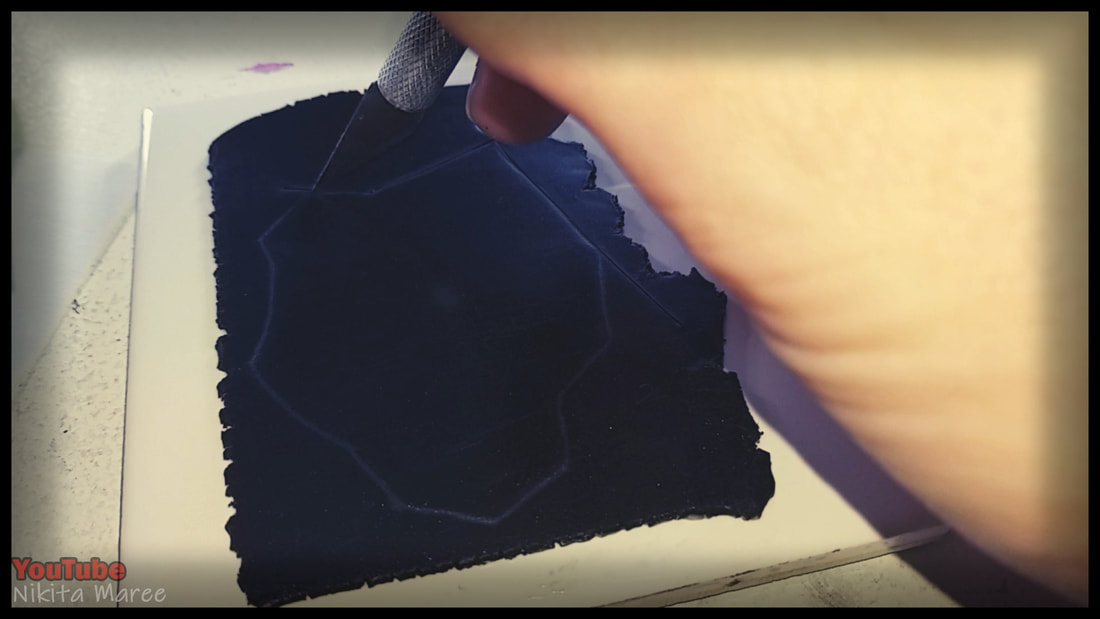
Cut out the shape with a scalpel.
|
|
|
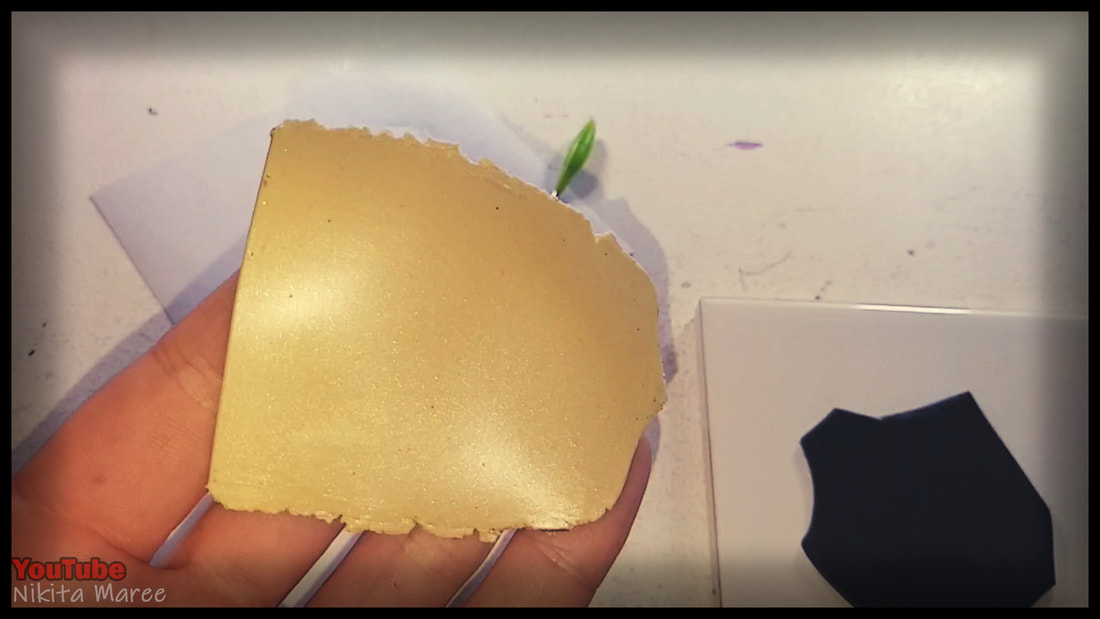
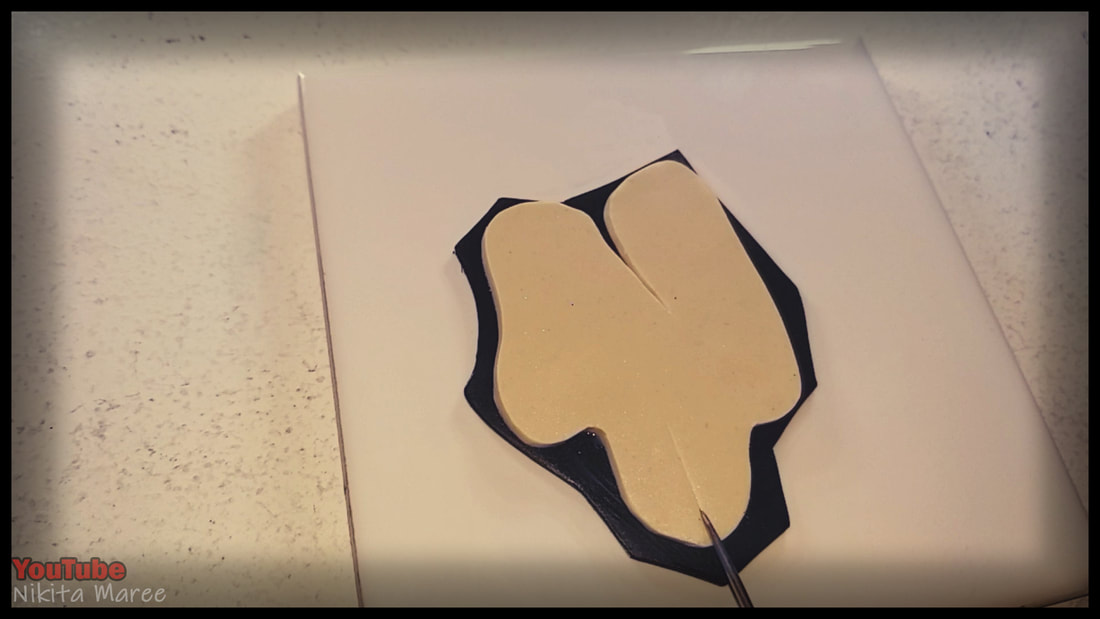
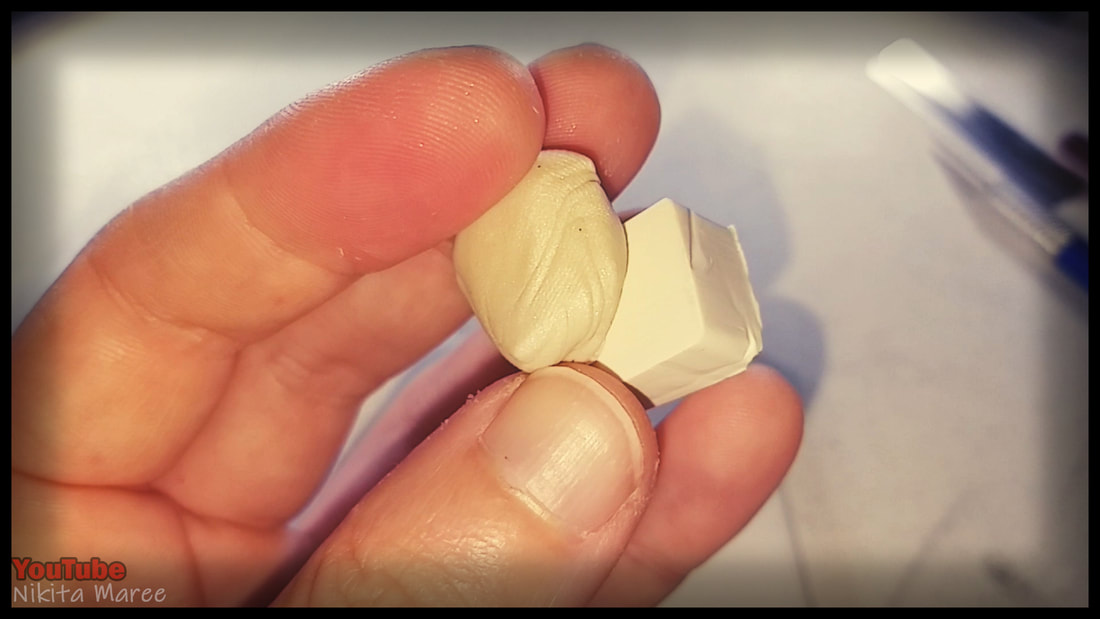
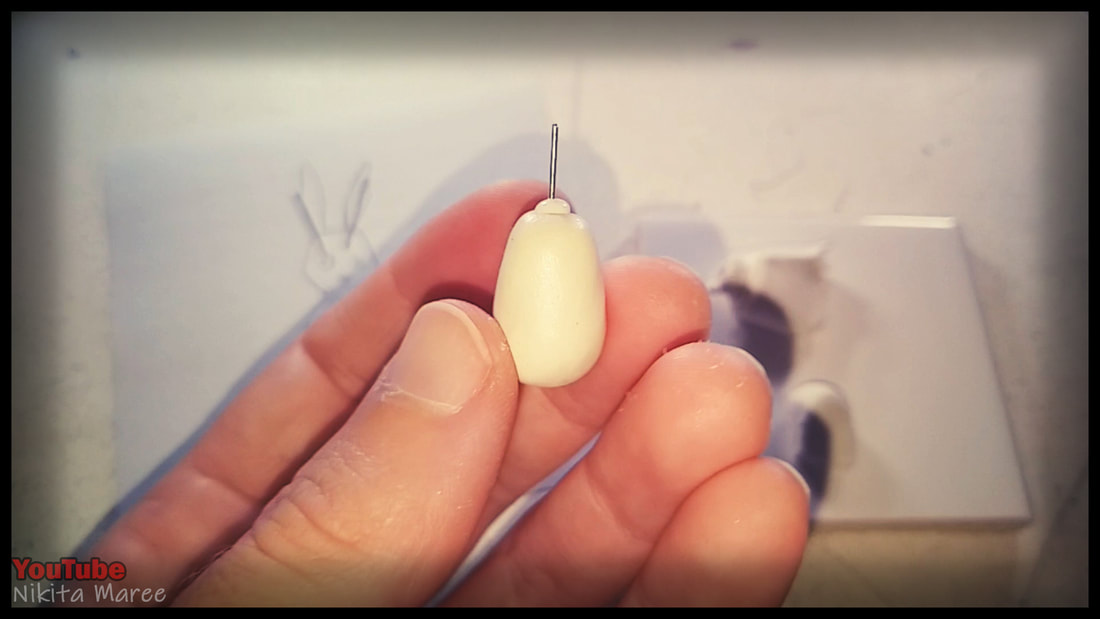
I mixed pearl and ecru, to create a bone color.
Then rolled into a thin sheet. |
|
Tracing around again.
But this time coming in a couple of mm from the edge. |
|
|
Cut out any extra detail with the scalpel.
|
|
Lay that sheet on top of the black and
start marking on some of the basic shapes. |
|
|
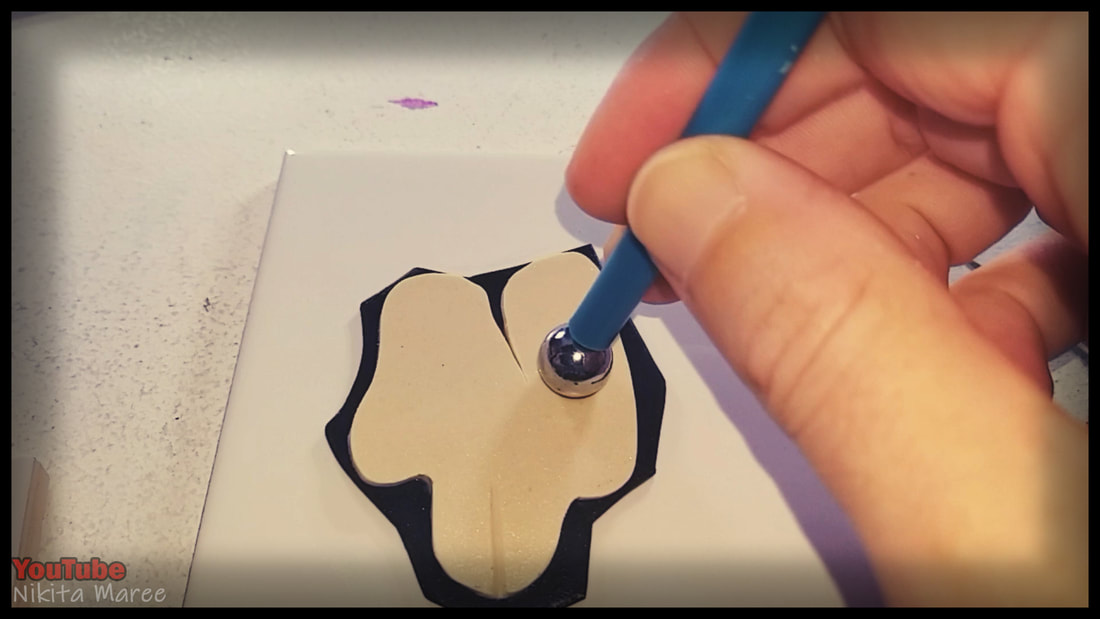
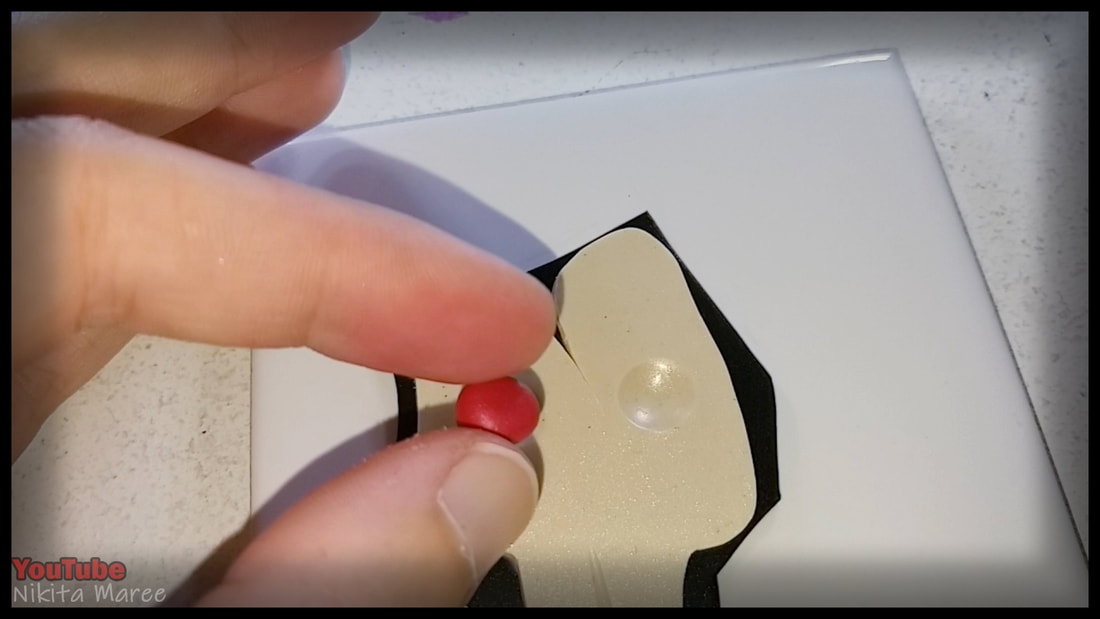
Use a ball tool to mark out were
you want the eyes to go. |
|
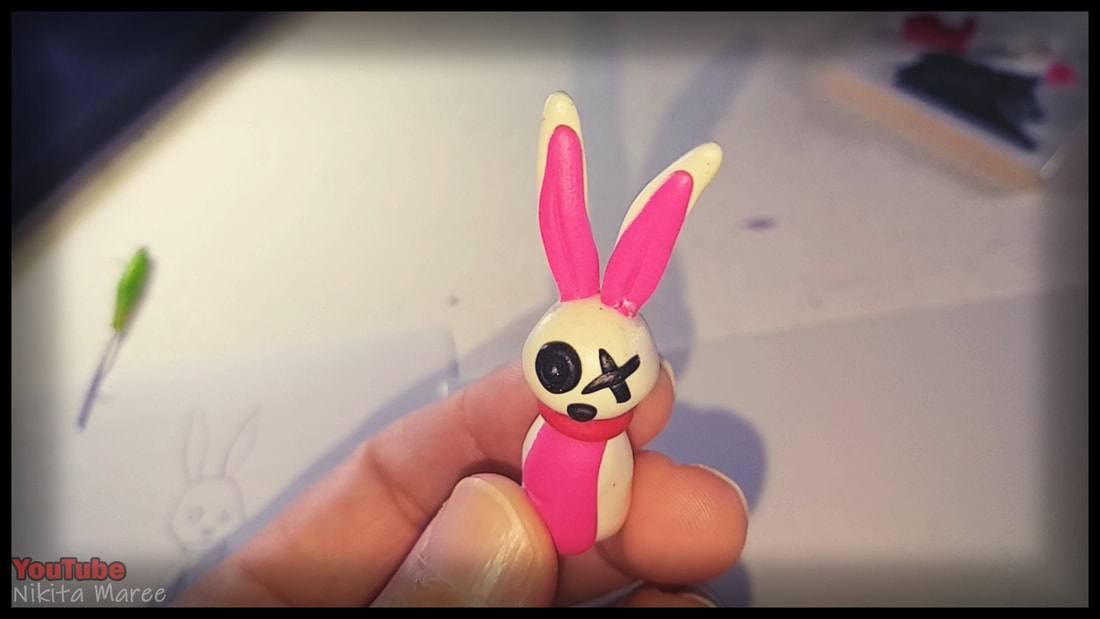
The left eye is red, and is smaller
than the eye on the right. |
|
|
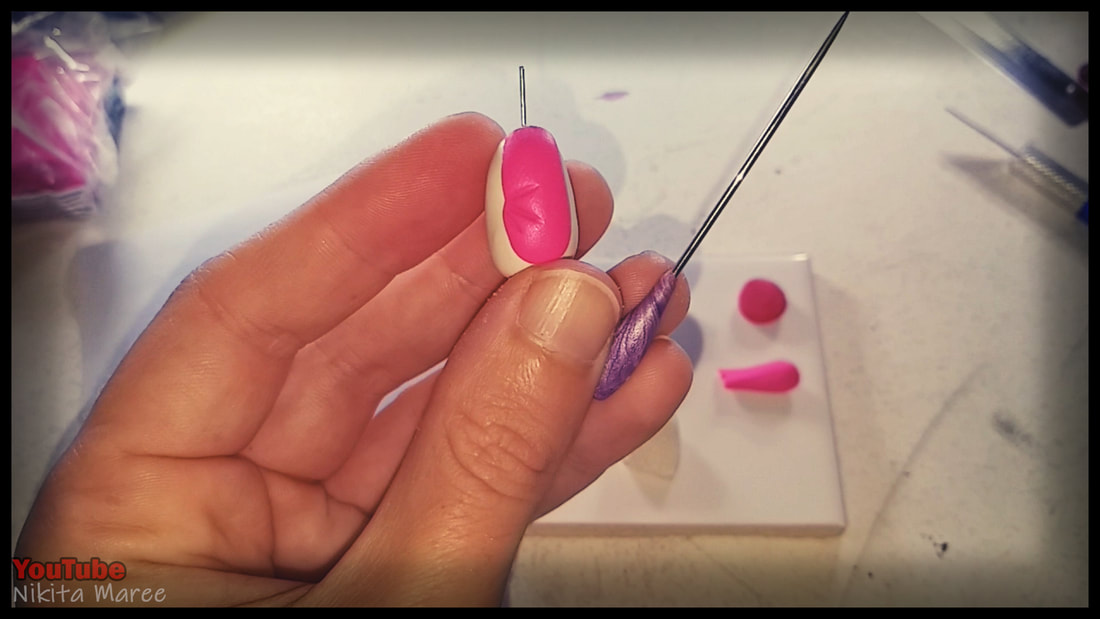
Cut out a heart shape for the cheeks.
And blend that to the base. |
|
Rolled out a short piece for
the eyebrow bone. |
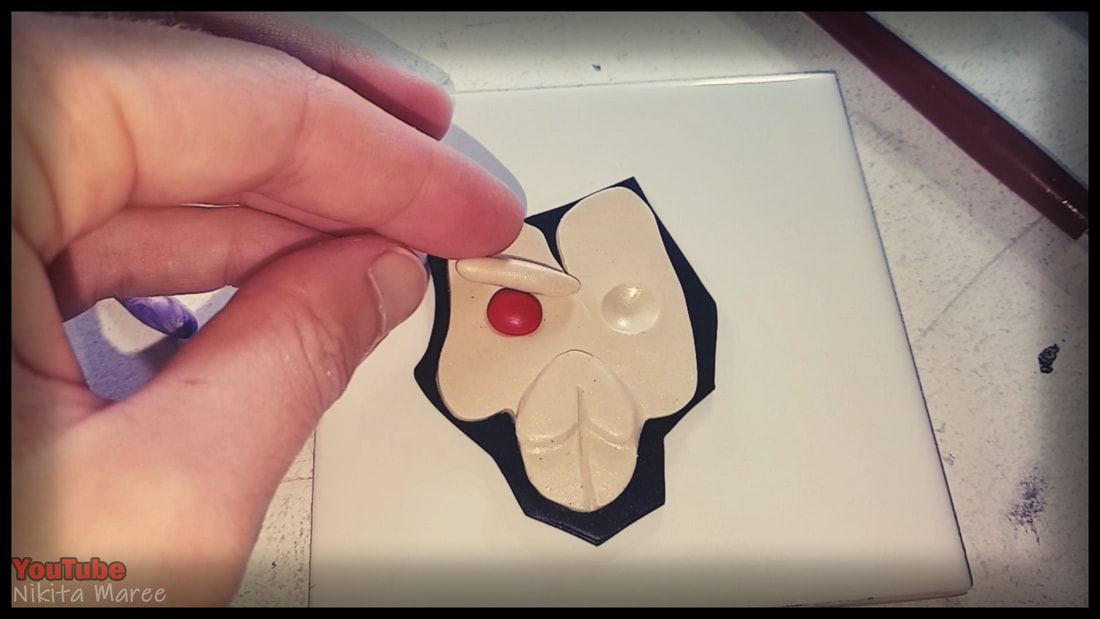
|
|
Blended the top edge to the base.
|
|
Sculpted a thick V shape
for the cheek bone. |

|
|
Rolled out a short, thicker piece
for the right eyebrow bone. |
|
Work on making that eye socket larger.
|
|
|
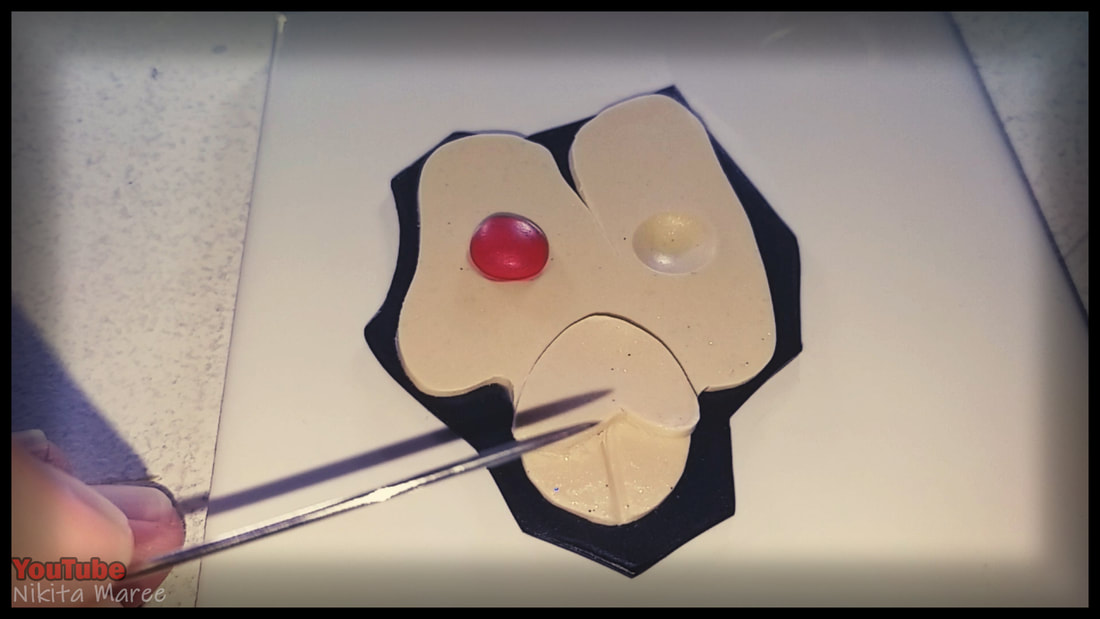
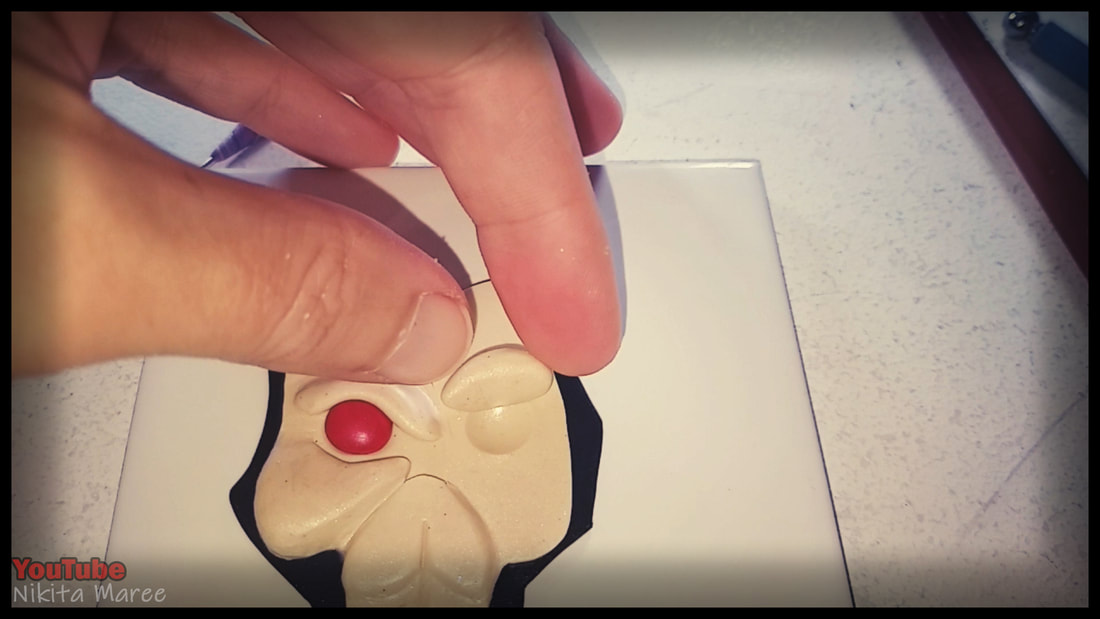
Cut out a (this shape) for under the red eye.
And also raise the cheeks by adding some small ovals. Then blend them in. |
|
Then add a little nose shape.
|
|
|
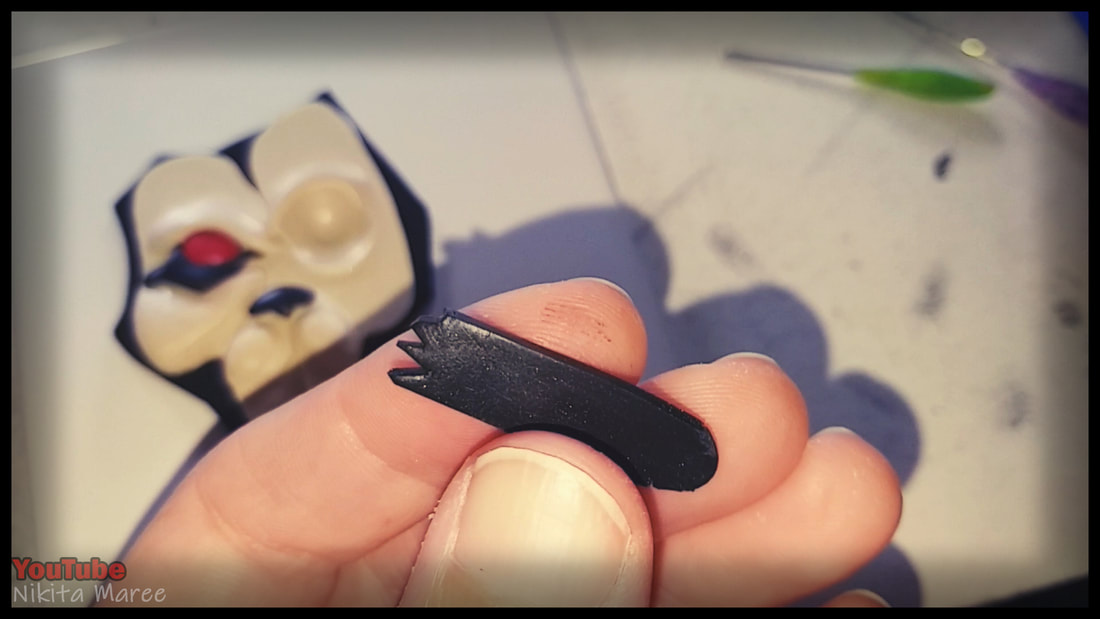
For the strip across the nose.
Cut out some jagged pieces from one end of a strip of clay. |
|
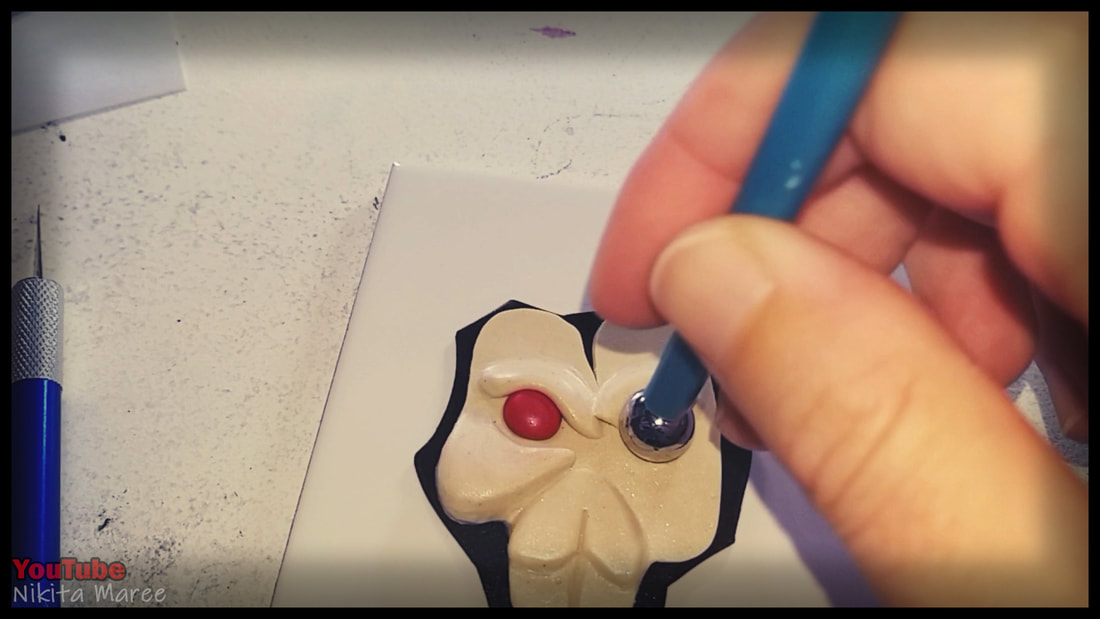
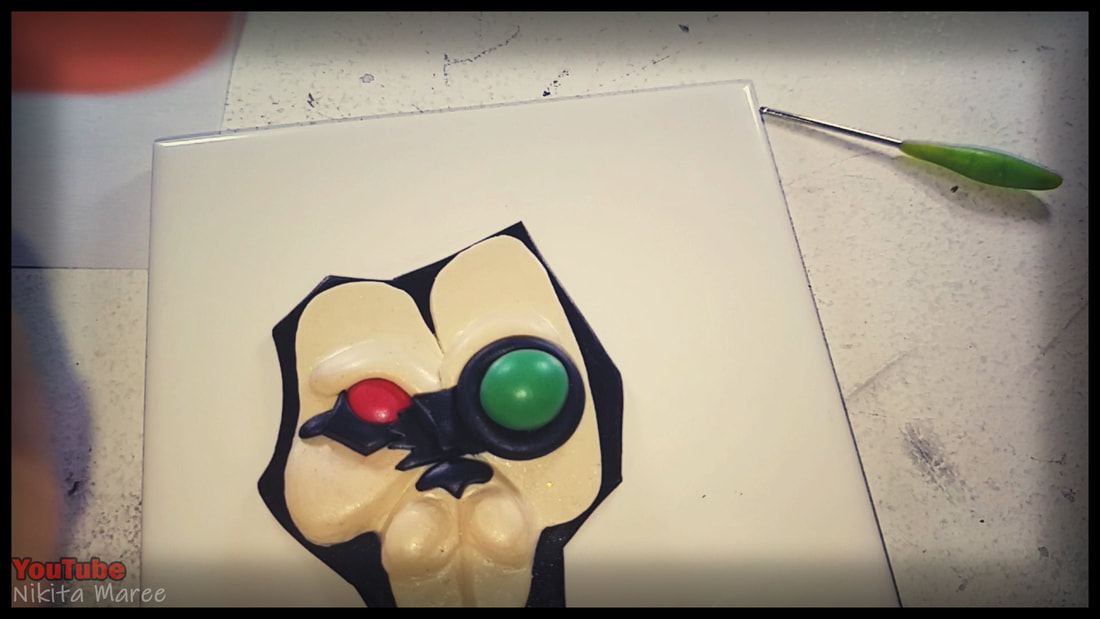
Use 2 different size circle cutters,
to make a ring for around the right eye. |
|
|
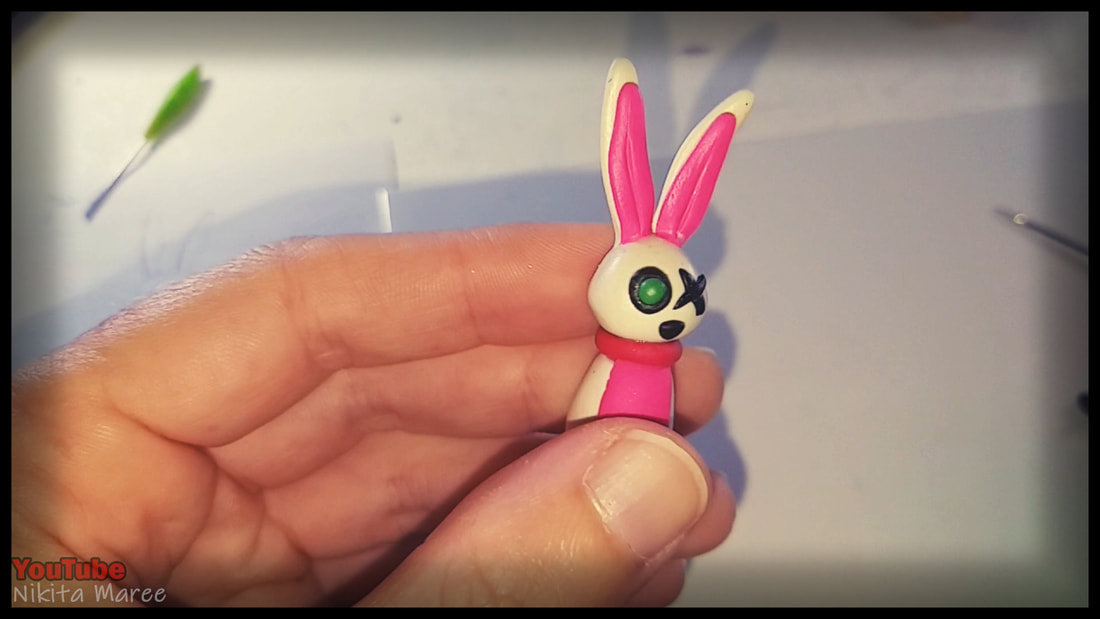
Add a green ball to the center of that ring.
|
|
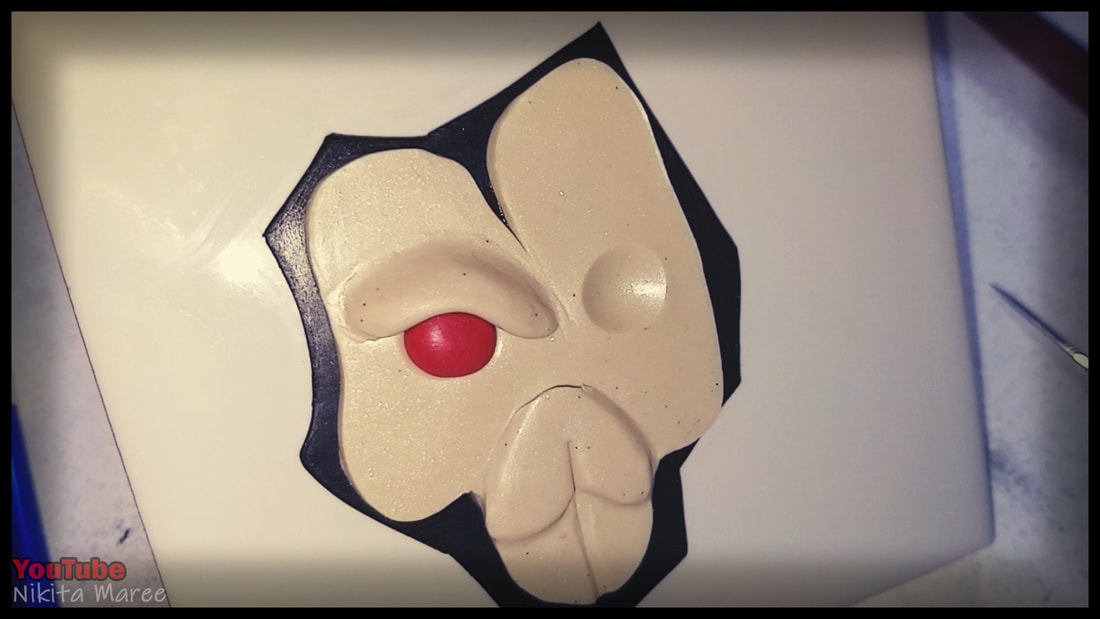
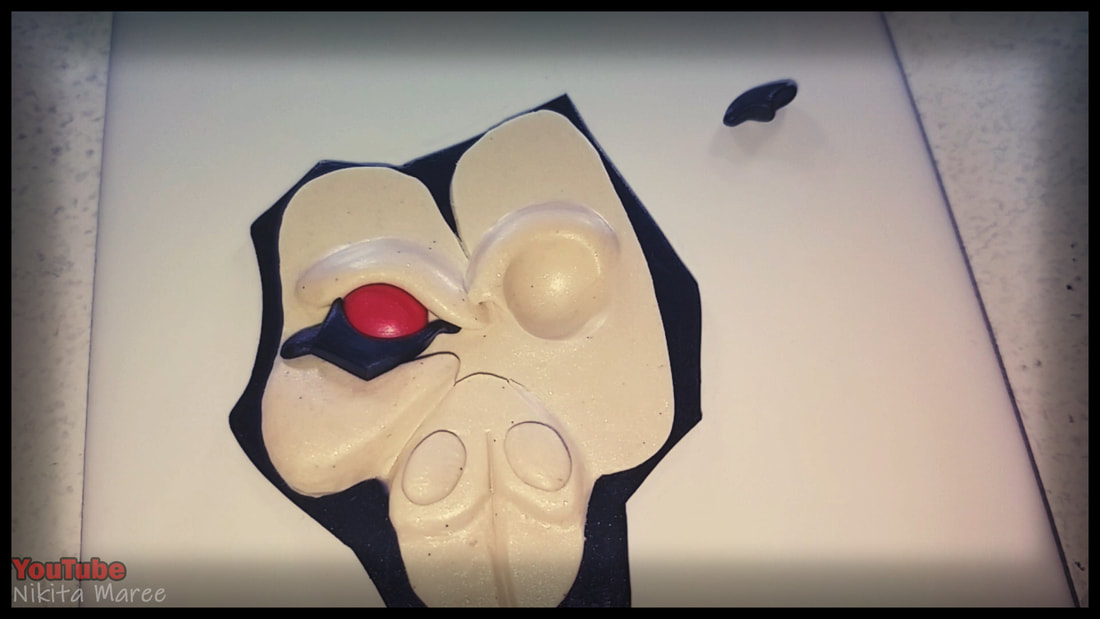
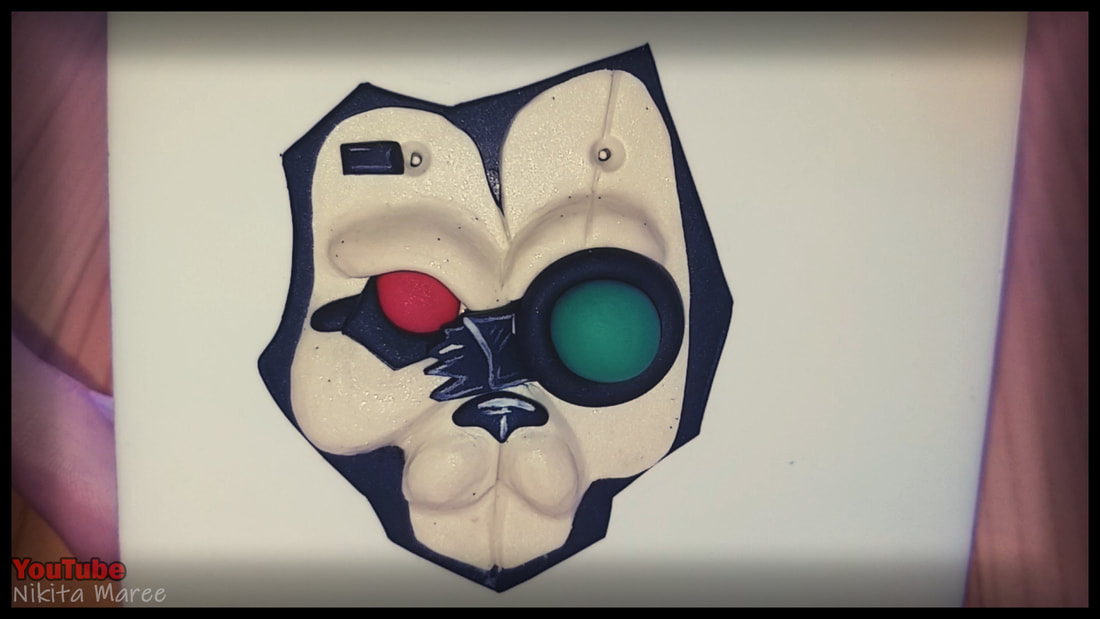
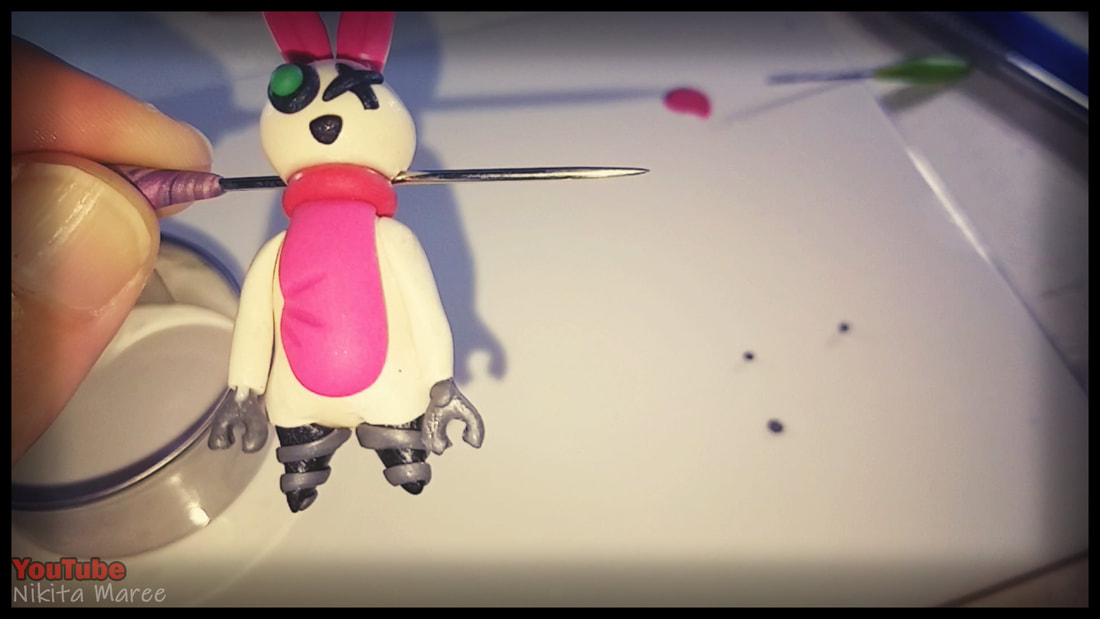
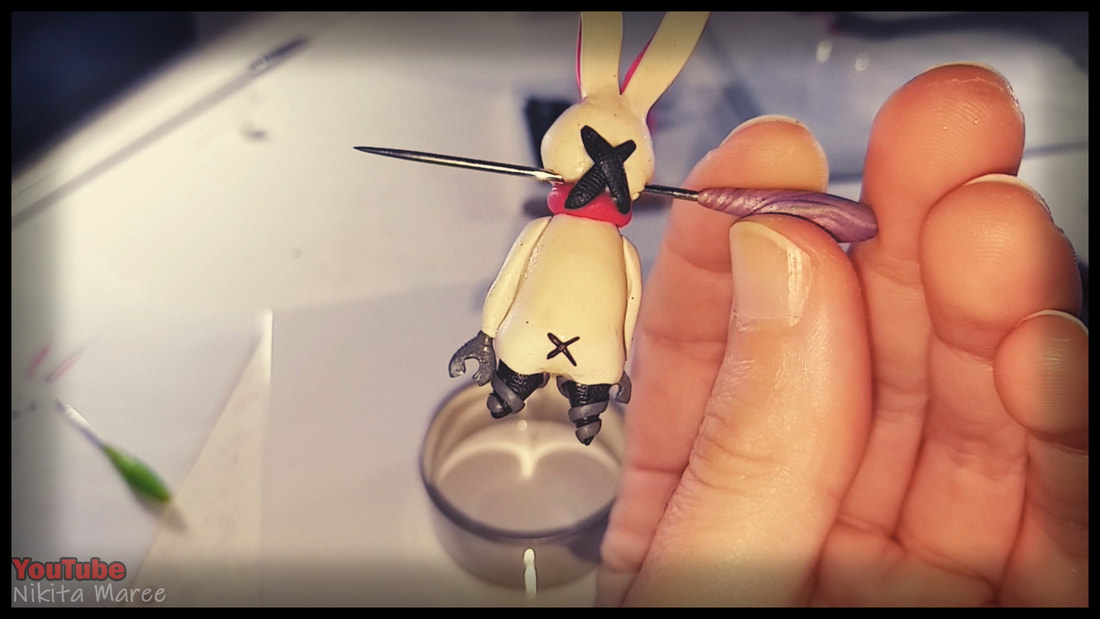
Marking out some more of the details.
And shortening up the bottom of the jaw a little. |
|
|
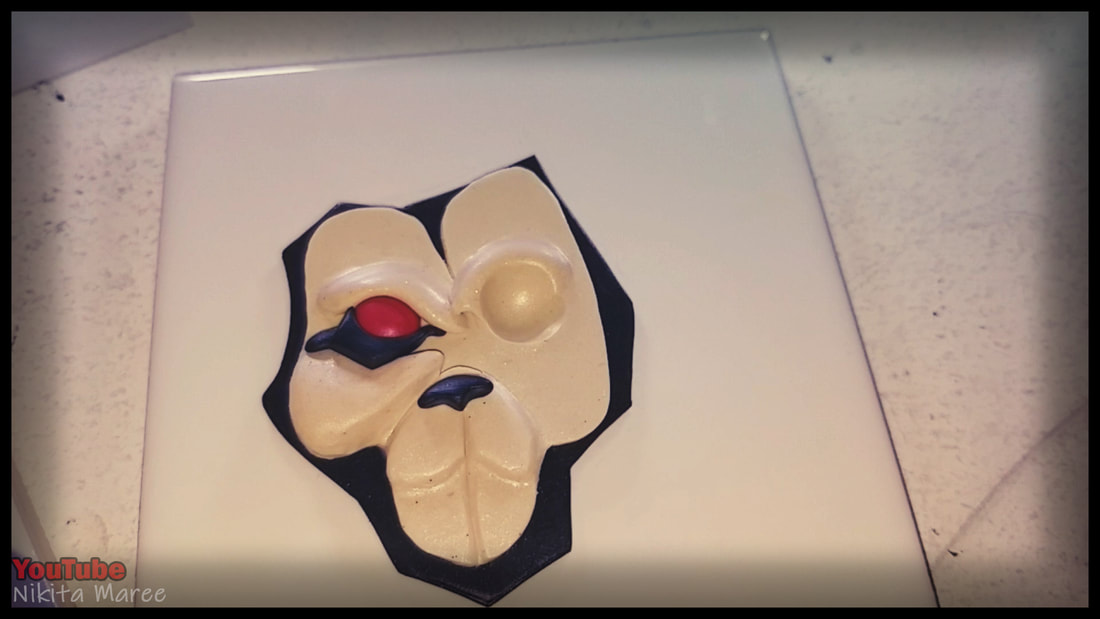
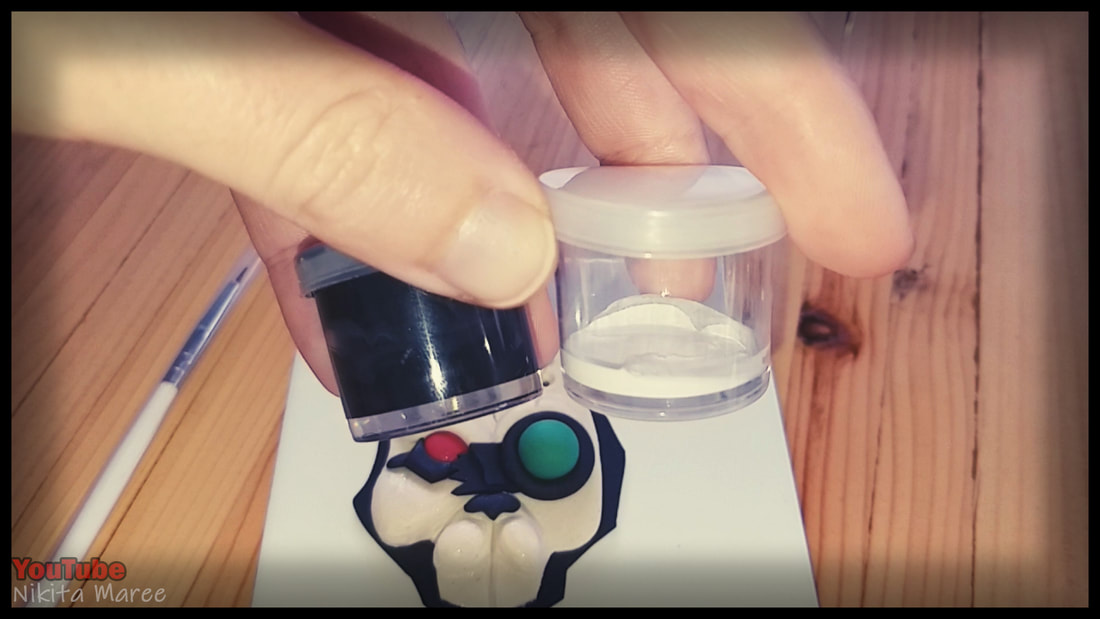
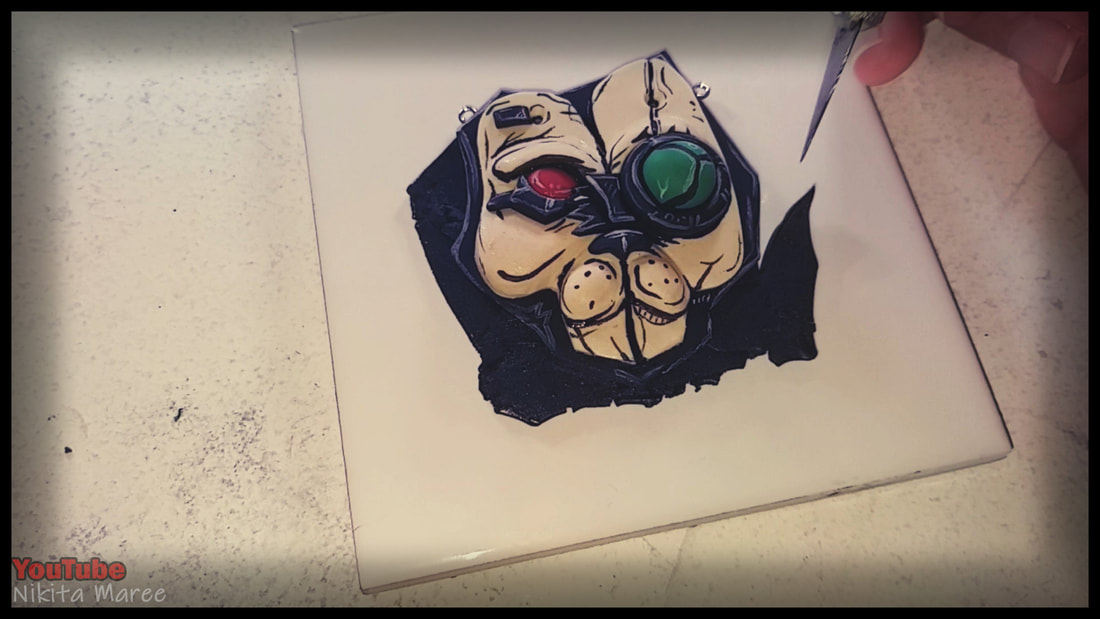
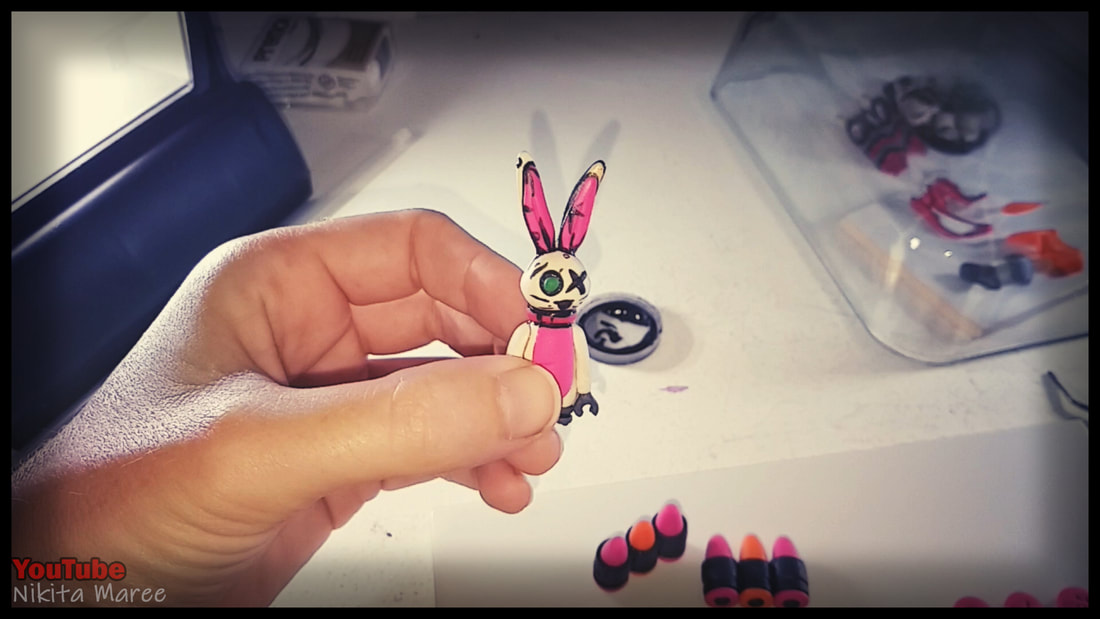
Now that it is baked. It is time to paint.
Use Black and White acrylic paint. |
|
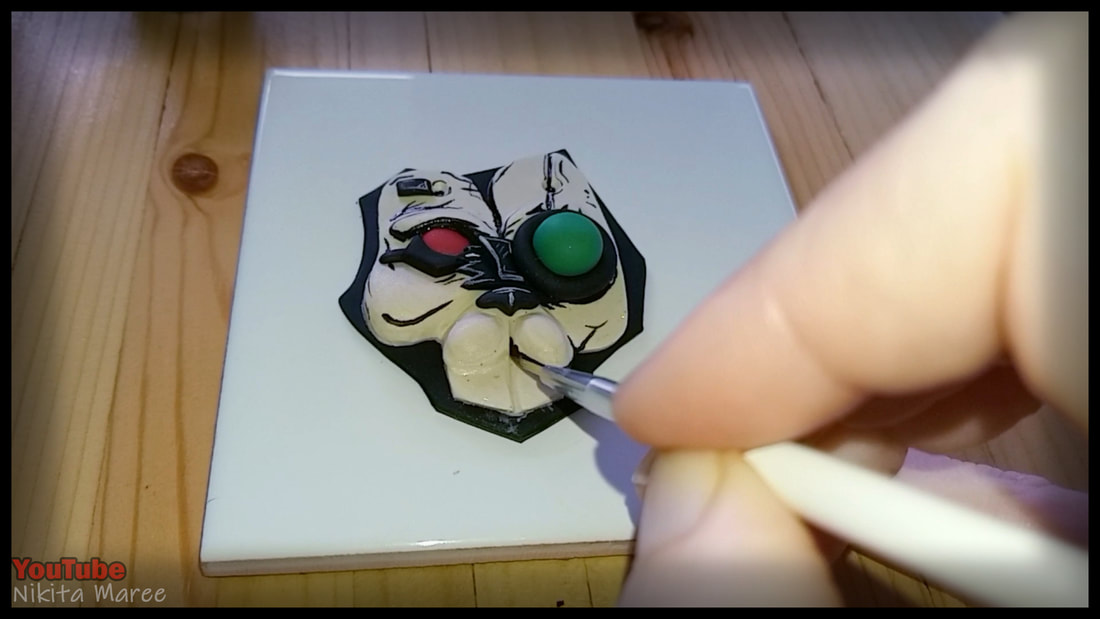
I started with the white details.
|
|
|
Moved onto the black details.
Keep looking back to the reference images. |
|
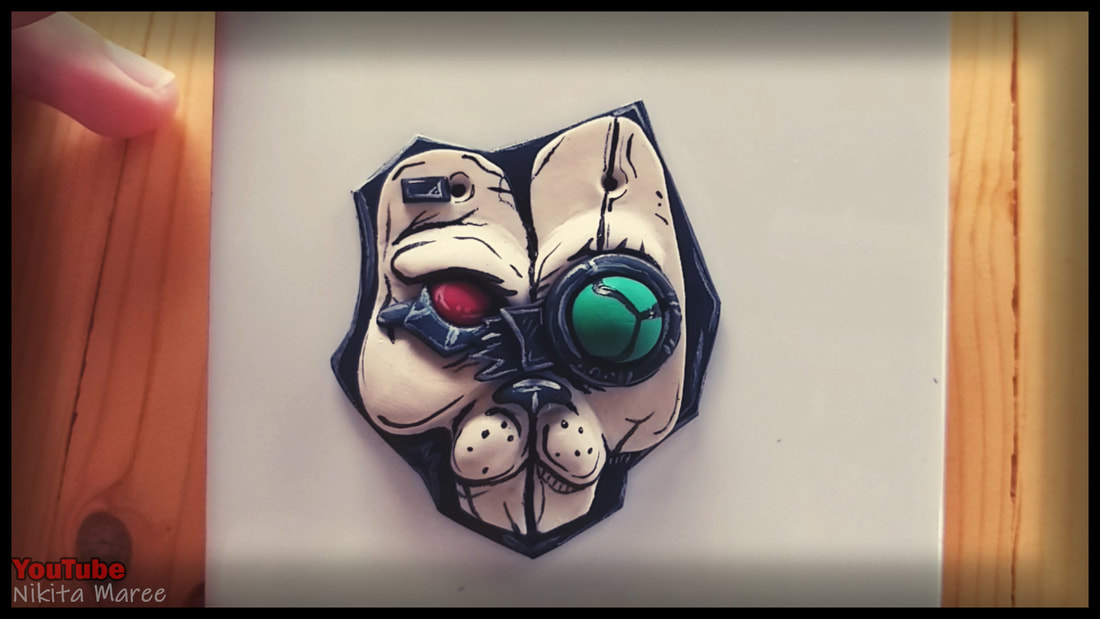
Let the paint dry.
|
|
|
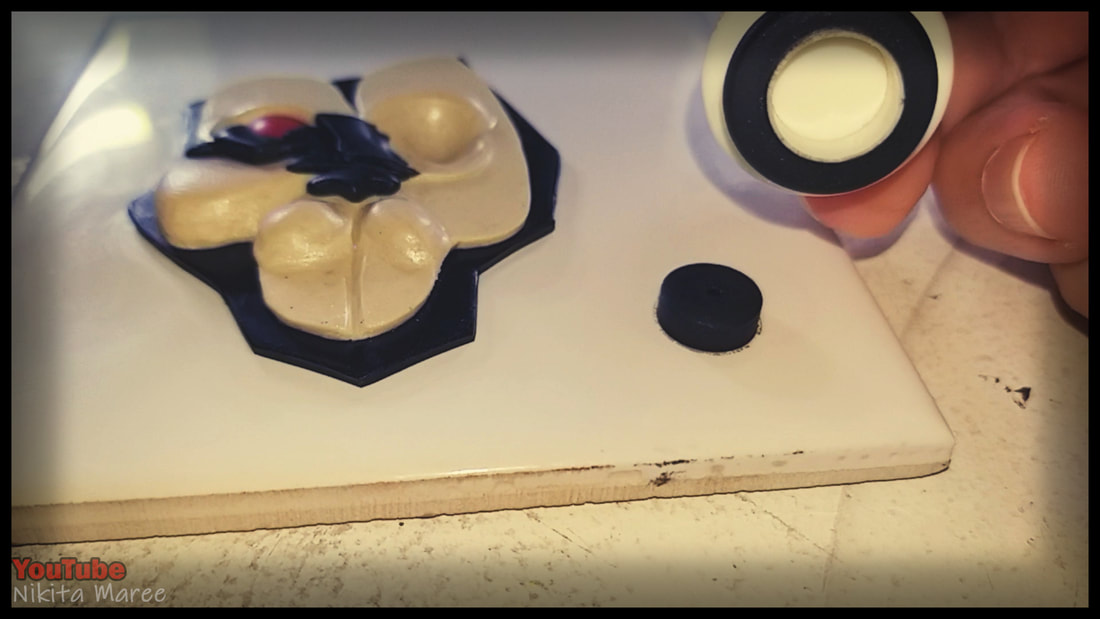
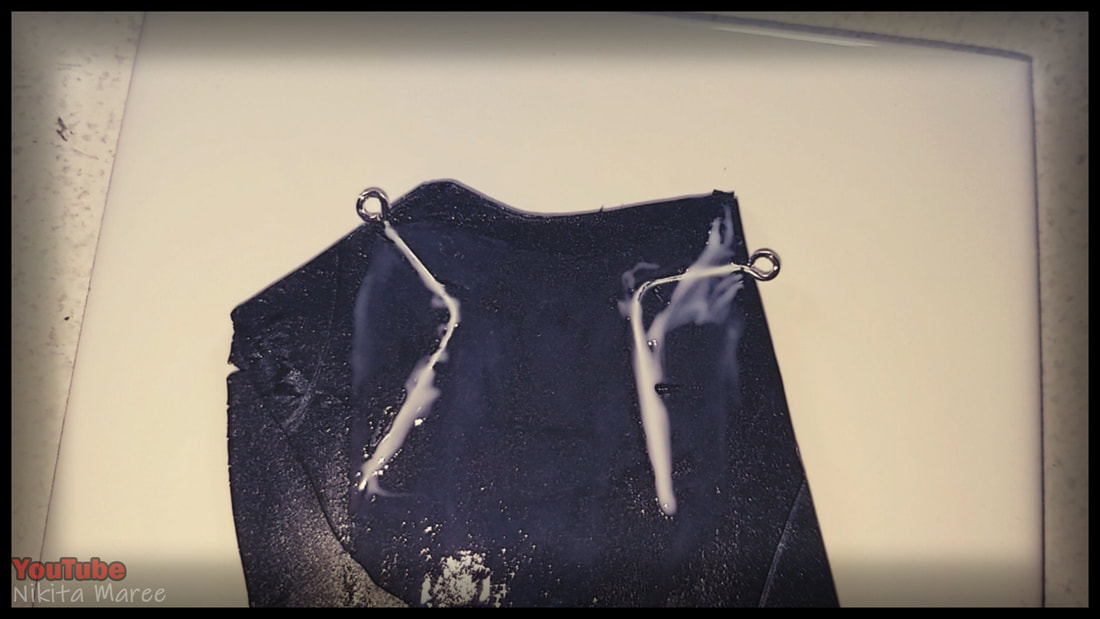
Time to thicken up the base and
add some attachment points. |
|
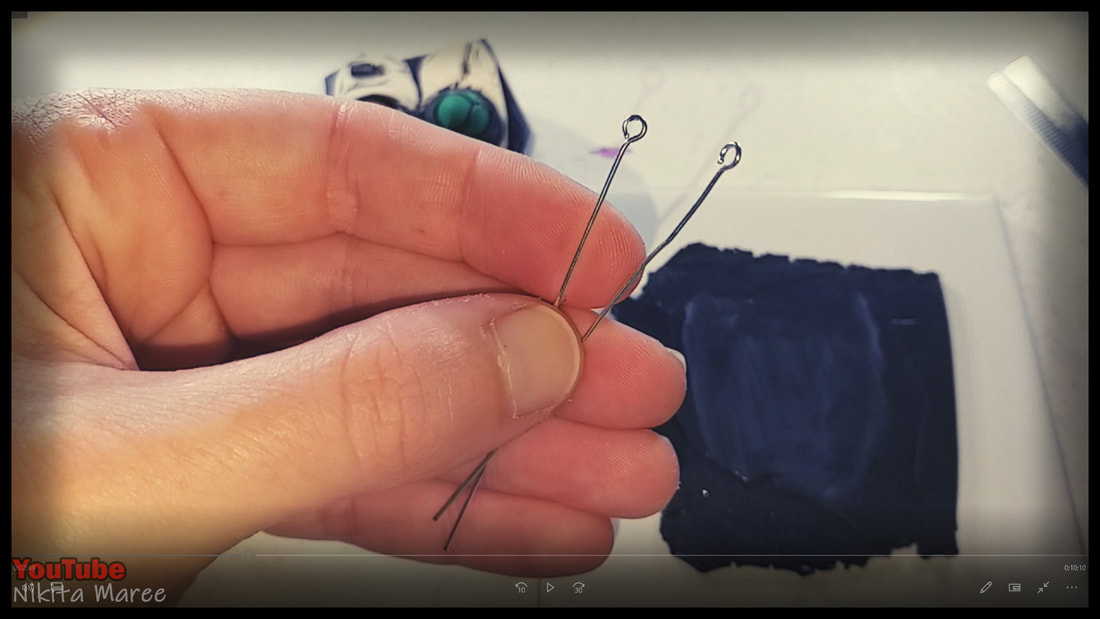
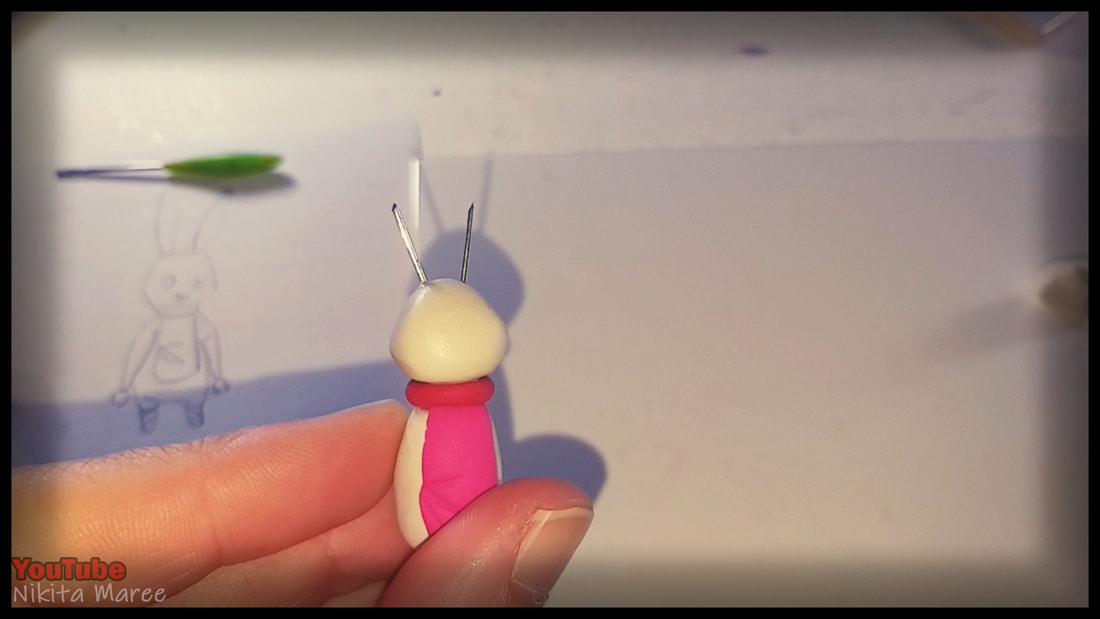
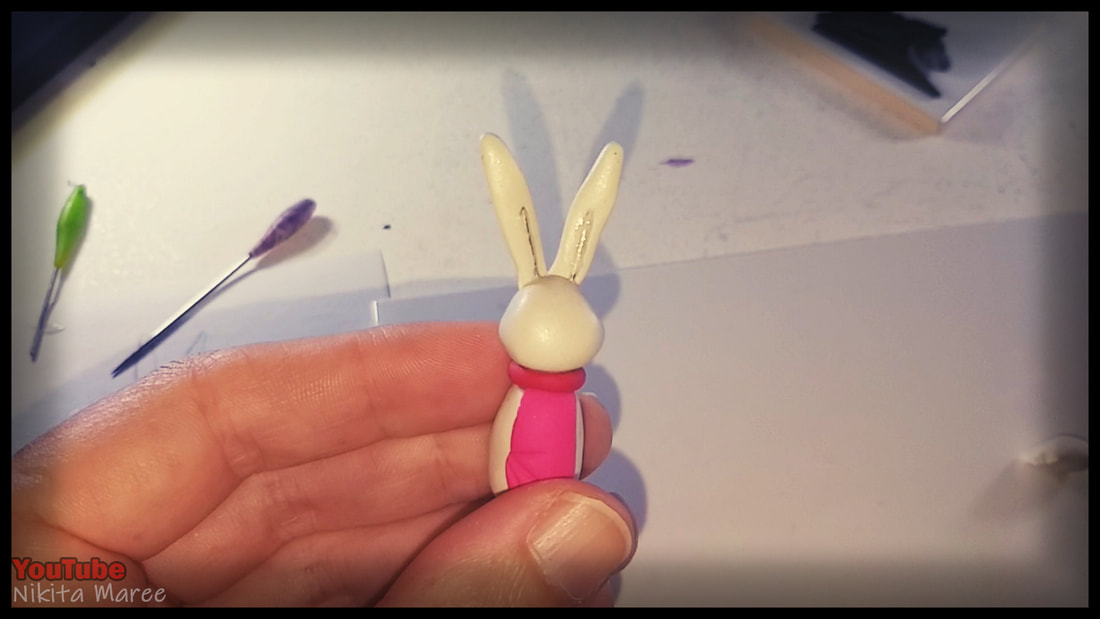
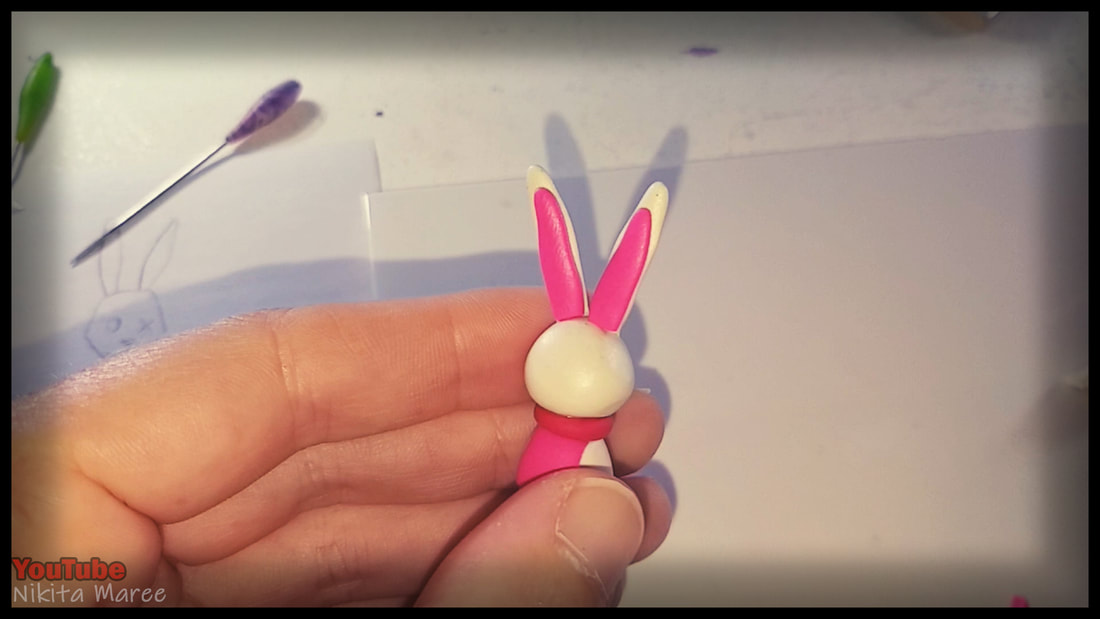
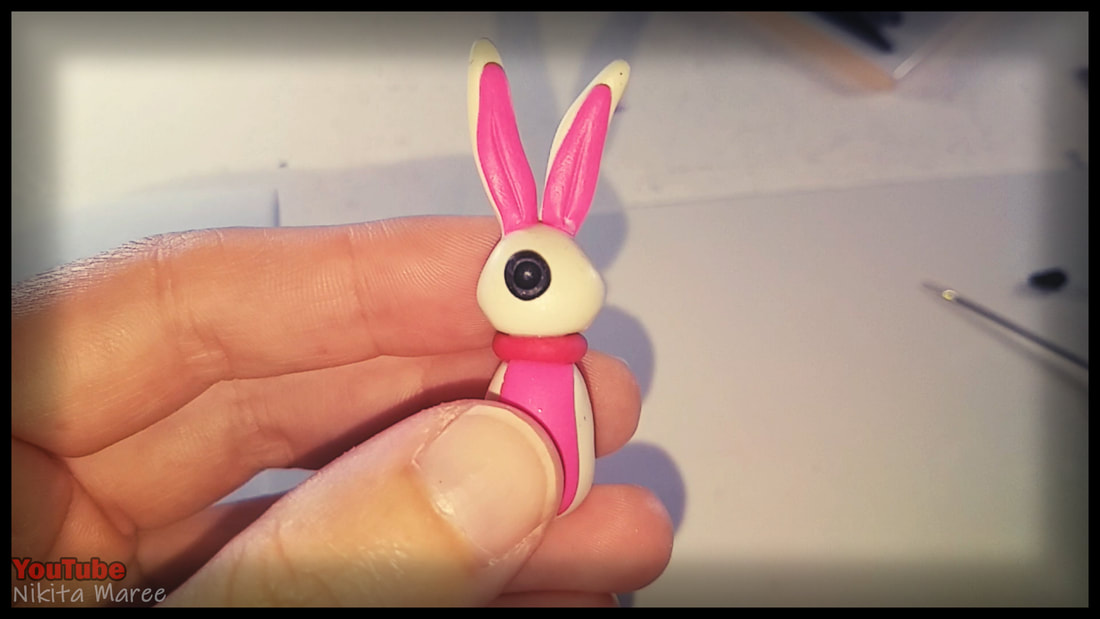
Shorten and bend some eye pins.
|
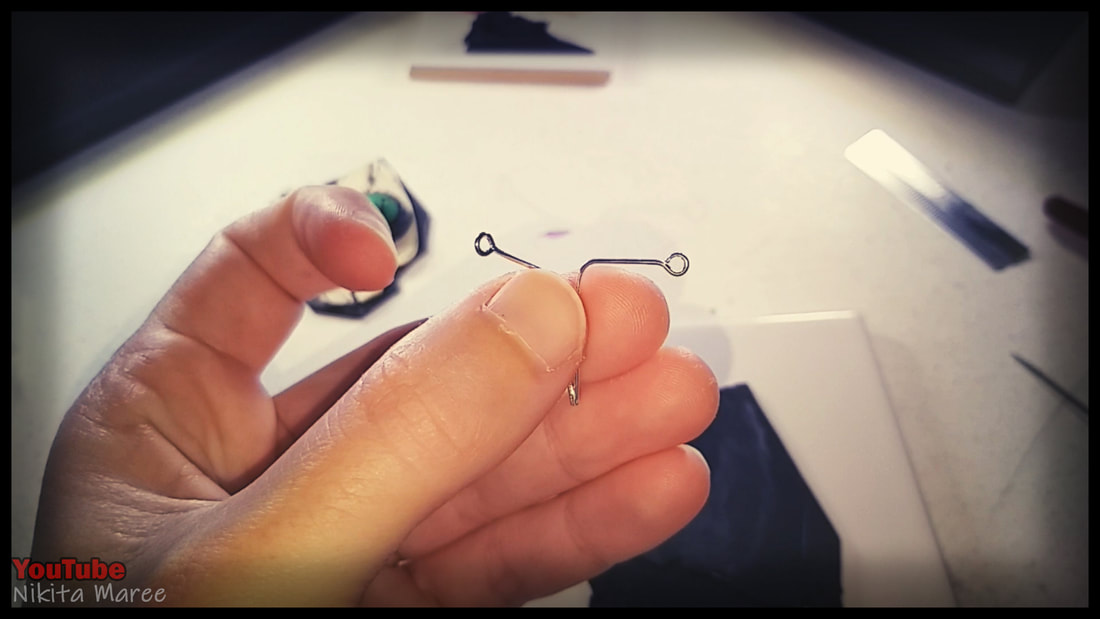
|
|
Press them into a sheet of black clay.
And add some bake and bond to secure them. |
|
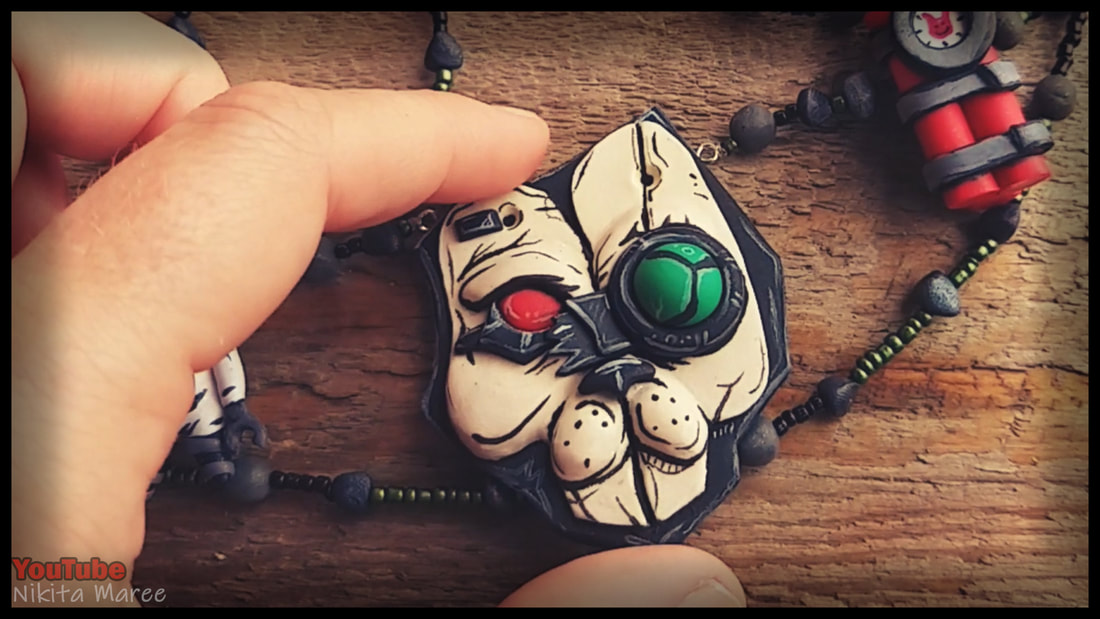
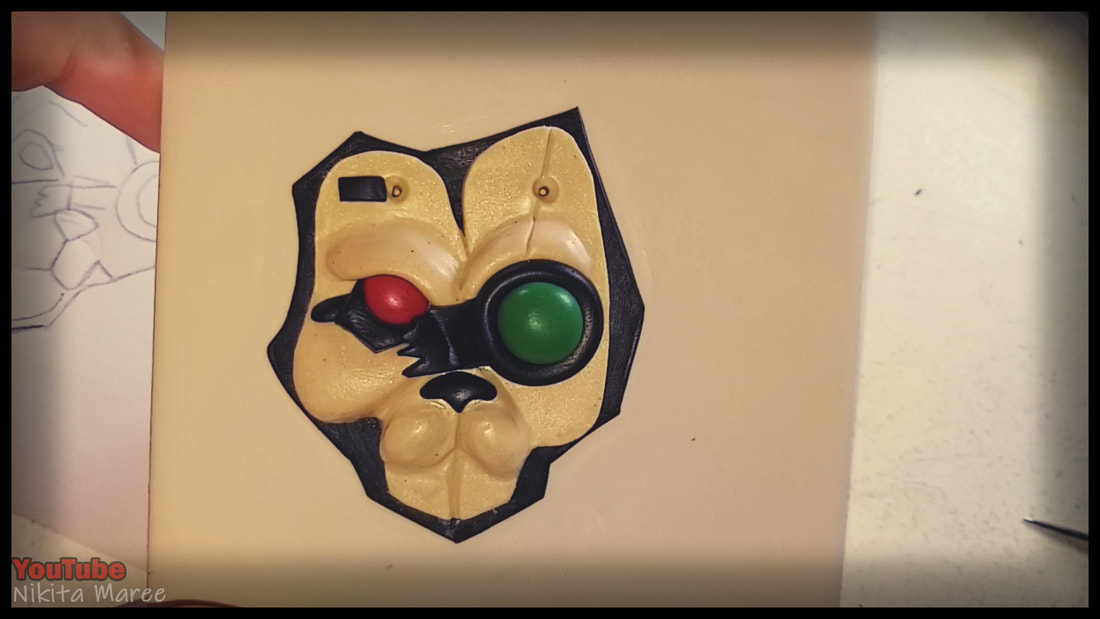
Lay the mask on top and carefully cut away the excess clay around it, with a scalpel.
|
|
|
|
|
|
|
|
|
|
|
|
|
|
|
|
|
|
|
|
|
|
|
|
|
|
|

|
