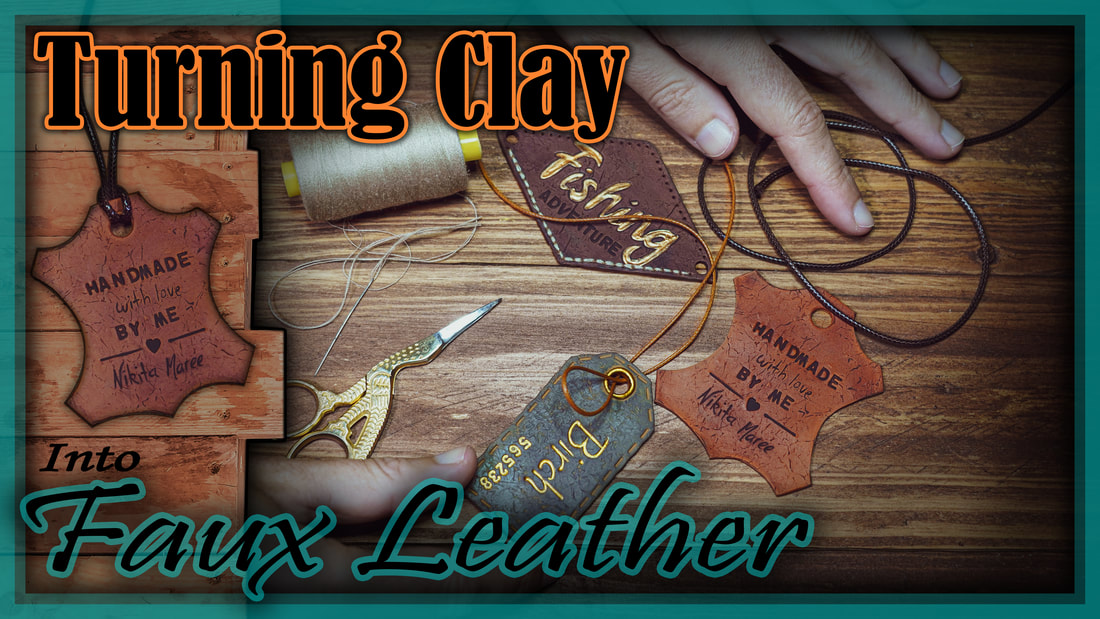
DIY Polymer Clay Goblet
|
|
How to turn a red wine glass into a
medieval gothic style pirate goblet. |
|
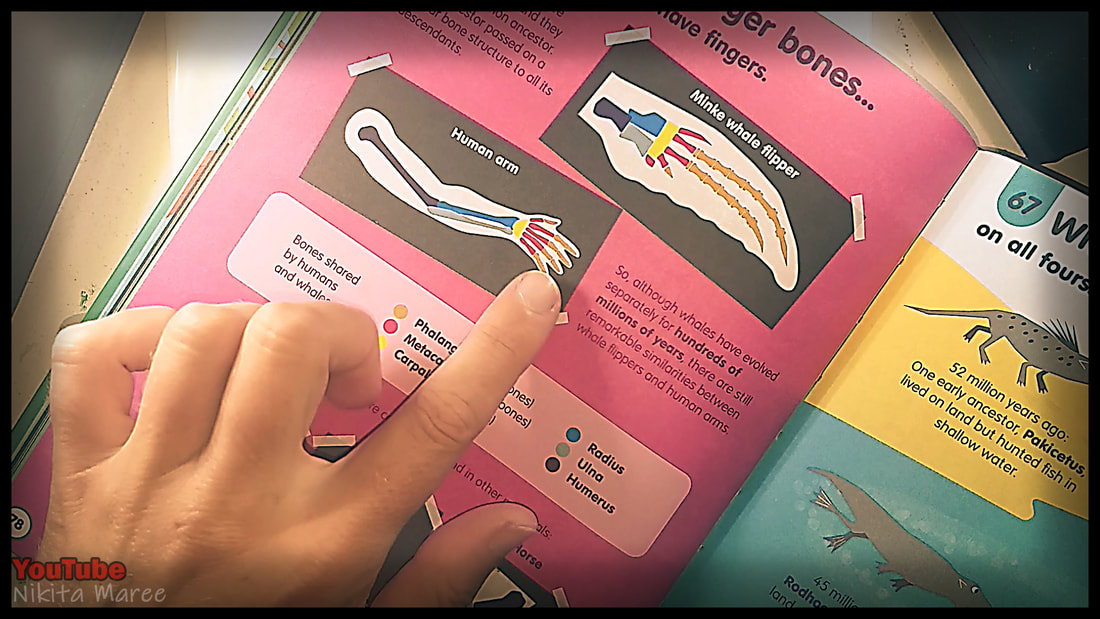
Firstly research. I wanted to wrap my head around some of the basic shapes in the hand.
I used the kids science book. '100 Things to Know About Science' by USBORNE books. |
|
|
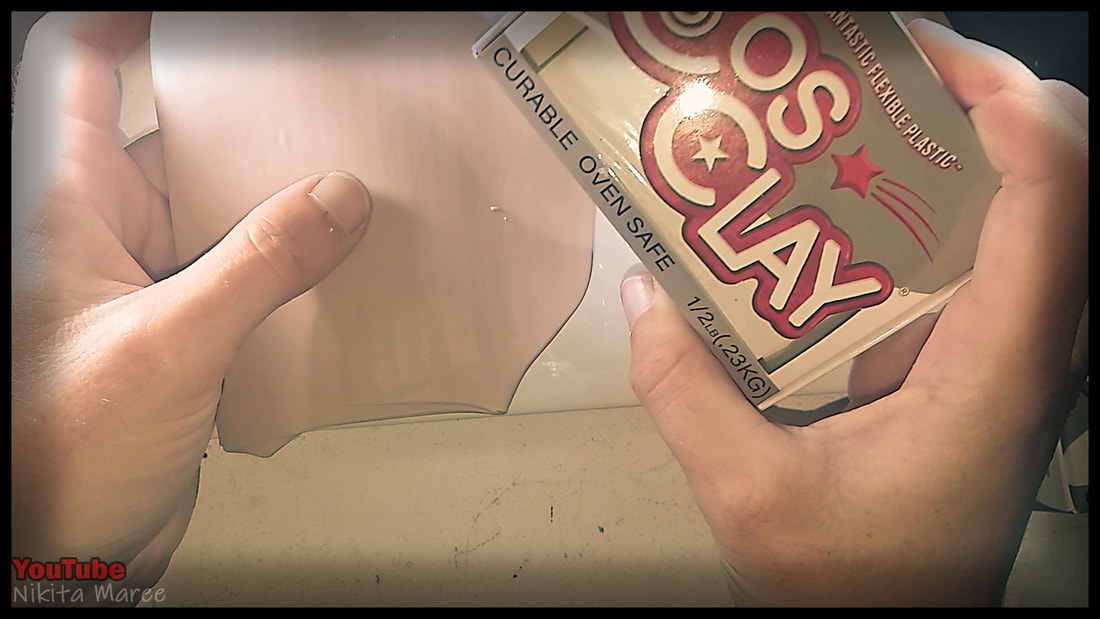
I mixed white and beige polymer clay to create a bone color.
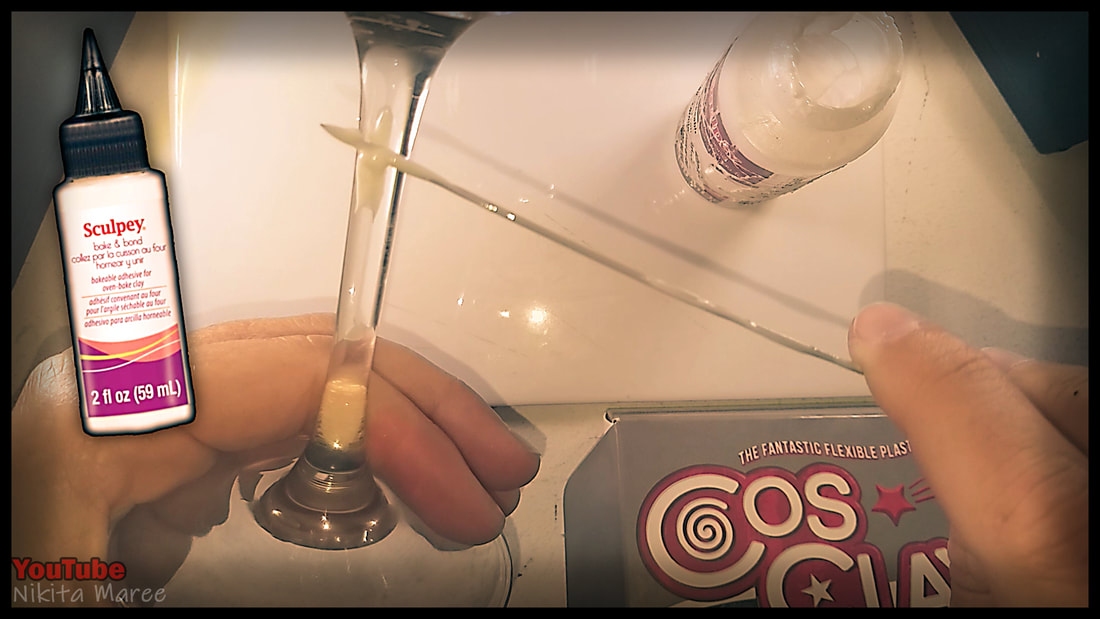
Then used 'Bake & Bond' on the stem of the glass.
Then used 'Bake & Bond' on the stem of the glass.
|
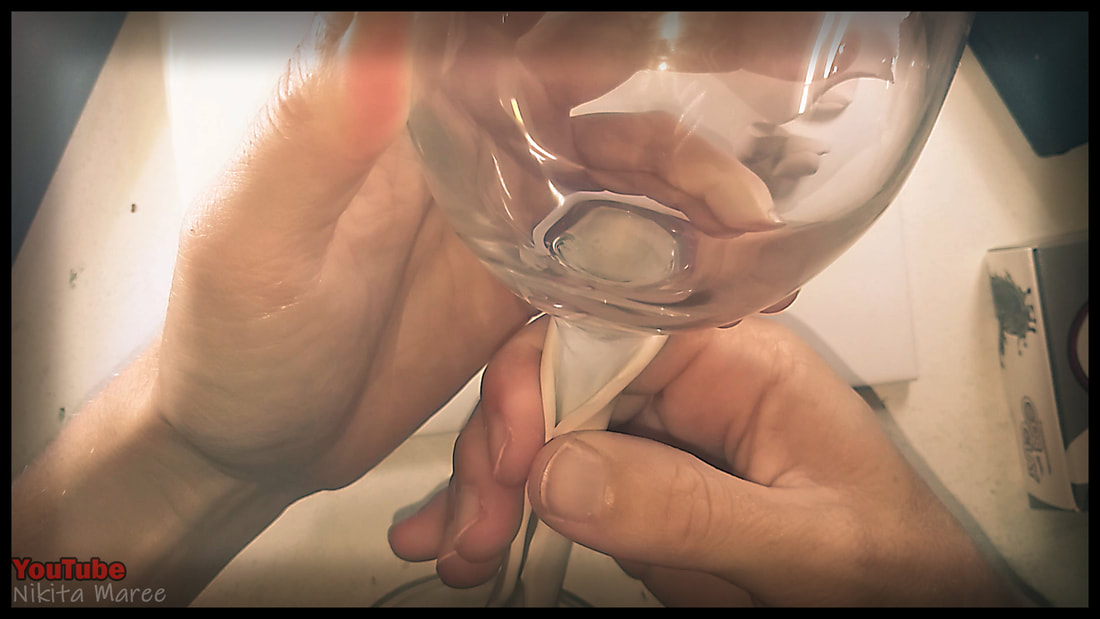
Wrapped the stem in clay.
Blended and smoothed with my fingers. |
|
|
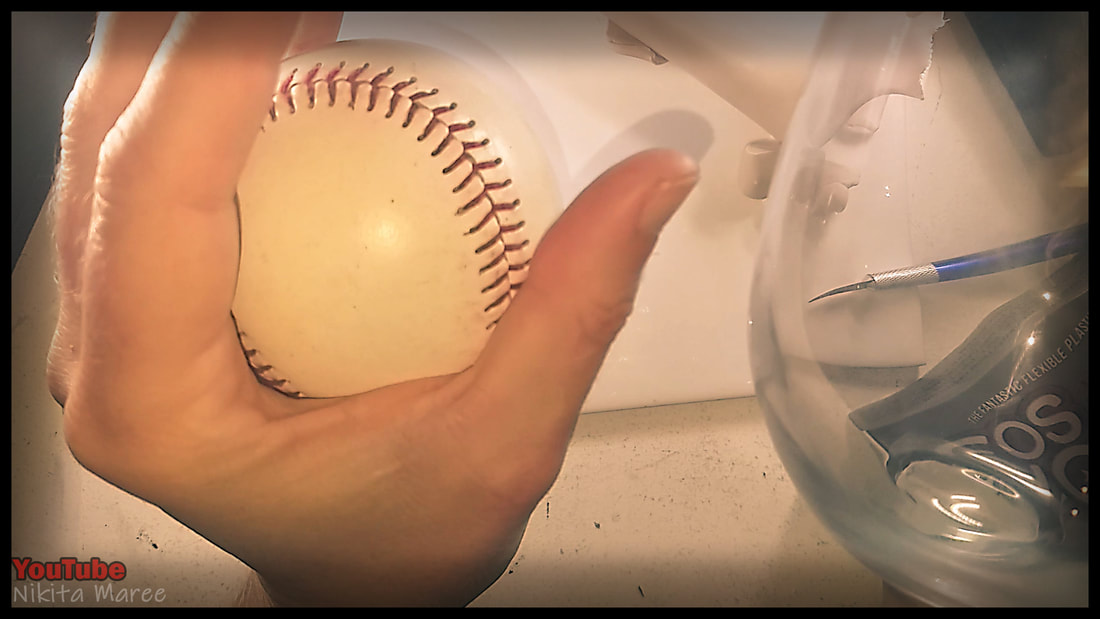
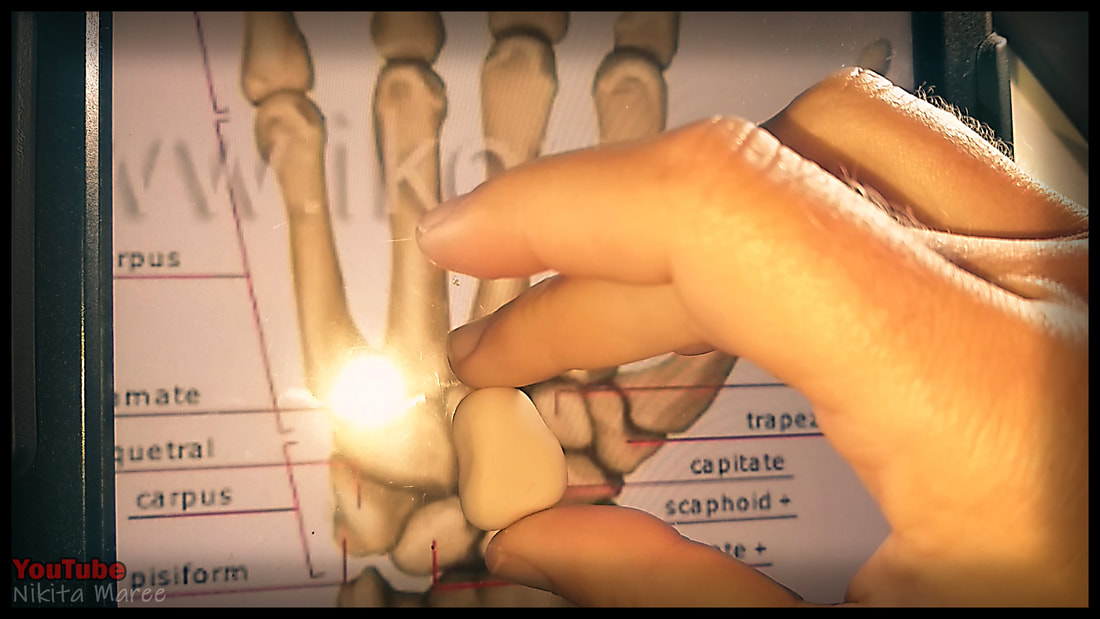
Holding a ball helped me to see how my wrist and fingers reacted in this position.
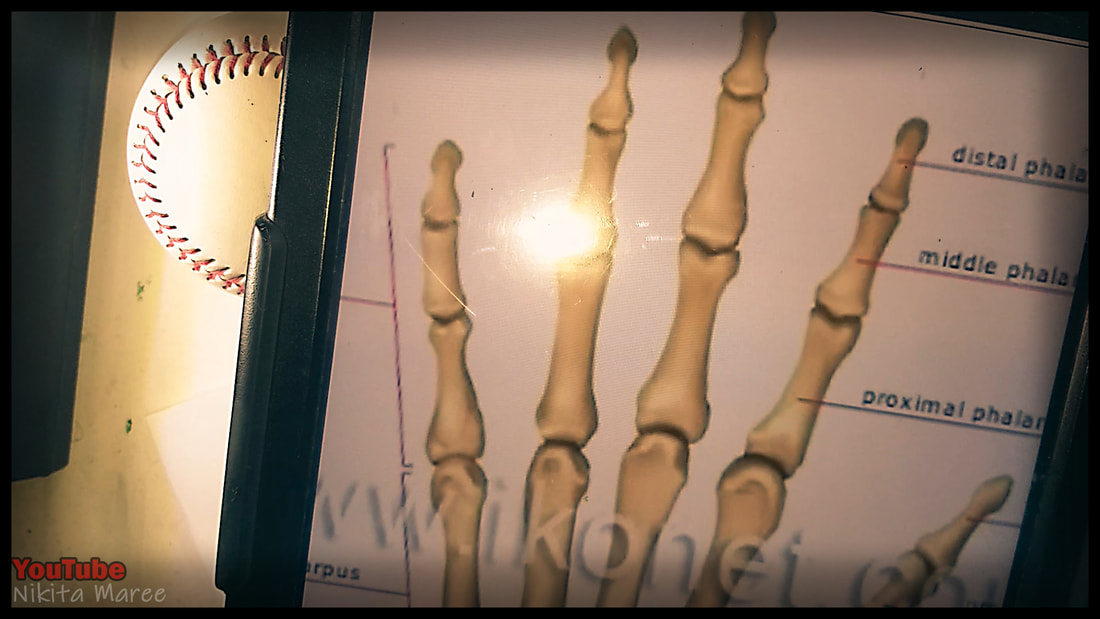
I found a great picture from the Merriam Webster Visual Dictionary,
That had all the different hand bones.
I found a great picture from the Merriam Webster Visual Dictionary,
That had all the different hand bones.
|
|
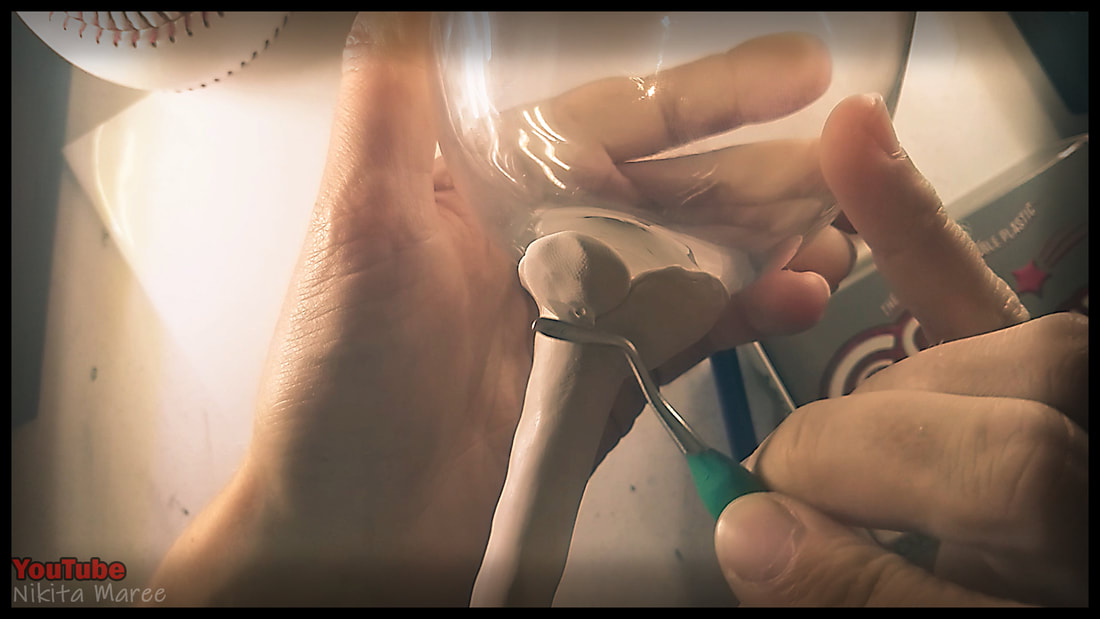
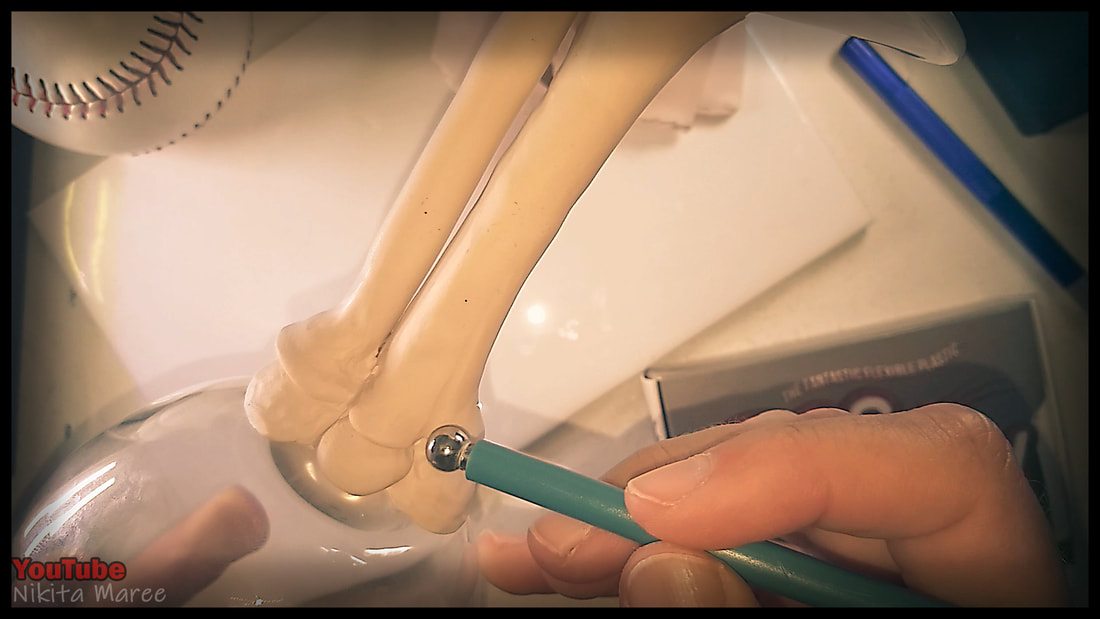
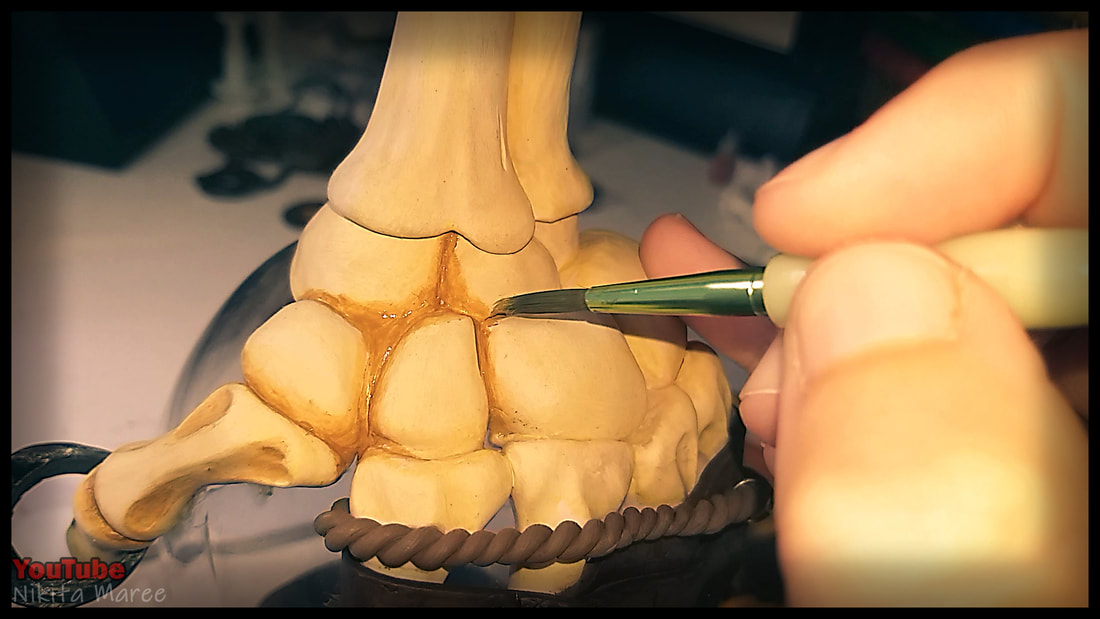
I worked on a few of the lower wrist bones
and then added in the second forearm bone.
and then added in the second forearm bone.
|
|
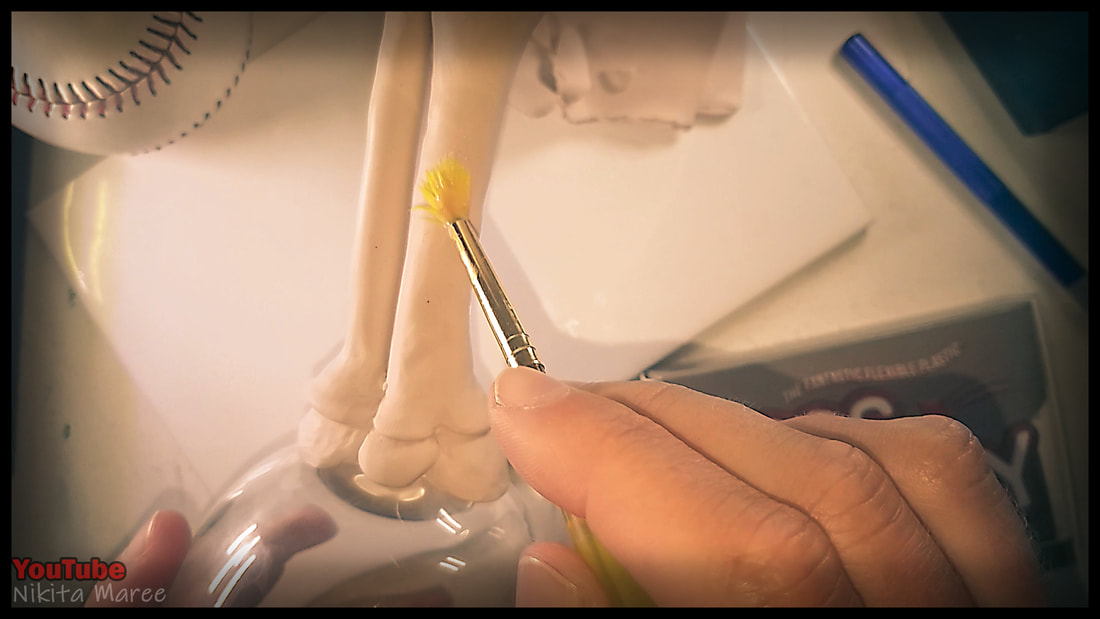
Added some grooves with a ball tool.
Then smoothed the surface with baby oil on a paint brush.
Then smoothed the surface with baby oil on a paint brush.
|
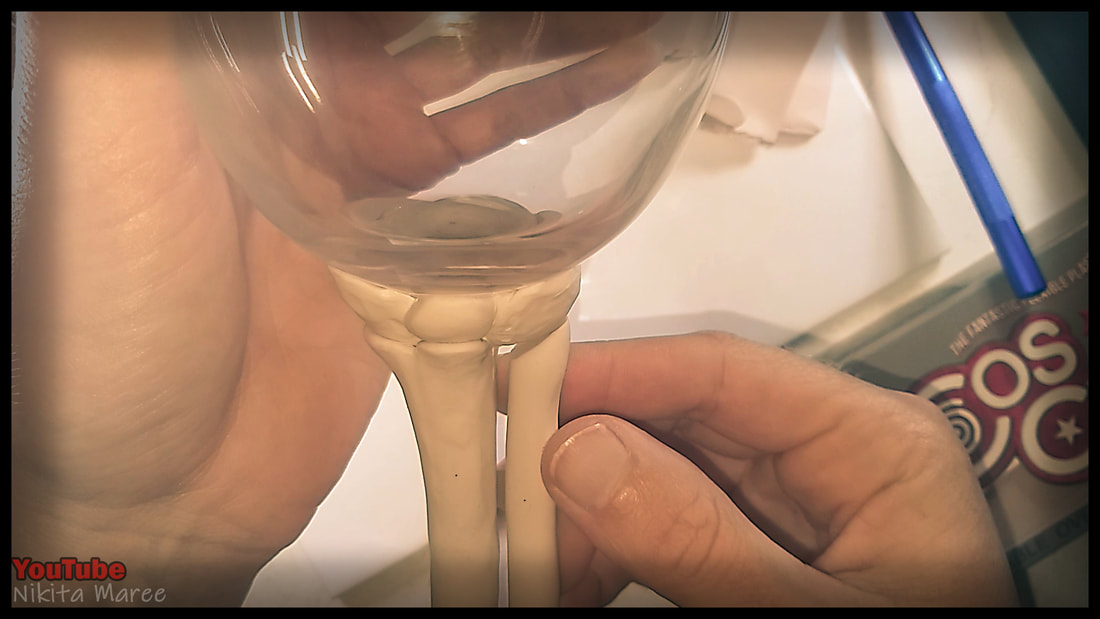
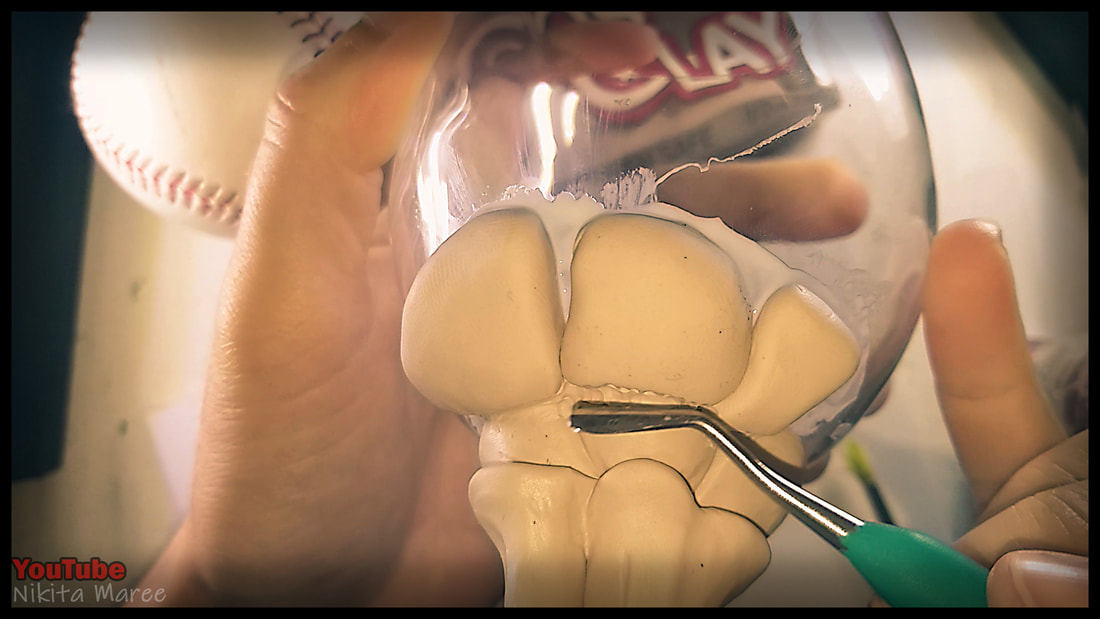
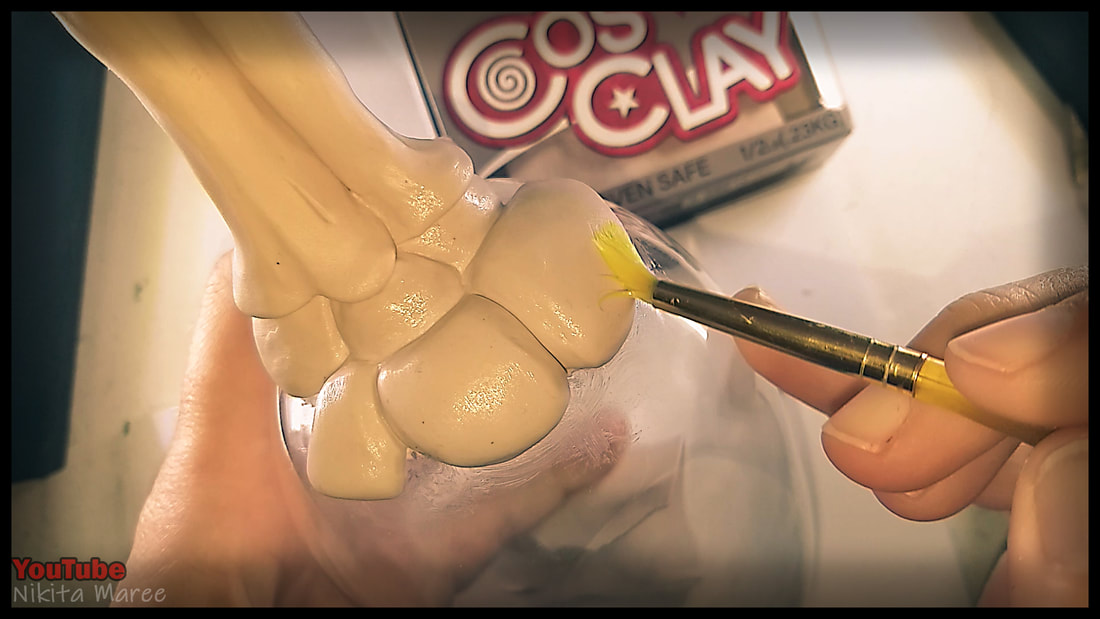
Sizing and shaping up some carpal bones.
|
|
|
Blend and smooth in the Carpal bones.
|
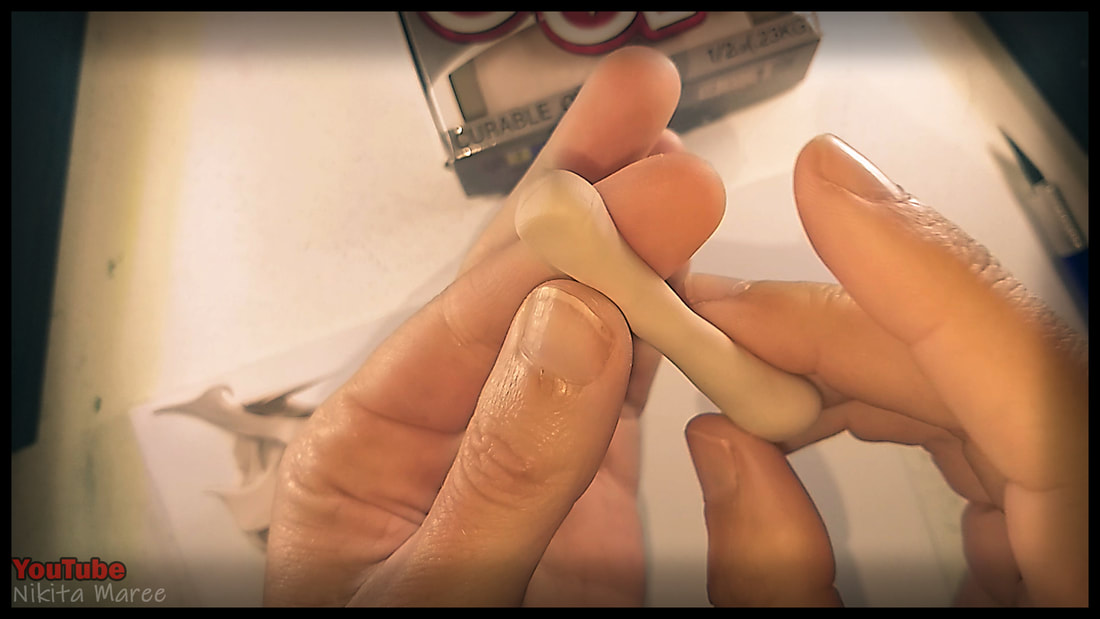
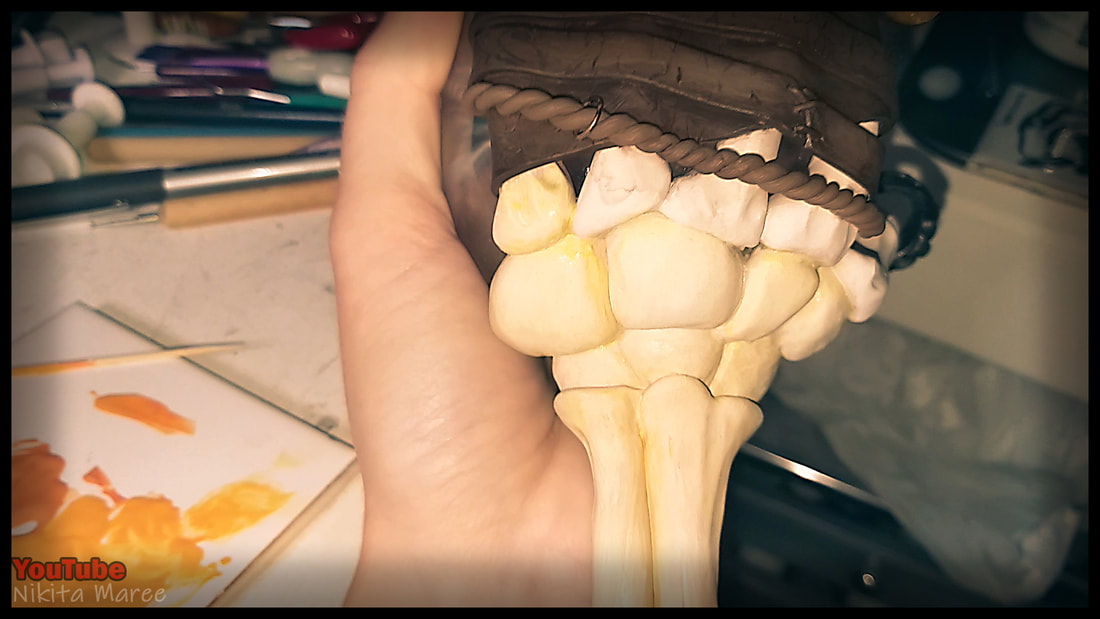
For the hand bones.
Roll out a length, thicker on either end. |

|
|
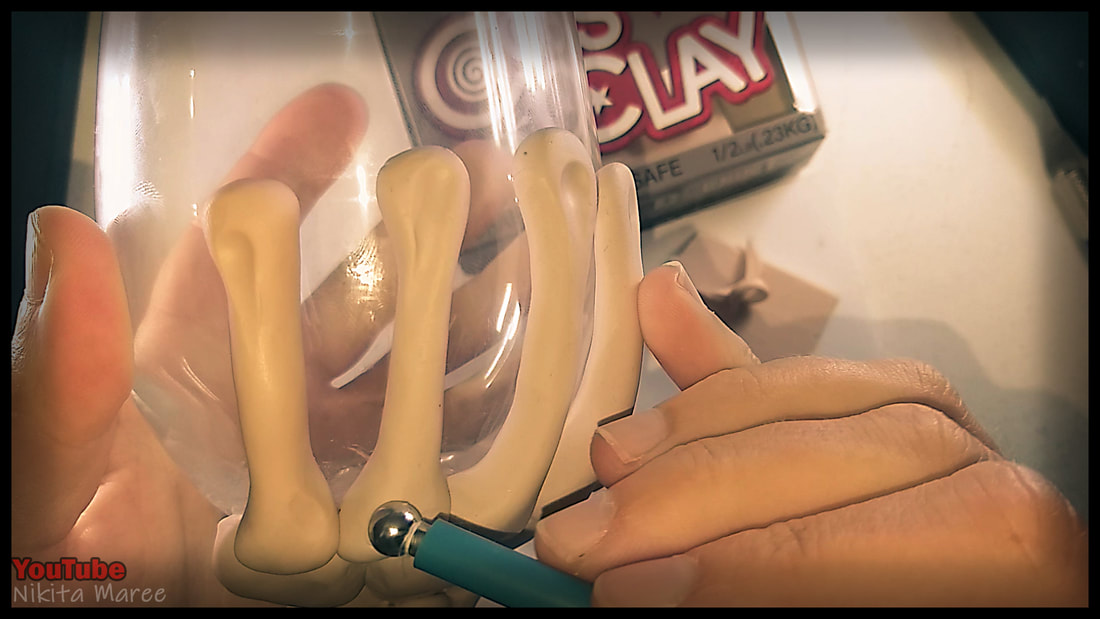
Detail with a ball tool.
Lay the hand bones into position.
Lay the hand bones into position.
|
|
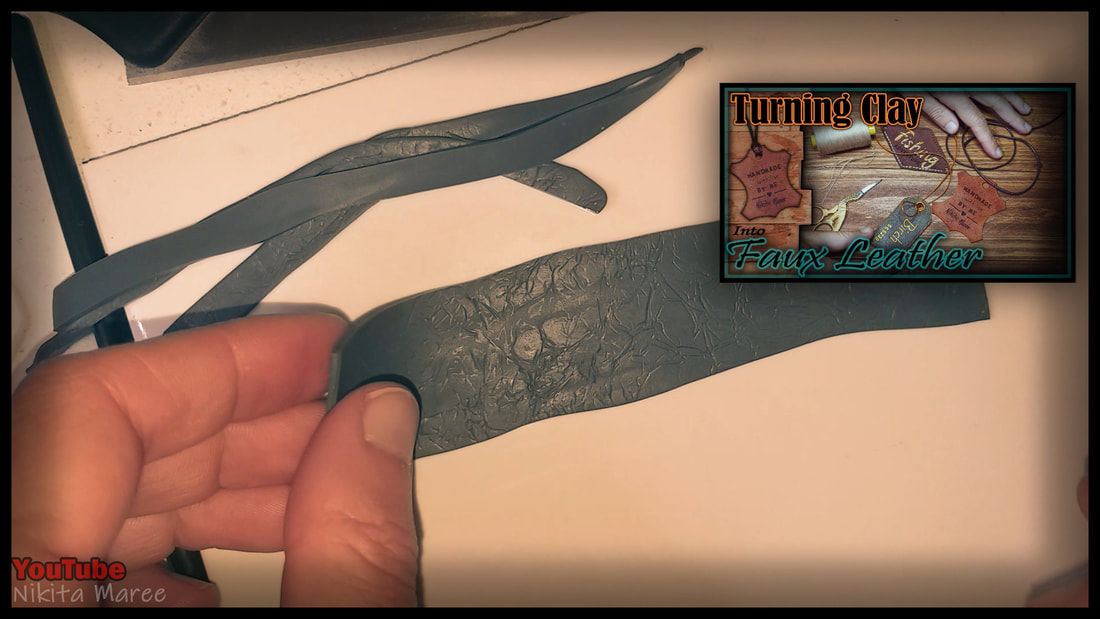
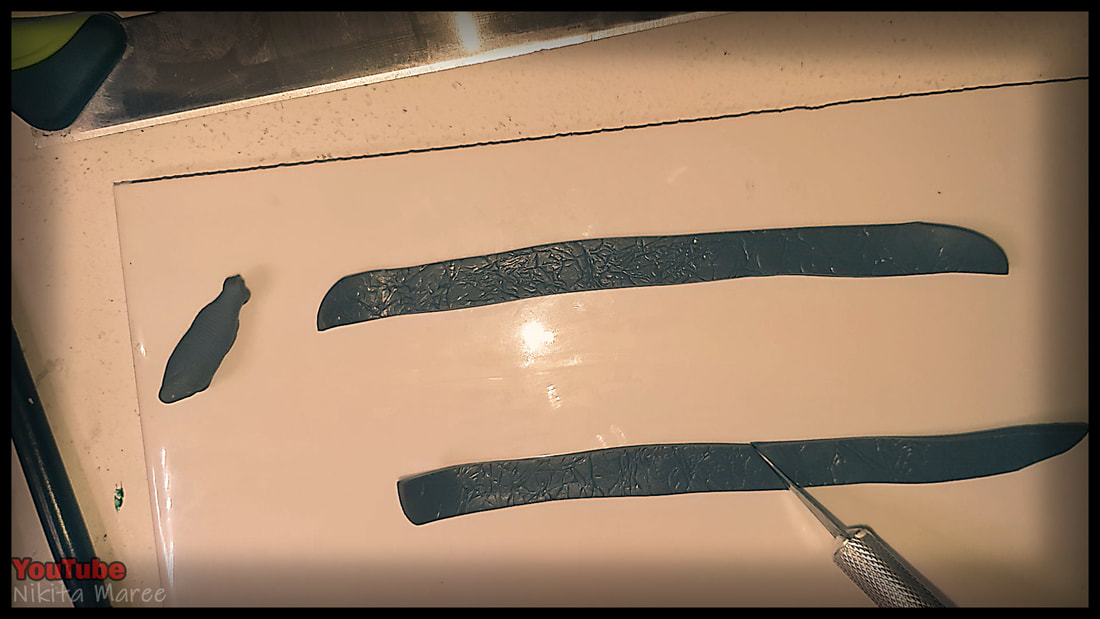
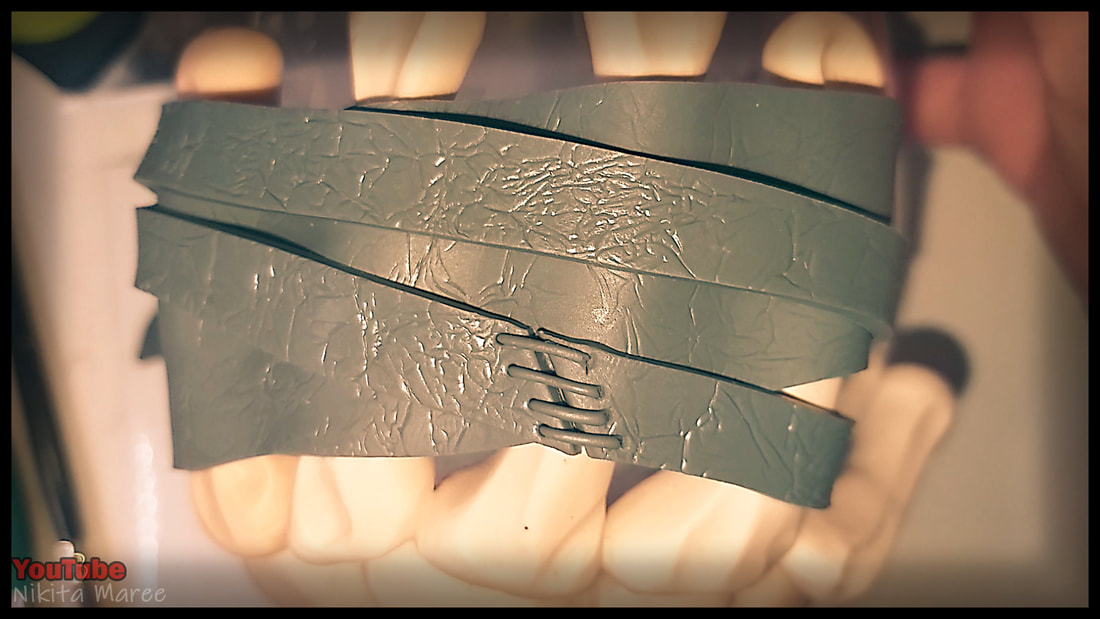
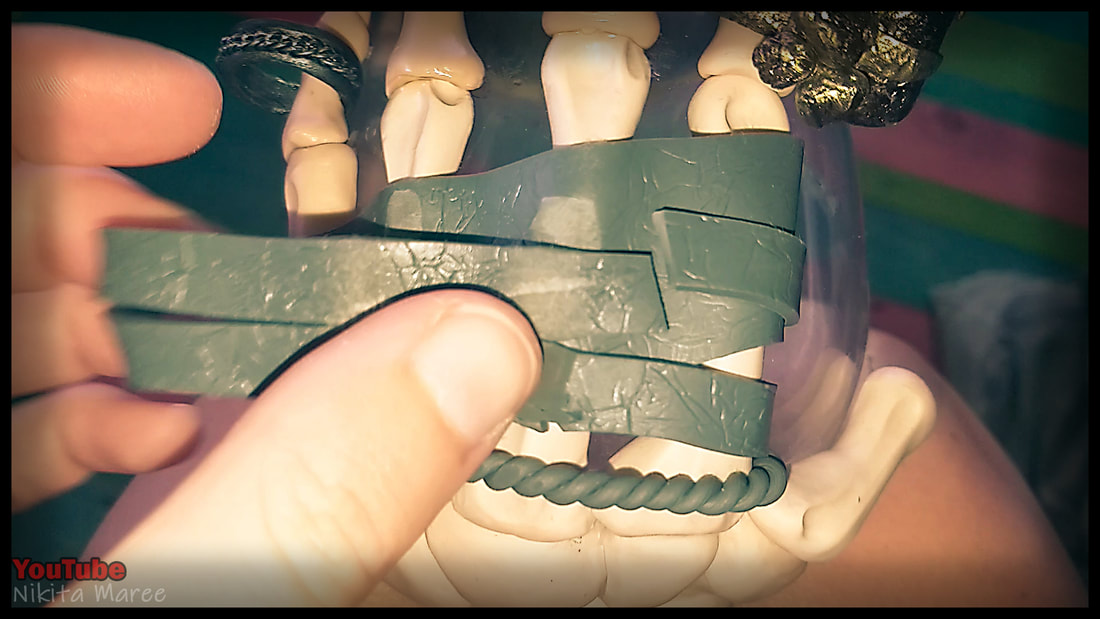
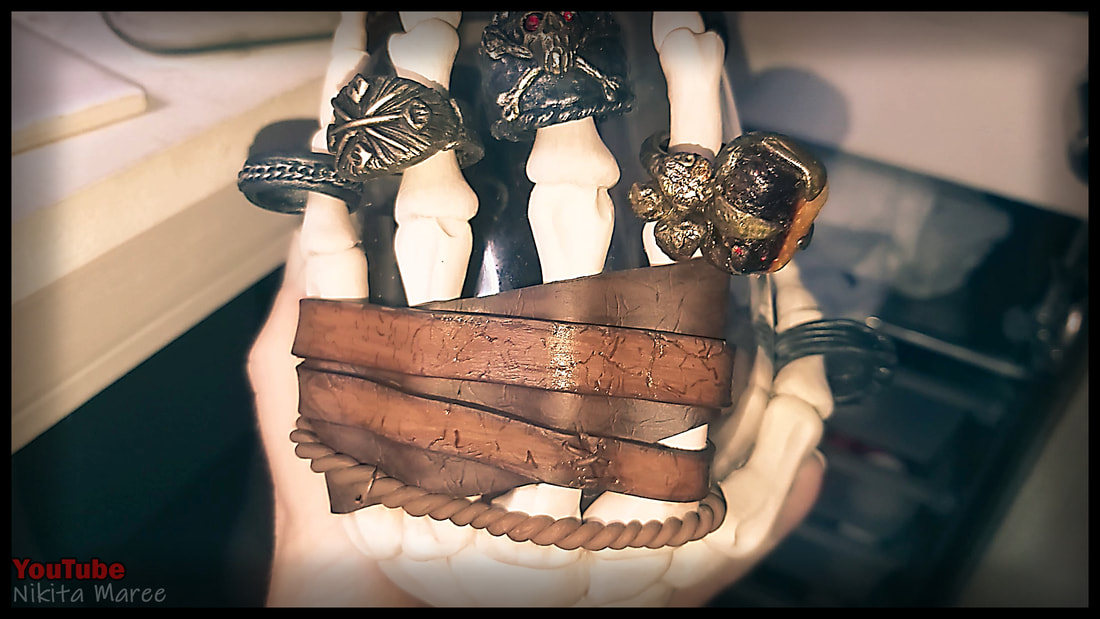
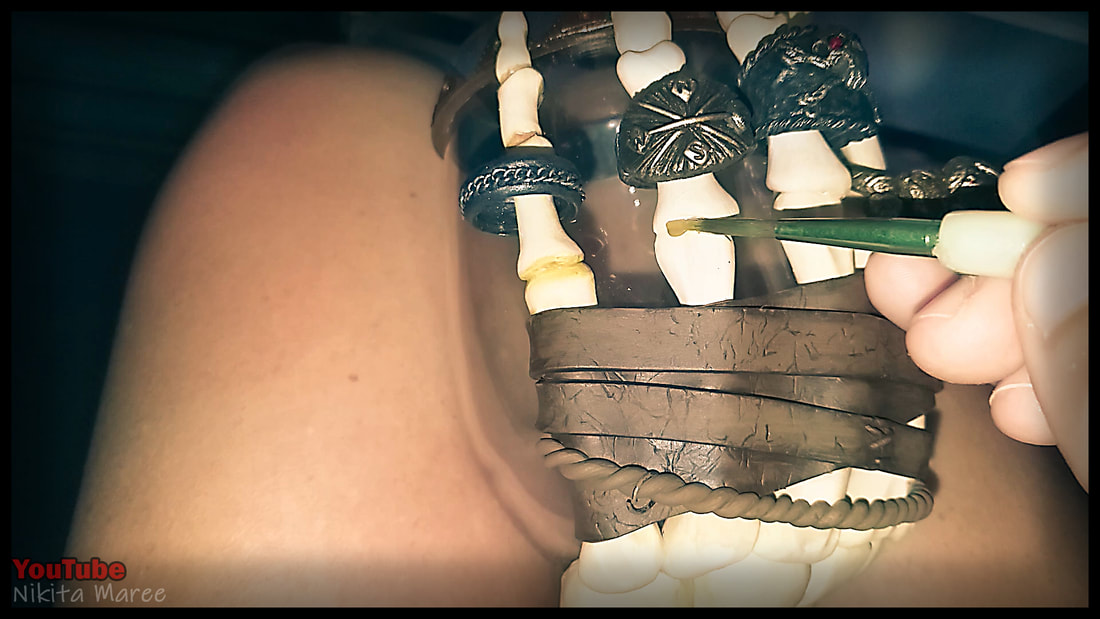
Creating the leather wraps around the hand.
I have a full in depth video on making polymer clay look like leather.
I have a full in depth video on making polymer clay look like leather.
|
|
Cut two thinner strips of leather, one with a join.
Thin lengths of clay for the stitching.
Thin lengths of clay for the stitching.
|
|
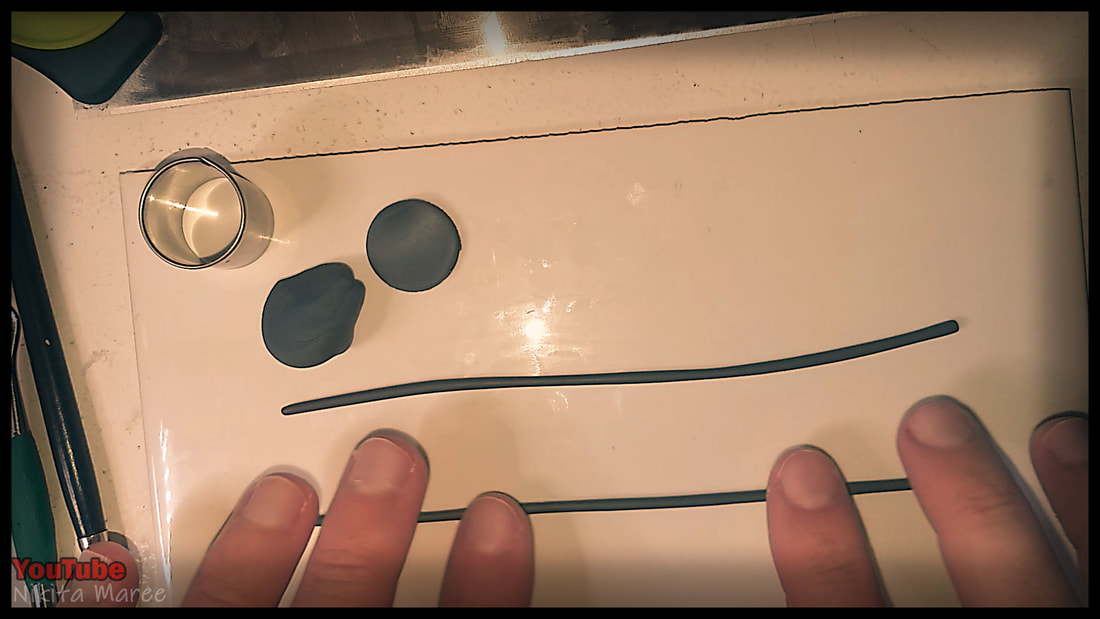
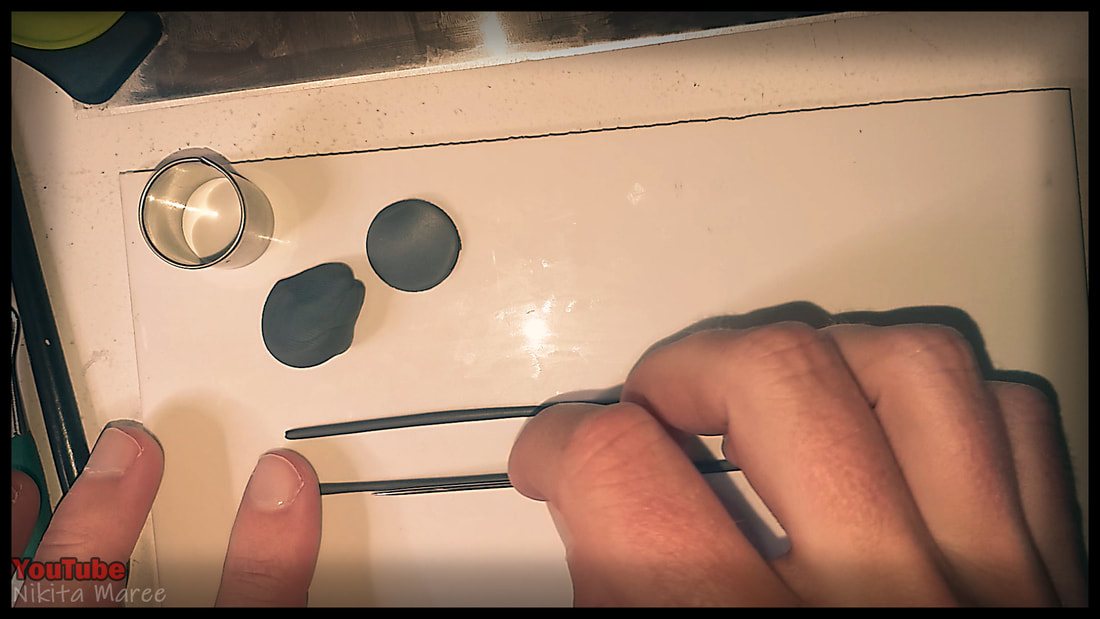
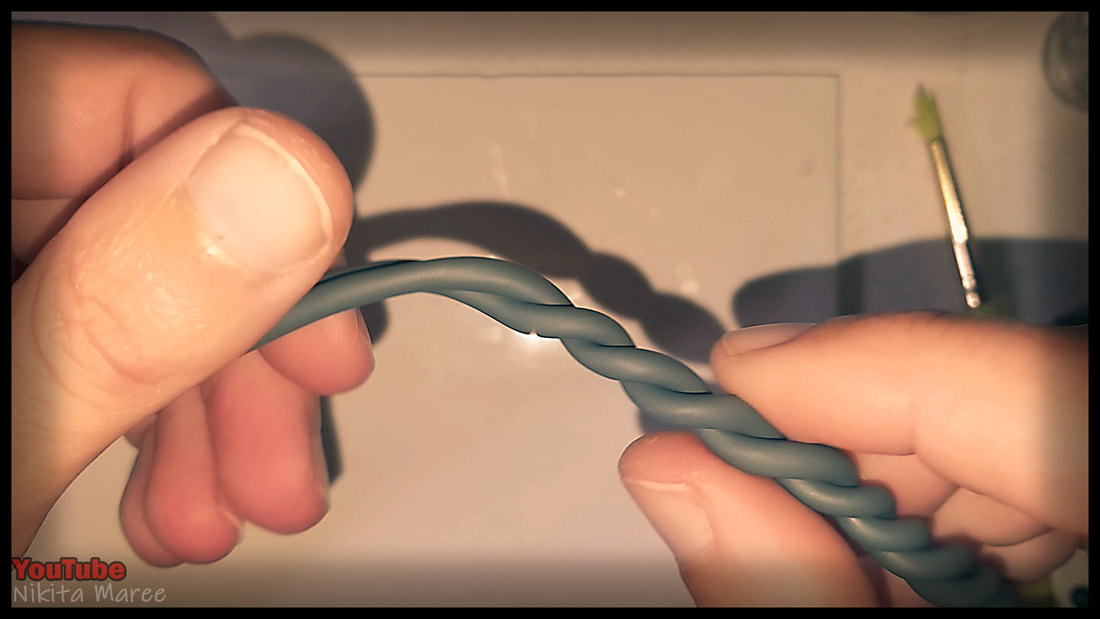
For the rope around the hand. Roll out two lengths.
And texture with a needle tool.
And texture with a needle tool.
|
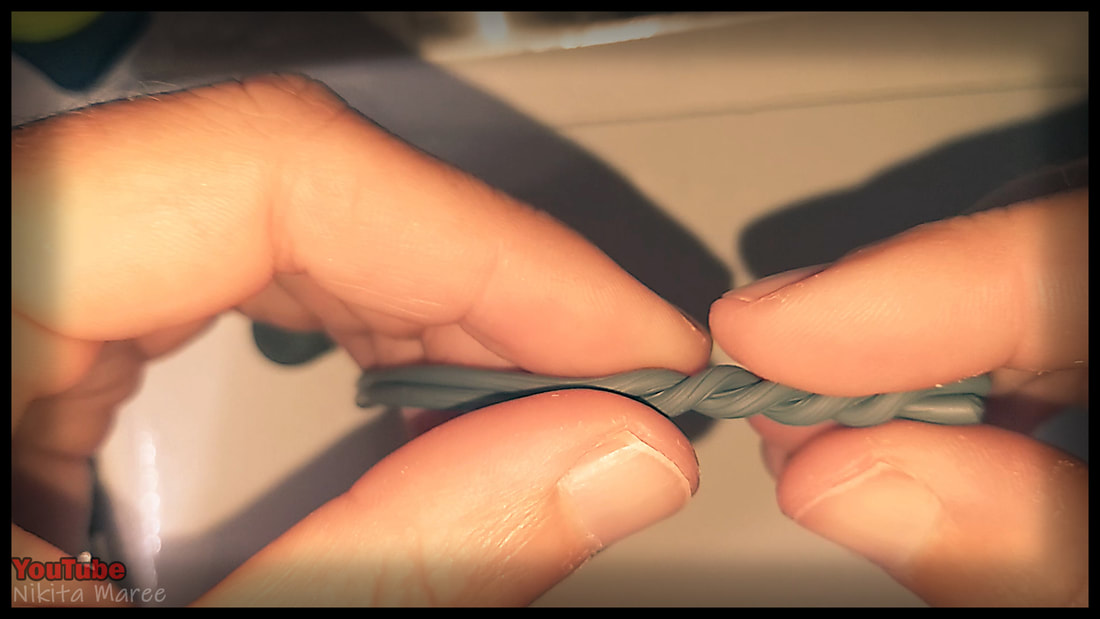
twist the two textured lengths around
each other, to create the rope. |
|
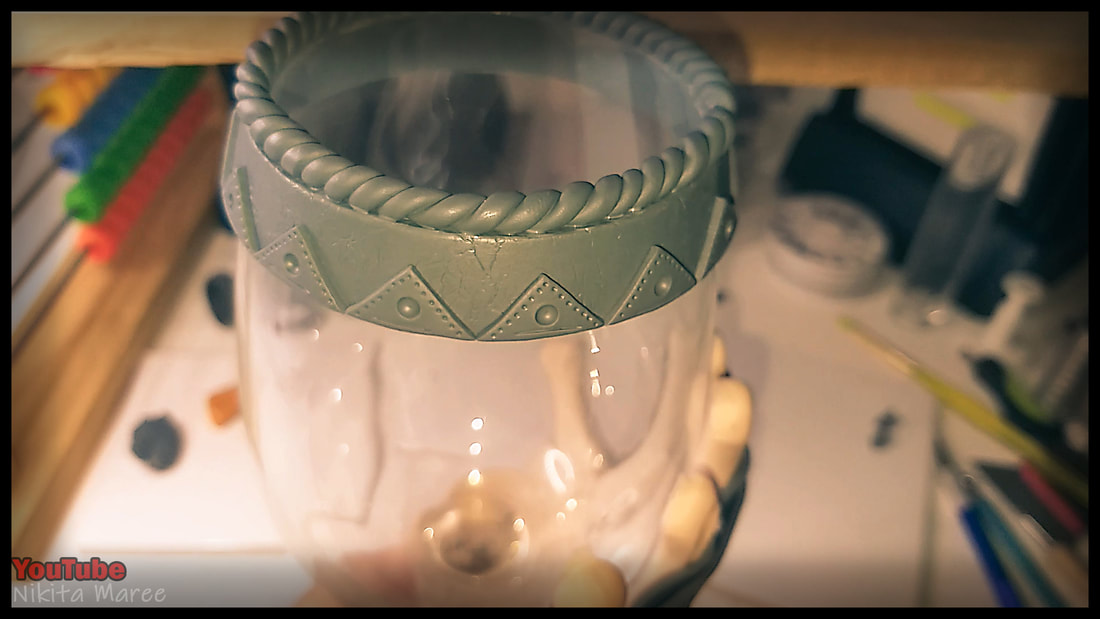
Moving onto the top rim of the glass.
I spent some time coming up with a design that I liked. |
|
Textured the rim of the glass
with scrunched up foil. |
|

|
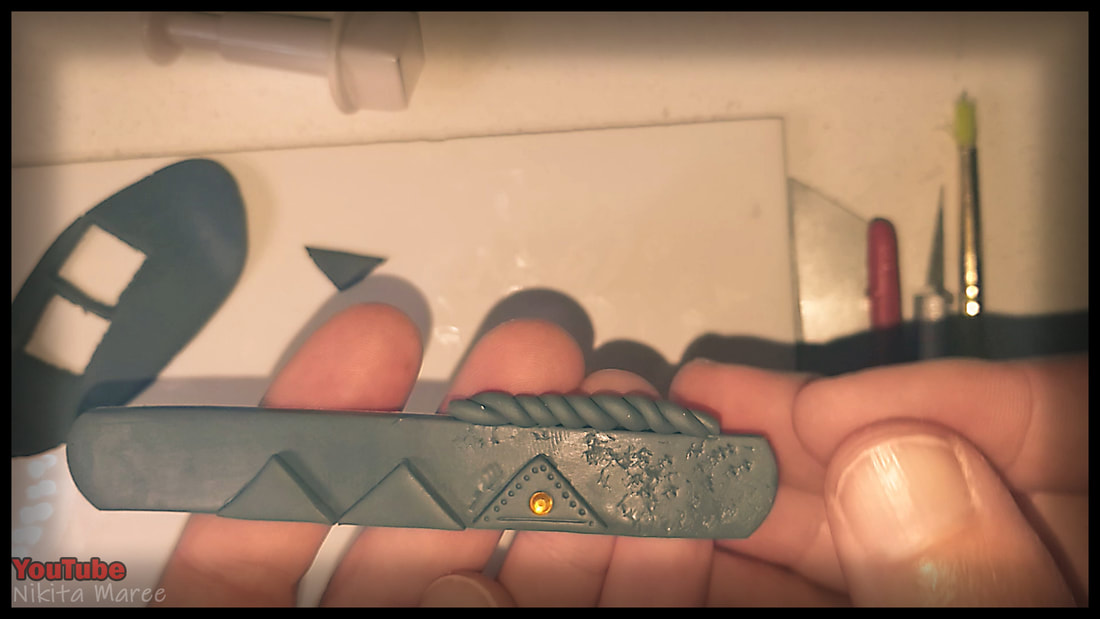
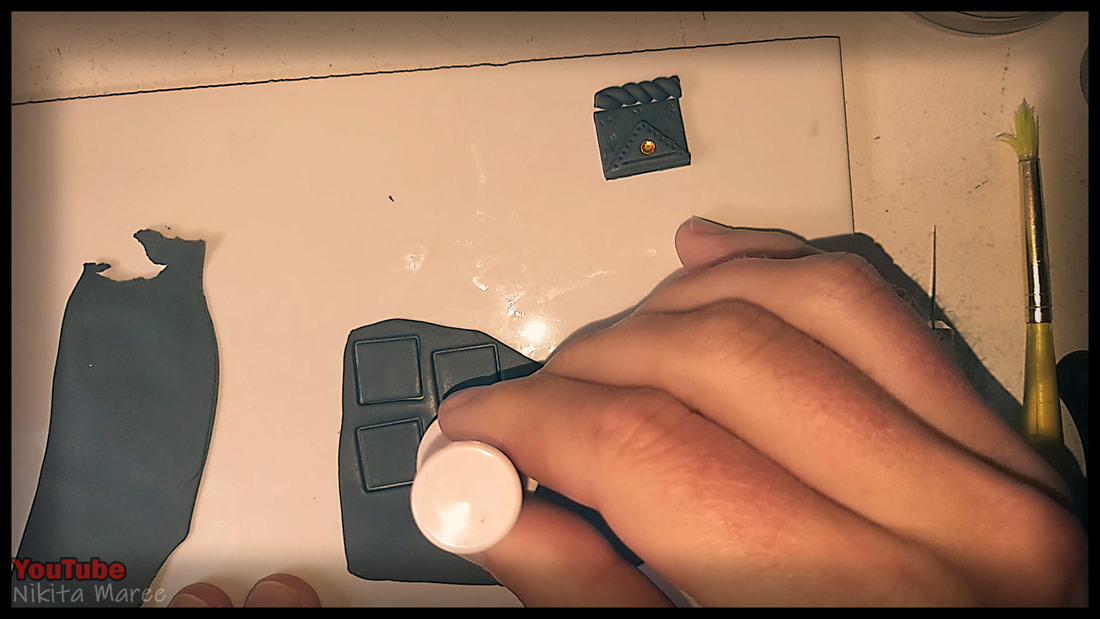
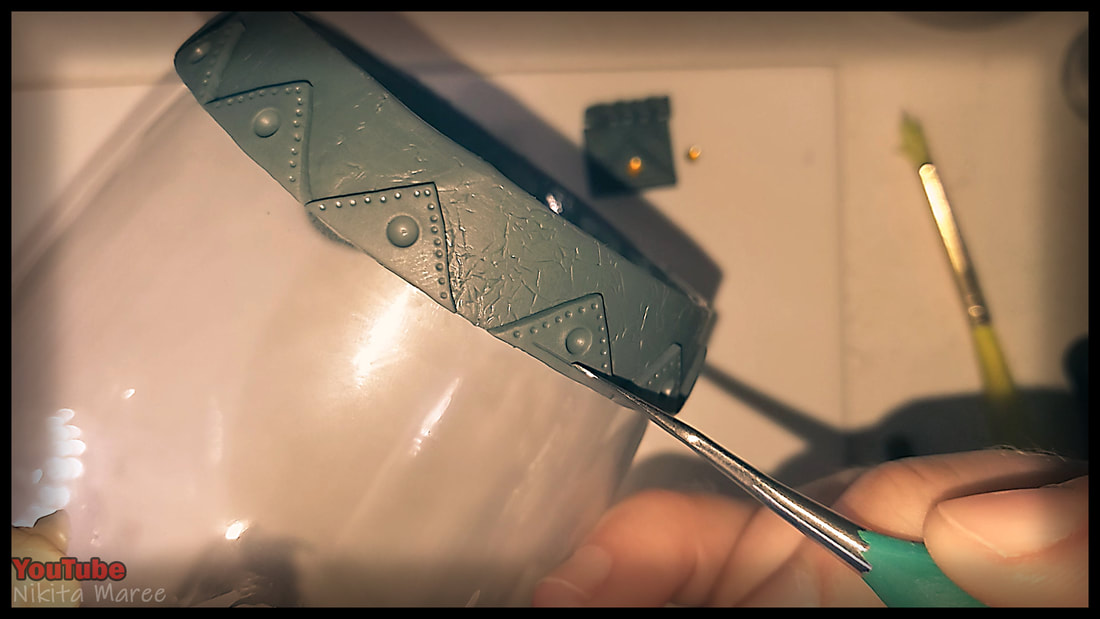
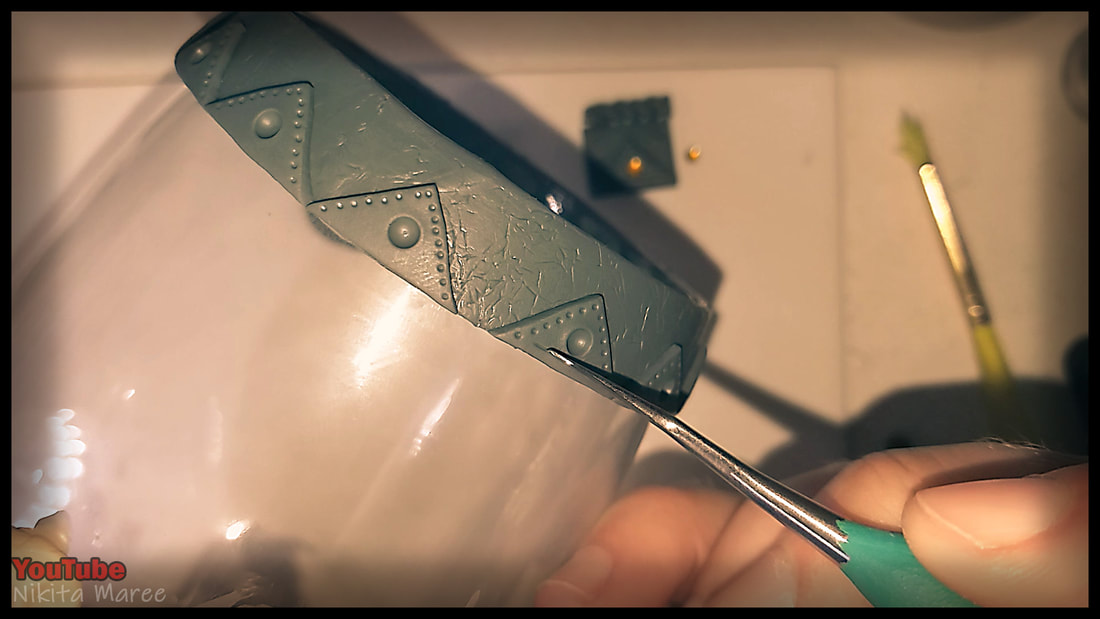
Press out some squares and cut them diagonally
to create triangles.
to create triangles.
|
Place them around the rim.
|
|
|
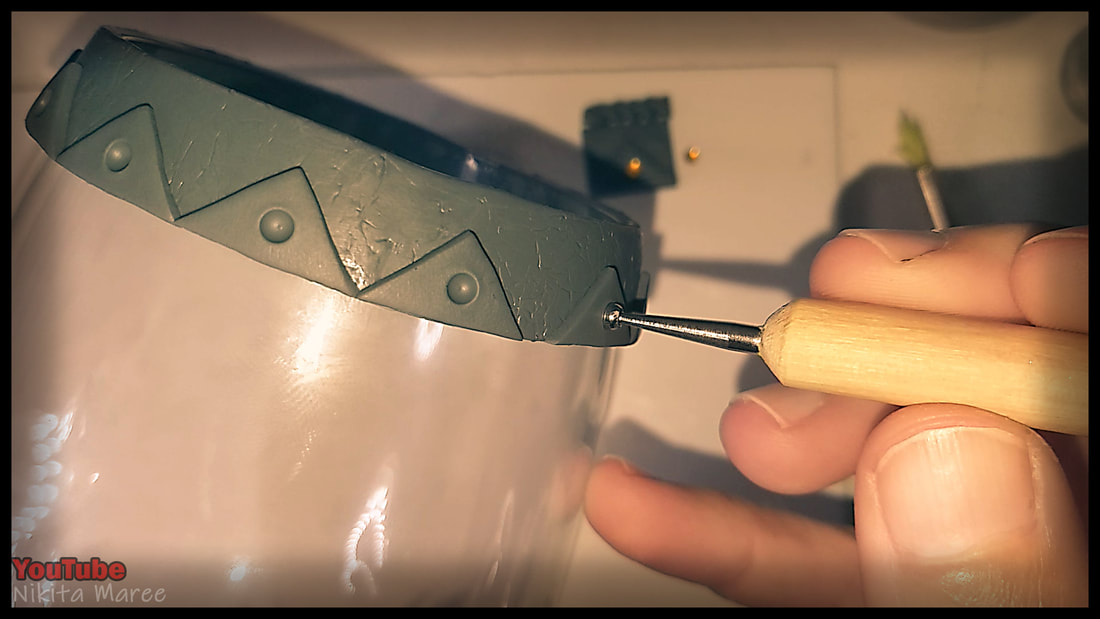
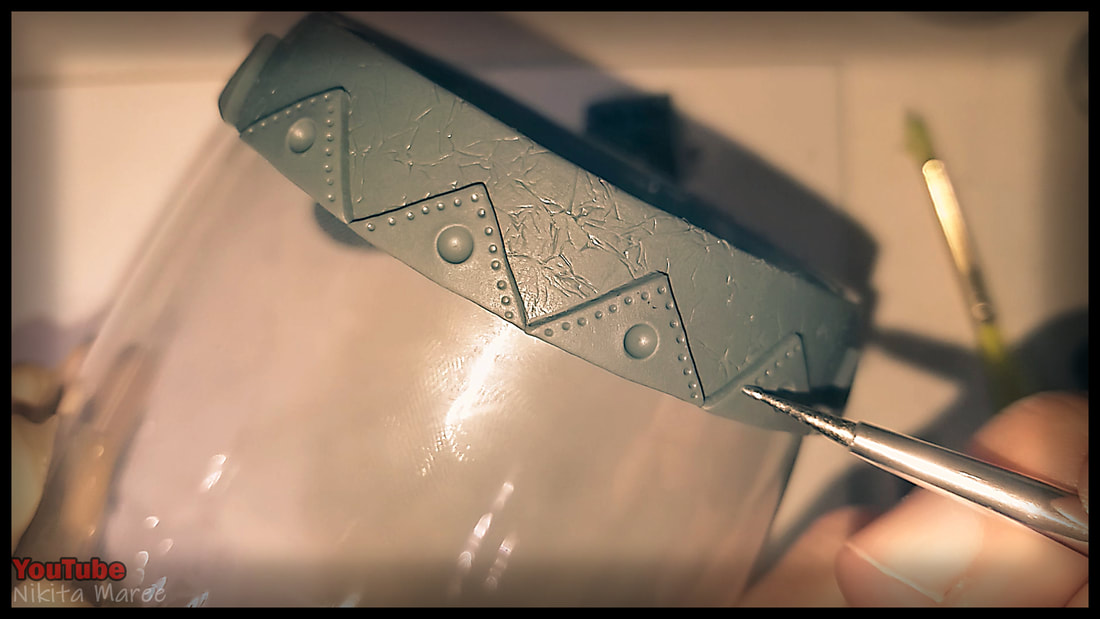
Ball tool in the center of the triangles.
And dotting tool along the upper edges.
And dotting tool along the upper edges.
|
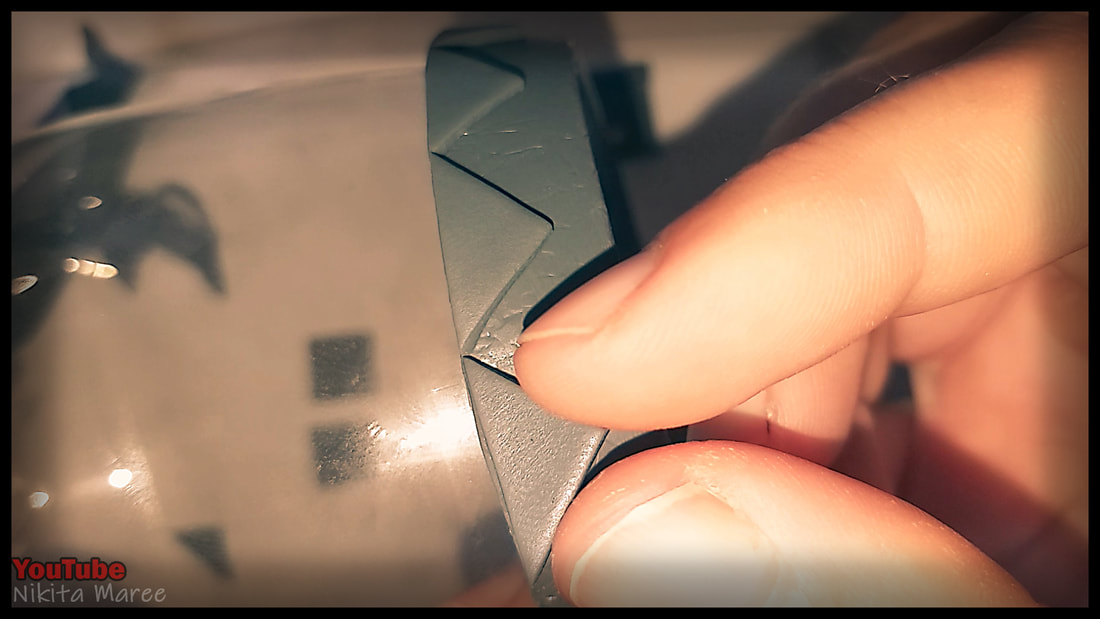
Add in a straight line at the base of each triangle.
|
|
|
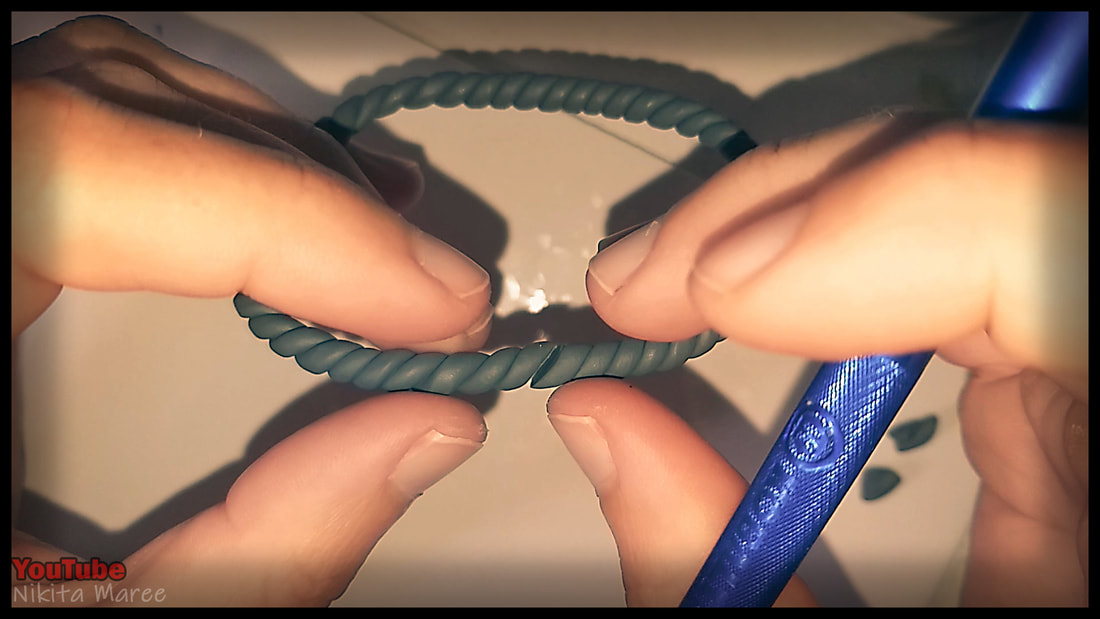
Twist two lengths together and cut diagonally to create a neat join.
|
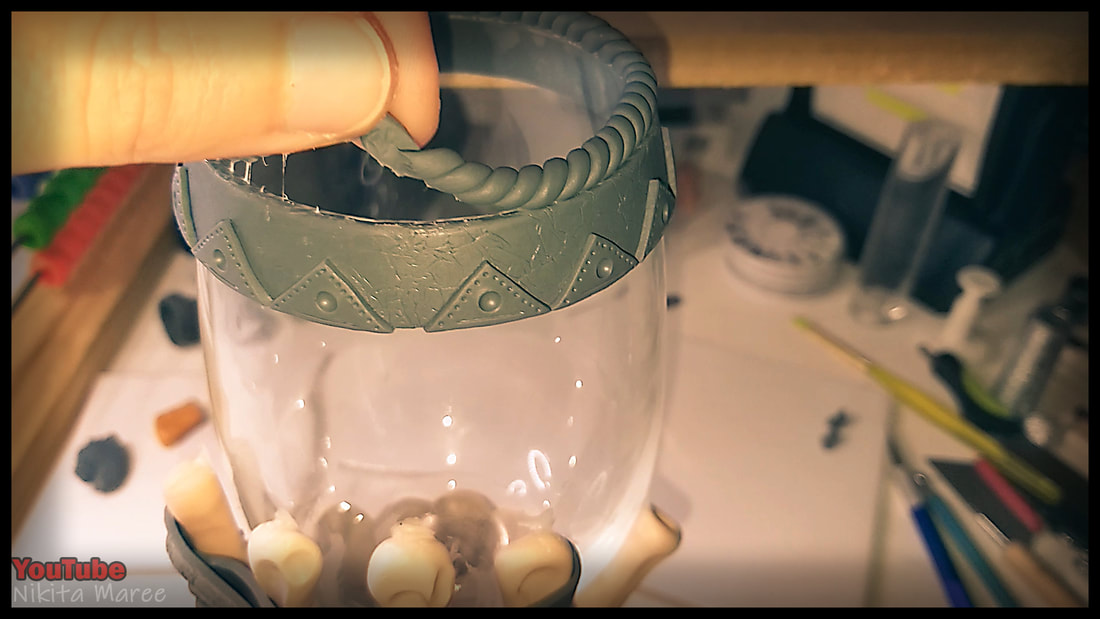
I added the twisted ring to the top of the glass.
|
|
Then decided I didn't like it.
But . . . now looking at it, I wish I had of kept it. |
|
|
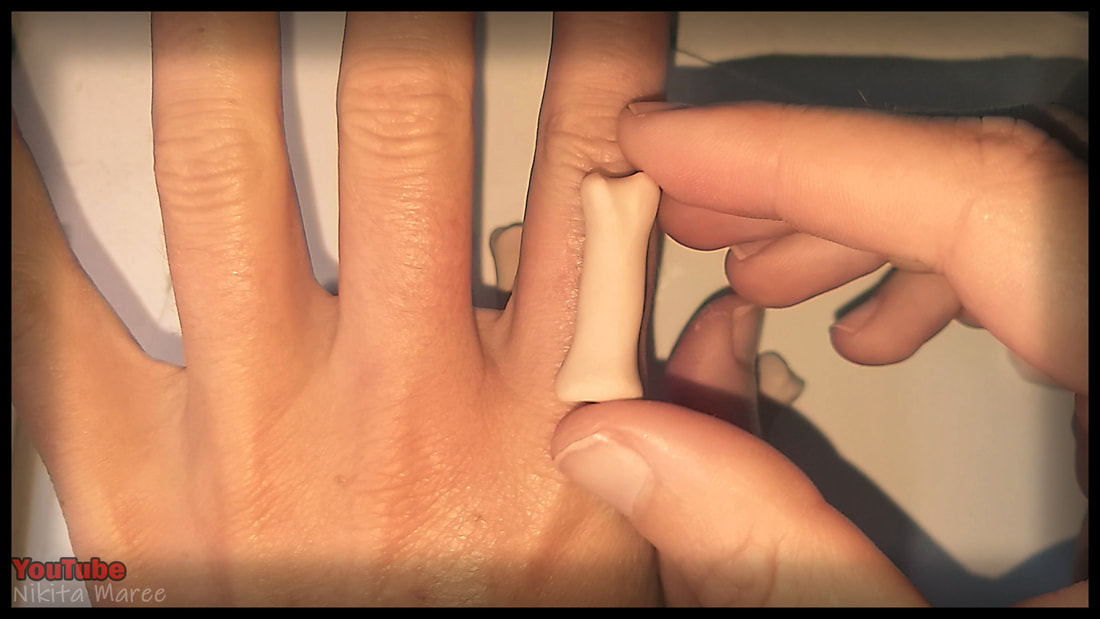
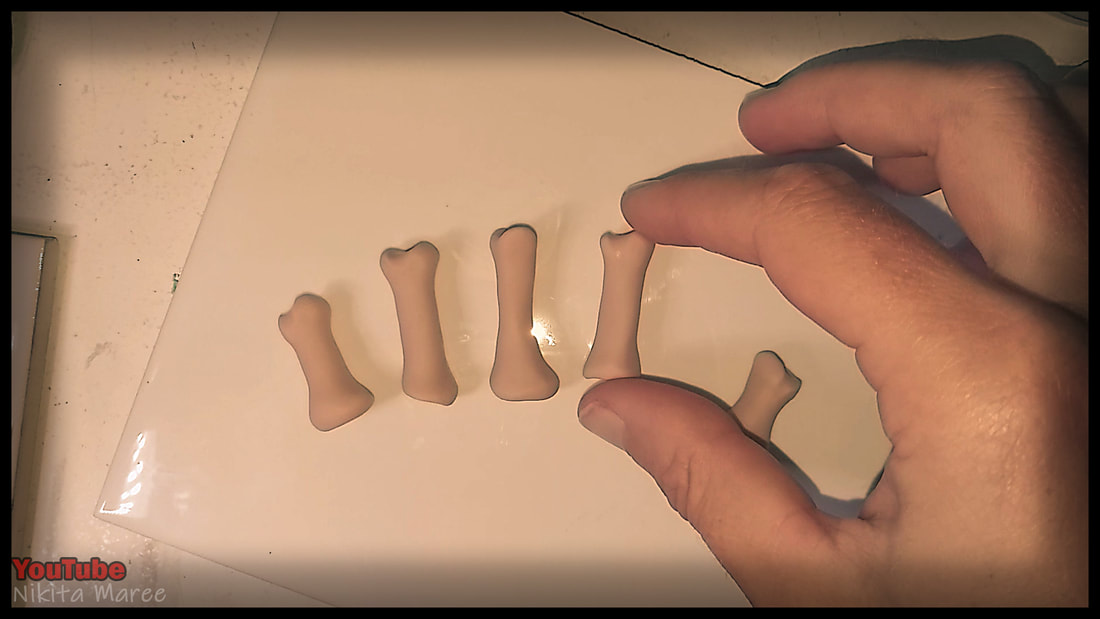
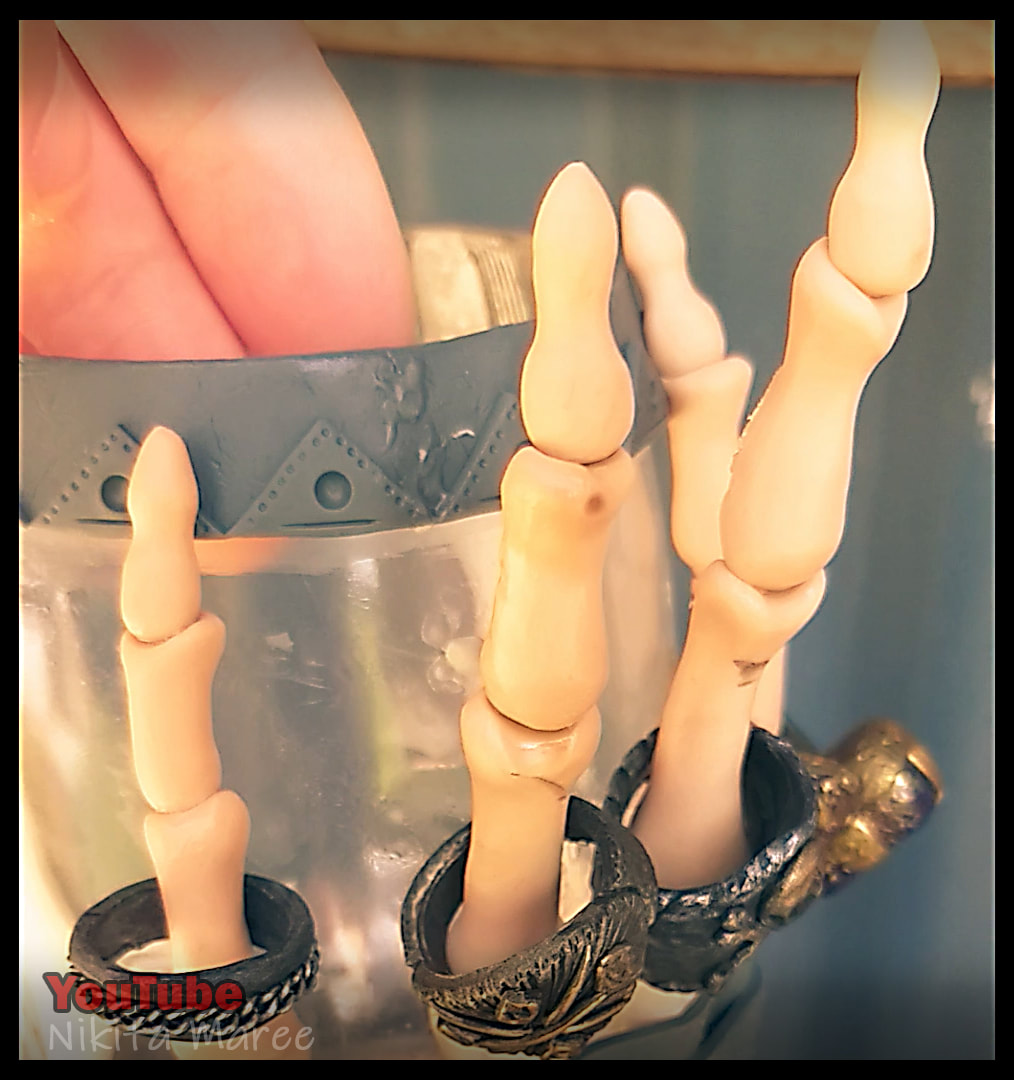
Roll out a set of finger bones. These are sculpted in the same manner as the hand bones.
Only they are shorter in length.
Only they are shorter in length.
|
|
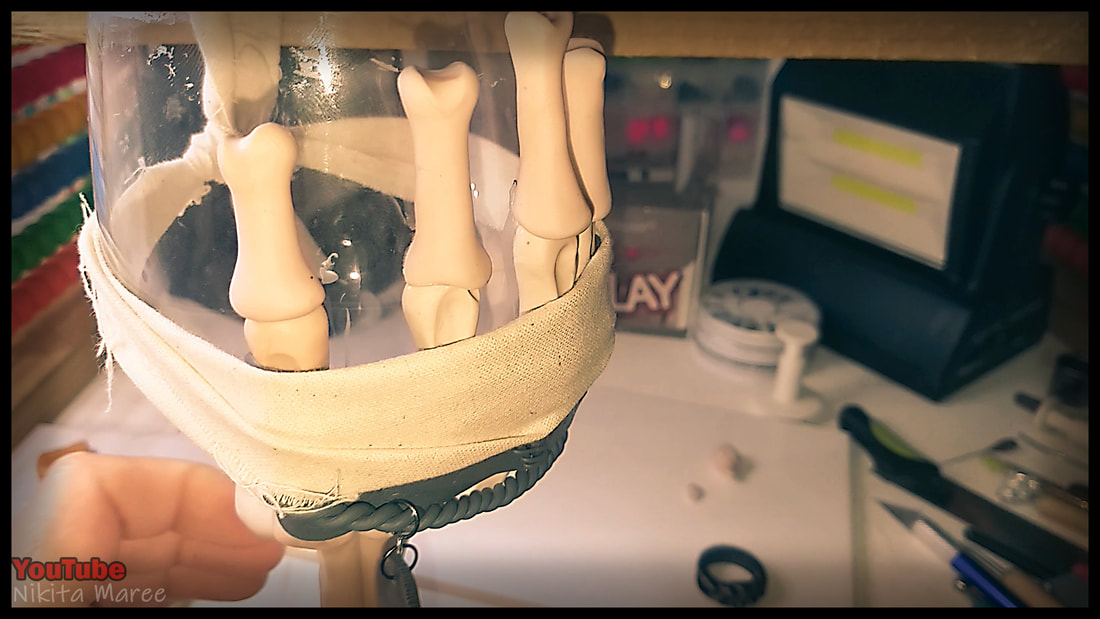
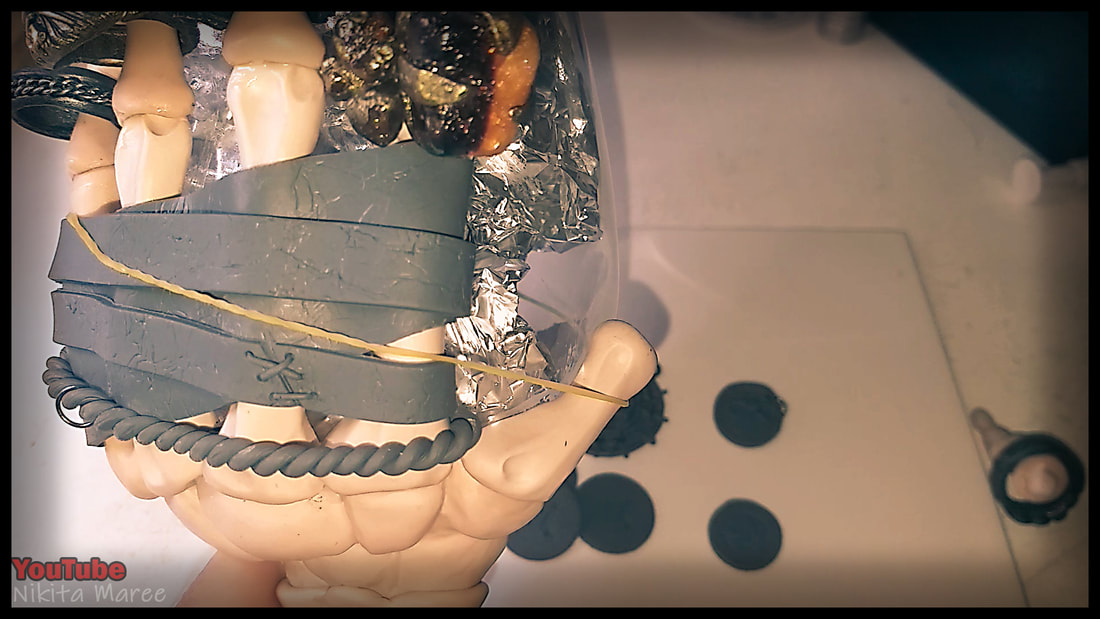
Everything was starting to come away from the glass.
And it all went down hill from here.
I wrapped some fabric around the glass to keep it all in place.
And it all went down hill from here.
I wrapped some fabric around the glass to keep it all in place.
|
This is a visual representation
of how I was feeling. |

|
|
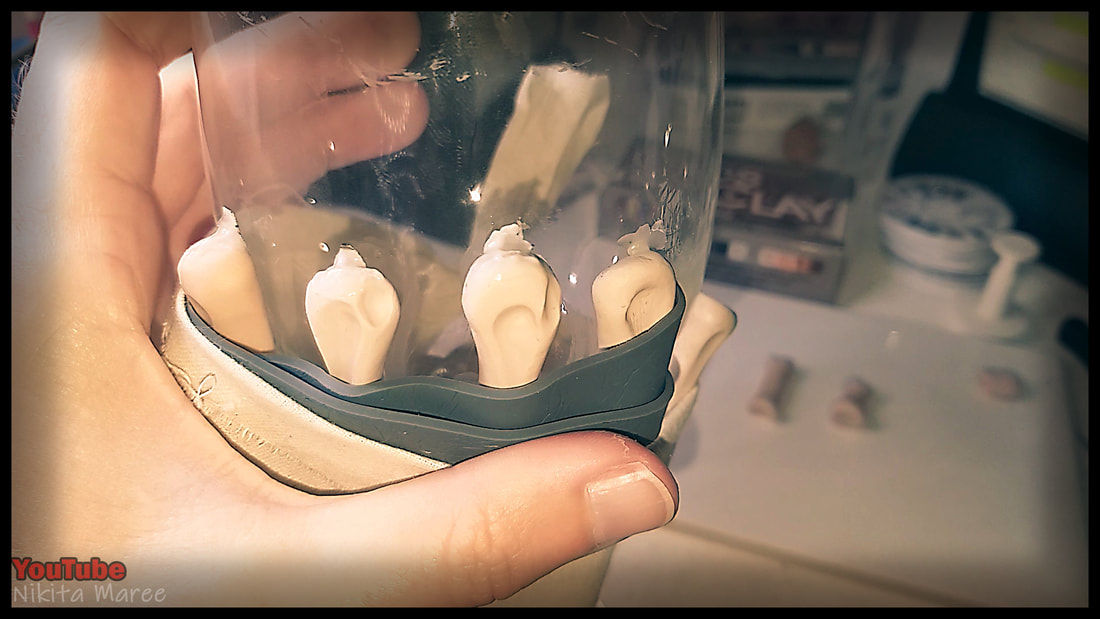
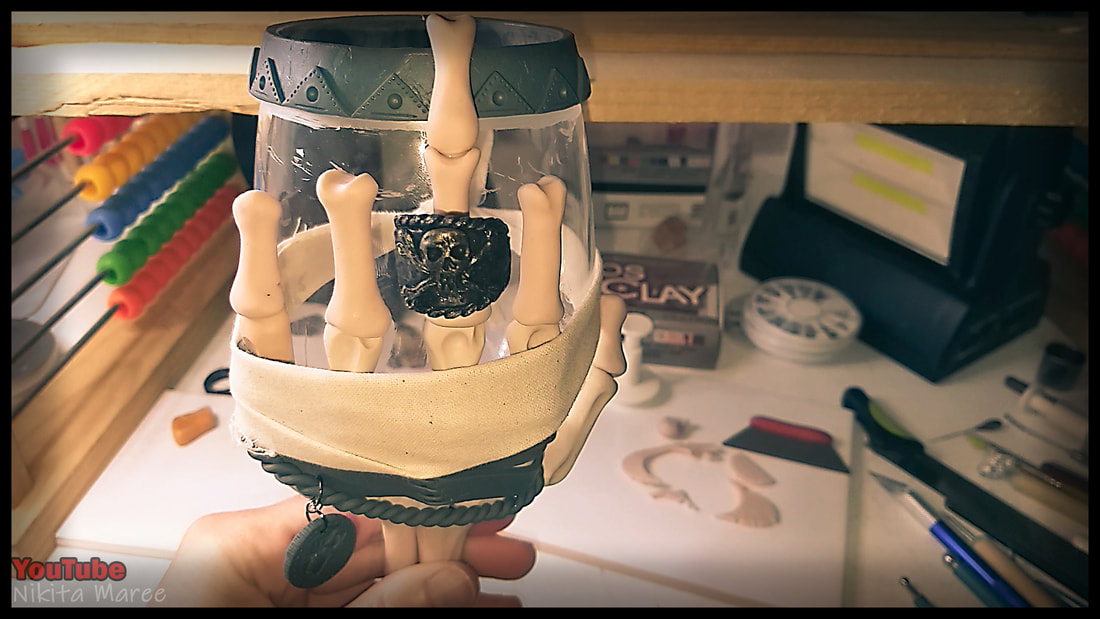
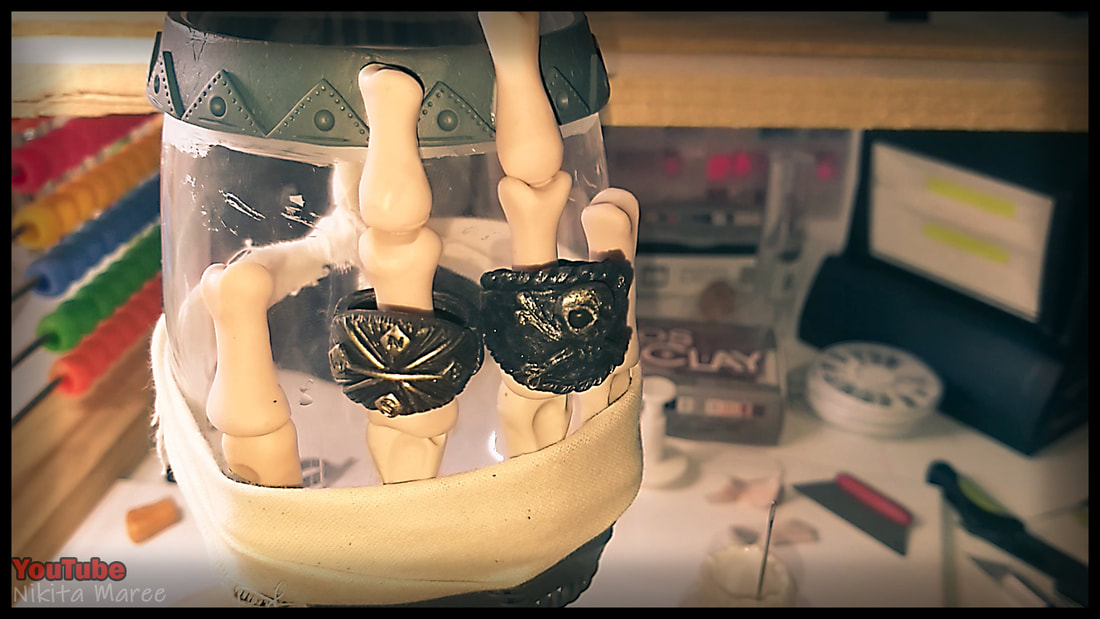
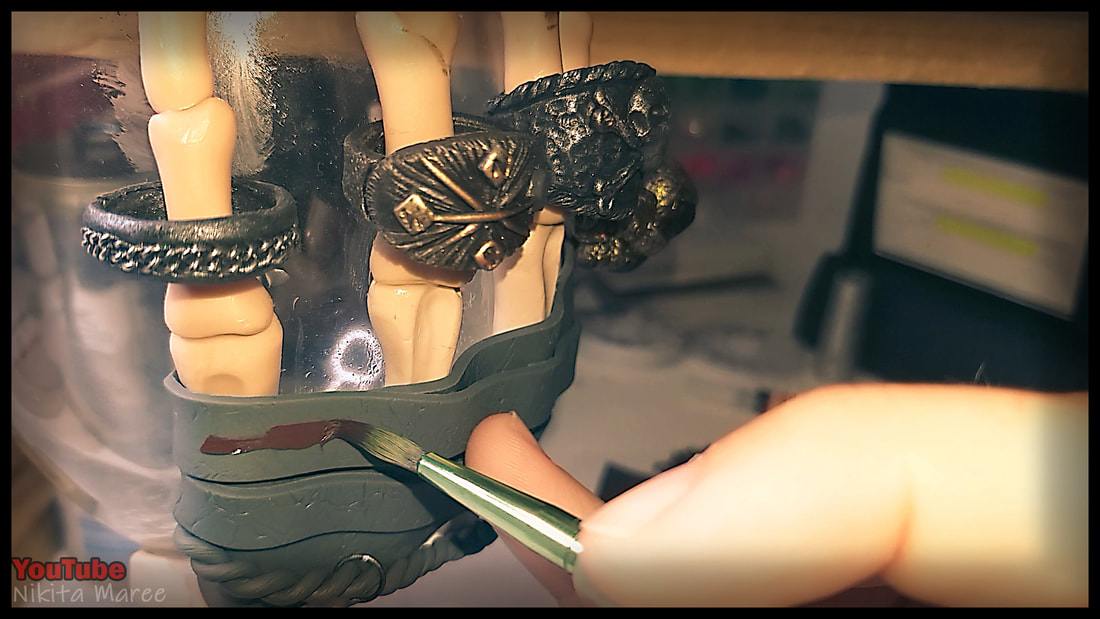
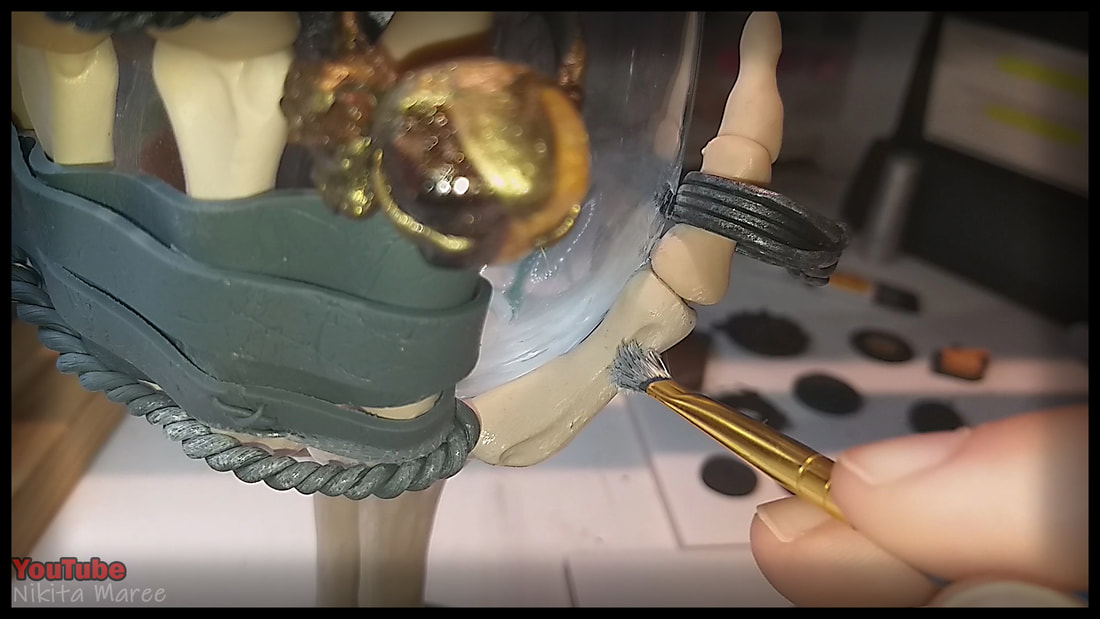
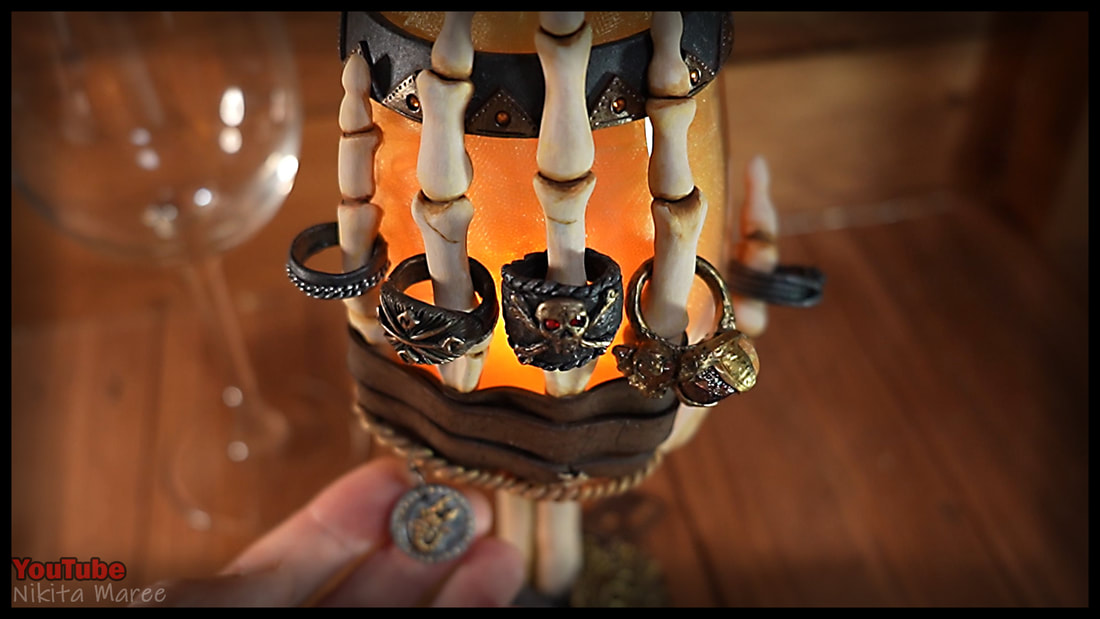
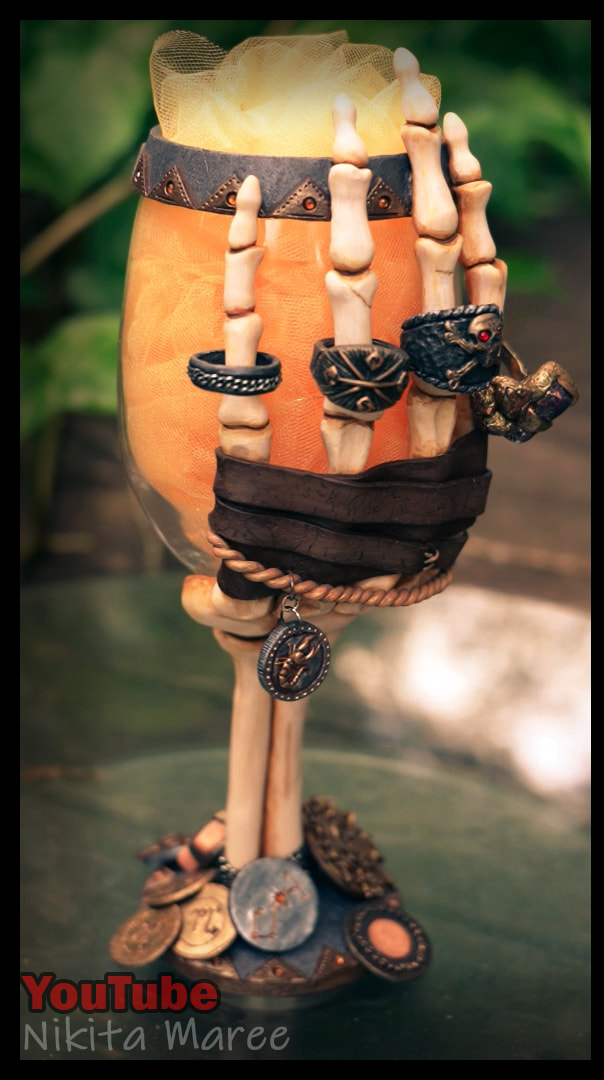
Added the rings to the fingers, then attached the finger bones to the rim of the glass.

|
|
The glass flipped, face down in the oven. Melted, squished and burnt everything.
I was devastated and weeks of work ruined. I knew if I didn't get straight back into sculpting that I would never come back to this project. |
|
|
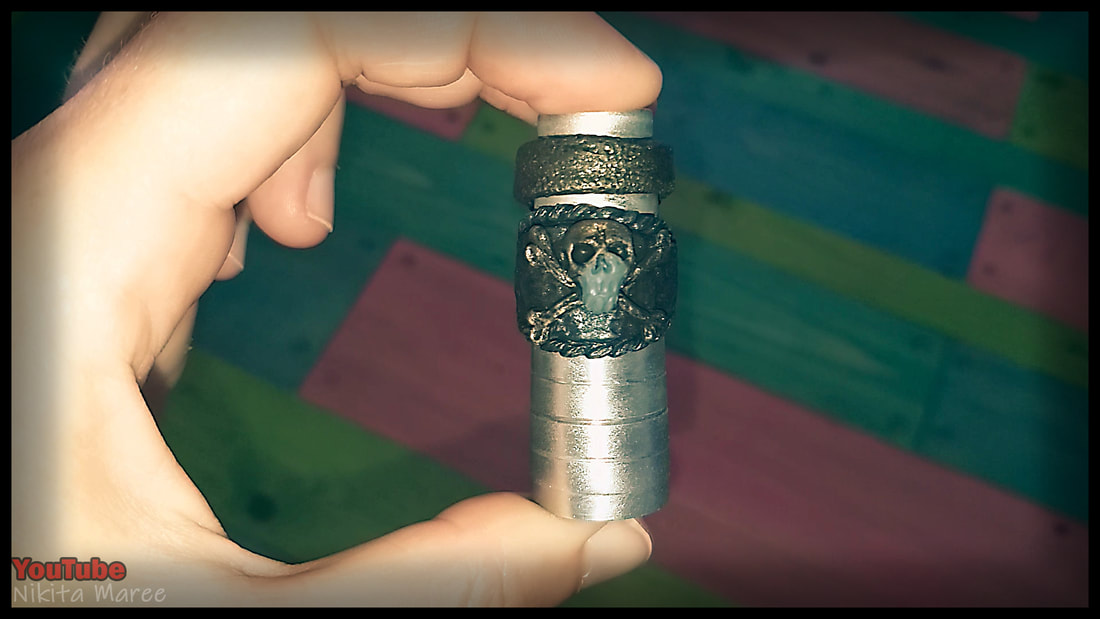
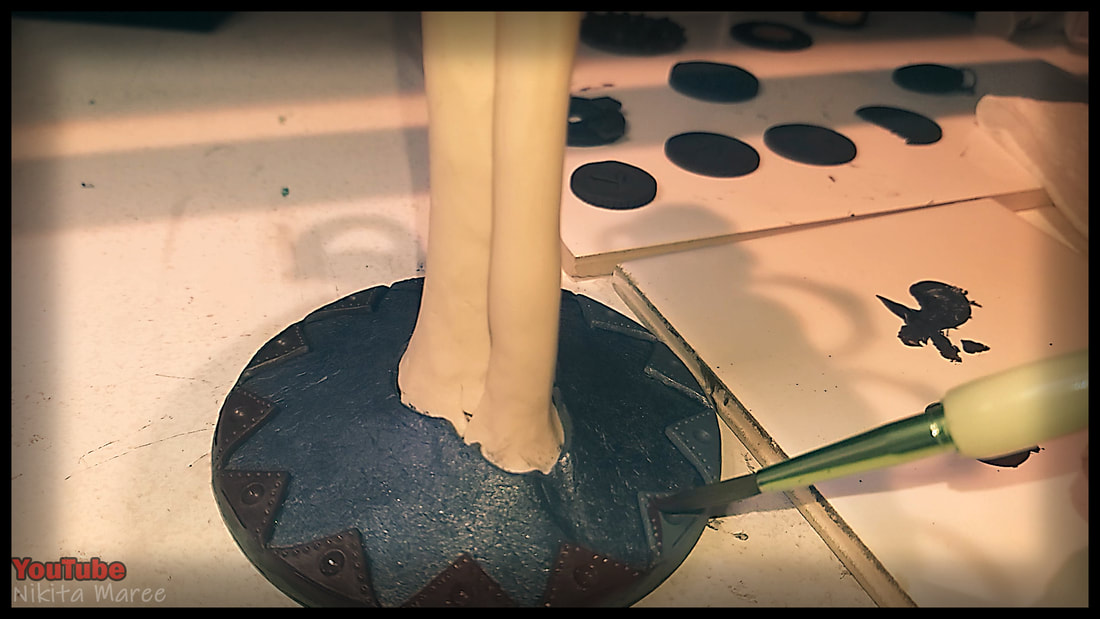
I repaired the rings and tore off most of the leather. Repaired the rope.
|
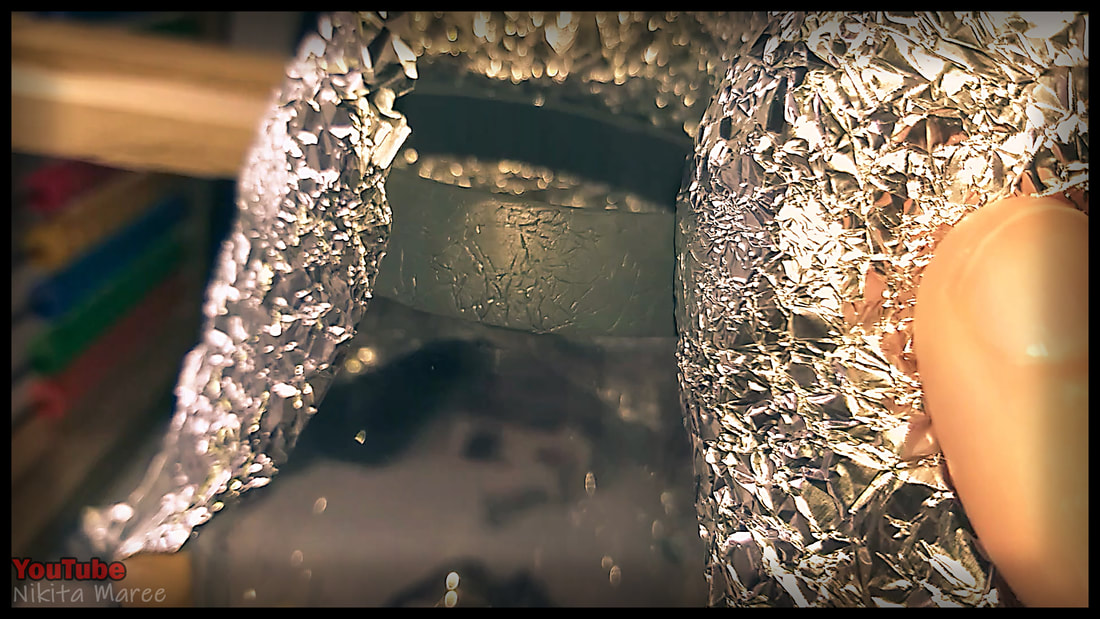
I re-baked everything,
with a weight in the glass. |
|
|
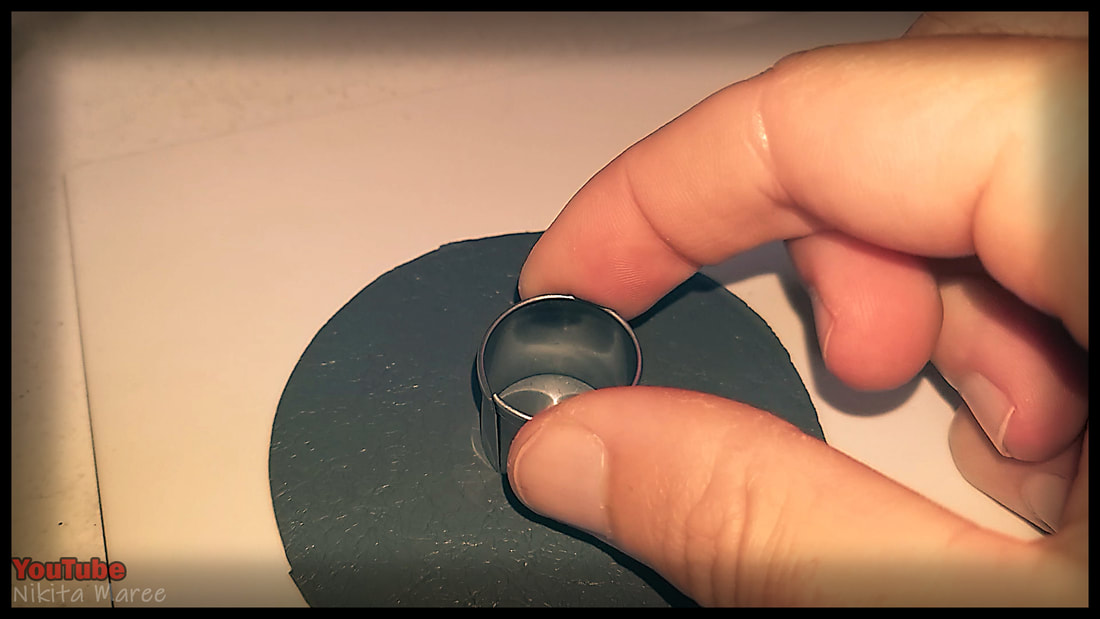
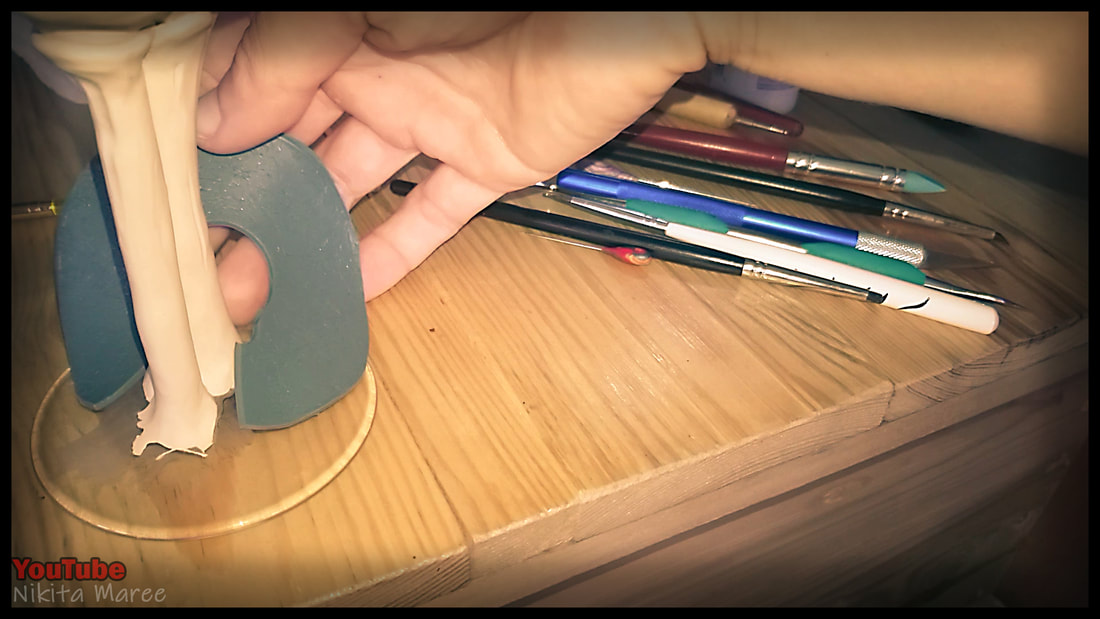
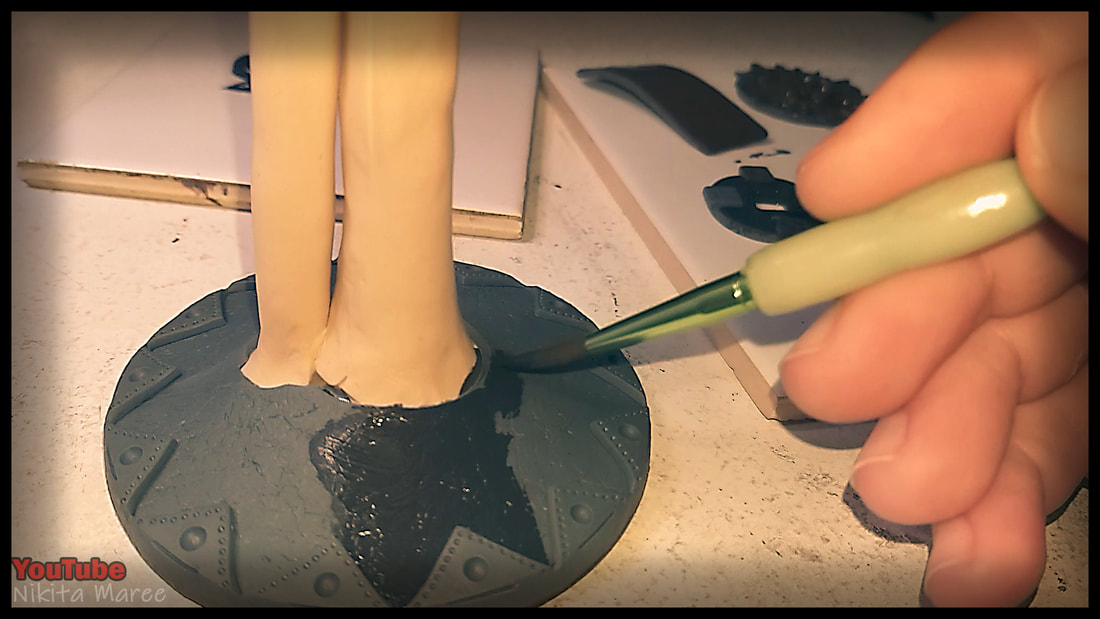
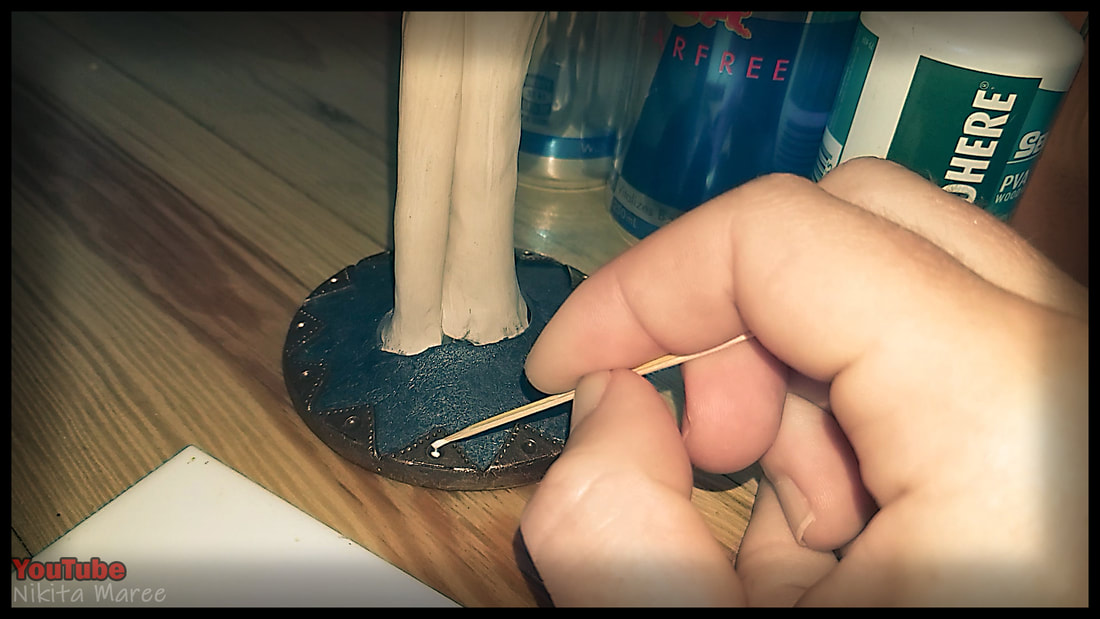
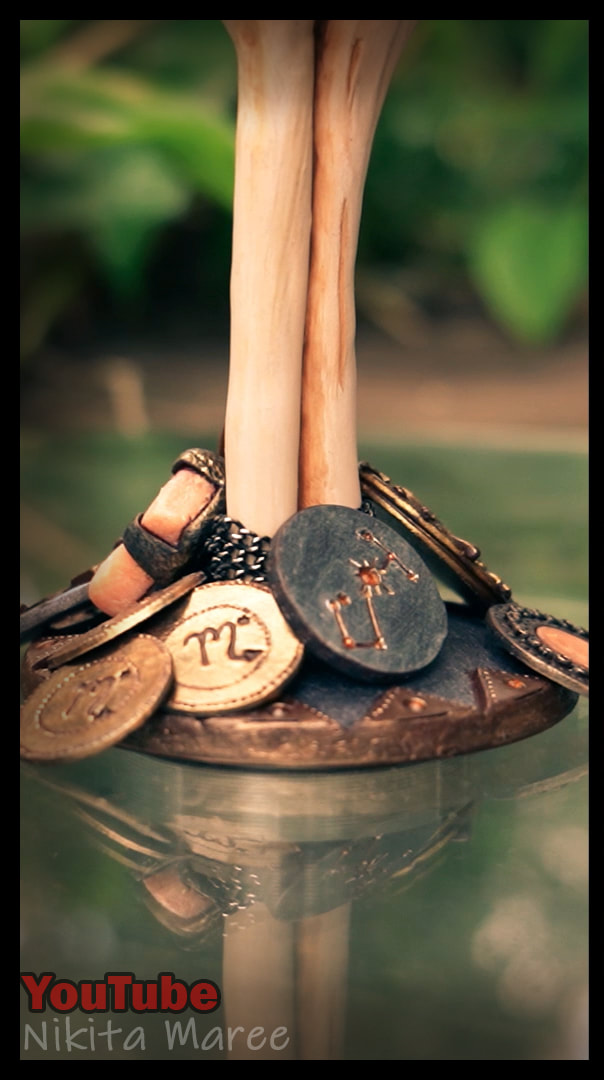
Moving onto the base of the goblet.
Using a circle cutter to remove a section for the arm bones.
Then lay that into position.
Using a circle cutter to remove a section for the arm bones.
Then lay that into position.
|
|
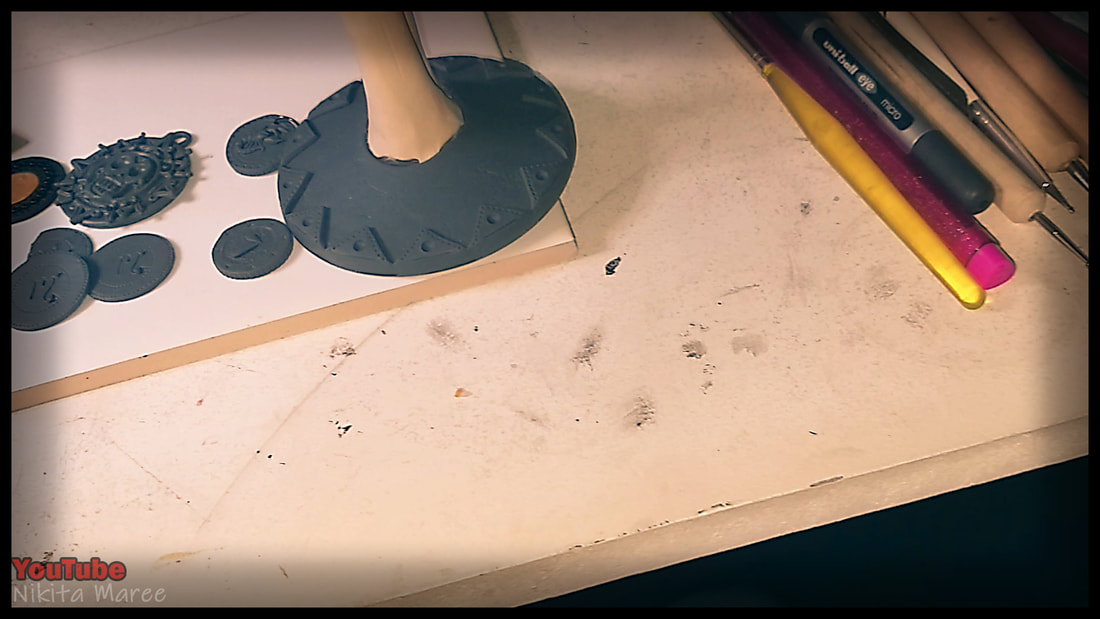
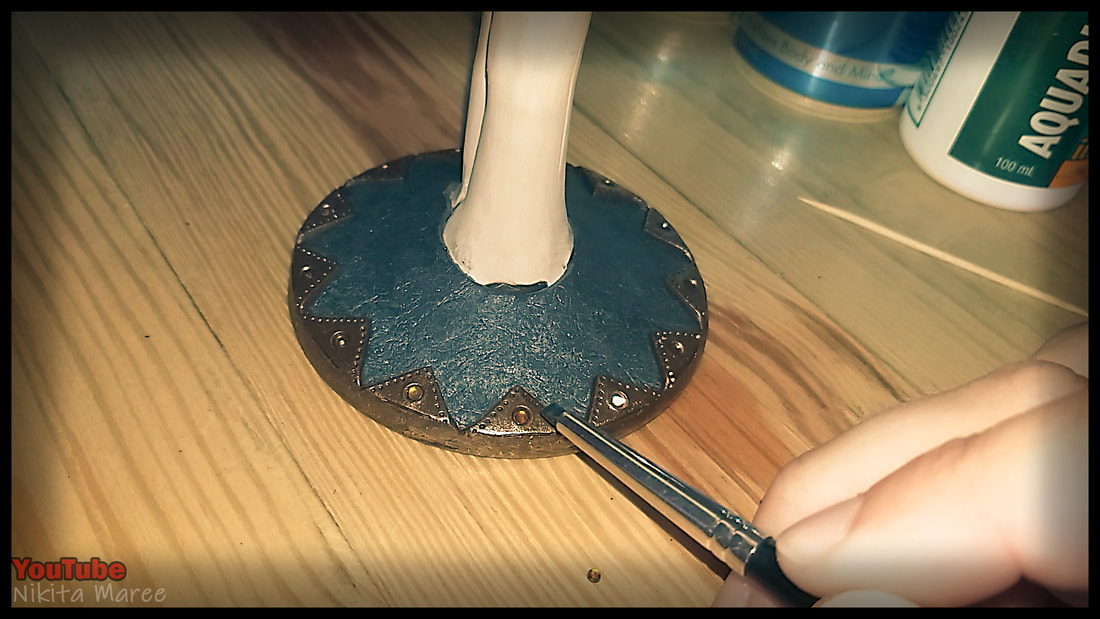
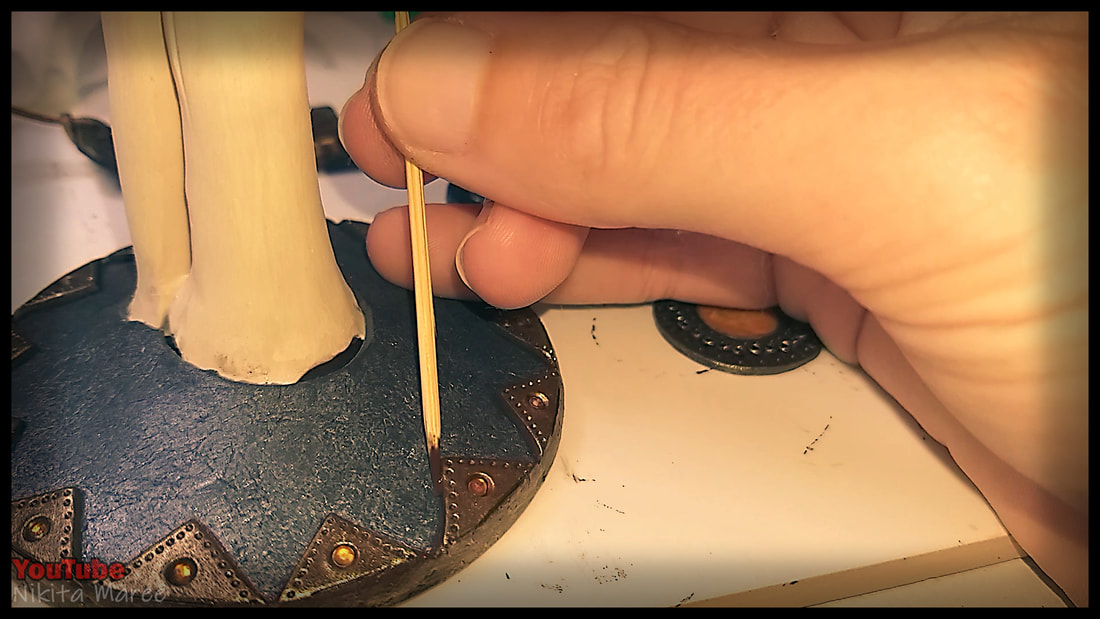
Repeat the same design as the rim of the glass, around the bottom edge.

|
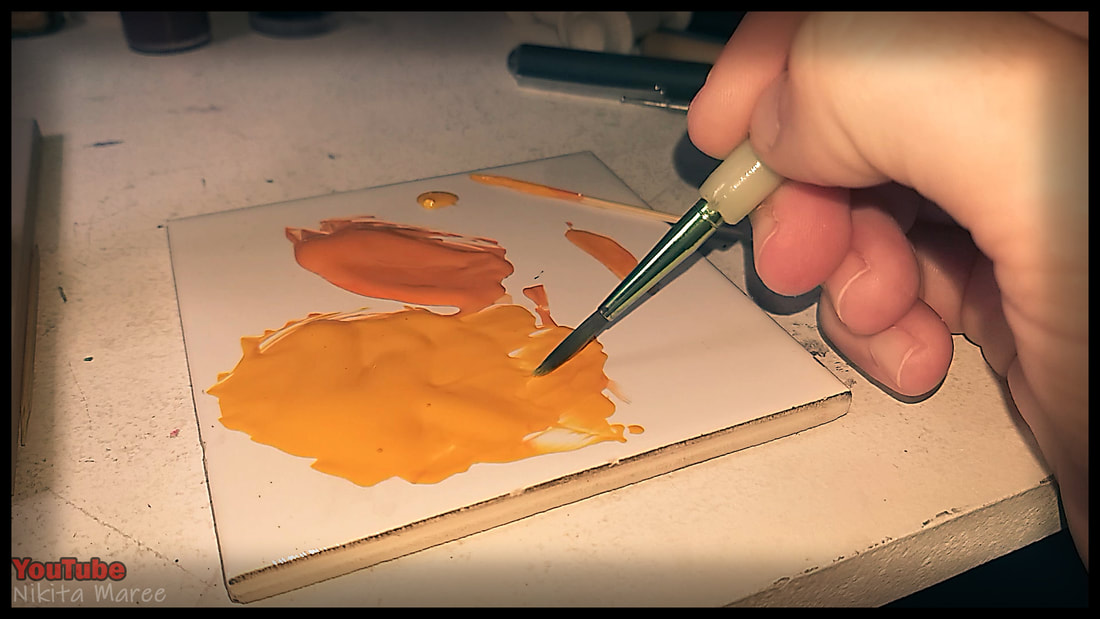
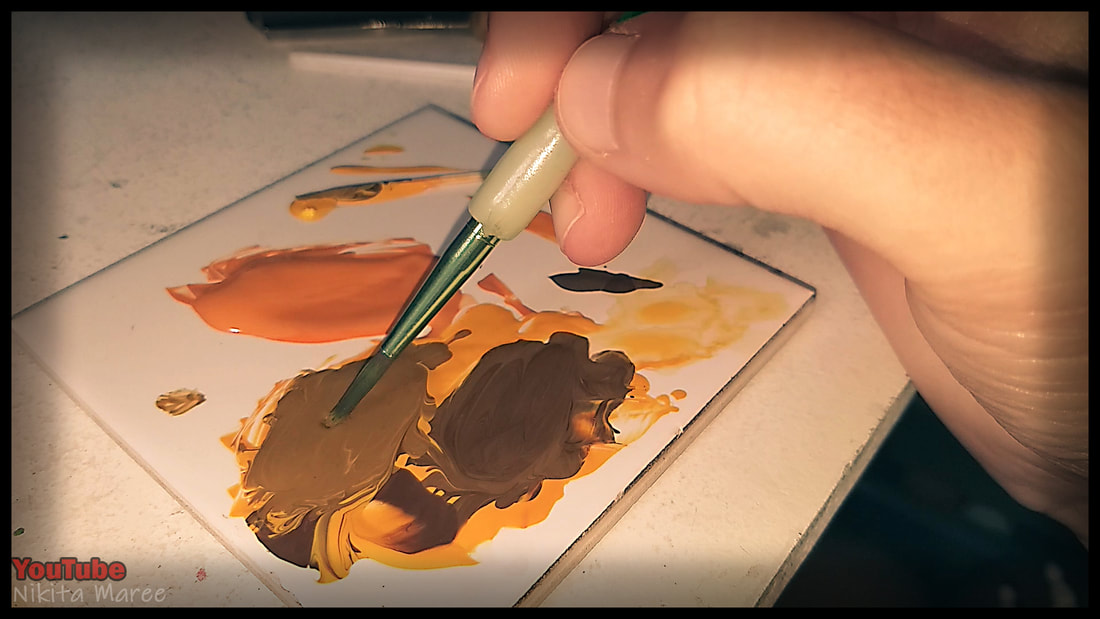
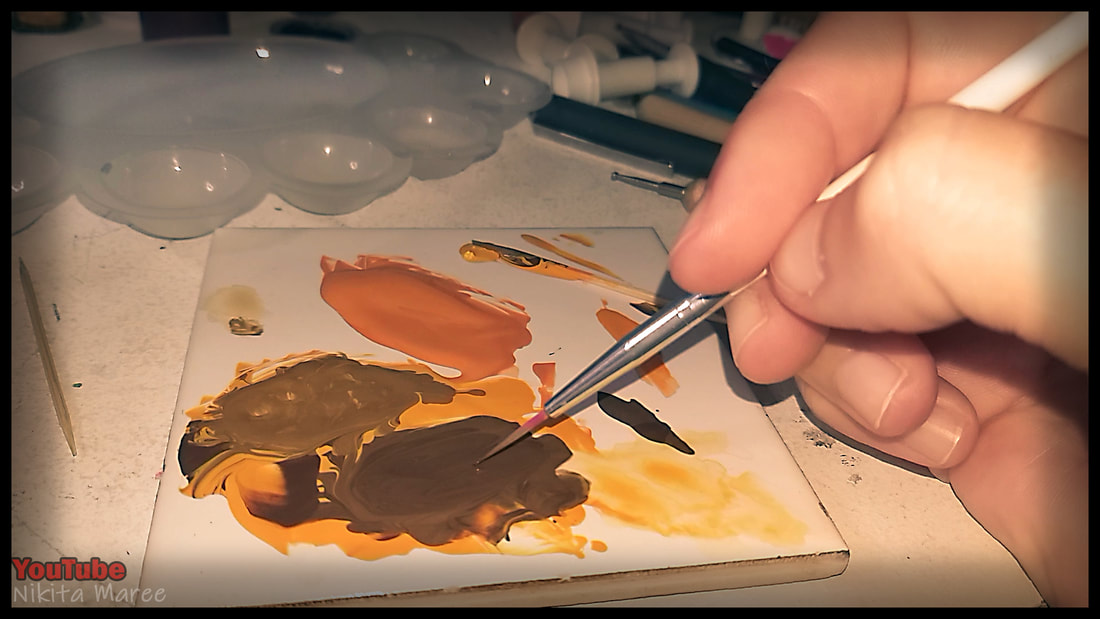
Time to paint.
I am using water based acrylic paint. |
|
|
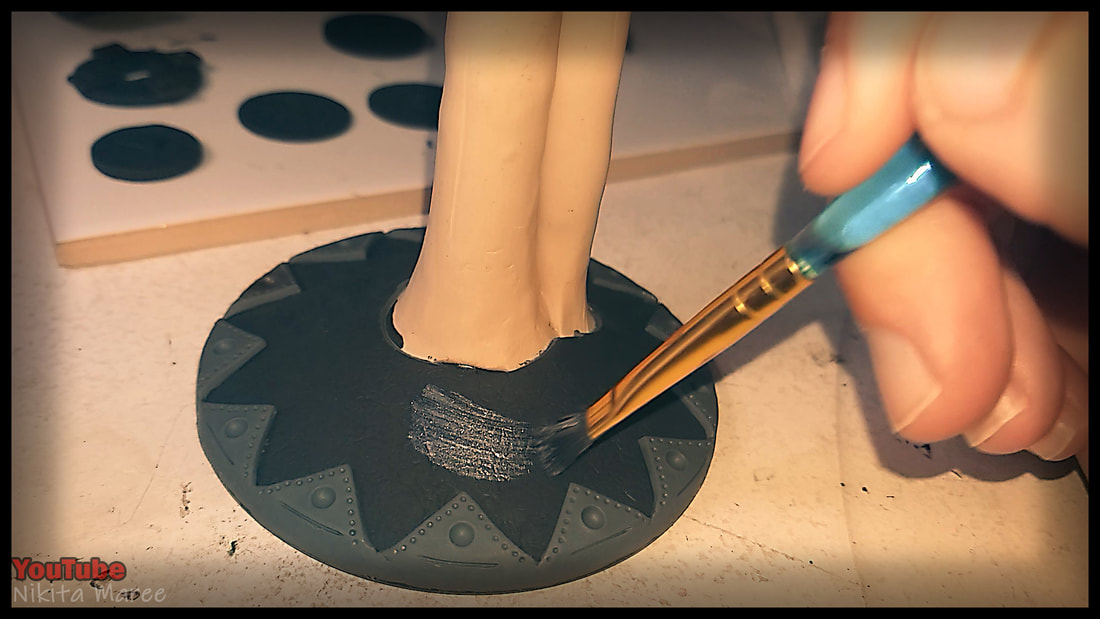
Painting a solid black base coat.
Once that has dried, I then go in with a metallic silver on top.
Once that has dried, I then go in with a metallic silver on top.
|
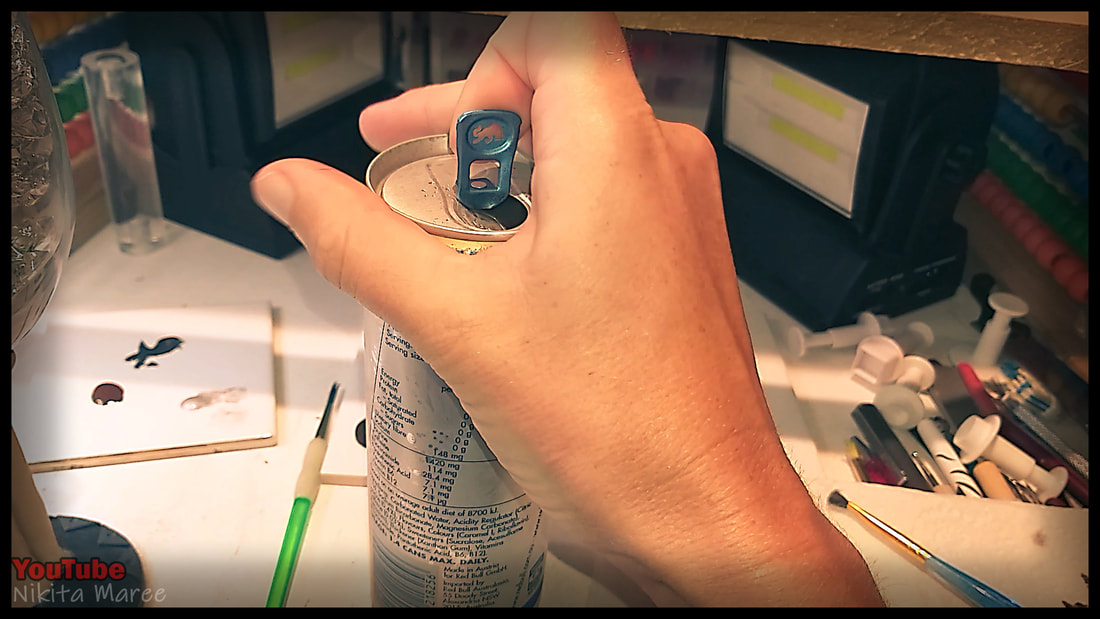
Re-fuel
'you know how it is.' |
|

|
Brown Base coat on the triangles.
And then metallic bronze over the top of that.
And then metallic bronze over the top of that.
|
|
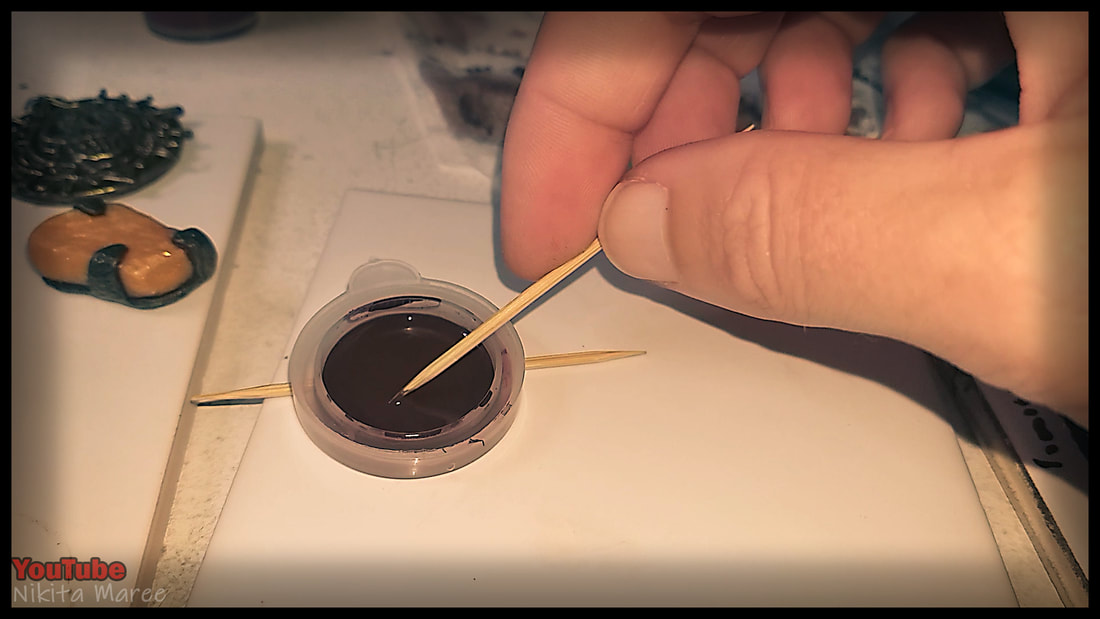
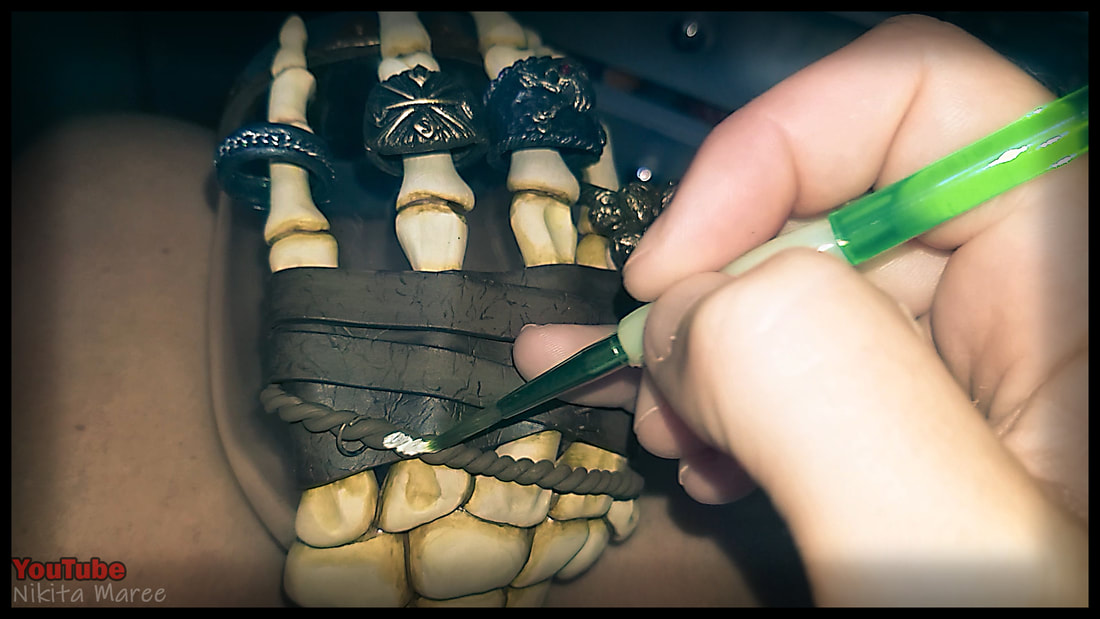
PVA glue in the holes, to attach the gems.
|
|
Solid brown base coat on the leather wraps.
I also lightly dry brushed over the bones with an ivory colored paint.
I also lightly dry brushed over the bones with an ivory colored paint.
|
|
|
Water down some brown paint to add 'grime' to all the brown surfaces.
|
|
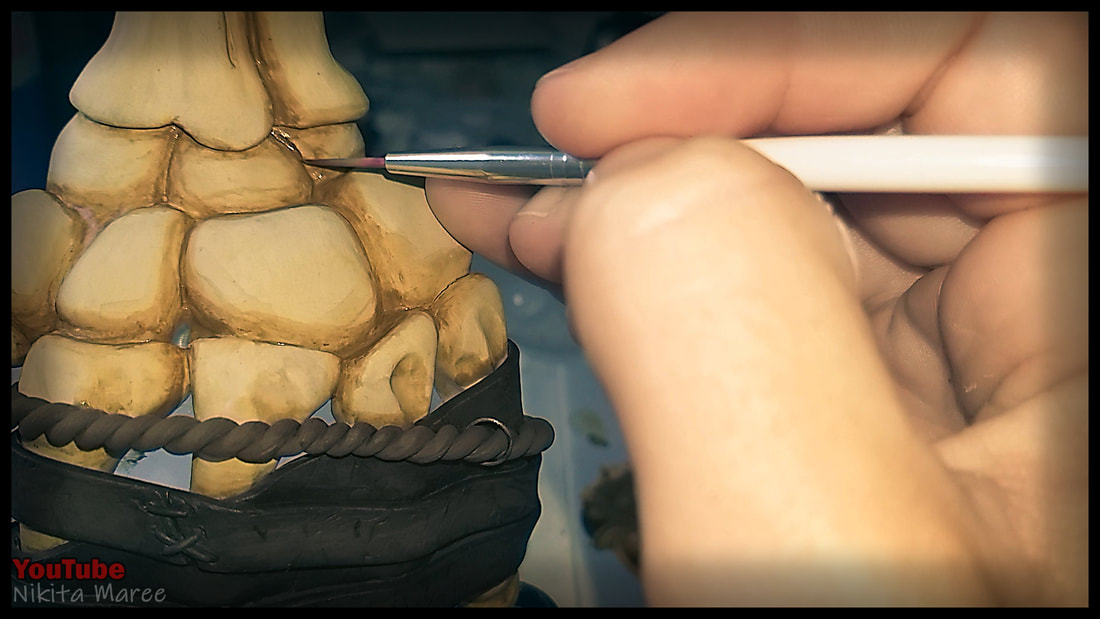
Brush on a thin layer of watered down yellow over all the bones.
|
Widely blend in some orange/brown paint
around all the creases. |
|
|
Go in with a light brown, deeper in the bone joints.
|
|
Then with a small detail brush, go in with a dark brown in the deepest areas.
|
Finish of the painting with a light brown rope.
|
|
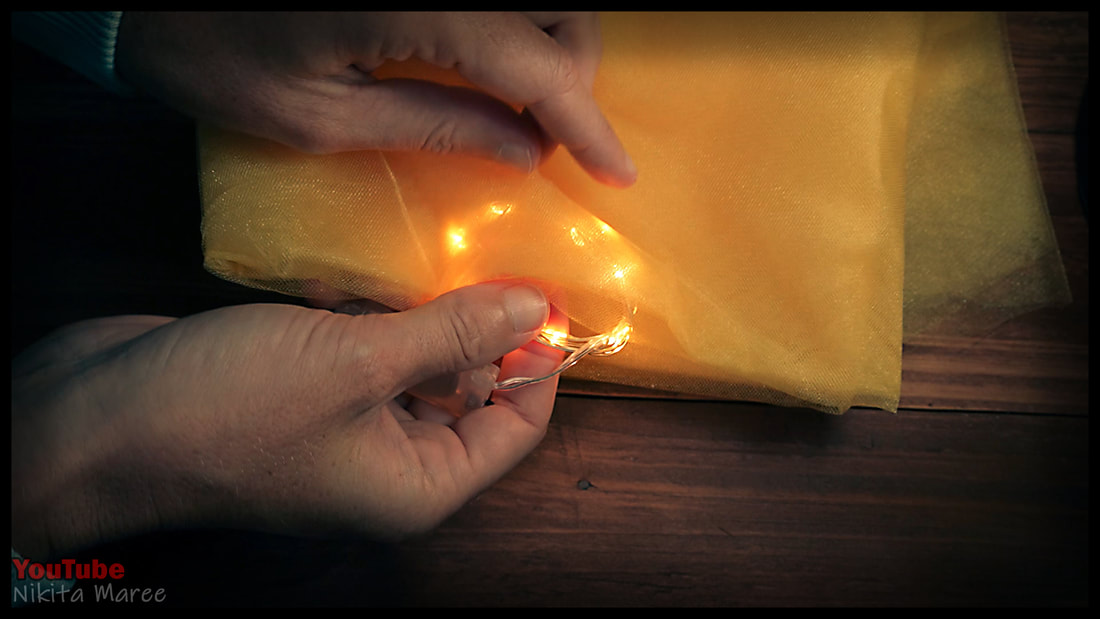
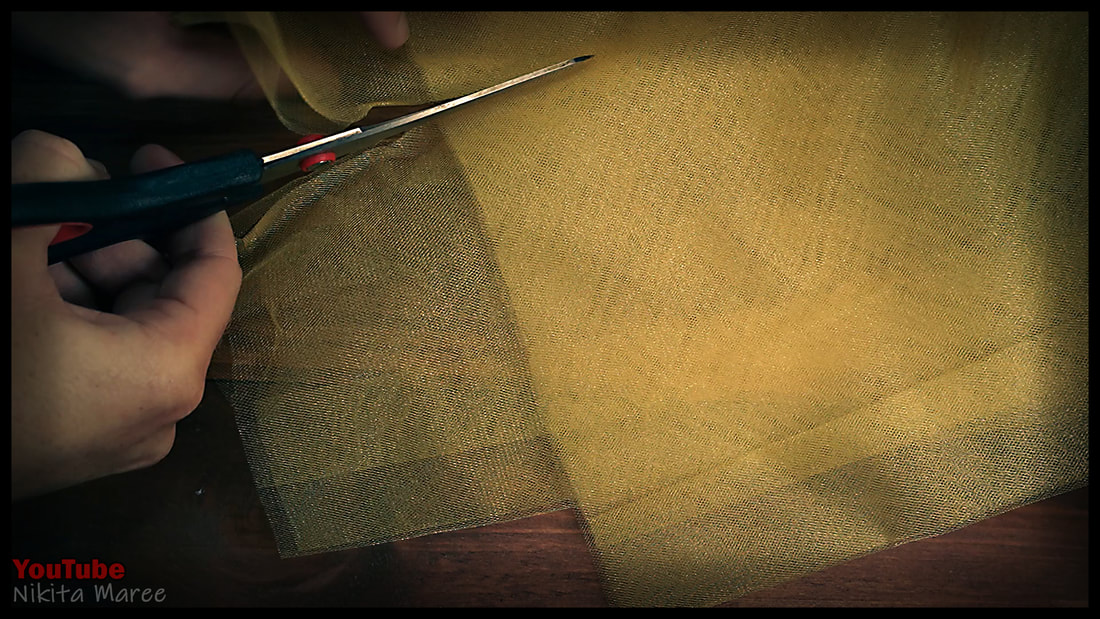
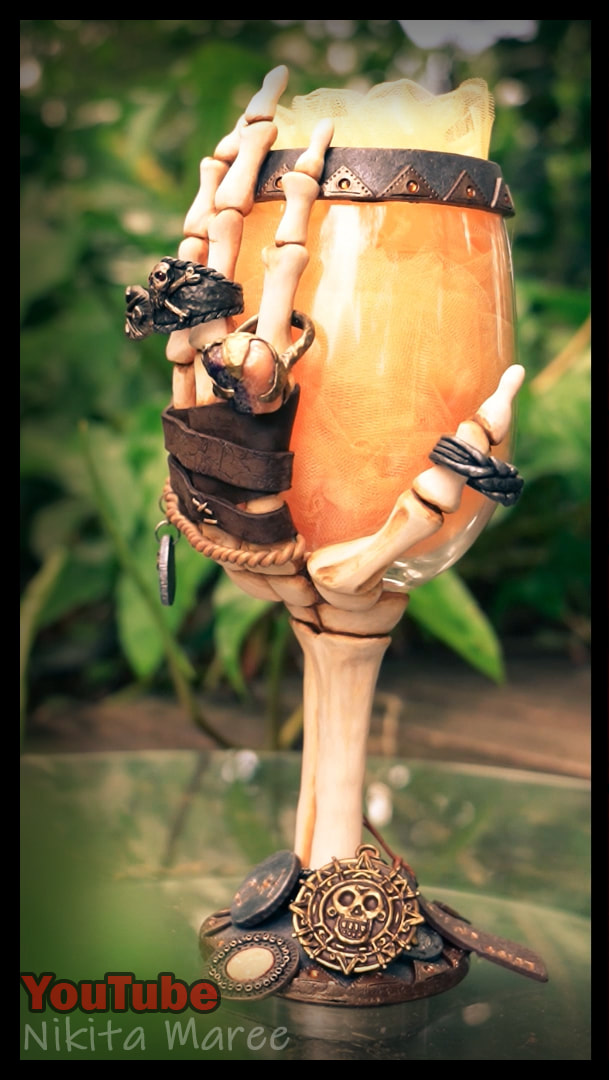
For inside the goblet I am using an
orange/yellow tulle. And a row of warm white LED's |
|
|
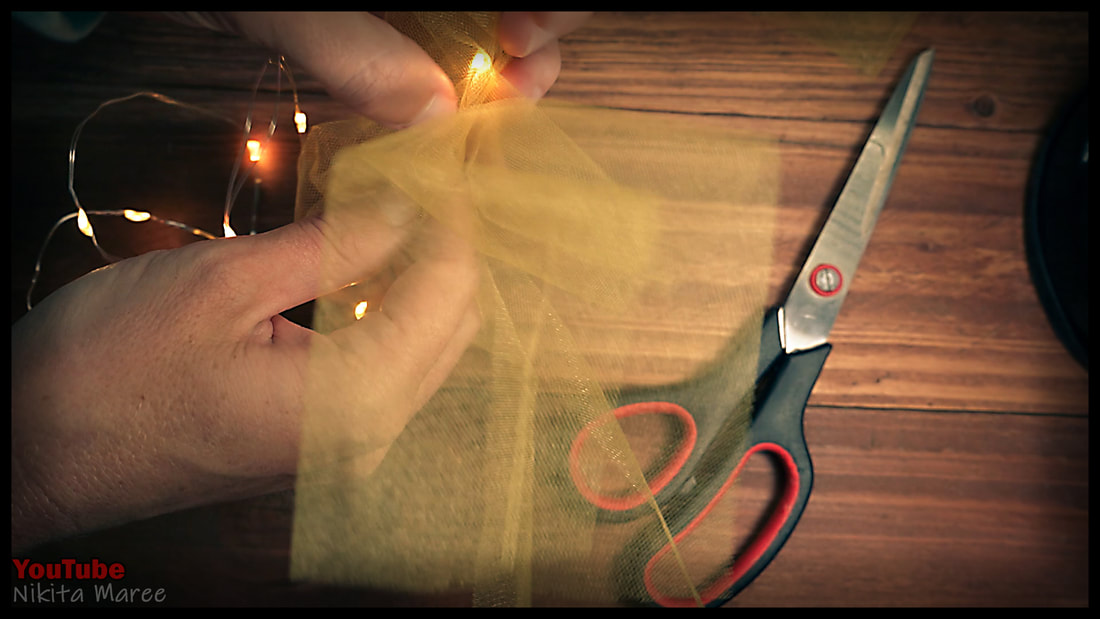
Cut the tulle into lengths. Wrap and scrunch the tulle around the LED's.
|
Then place the Tulle and LED's
into the glass. |
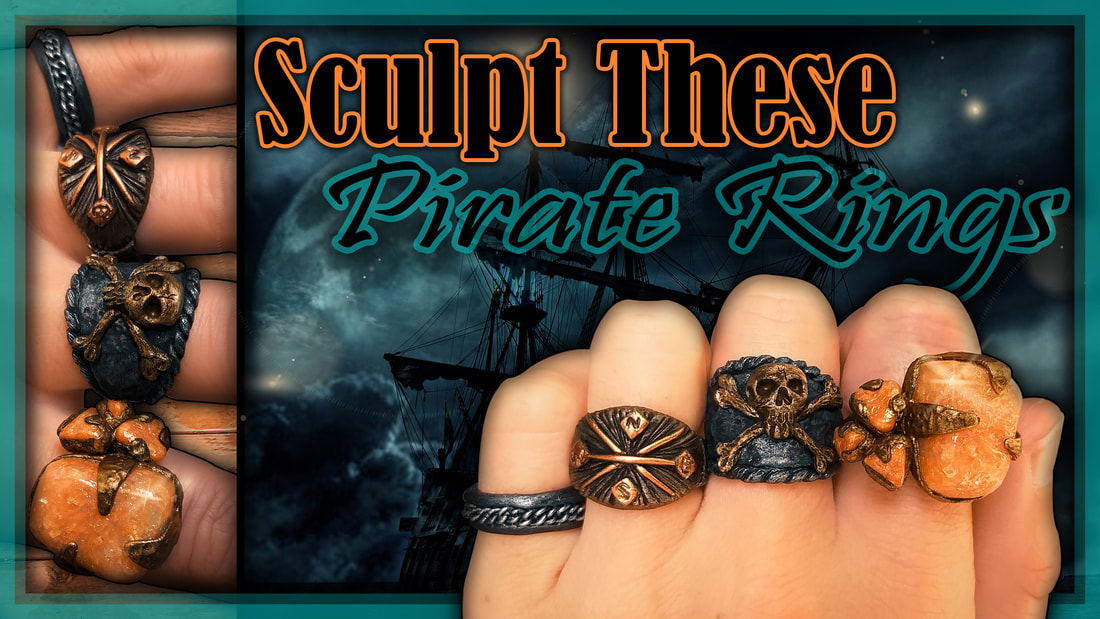
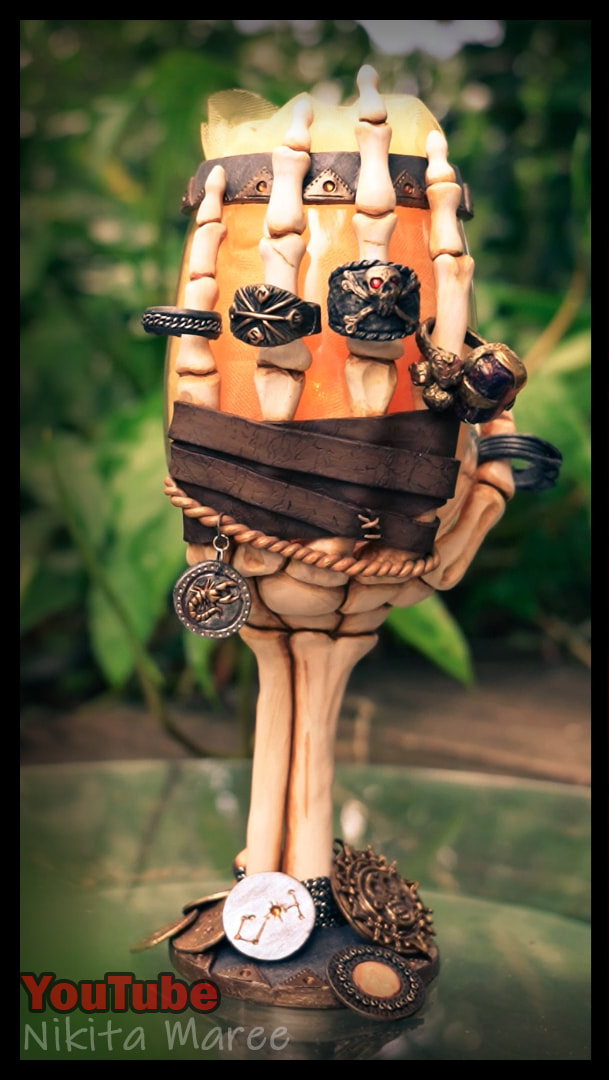
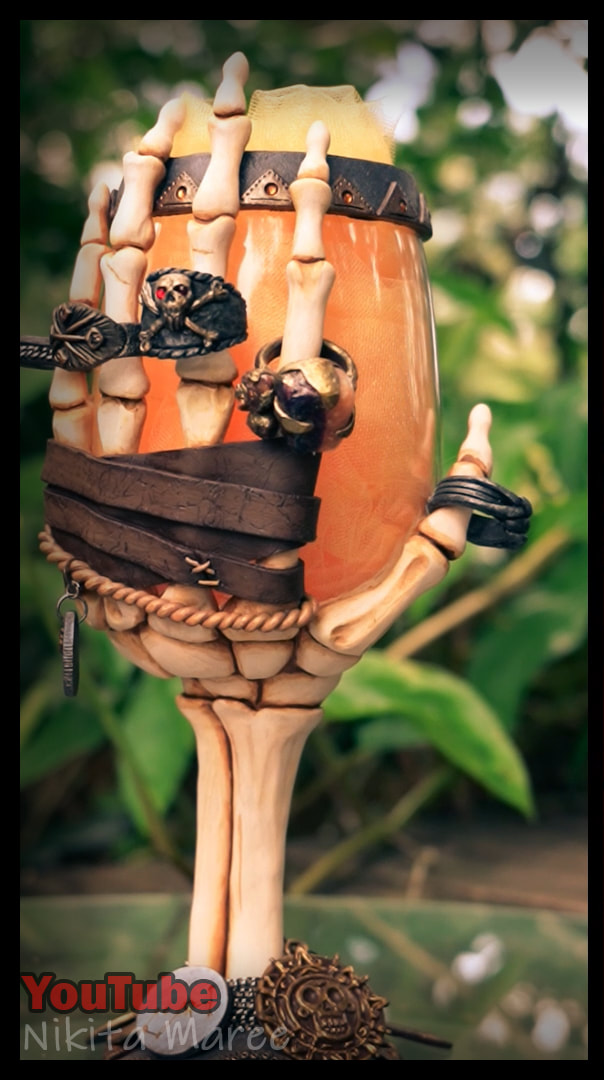
I made this goblet for my younger brothers 30th birthday.
I wanted it to be meaningful so I added elements like the Scorpio constellation, with Antares as a gem.
Added a few other Scorpio elements.
I added some Citrine/Topaz colors throughout to match his Birthstone.
I also recreated his puzzle ring, that I bought for his 18th.
I went for a medieval gothic style for the actual goblet. And added plenty of pirate elements.
|
|
|
|
|
