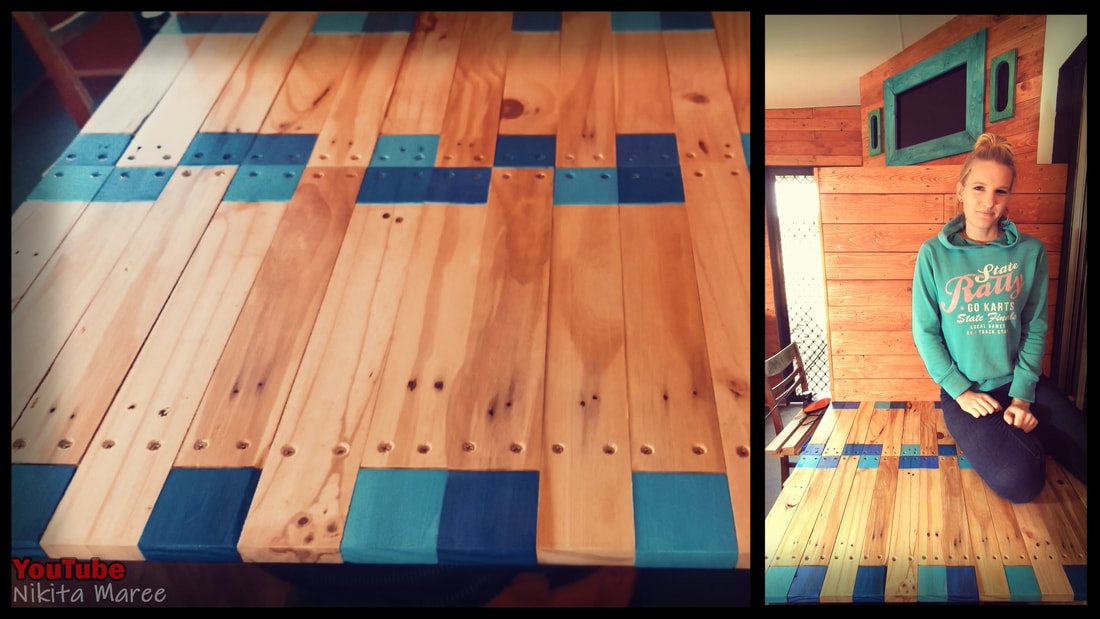
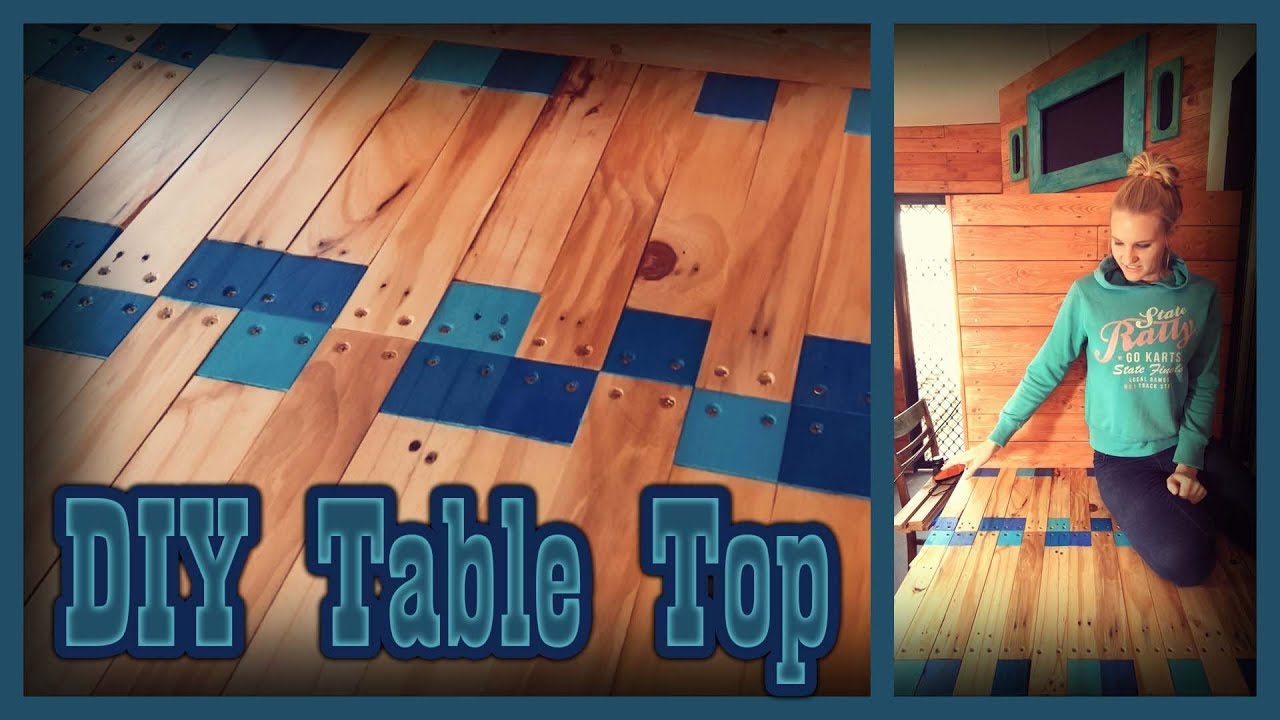
How to build this unique Table Top
|
This is just a quick video on how I went about making this 'kind of interesting' bench top
from pallet pailings. |
|
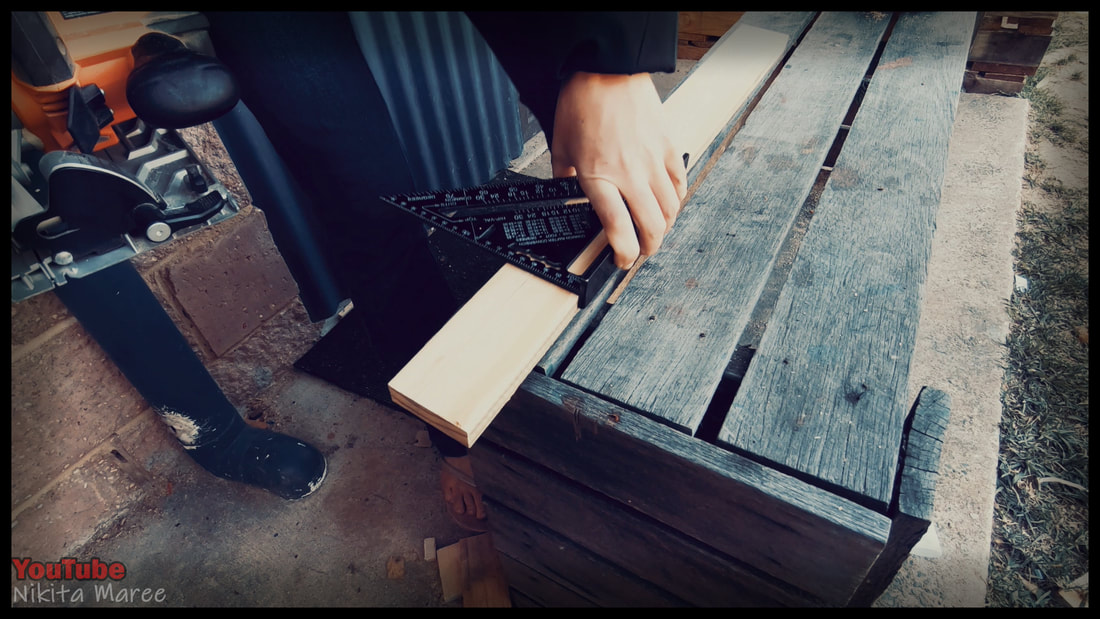
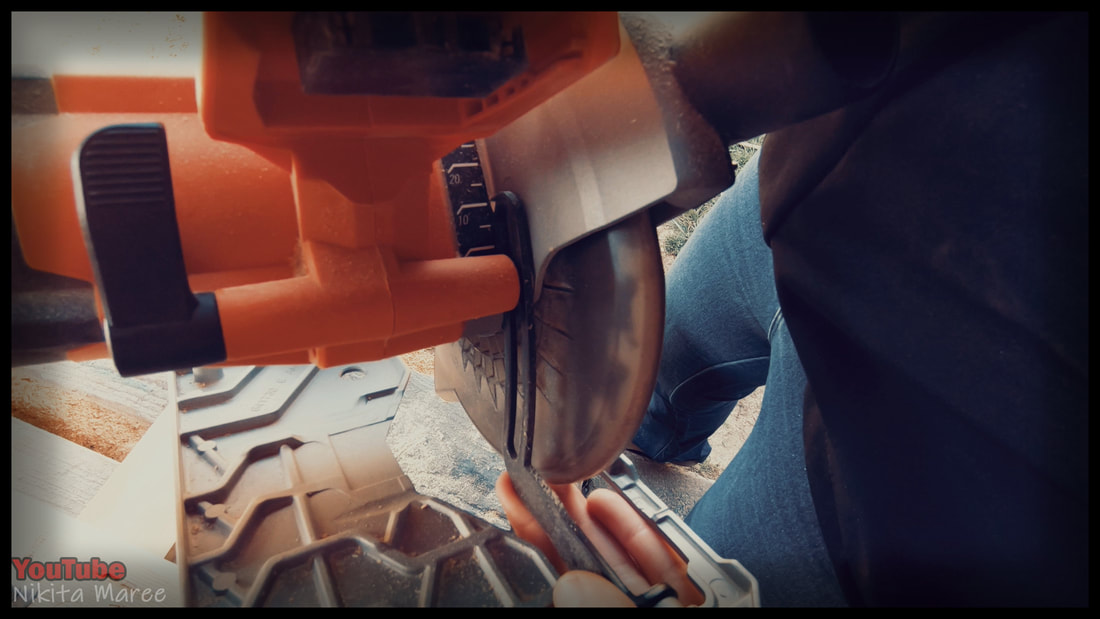
Run the circular saw up against the
speed square to get the first edge. |
|
|
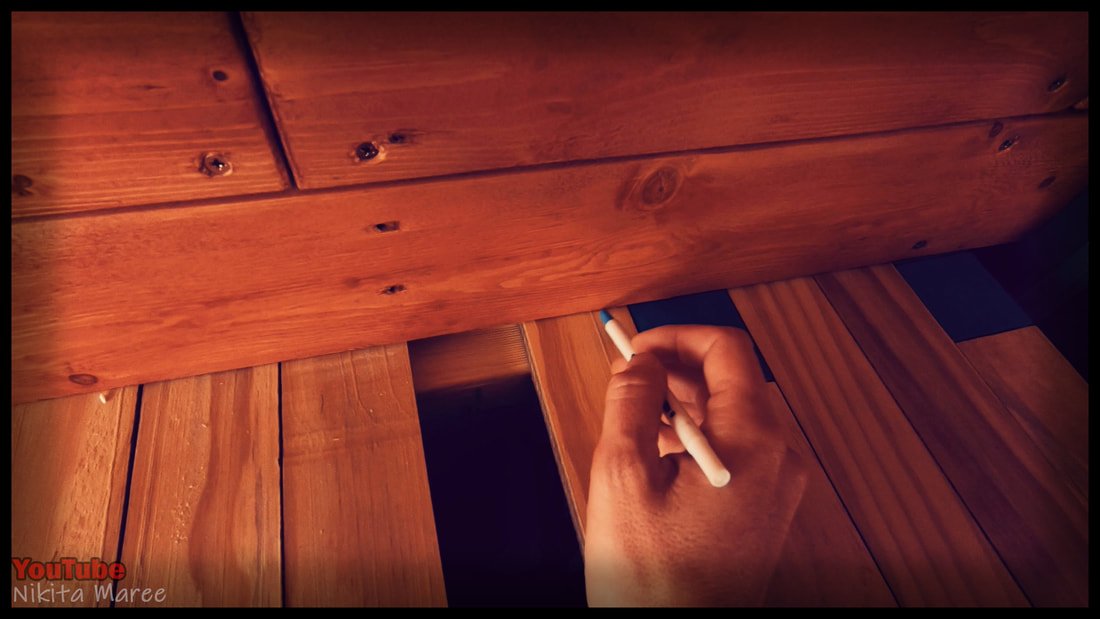
Push the pailing against the wall.
|
|
Then mark the overall length.
|
|
|
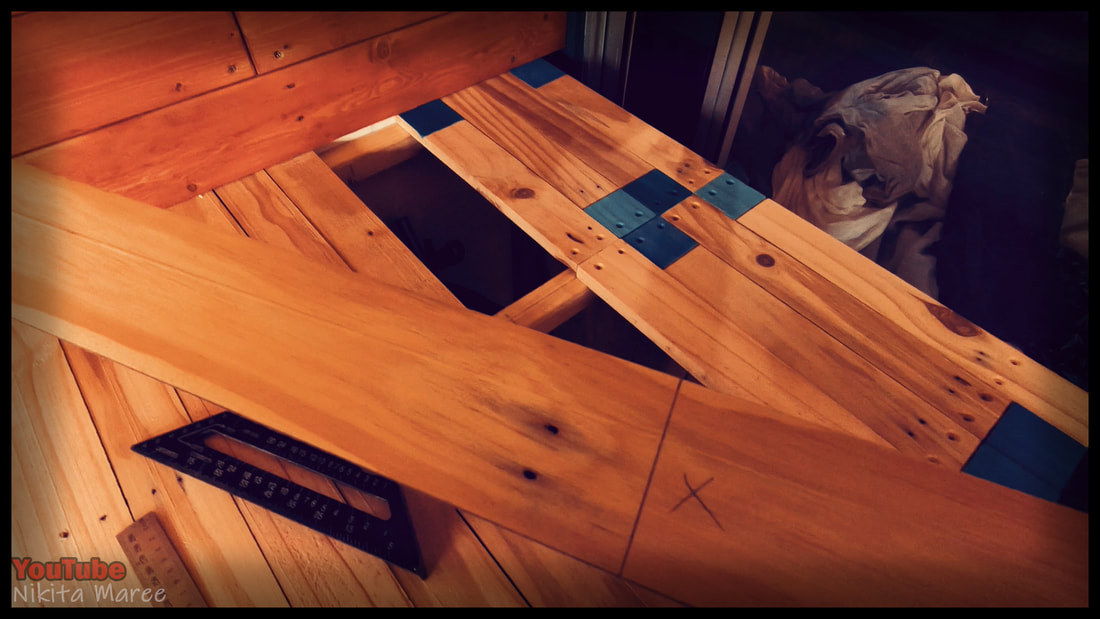
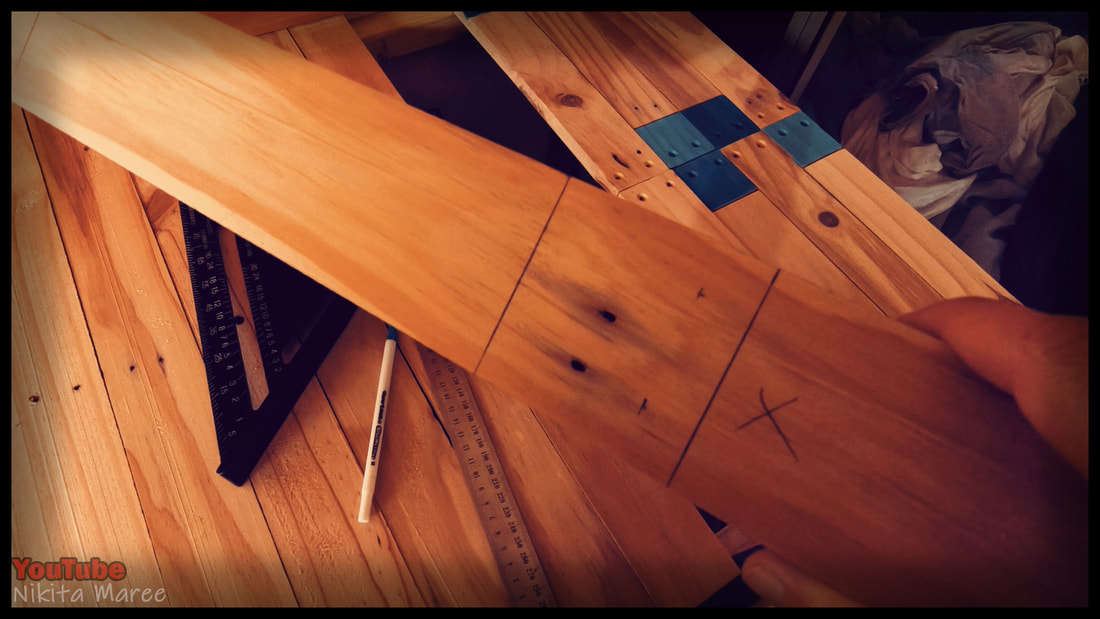
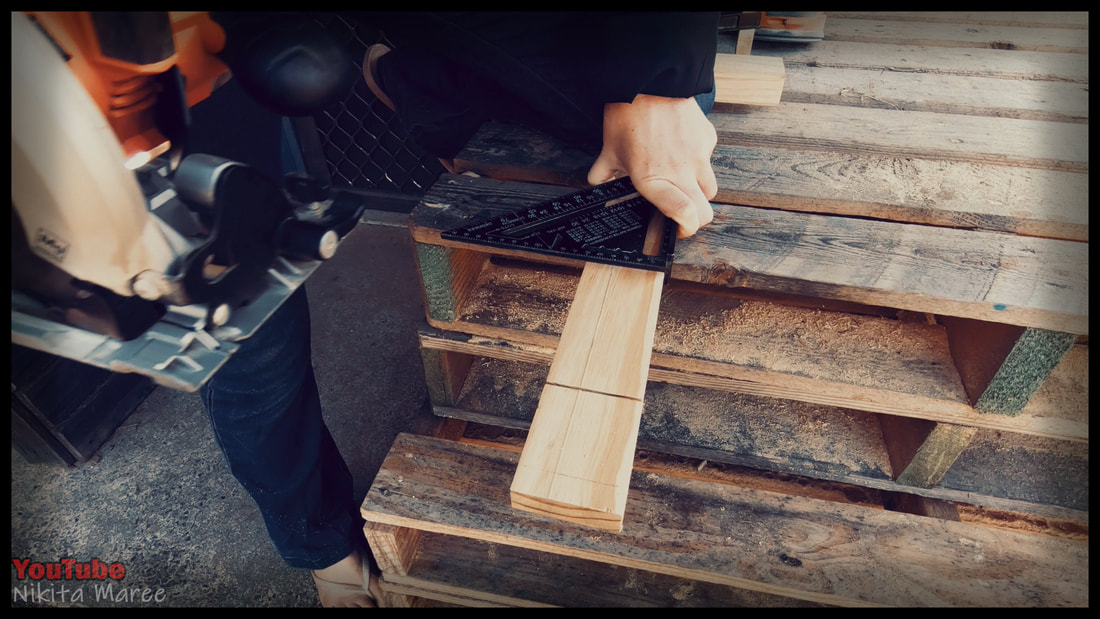
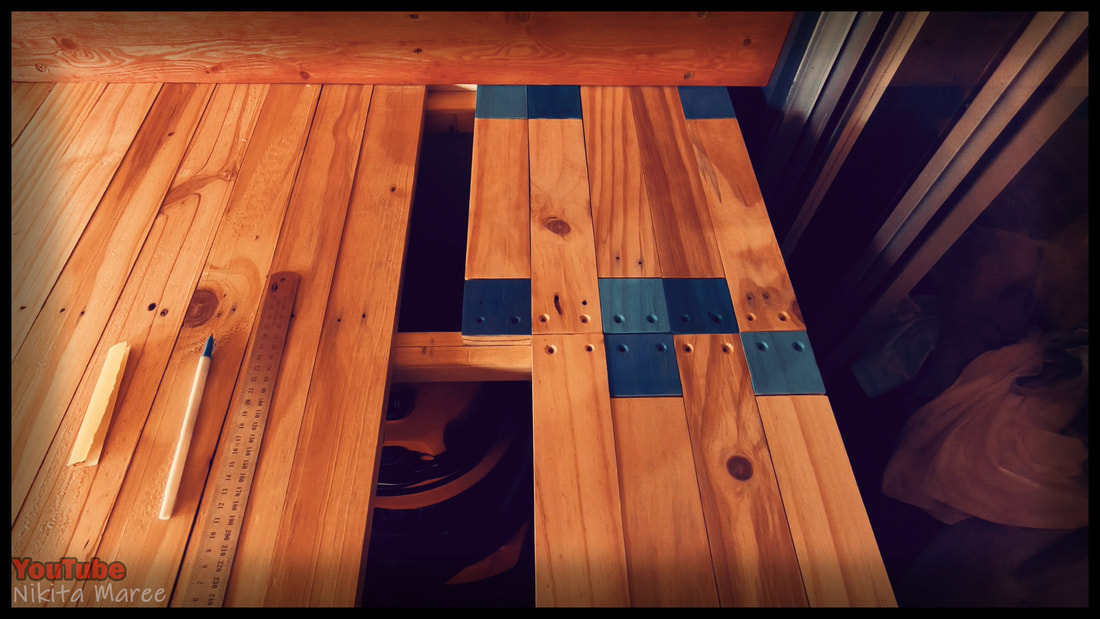
These pailings are around 60mm wide,
so I want my squares to be 60 x 60. |
|
But since my bench-top slips underneath
the wall face, I put a little mark where I want to start my measurement from. |
|
|
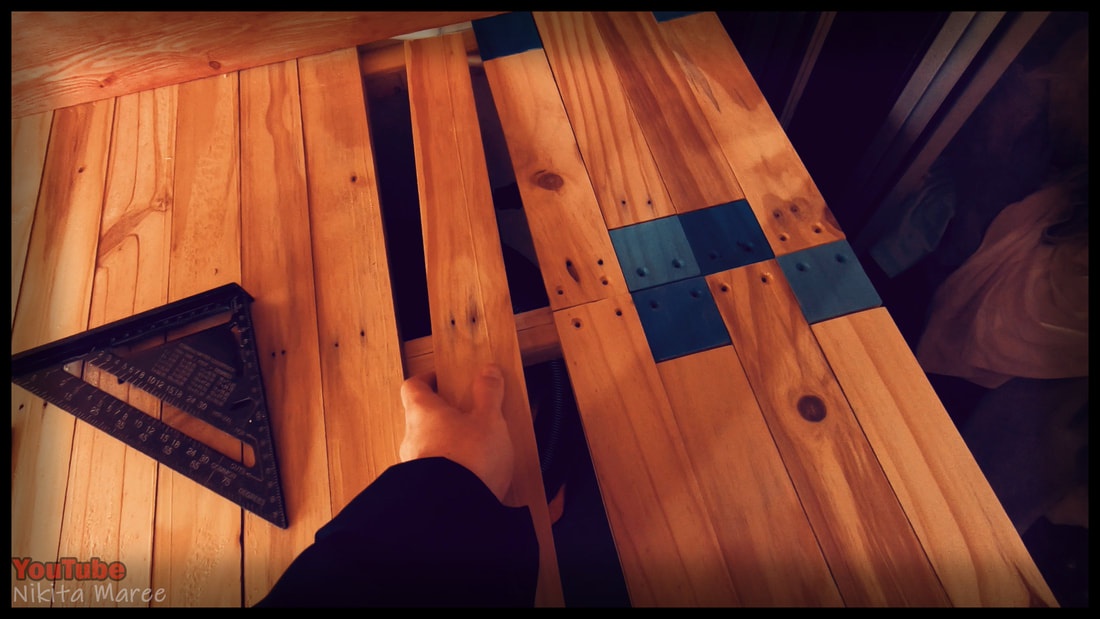
For this length I want it to be double ended,
so I mark my squares and screw holes before moving on. |
|
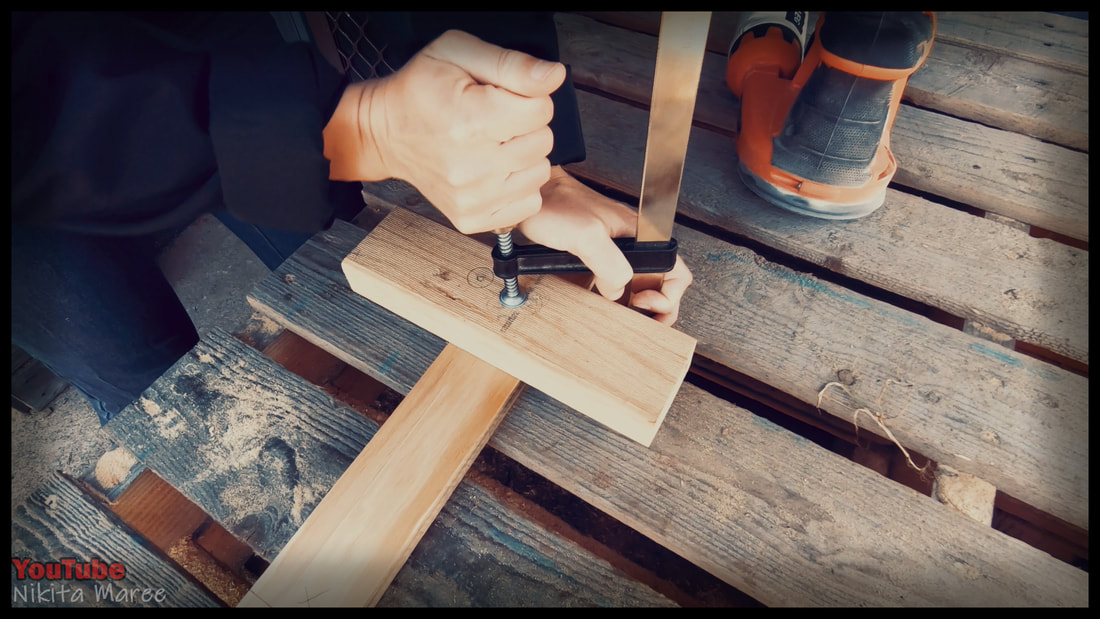
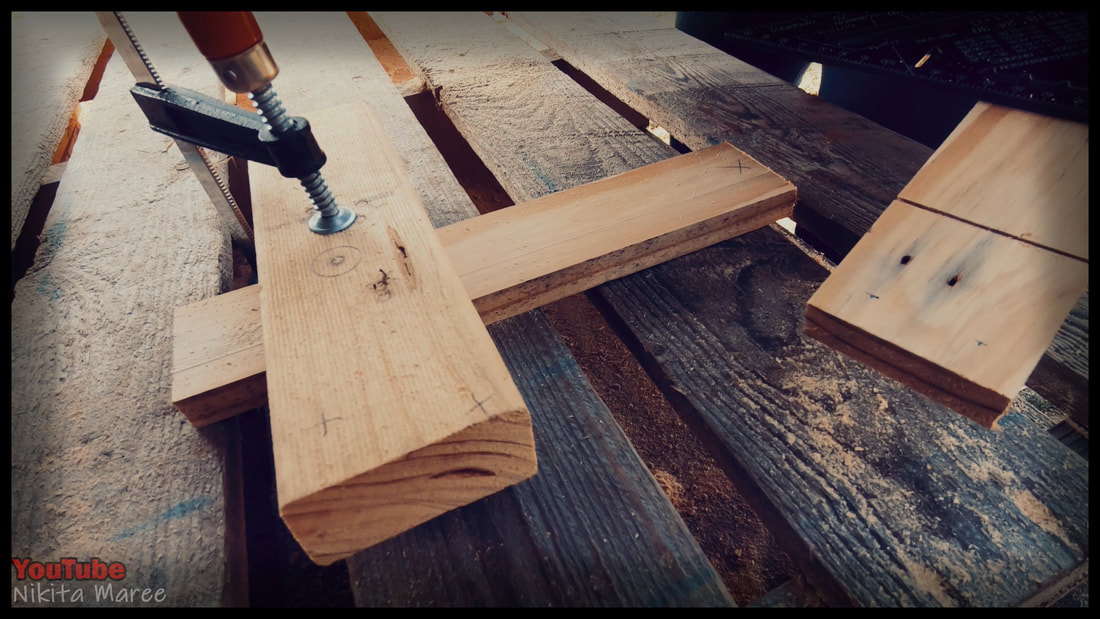
Clamp the piece to the bench on the waste side and don’t cut the final length
until you have done all the shallow cuts. |
|
|
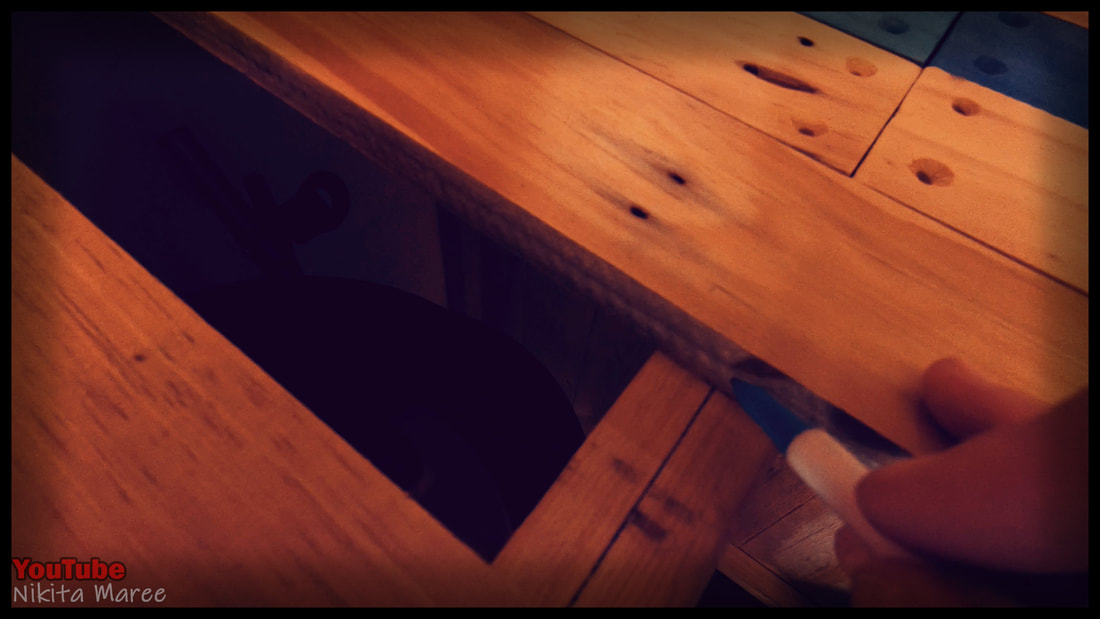
Set the depth of the circular saw to
around 10mm, or roughly half the thickness of the pailing. |
|
Use the speed square again to keep the cut nice and straight.
|
|
|
Then cut the final length.
|
|
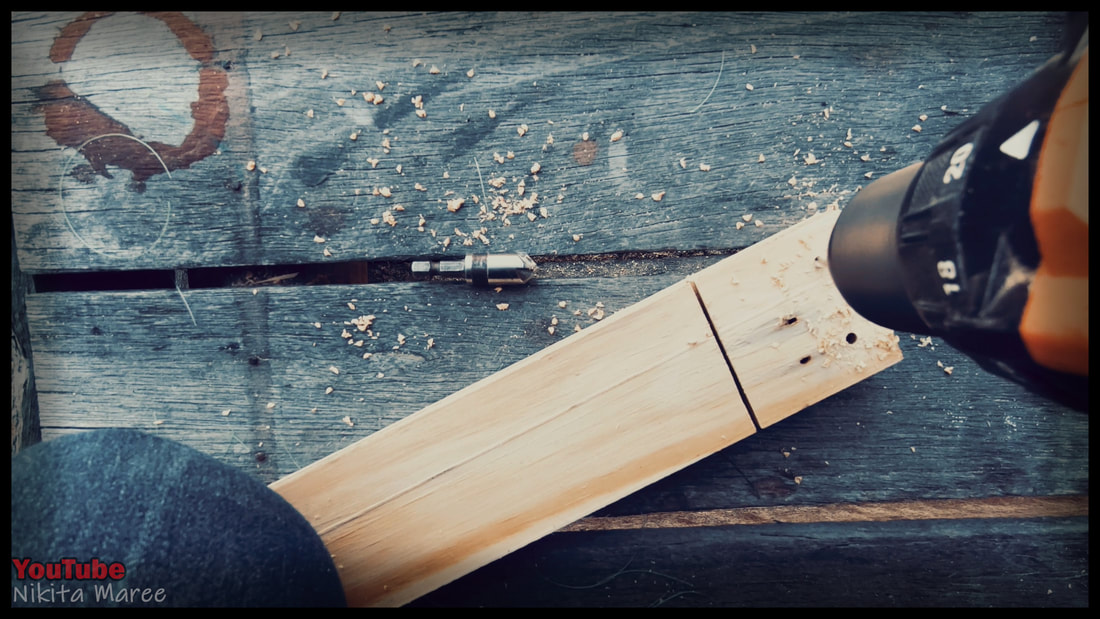
Pre-drill the holes
|
|
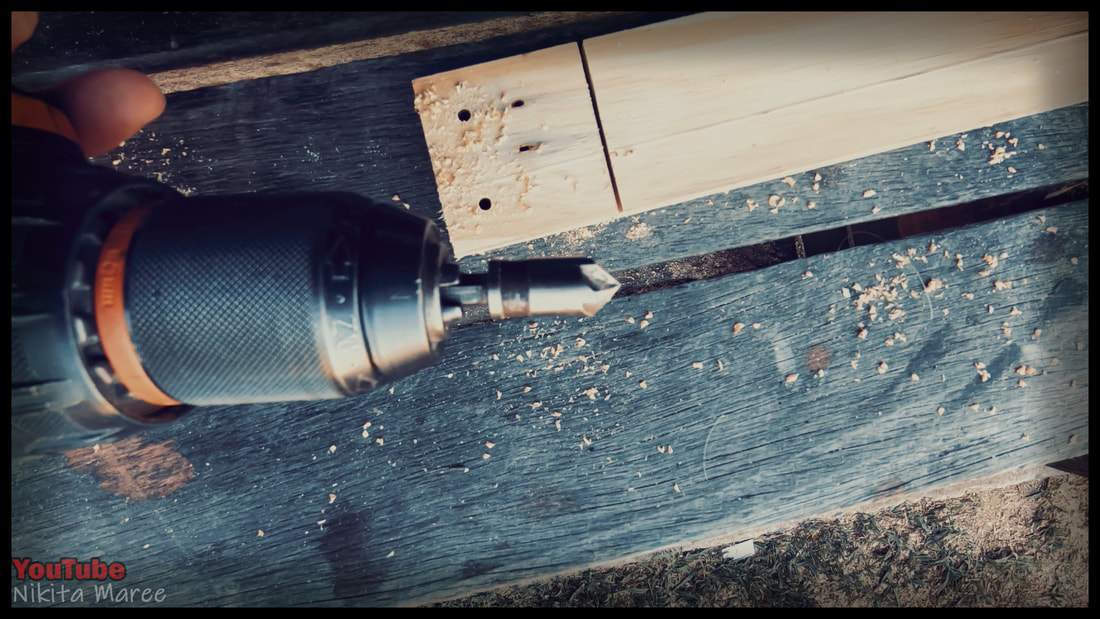
|
and give them a chamfer.
|
|
I then gave it a light sand with the 120 grit.
|

|
|
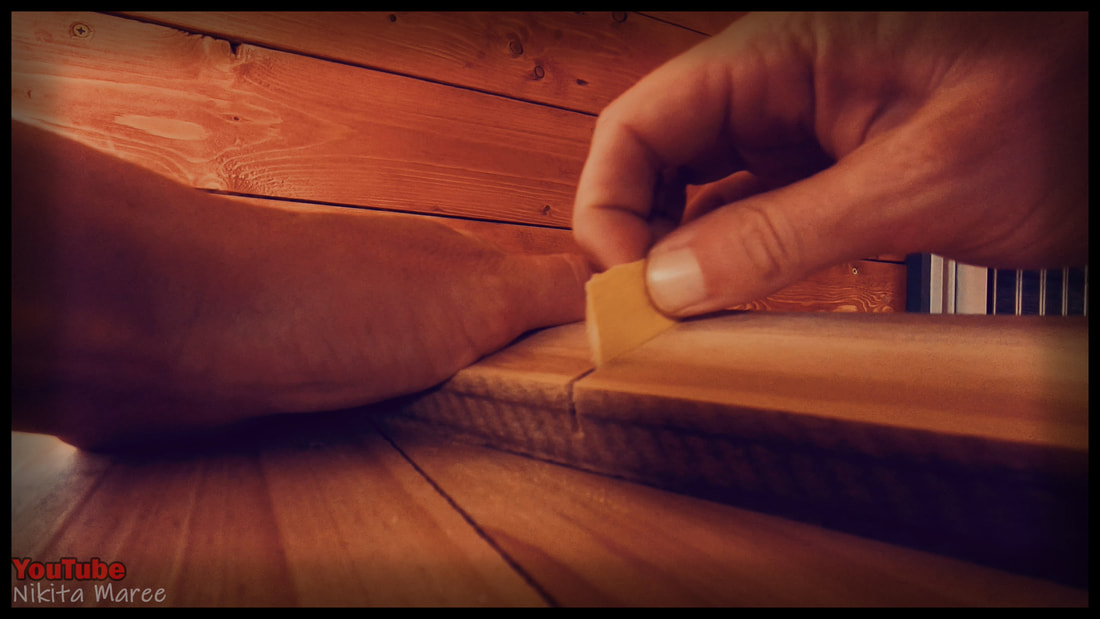
I folded a piece of 80 grit sandpaper in half
and ran that back and forth through the groves. |
|
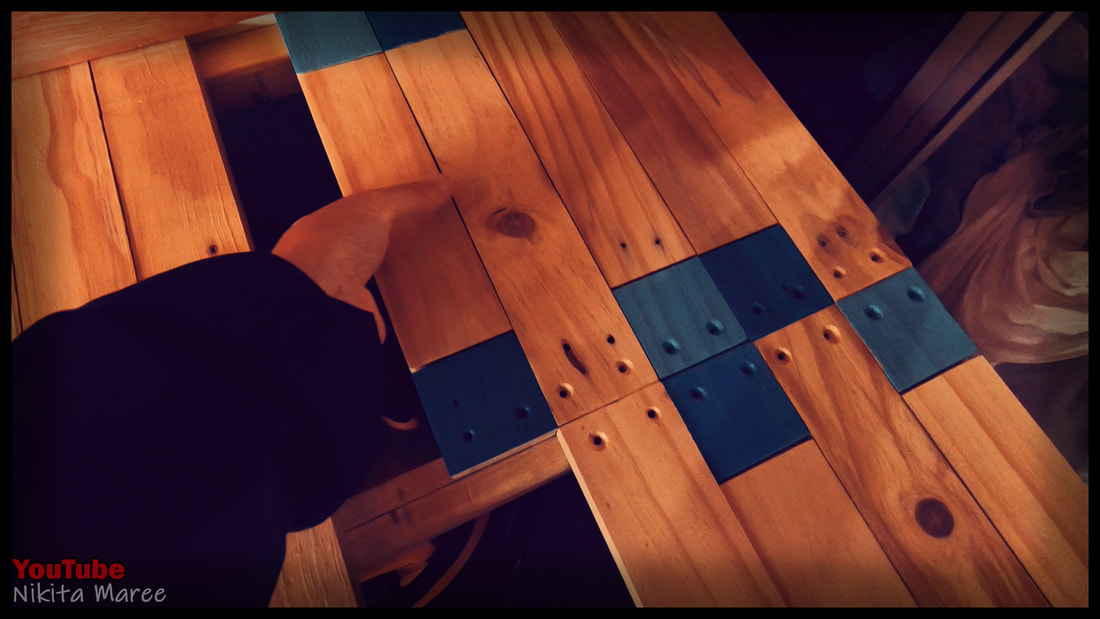
Then I work out what shade of blue
I want to go where. |
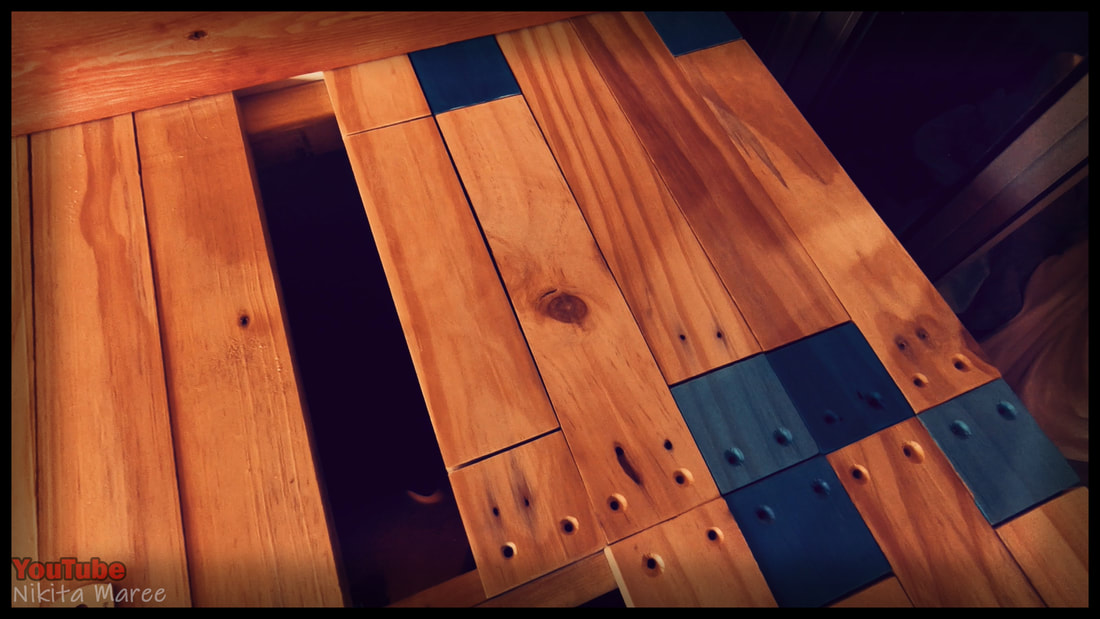
|
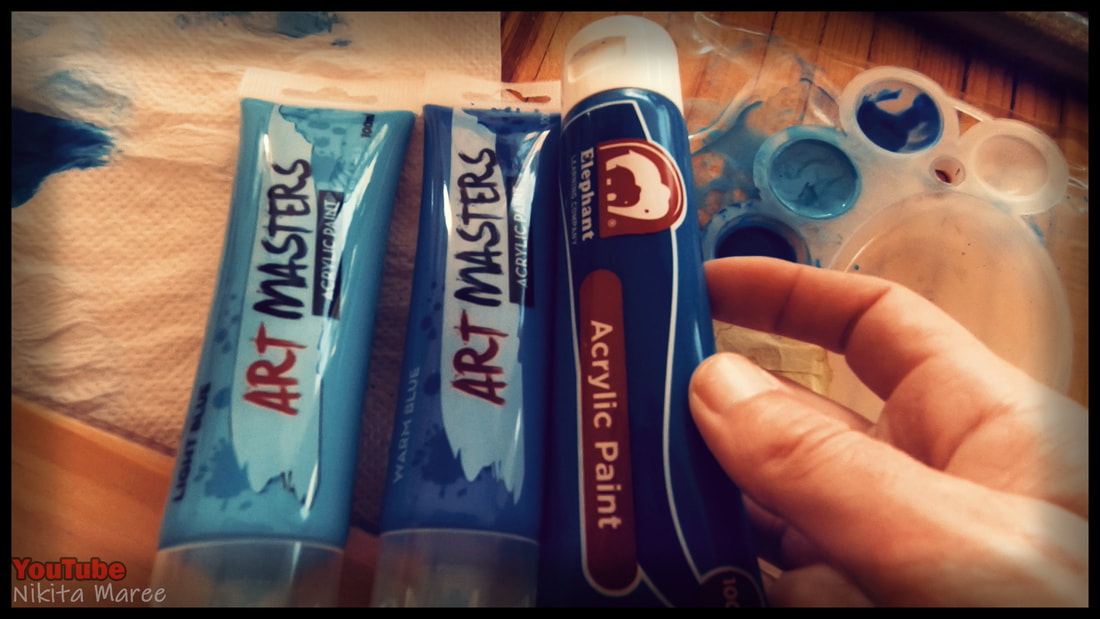
|
These are just some cheap acrylic paints
that I mix down with a fair bit of drying retarder so I can leave the paint out on the bench all day without it drying out. |
|
And then I move on to the next piece.
|
|
|
It is slower doing one at a time, but if I did these all at once I would get too confused
with the colour and pattern placement. |
|
Well that's it. If you want some more
information on this build. I go into a bit more detail in my video over on YouTube. Or feel free to ask me any questions in the comment section of that video and I will get back to you as quick as I can. |
|
Check out these other builds
|
|
|
