How to build a Bridge
|
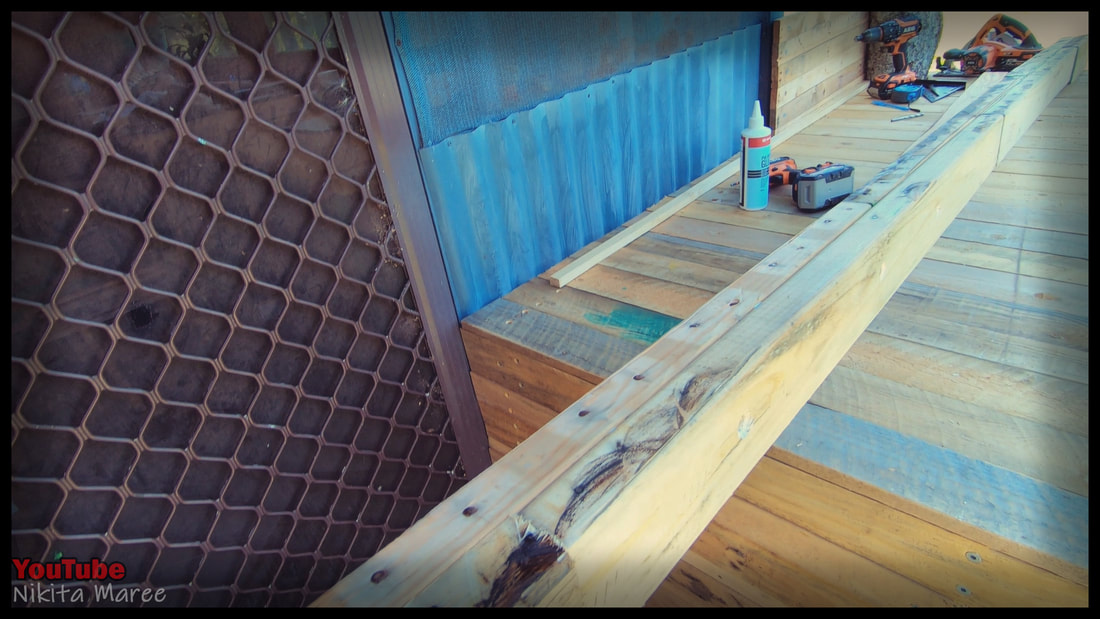
Starting with the beams.
I used the pallet stringers to make these. |
|
I used a total of 12 stringers.
6 each side. |
|
|
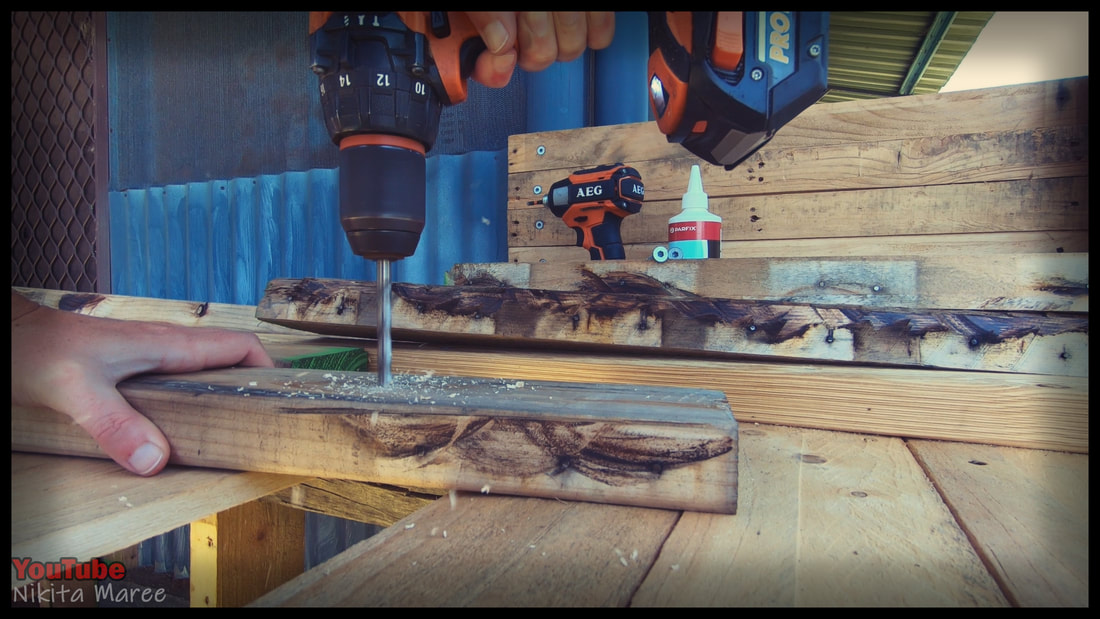
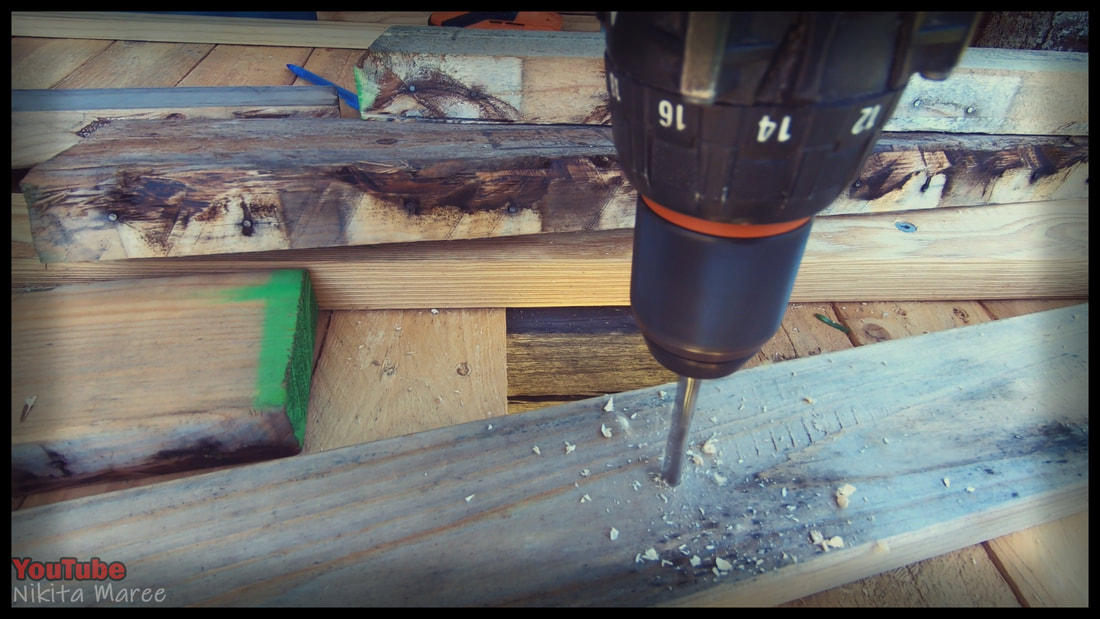
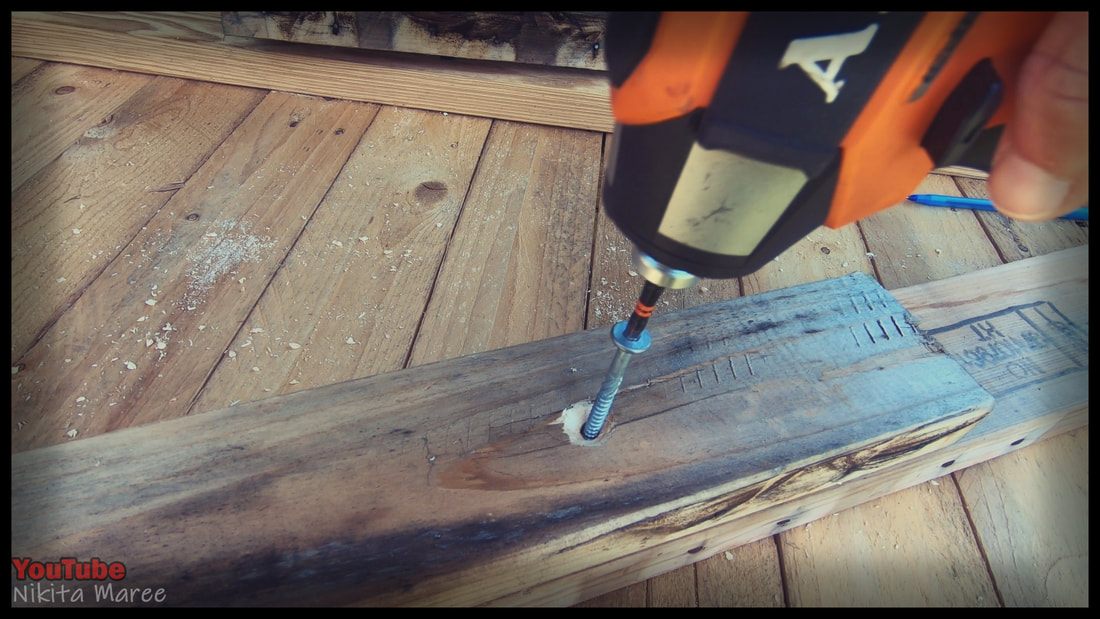
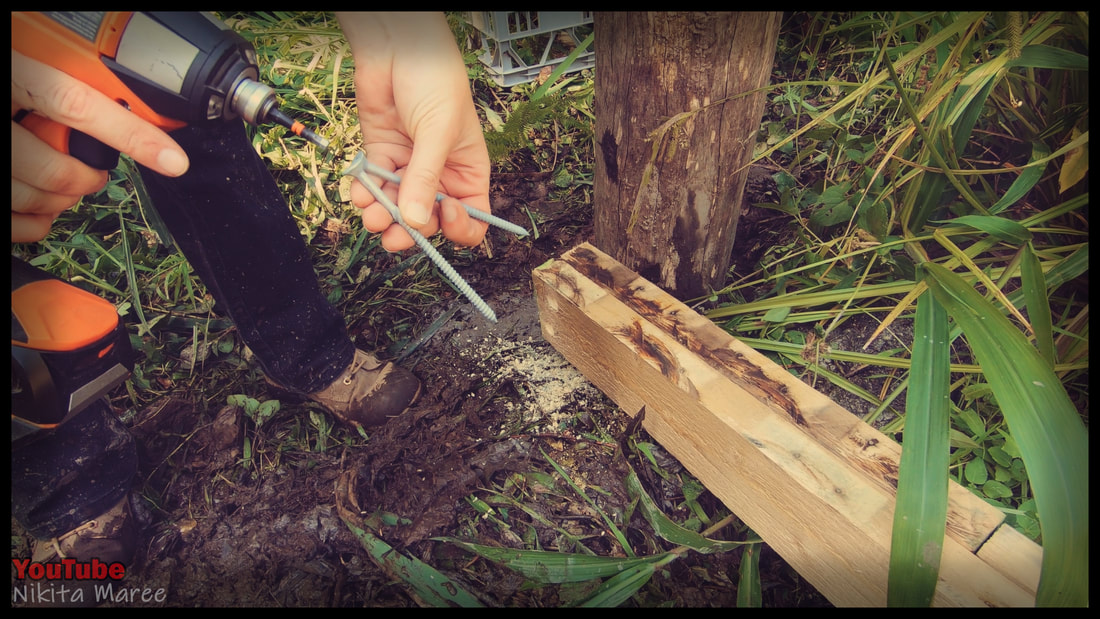
Pre-drill your holes, larger than
the shank of the screws. |
|
Drill 4 holes in each stringer.
Keeping in mind, that only half of them need to be drilled. |
|
|
Give the holes a chamfer.
|
|
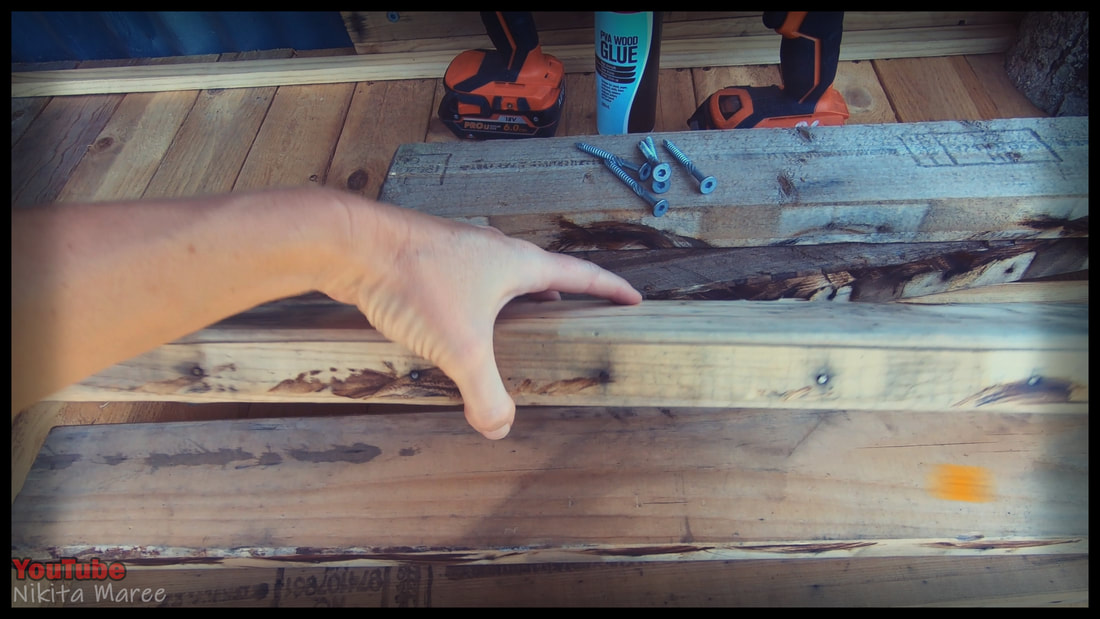
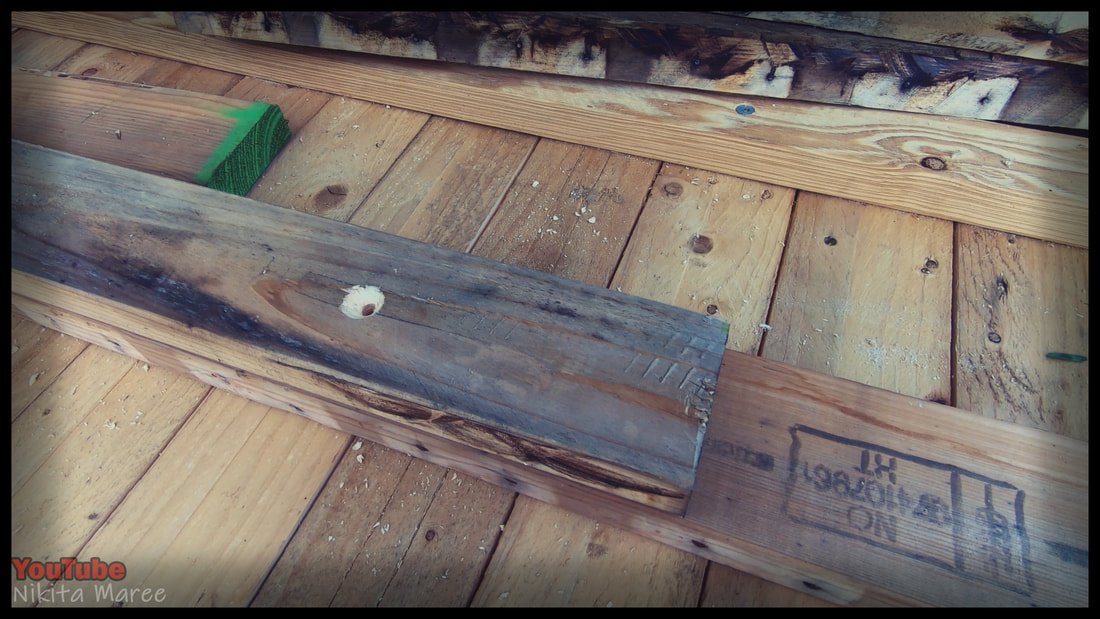
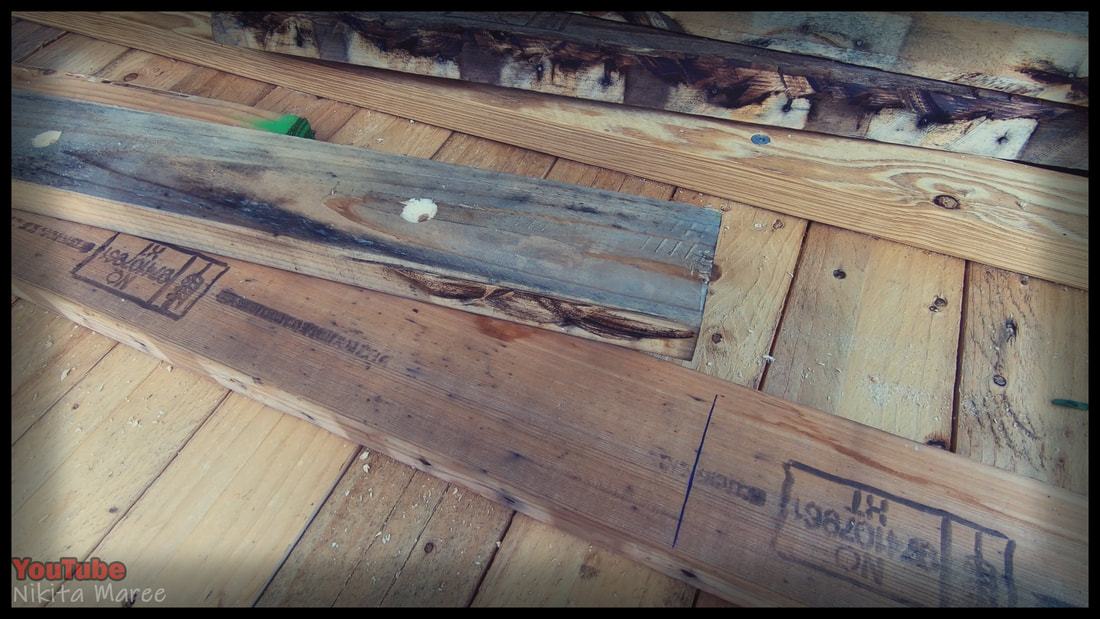
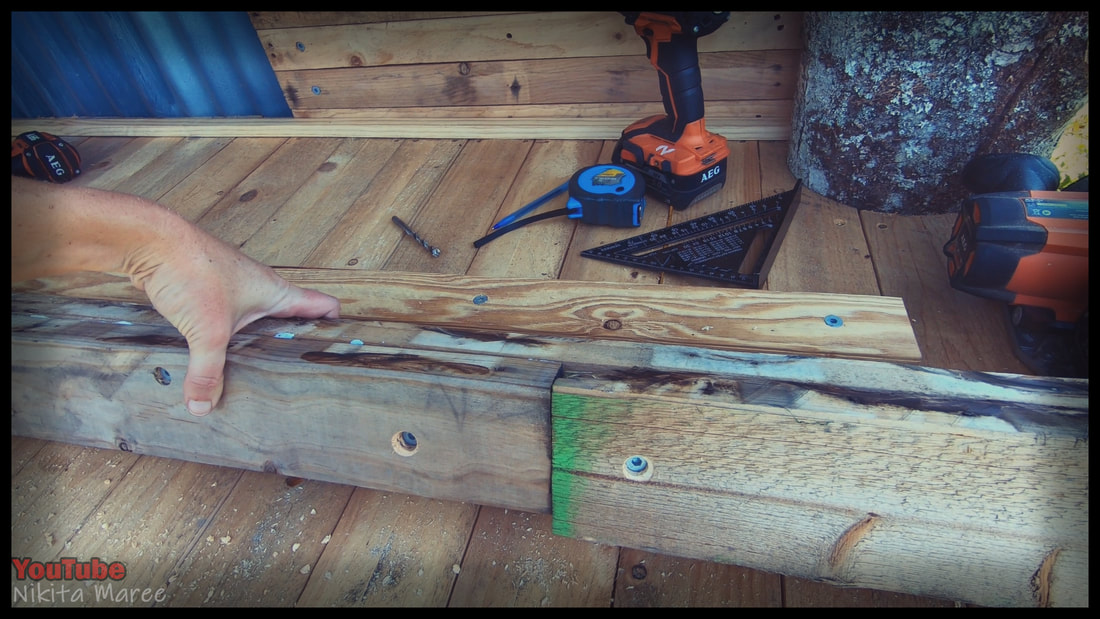
Overlap your stringers roughly in half.
And leave a mark. |
|
|
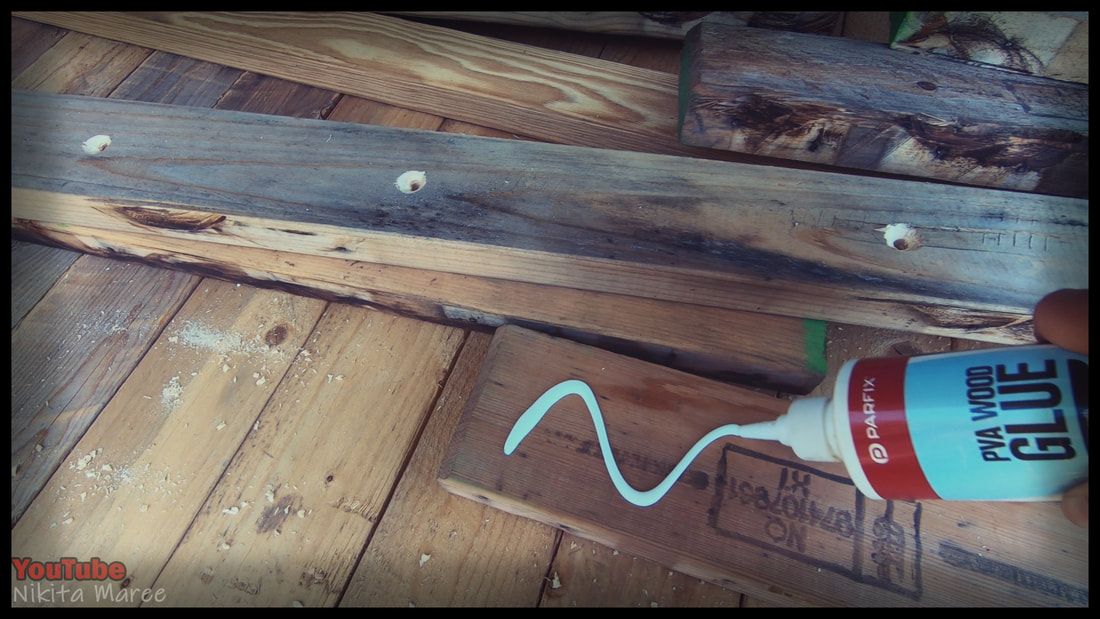
Wood glue on one half.
|
|
Place your drilled stringer back on top.
|

|
|
Attach them together with batten screws.
|
|
The stringers may vary in width,
so keep the top side as flat as possible. |
|
|
|
Continue to overlap and attach,
until you reach your overall length. |
|
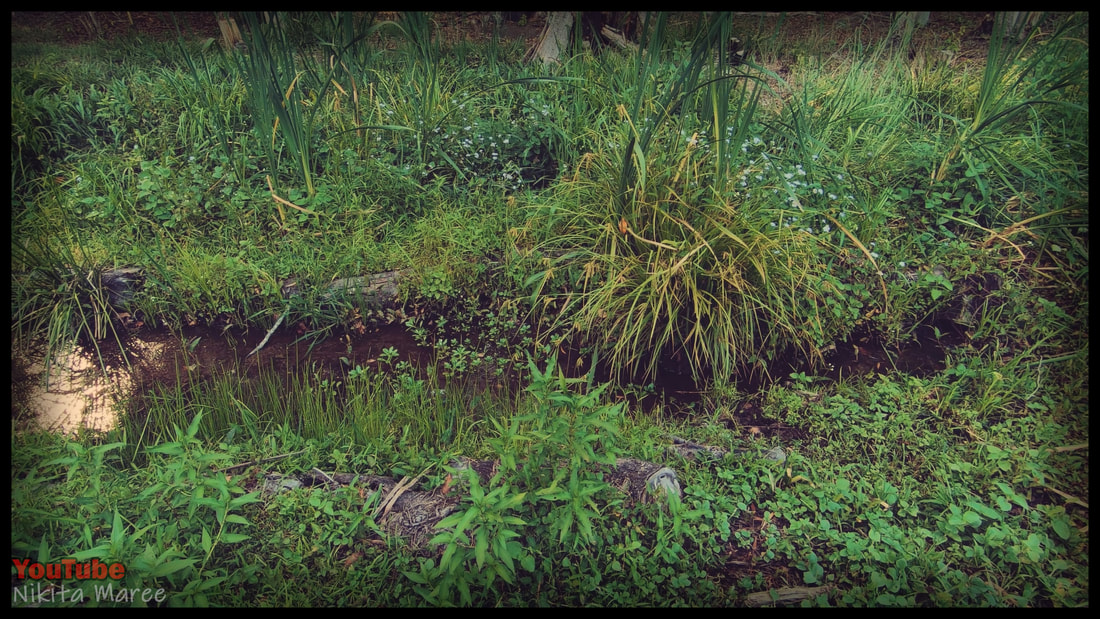
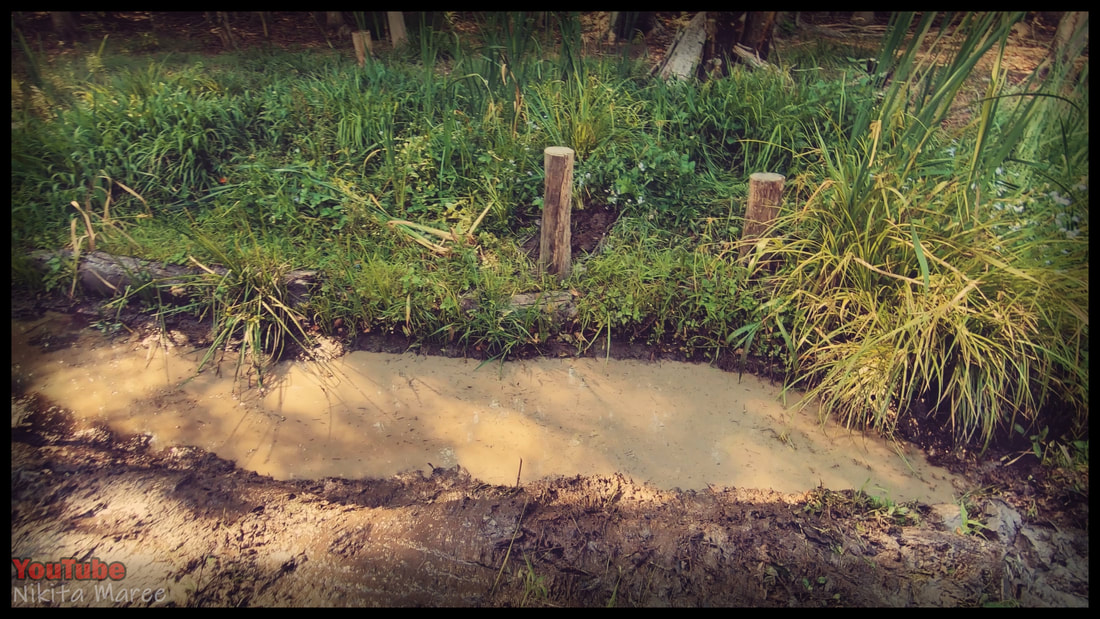
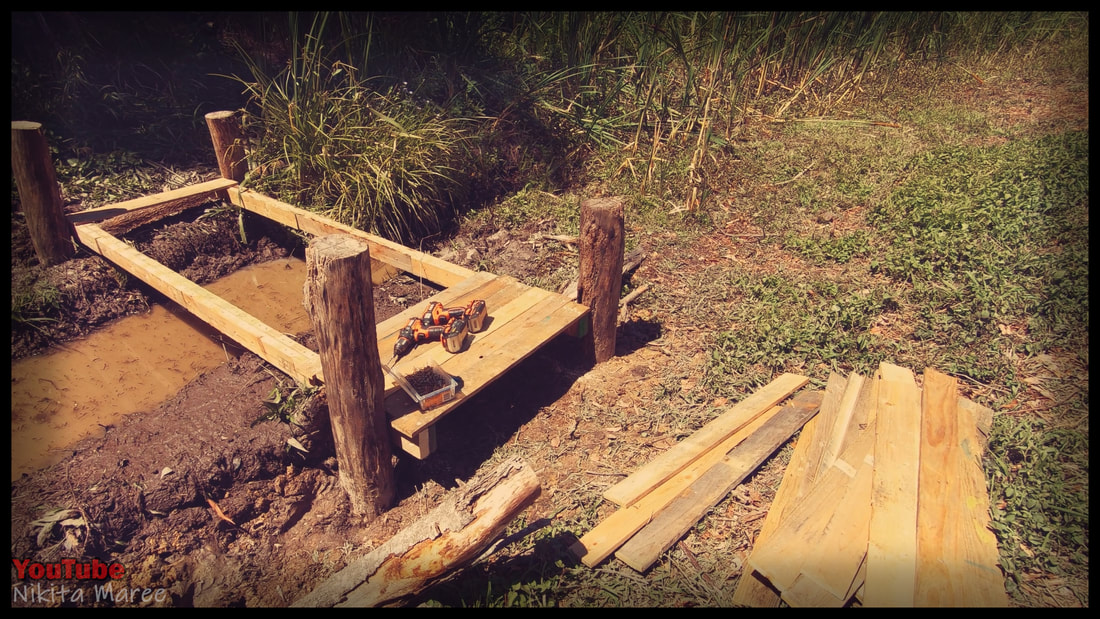
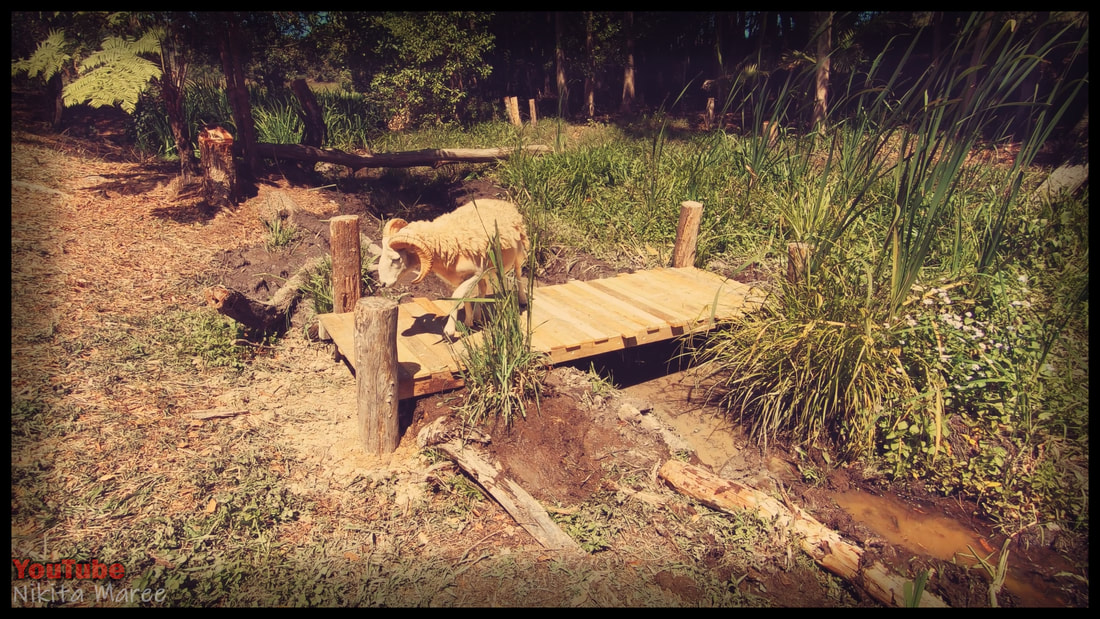
Time to pick the location.
I chose to put the bridge right beside this large water plant. |
|
|
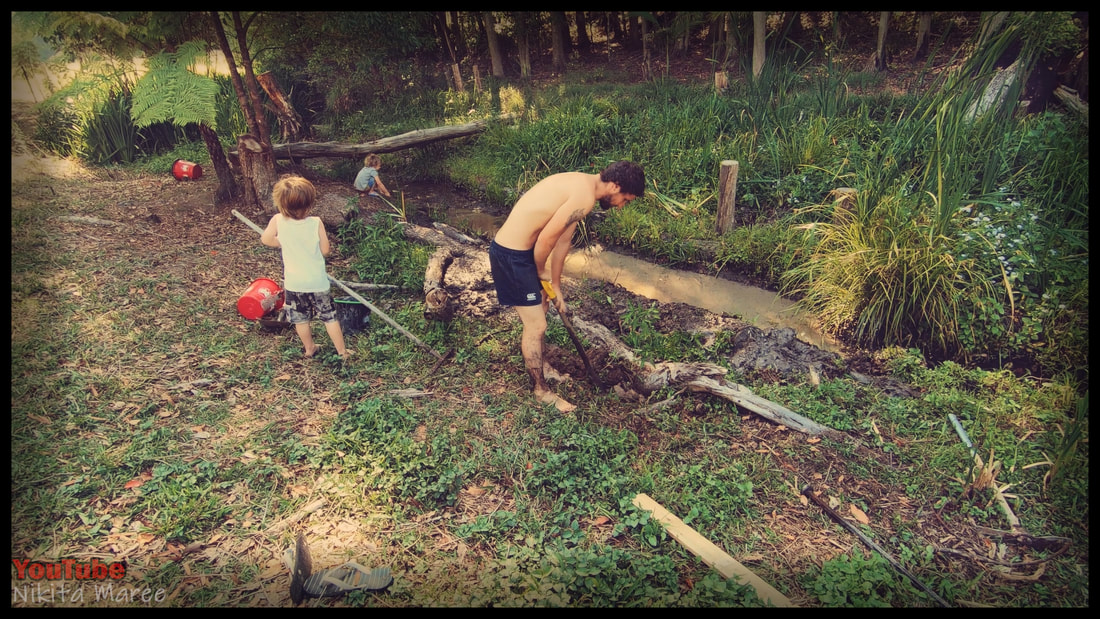
Owen dug the post holes.
If you don't have an Owen of your own, you could dig the holes yourself. |
|
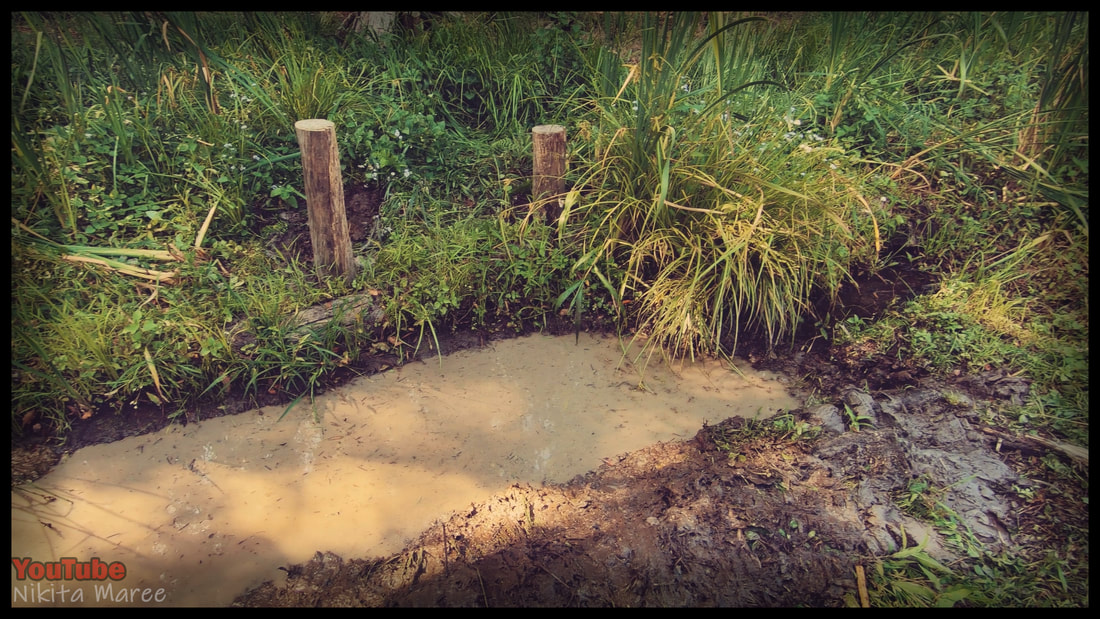
I dug the creek out.
Because we haven't had rain in a while and the water level was getting low. |
|
|
Space your posts according to the
length of your palings. Allowing for a little overhang. |
|
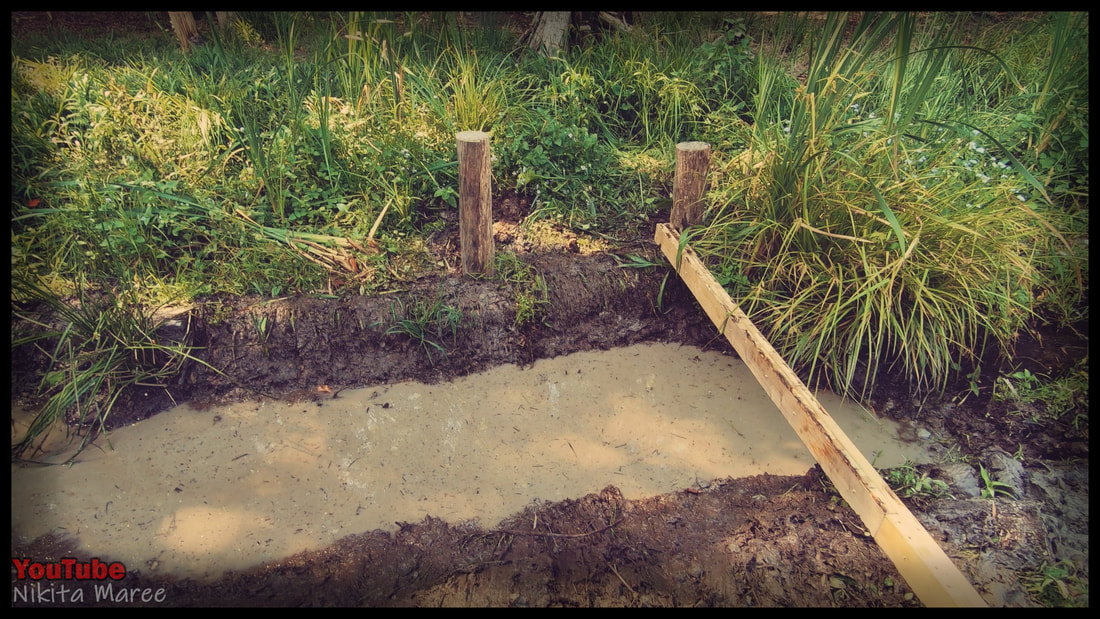
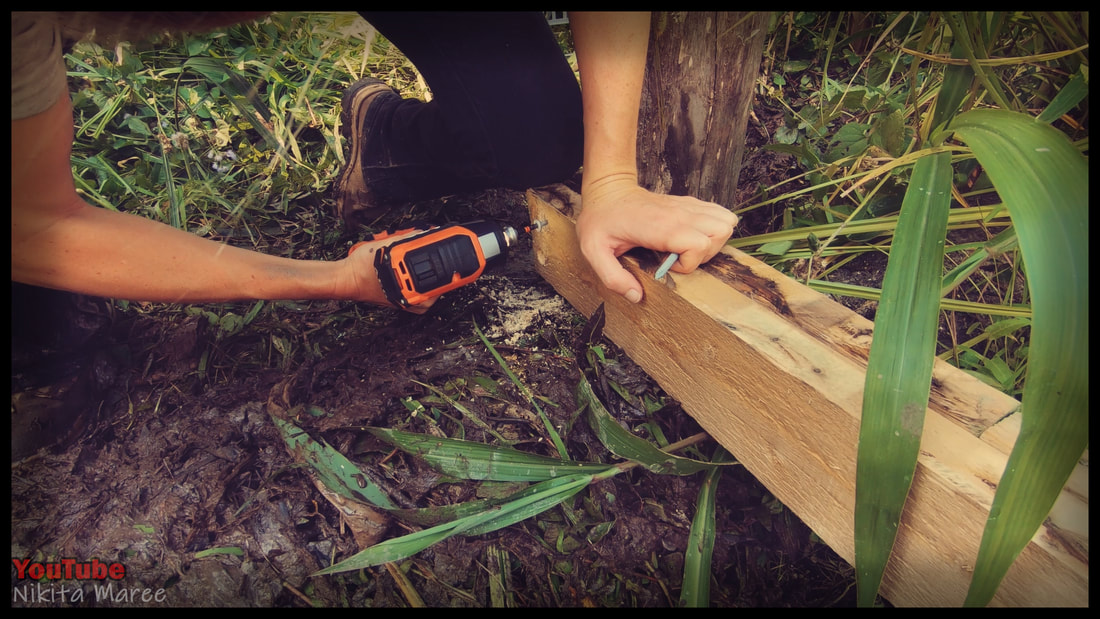
Time to attach those beams.
|
|
|
Pre-drill and chamfer 2 holes
on either end. |
|
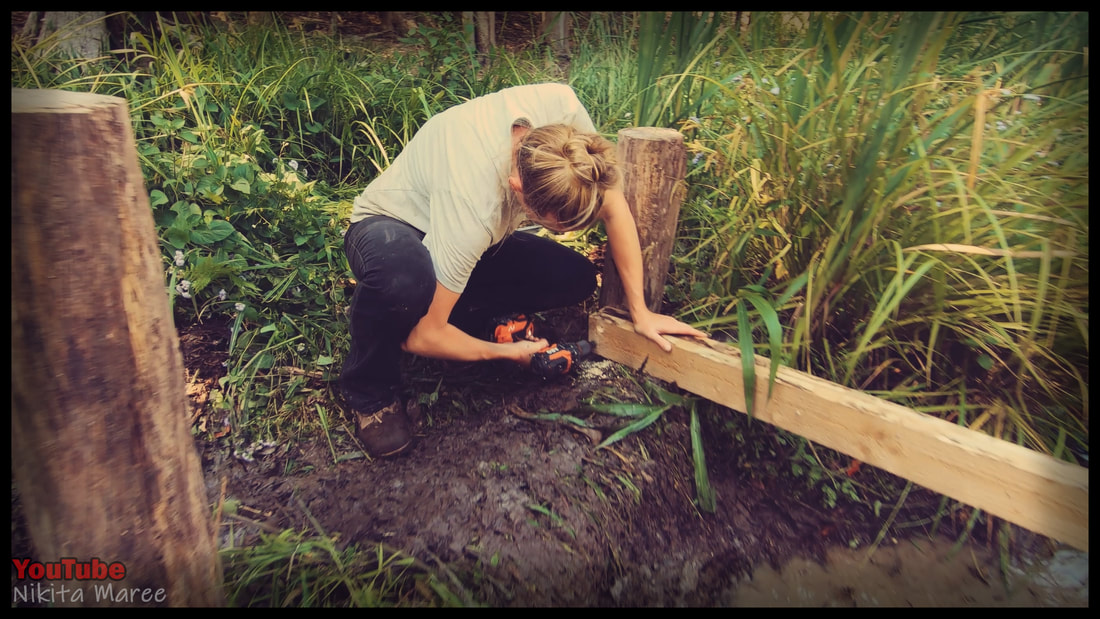
I used extra long decking screws
to attach these. |
|
|
Attach one of the screws.
Go to the other side with a spirit level and attach your beam once level. |
|
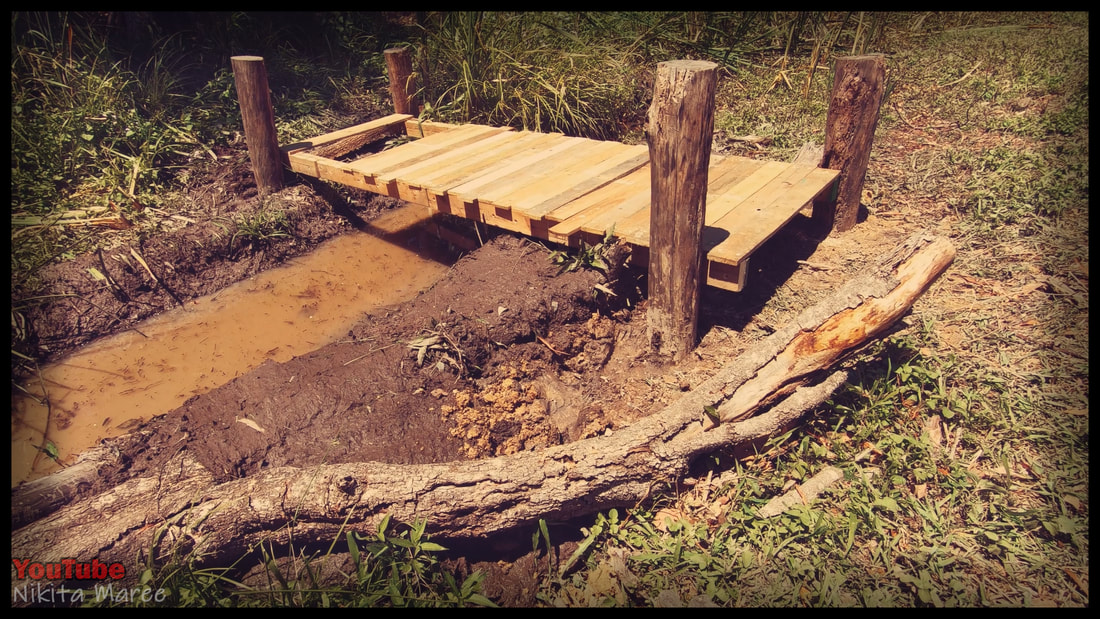
Time to attach the palings.
|
|
|
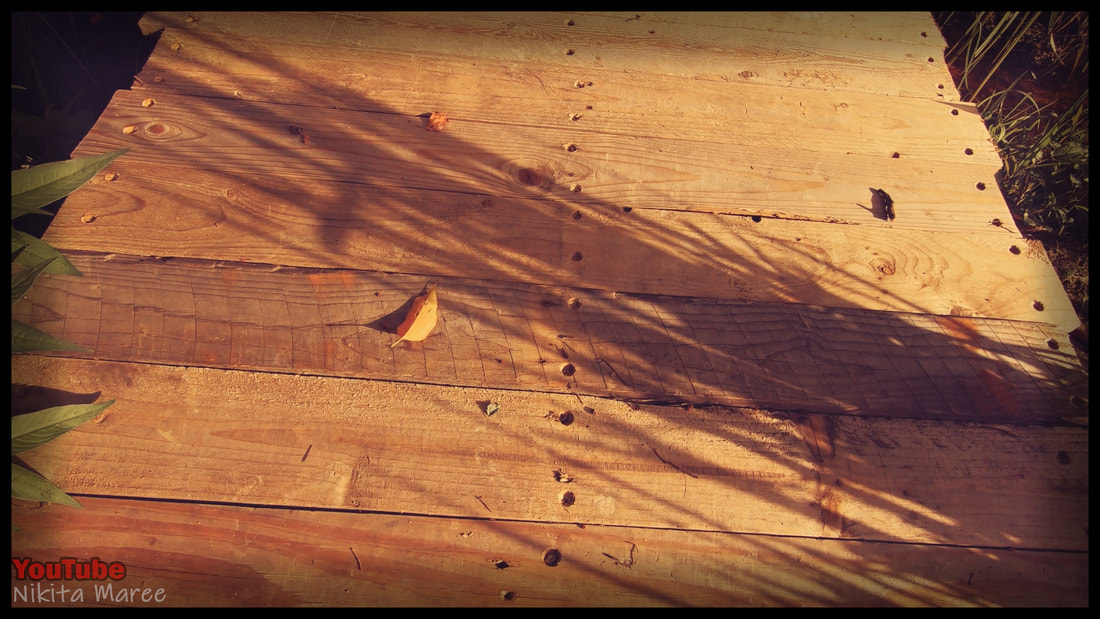
I used cheap chipboard screws.
And staggered the palings to give the bridge a bit more character. |
|
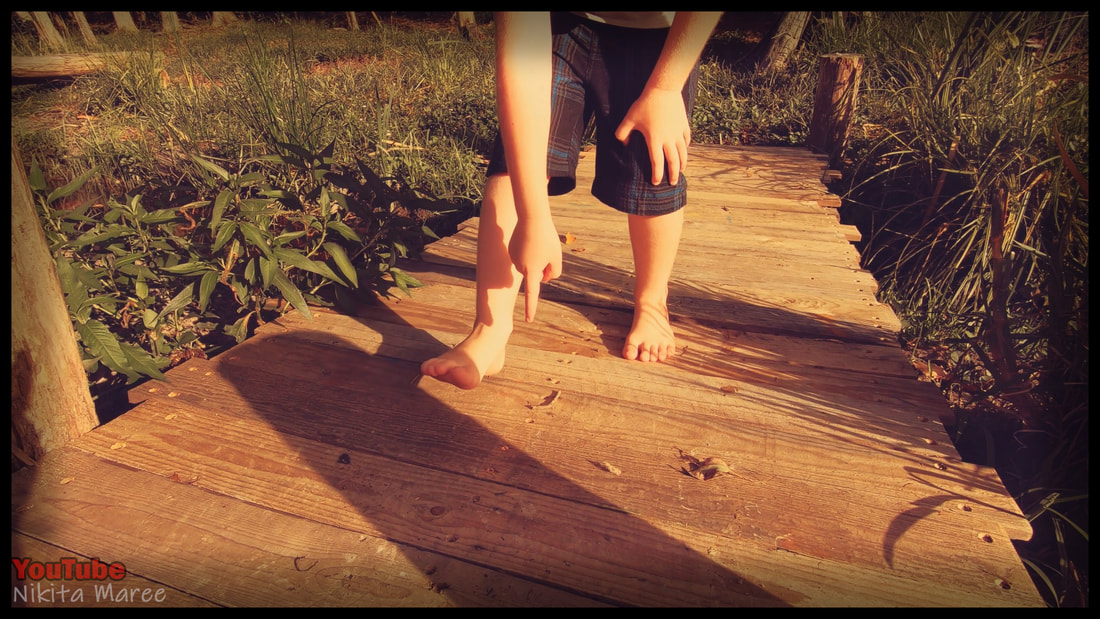
Pre-drilled a line of holes down the
center of all the palings. |
|

|
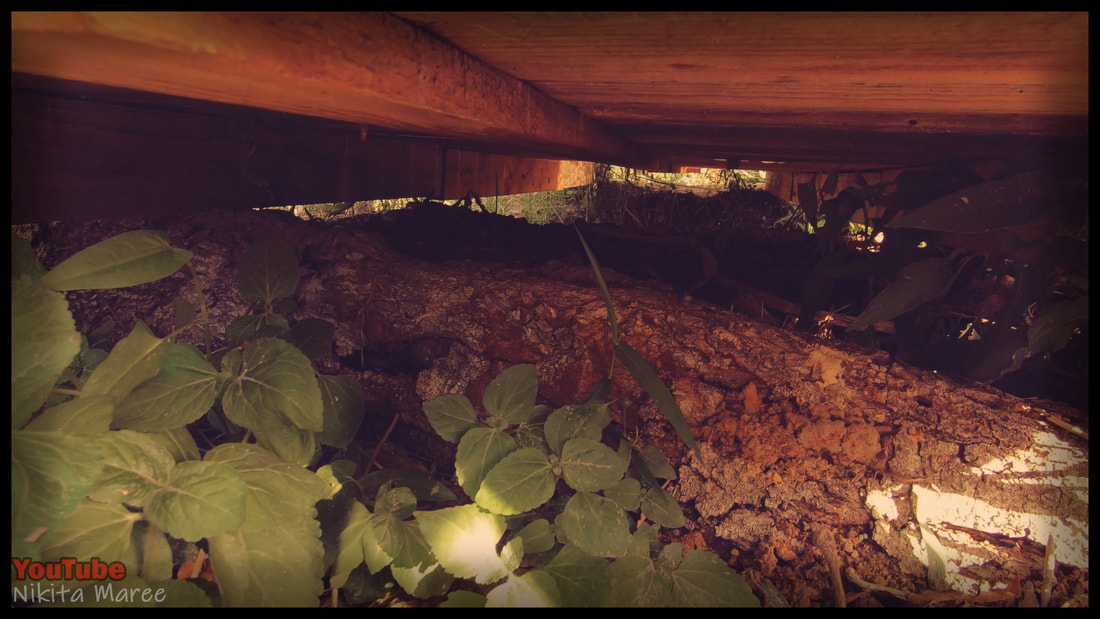
Attach a line of palings on the underside.
|
|
Between the 2 beams.
|
|
|
The center support really takes up
any of that flex in the thinner palings. And makes the entire thing secure. |
|
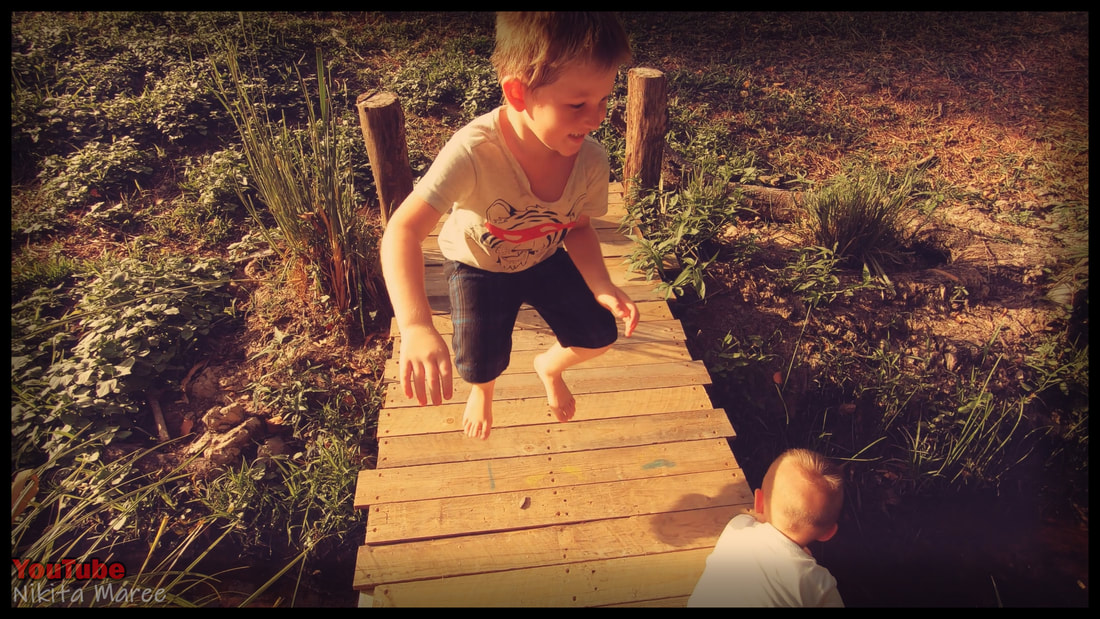
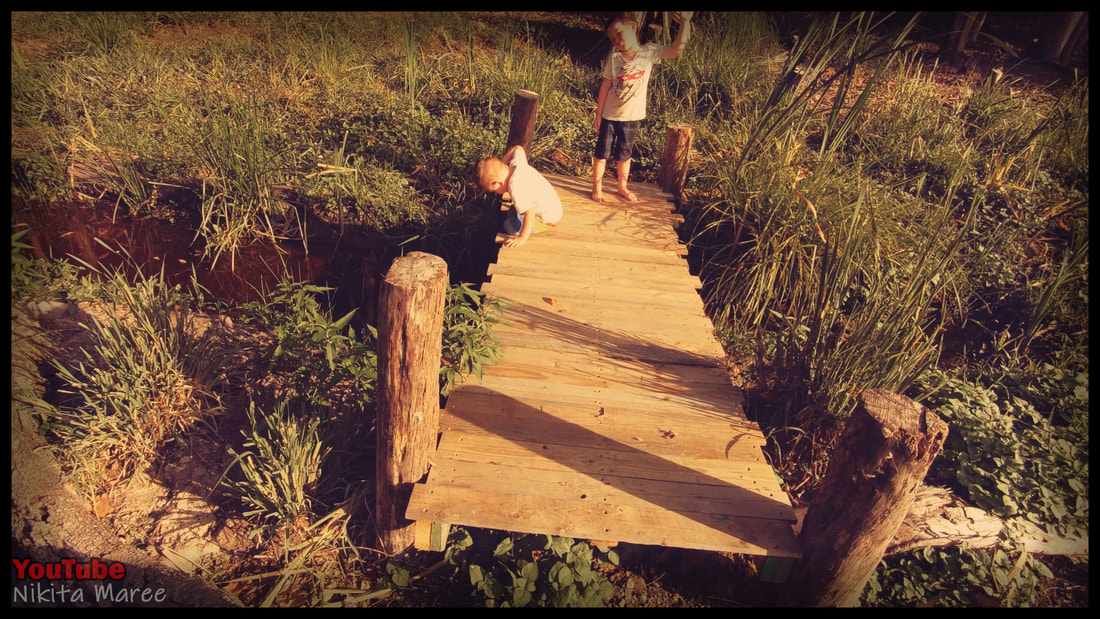
Time for the jump test.
|
|
|
Works great.
|
|
One of our favorite places to hang out
of an afternoon. |
|
|
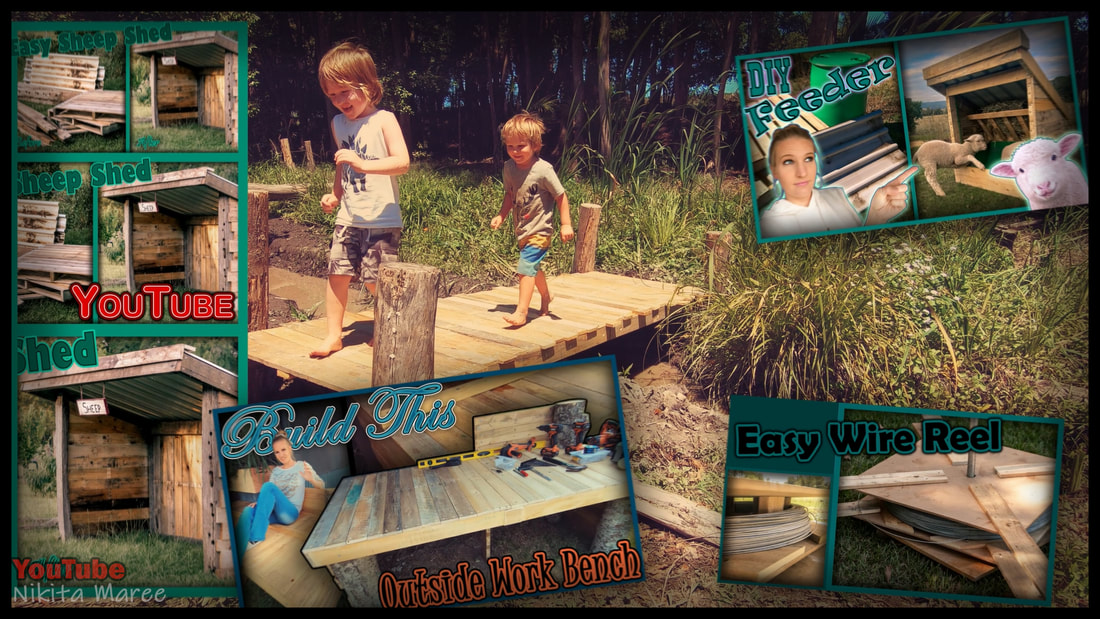
If you like building with pallets.
Or other cheaper materials. |