DIY Poké Ball Plushie
|
|
|
|
|
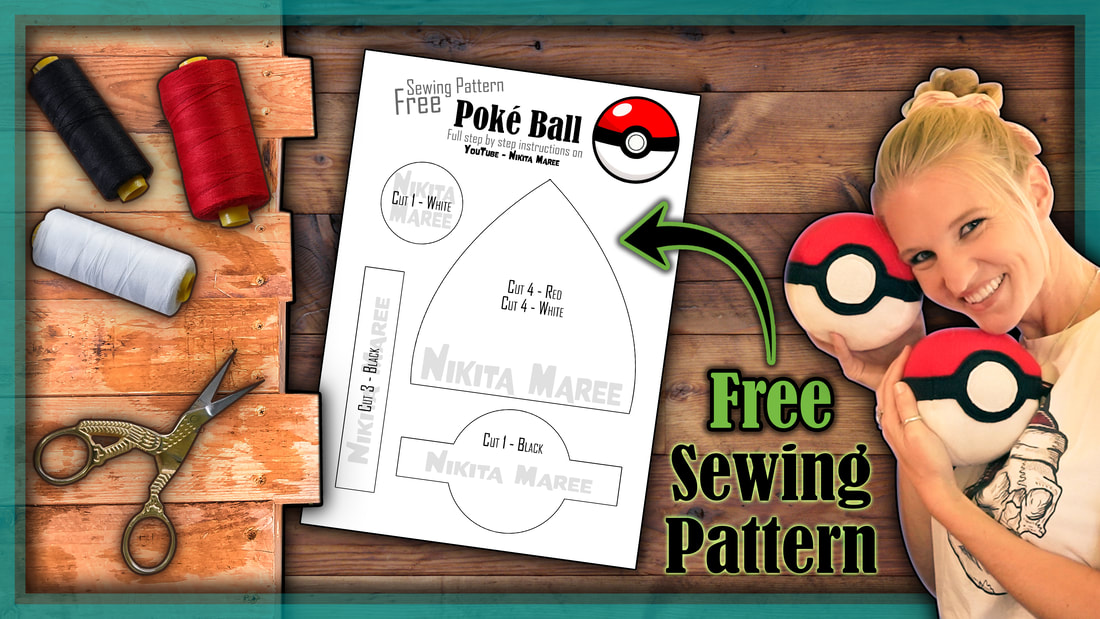
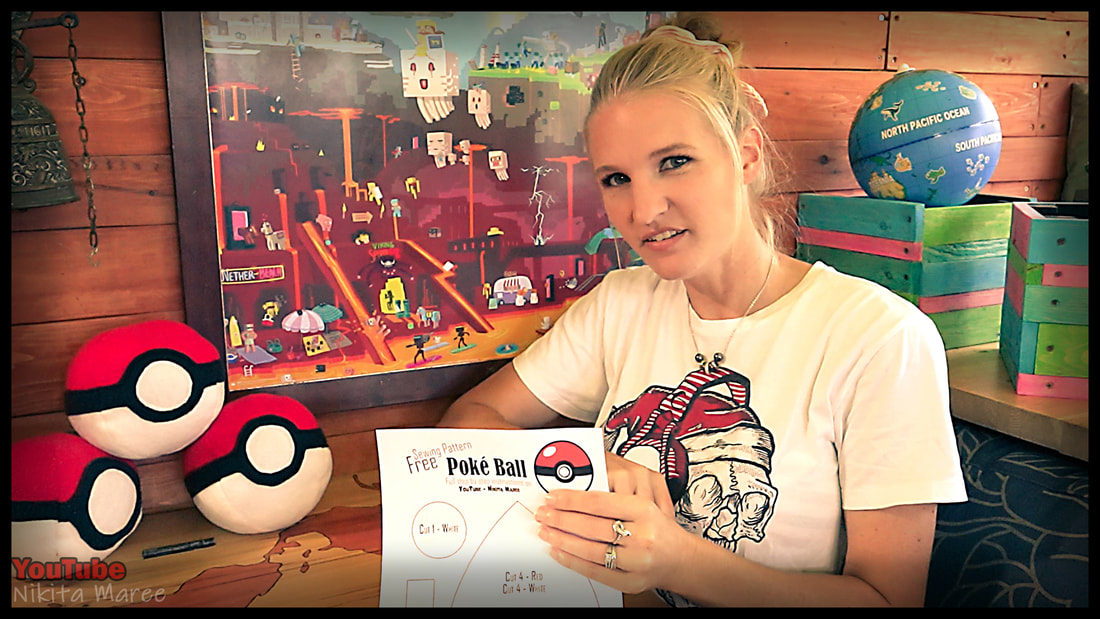
How to Make a Poké Ball
In this tutorial, I will be going over the steps in making these plushie Poké Balls with my free
downloadable sewing pattern. My kids really love throwing these Pokeballs around the house and at each other. Or snuggling up to, and using them as pillows. |

|
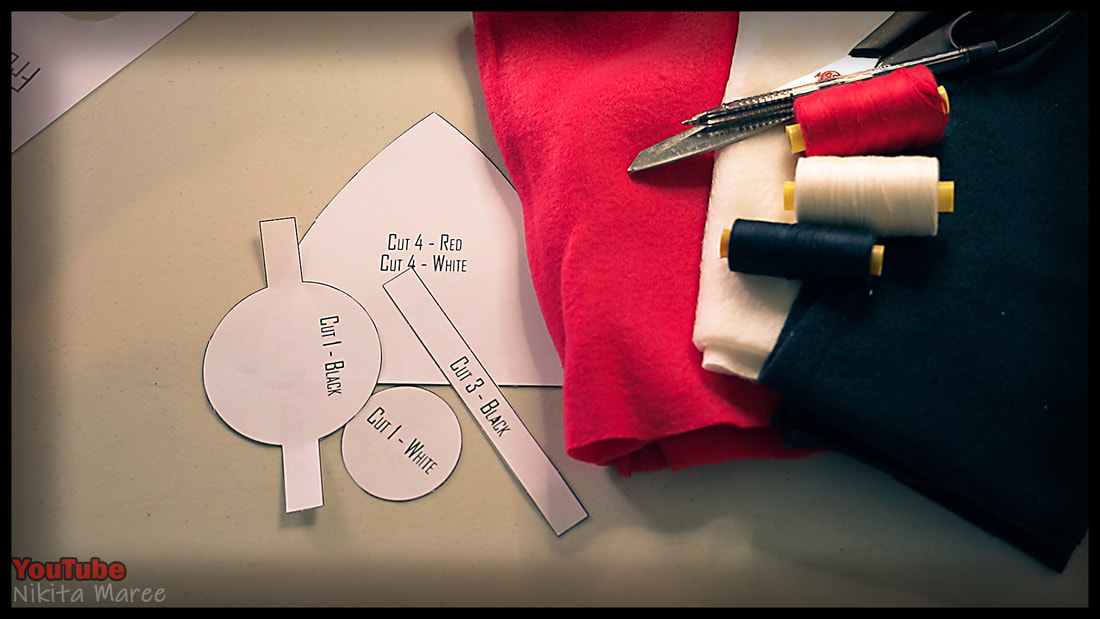
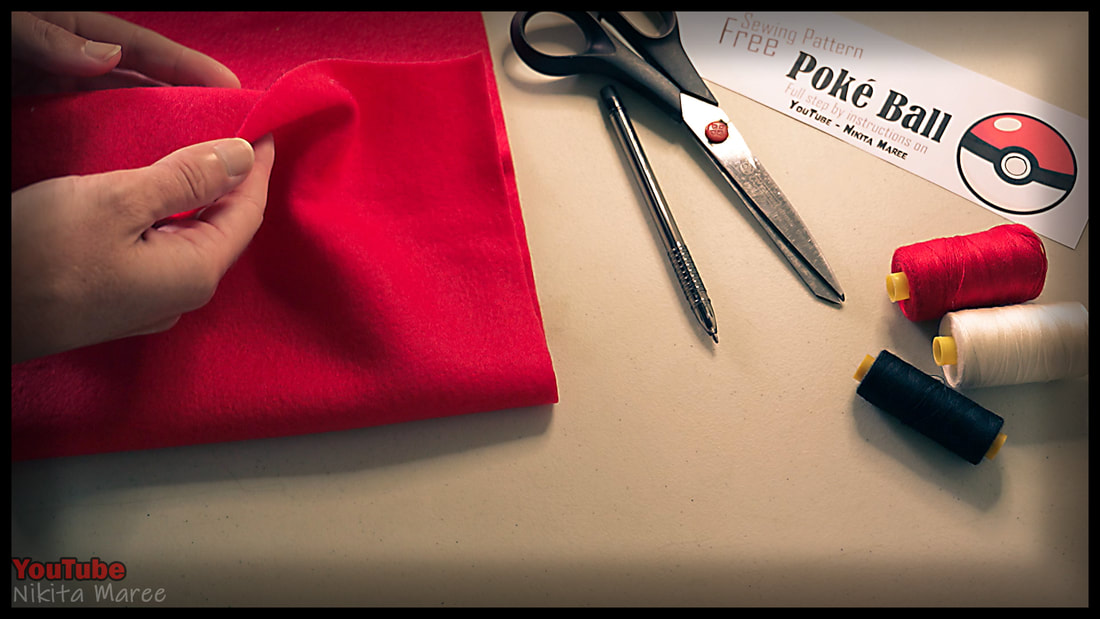
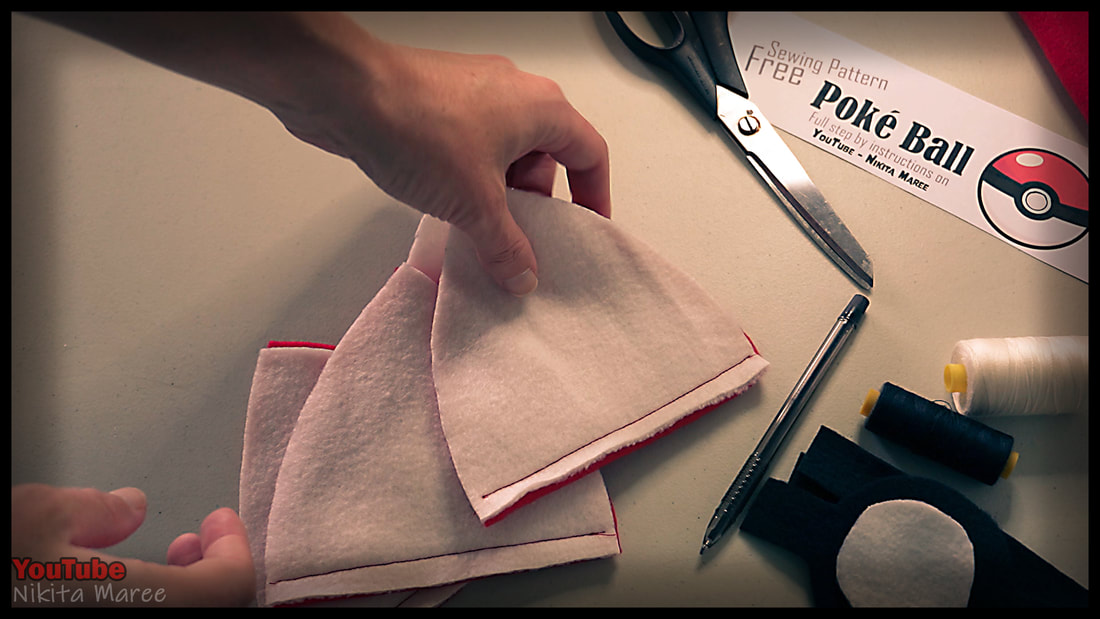
For the fabric, I am using felt in
Red, white and black. I bought 0.2 of a meter in the red and white. And 0.1 of a meter in the black. Depending on the width of the roll 'bolt' that you bought from, you should be able to make a few Poké Balls from this amount. |
|
|

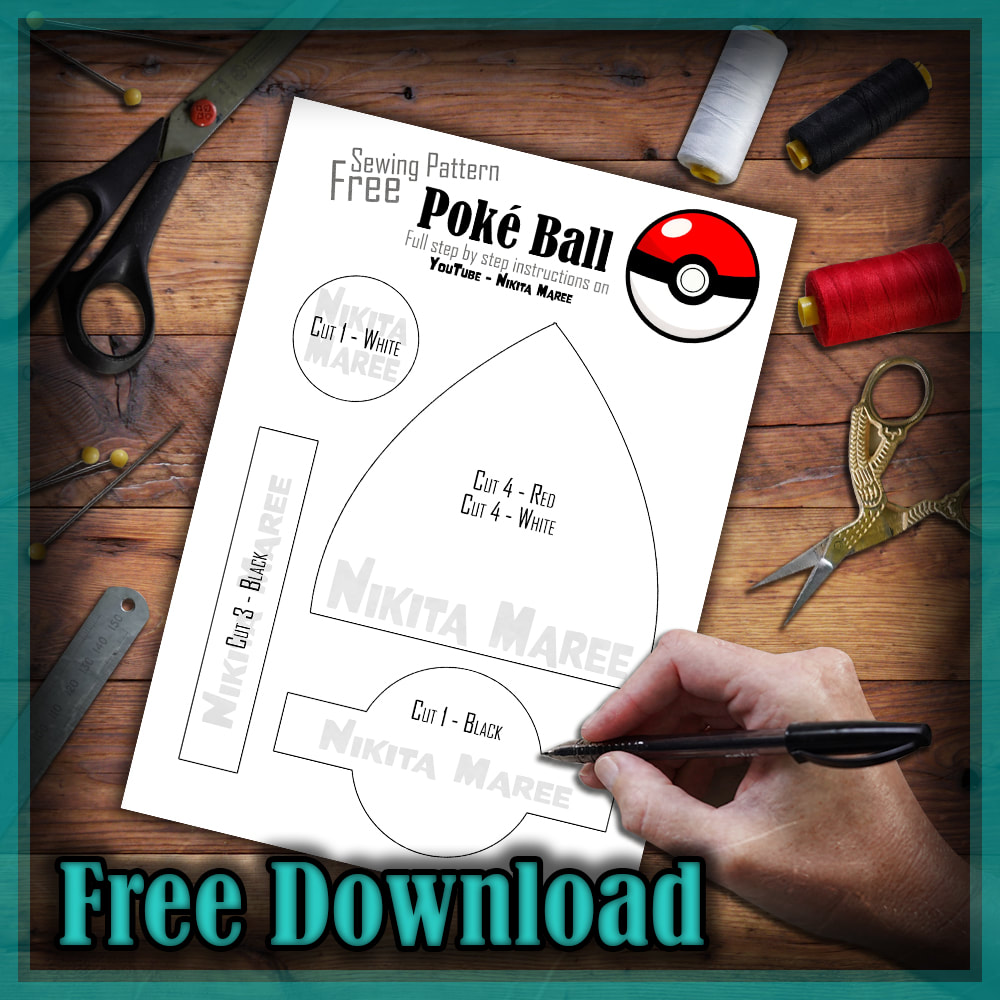
The FREE downloadable sewing pattern
is at the top of this page. Simply fill in your email address and press 'Get it Now'. |
|
|
Print out the sewing pattern and
cut out all of the pattern pieces.
cut out all of the pattern pieces.
|
|
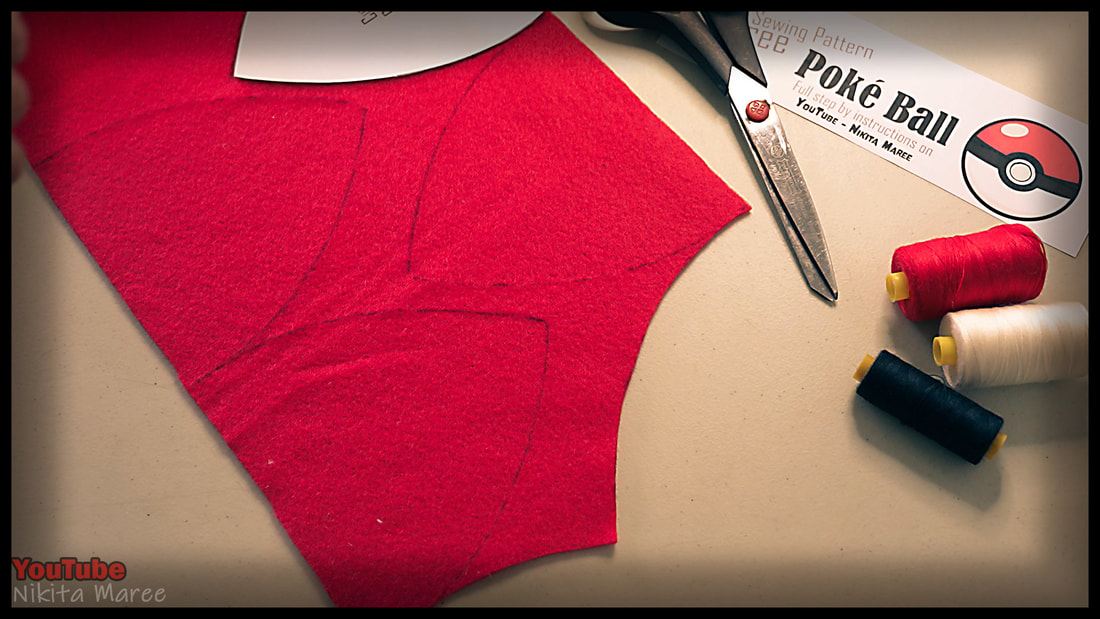
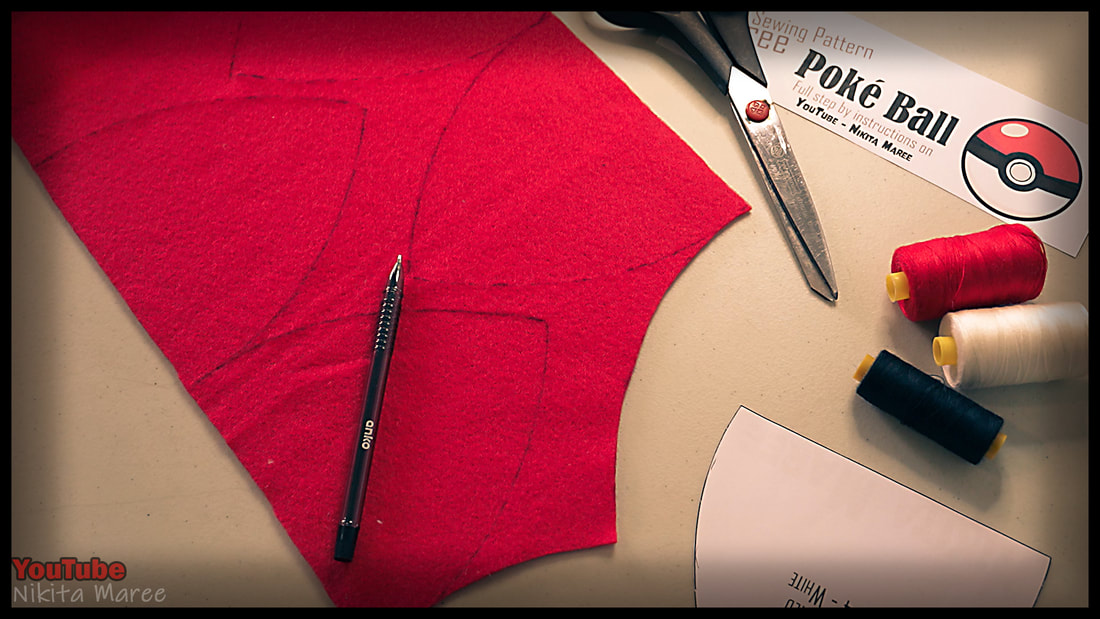
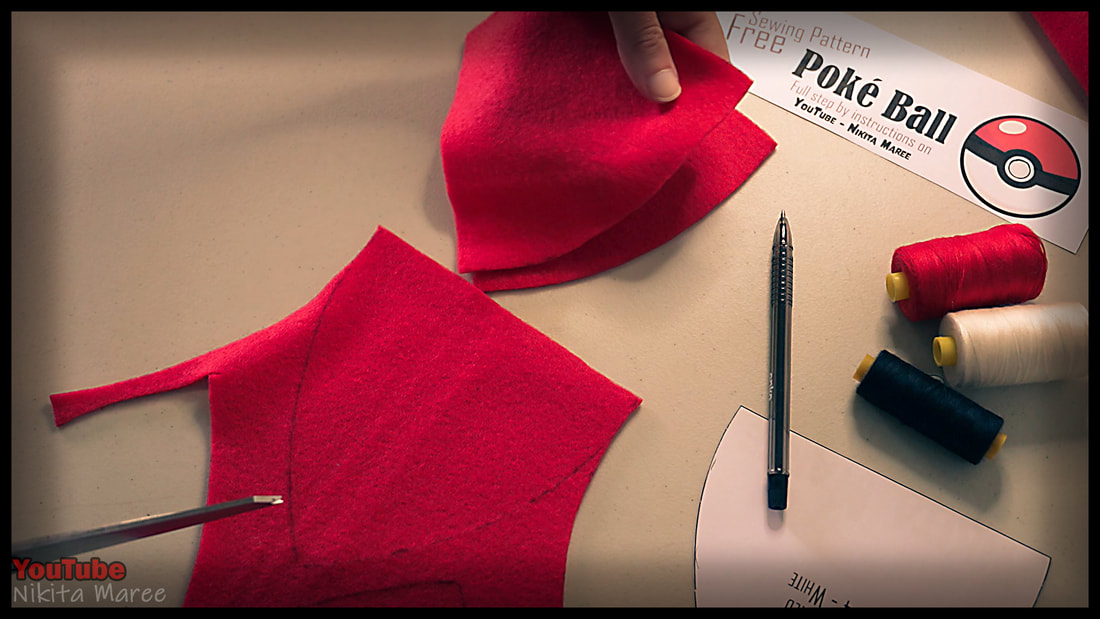
Starting with the red felt. With the good side of the fabric, face down on the table.
Trace around the pattern pieces with a black pen.
Trace around the pattern pieces with a black pen.
|
We will be tracing four of these out.
I am placing mine like this, to get the most out of my fabric. |
|
|
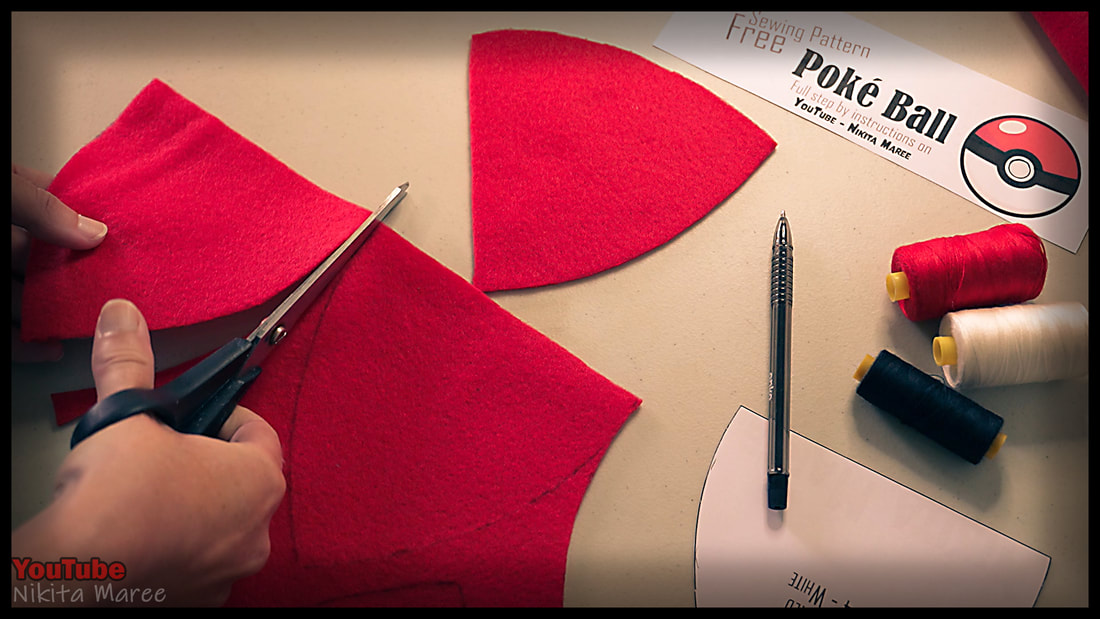
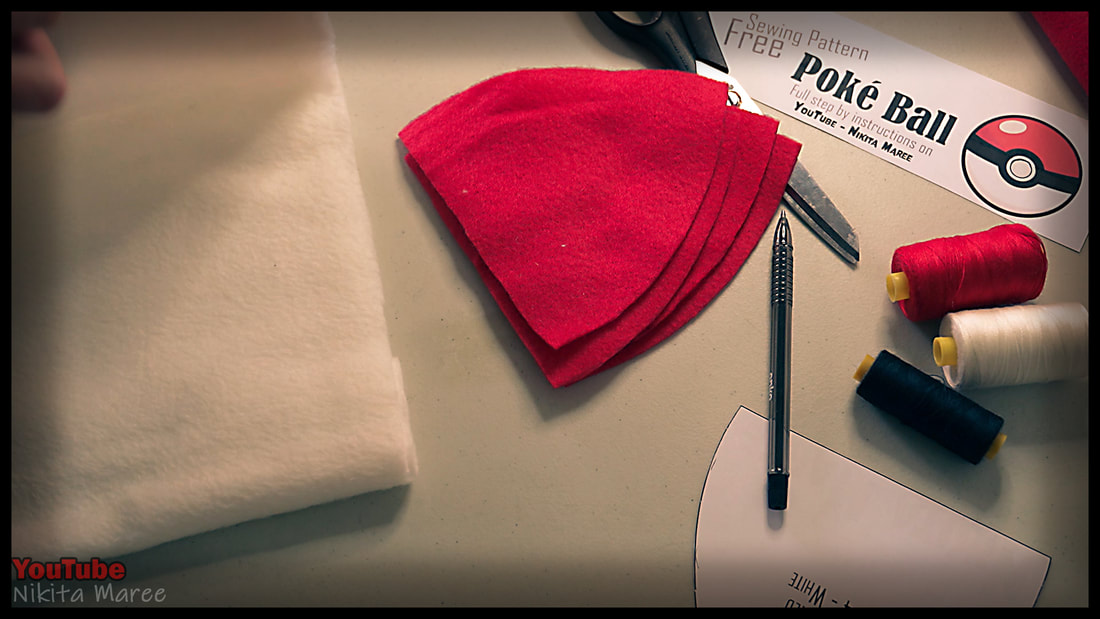
Cut out the fabric and keep the pieces face down on the table.
|
Moving onto the white.
This fabric is a bit fluffier than felt. I bought this, because it was cheaper. |
|

|
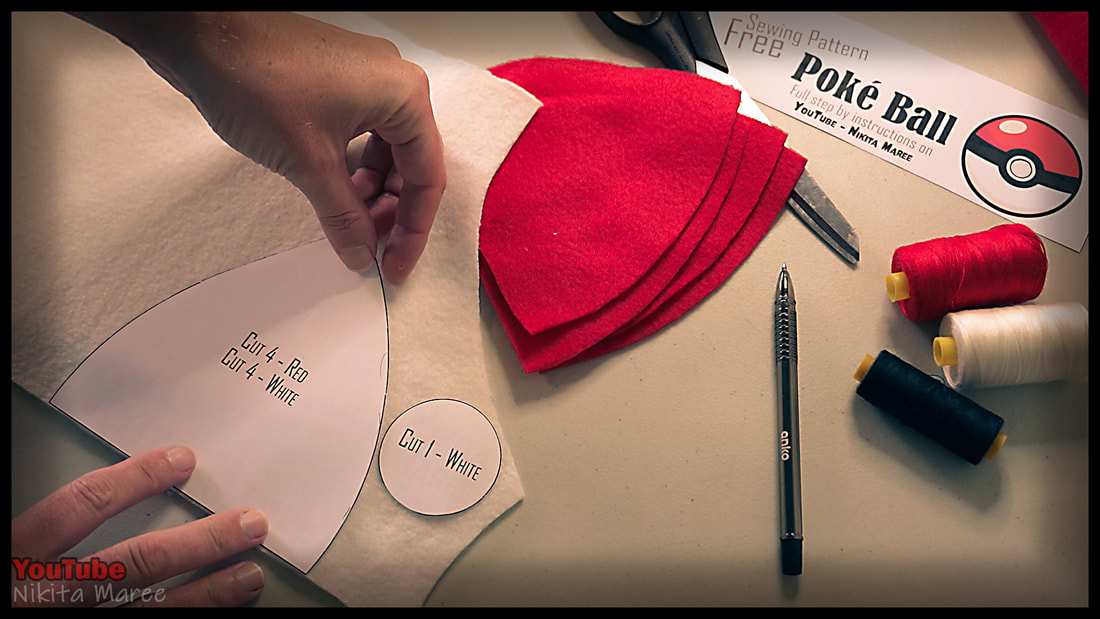
Each pattern piece will have written on it,
how many to cut out of each color.
how many to cut out of each color.
|
|
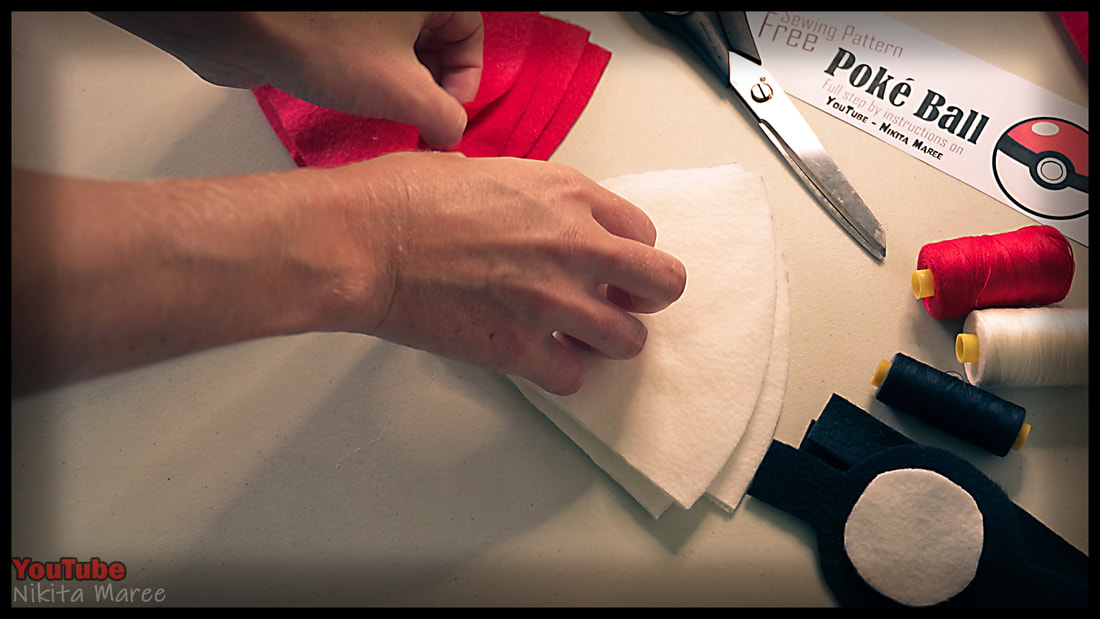
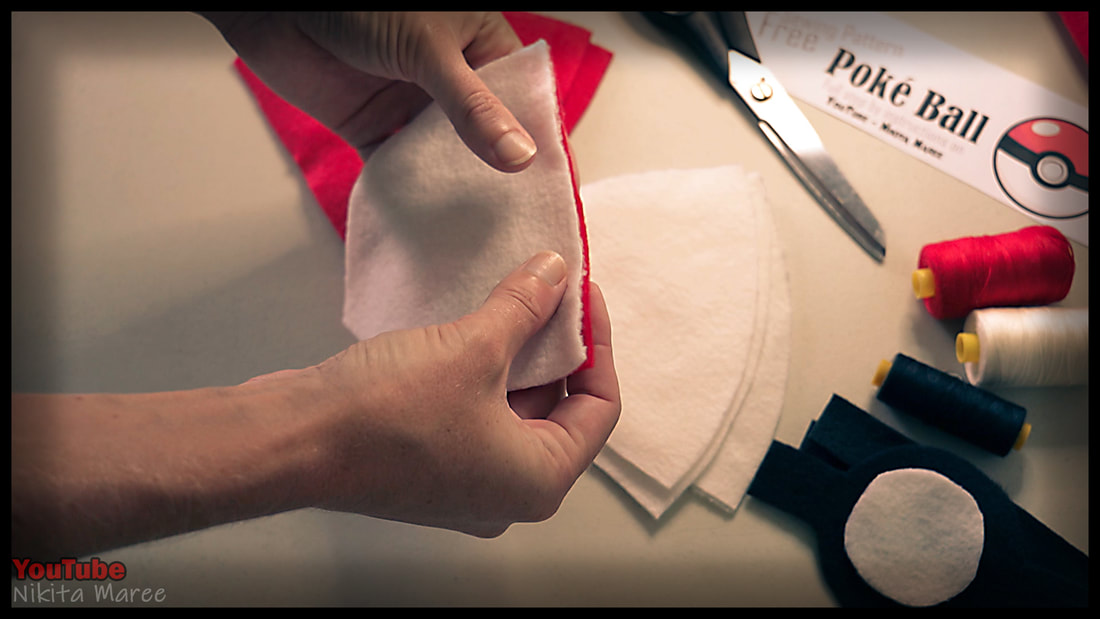
Lets grab one each of the red and white.
Lay them good sides facing in.
And matching up the straight edge.
Lay them good sides facing in.
And matching up the straight edge.
|
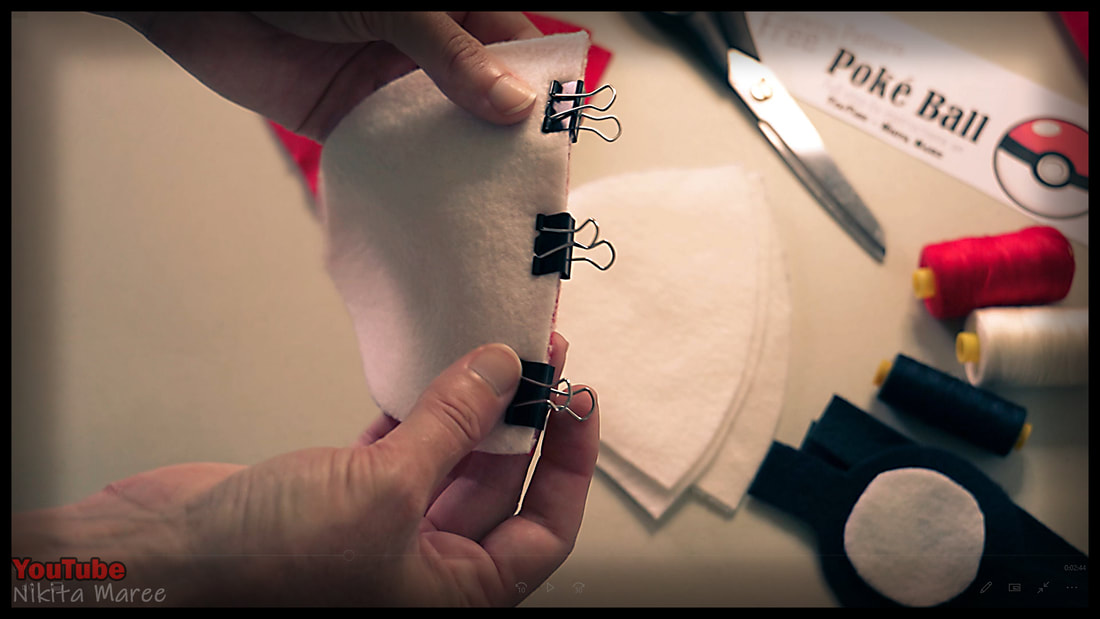
Hold this edge together with
small bulldog clips or pins, if you prefer. |
|

|
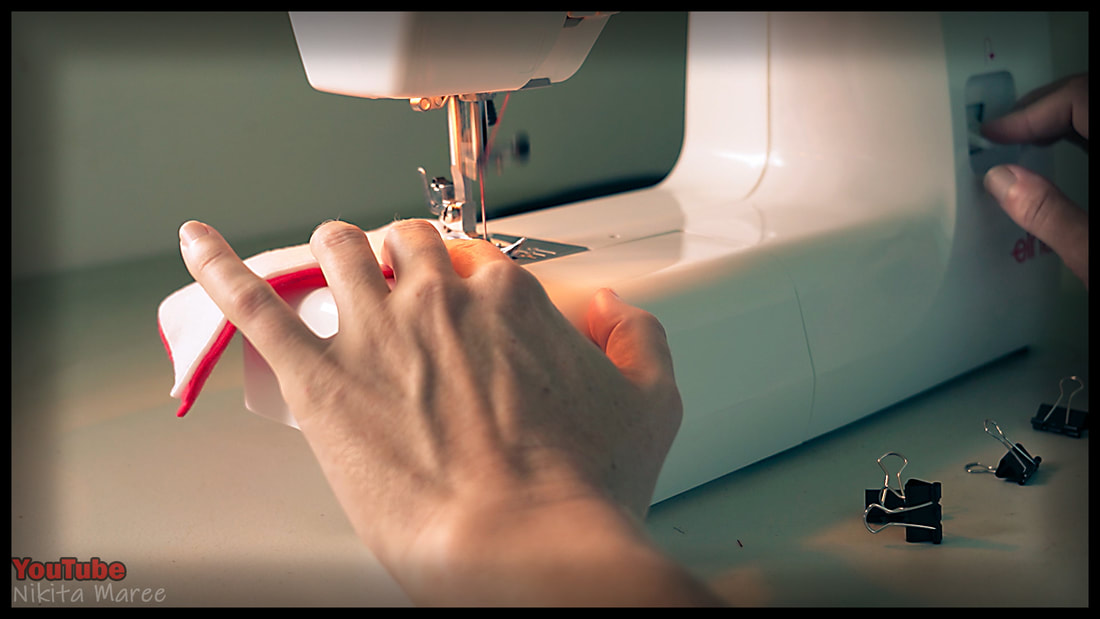
We will now sew along this edge using a 10mm seam allowance.
Back stitch at the beginning and end.
I am using a straight stitch and a number 2 stitch length.
Back stitch at the beginning and end.
I am using a straight stitch and a number 2 stitch length.
|
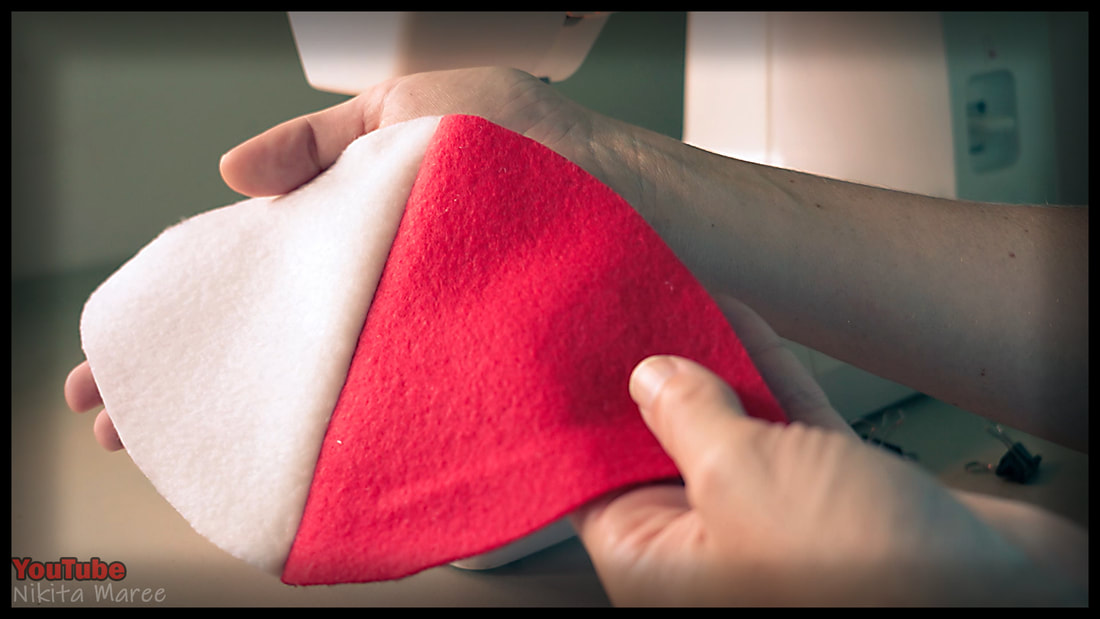
This is what we have so far.
Tip: Cut all overhanging threads as you go, to keep your project neat and manageable. |
|
Repeat until you have four
identical pieces. |
|
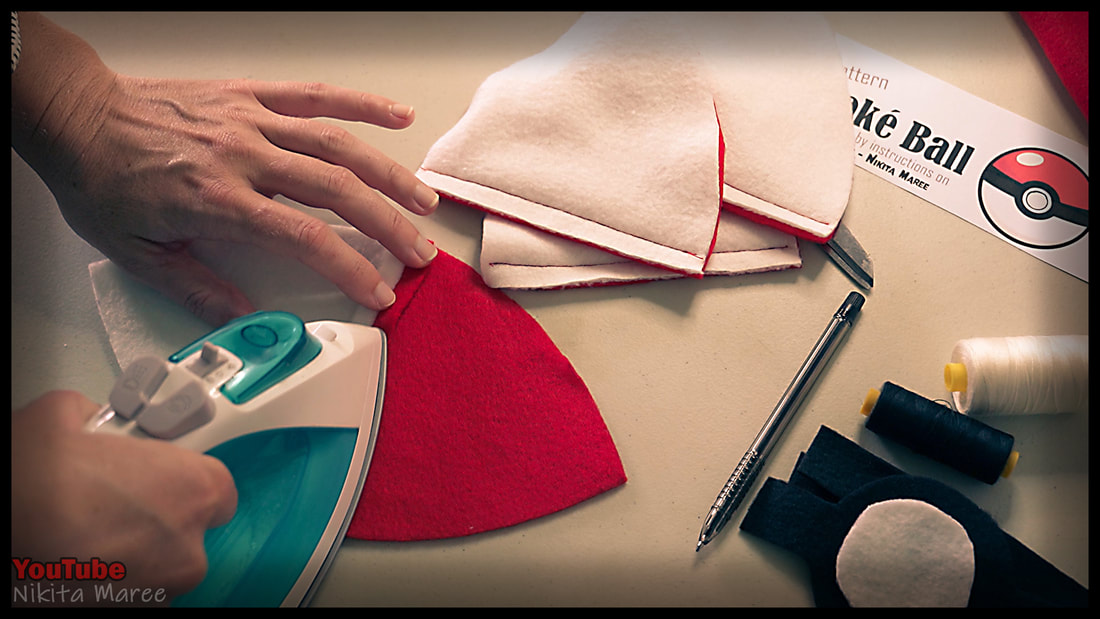
Open out the panels.
And press open the seam on a very low heat. |
|
|
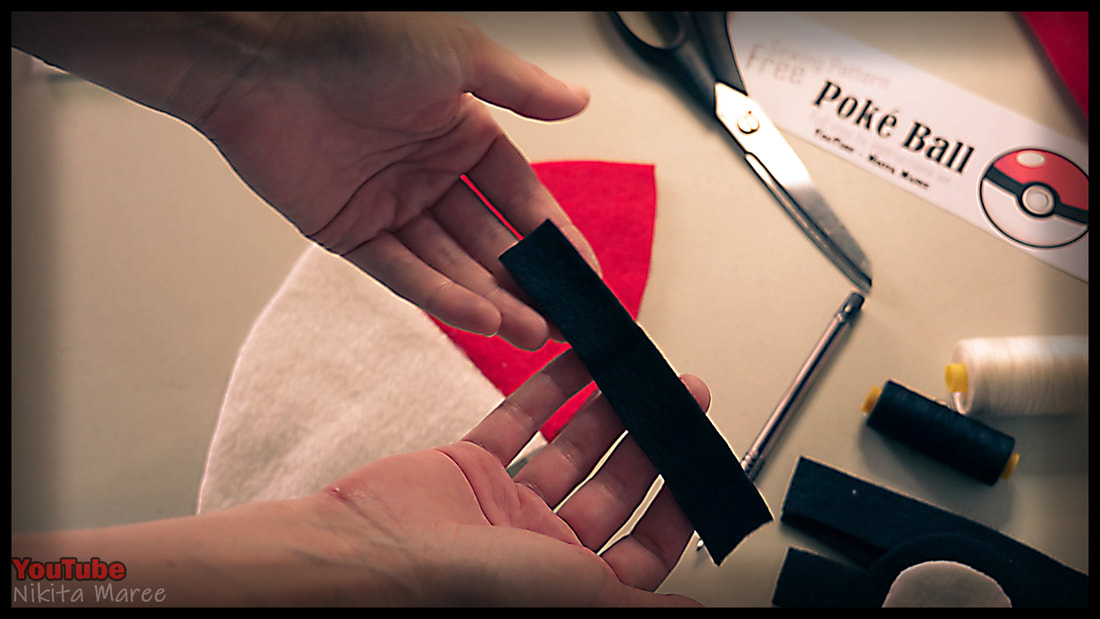
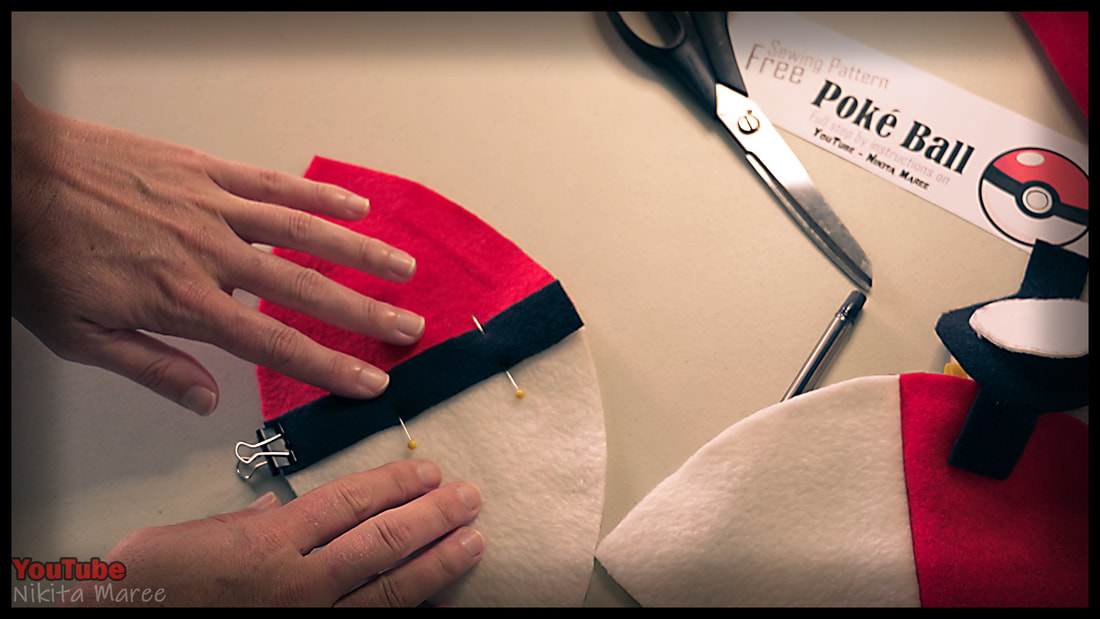
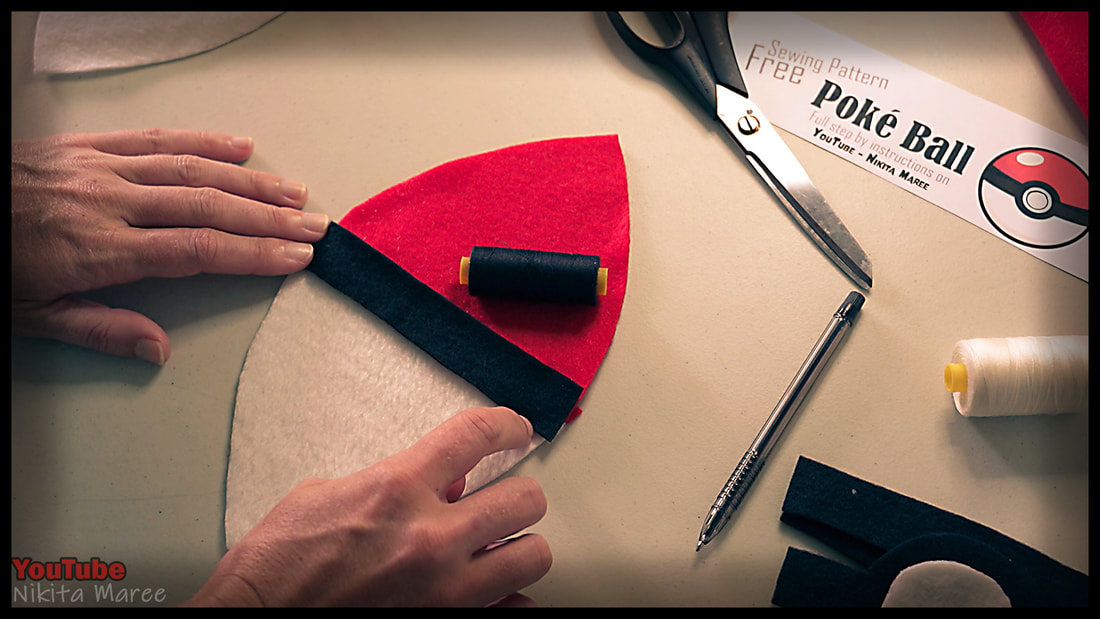
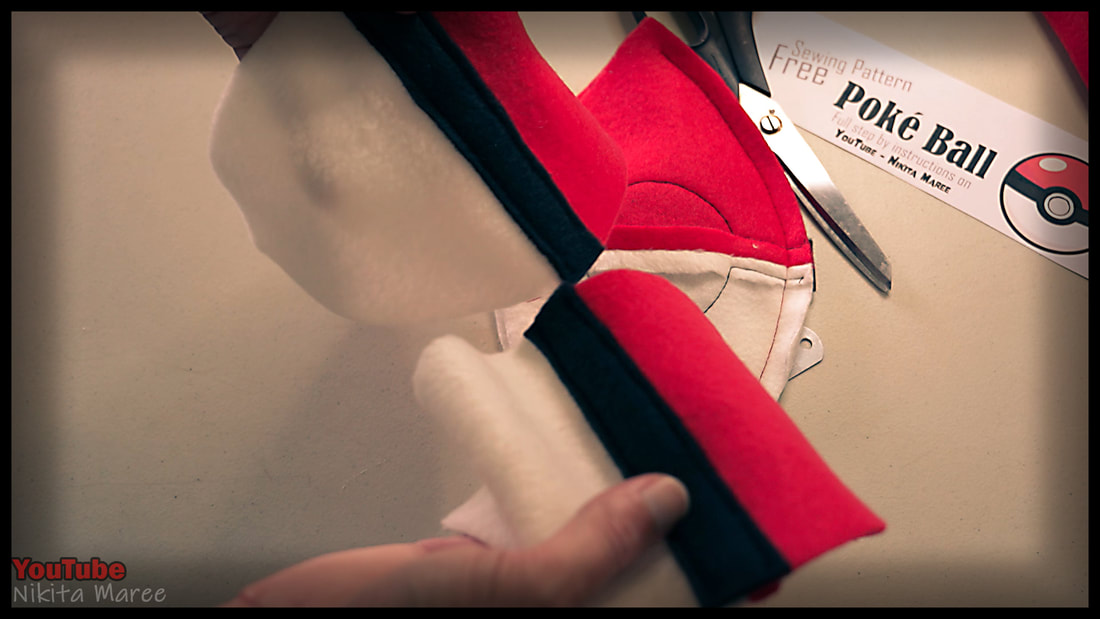
Take our first panel, and with the good side facing up.
We will then place on the first black band.
We will then place on the first black band.
|
|
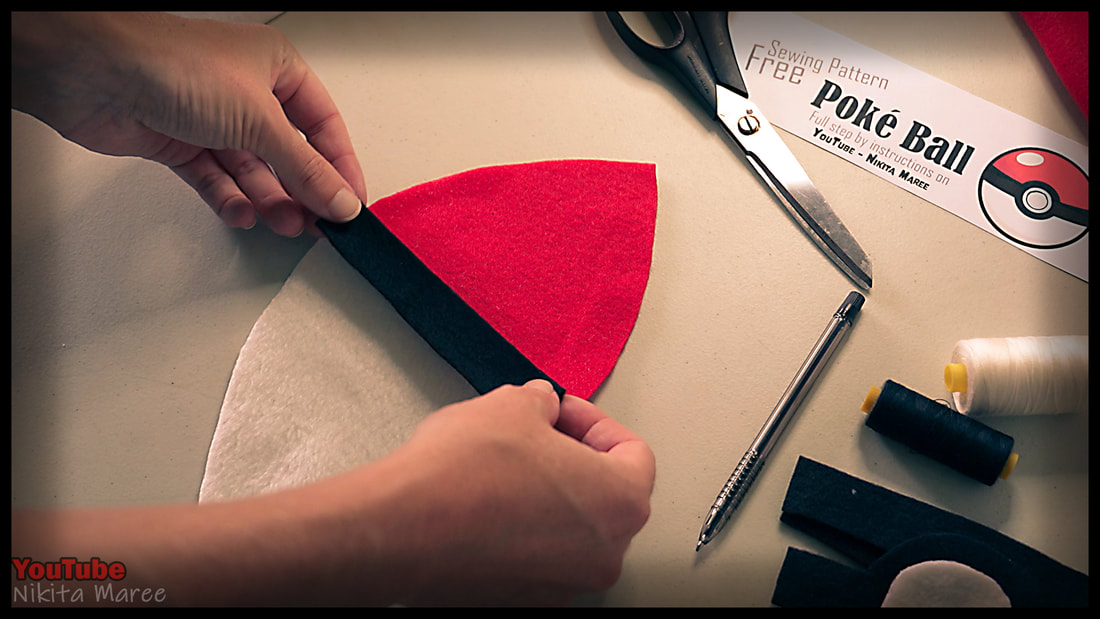
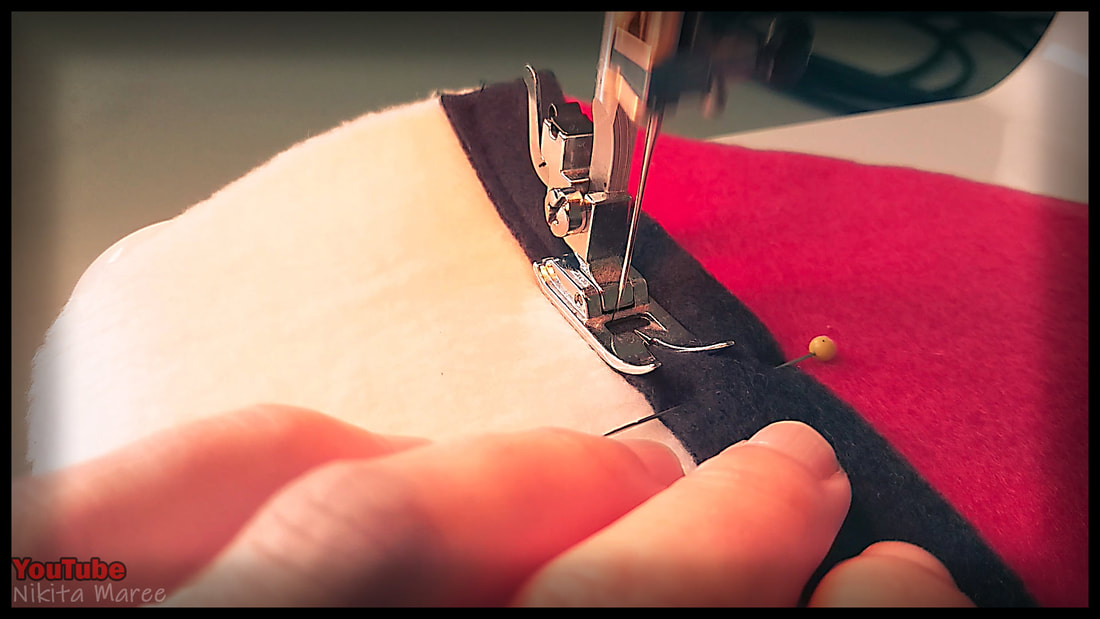
Pin and clamp into position. Change over to a black thread.
We will be stitching close to the top and bottom of the black band.
We will be stitching close to the top and bottom of the black band.
|
I am using the edge of the presser foot
as a guide. Having it line up with the edge of the band. |
|
|
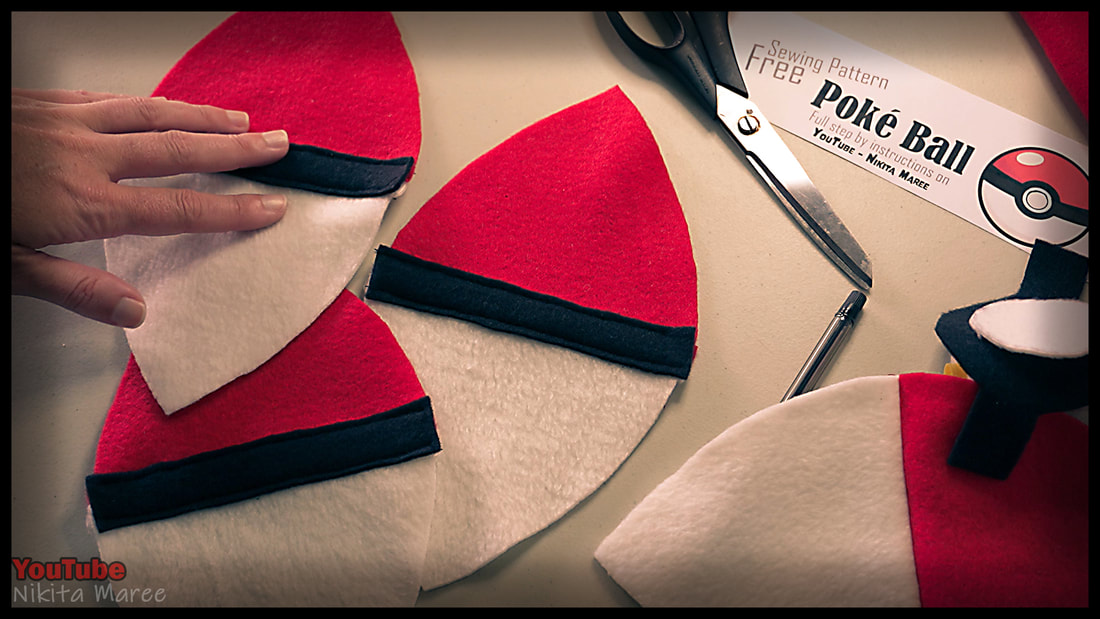
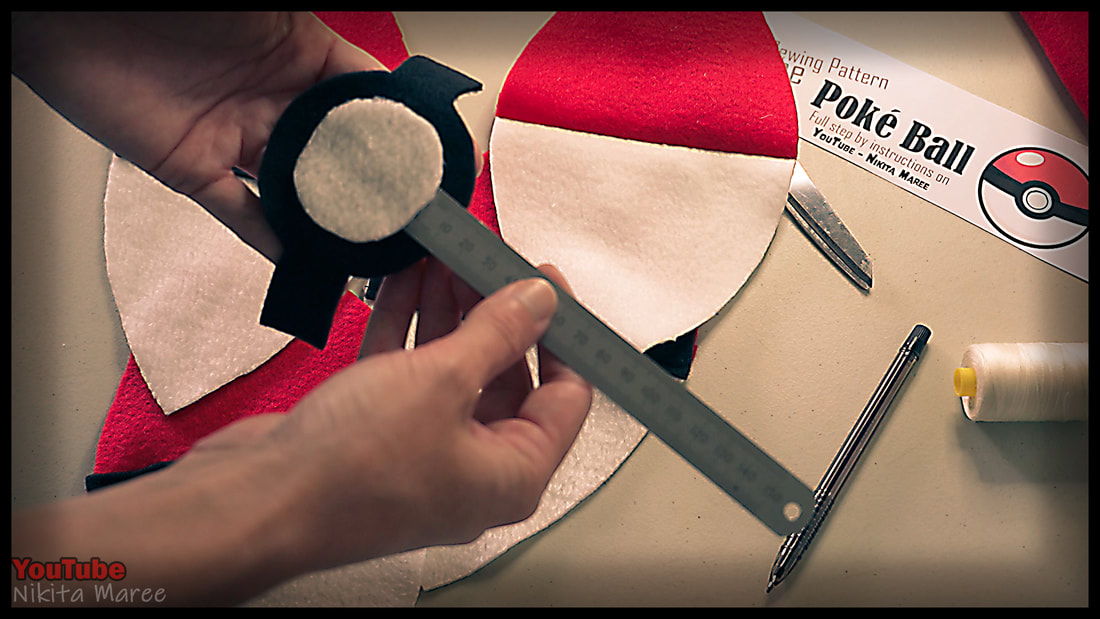
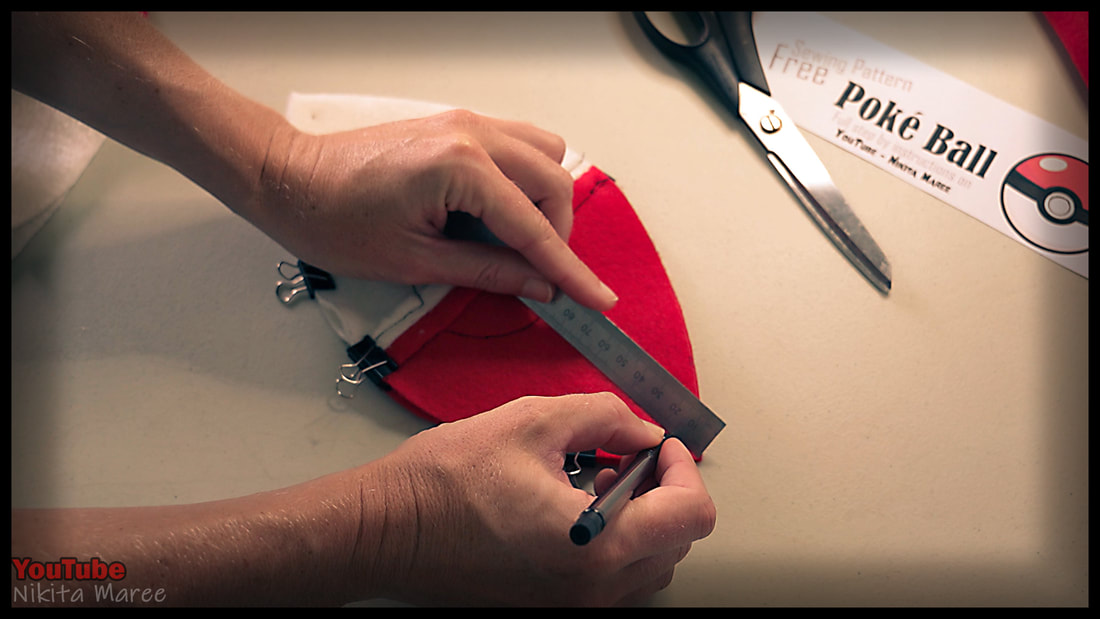
Now that the three straight bands are done,
we can move onto the white button.
I am using a ruler to get the button as center as possible.
we can move onto the white button.
I am using a ruler to get the button as center as possible.
|
|
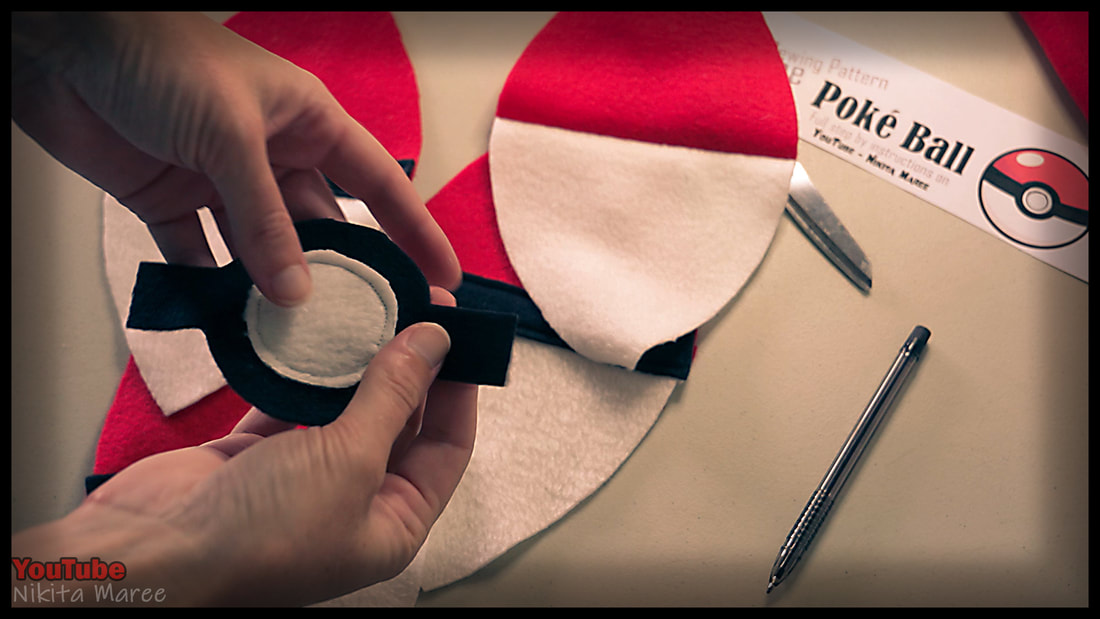
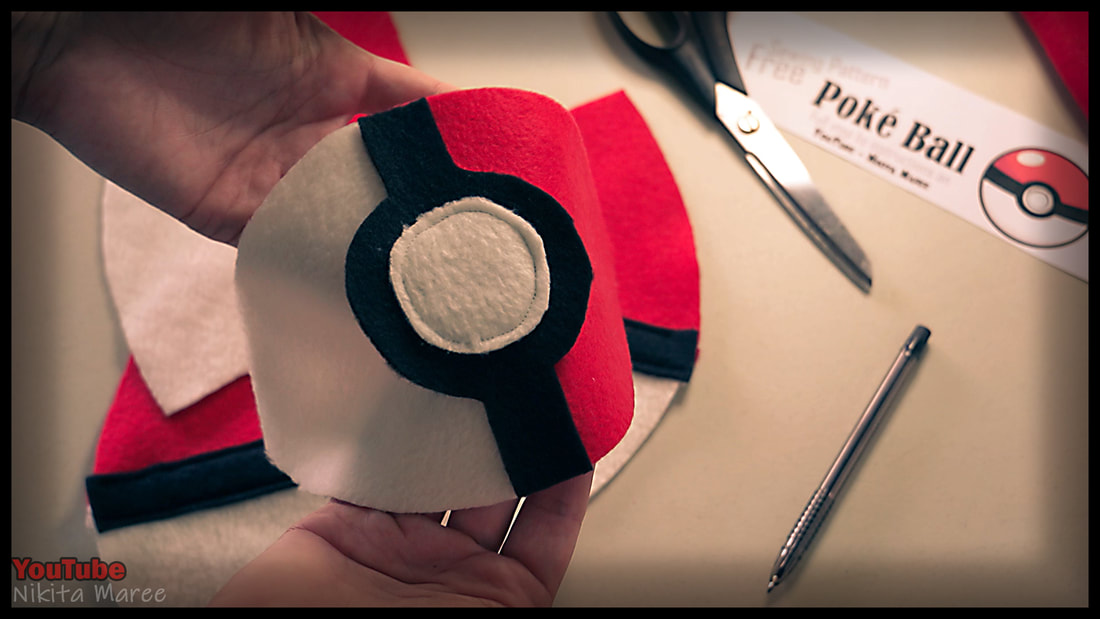
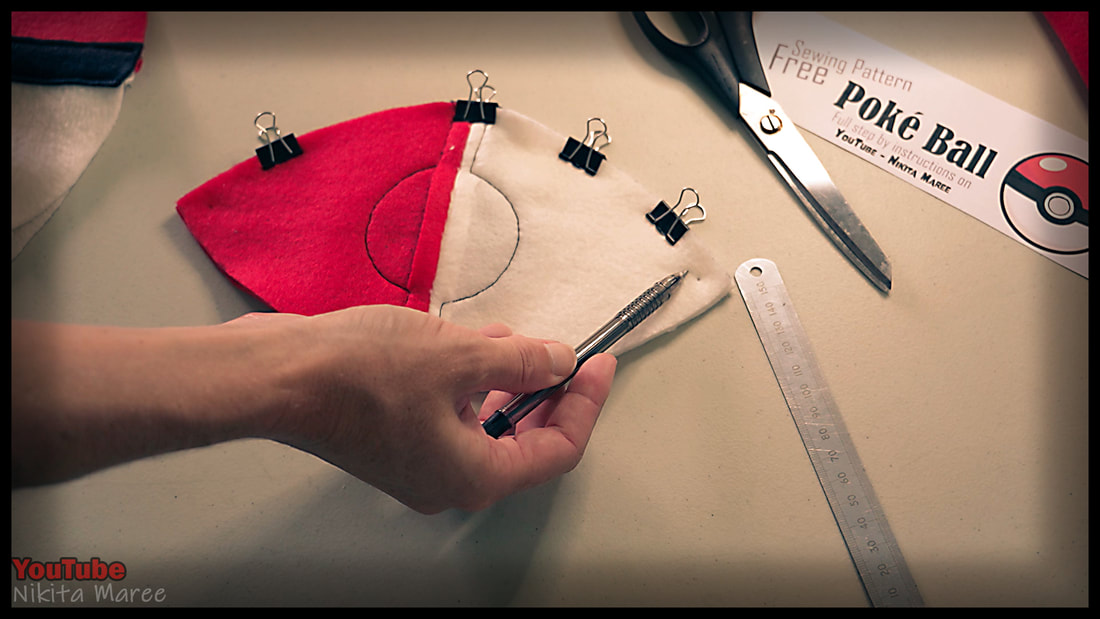
Stitch around the white circle 'button' with white thread.
Then lay the button piece on the last panel.
Sew into position with black thread.
Then lay the button piece on the last panel.
Sew into position with black thread.
|
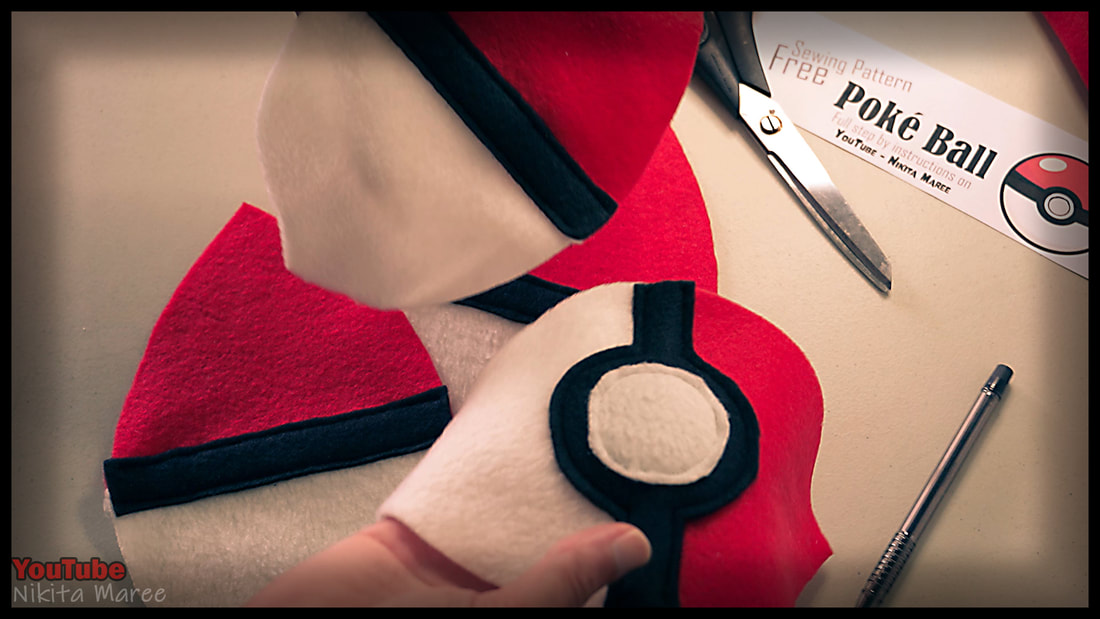
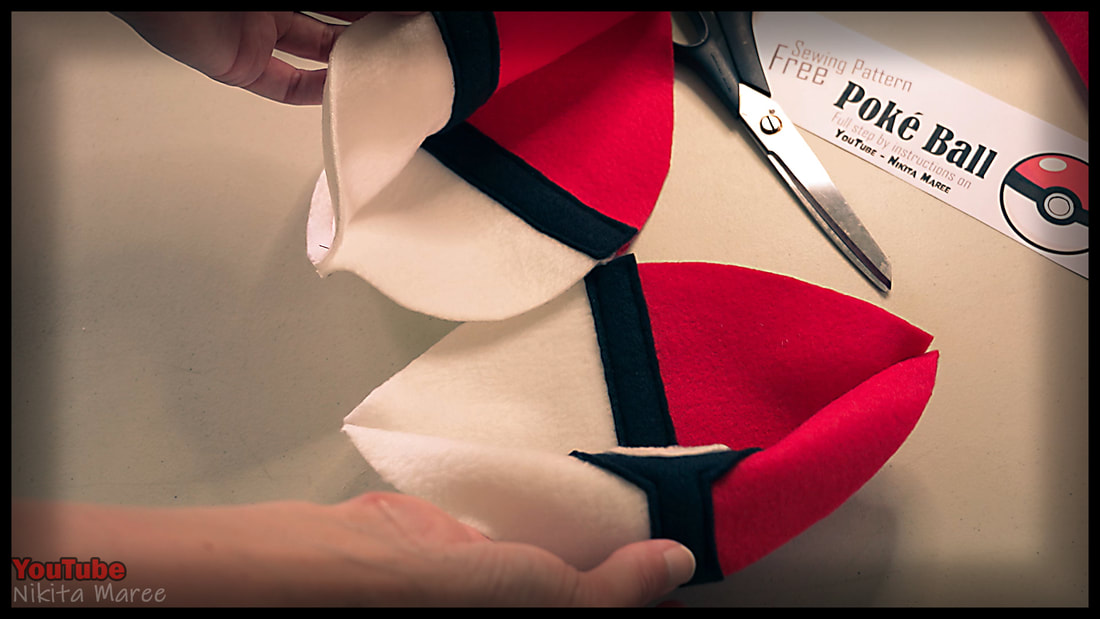
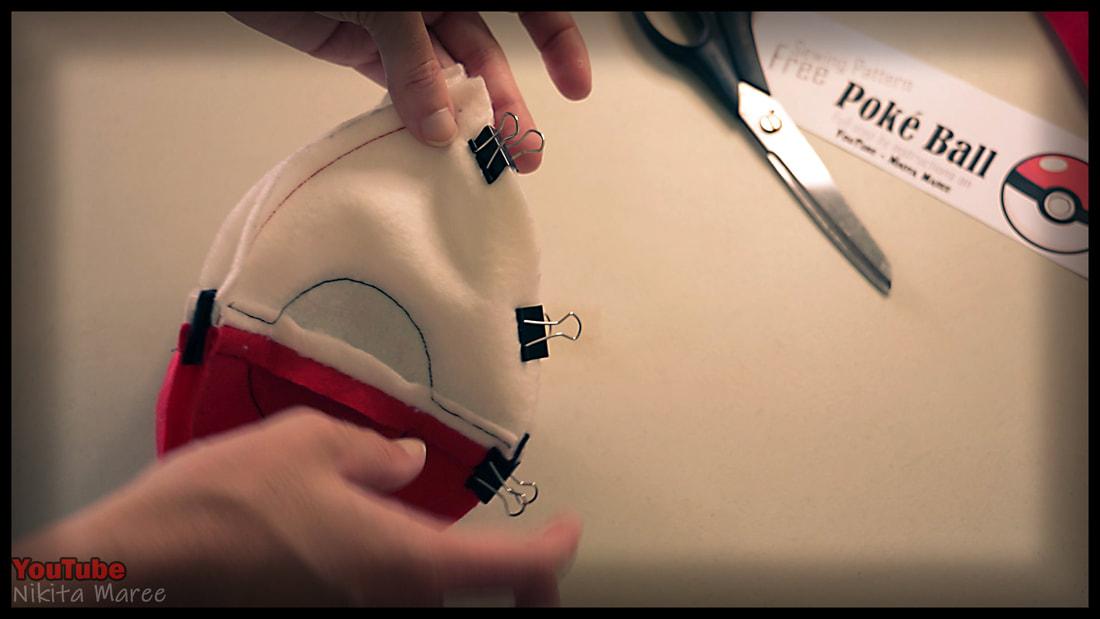
We can now sew our panel pieces together.
|
|
|
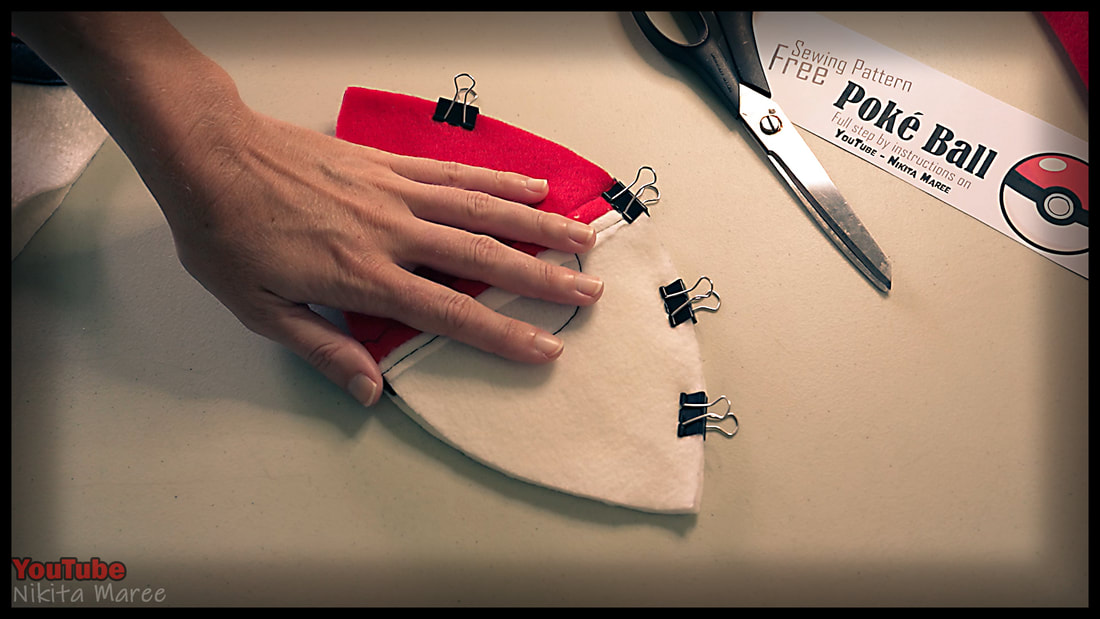
Carefully match up the black bands at the seam.
Clamp or pin this side together.
Clamp or pin this side together.
|
|
Now these marks are really important.
They are 15mm in from the point.
And indicate were we will start and stop the stitching.
Be sure to also back stitch at these points.
They are 15mm in from the point.
And indicate were we will start and stop the stitching.
Be sure to also back stitch at these points.
|
|
Repeat these steps with the other two panels.
We can now join these two pieces together.
We can now join these two pieces together.

|
|
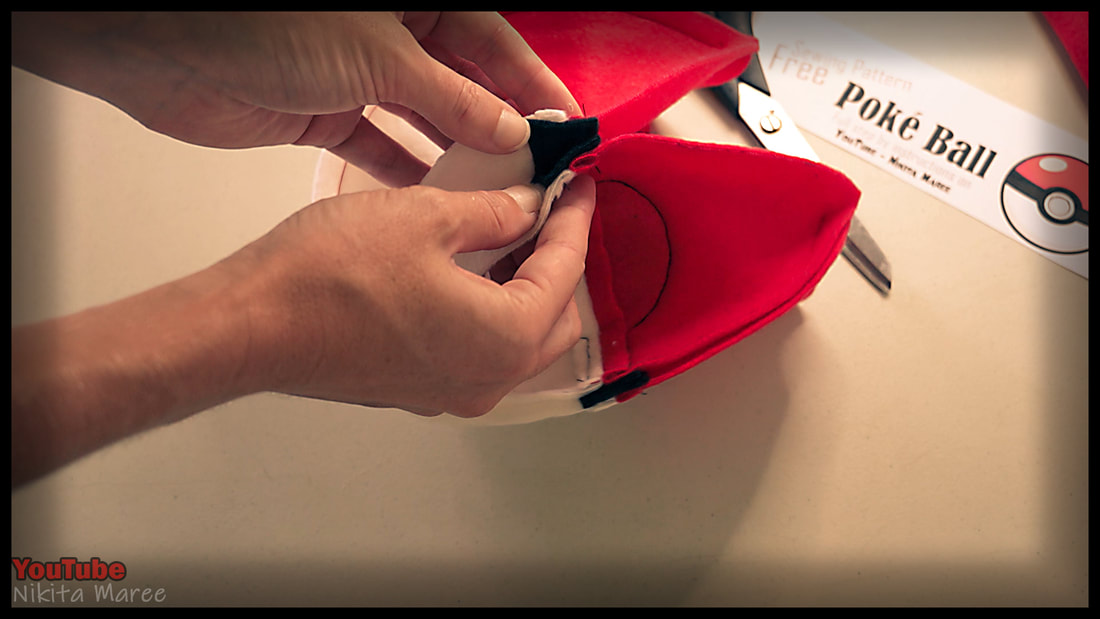
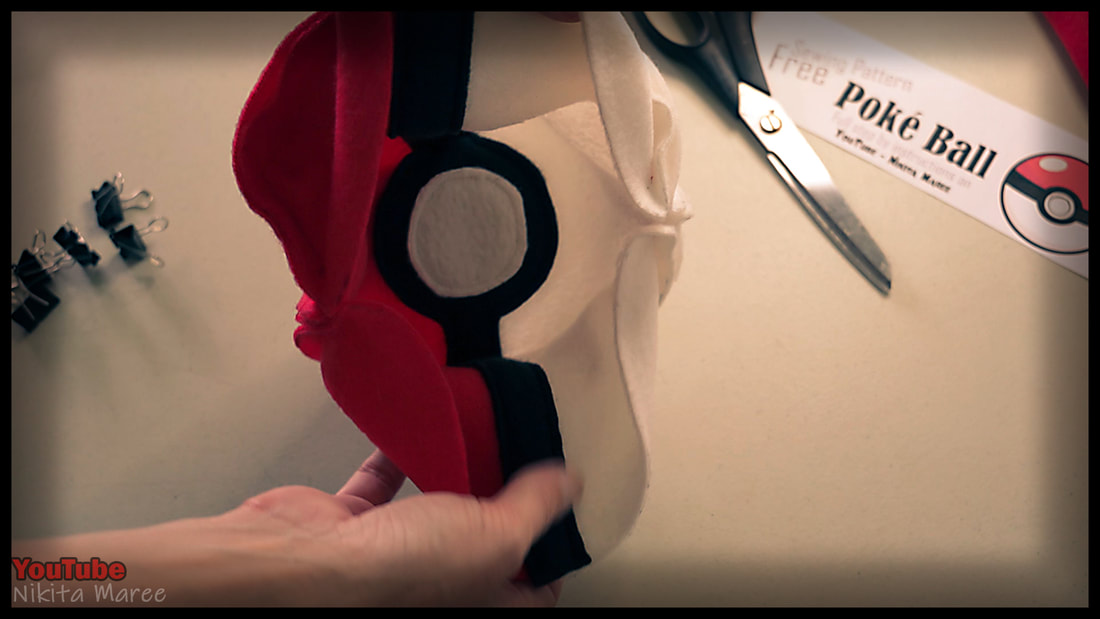
Be sure that the panel with the 'button' gets sewn into a seam first.
Match up the black bands, and clamp together.
Match up the black bands, and clamp together.
|
|
Open up the end seams and pin or clamp together.
Sew a 10mm seam along this edge.
Sew a 10mm seam along this edge.
|
We now have the panel with the button,
sewn neatly in the ball. |
|

|
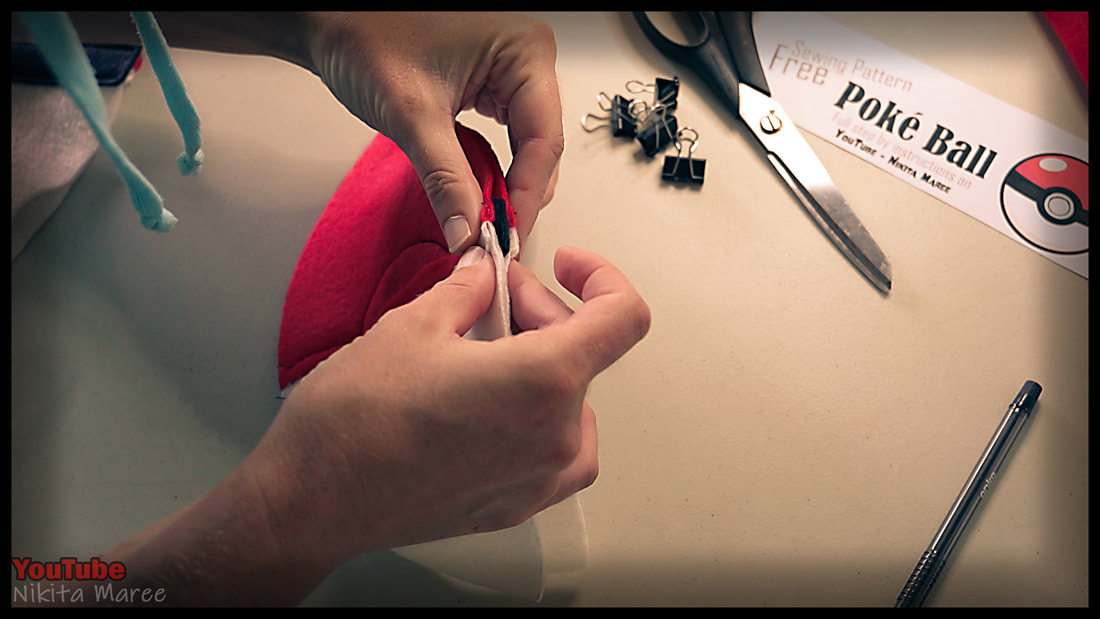
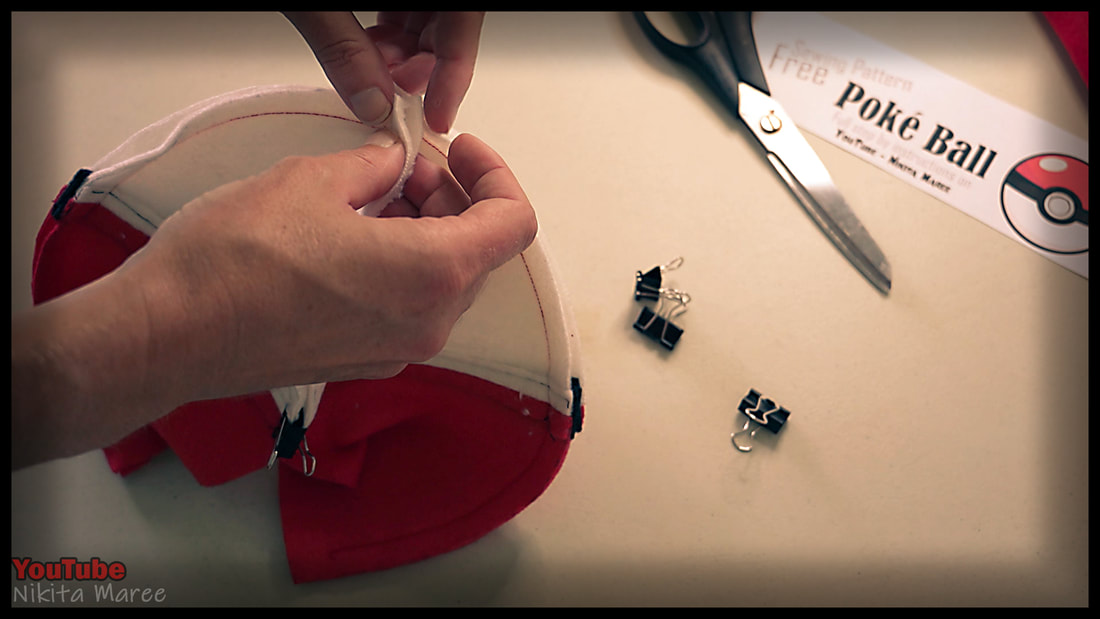
For the last seam, we will only be sewing part of the way.
Marking this with a pin and leaving enough room to turn the ball right side out.
Marking this with a pin and leaving enough room to turn the ball right side out.
|
Sew along this edge and
back stitch at the opening. |
|
|
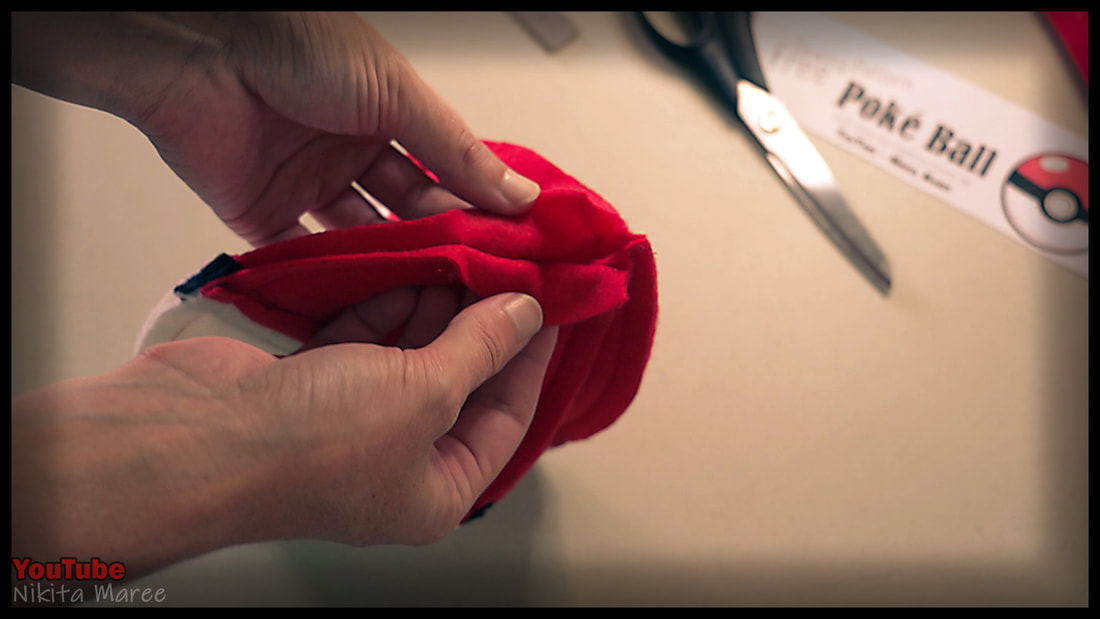
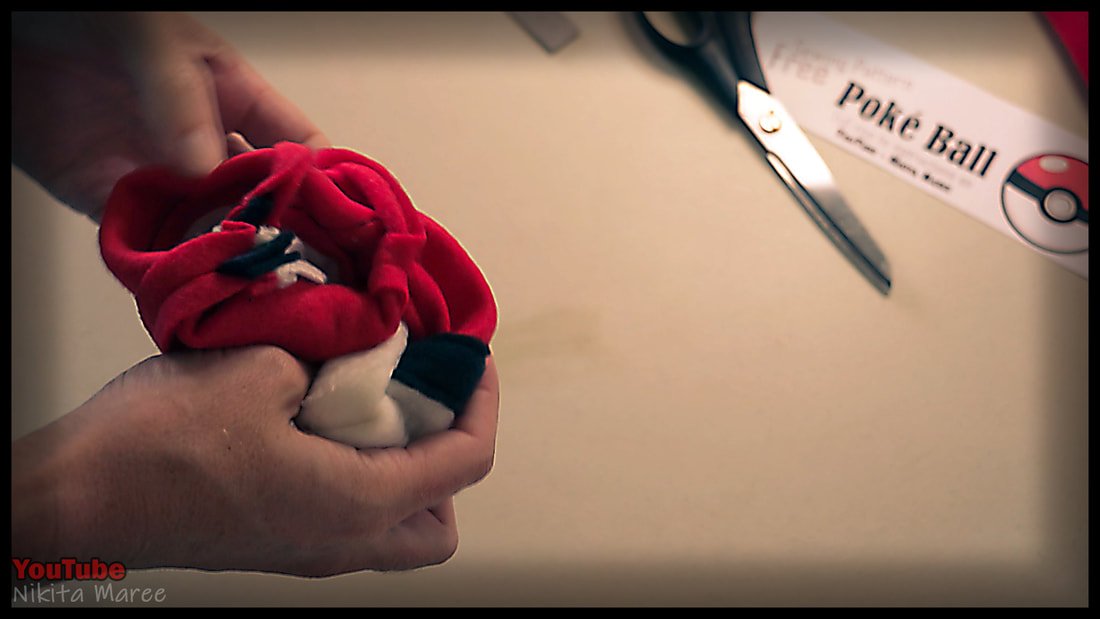
Slowly and carefully pull the ball through the opening.
|
|
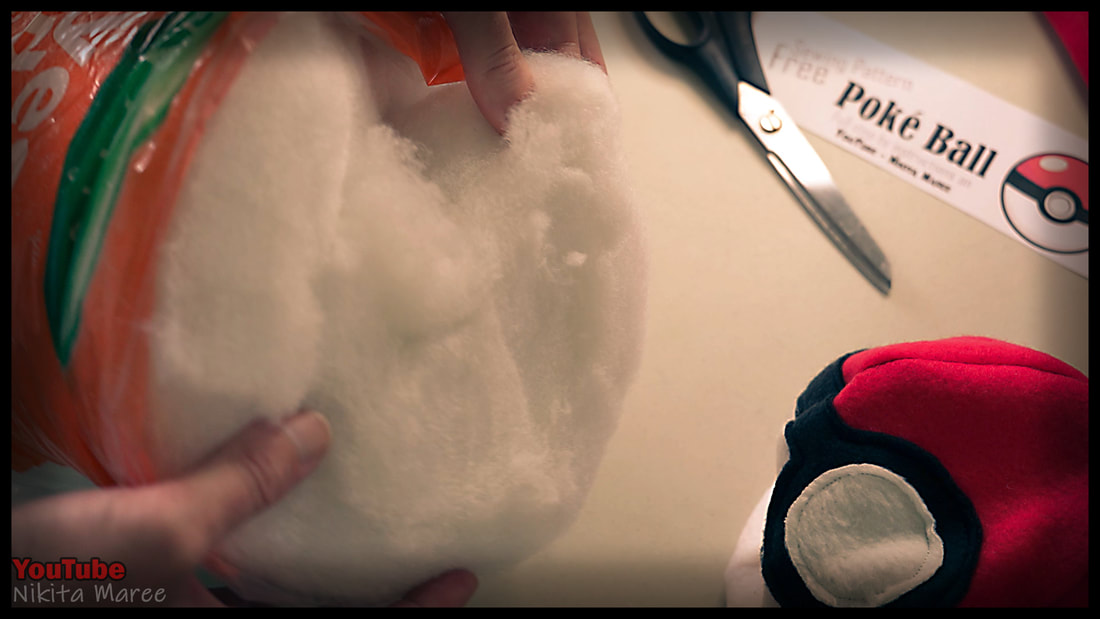
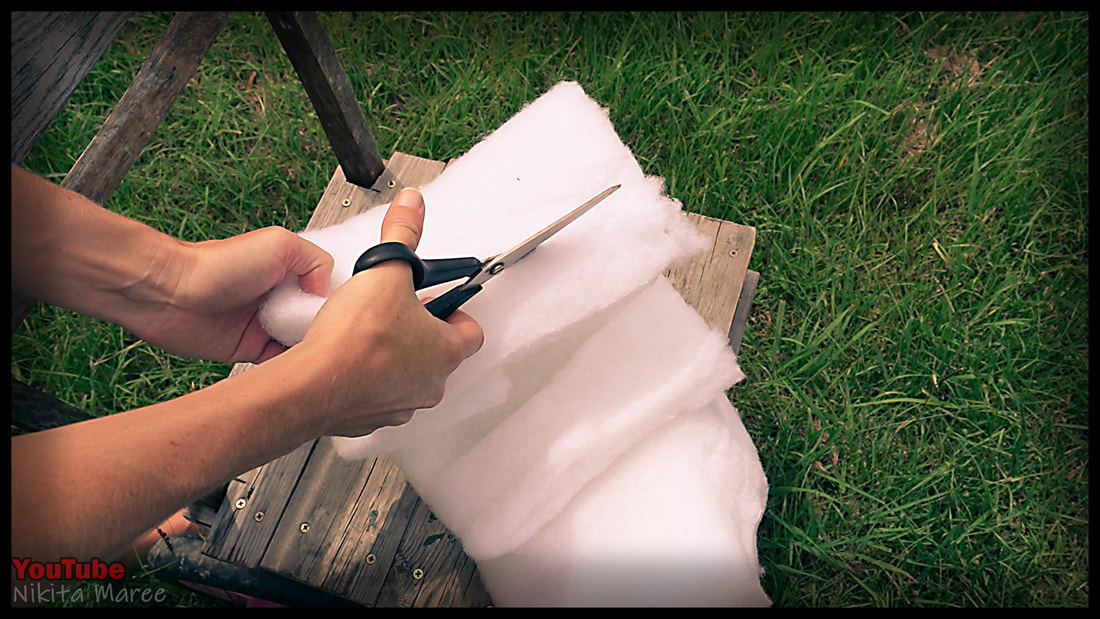
For the filler, I am using a polyester wadding.
This is very messy, so I am taking it out side.
This is very messy, so I am taking it out side.
|
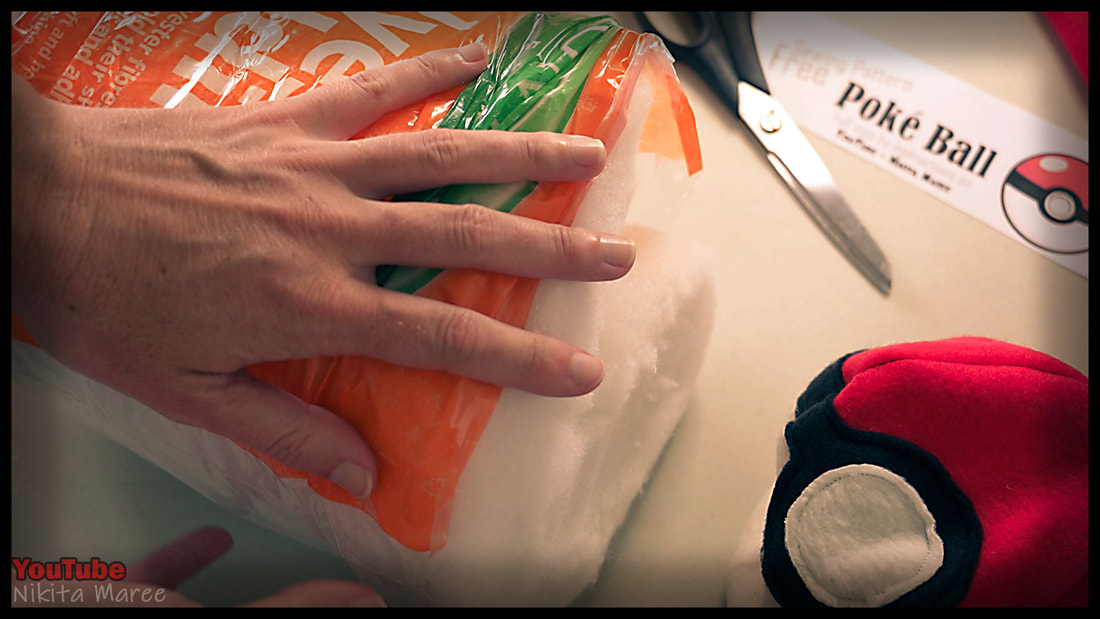
Cut the wadding into thin strips.
|
|
|
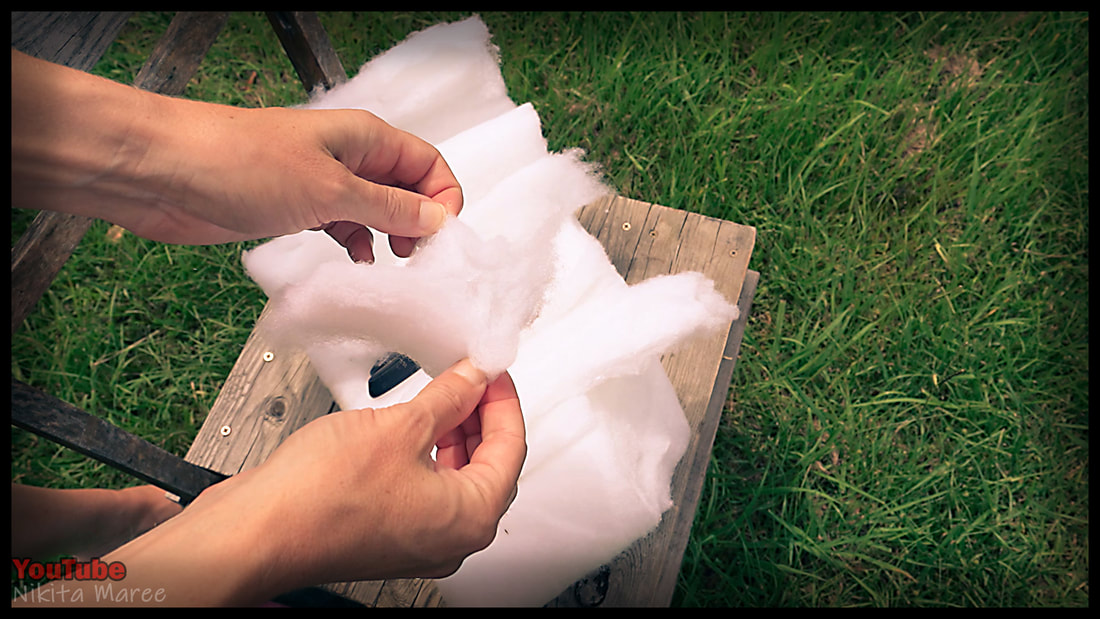
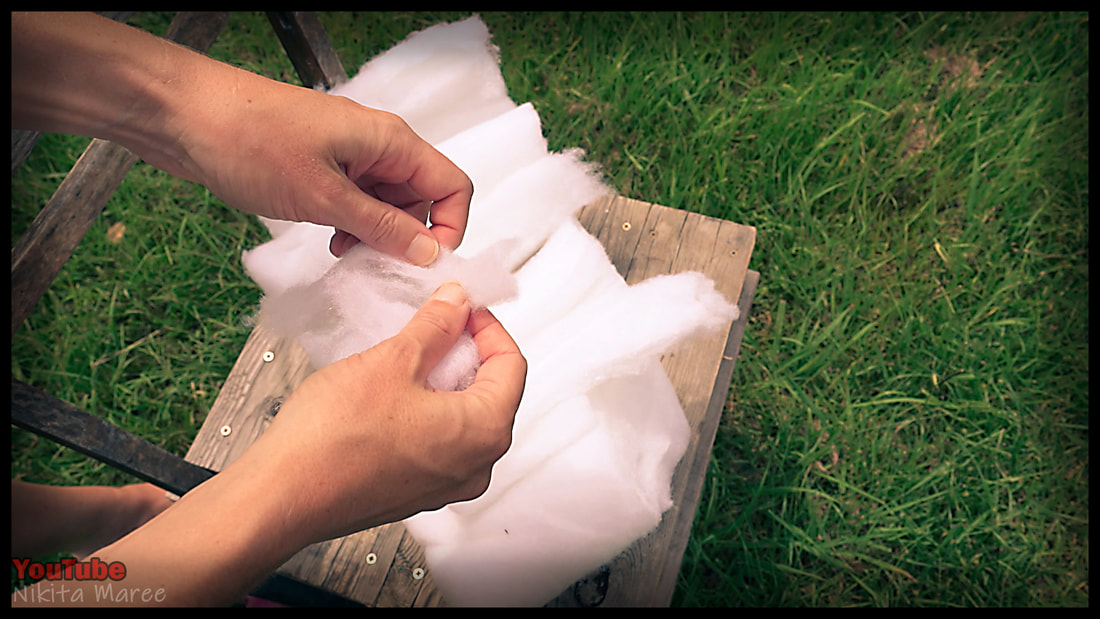
Pulling and ripping it apart,
to create lots of volume.
to create lots of volume.
|
|
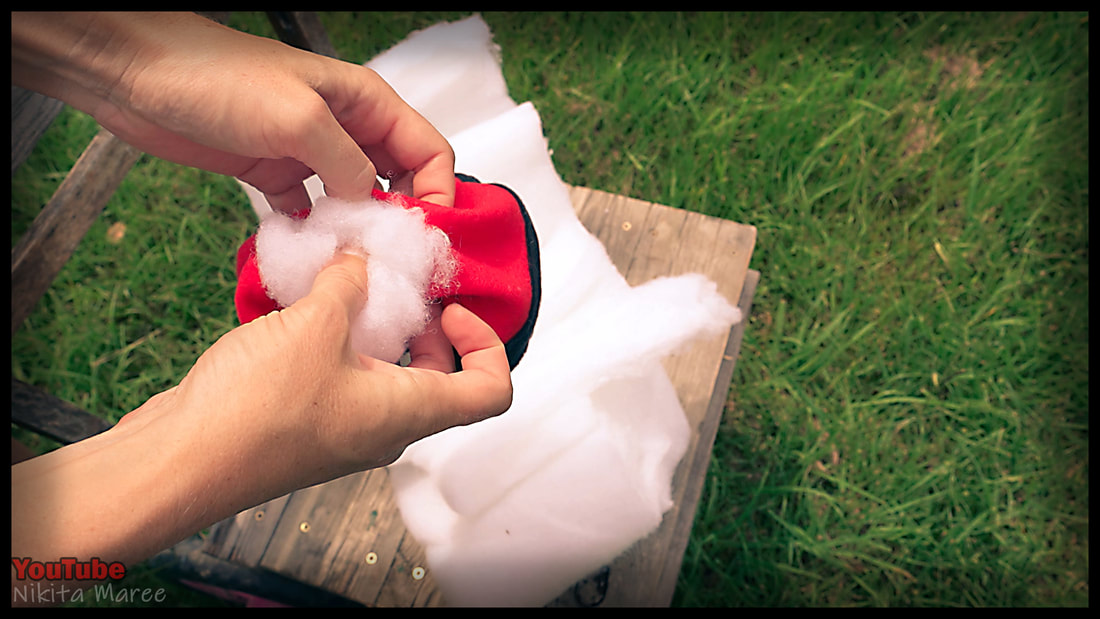
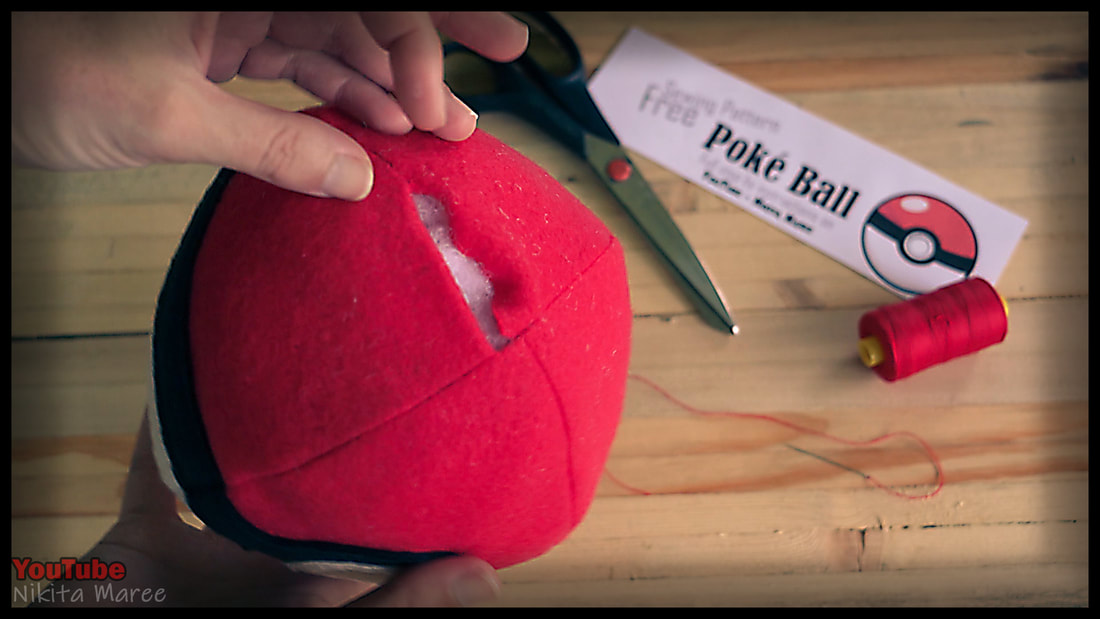
Stuff the wadding into the casing,
until the ball is nice and full.
until the ball is nice and full.
|
|
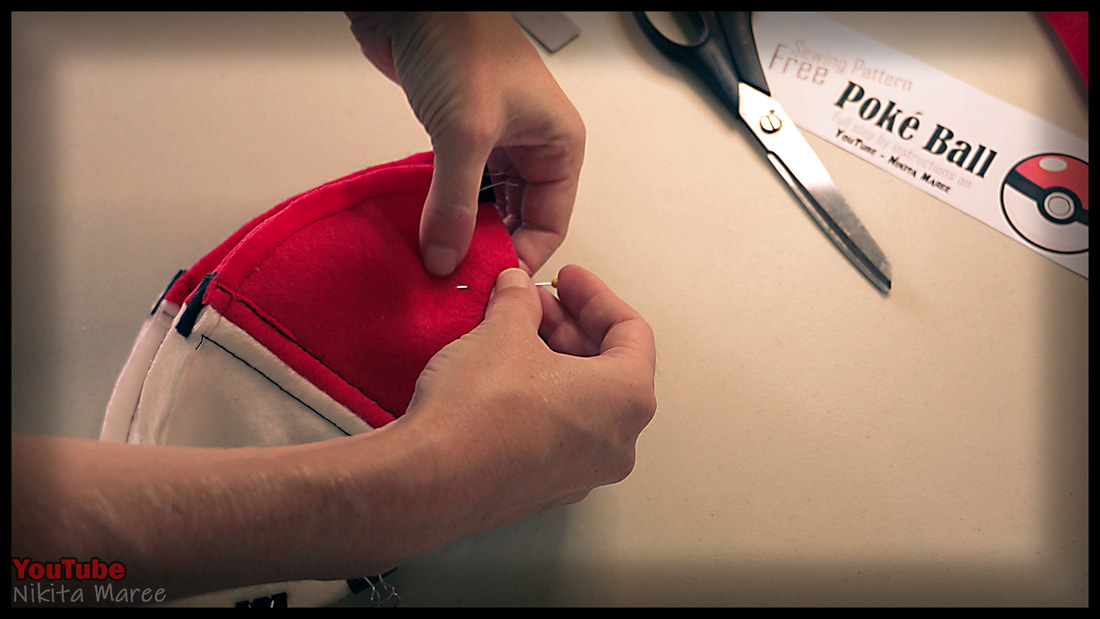
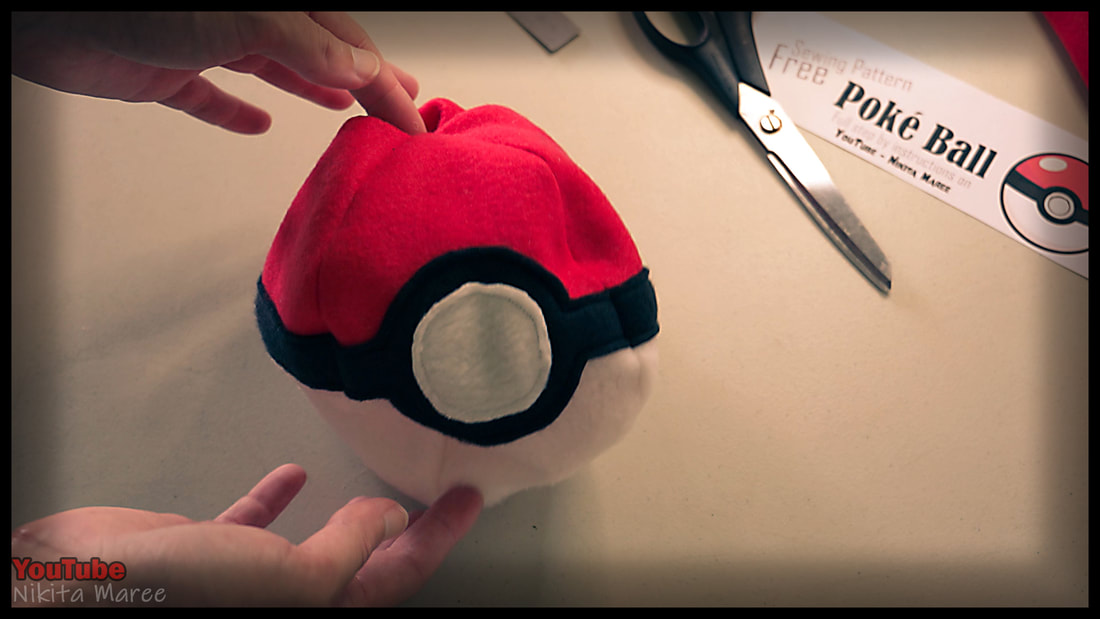
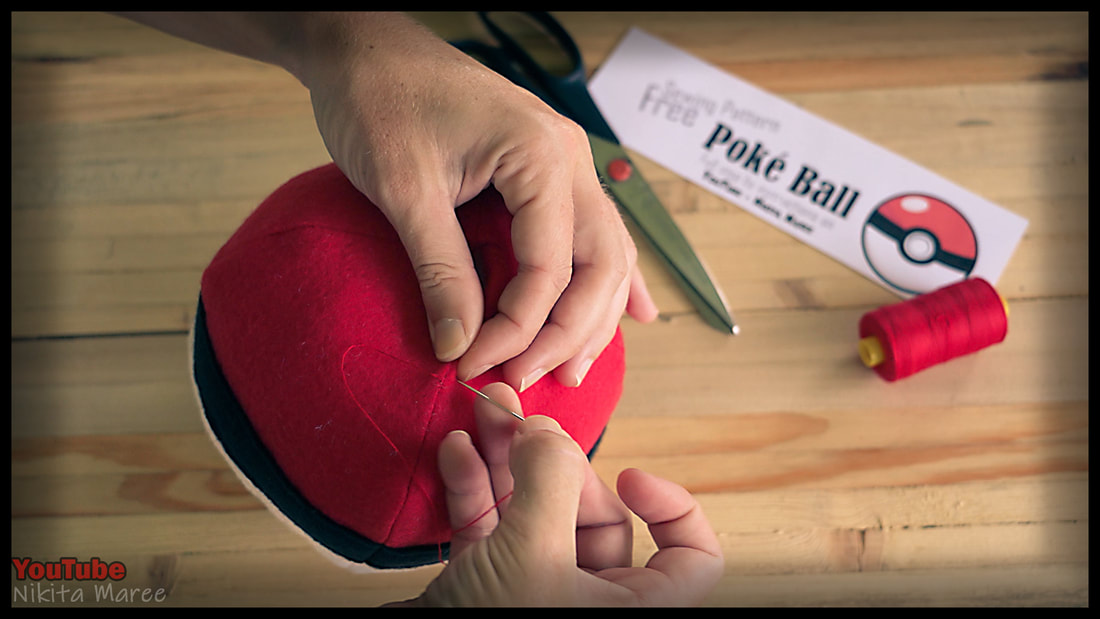
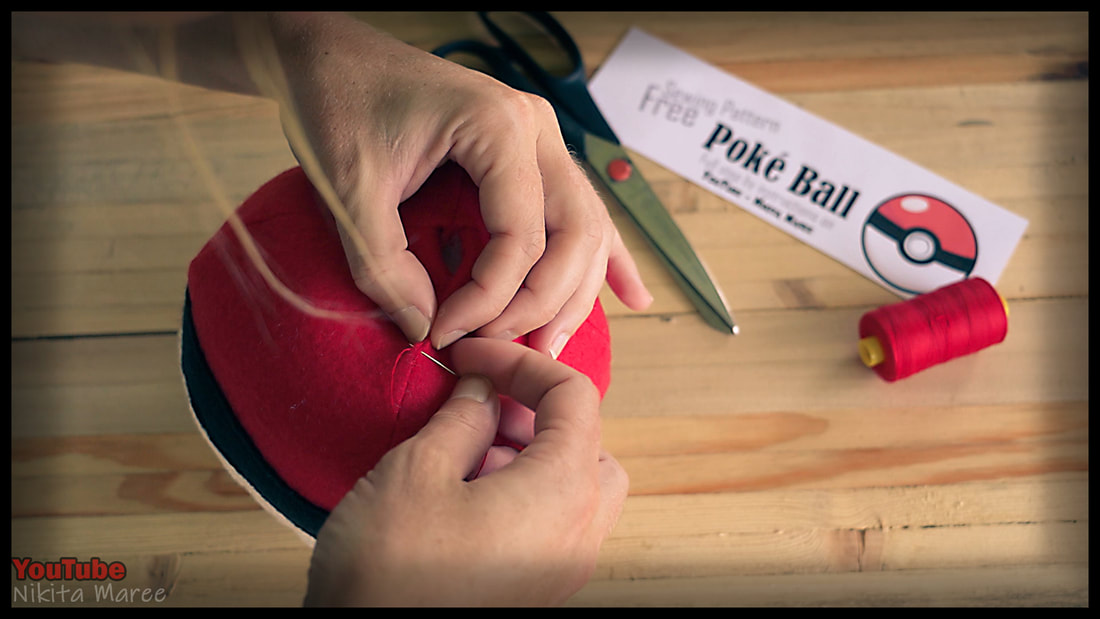
We can now hand stitch up the opening.
I am pinching and holding in the seam as I stitch.
I am pinching and holding in the seam as I stitch.
These plushie Poké Balls are a fun project
to make for any Pokemon fan.
to make for any Pokemon fan.