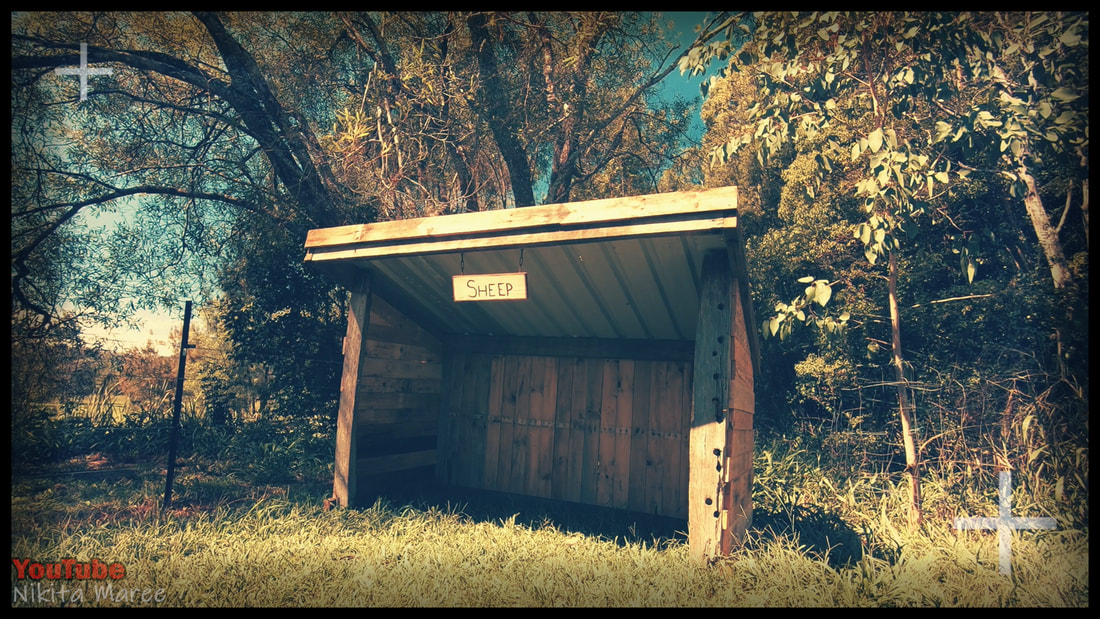
How to Build a Sheep Shelter
|
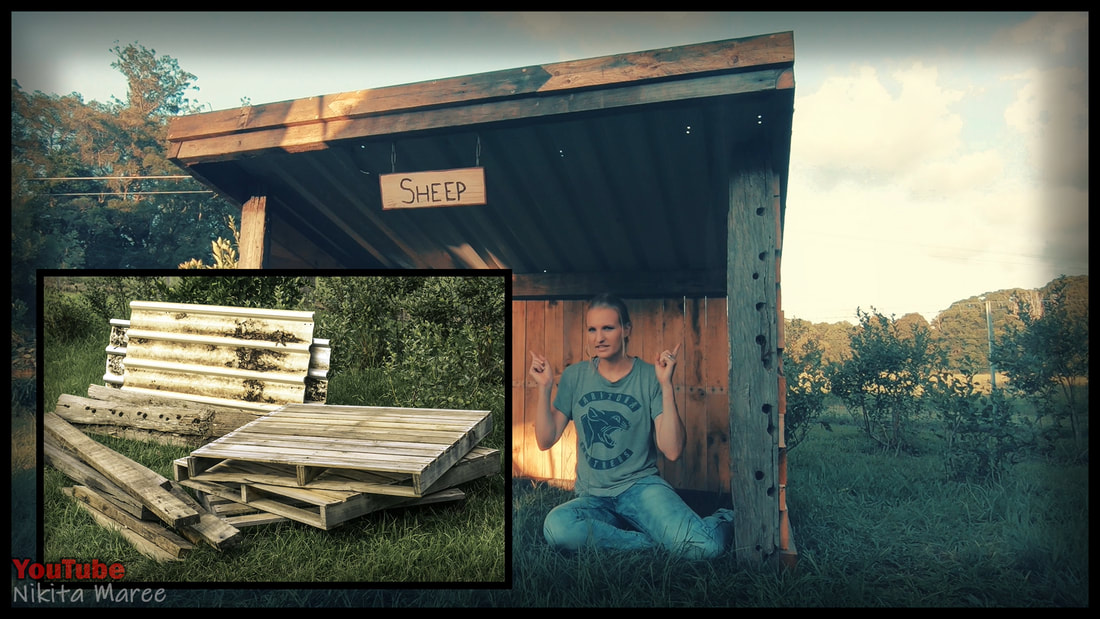
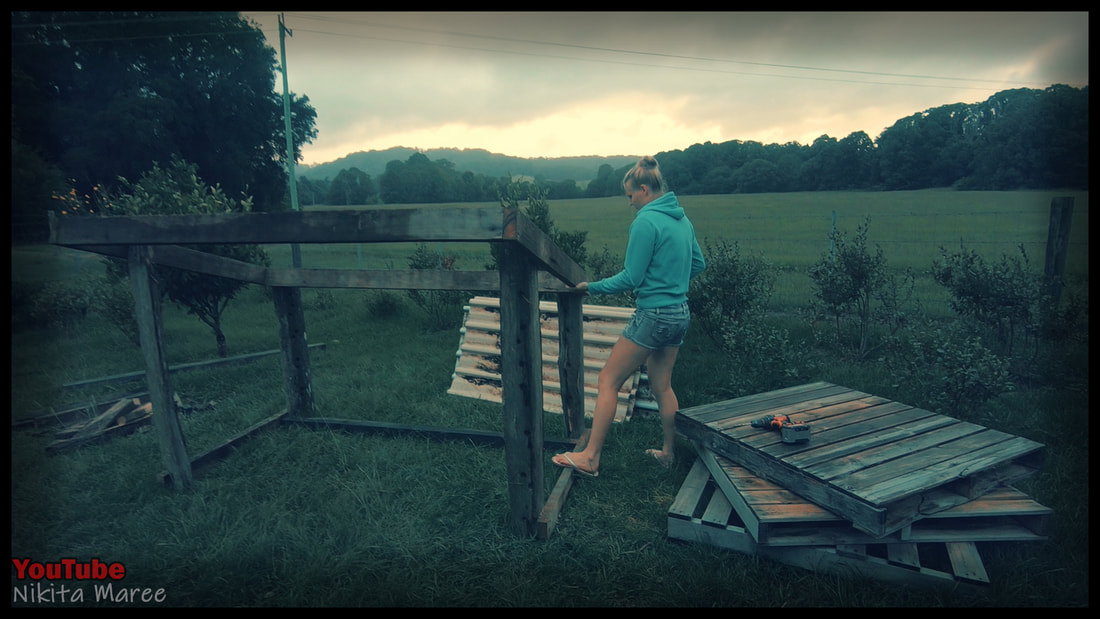
I used 4 old fence posts, some lengths of hard wood, pallet wood palings for the sides and corrugated iron off-cuts for the roof.
|
|
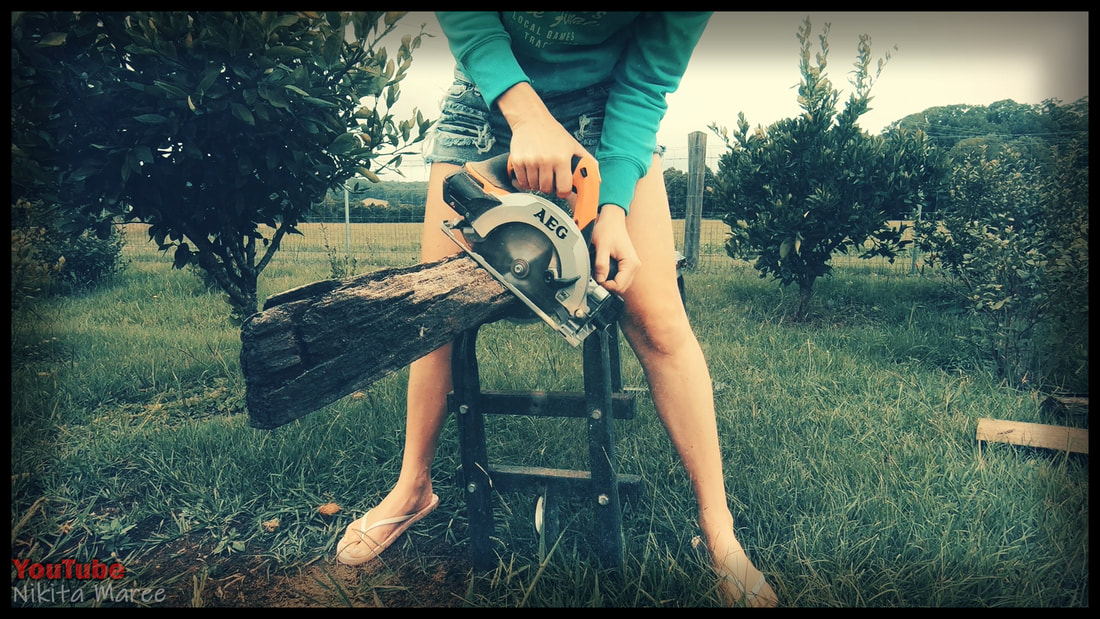
Cut the 4 corner posts to length.
|
|
|
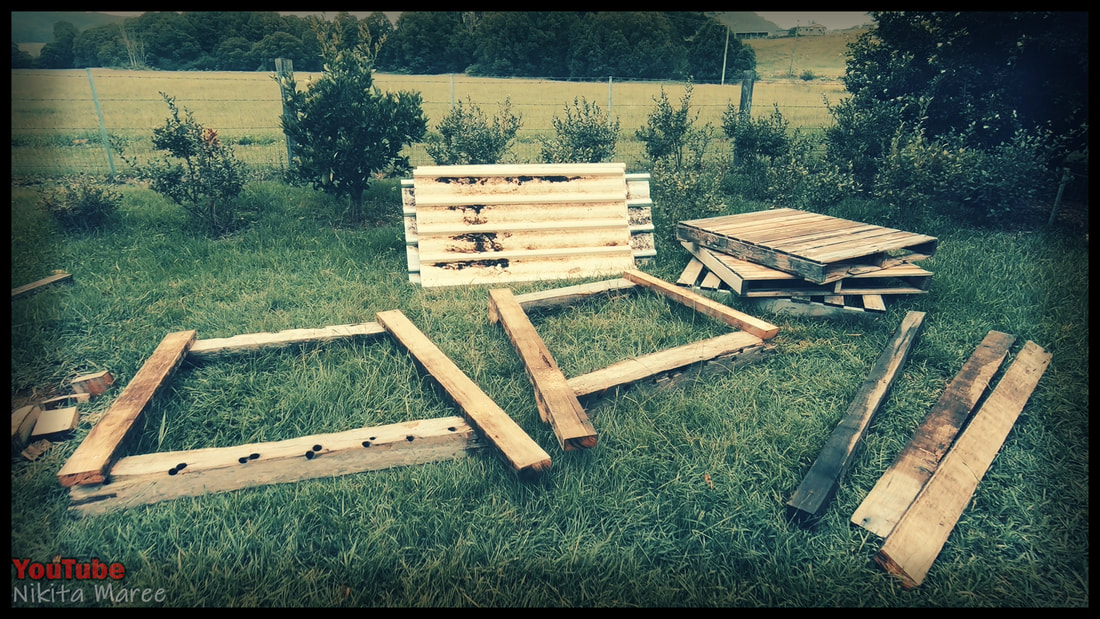
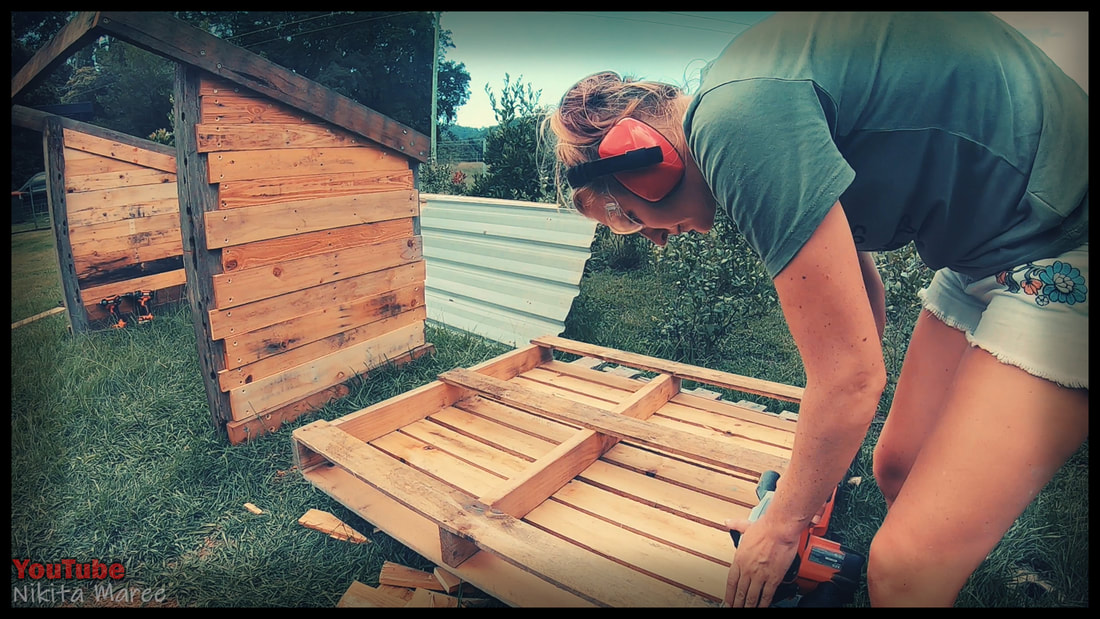
Assemble the sides, laying flat on the ground.
Drill some pilot holes and attach them with long batten screws. |
|
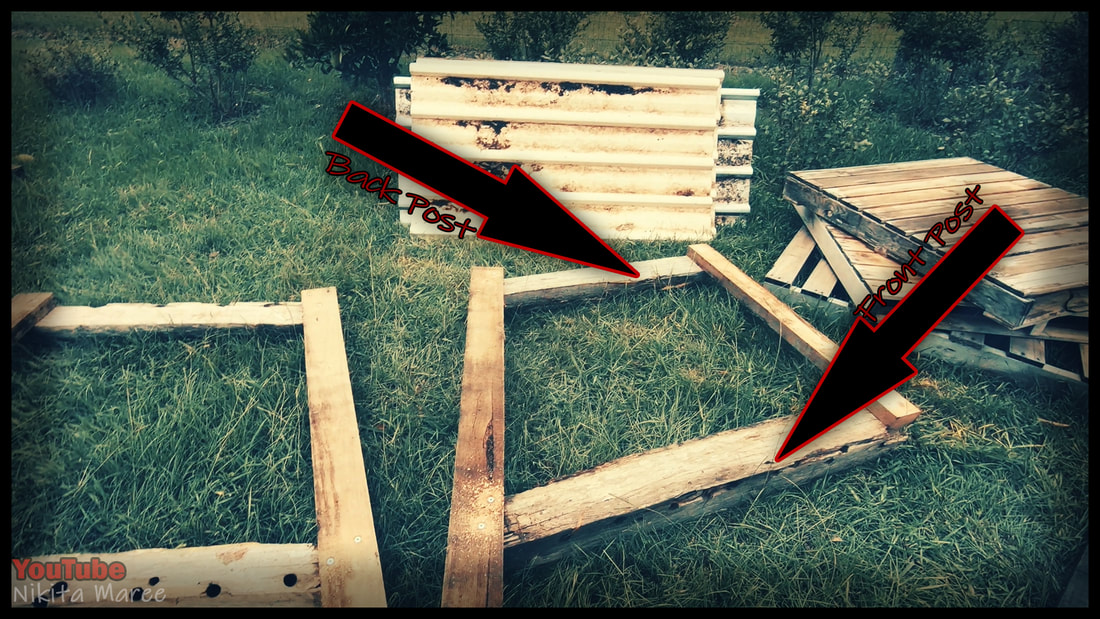
I wanted a decent pitch for the roof.
So I made the front posts a foot longer than the back. |
|
|
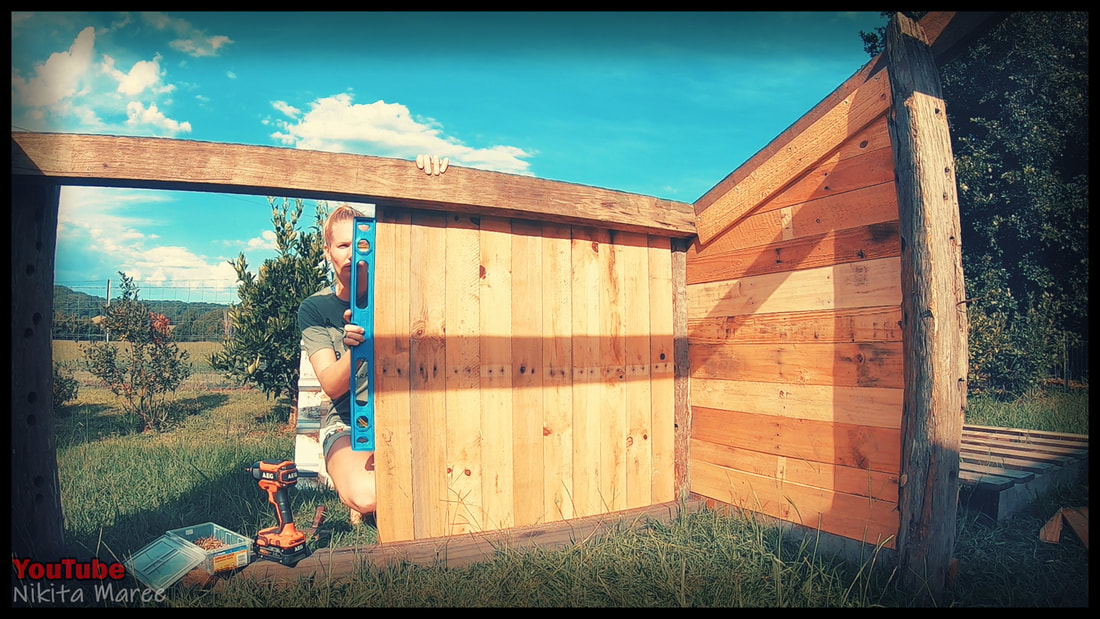
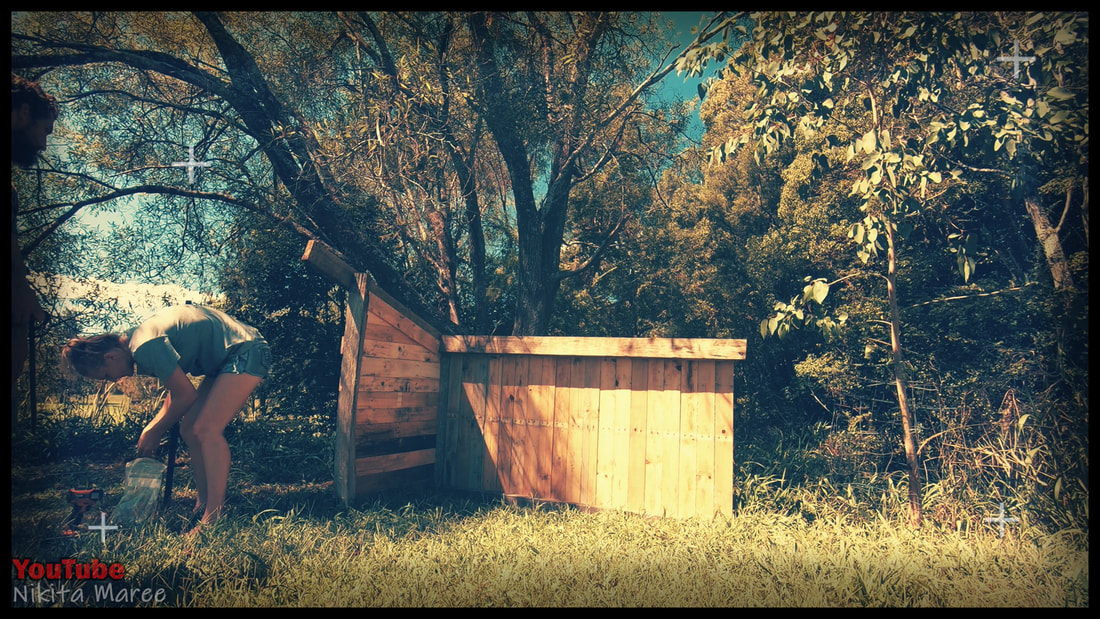
Stood the sides up and joined them to
the front and back beams. |
|
Covered in the sides with pallet wood palings.
|
|

|
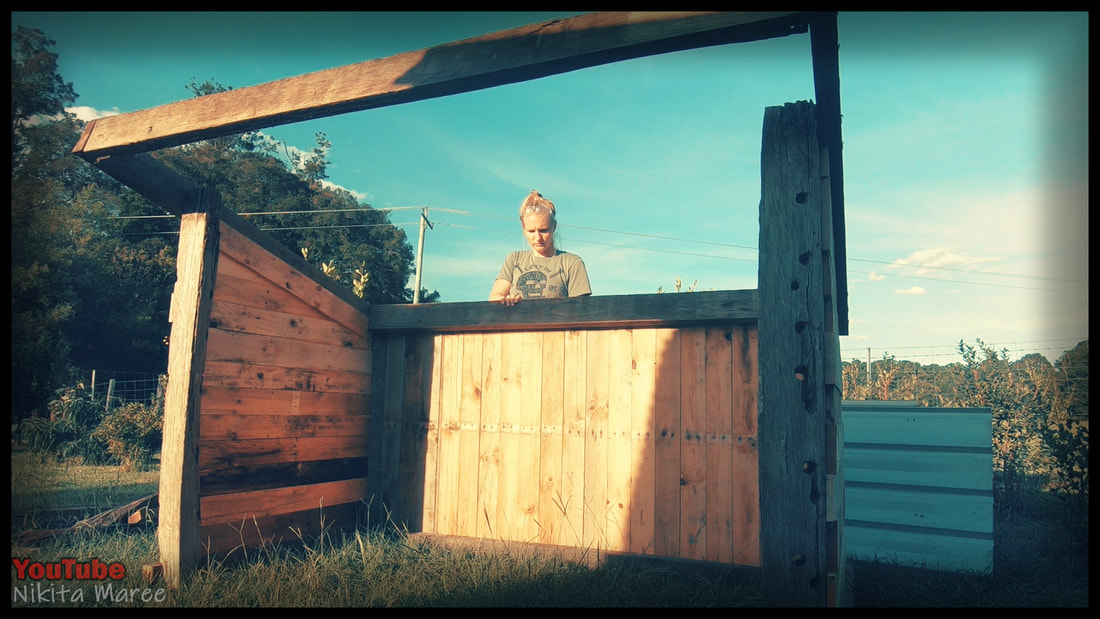
Cut the top palings to match the
pitch of the roof. |
|
The back palings run vertical and
once complete, becomes one solid piece. |
|
|
The back piece is easily removed for transport,
by taking out 8 bugle screws. |
|
The size that I made the shelter was determined by the sizes and lengths of the scraps.
|
|
|
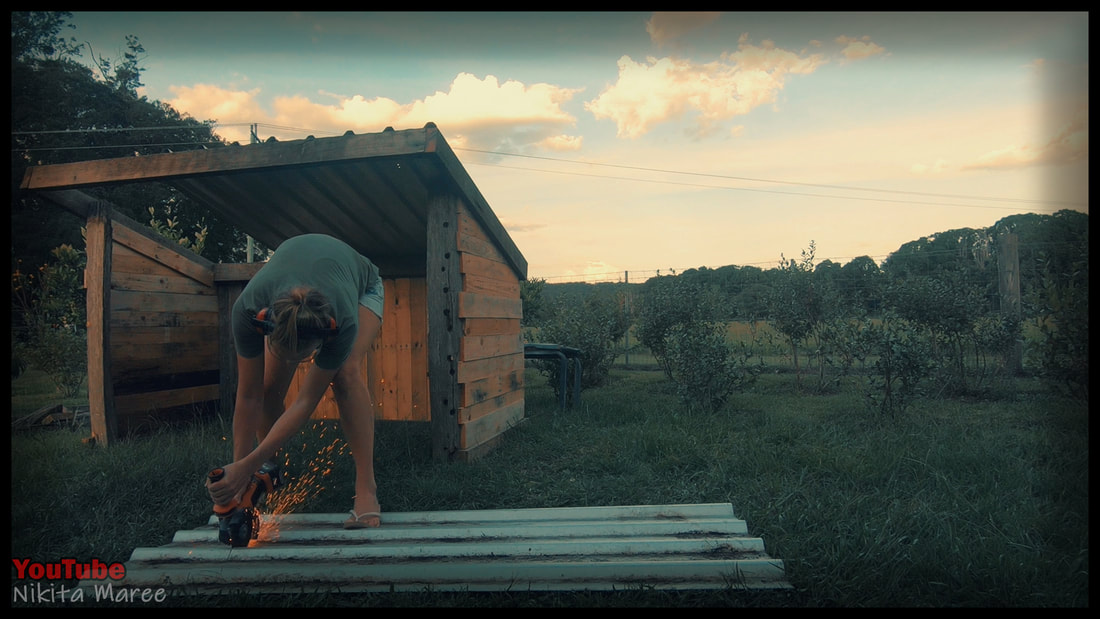
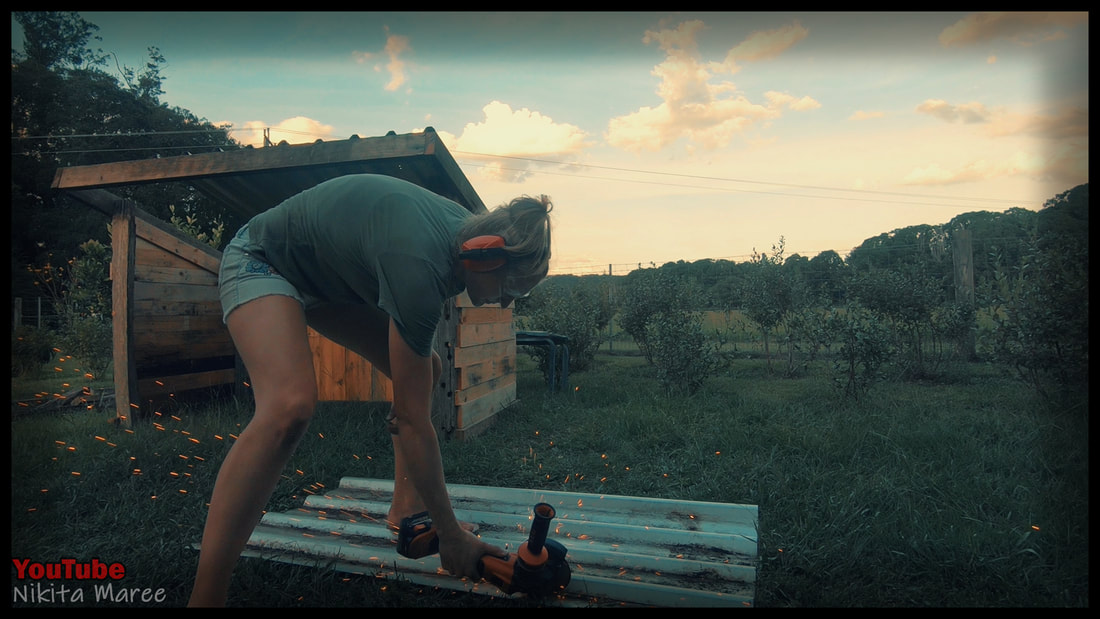
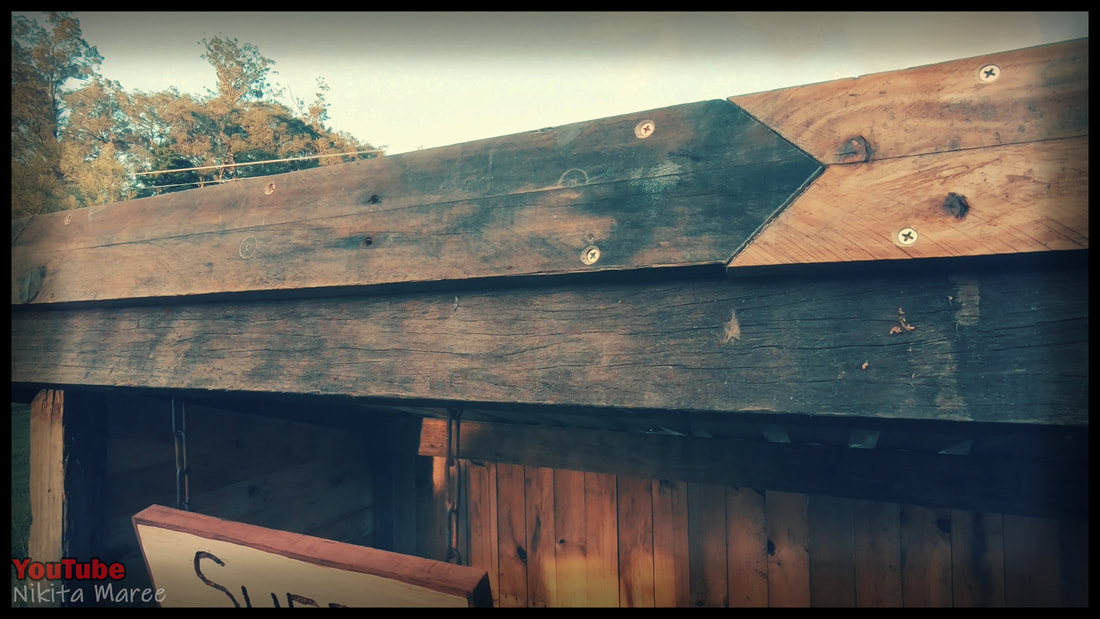
I made the length of the roof, to match the length of 2 of the corrugated iron sheets.
That way I only needed to cut the length and width of one sheet. |
|
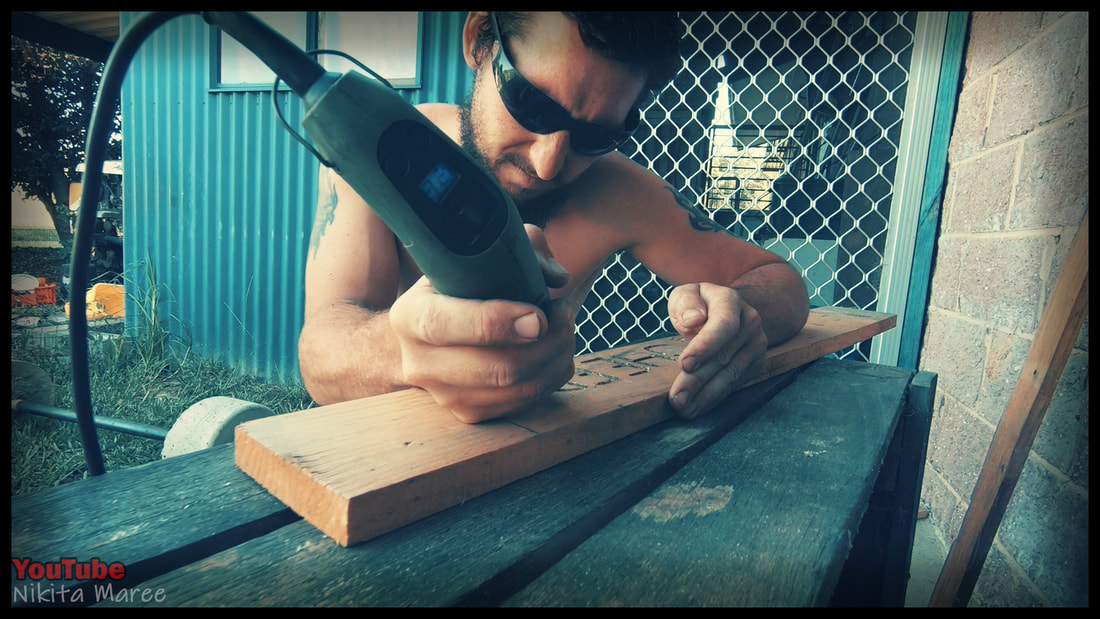
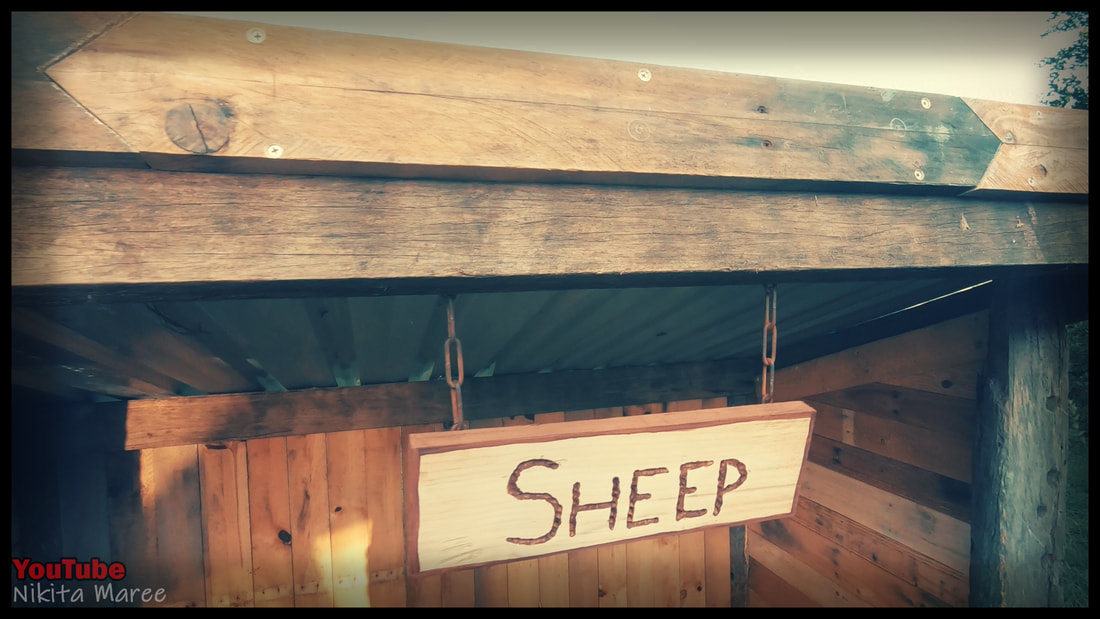
Owen made a sheep sign for me,
with the dremel tool. |
|
|
I painted around the border and in the letters.
|
|
Added a fascia to cover the ends of the iron.
|
|
|
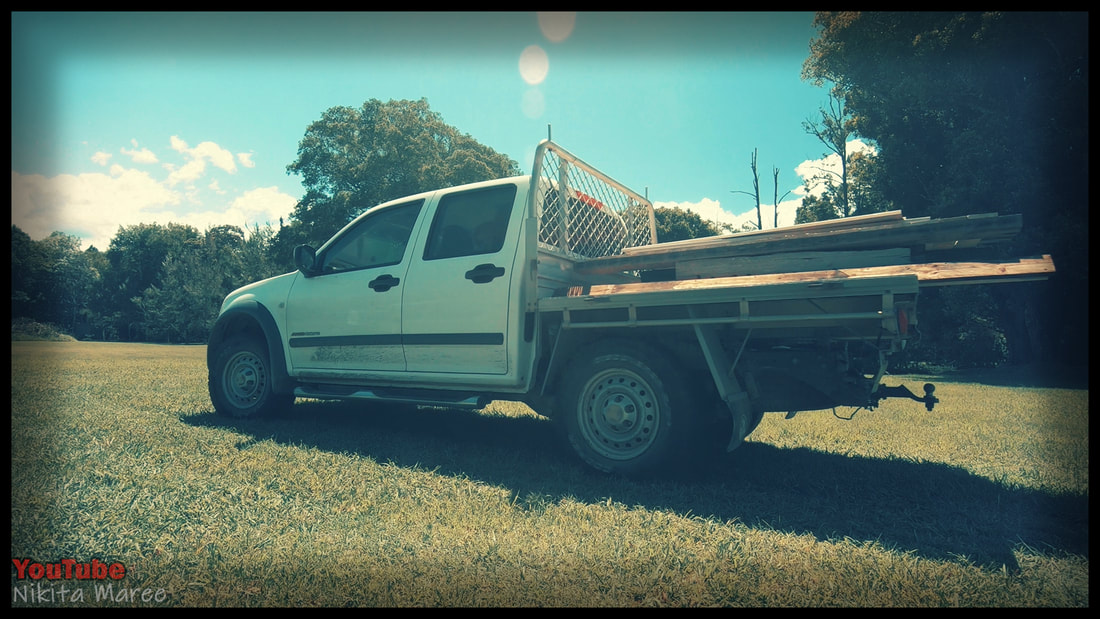
We put all the sections on the back of the ute.
And drove it up the front. |
|
Re-assembly is quick.
It comes in 8 separate pieces. |
|

|
2 sides, a back, 3 sheets of iron, front bean and the fascia. 9 pieces if you include the sign. |
|
Well that's it. If you want some more
information on this build. I go into a bit more detail in my video over on YouTube. Or feel free to ask me any questions in the comment section of that video and I will get back to you as quick as I can. |
|
