|
|
Polymer Clay Rings
Learn how to sculpt pirate rings
made from Polymer Clay. Full video tutorial on YouTube. Step by step instructions below. |

|
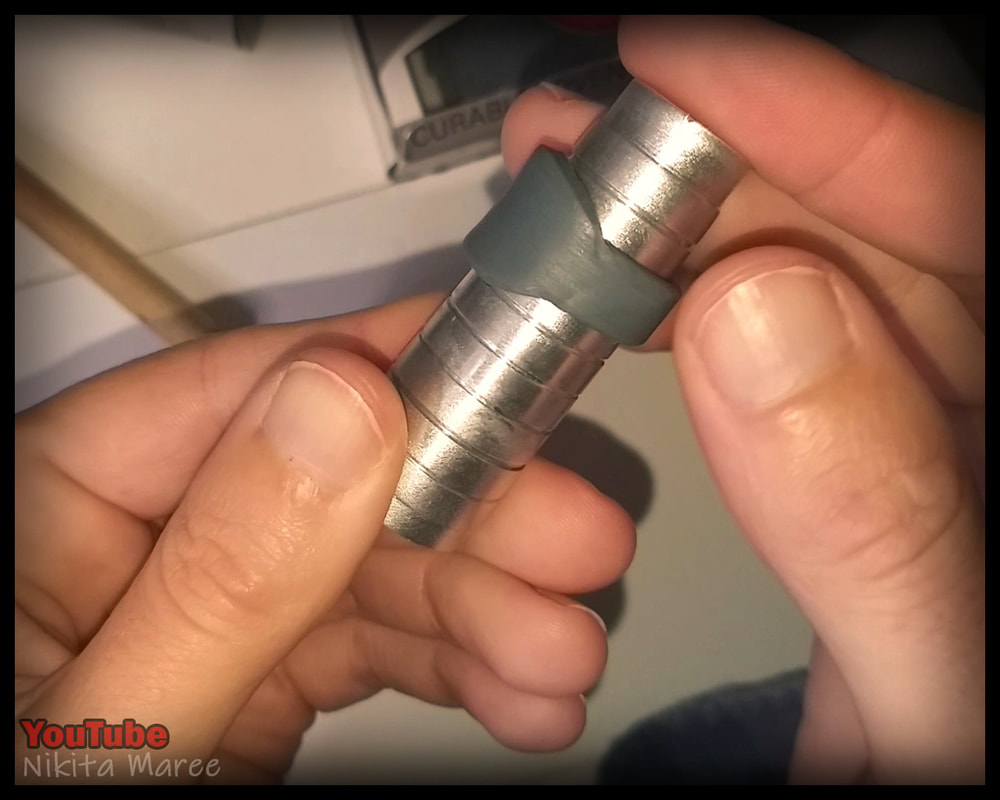
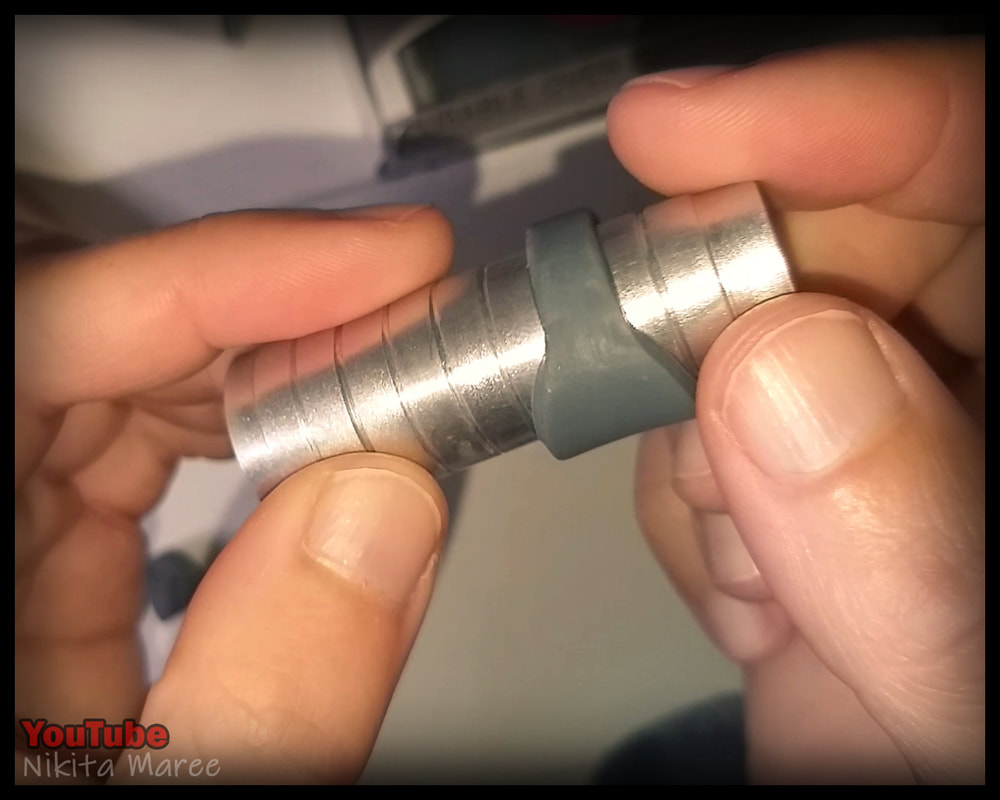
I am using a flexible polymer clay
called CosClay. I am sculpting onto a metal circle cutter and a ring sizer. |
|
|
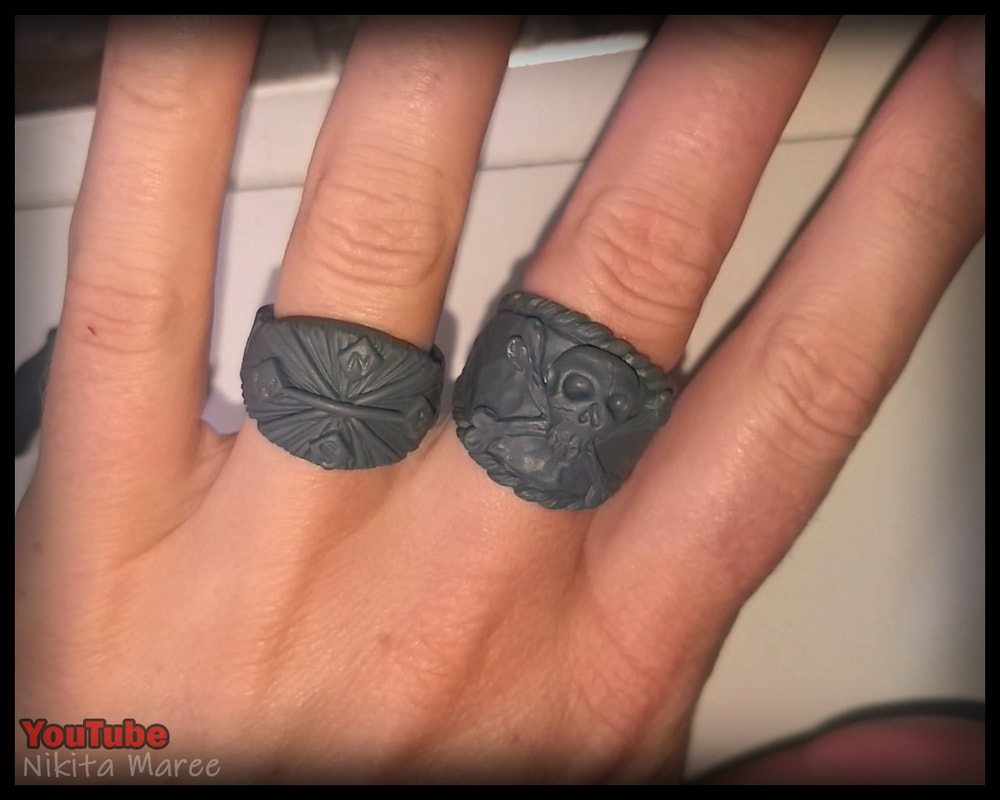
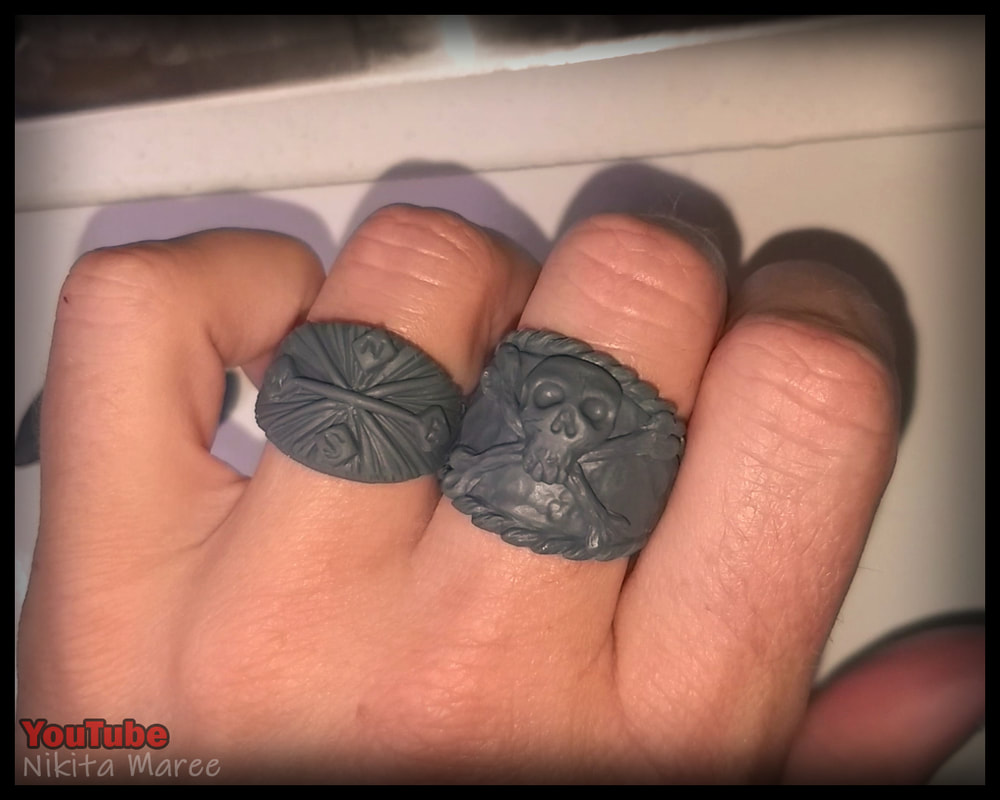
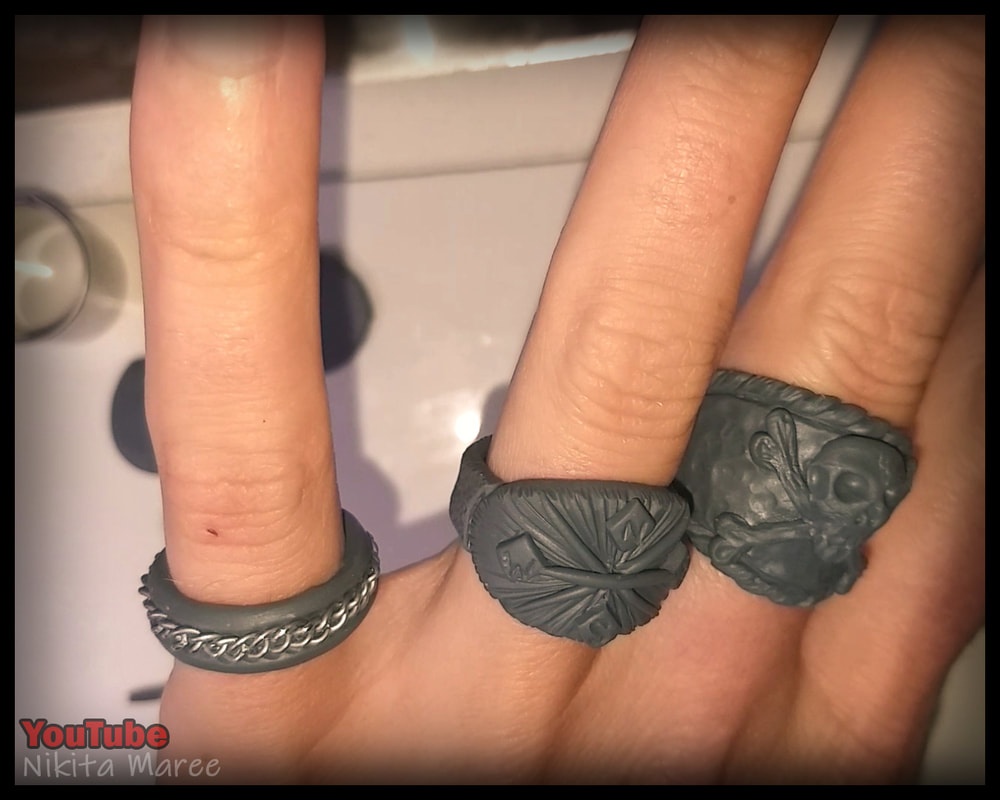
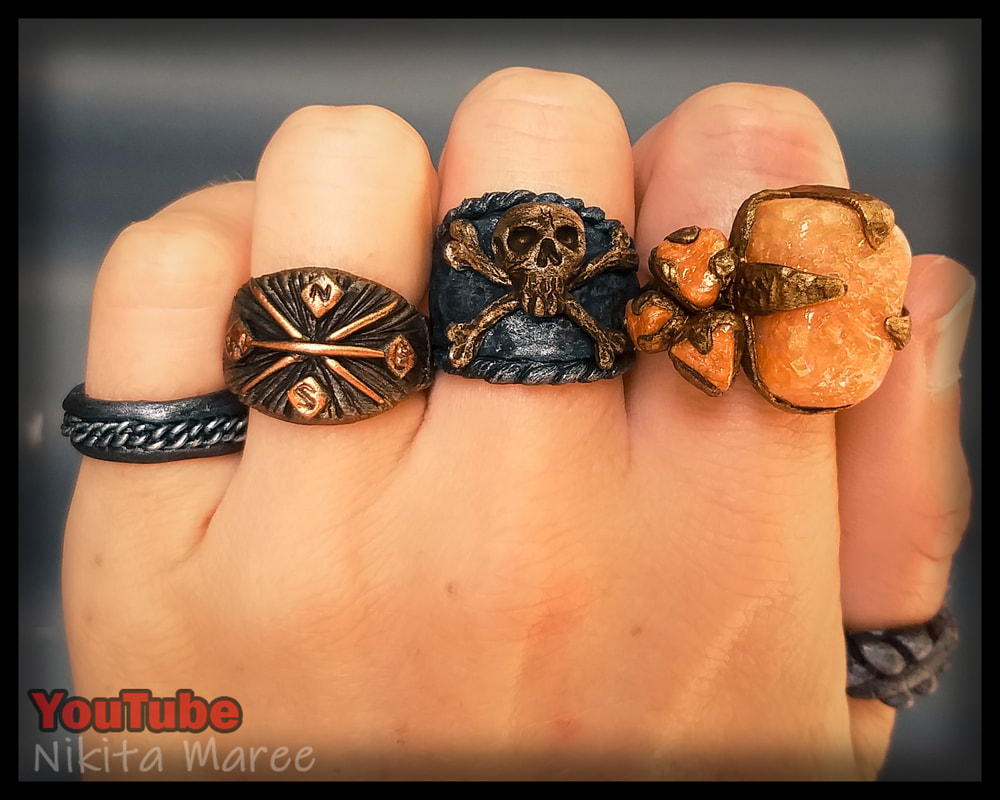
Lets make the skull and crossbones ring first.

|
|
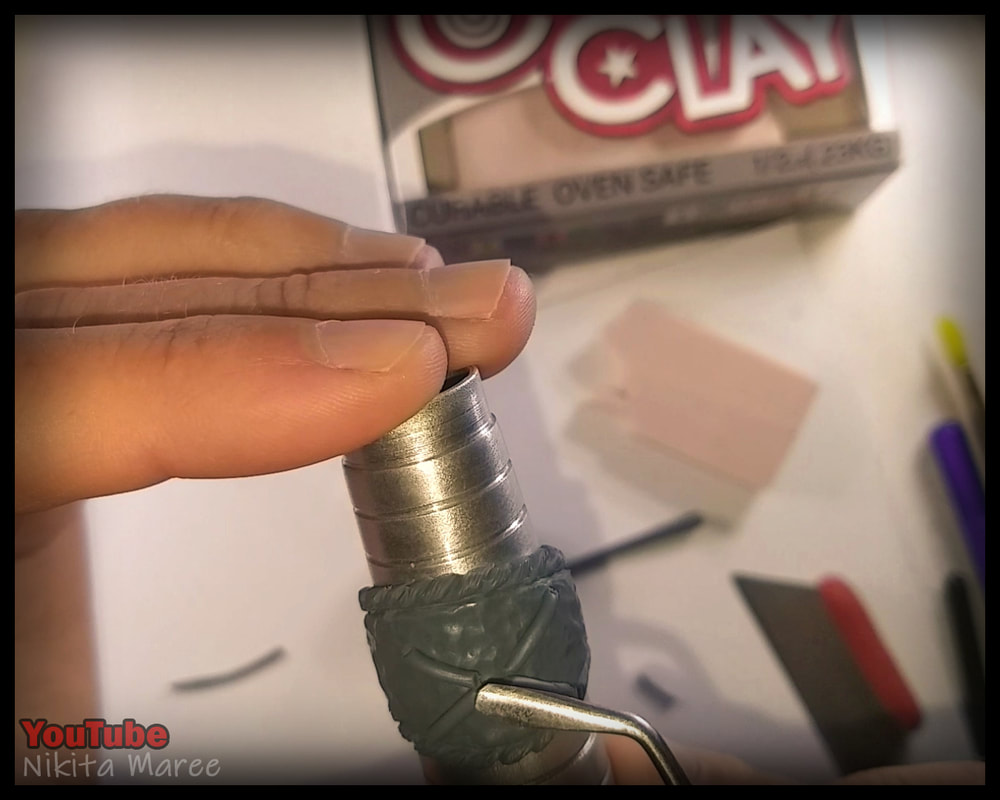
Start with an oval and blending that into the band.
|
|
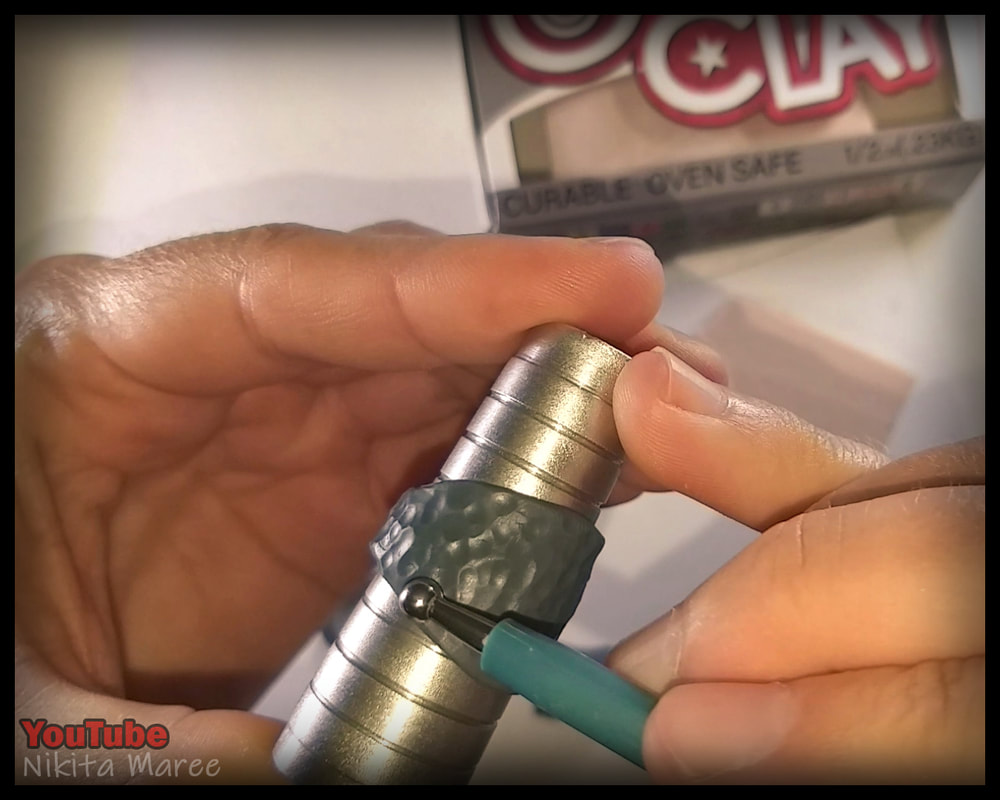
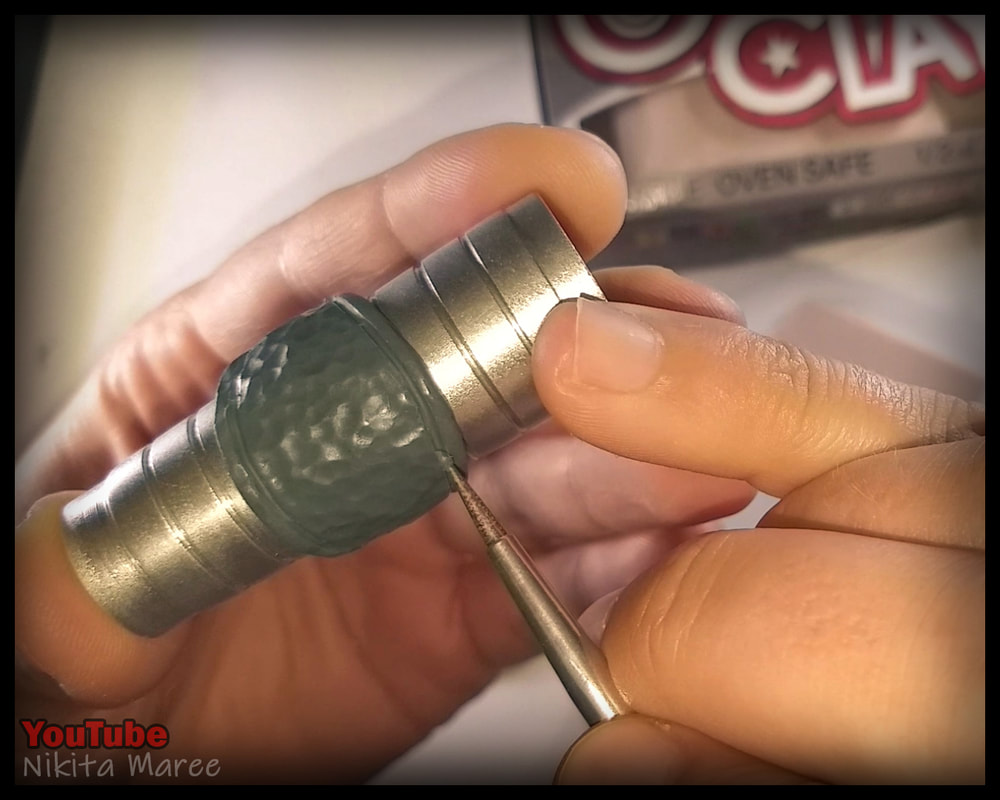
Texture with a ball tool. And make some grooves around the perimeter.
|
|
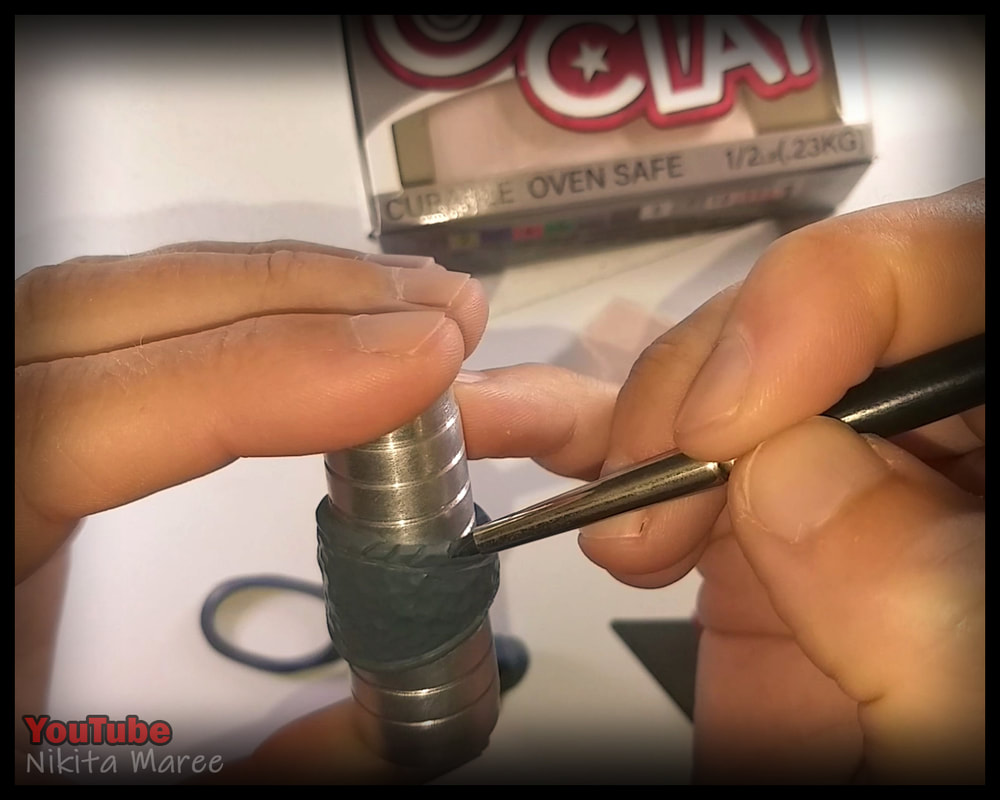
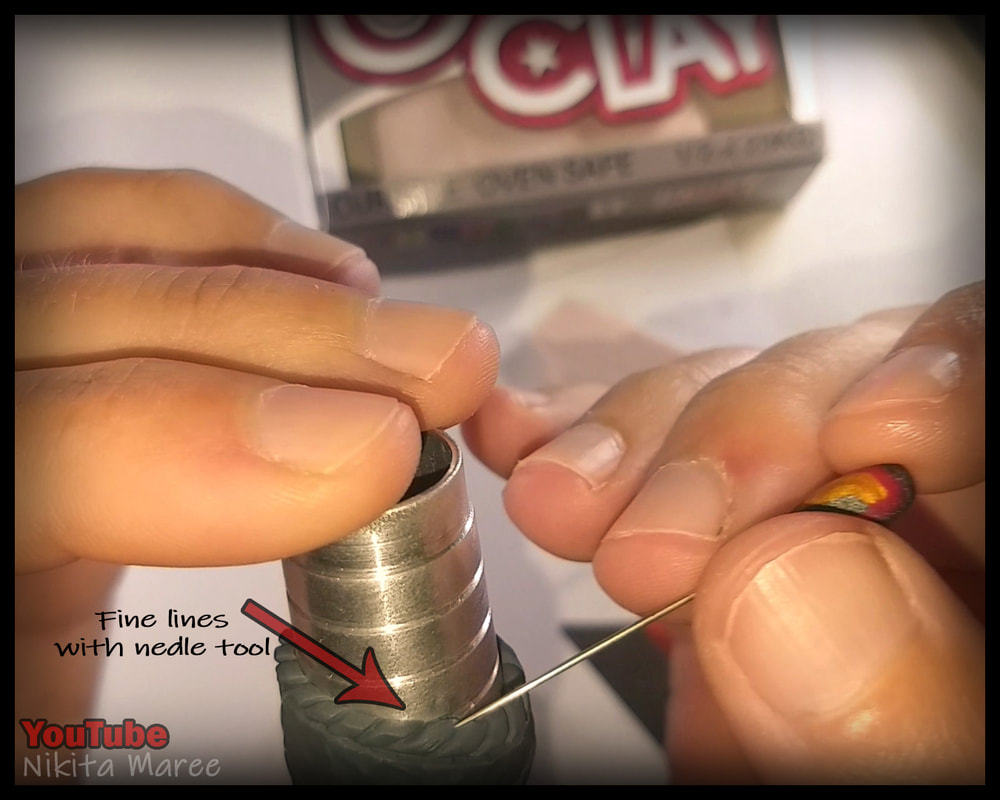
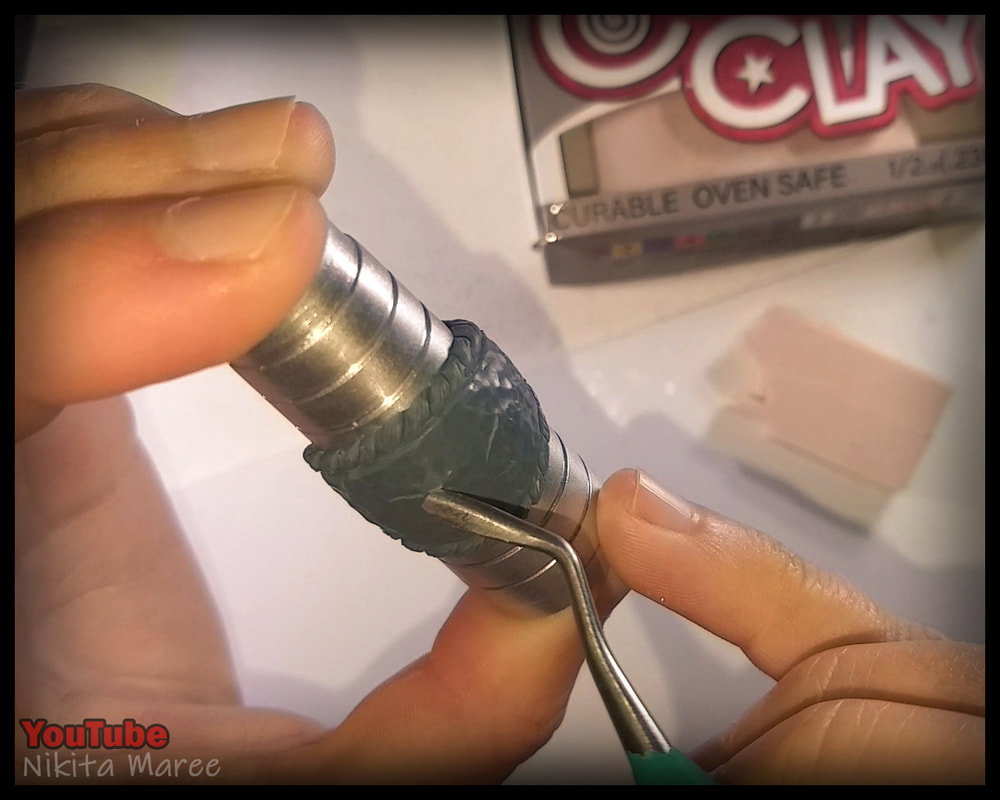
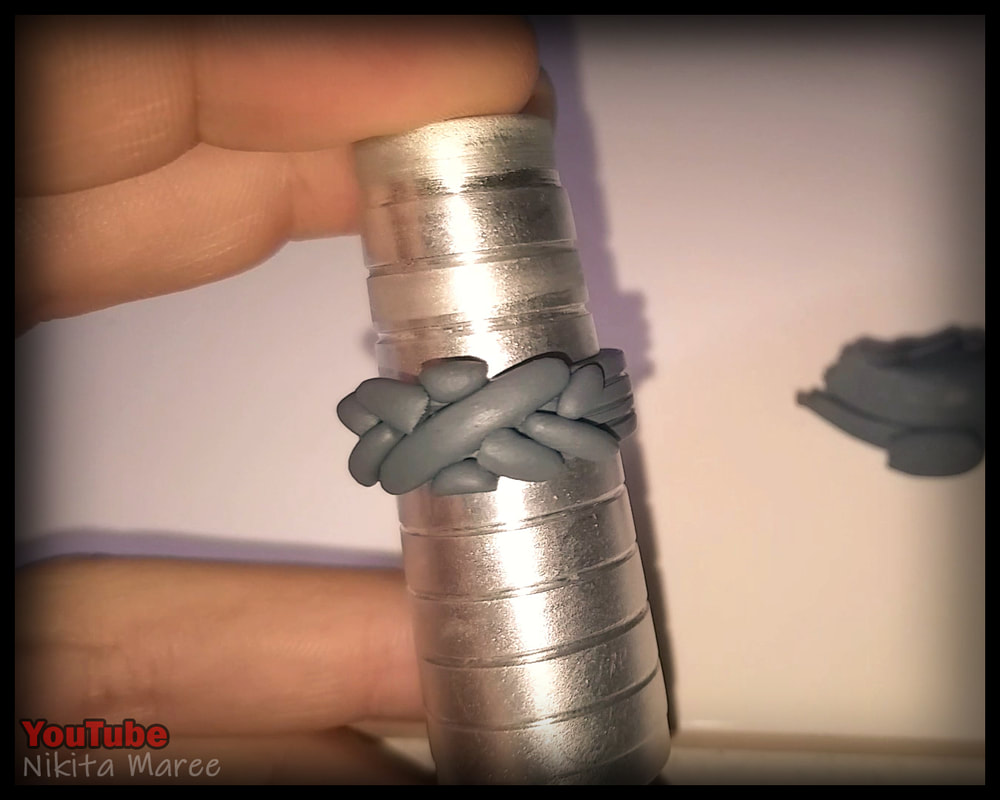
Diagonals to create the twisted rope.
Fine lines to texture.
Fine lines to texture.
|
|
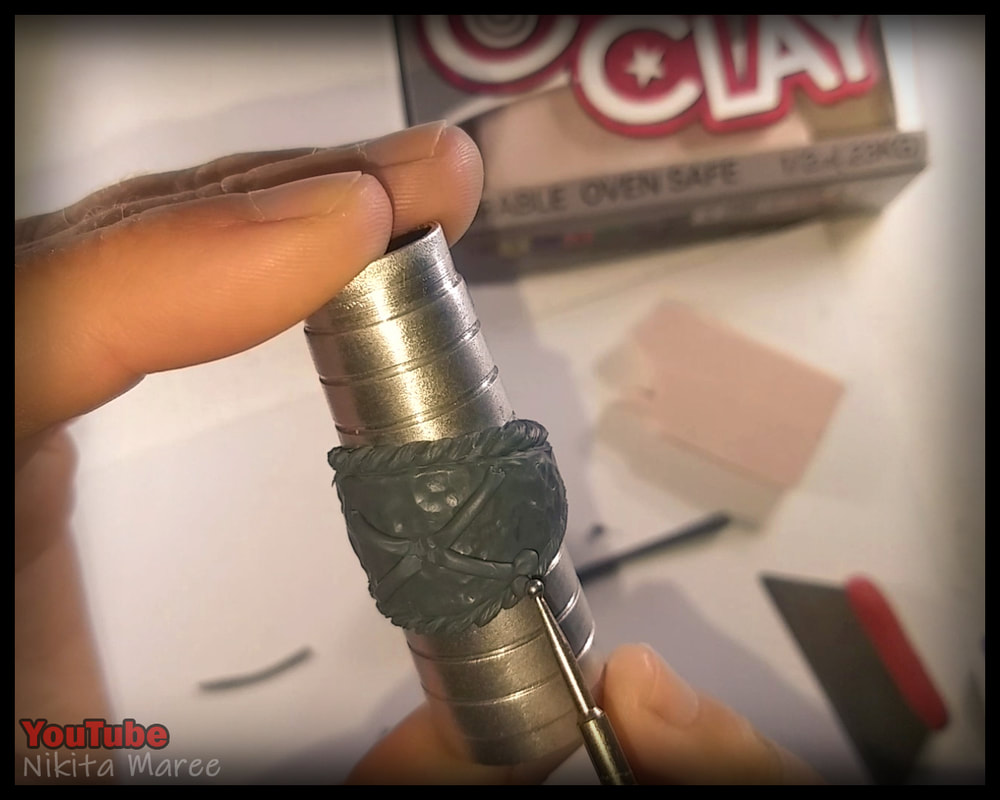
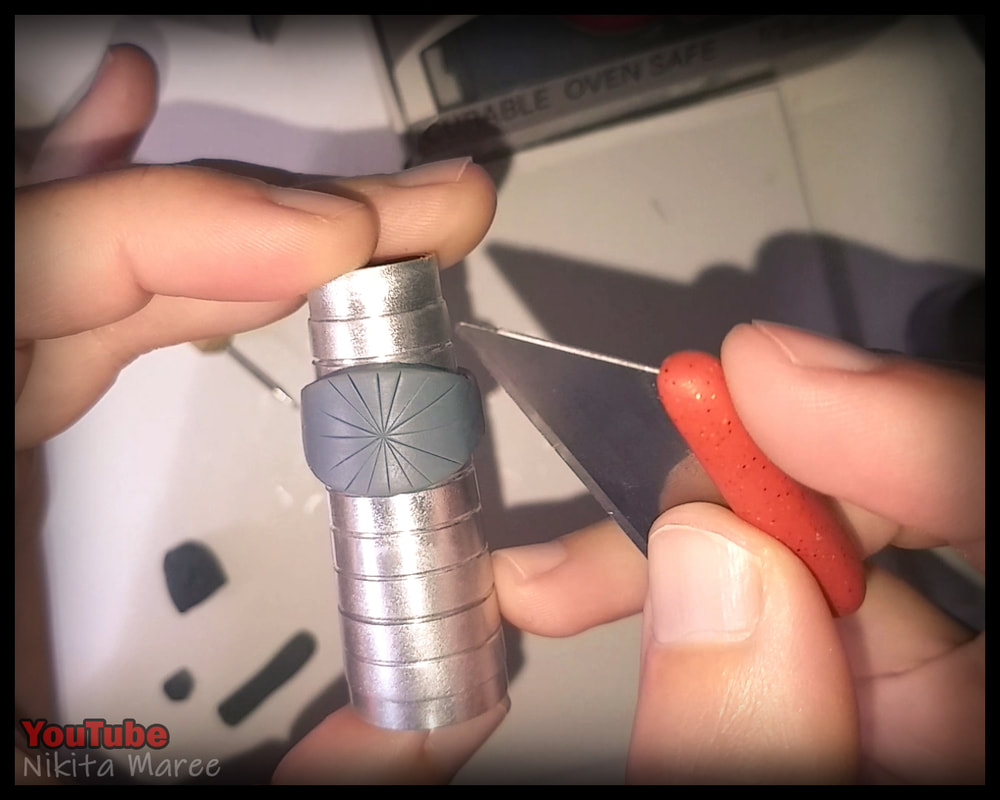
Mark out for the crossbones.
Then add 4 short lengths.
Then add 4 short lengths.
|
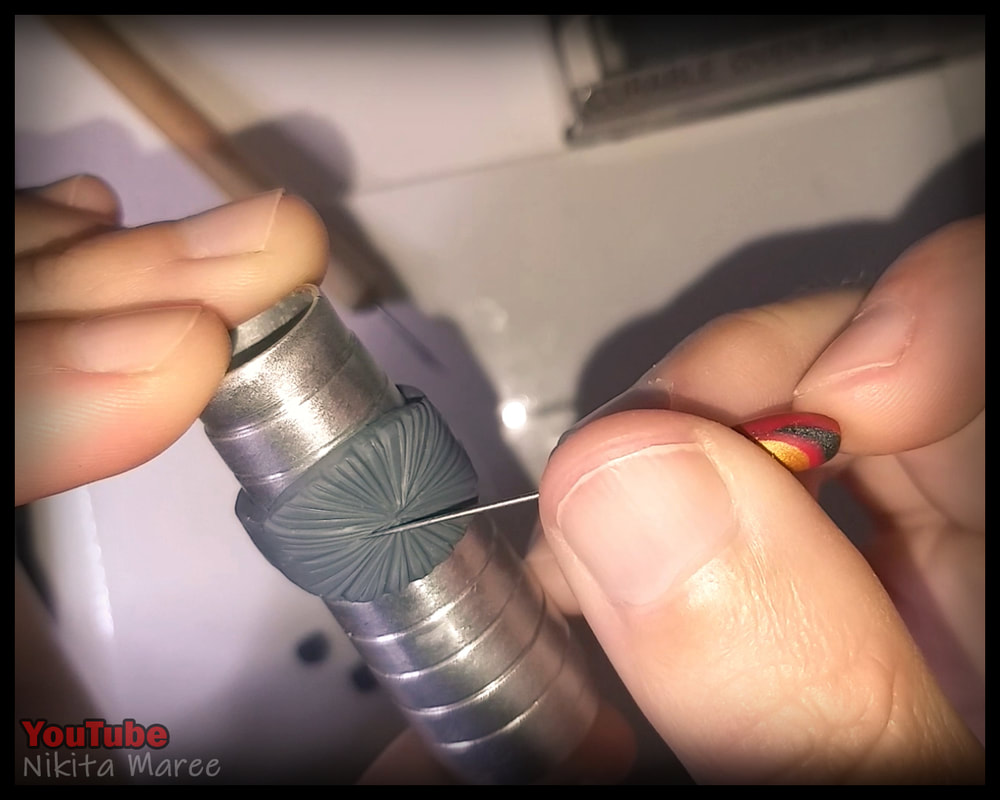
2 small balls on the ends.
Blend them in and texture the bone. |
|
|
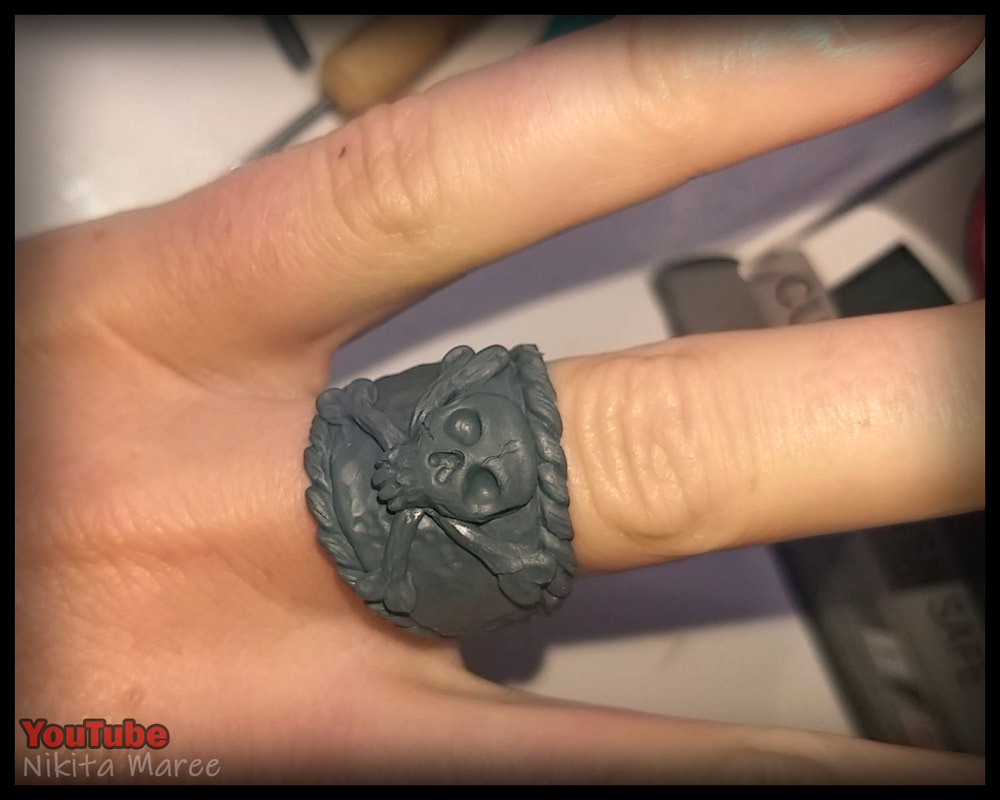
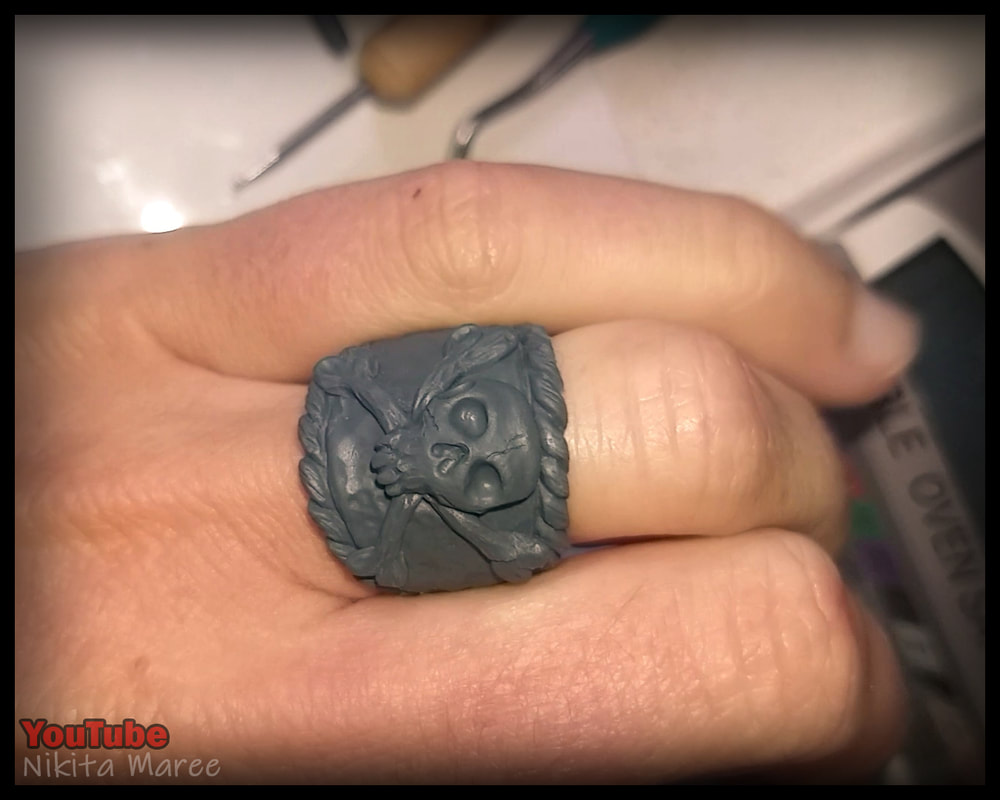
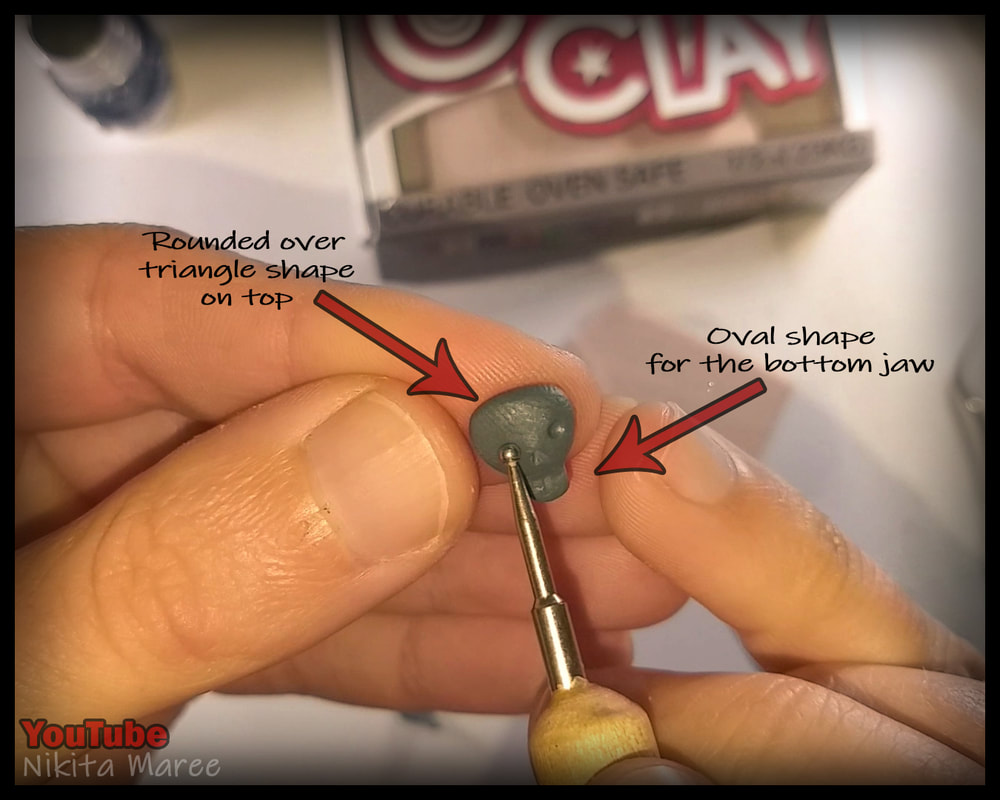
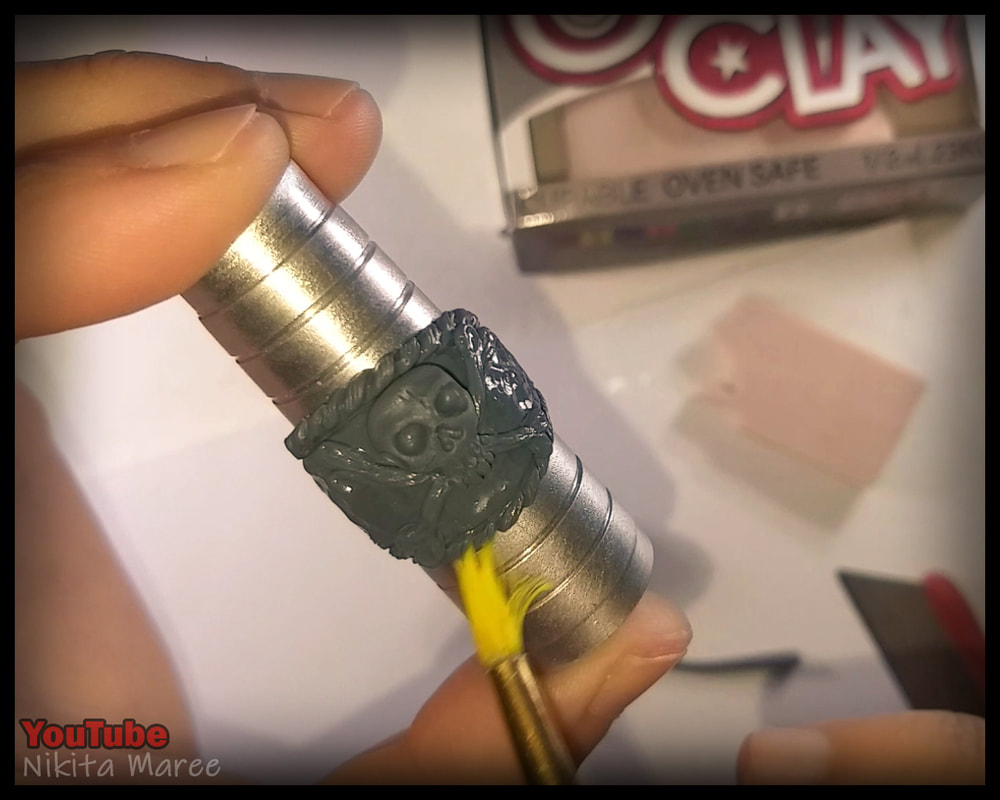
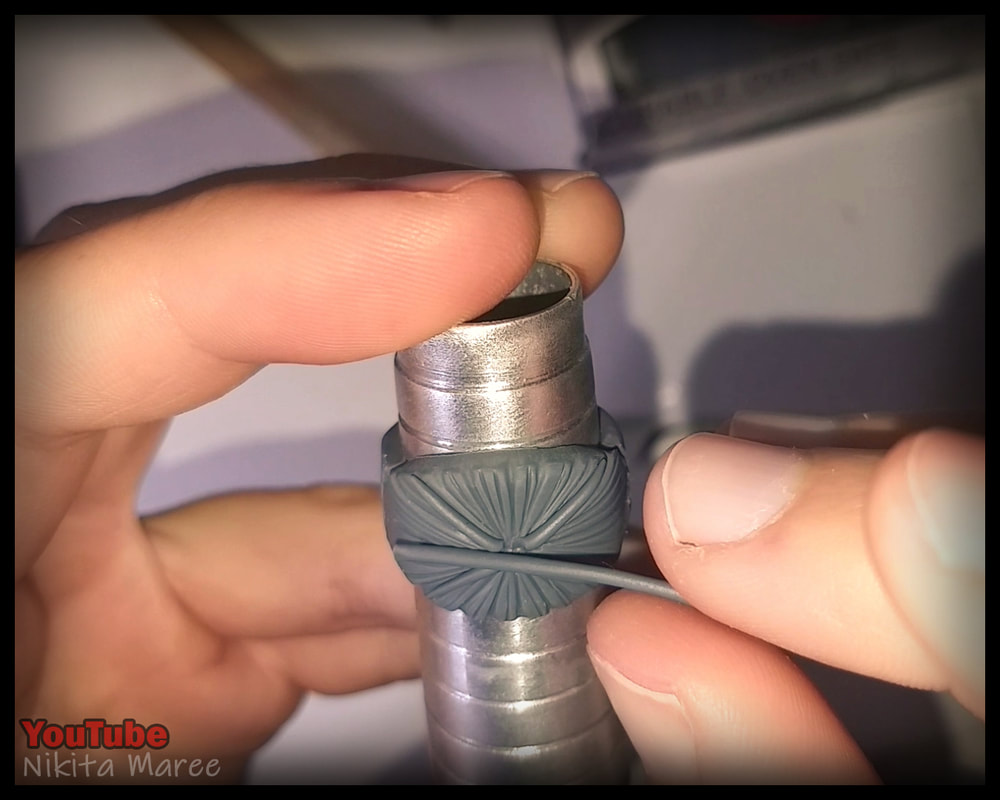
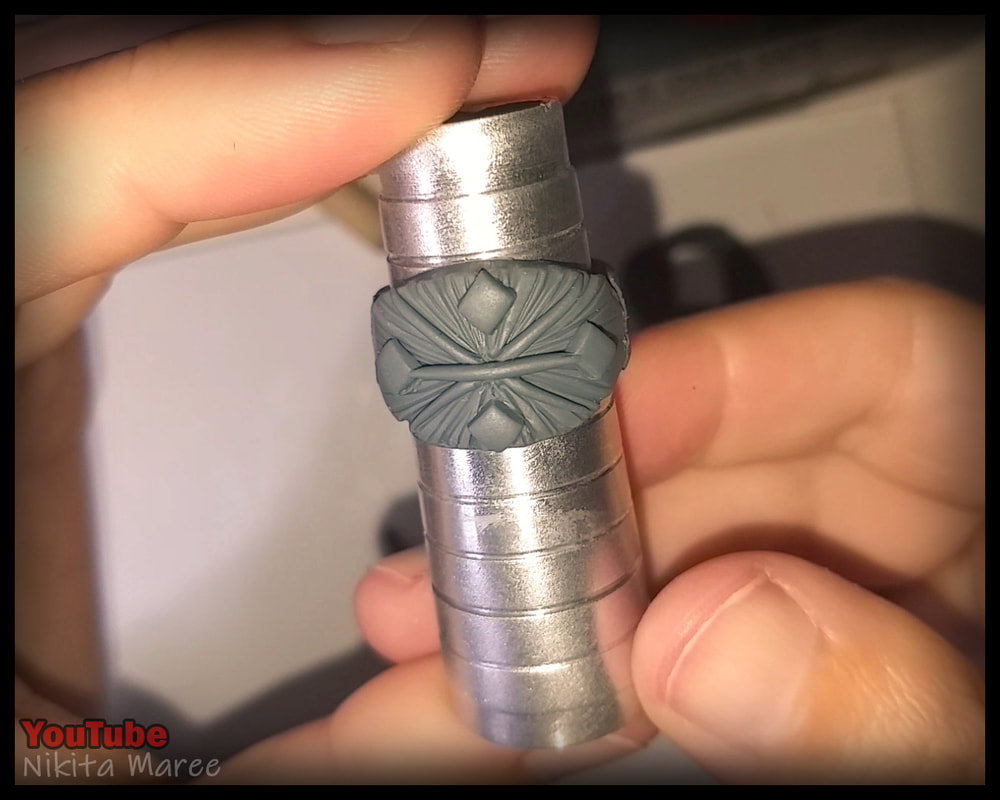
The skull is a rounded over triangle shape, and the bottom jaw is an oval.
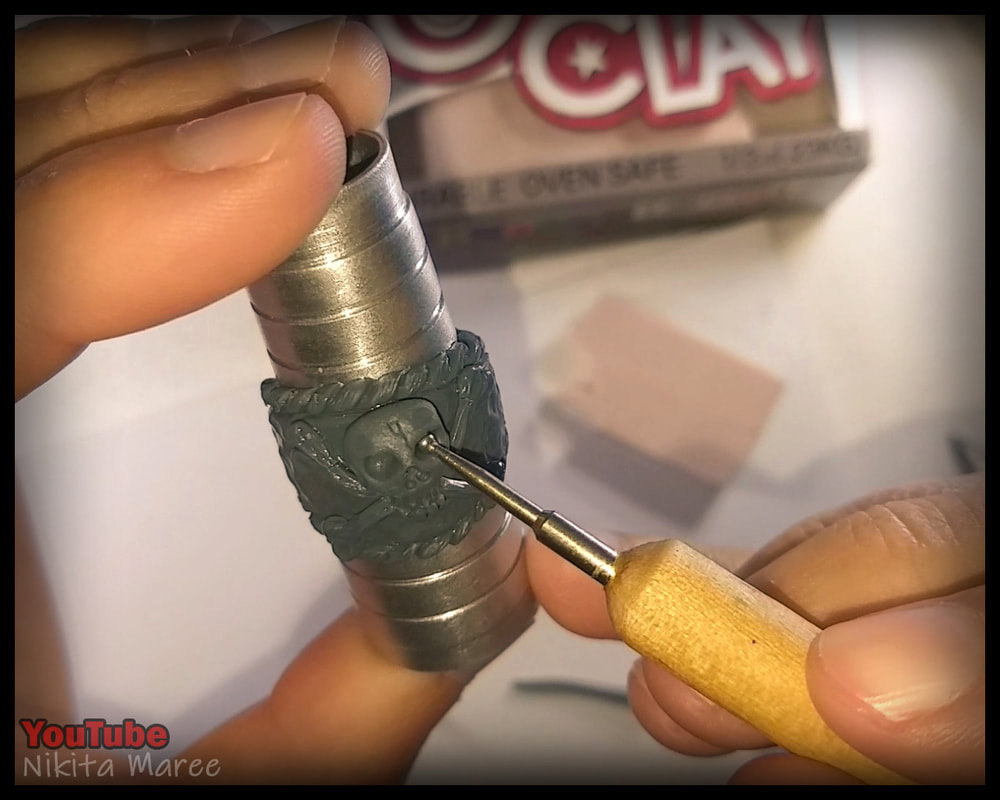
Sketch on the details. Place the skull on the ring and refine the shape.
Sketch on the details. Place the skull on the ring and refine the shape.
|
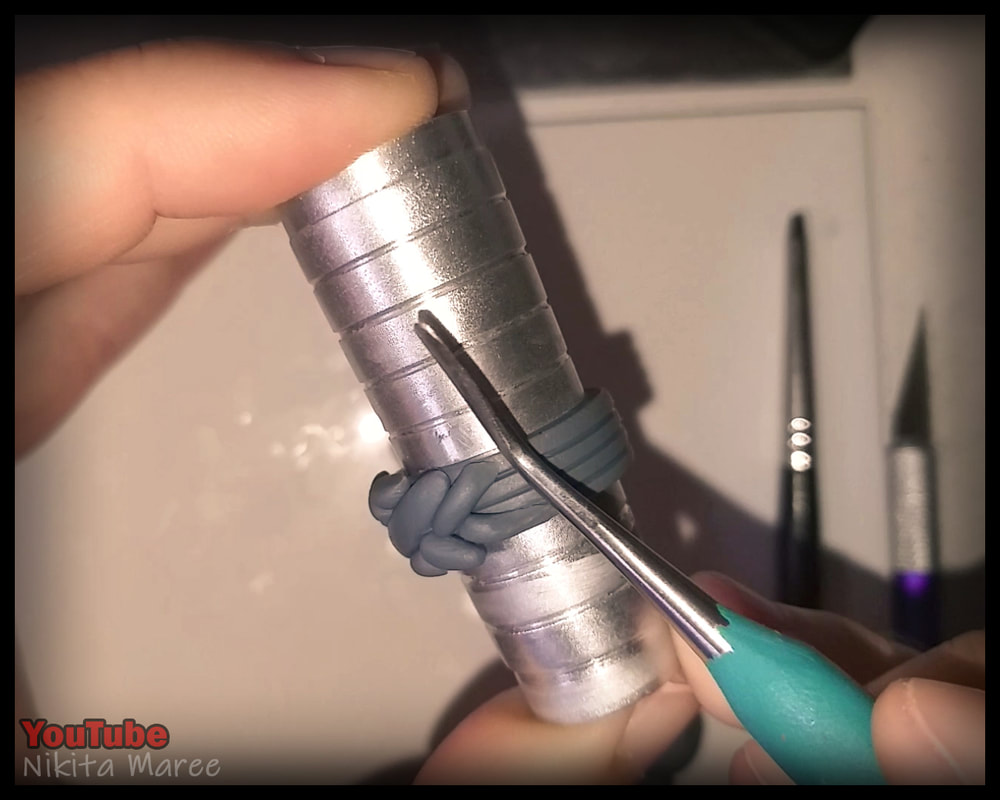
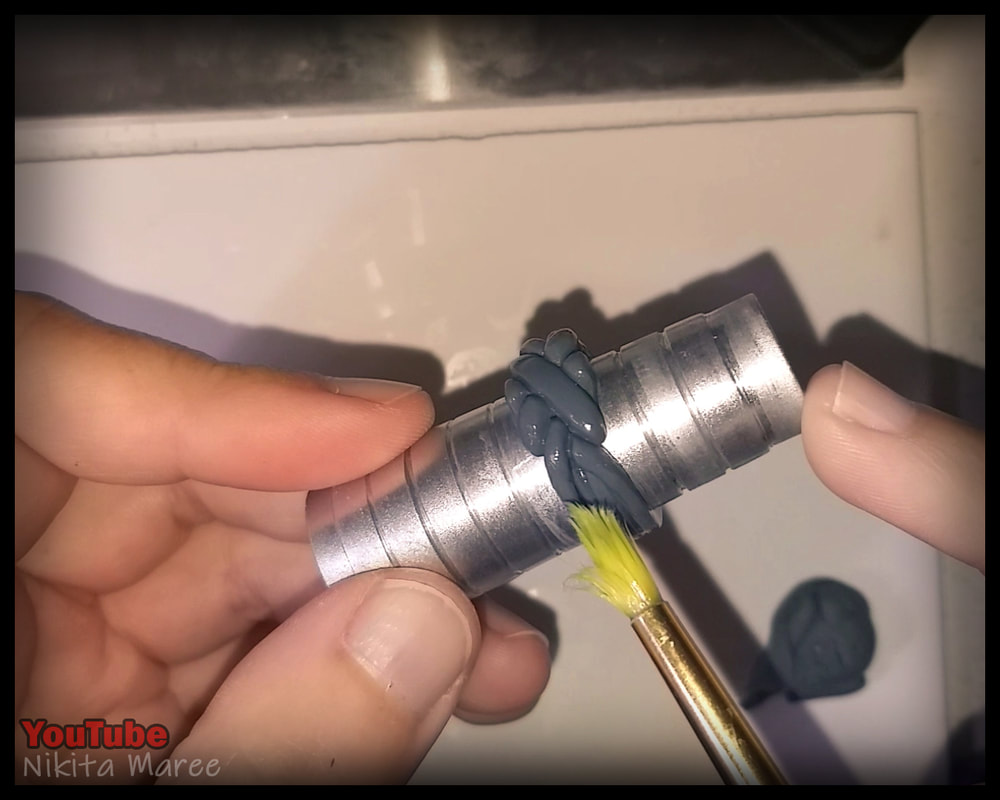
Brush the surface with baby oil
to smooth it all down. |
|
|
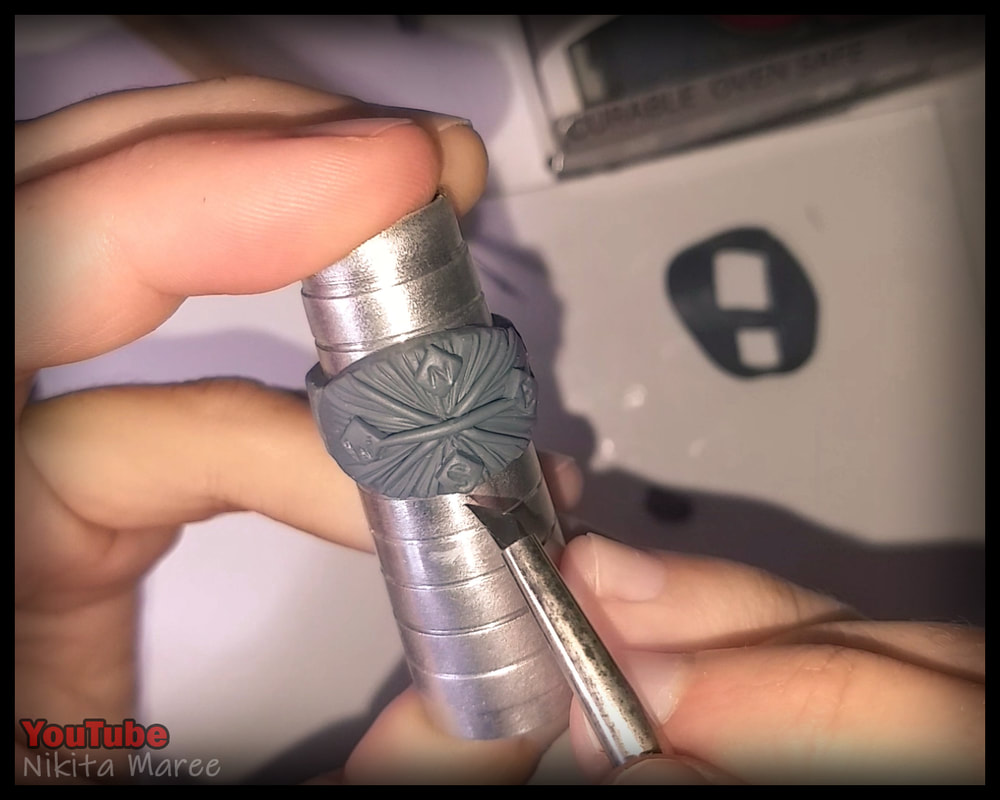
Moving onto the compass ring.
|
Blend an oval to the band.
|
|
|
Using a flat blade to sketch.
Needle tool to texture.
Needle tool to texture.
|
|
Roll out thin lengths for the points of the compass.
Add on 4 squares for the directions.
Add on 4 squares for the directions.
|
Write on the symbols for
North, South, East and West. |
|
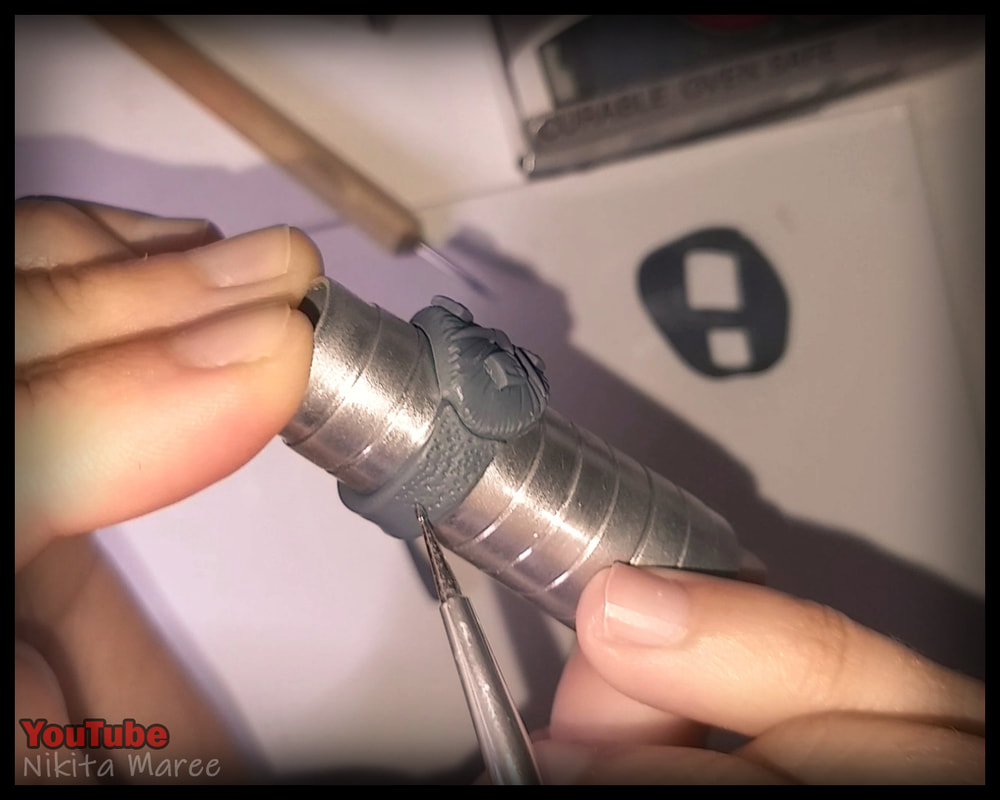
Dotting tool to texture the band.
|
|
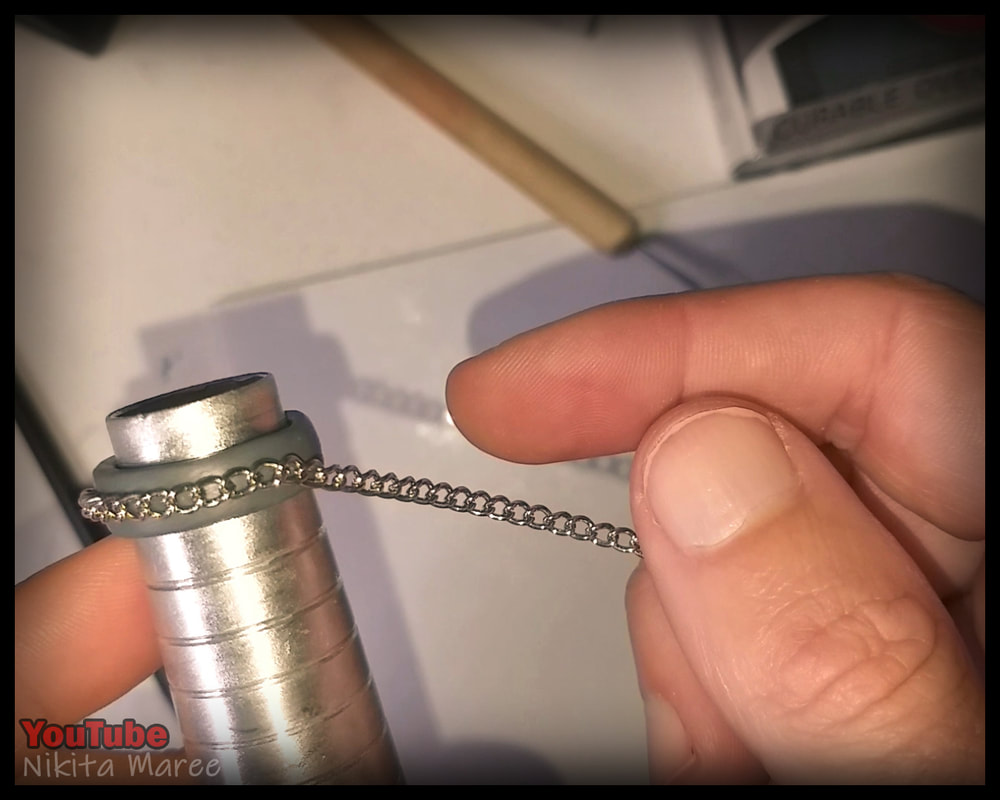
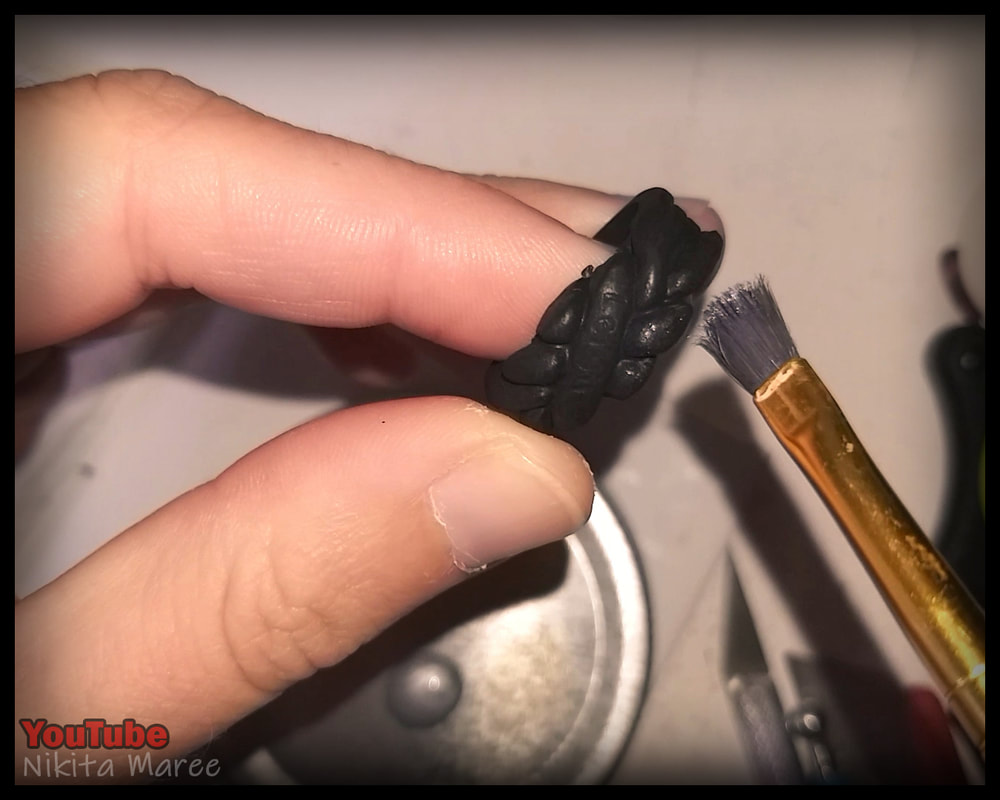
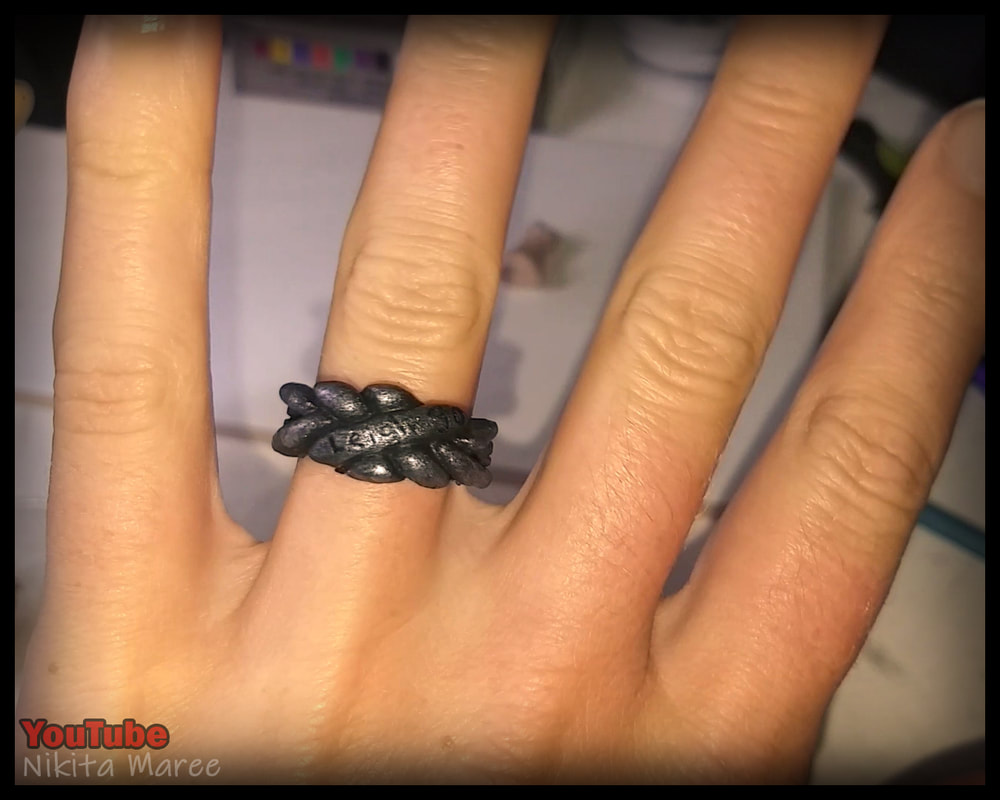
Moving onto the chain ring.
This is a nice and simple one. |
|
|
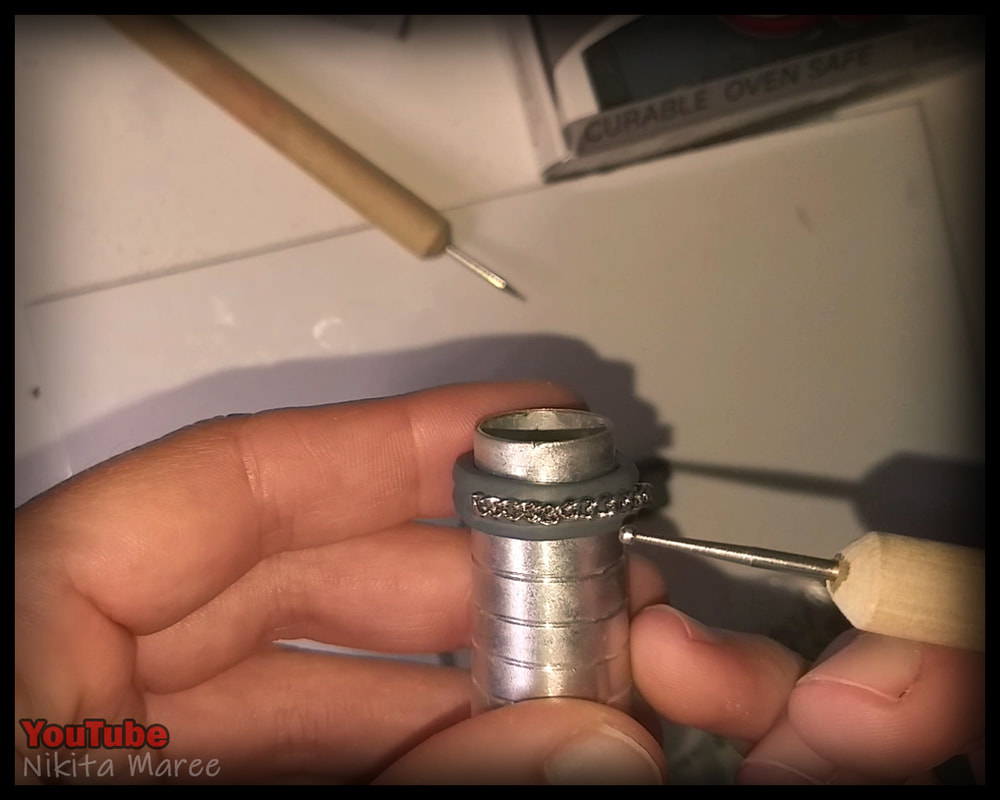
Just press a small chain into the band of clay.
|

|
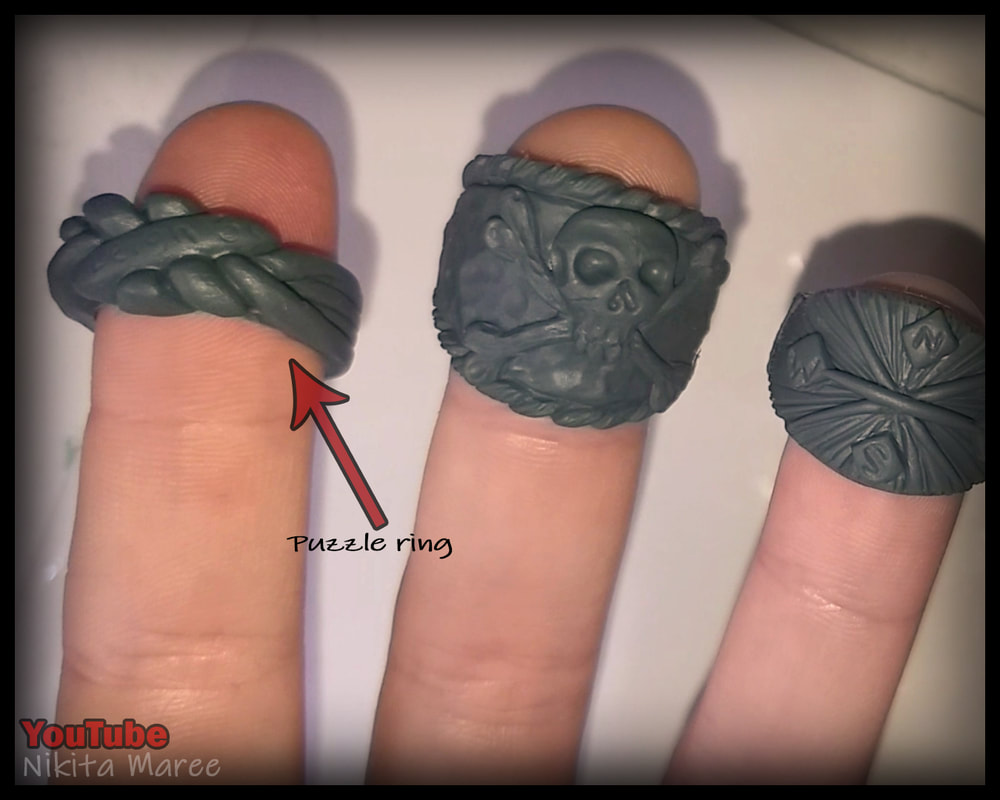
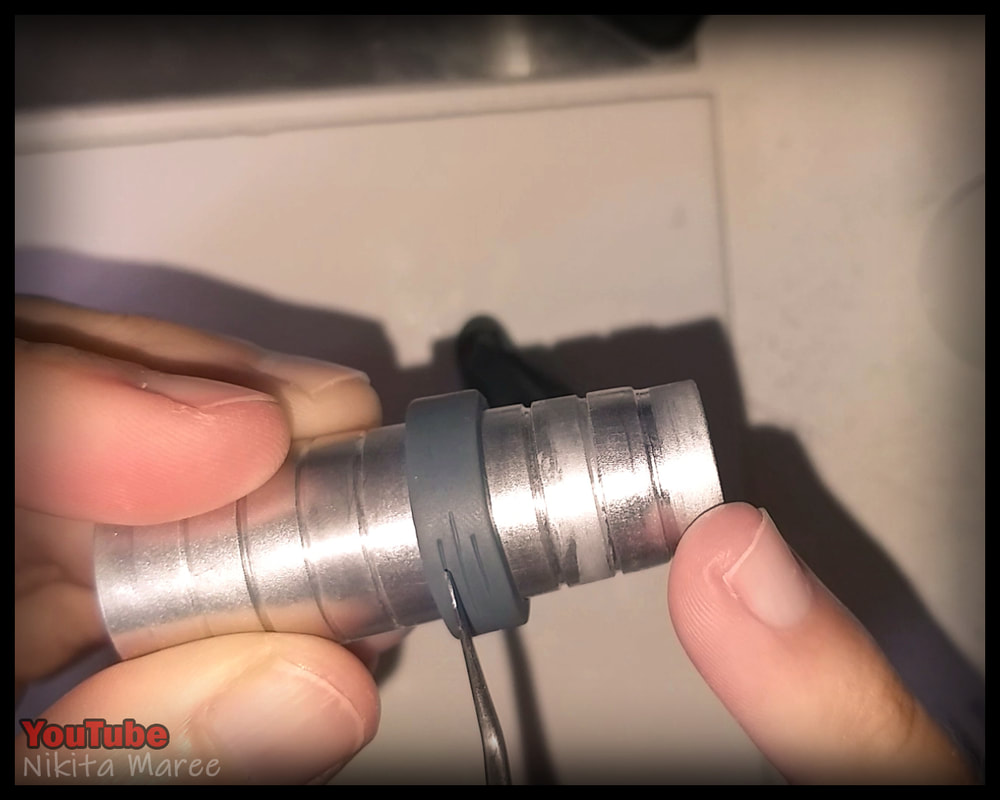
Now for the puzzle ring.
I based this ring off of the one I bought for my brothers 18th.
I based this ring off of the one I bought for my brothers 18th.
|
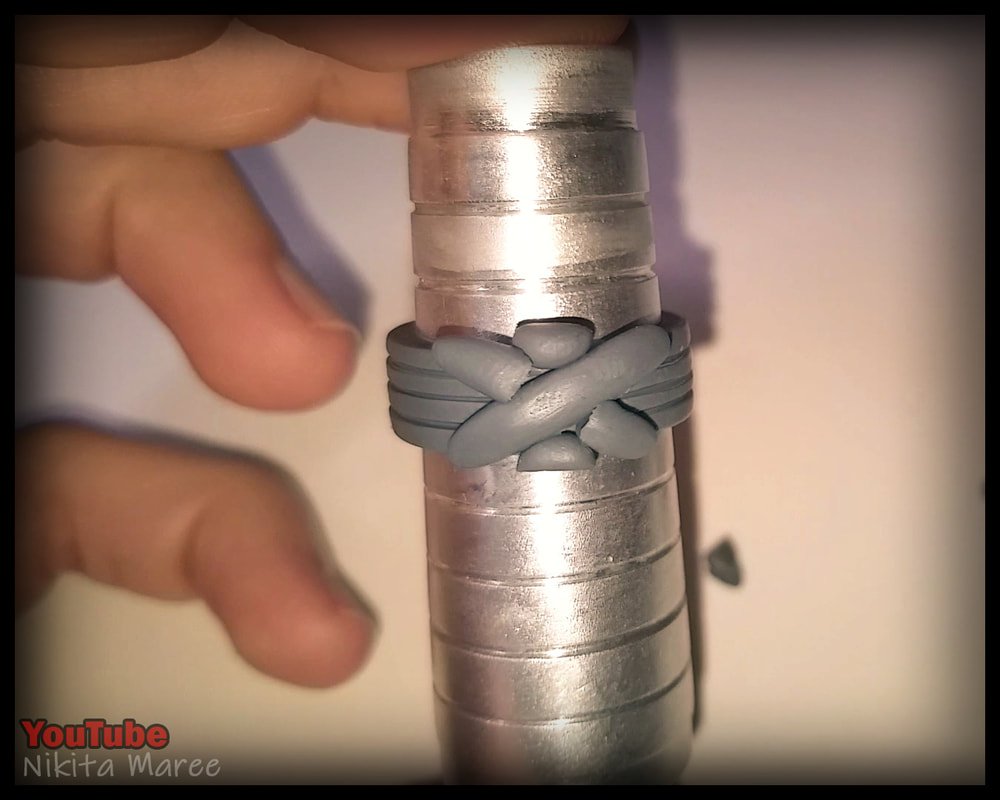
Start by sketching out 3 lines around
the entire ring. |
|
|
Blocking in some basic shapes.
Adding in some more of the details.
Adding in some more of the details.
|
|
Blend everything into the band.
And smoothing with baby oil.
And smoothing with baby oil.
|
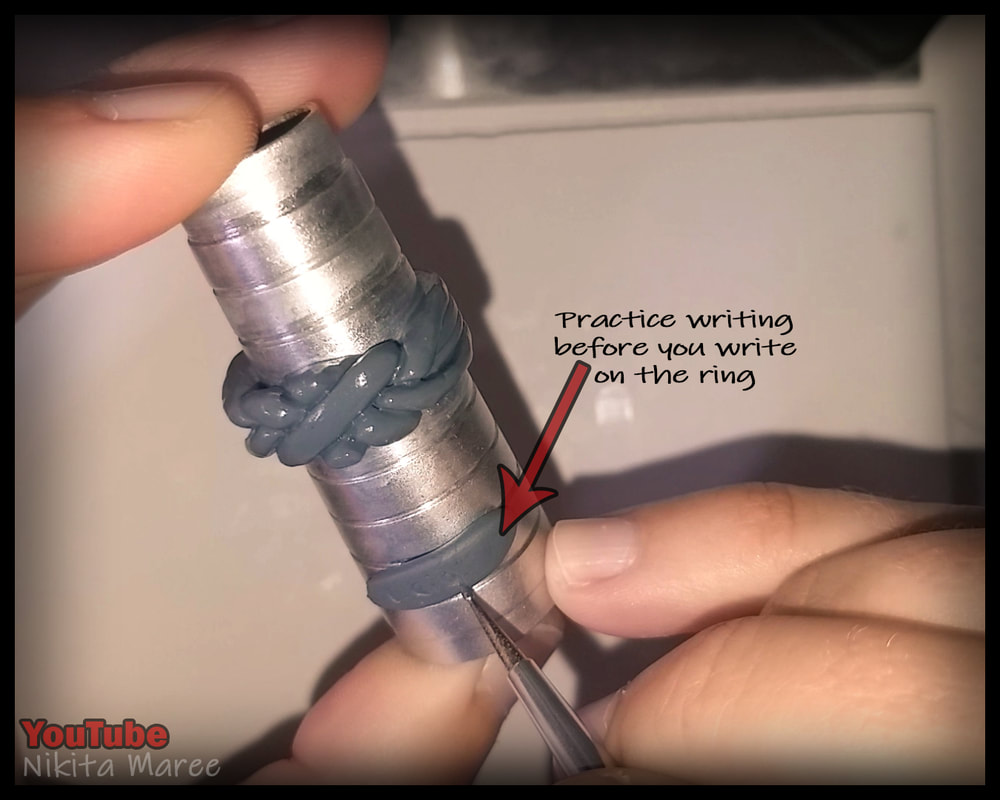
Practice getting the lettering
nice and small. |

|
Now for the big chunky ring.
|
|
|
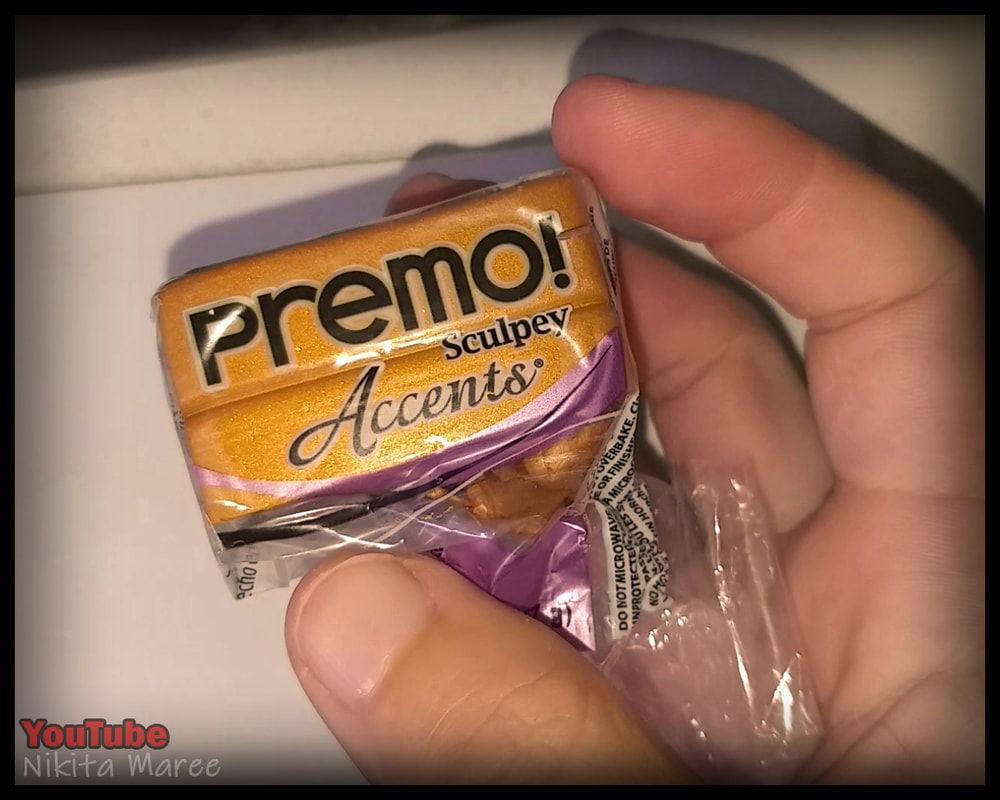
I am using Premo Accents in the colours
Gold, Orange, Pearl and Opal.
To create a rough mix that resembles a Citrine or Yellow Topaz.
Gold, Orange, Pearl and Opal.
To create a rough mix that resembles a Citrine or Yellow Topaz.
|
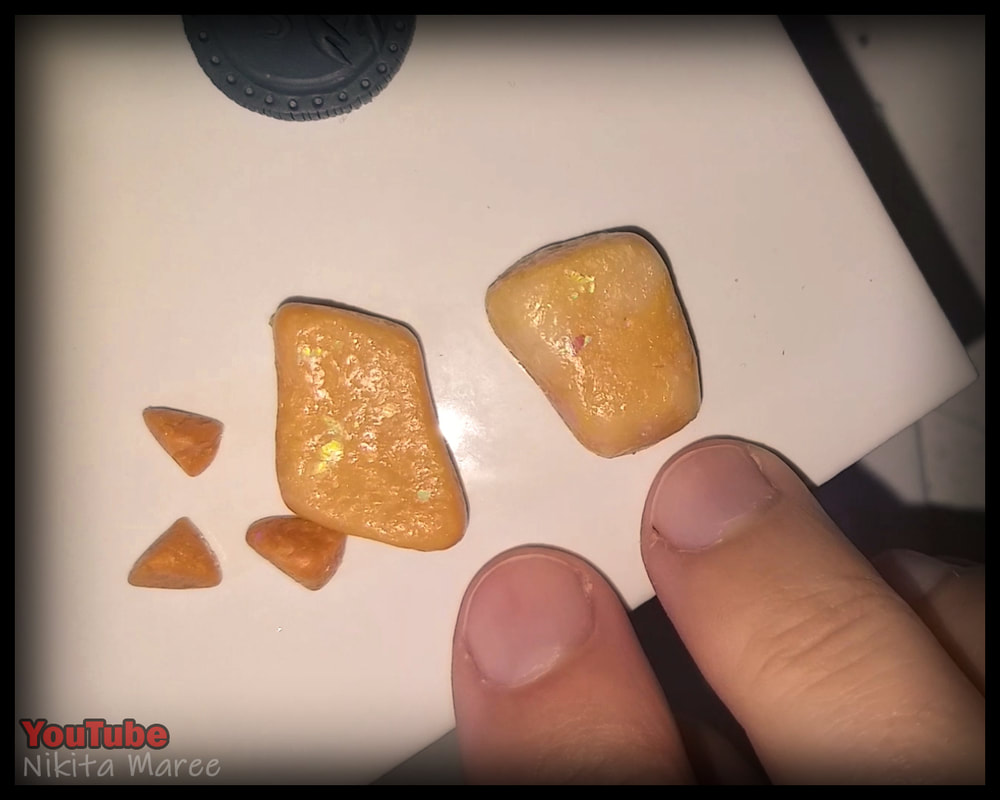
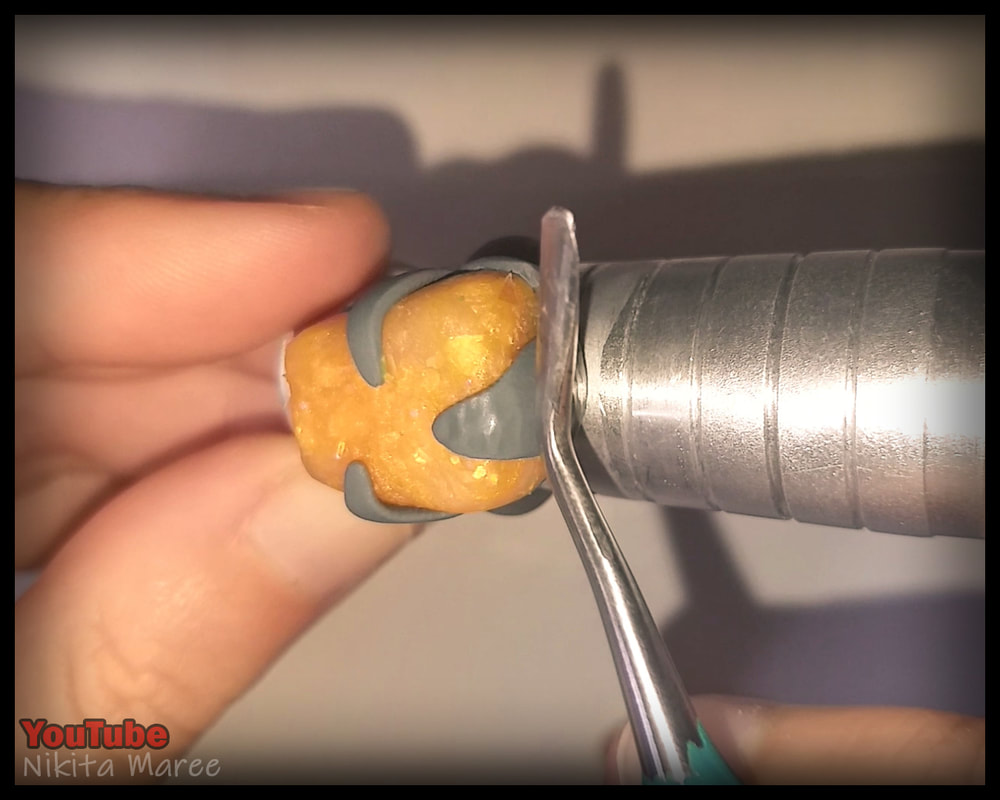
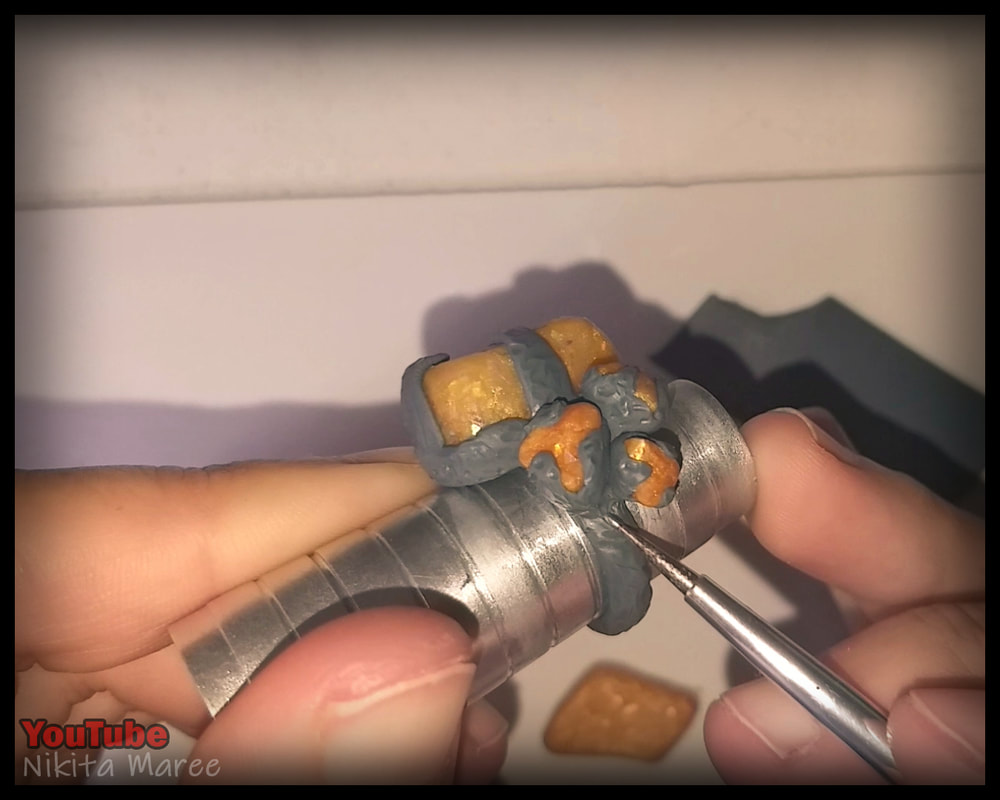
Bake the faux stones,
then place them onto the ring. Add triangle claws to hold the stone in place. |
|
|
Add claws to the 3 smaller stones,
creating a cluster to one side.
creating a cluster to one side.

|
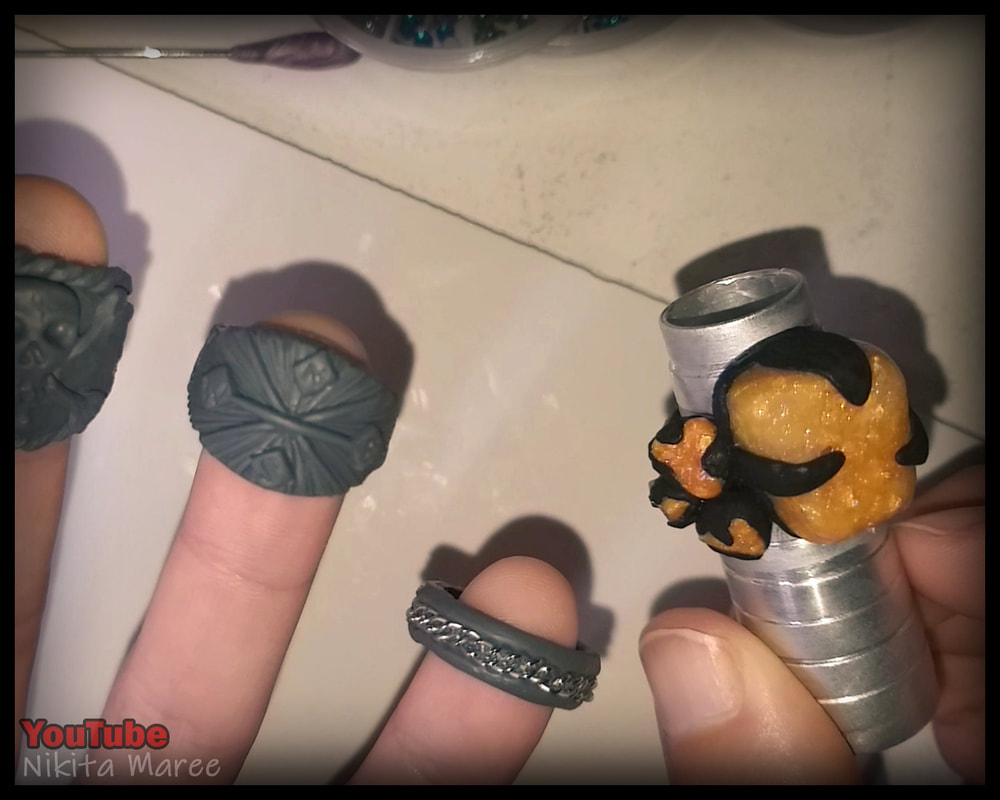
Now that the 5 rings are baked.
It is time to paint. Polyurethane gloss on the stones. |
|
|
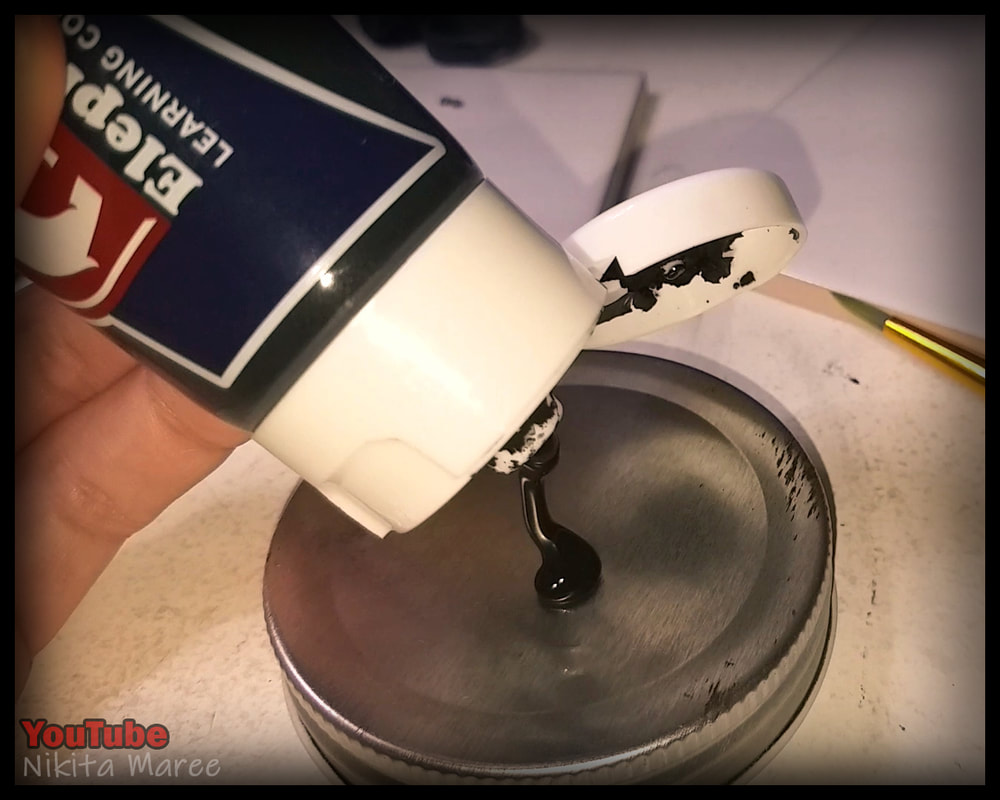
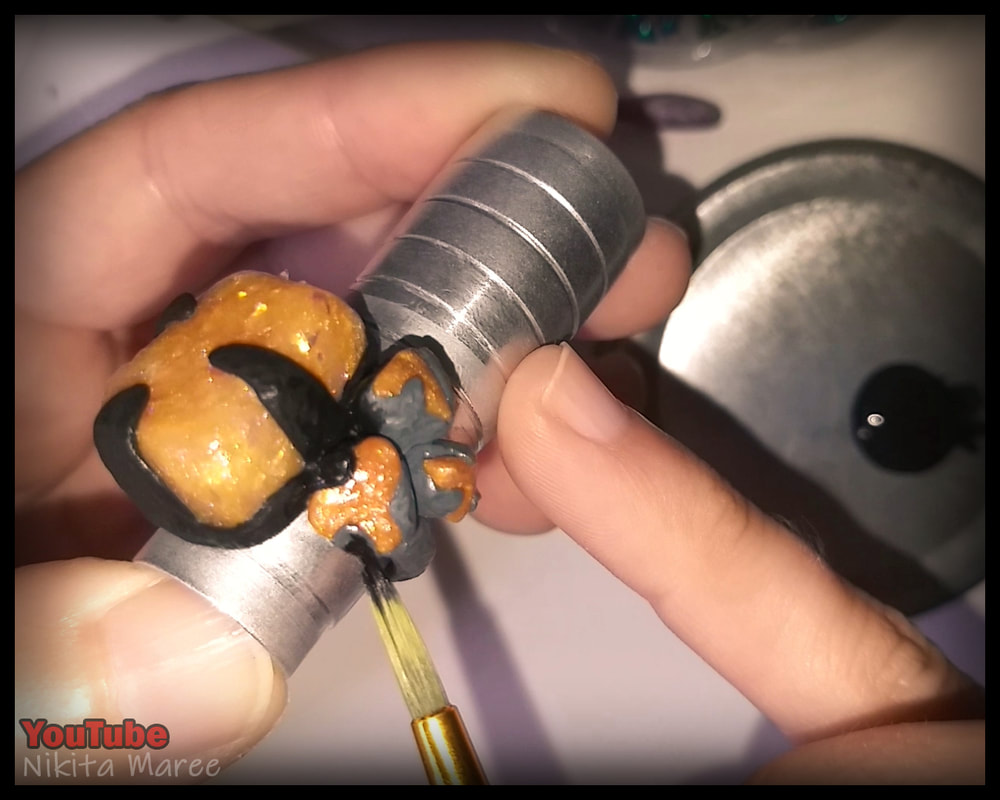
Black acrylic paint for the base coat.
|
I should have sculpted with black clay
for this ring. Because painting around the stones was quite difficult. |
|
|
|
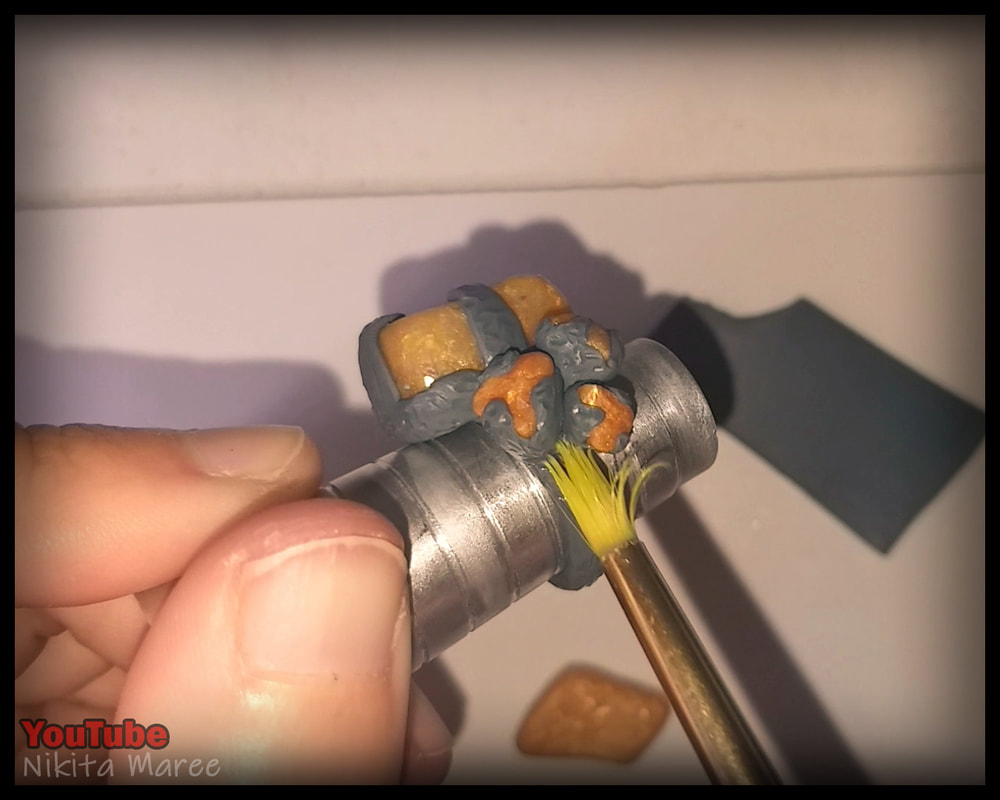
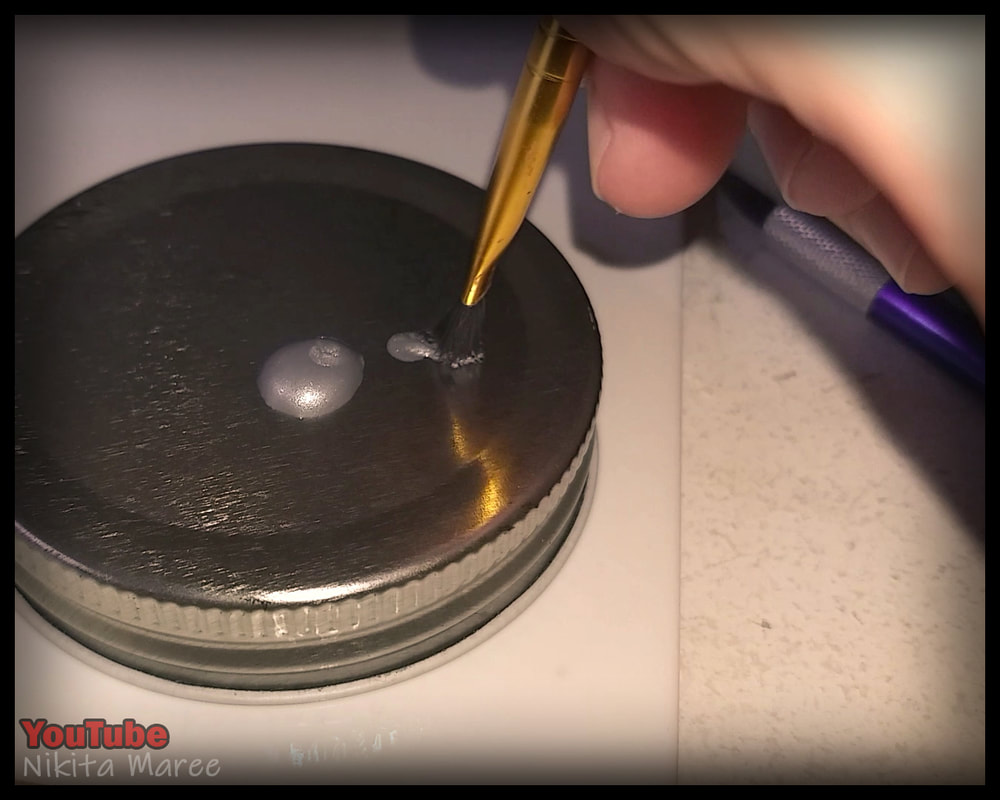
Time to 'dry brush'.
Small amount of paint on a dry paint brush.
Dab off the excess and lightly brush over the surface.
I am using a combination of Silver, Gold and Bronze on the different rings.
Small amount of paint on a dry paint brush.
Dab off the excess and lightly brush over the surface.
I am using a combination of Silver, Gold and Bronze on the different rings.

|
|
Now that you know all the basic steps in creating polymer clay rings.
You can create your own costume jewellery or for everyday wear.
Note:
I would recommend using a flexible polymer clay like CosClay
as normal polymer clay's have a tendency to break.
I would also recommend sculpting in a solid color like black or brown to save panting on a base coat.
Also this will help the rings hold up to constant daily wear.
