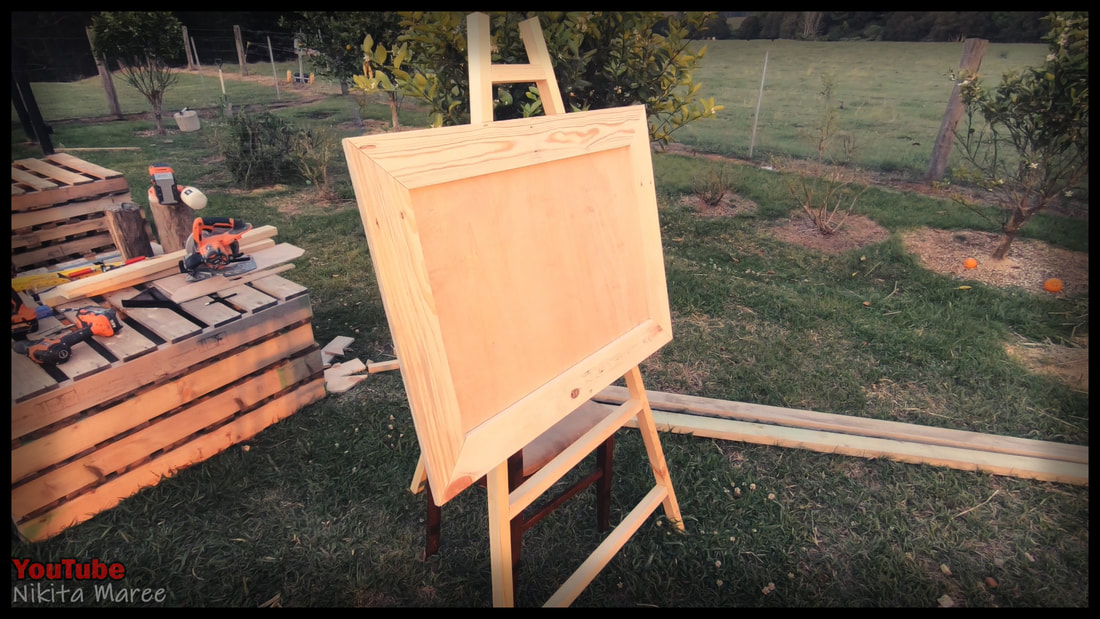
How to make an Easel
|
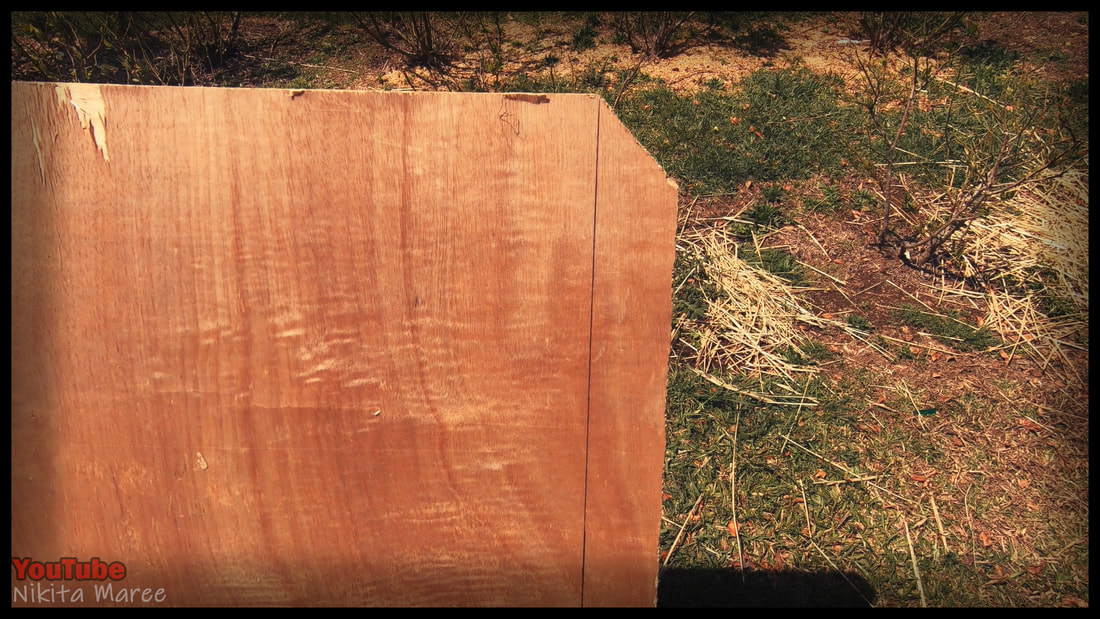
I started with some scrap plywood.
|
|
Marked out a rectangle, the
size I wanted the sign. |
|
|
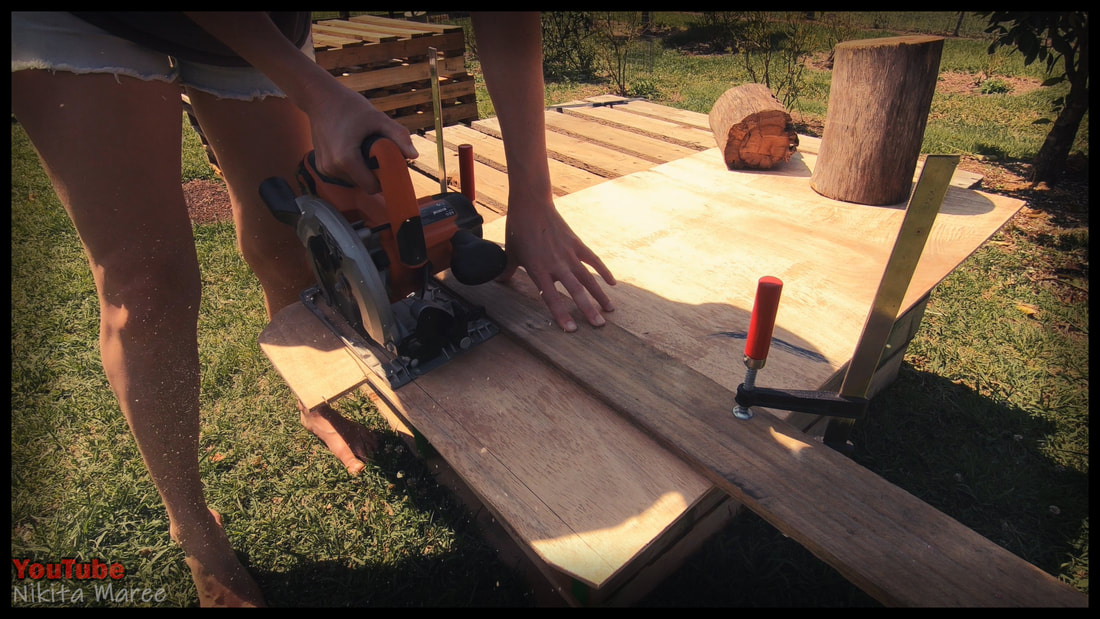
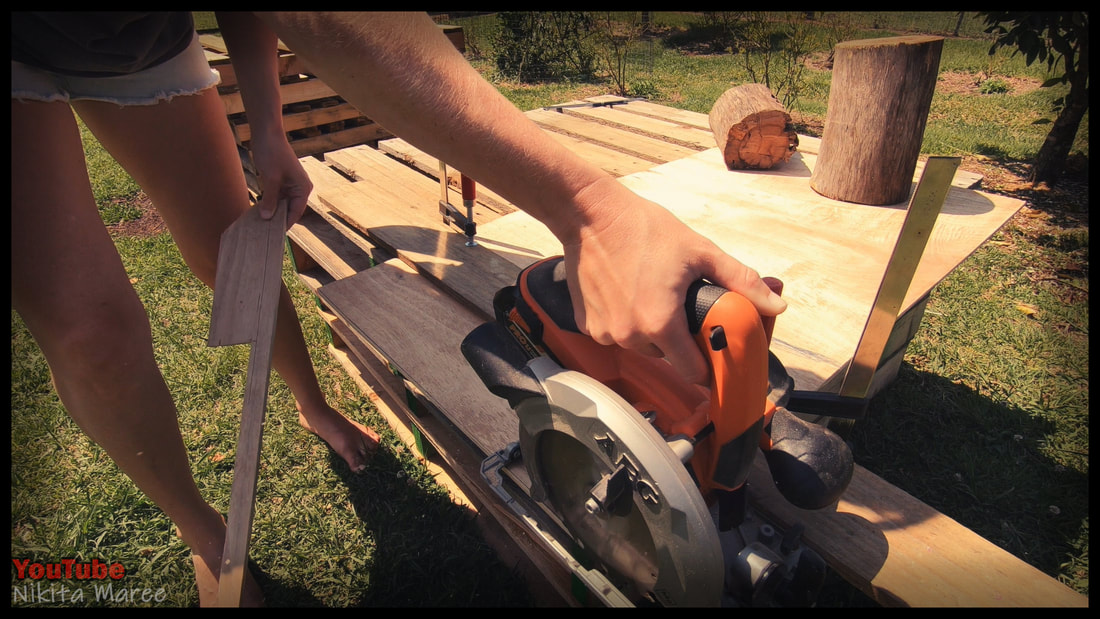
Clamped down a straight edge.
(in my case, an old paling) |
|
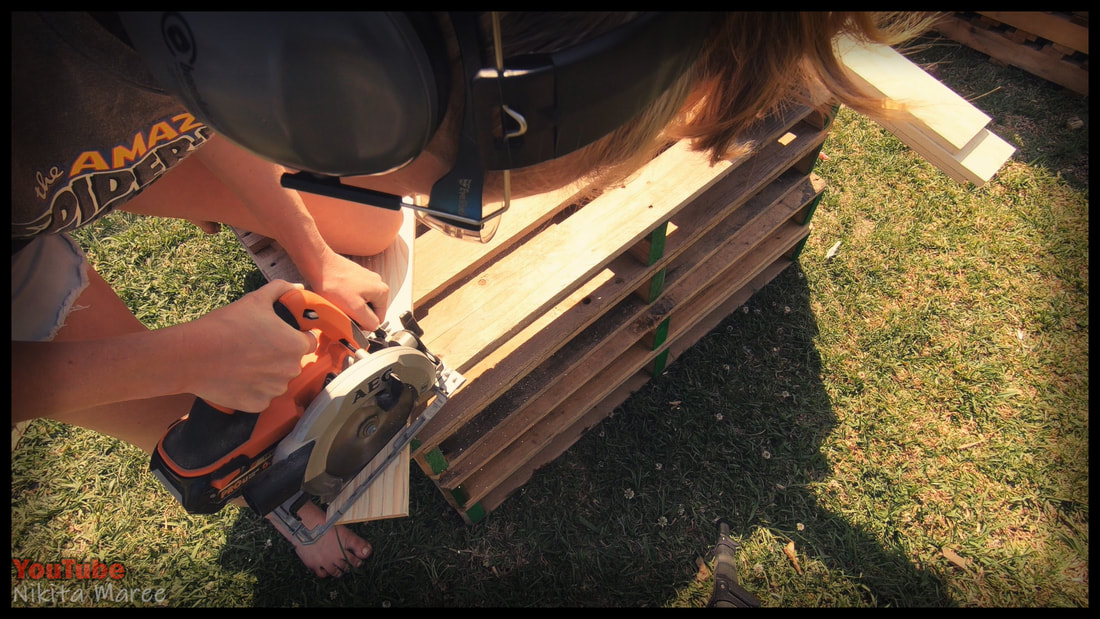
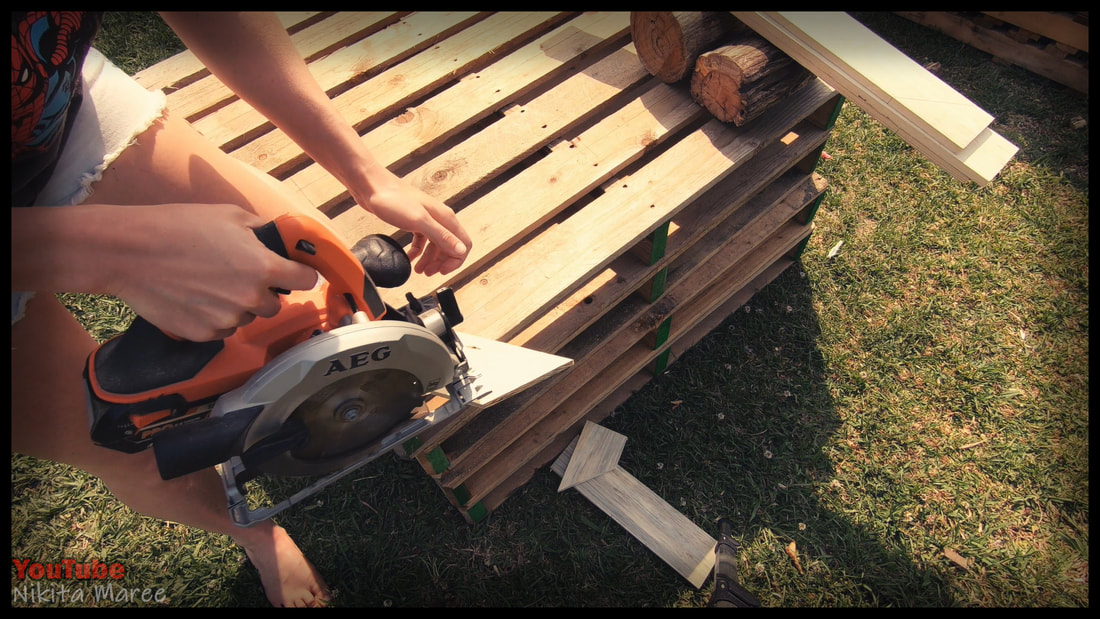
Run the circular saw along
the straight edge. |
|
|
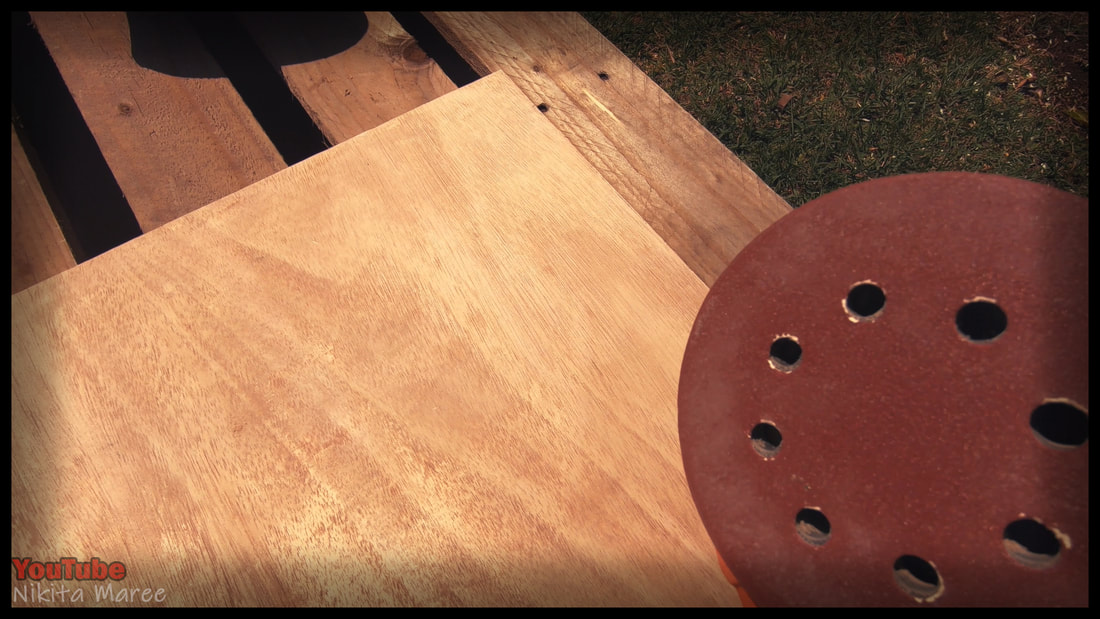
Gave it a light sand.
I used 120 grit. |
|
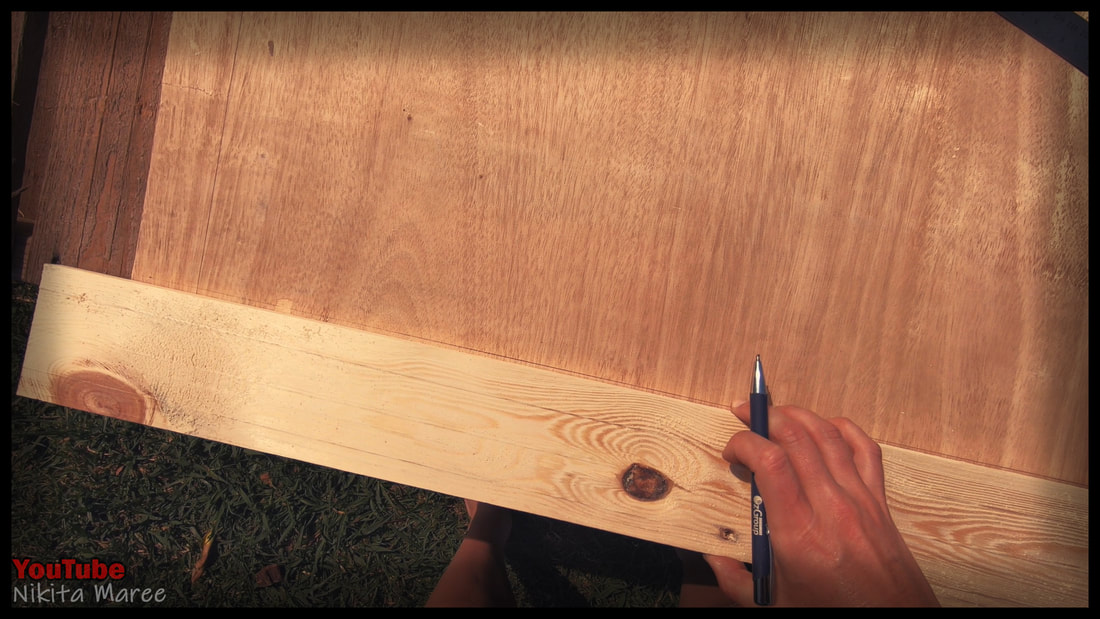
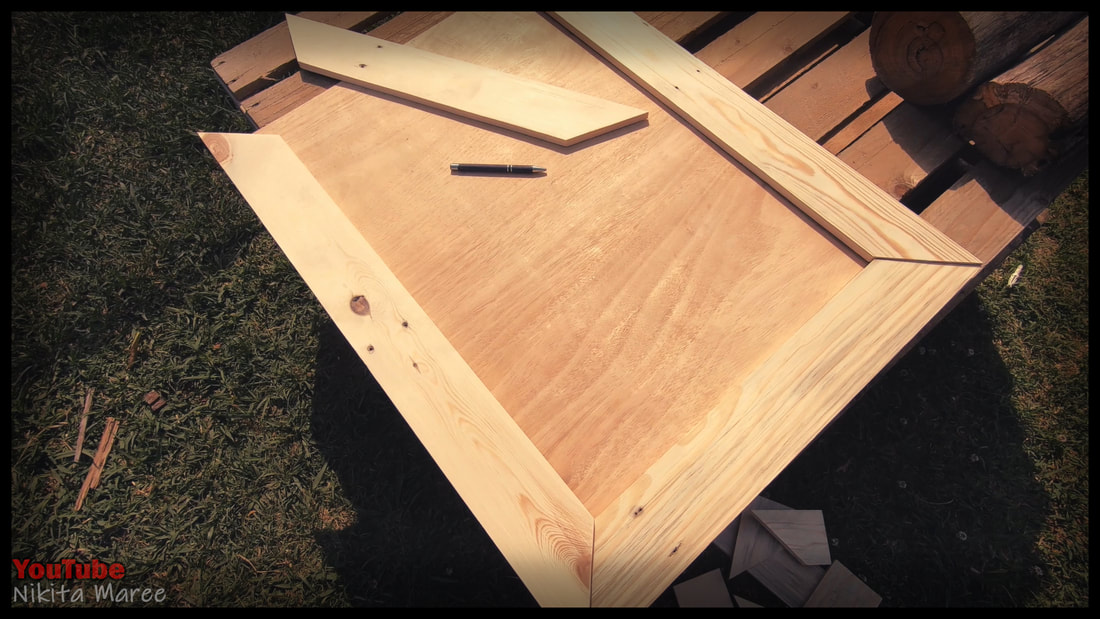
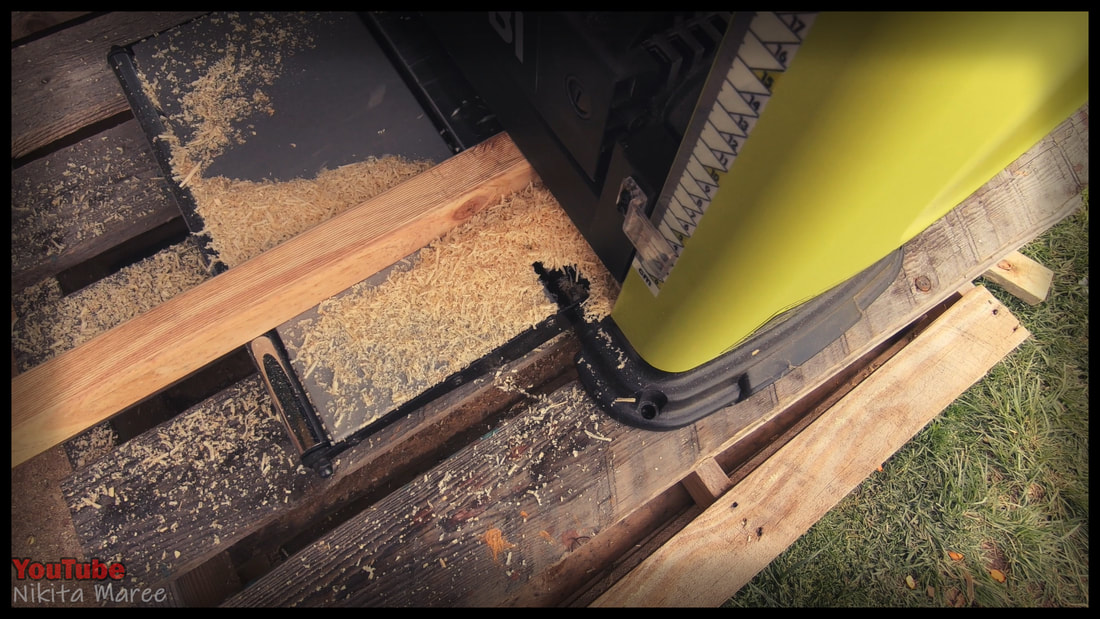
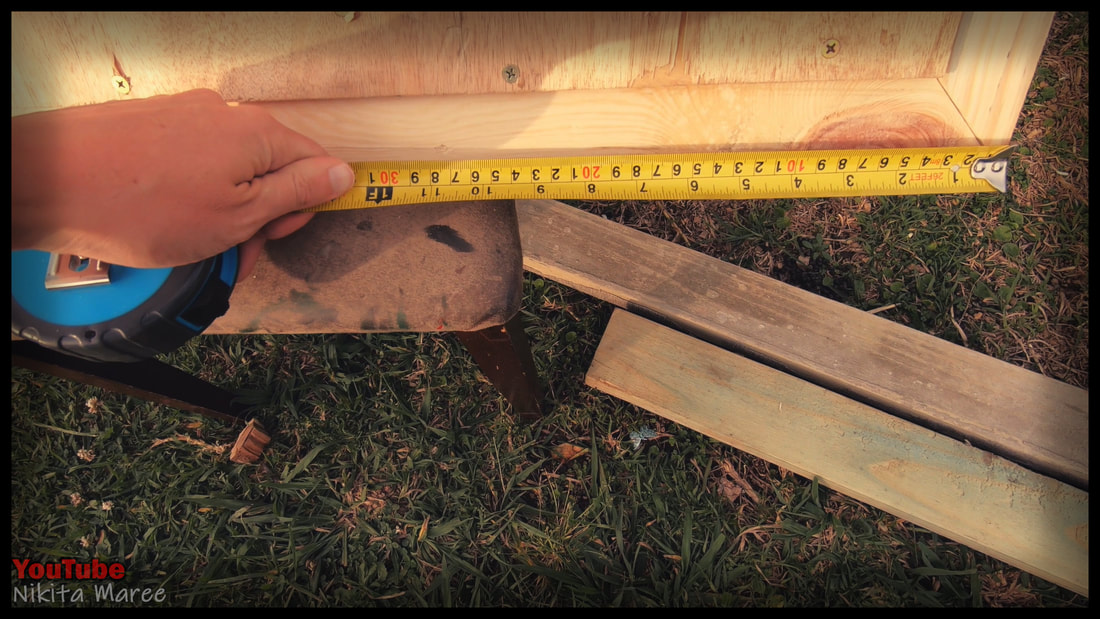
I used pallet palings for the
frame of the sign. Ran them through the table saw, so they where all the same width. |
|

|
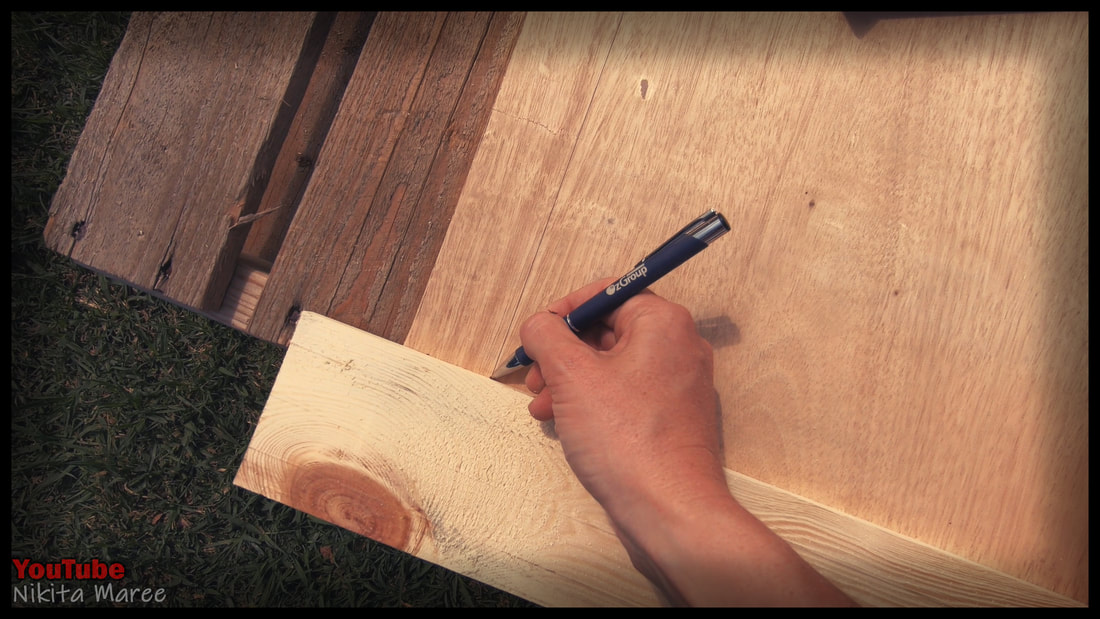
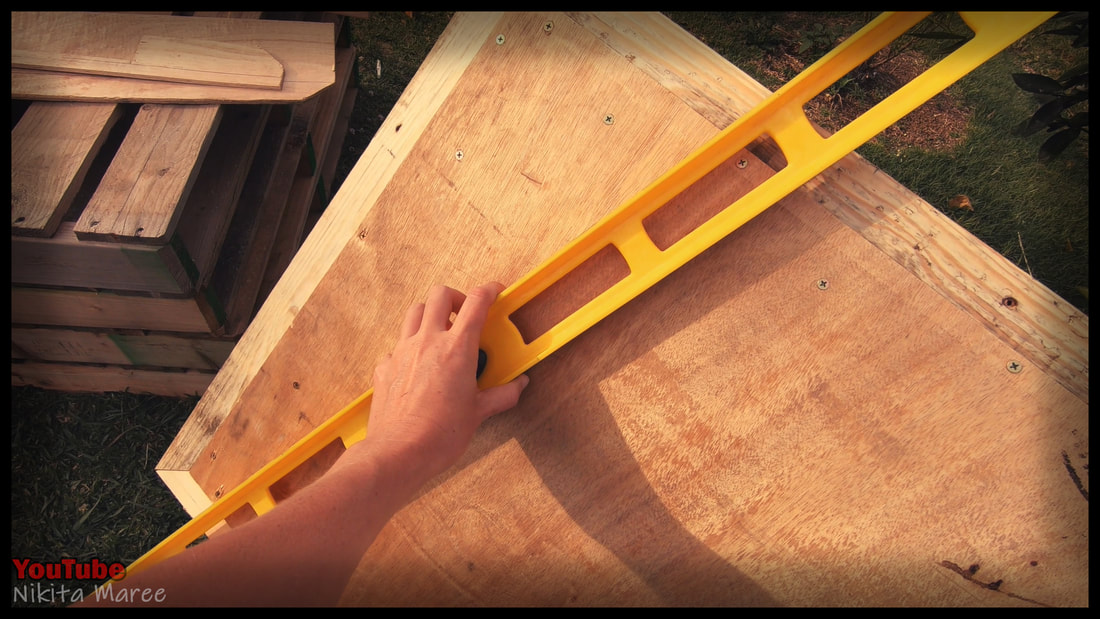
Marked a 50mm reference line,
around the inside of the whole edge. |
|
Held the first paling against that line.
|
|
|
Lightly mark where the vertical palings
will be matching up. |
|
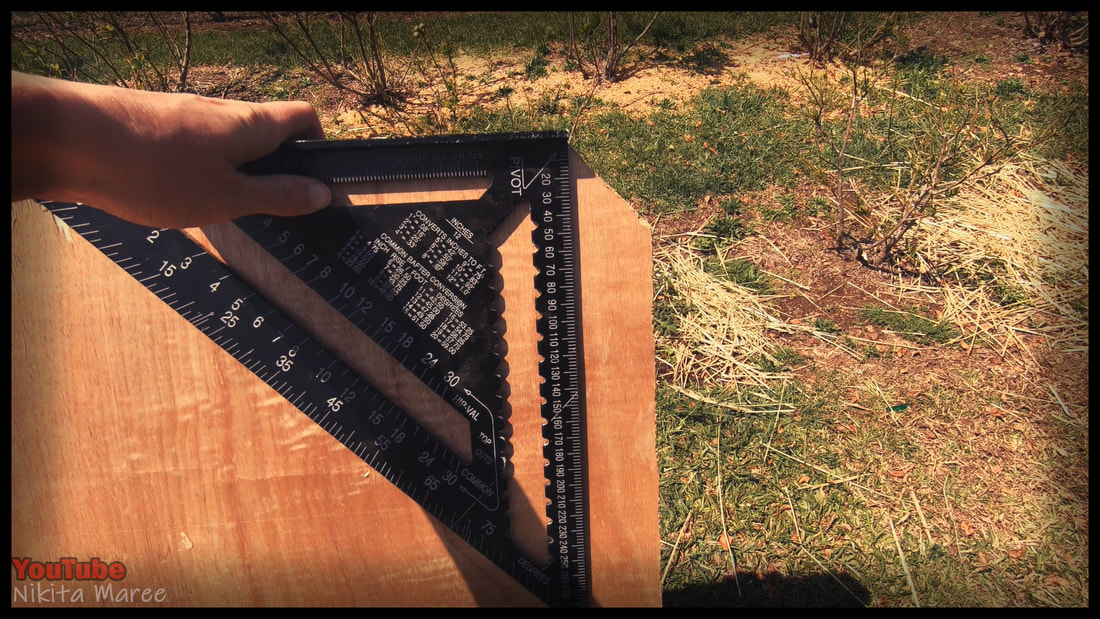
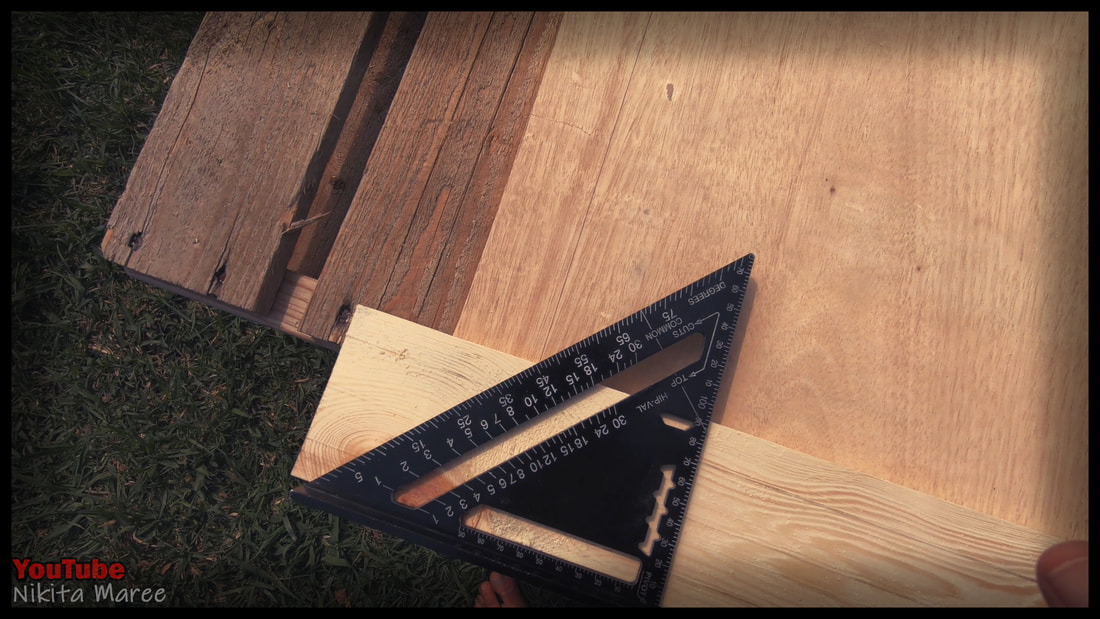
Grab the speed square
and draw a 45° angle from that point. |
|
|
Cut along the line.
|
|
Flip it over and cut the
other angle. |
|
|
When you have all the pieces
of the frame cut. Gentle lay them in potion, to check that they fit. |
|
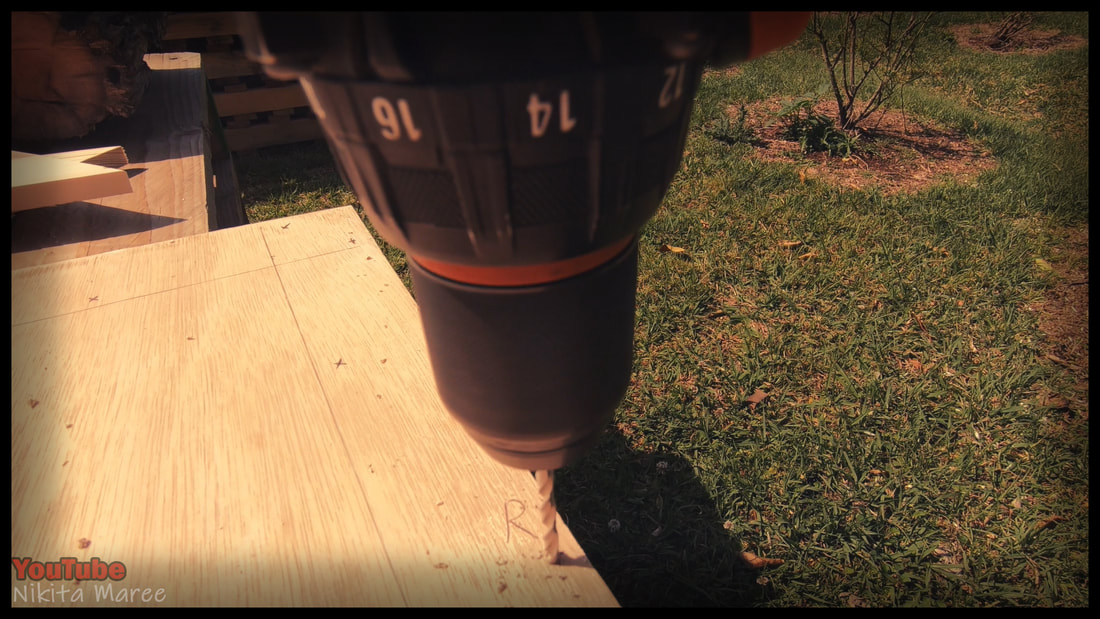
Then mark where you want
the screws to go. |

|
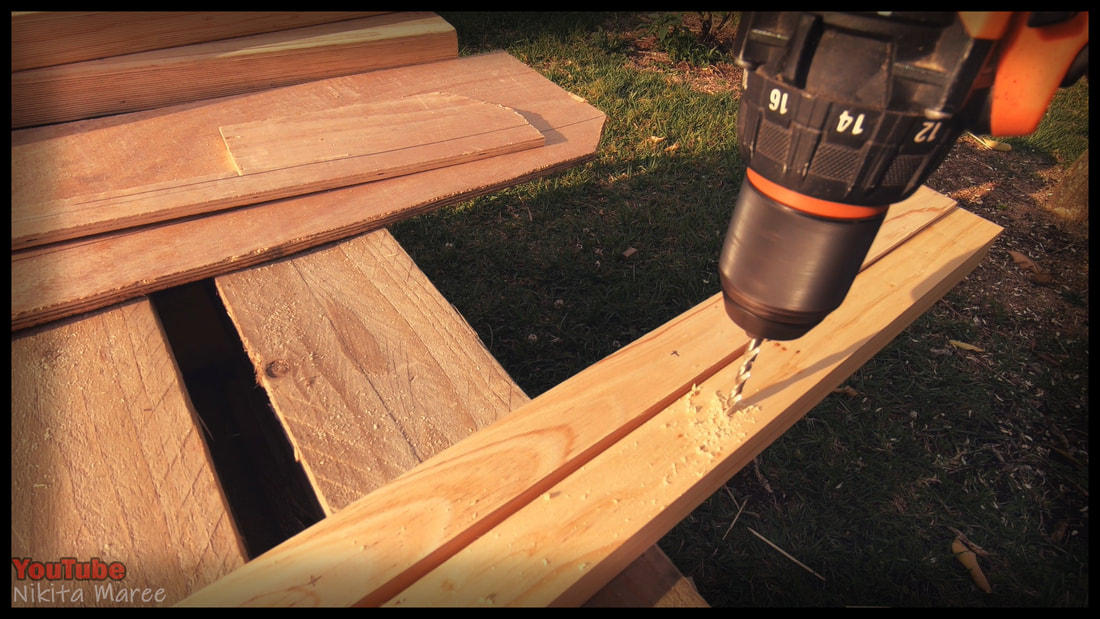
|
Pre-drill all the holes.
|
|
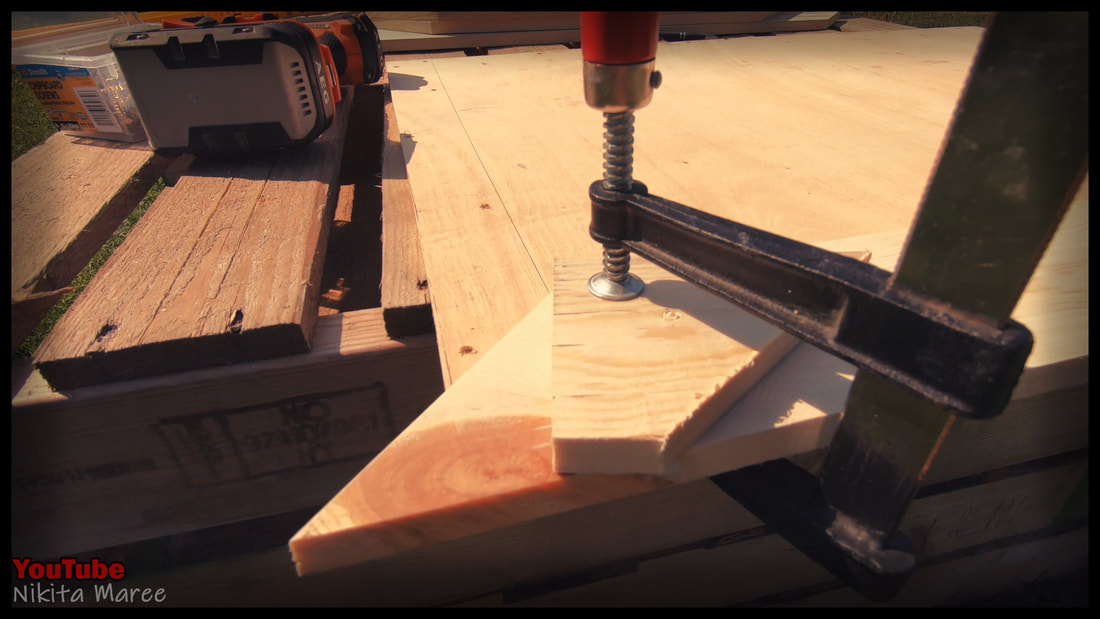
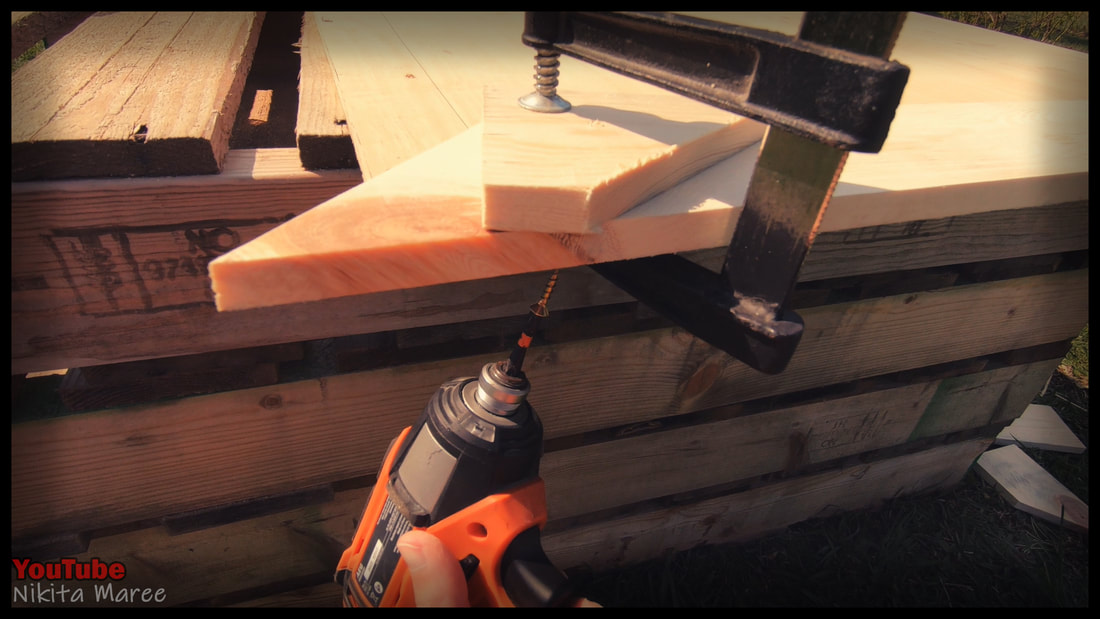
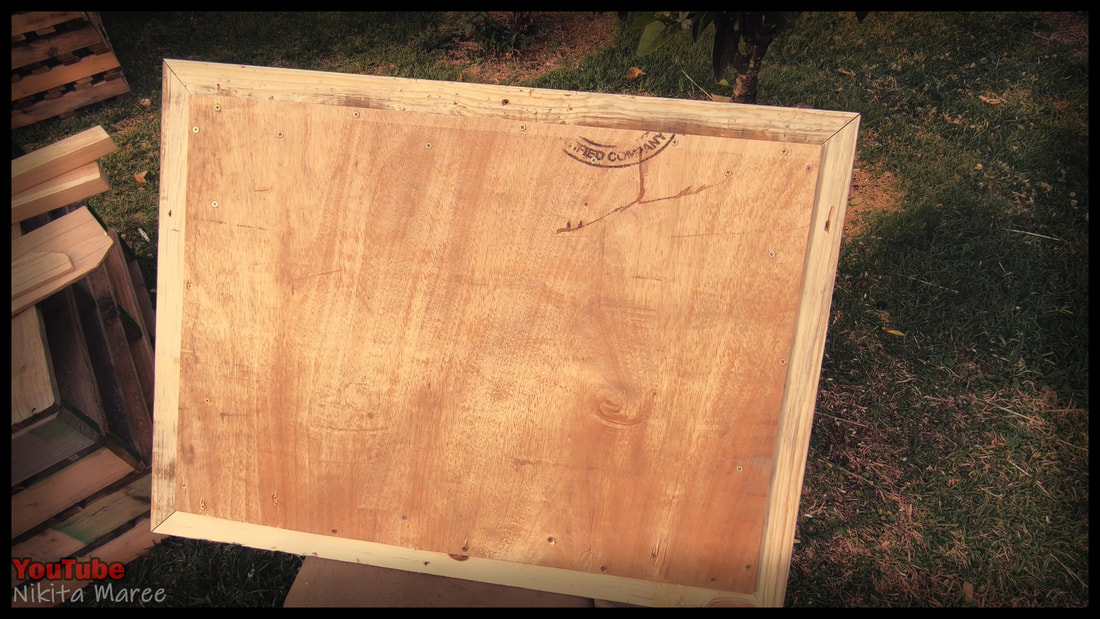
Clamp down the frame,
to prevent it from moving around. |
|
|
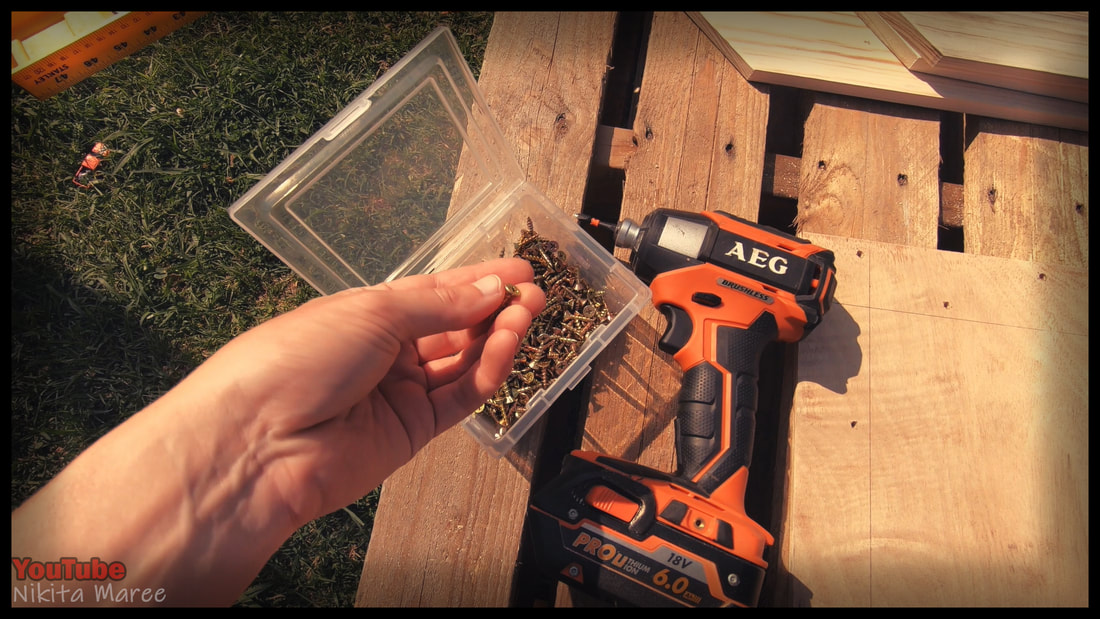
I used 20mm chip board screws.
|
|
And attached it from the back side.
|
|
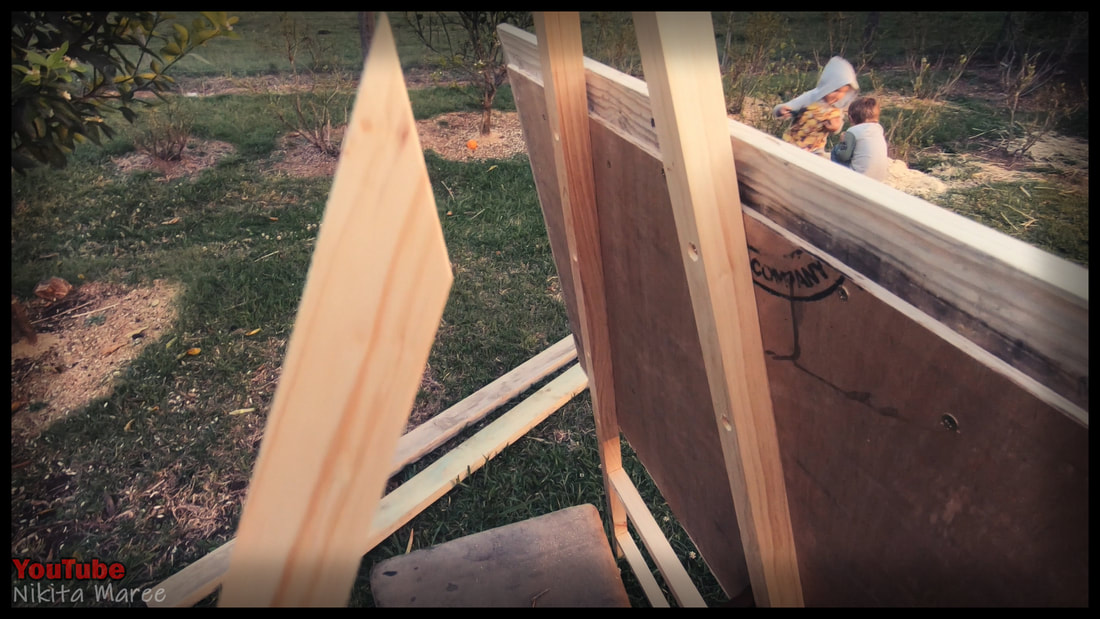
|
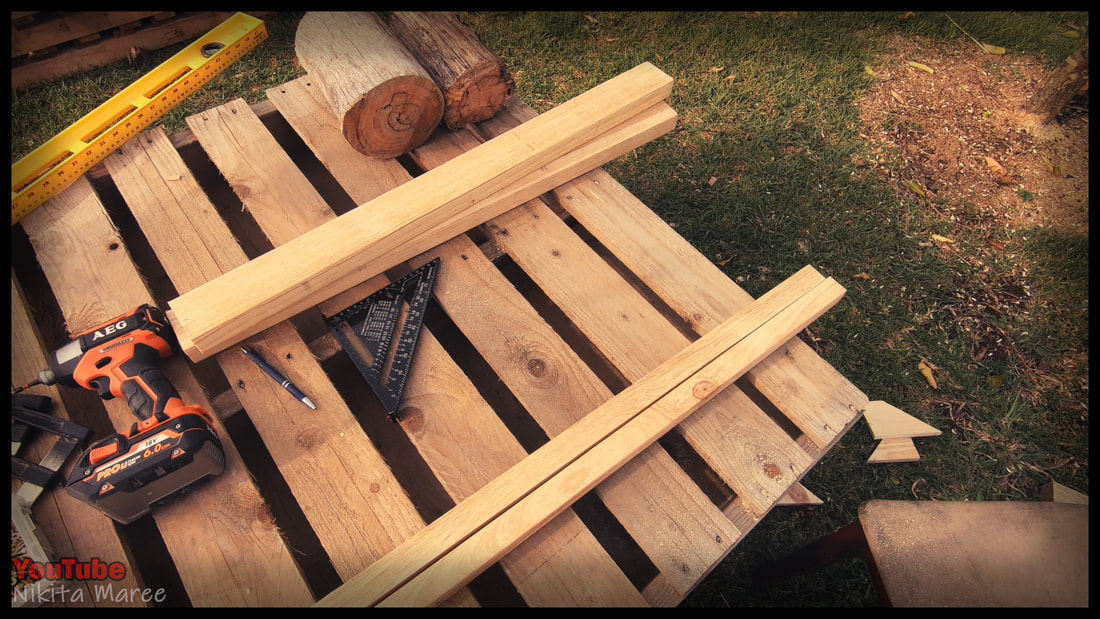
Moving onto the stand of the easel.
|
|
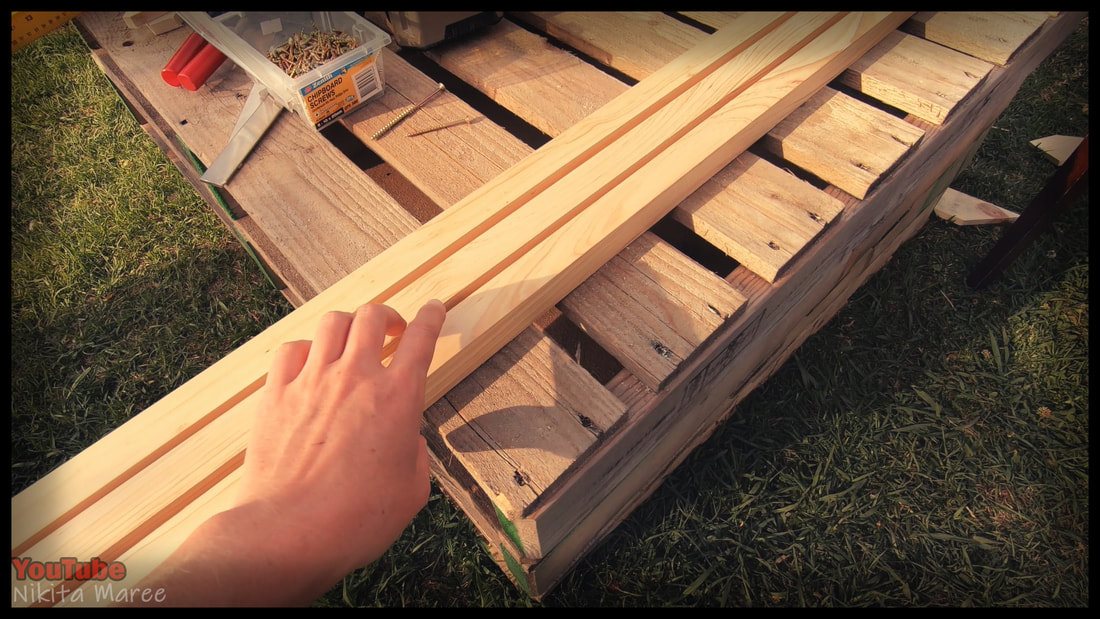
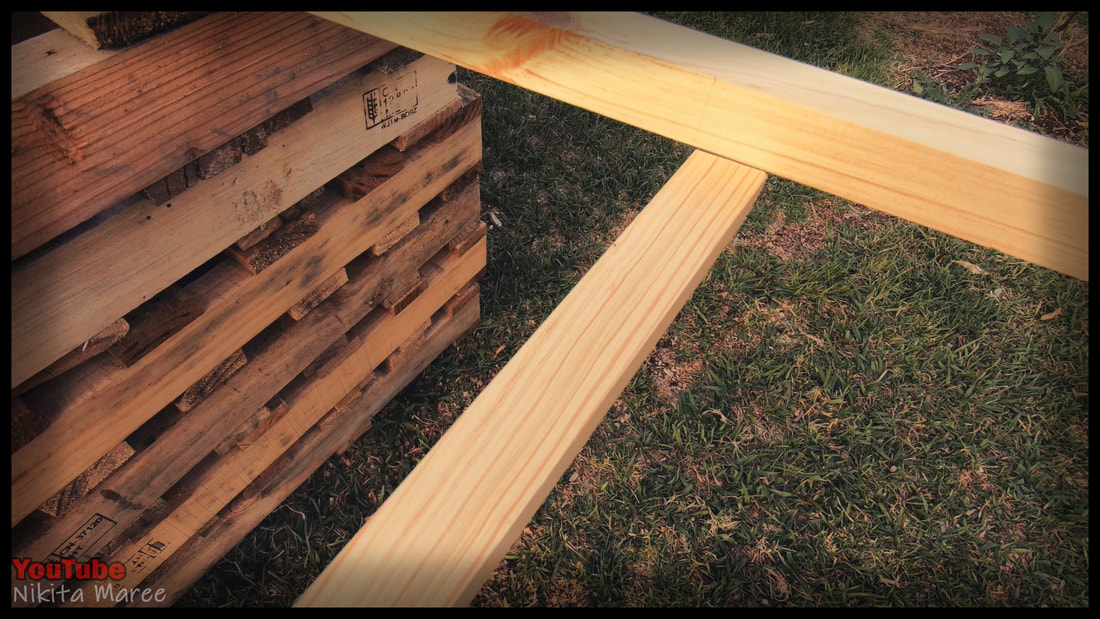
I used lengths of 35x70
non-structural pine, |
|
|
that I ripped down the center
using the table saw. |
|
Ran those through the
thicknesser to clean up all the faces. |
|
|
These clean up really nicely.
|
|
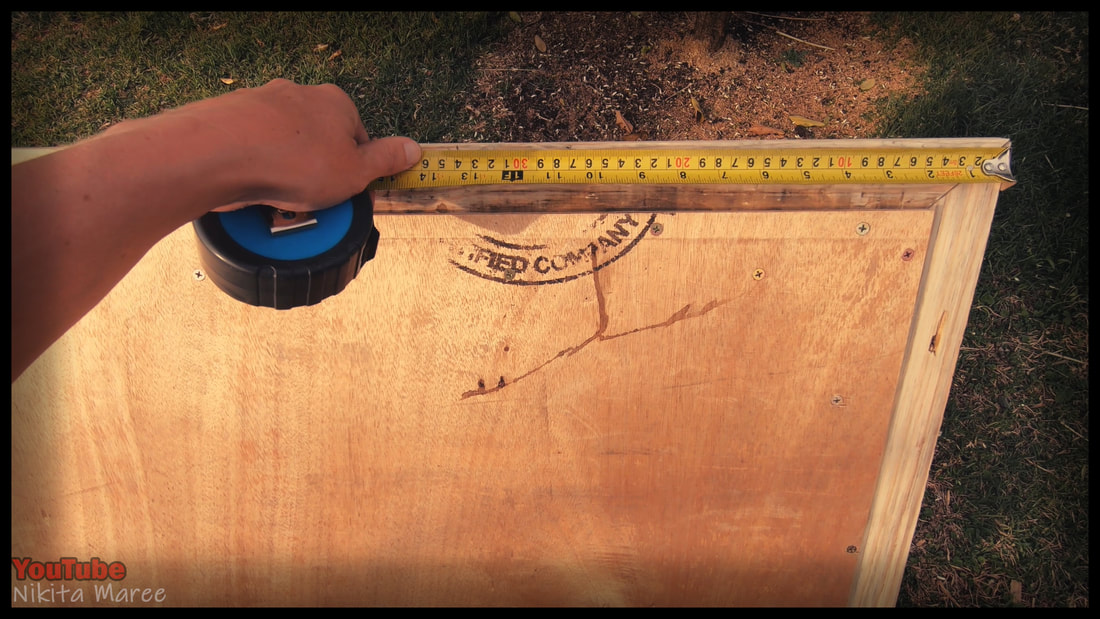
Flip the sign over,
so the back is facing you. |
|
|
Mark in 340mm from either side
of the top edge. |
|
And 200mm from either side
of the bottom edge. |
|
|
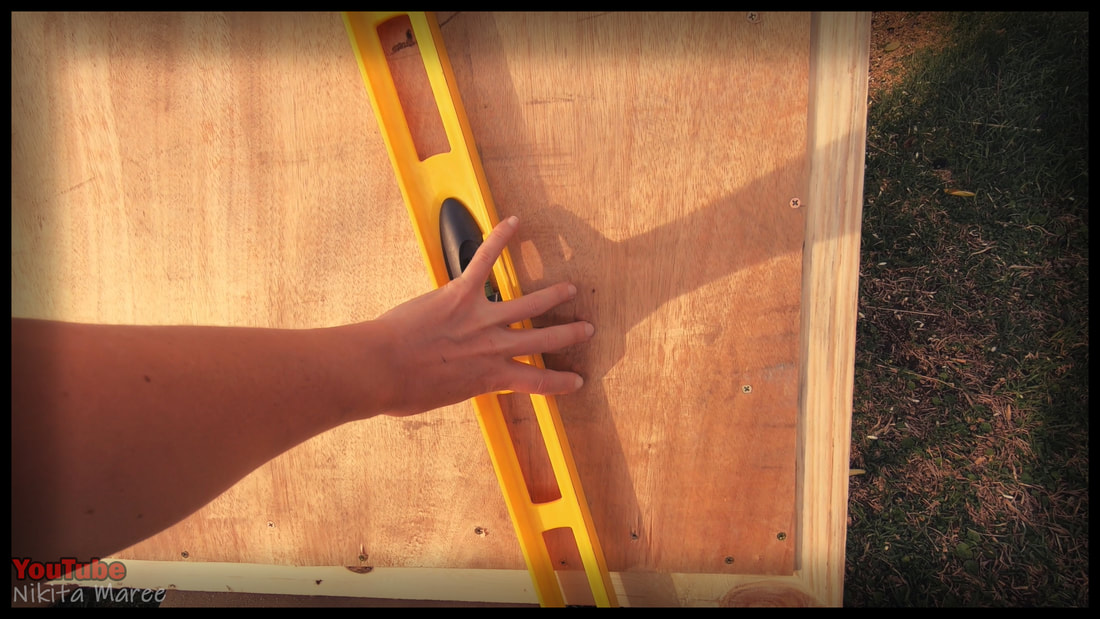
Grab a straight edge,
to connect the dots. |
|
These will be the guide lines for
attaching the two front legs of the stand. |
|
|
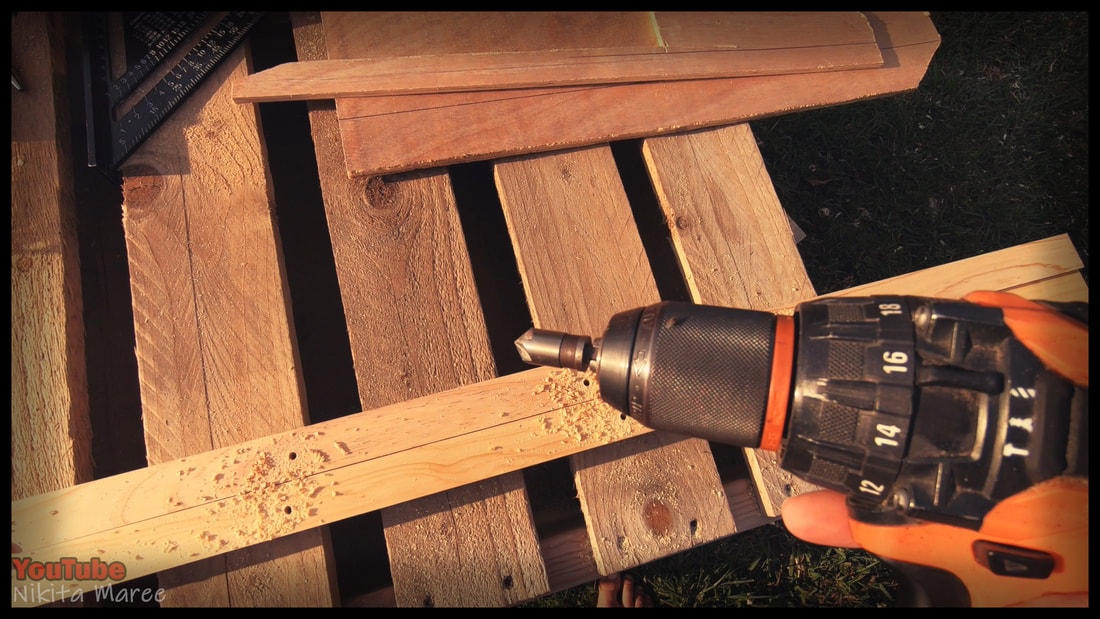
Mark and pre-drill the holes.
|
|
Give all the holes a chamfer.
|
|
|
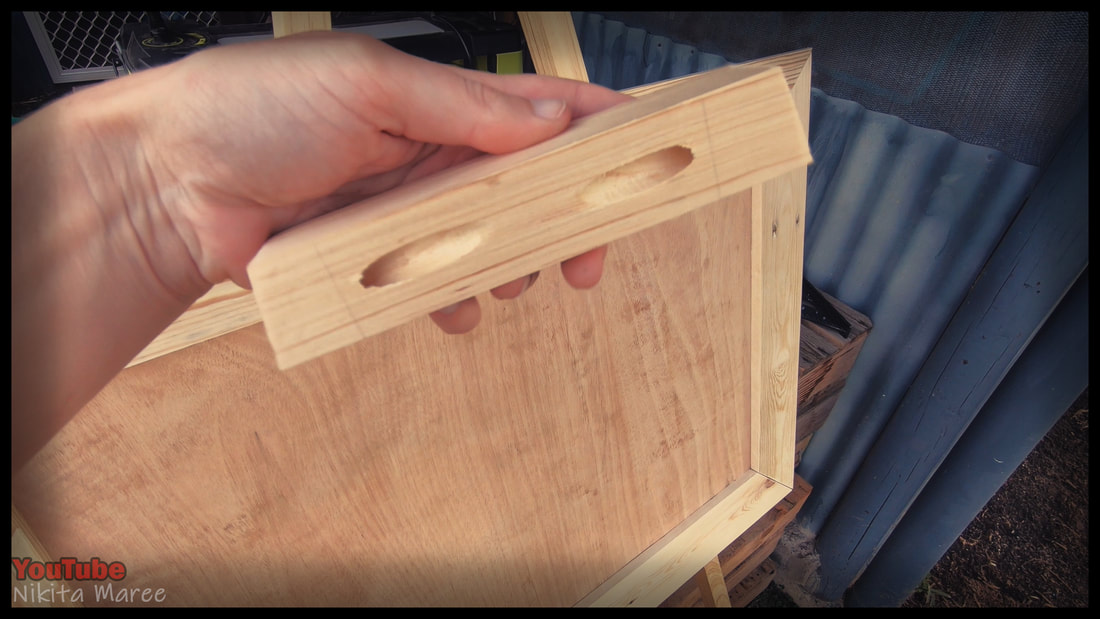
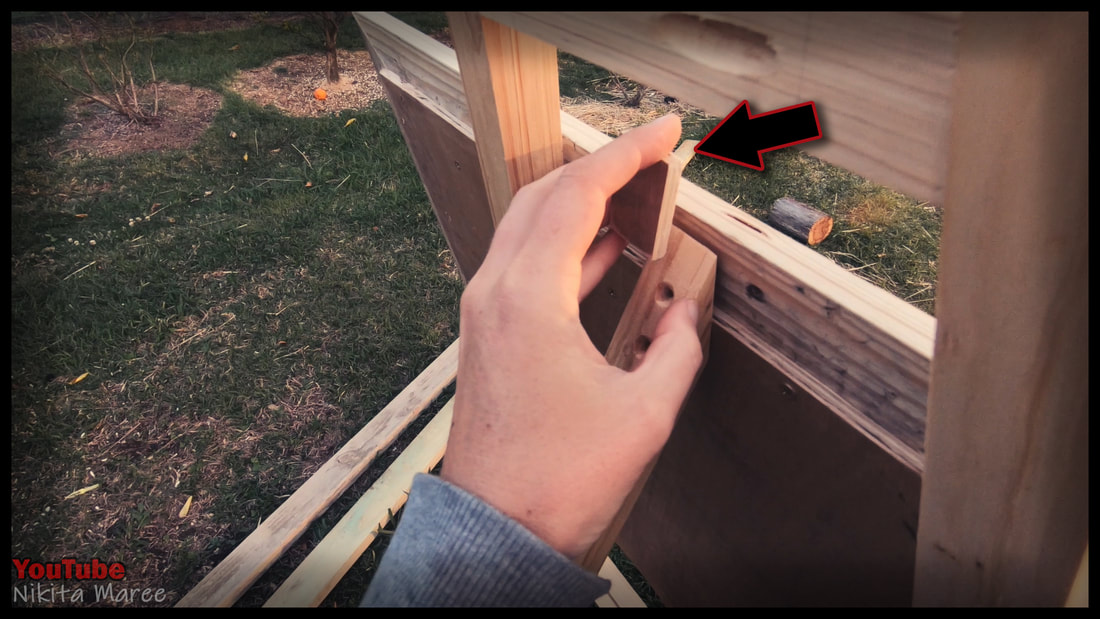
Now we are making the short horizontal
piece at the top of the easel. |
|
I drilled two pocket holes at the back,
|
|
|
to give it a cleaner looking finish
on the front. |
|
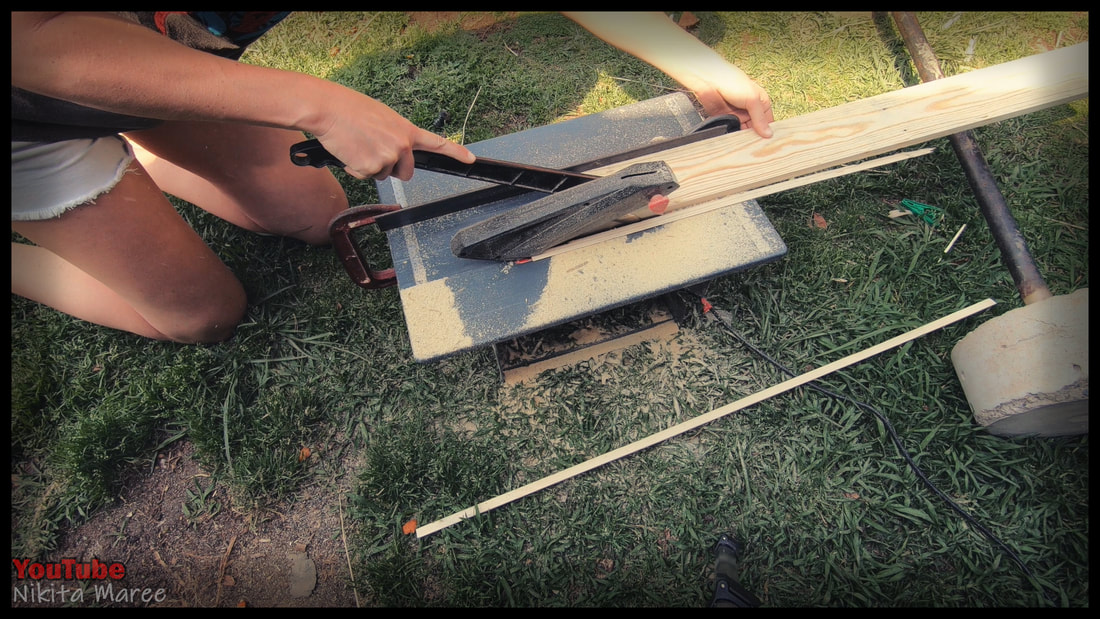
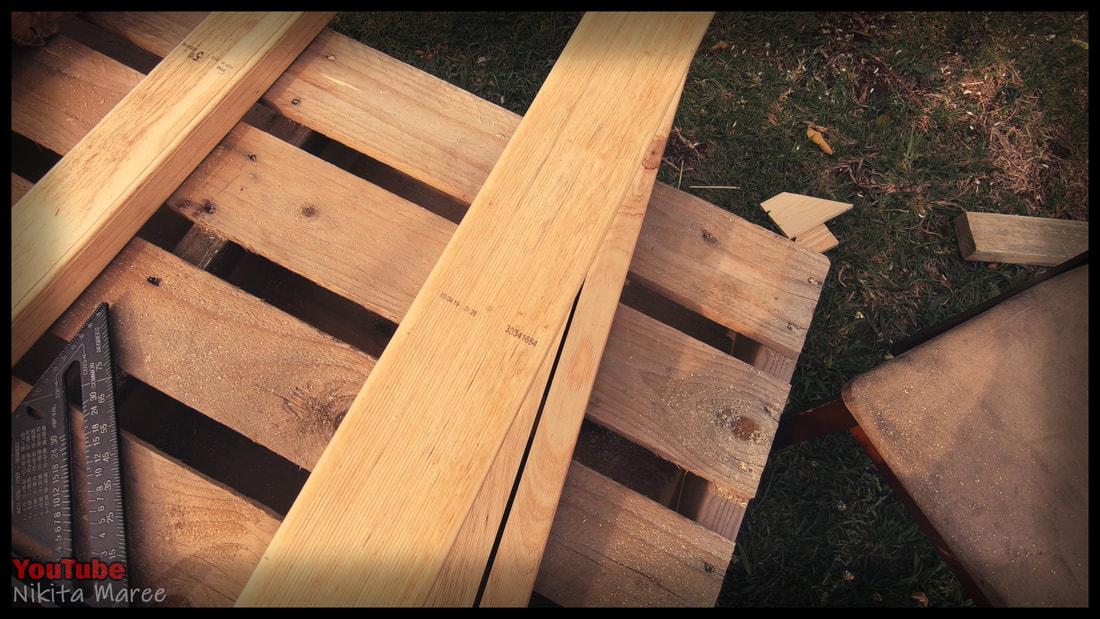
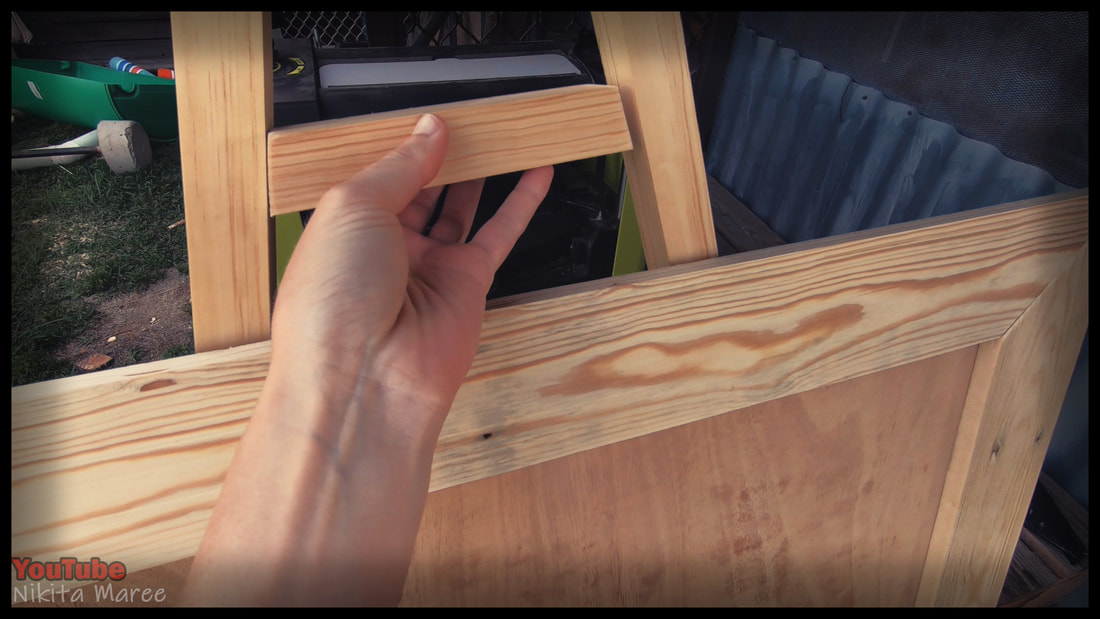
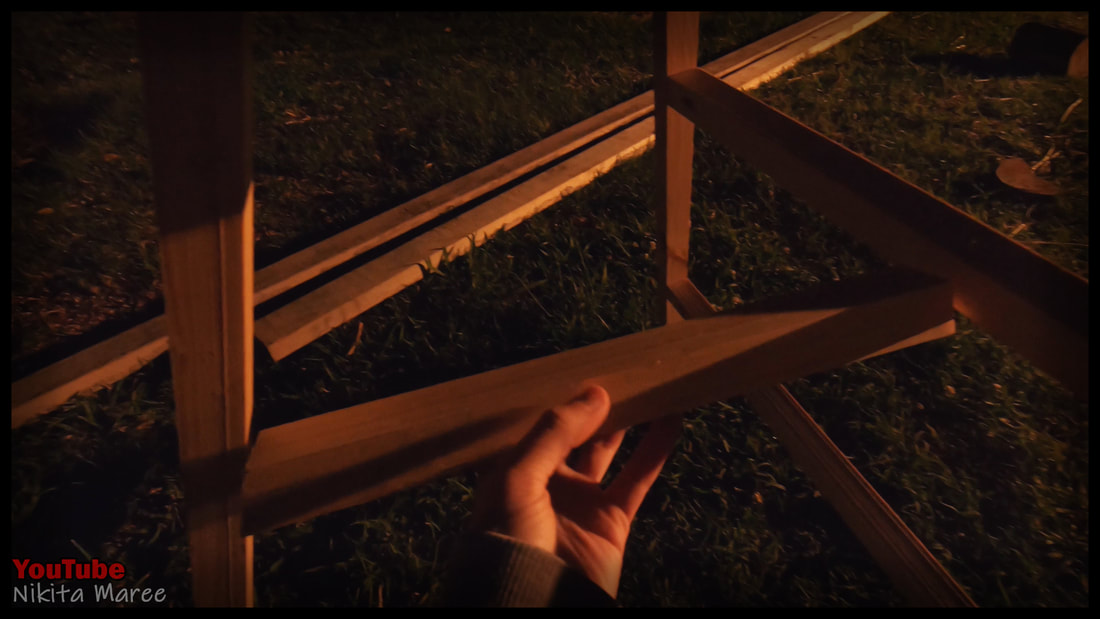
Moving onto the bottom horizontal rails.
|
|
|
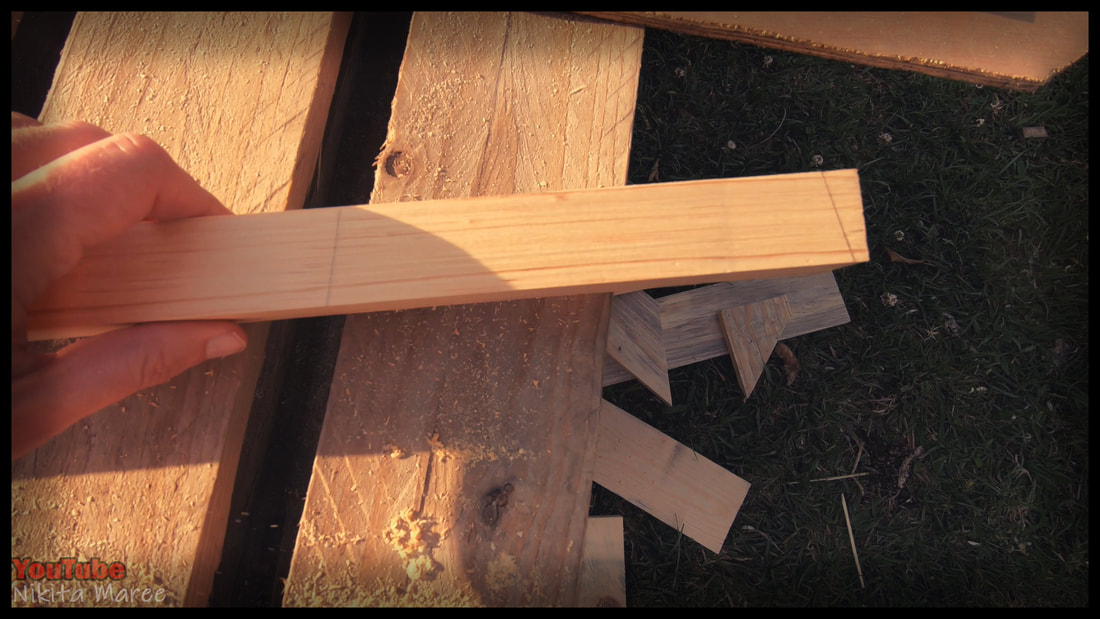
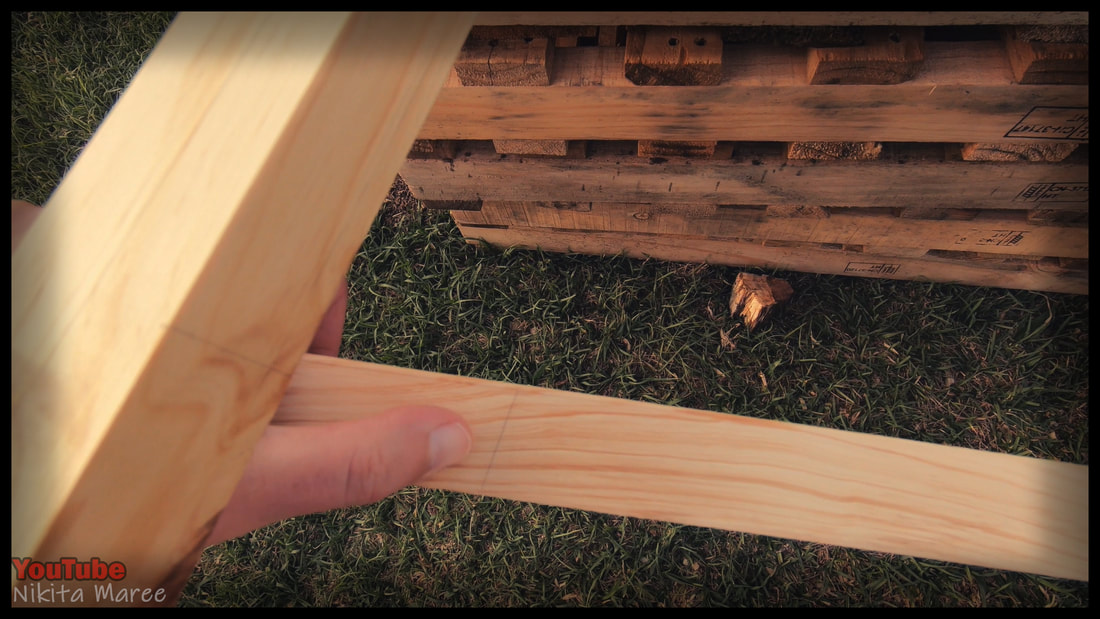
I hold a length of 35x35mm
at my chosen height. Mark that angle with a pencil. |
|
Do the same for the other end.
Then cut and drill pocket holes on the back side. |
|
|
|
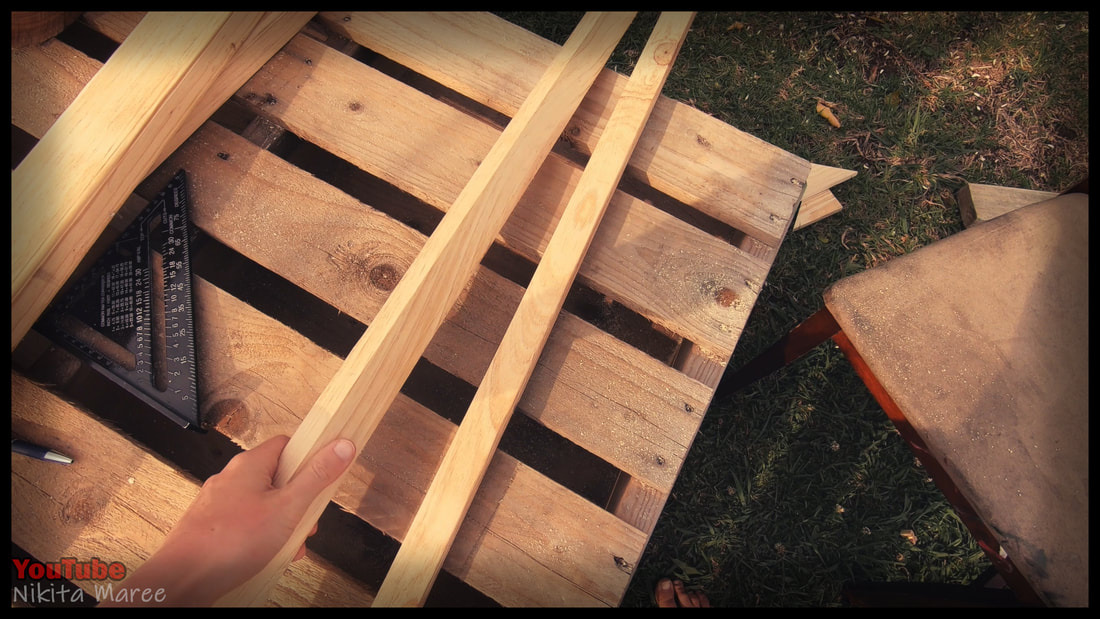
Add a second rail in the same manner.
|
|
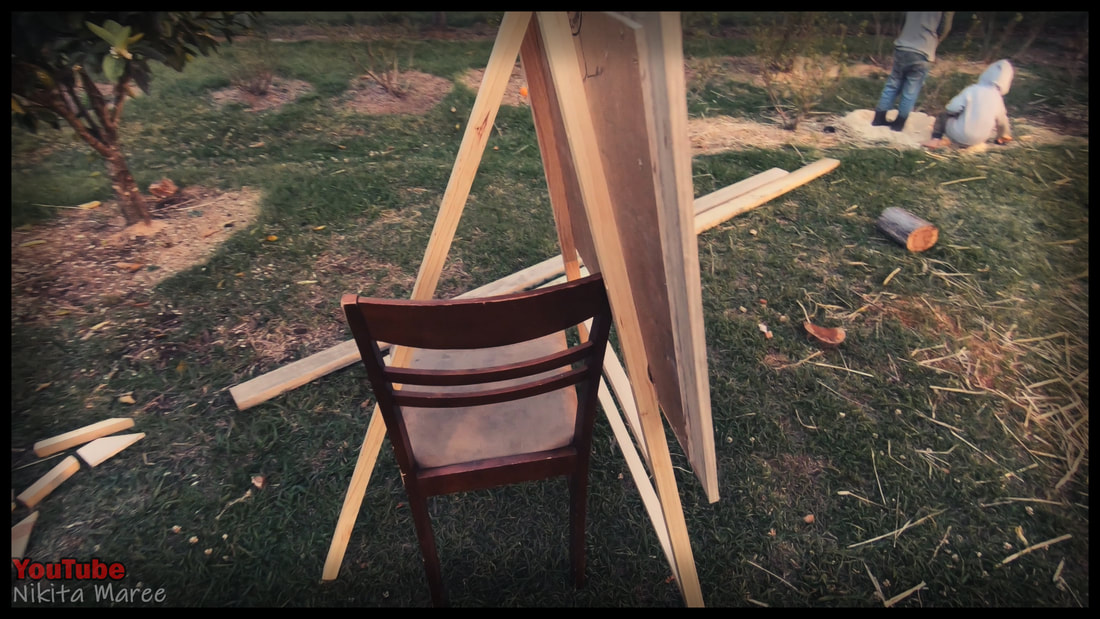
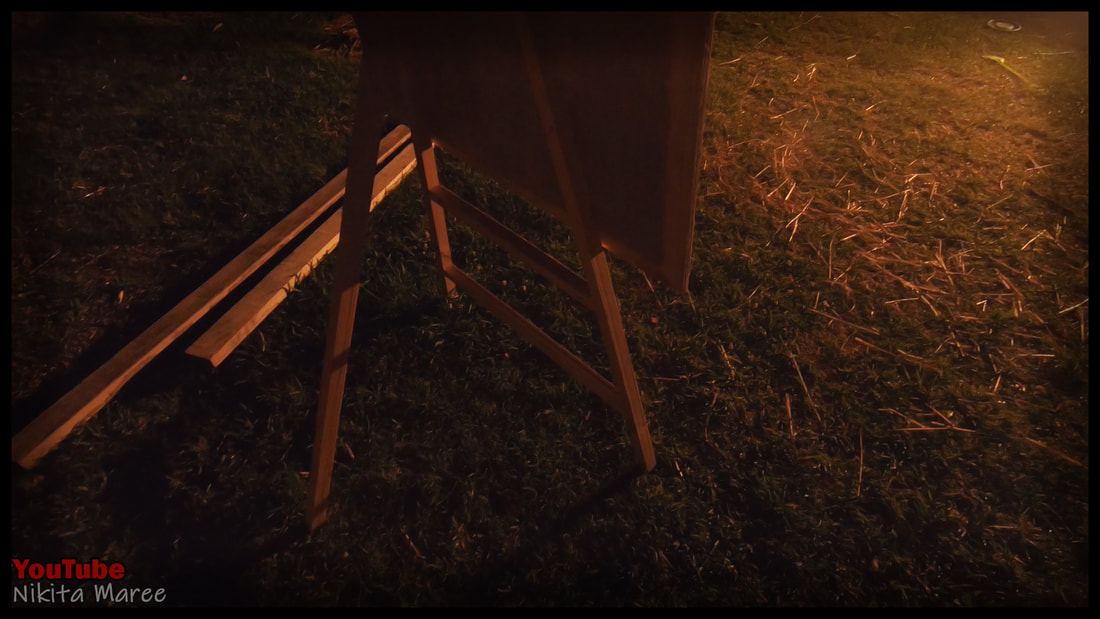
Lean everything up against a chair,
to get the tilt that you are looking for. |
|
|
Cut the angle for the back leg.
|
|
|
Take up the space,
with an off cut of plywood. |
|
I was loosing light,
but I had to get this build done. |
|
|
The last piece goes on the same way
as the front rails. |
|
Moving onto the font and painting.
|
|
|
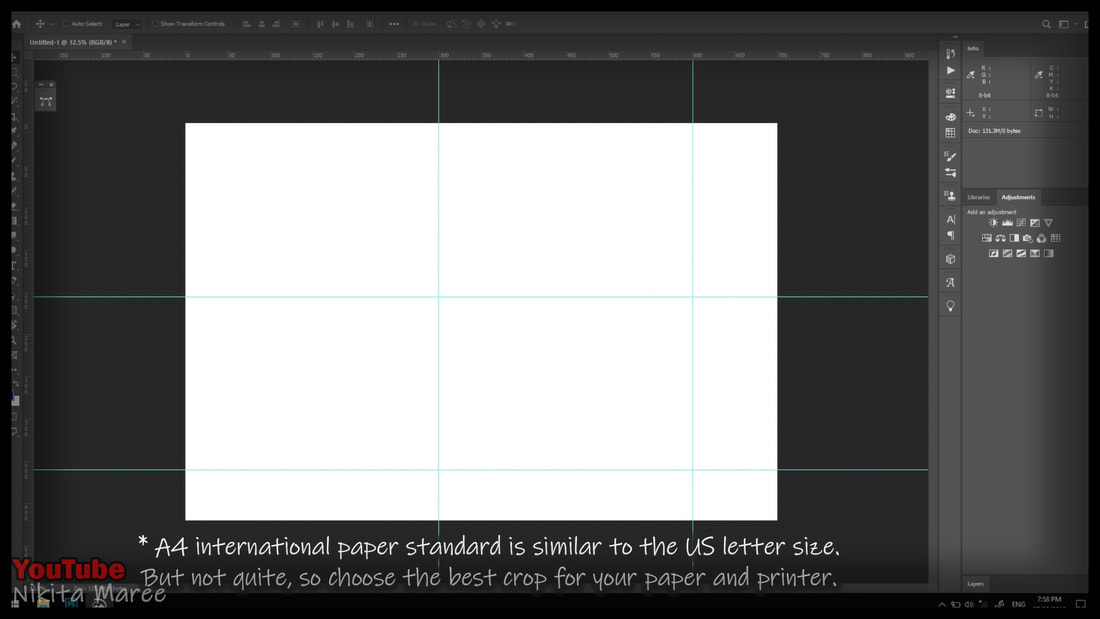
I took my sign measurements into Photoshop
and marked out 'A4' grids. |
|
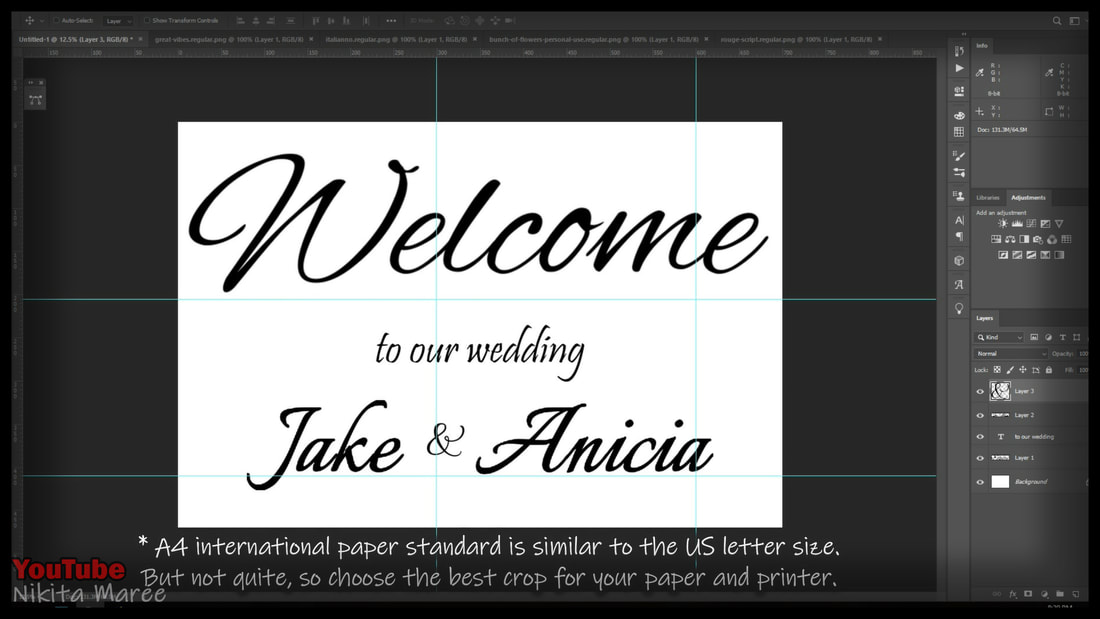
Decided on the fonts and placement.
|
|
|
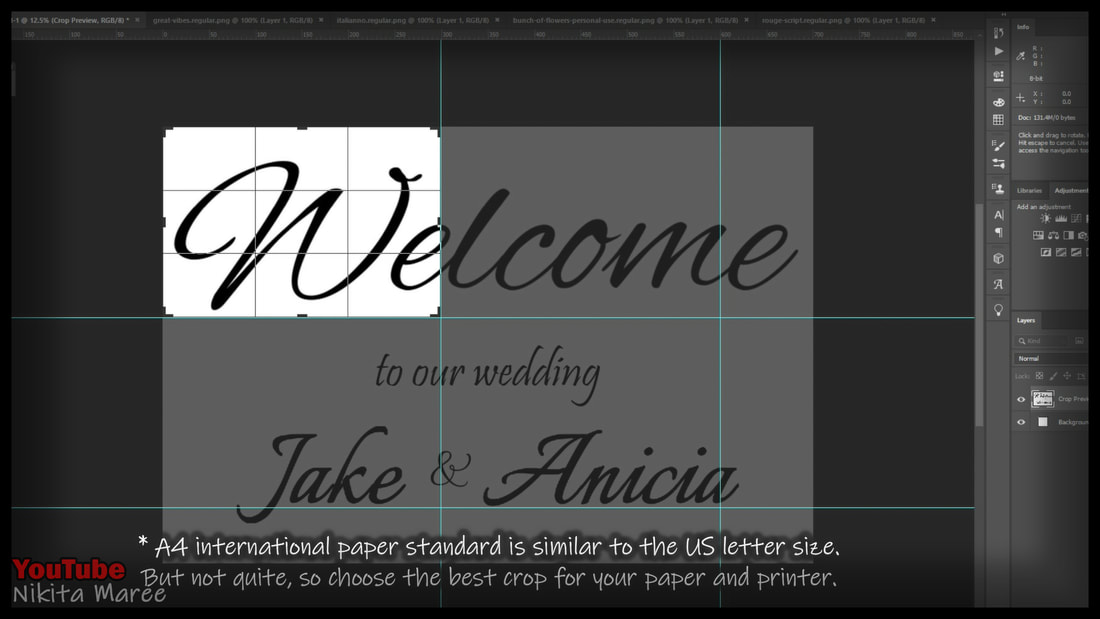
Crop and save each individual section.
|
|
Lay them out and tape them together.
|
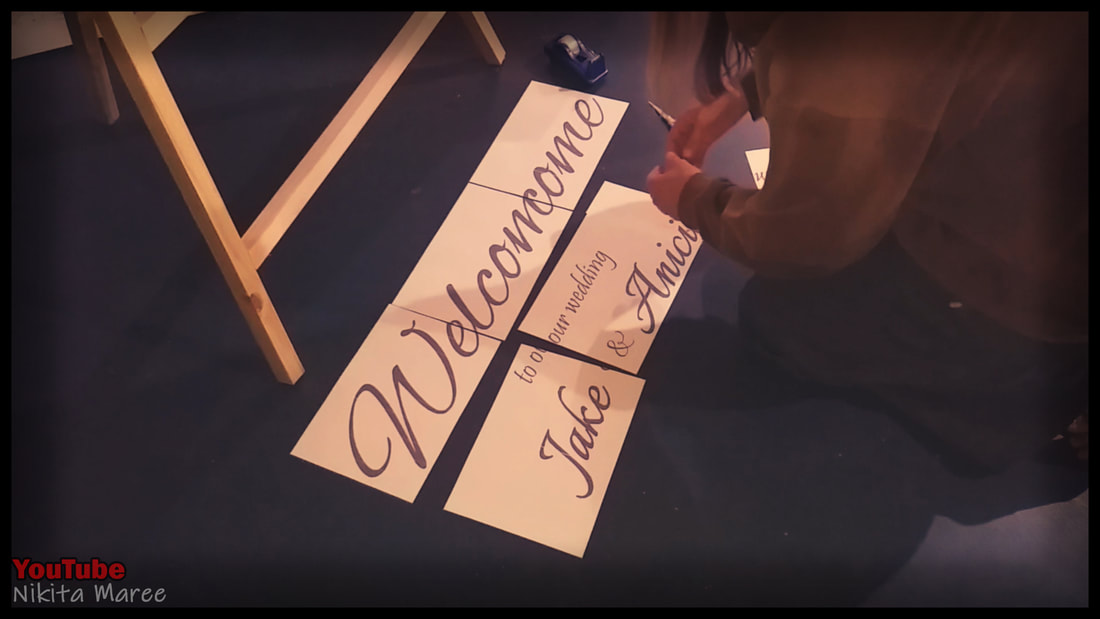
|
|
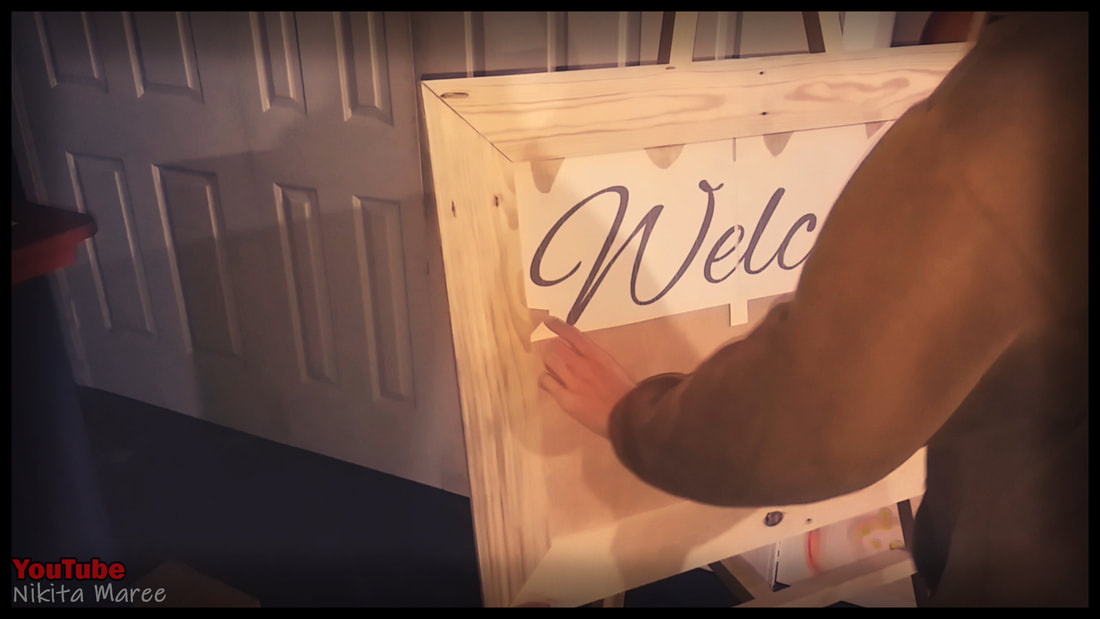
Tape them to the frame.
I notched out some spots from the paper so I had a better surface to attach them to. |
|
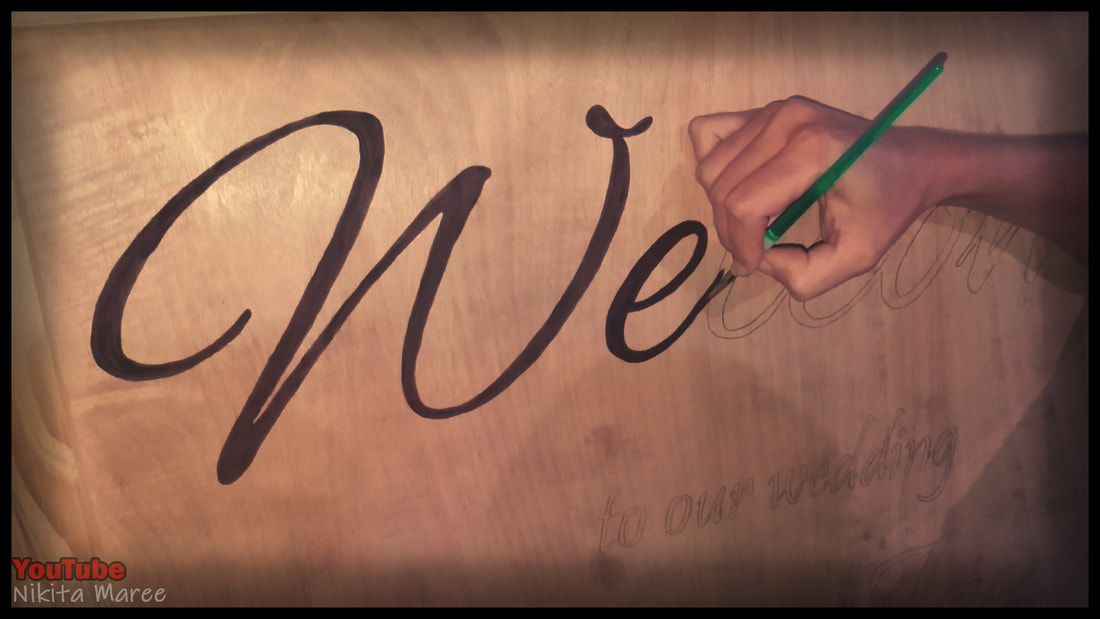
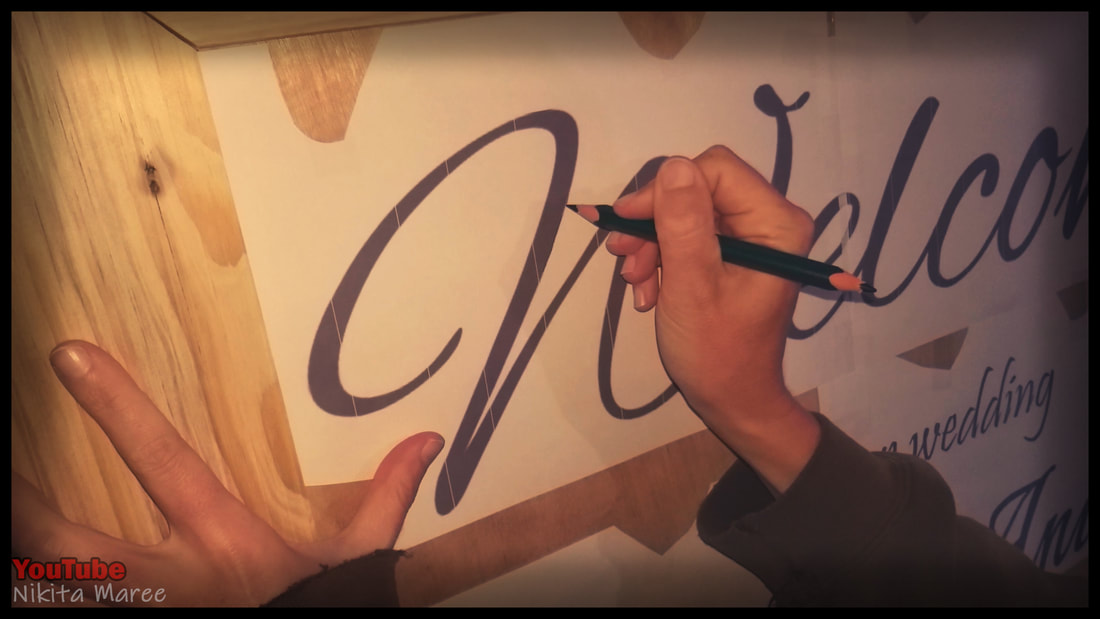
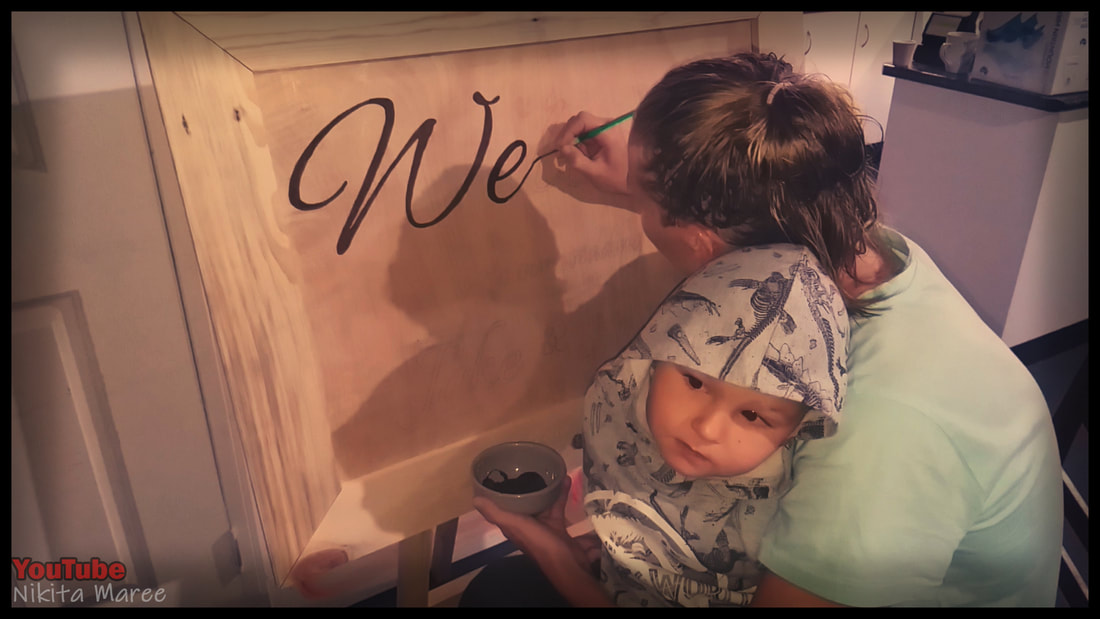
Place carbon paper between the
plywood and the printed paper. And neatly trace around the letters. |
|
|
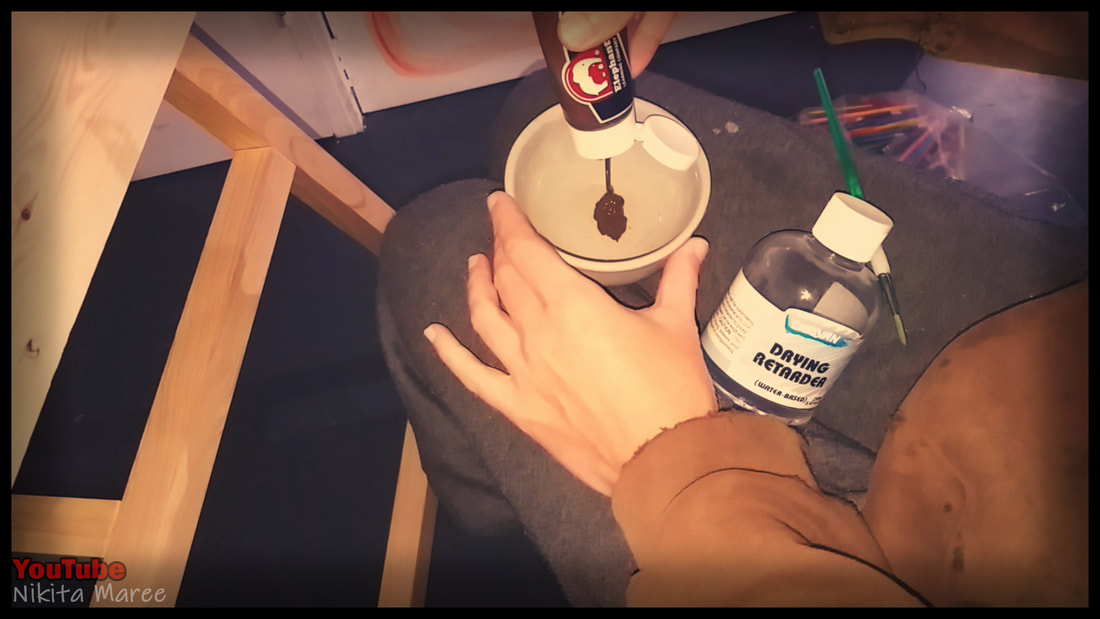
I add a fair bit of drying retarder
to the acrylic paint. This allows me to go back and forth on this job, throughout the day. Without it drying out on me. |
|
Very gently, paint between the lines.
|
|
|
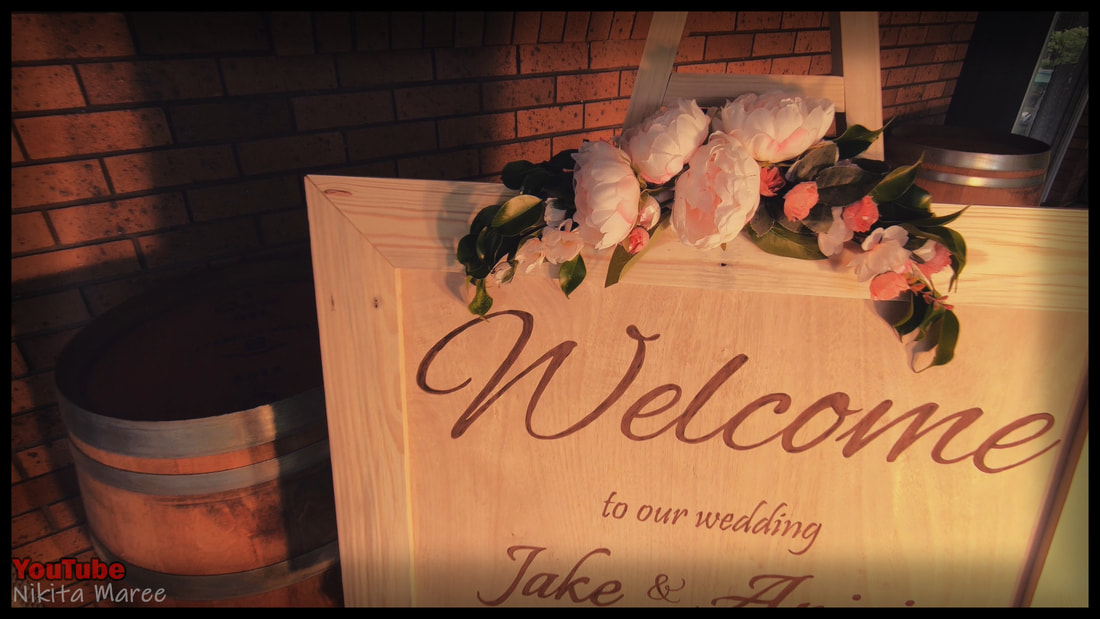
My mum is a florist.
So she added the fig leaves and fake flowers, to bring this whole thing together. |
|
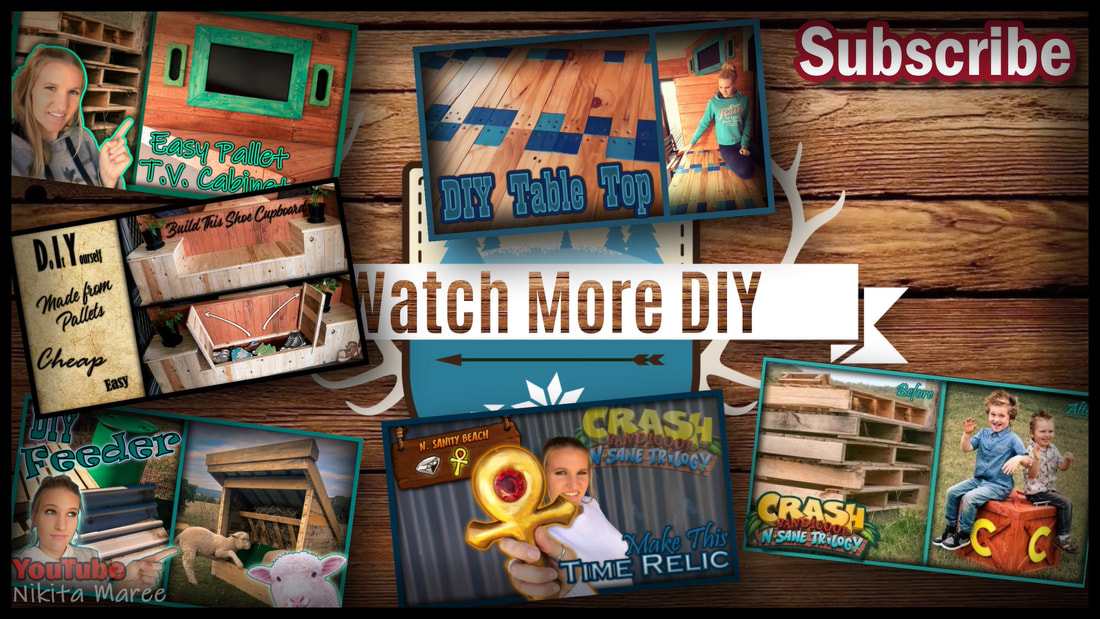
If you like building with pallets,
or other cheaper materials. Then you might want to check out some of my YouTube Videos. |
|